Spend since last report: £136. Total hours labour since last report: 54.6
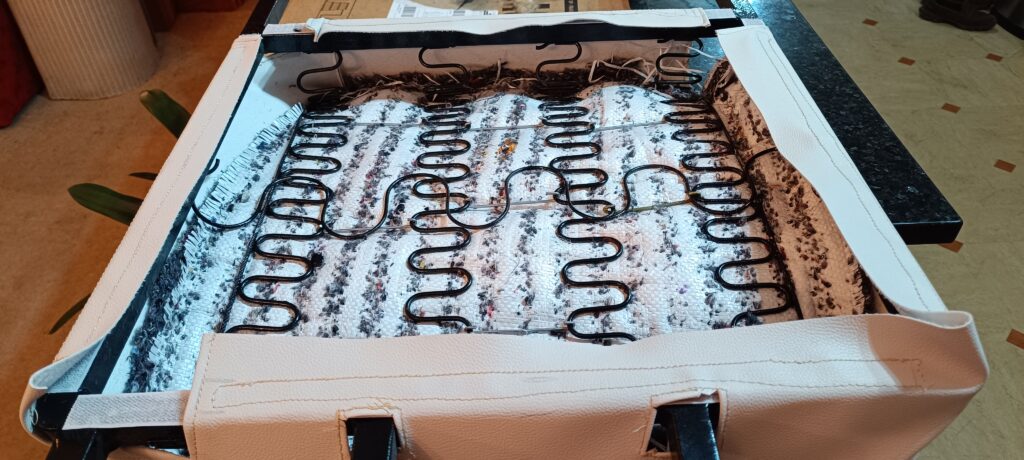
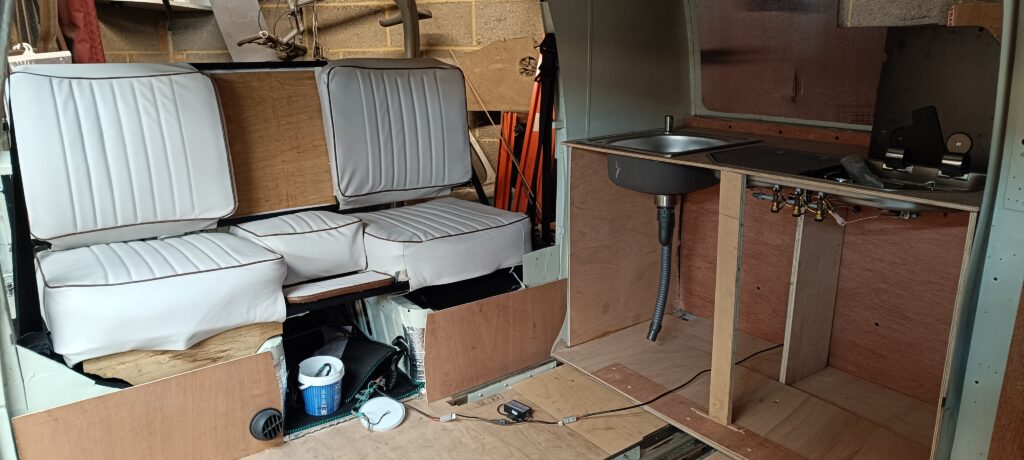
The last two months have been productive but mostly not in the garage. To “be nearby” as Lorna convalesces and frankly, to be warm, I have been busy wielding “Sally Sewing Machine”. The front seats that were originally in Eric are now in Poppy as we decide how to upholster them now that they have got rather old and soggy plus at least one piece needs welding. In their place in Eric, I made a frame for two seats that I wrote about some time ago – they are the same size as original ones and use the same spring and serpentine arrangement but they are mounted on a 20mm box section steel frame to allow them to be inclined correctly when facing forwards or backwards. With some bent metal staples added between the serpentines for support, I brought the base frame indoors and started cutting the material for the base trim.
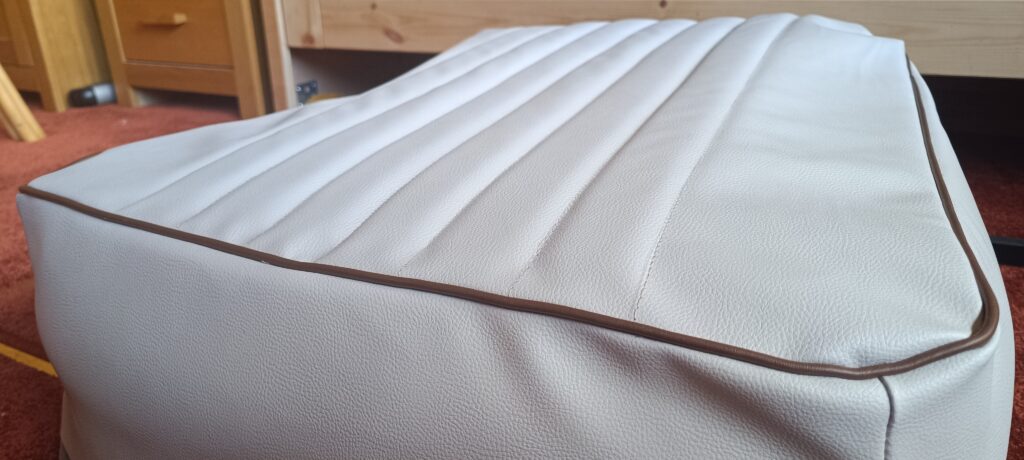
The first piece of material is the seat base top that you sit on, which I cut with a 10mm seam allowance and placed it on the metalwork – already it looked marvellous! Then I took the 10mm scrim foam and cut a piece to match. The new Somabond thread is high strength nylon and is 3,000 metres long – that’s towards two miles on the reel which is enormous. With a practice on a scrap, I found a way to get both material and foam under the presser foot of the sewing machine (it is a domestic one from Hobbycraft, not a professional one with a walking foot so it is a bit more tricky!) and get the pleat roughly straight. Then onto the real thing – a pencil line down the middle marked the first front to back pleat and 3 on each side of the middle at 5cm apart makes 7 pleats plus about 12cm of cheeks on either side. Pencil lines along all of them to guide things and I pushed the material through. The first one had around 1mm of movement along the straight line on a couple of the pleats but that was mainly to do with the domestic machine being asked to sew more material than it can comfortably eat.
The pencil lines can then come off and we have a rectangle of material with a foam backing and 7 pleats that look rather like the real thing. Quietly pleased with myself, although it took a while.
Then I took two full width pieces of the brown door card material (I did side to side and according to the Internet, piping should be cut from a diagonal but that is hugely wasteful), sewed them together into a 3-metre-long piece of 26mm wide and changing to my piping foot on the machine, I made brown piping.
Next up, I took a long rectangle of the cream material which will form the sides of the seat, long enough to go all the way around the seat base. The piping was sewn onto this rectangle of cream.
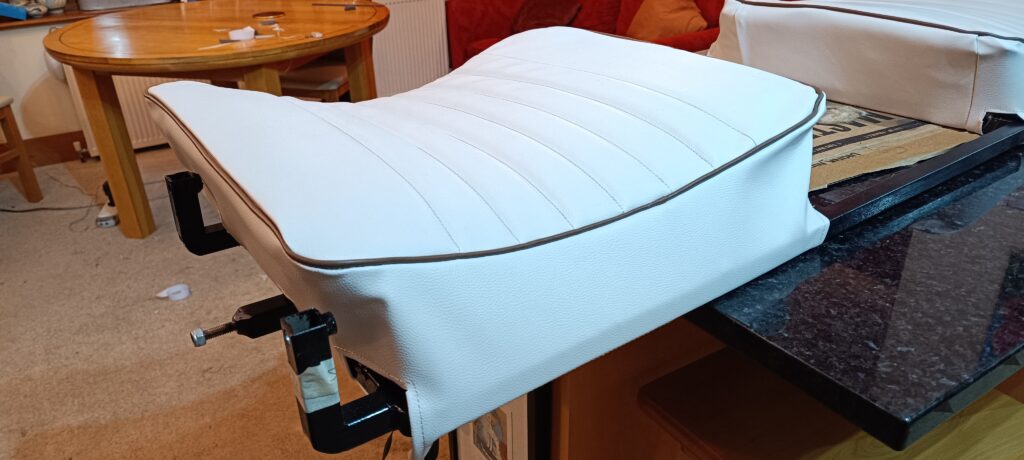
With my top and my sides made, I then ran a pencil line around the top where I wanted the piping, put on my big boy pants and set to work, the machine now sewing through the top, the side and both pieces of material that form the piping. Once the tension was adjusted high enough, the machine coped – the corners were a bit fiddly but went well. Eventually, I had a cover and once on the metalwork looked rather nice.
Under the cover, I added some man-made horsehair and it was very lumpy, even in a sewn bag that went under my evening sofa chair for a week. Layers of lambswool produce a much flatter, albeit slightly less soft, seat.
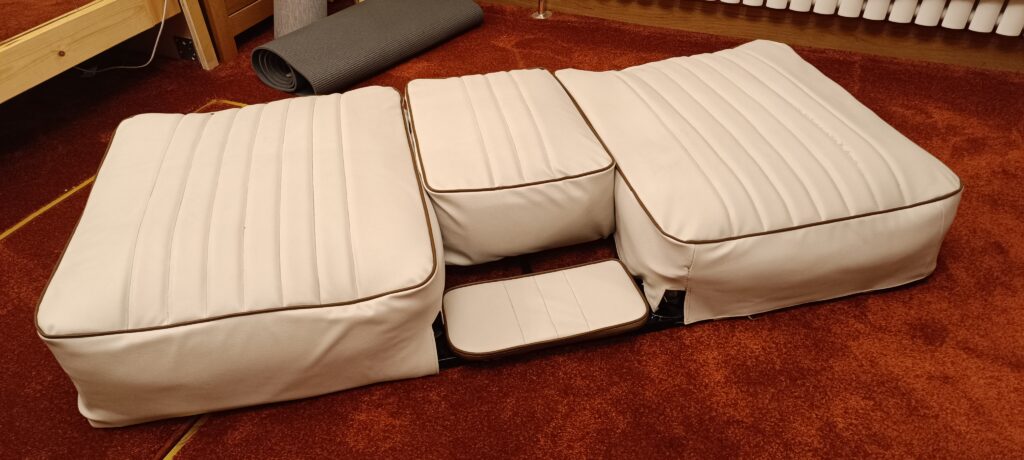
Rinse and repeat for the other front seat and already the pleats are coming out more defined and straighter as I get my eye in. Then a middle seat / arm rest / dog seat that is mounted on board and goes from the front to just in front of the arm rest so that the seatbelt buckle can emerge and a small upholstered flat piece for a drinks table when you are facing backwards.
Both seat bases received ears of fabric to allow a drawstring to be used underneath to pull everything tight, then on to the seat back!
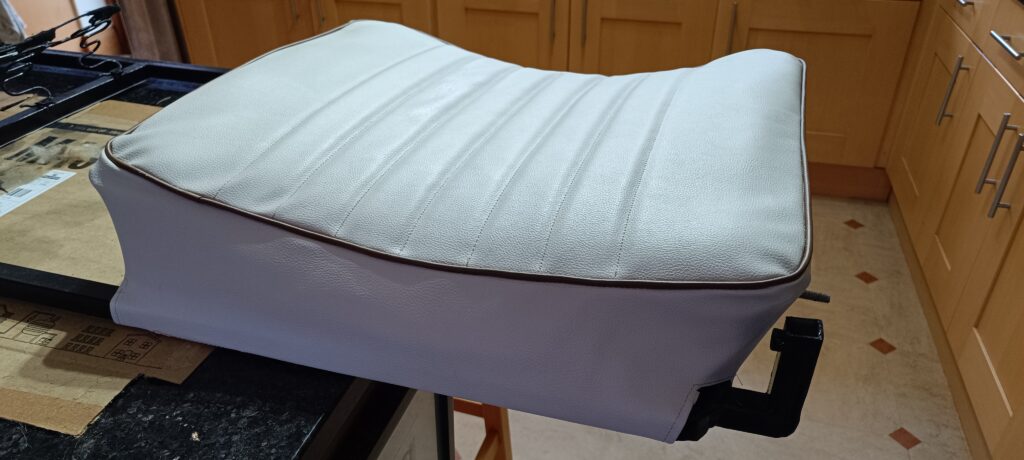
The seat back metalwork is more sculpted to curve around the back of the user, which presented the issue of how to get the material sewed correctly to avoid and bagging. The main piece was made as previously with the foam underneath. The rectangle for the side similarly and the piping similarly as well. The piping was sewn straight for the sides, and in a curve at the top and bottom to match the curve of the metal. Once that had been worked out, it was then a case of repeating the attachment of the bib to the side piping and sewing up the start of the side to the end of the side.
Each of the covers has to go around metal in places which needed careful cutting and seaming.
And then the padding can be smoothed out, Velcro added to the metal (self-adhesive) and to the seat cover (sewn on for strength) and get a final trim.
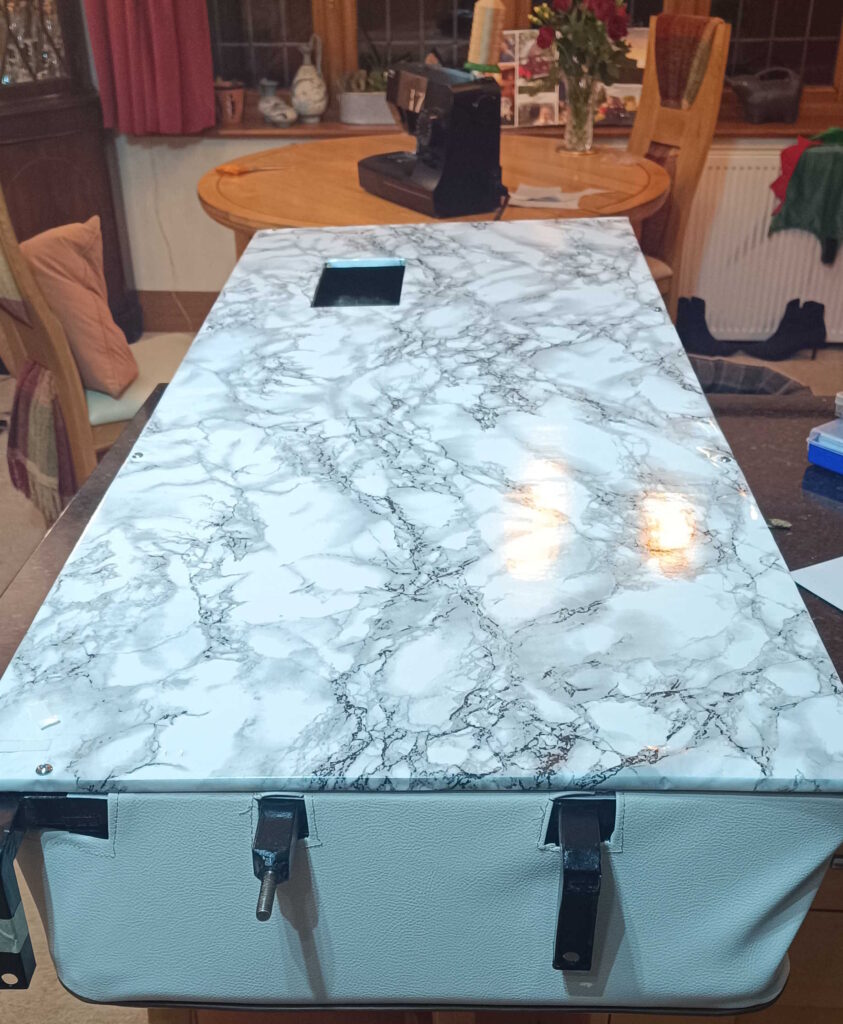
With the material complete, the seat back now needs the rear to be made pretty as you do not want to see the serpentines all the time. When not driving along and not sitting on the seat, I want the option to use it as a table – 3 jobs in 1! I removed the upholstery to keep it clean, cut a piece of 9mm exterior hardwood board and trimmed the edges to fit the metal of the seat back. With a suitable hole for the bottom of the steering wheel cut, I then came in and added some marble effect sticky back plastic and the back was finished.
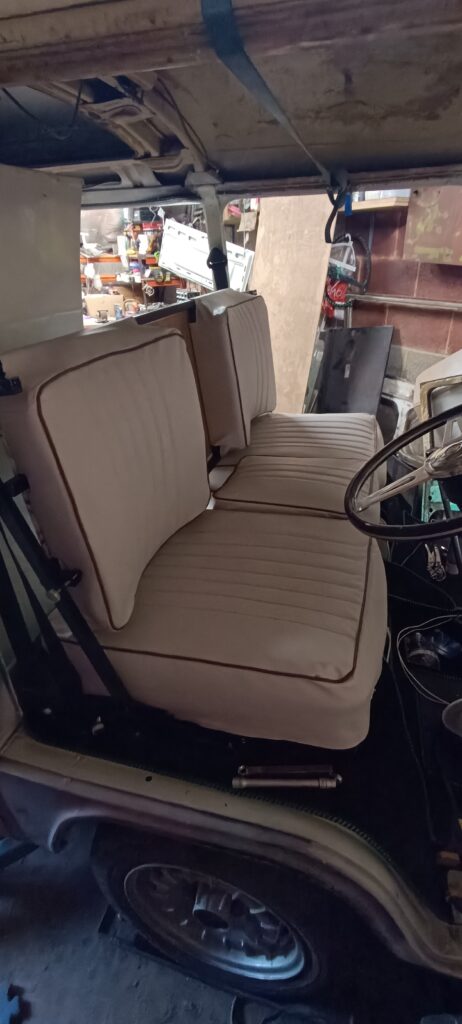
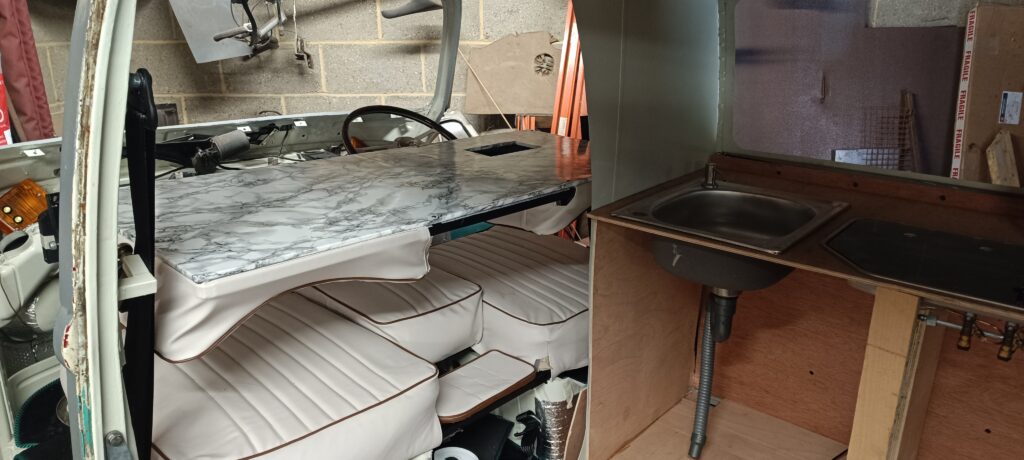
The dining room was requisitioned for sewing, the office was heaving full of rolls of material and the back bedroom was being used to cut material on the floor. With Christmas coming, it all needed to be tidied away to allow us to have pigs in blankets, or “relatives staying in the spare room” as some call it (sorry Mum and Dad, I know that you have heard that plenty of times before, but it is quite clever). The rolls of material, foam, sewing machine and everything else were tidied away, the upholstery stores converted to bedrooms and the seats removed from the house and into Eric both to empty the house and verify it all fits.
I was rather pleased with the result. This configuration gives me seats for driving, the same seats facing backwards for camping and a table for storage / dinner prep.
I will admit that in addition to the upholstery, I made a start on the wiring as well. After a full review of the wires, I added a battery to the right place, added the wire that ought to be on the alternator to the battery as well (since there is no alternator and no engine). As I turned on the side lights, headlights, beam, hazards and windscreen wipers, each fuse showed 12 volts as the right time. I was rather heartened and finished the day in a celebratory mood. The next day, I joined the right fuse to the actual side lights, headlights, beam, and windscreen wipers. Nothing worked, not a single circuit. Which was a key reason why Sally Sewing Machine came out.
A job for another day, perhaps I can persuade Malcolm to pop down and help me get it all sorted?