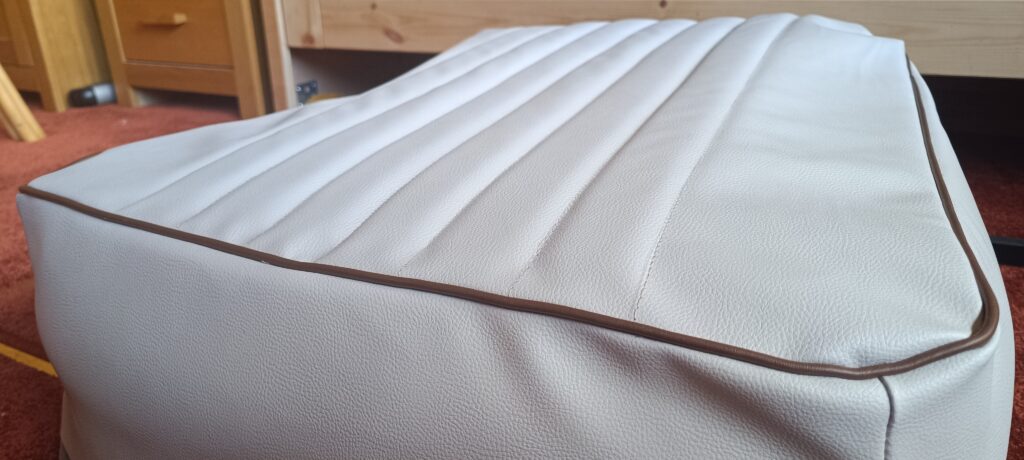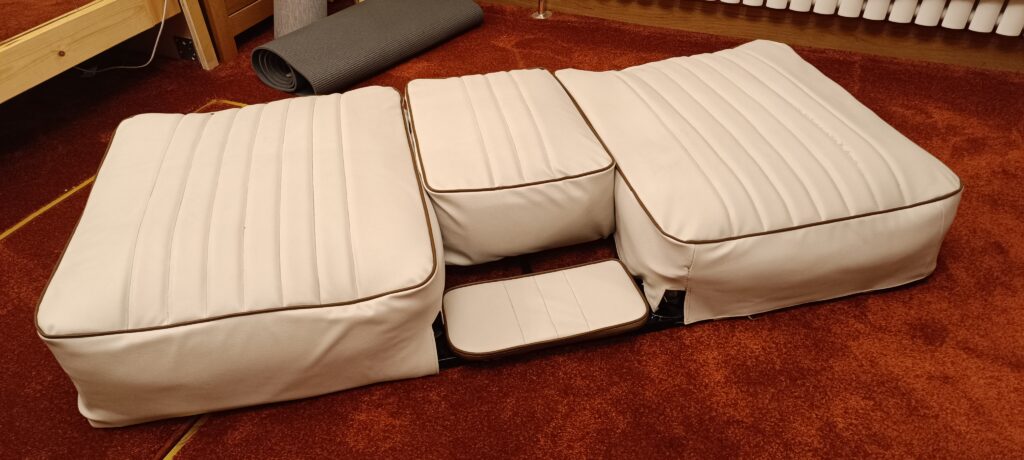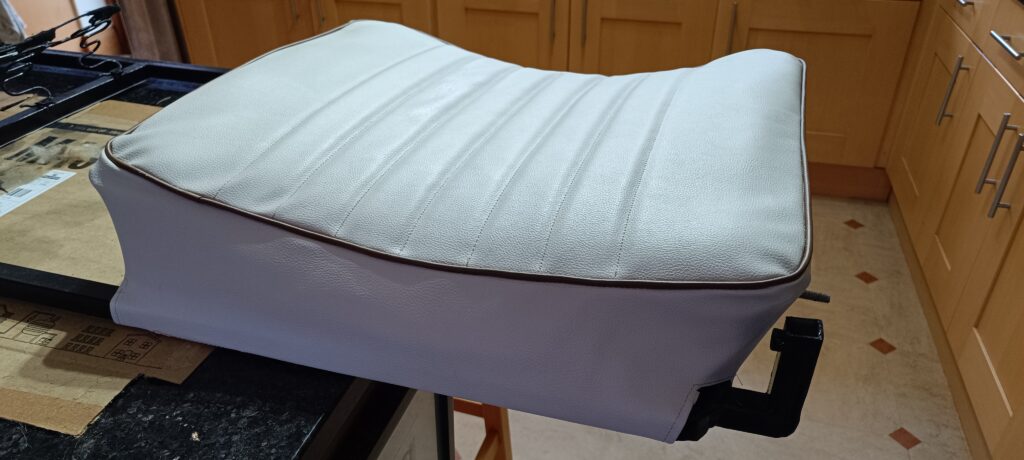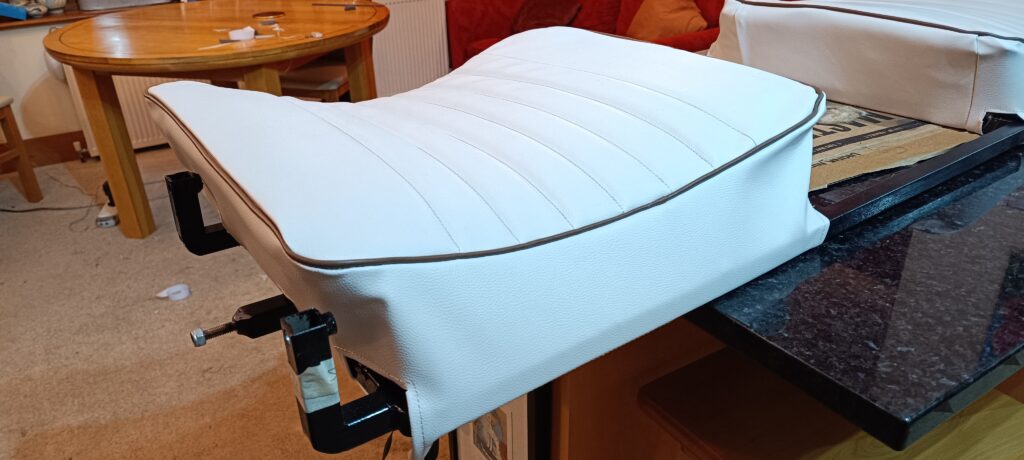
Spend since last report: £231. Total hours labour since last report: 16.75
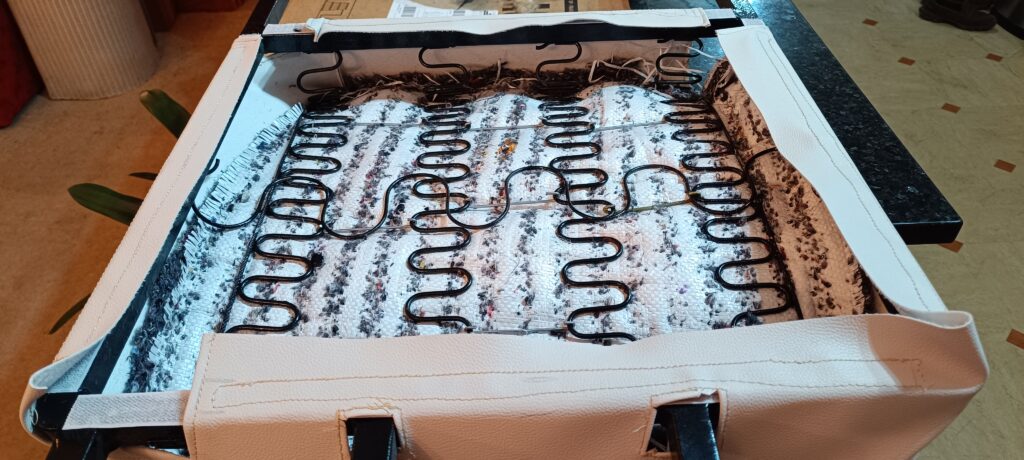
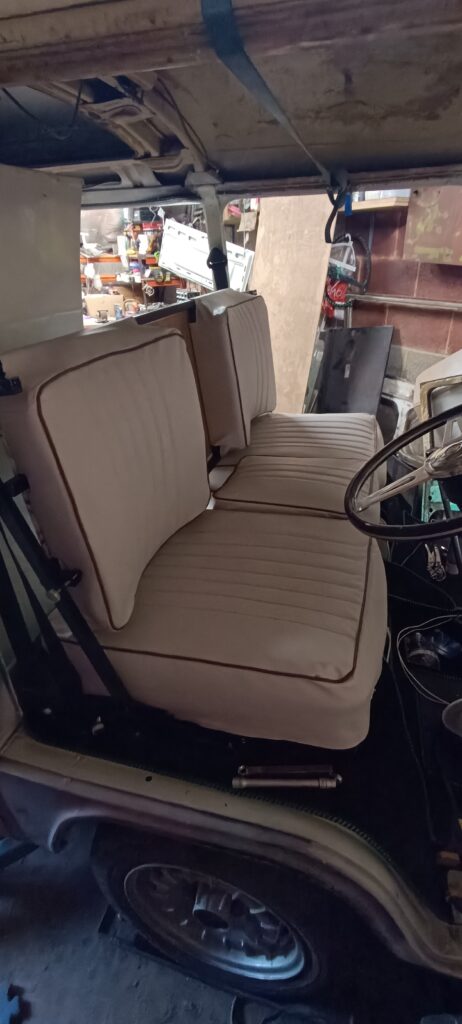
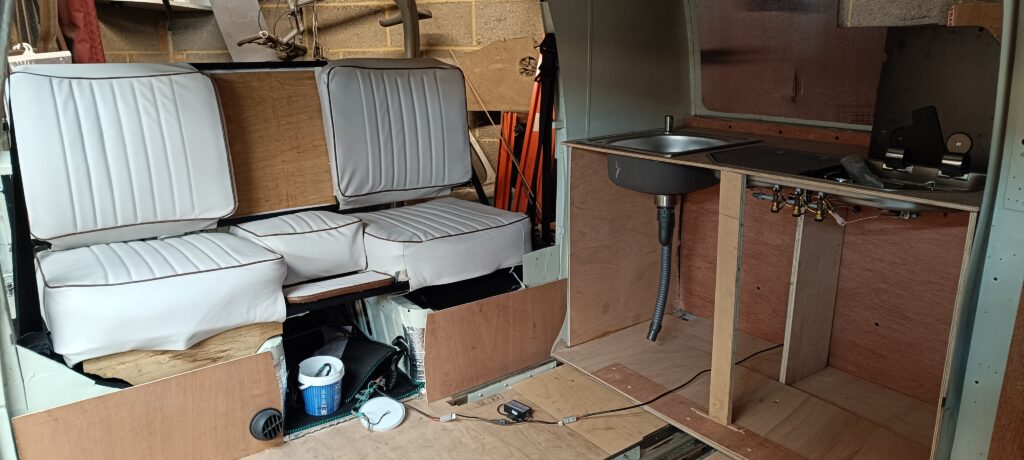
Winter is cold and we all feel like hibernating. Or maybe it is just me. The damp garage can stay damp, the cold garage can stay cold, I’m staying indoors in the warm and the dry. The front seats are mostly done although I did find that one of the zigzag metal serpentines has snapped meaning I need to remove the fabric, the horsehair and weld that up but it is not the end of the world.
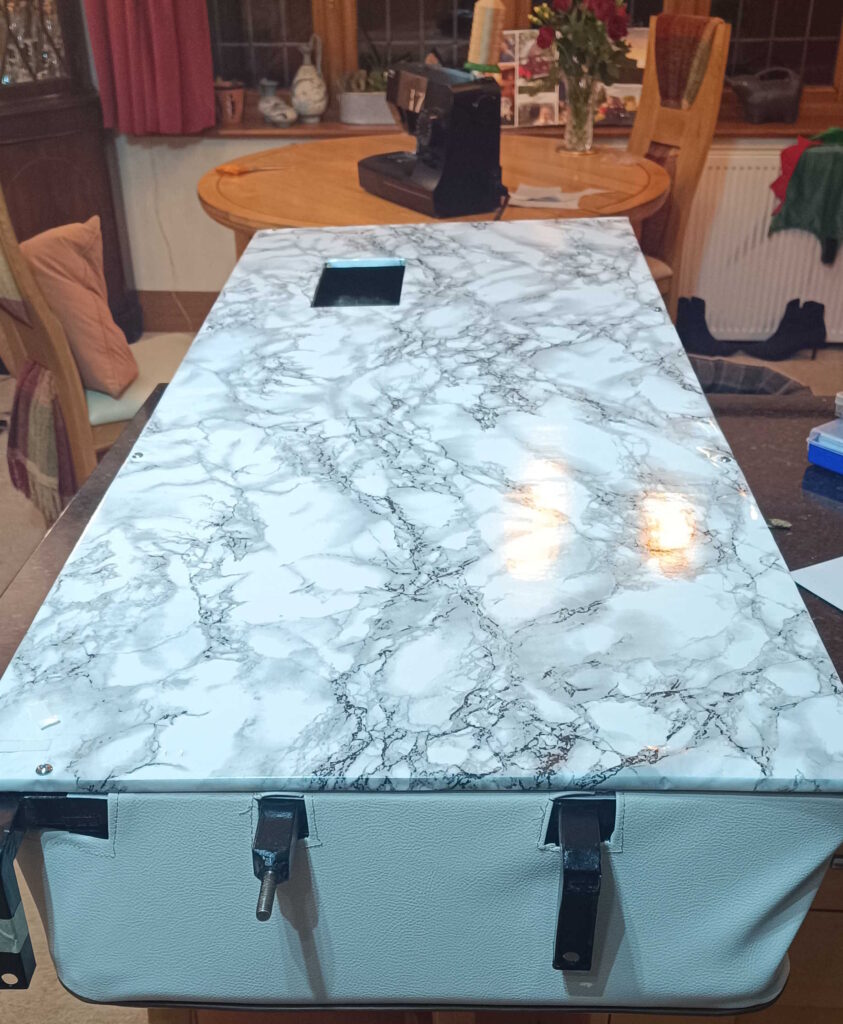
Following a post-Christmas period of inactivity, I got my Eric head on and started on the door cards for the front doors. Since the front doors have water designed to run down the outside of the winding window and some goes past the door rubber, the door can get a little water inside. There are channels at the bottom of the door to let the water out, although these block over time causing water to sit at the bottom and rot the door frame. Oh boy does Eric have rot there. Since the inside therefore could be somewhat damp, I elected to varnish the front door cards with an exterior grade clear varnish to help keep the MDF from soaking up the moisture which should reduce the chances of it warping. Two thin coats to each side and the same with the kick panel cards that go in front of the front seats.
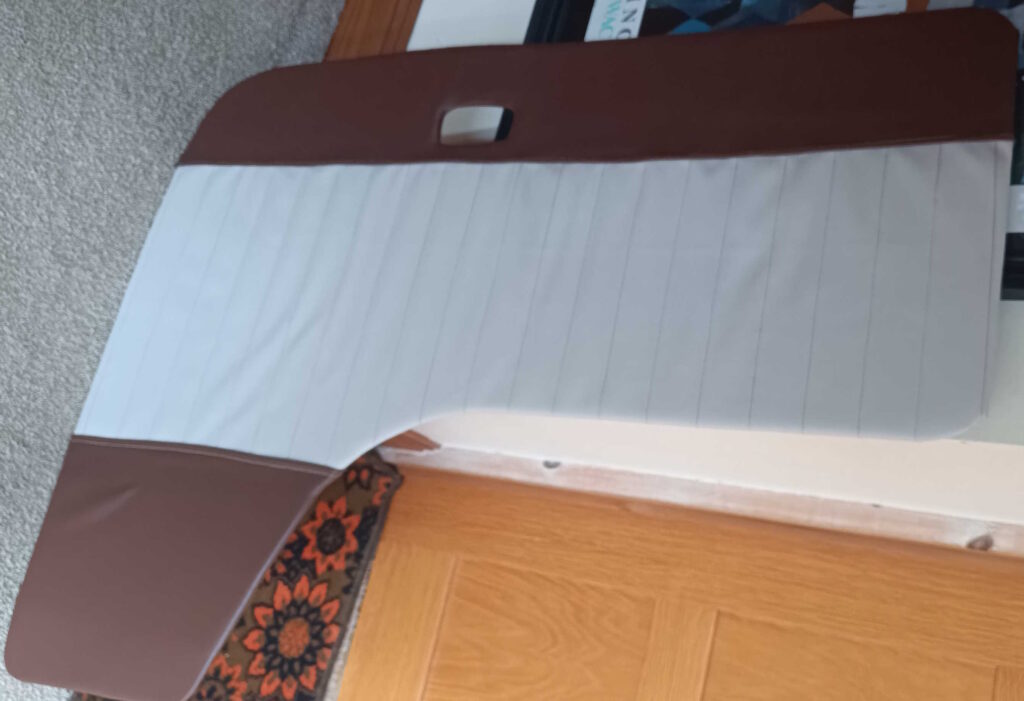
The door cards that are normal height are to be 2 tone reflecting the original brown leatherette supplied in the panel van (as it was) in 1973. I chose a slightly darker brown than original as the other option was a mocha which was too pale and insipid. In the middle of that is to be the ivory of the seats that were completed at the back end of last year with their dark brown piping and once finished, it should look quite smart.
The piping foot of Sally sewing machine has been very useful and I am getting much more confident now. Create a dark brown striped of fabric about 7 inches tall with piping along one long edge. Another about ten inches tall. The ivory middle has no piping but has pleats / seams every 2 inches / 5 centimetres vertically to match the ones on the seats. This matches a lot of bay windows that I have seen but our other camper van Poppy has the original door cards from 1972 which have horizontal stripes. Both have their merits, and I like both.
Once the 3 pieces have been completed along with the ivory having 3-millimetre foam sewn behind it, it is assembly time. Sew along the existing sewing line next to the piping to join the dark brown to the ivory top and bottom, looking to ensure that the gap between the two sewing lines is 36 centimetres all of the way along. This is done with a high-tech pencil line along the ivory fabric.
Then I sprayed some glue on the door card and carefully glued the piping section to the door card along another pencil line. With that fairly straight, I glued the rest of the ivory then glued foam to go behind the dark brown sections before folding the entire fabric around the edges of the board and spray glueing the fabric to the back with about an inch of fabric on the back.
The contact adhesive spray needs to wait a minute or so to become tacky at which point you can almost press the fabric on, and it is finished. However, for completeness I clip the fabric down for 5 minutes at each section I am working on.
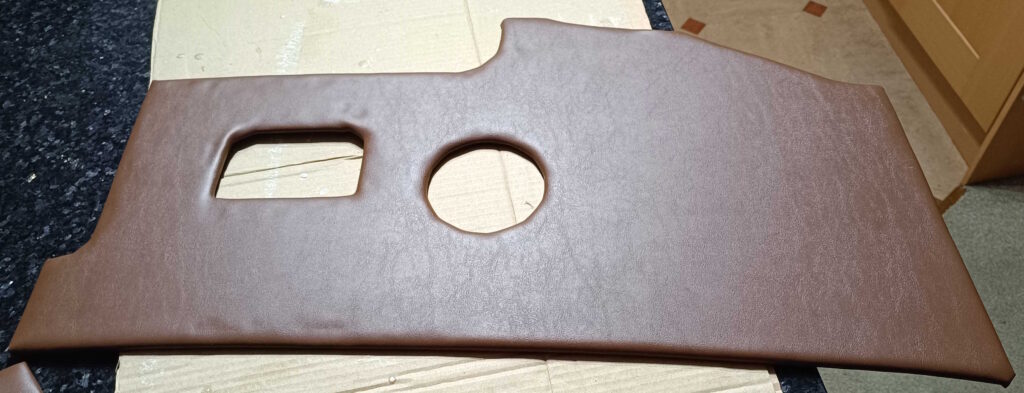
The end result is not completely straight as I am not a professional, but it is straight enough and looks great. I cut a hole for the door opening catch and glued the back of that but have yet to cut holes for the window winder or the closing strap. With the driver’s side finished, I repeated the process for the passenger side and then trimmed both kick panels in plain brown as they sit low. Trimming those is a simple case of glueing the 3-millimetre foam to the board then glueing the brown fabric around the rear and trimming as you go. The cutouts are for the warm air and the filler point for the windscreen washer fluid. Downstream, I may cut a further hole for some speakers that are in the loft in readiness.
With both front door cards and both kick panel board complete, I did the straightforward panels in the boot, one at each side and the one for the boot lid. Again, all plan brown reducing time as there is no piping required.
The sliding door follows the same idea as the front doors, a central stripe of ivory with vertical pleats and dark brown top and bottom. I did not notice the piping was wonky on the top creating a slight arc which meant that either the piping can be sewn to the ivory in a straight line leaving a rucked top or the top can be flat, but the piping is curved. It was not huge, but you see the sliding door panel quite a lot and I knew that it would irk me. Unpicking piping takes forever!
With straight piping, once again I joined the dark brown top and bottom sections to the central ivory and glued it all to the board. I am pleased with the result.
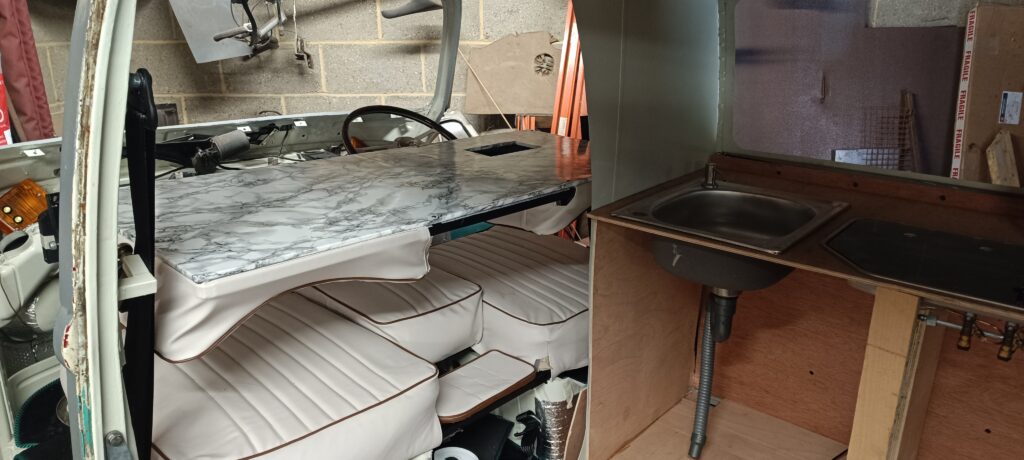
There is a panel on each side of the main sofa that need making with piping and multi fabric, then it is just 2 plain brown panels, one behind each front seat and the door cards are complete.
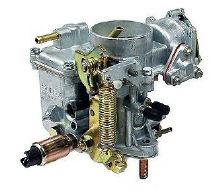
On the purchasing front, I jumped in and purchased a new 39mm Solex carburettor to replace the original 34mm Solex carb that needs a rebuild. I have the rebuild kit but the extra capacity will help with engine power plus it matches the one purchased last year for Poppy and with the same engine, same air filter and almost everything else, having two of everything may come in handy.
With the weather starting to warm up and the sun peeking through the incessant cloud of the last few months, perhaps I might get some progress that is not sitting at the dining table!