Spend since last report: £5,402. Total hours labour since last report: 44.5
The combination of not knowing how to do the next piece and the cold kept me out of the garage on Eric from early December to the first week of May. Petruth Paddocks and a chat with “Ask Malcolm” (the magazine article is “Ask the Mechanic” but I spend a lot of time with the Chairman asking him how stuff works) galvanized me into action.
Gearbox
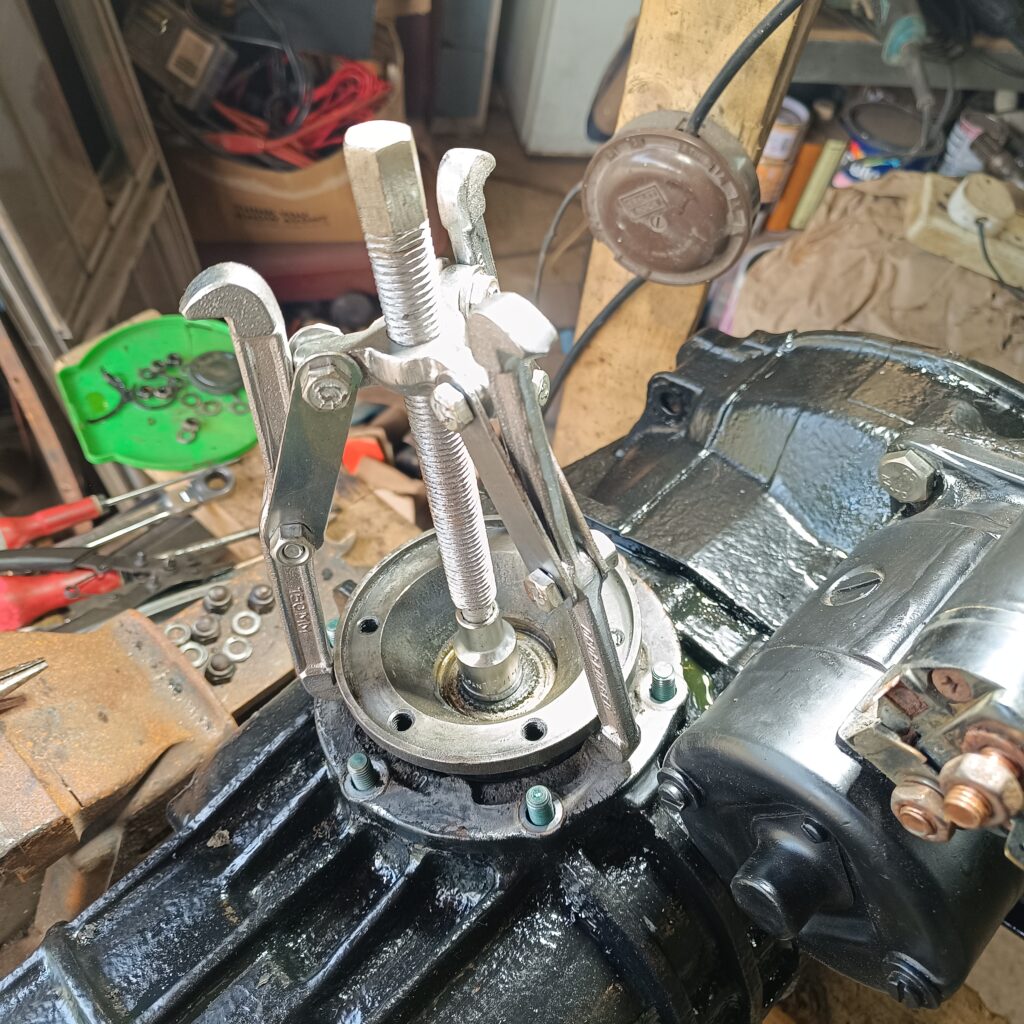
First, the easy job. Having mostly cleaned the outside of the gearbox last year, I did a final clean, then anti rust paint mainly as a habit. On top of that was primer and my preferred top coat of John Deere black paint. I also took the opportunity to take out the ends of the driveshaft section and clean behind, changed the gearbox oil and degrease the inside of the bell housing. As a word of warning – do not empty the oil from the gearbox until you can verify that the filler plug can be removed! With the gearbox on the bench, I also removed the nose under guidance from the restoration manual and changed the gasket there that had perished and cleaned the “hockey stick” that operates the gears.
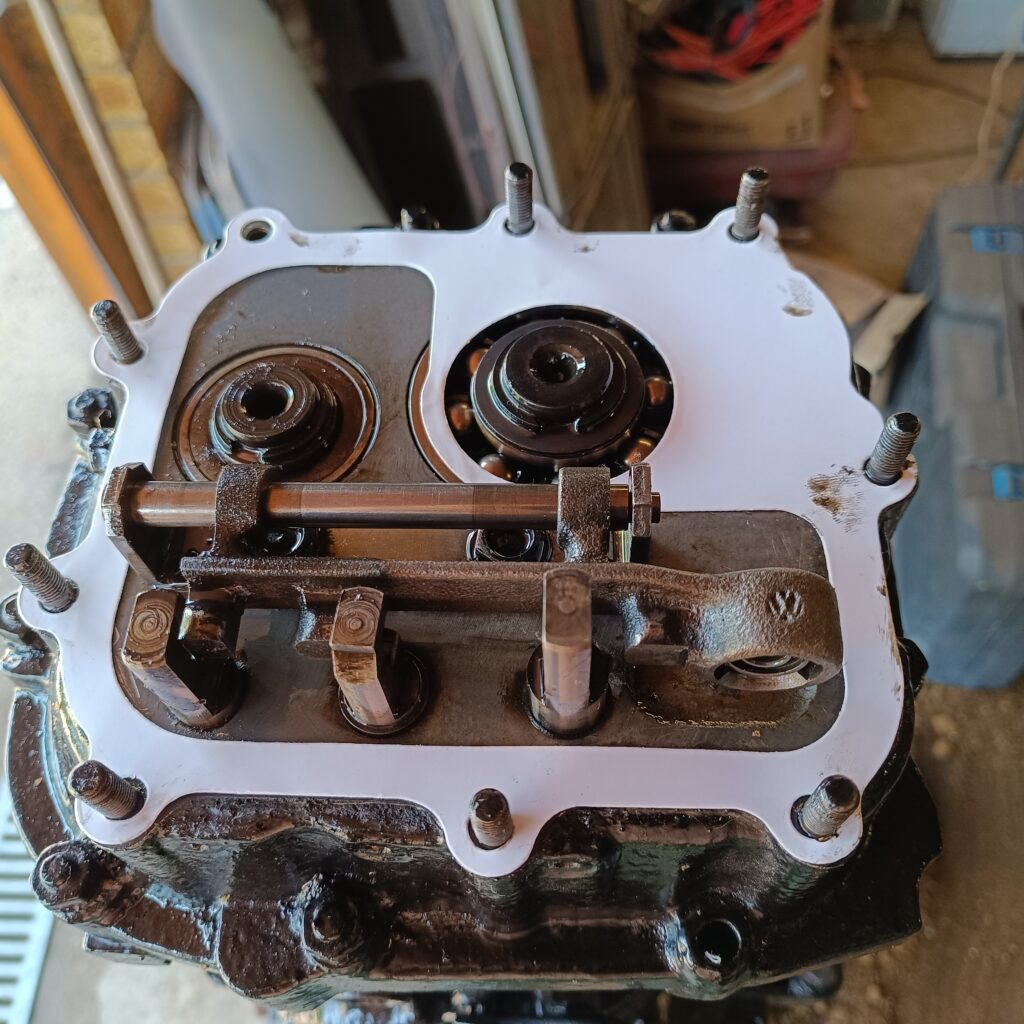
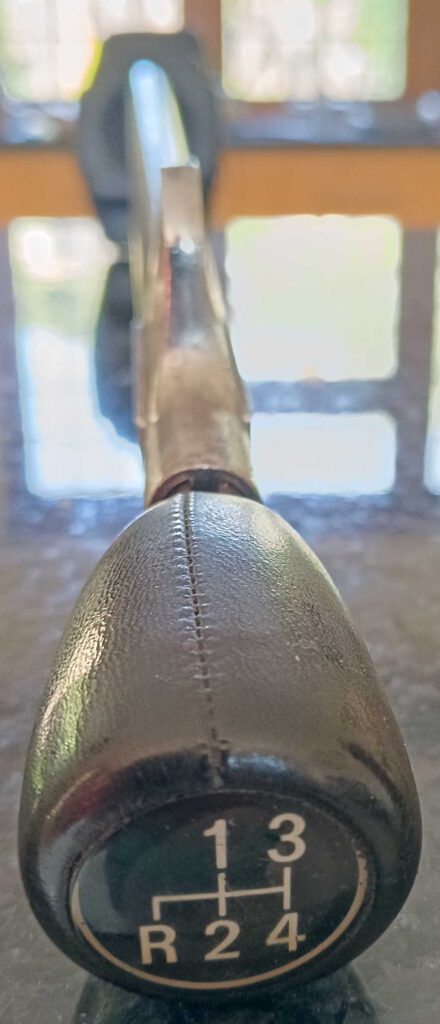
As part of the pedal work, I also cleaned the gear lever that was in the box with the pedals before adding a new gear lever knob. Eric came with an oddball gear lever extension that was about 18 inches longer than standard and a huge gear lever that looked like a golf club. That has been replaced with the gear knob from my old MGB GT that I sold 25 years ago and the knob has been in my toolbox ever since. The gear pattern is the same!
Next up were the pedals. With the underside all painted, I was able to install the steering box, drag link (steering box to beam pole), handbrake arm, brake pedal and clutch pedal. All were carefully cleaned back to bare metal then anti-rust paint, primed and top coated in black again.
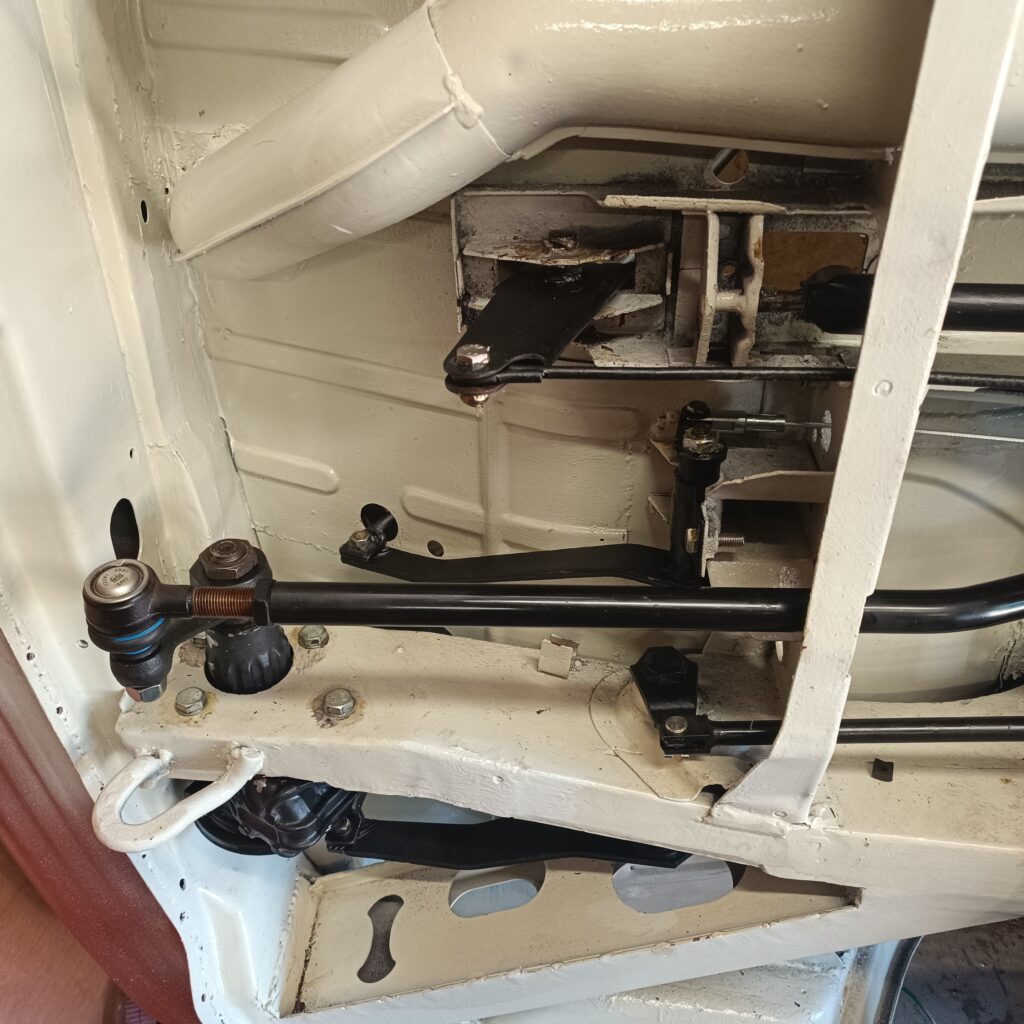
The steering box was leaking on reinstallation but this was caused by the bung on the filler hole having a perished O-ring.
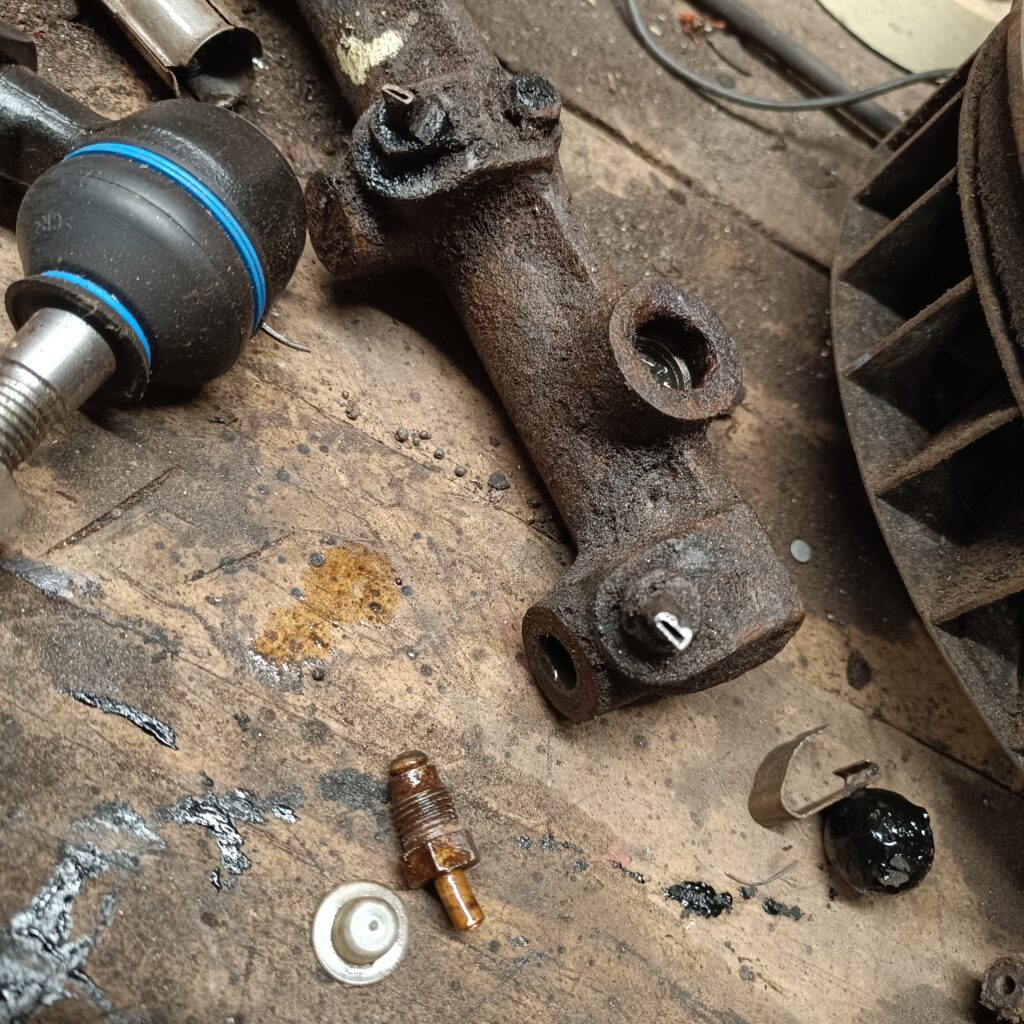
Then I turned my attention to the brakes. The master cylinder pictured was past its best and was replaced. The previous brake set up was not servo assisted, so I bit the bullet and purchased the master cylinder for servo brakes, along with the servo itself, vacuum pipe and other associated bits.
Again, I called on Malcolm’s knowledge and experience to help me to take the first step. Eric’s beam is an original German beam and the servo is a new Brazilian one meaning that the holes did not line up. An annoyance due to the extra time taken to make new holes in the servo mounting bracket on the beam, and the additional extra time to prime and paint the bracket that I painted last year!
The air pipe was then run from the servo down towards the engine bay ready to attach to the inlet manifold to generate the vacuum.
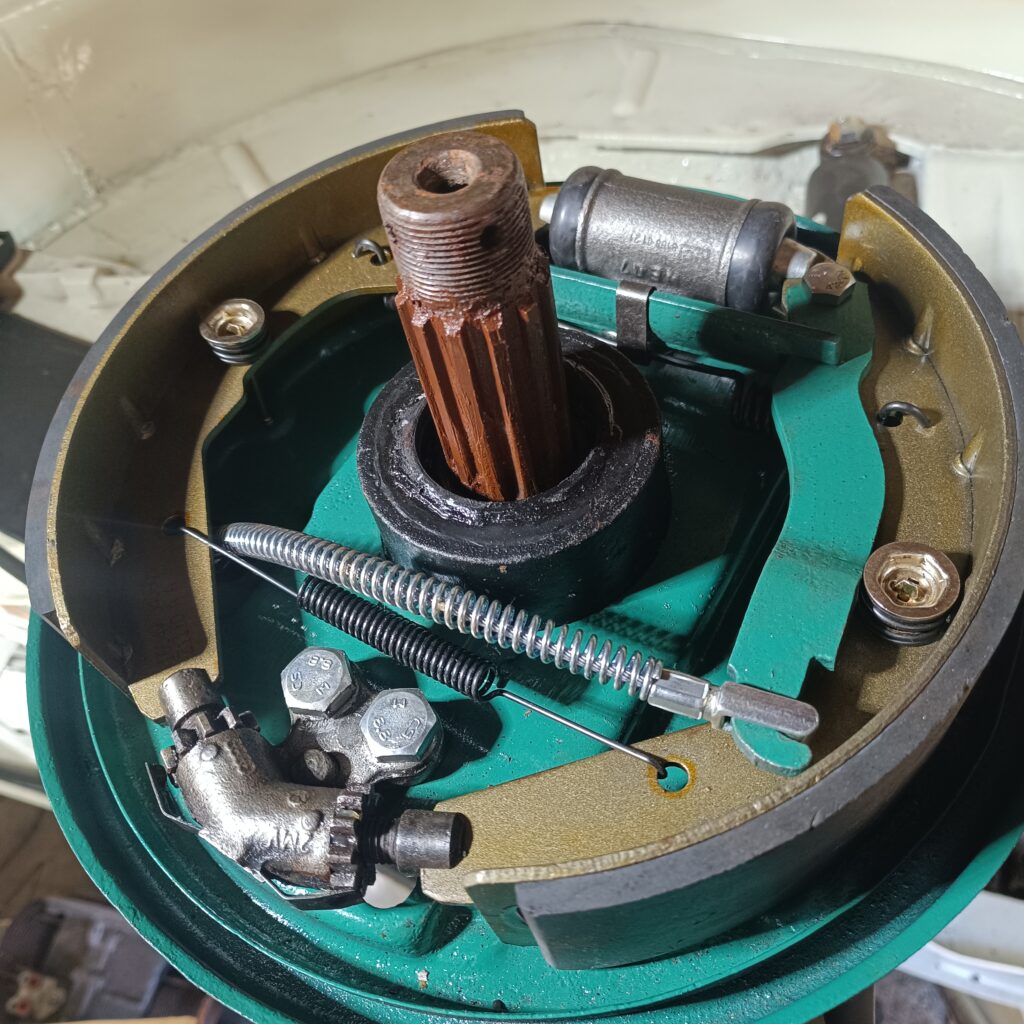
The rear drum brakes were replaced with the exception of the outer drum itself which was stripped and painted in high temperature Kawasaki green paint last year. The anti-squeal springs were a pain as you need to compress the spring a huge amount to get the top piece to connect to the pin. A neighbour gave me the trick of cable tying the spring closed in a vice with a cable tie at each side tied tightly. Then it does not ping across the workshop forty-five times as you try to connect it all.
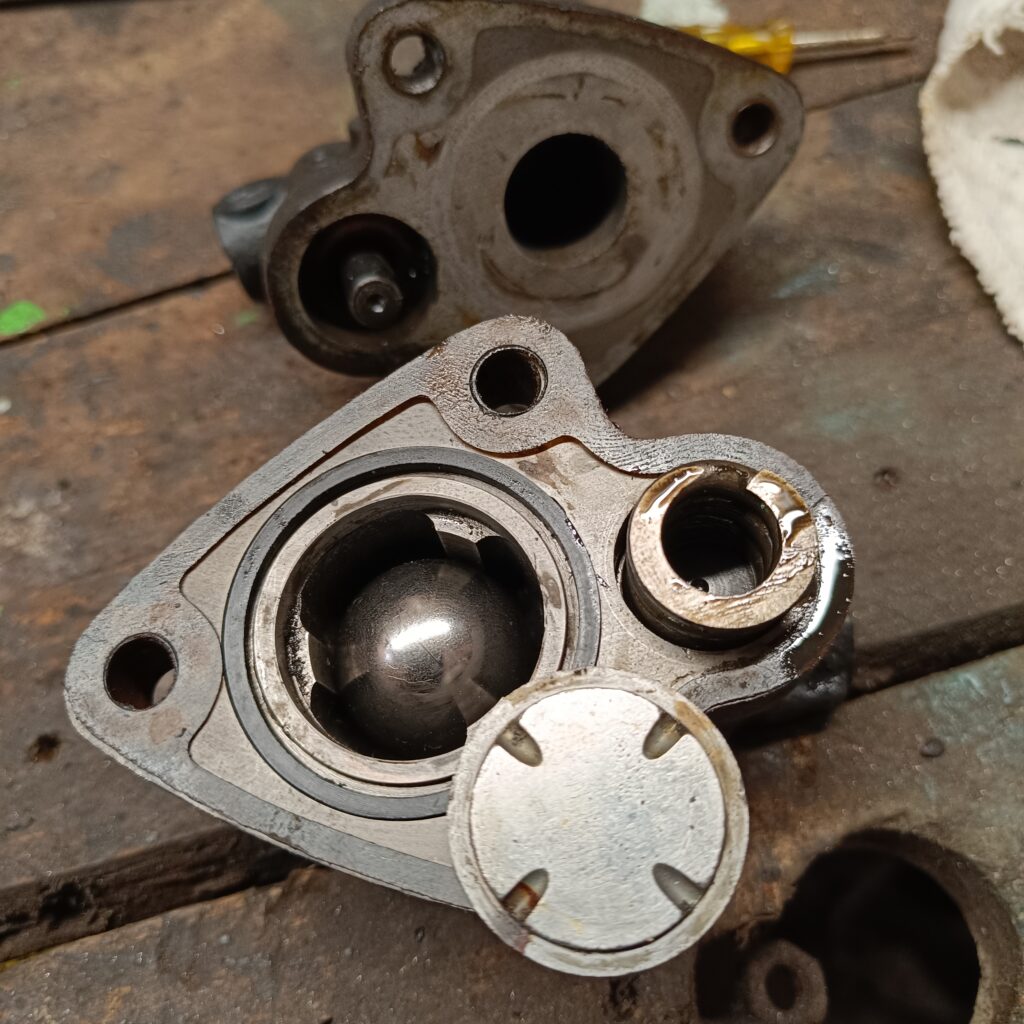
That was it, brakes complete. Until again I played my “Ask Malcolm” card – the Bay window has a clever little device behind the front wheels as a brake balancer. In the event of kicking the brake pedal really hard, the balancer has a ball bearing inside (pictured) that runs up the hill and blocks off the brake fluid to the rear brakes, working almost like an ABS to stop the rear from locking up. I had not dismantled it but Malcolm as ever was right. Splitting the balancer, I found that the insides were gunged up and the ball was not moving. A full clean out and reassemble and that is now back in. I cannot add brake fluid to the system yet as Eric is still on his side, so I have no way of knowing if the system leaks yet!
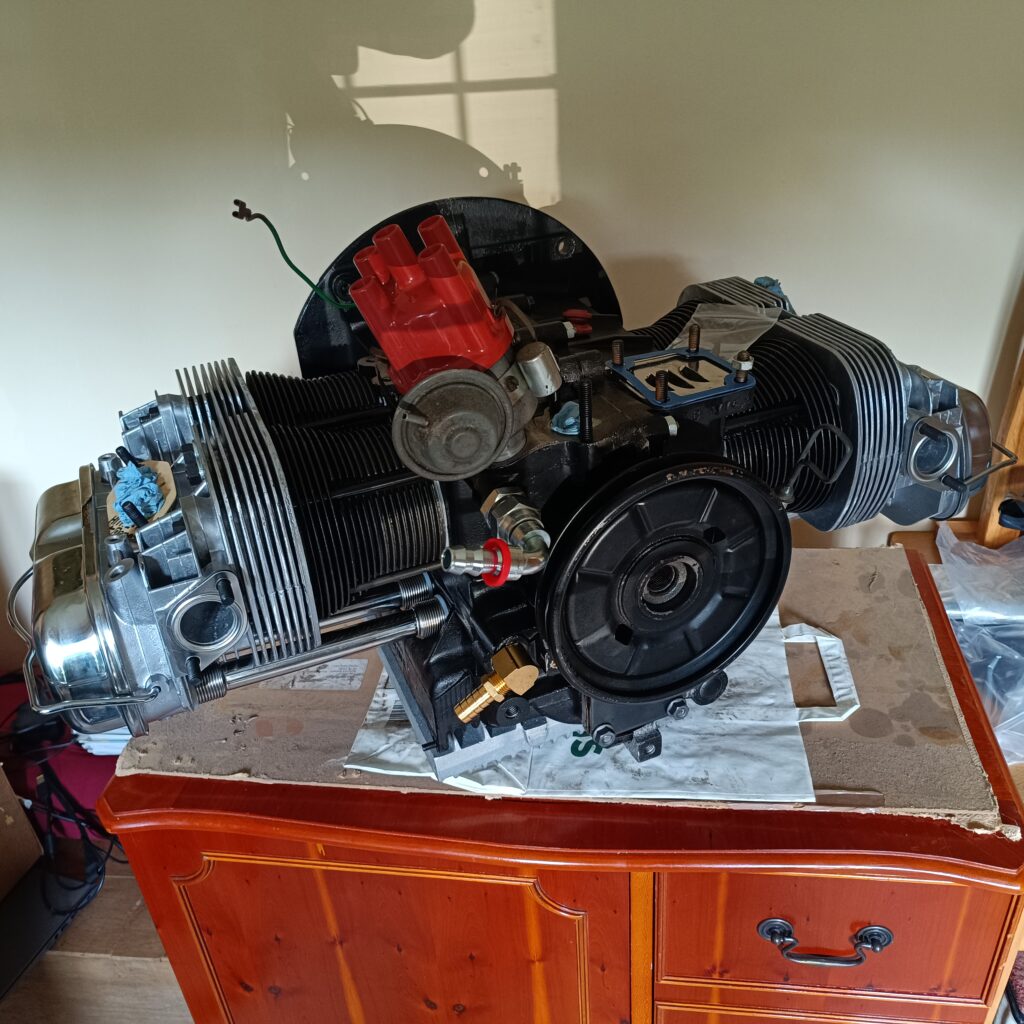
The big news however is that on the run home from the Golden Valley Vintage event in Herefordshire, we stopped in at Stateside Tuning at Moreton in Marsh and picked up Eric’s engine from James. In summary, James has built me a 1776cc performance engine with a type 3 case and dynamically balanced crank, extra deep sump and external oil filter. He also supplied an air housing / doghouse suitable for a VW “The Thing” (Jeep like open vehicle) / Type 181 and a Type 4 oil cooler, as you get 20% more cooling. With the increase from 2.5 litres of oil to 4.5 litres and the increase in air cooling ability plus a properly built engine, I will hopefully be running nice and cool. It looks cracking. Next jobs are to change the seal on the gearbox input shaft and get the gearbox mounted. Then get Eric on his wheels and fit the new nose panel. That should make him look a lot happier. In the meantime, having spent June either working on Eric or away in Poppy, I plan to spend July and August either working on Eric or away in Poppy. Across June, July and August we are due to be away in Poppy for 38 nights! Hopefully in amongst all of that fun I can make some good progress on Eric before we all head to Busfest. See you in a field somewhere.