John “Undie” Underwood did his own front end restoration – Part 1
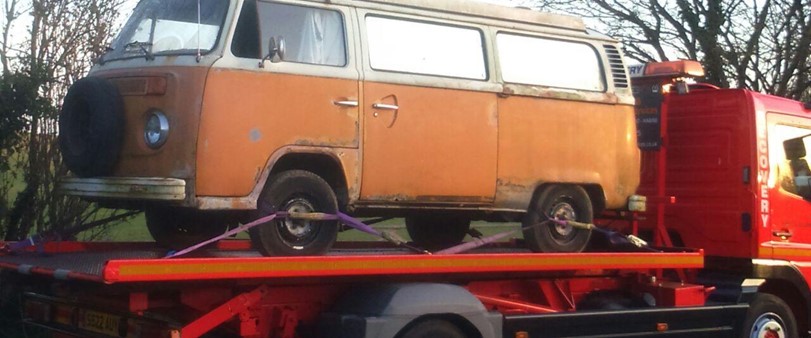
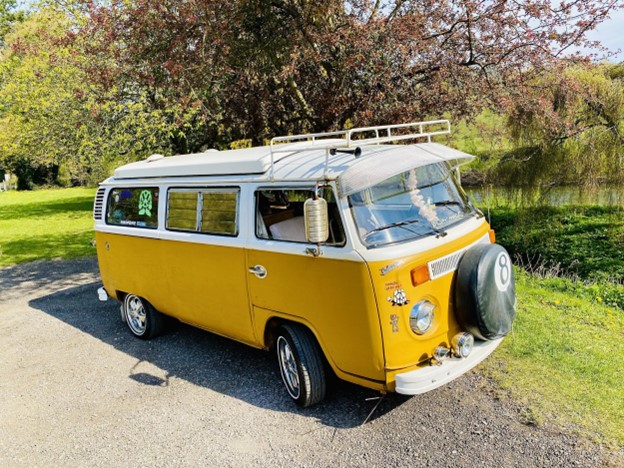
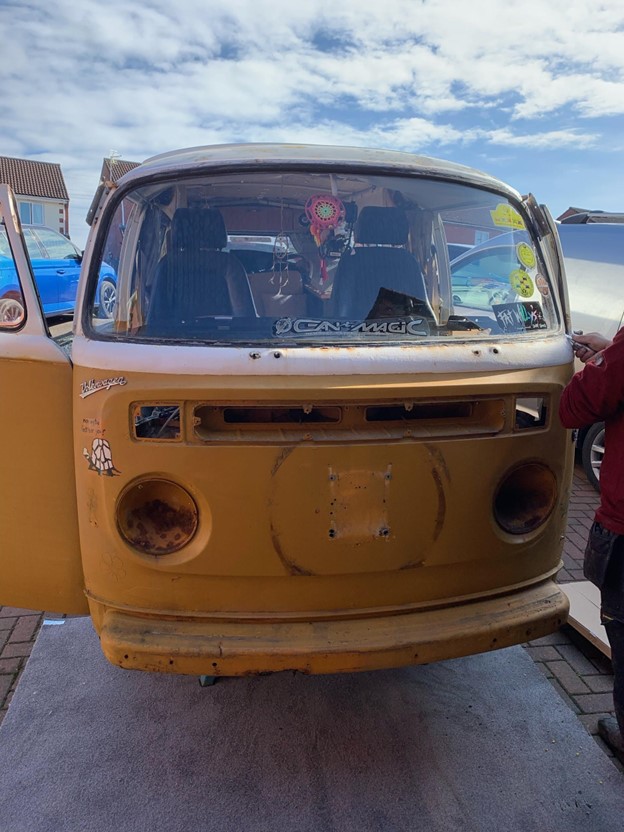
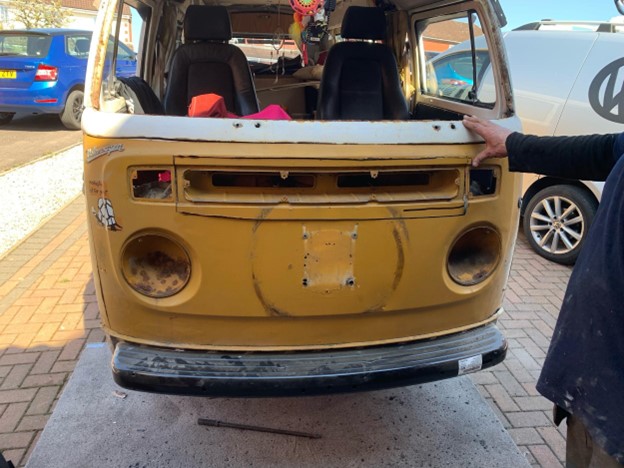
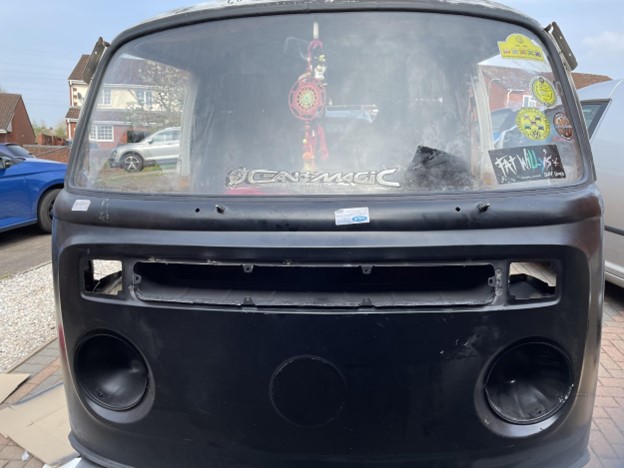
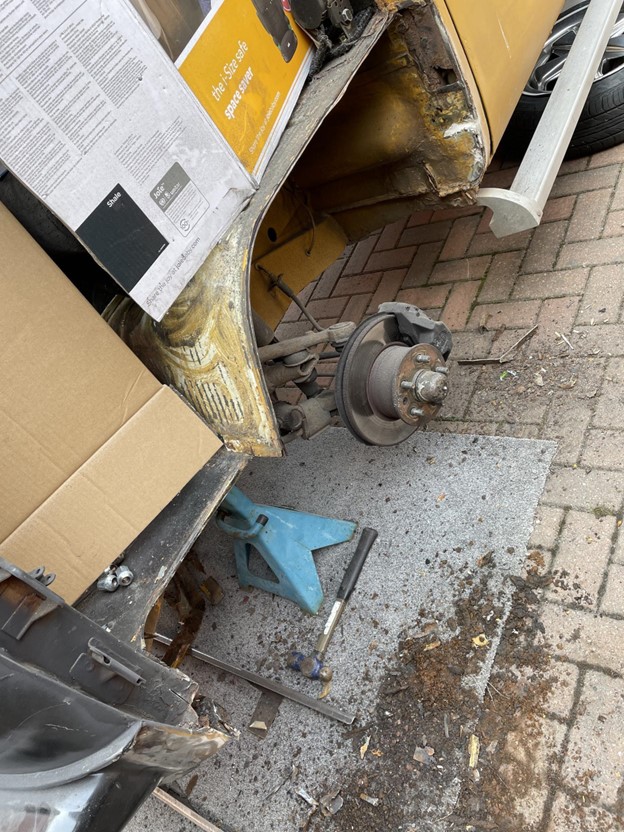
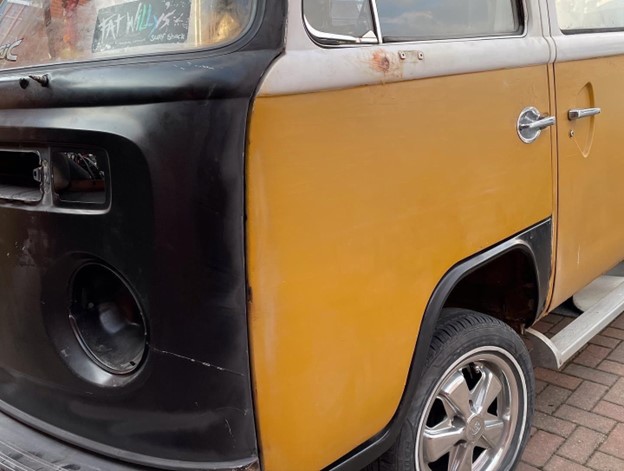
For those who don’t know us, this is LottyAnne a 1976 Devon conversion late bay. We bought her 7 yrs ago as a running wreck, but after a clean up and engine renovation she runs like a dream, but like most buses of this age other work is needed, looks are deceiving!
So the time has come to bite the bullet and take on what I have been delaying for a while, the front end replacement. From the lower windscreen down to the deformation panel, new windscreen rubber and a few other bits along the way.
First thing was to remove all the ancillaries, lights, grill, indicator units and bumper. Bumper and grill were taken away and sanded back to the bare metal and filled and primed and painted while the other work was being carried out.
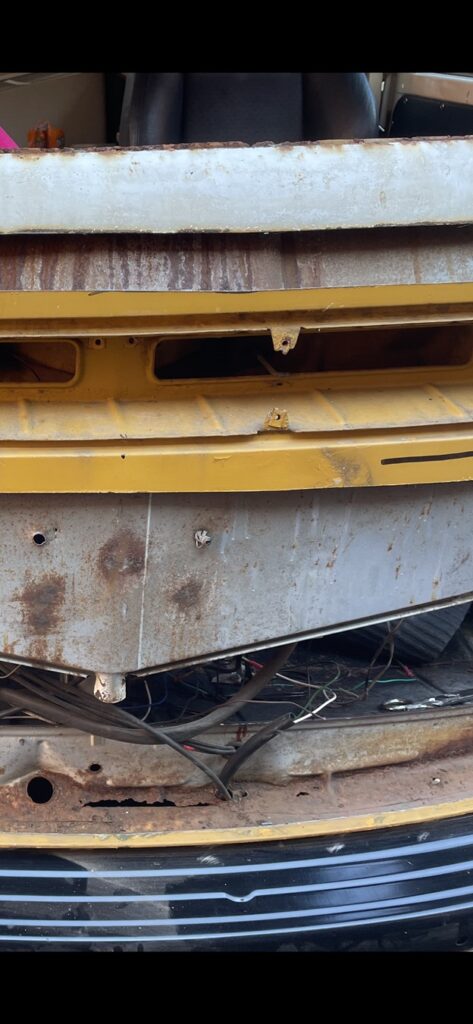
Now that everything is out and doors and windscreen (nerve racking moment to say the least!) have been removed we realised that the lower deformation panel was shot, so for an extra few pounds I bought a new one. The old one had to be cut off and the new one welded into place first for the main front panel to be removed, as we needed a datum point from which to work from for the new front panel to sit back in place correctly.
Cutting into the main panel was nerve racking but YouTube and the Haynes manual helped no end, especially around the grill area.
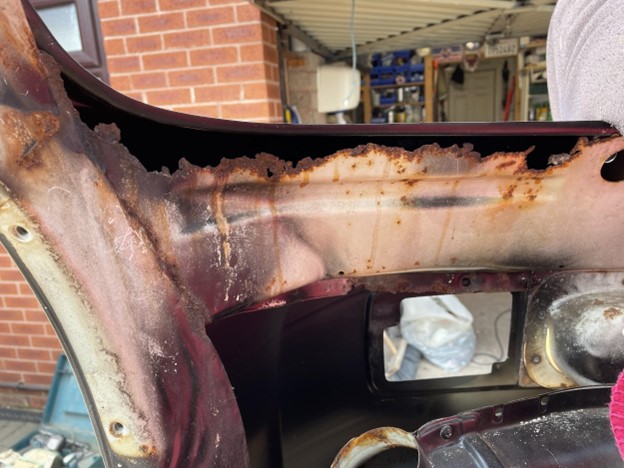
As you can see within the lower part of the internal main panel several holes were discovered, these were plated over seam sealed and Hammerited for protection. Now that we’re happy that everything is watertight the prep work and sanding down of the old panels could take place. This is probably the most important part as this determines whether the new panel fits snug or not.
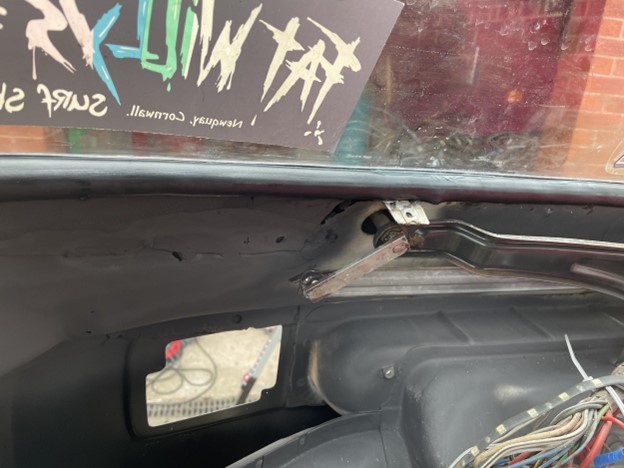
With all happy the new front was positioned, and lower windscreen marked, cut and placed in position, so clamped and held we spot welded in place along the deformation panel, folded around the door pillars and tapped into place with a mallet and block of wood as to not distort the edge then welded the windscreen area. On sanding down we noticed the internal windscreen area had more holes, but instead of going for the expensive option of a new lower windscreen deformation panel we opted to plate the damaged areas, and again welded, seam sealed and painted.
Now that this was all done, we put the old windscreen in complete with the new rubber seal. It was so much easier with a bit of army rope, fairy liquid and 3 of us to hold and gently push down, but this went really well, and we were very surprised at how easy it all went. (I was waiting for something to go wrong!)