Category Archives: Members only

You have to be a member to see these

Eric the Viking – a restoration in many parts – February 2025

Spend since last report: £231. Total hours labour since last report: 16.75
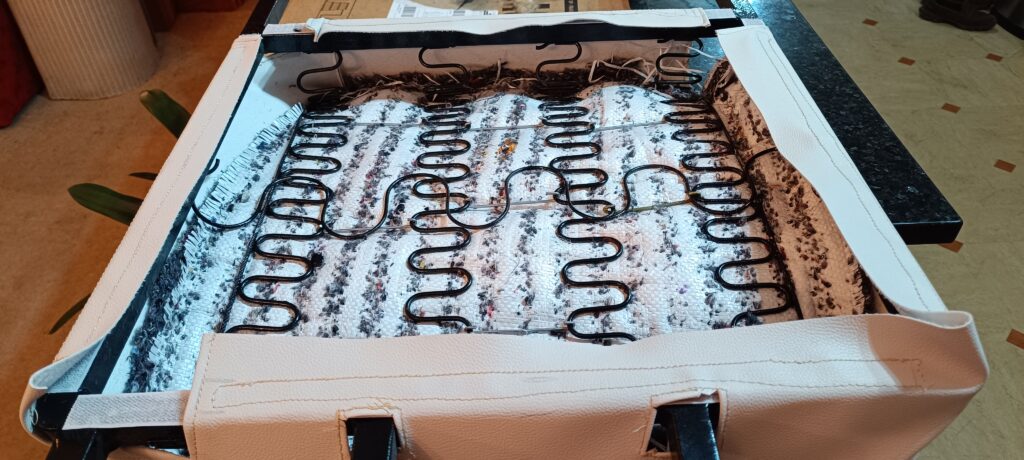
Winter is cold and we all feel like hibernating. Or maybe it is just me. The damp garage can stay damp, the cold garage can stay cold, I’m staying indoors in the warm and the dry. The front seats are mostly done although I did find that one of the zigzag metal serpentines has snapped meaning I need to remove the fabric, the horsehair and weld that up but it is not the end of the world.

Following a post-Christmas period of inactivity, I got my Eric head on and started on the door cards for the front doors. Since the front doors have water designed to run down the outside of the winding window and some goes past the door rubber, the door can get a little water inside. There are channels at the bottom of the door to let the water out, although these block over time causing water to sit at the bottom and rot the door frame. Oh boy does Eric have rot there. Since the inside therefore could be somewhat damp, I elected to varnish the front door cards with an exterior grade clear varnish to help keep the MDF from soaking up the moisture which should reduce the chances of it warping. Two thin coats to each side and the same with the kick panel cards that go in front of the front seats.

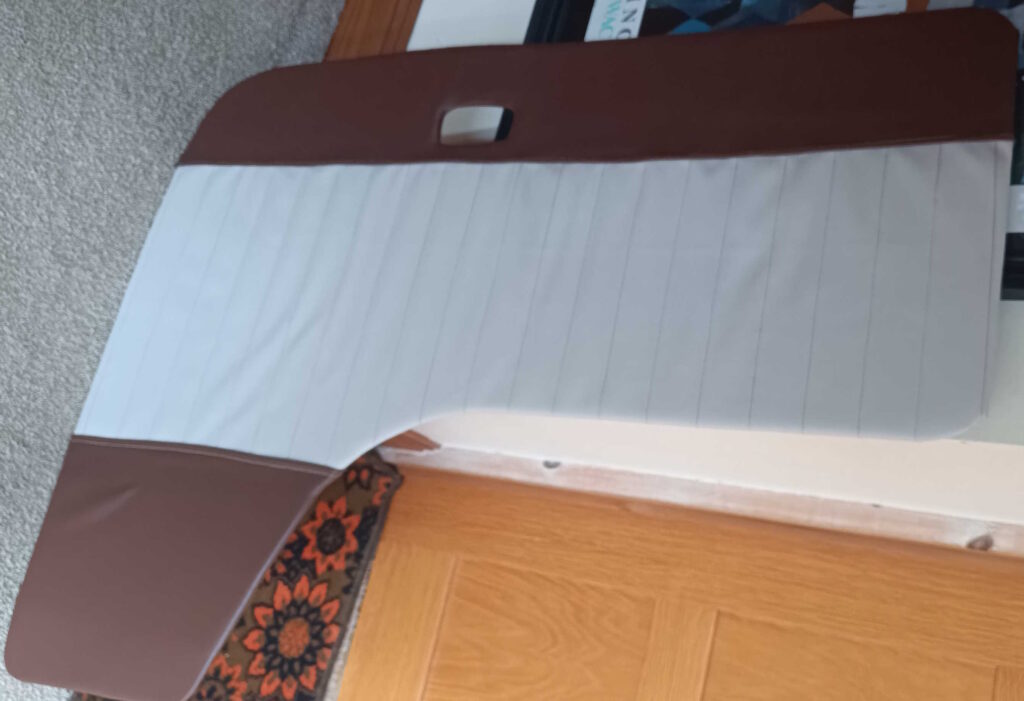
The door cards that are normal height are to be 2 tone reflecting the original brown leatherette supplied in the panel van (as it was) in 1973. I chose a slightly darker brown than original as the other option was a mocha which was too pale and insipid. In the middle of that is to be the ivory of the seats that were completed at the back end of last year with their dark brown piping and once finished, it should look quite smart.

The piping foot of Sally sewing machine has been very useful and I am getting much more confident now. Create a dark brown striped of fabric about 7 inches tall with piping along one long edge. Another about ten inches tall.  The ivory middle has no piping but has pleats / seams every 2 inches / 5 centimetres vertically to match the ones on the seats. This matches a lot of bay windows that I have seen but our other camper van Poppy has the original door cards from 1972 which have horizontal stripes. Both have their merits, and I like both.

Once the 3 pieces have been completed along with the ivory having 3-millimetre foam sewn behind it, it is assembly time. Sew along the existing sewing line next to the piping to join the dark brown to the ivory top and bottom, looking to ensure that the gap between the two sewing lines is 36 centimetres all of the way along. This is done with a high-tech pencil line along the ivory fabric.

Then I sprayed some glue on the door card and carefully glued the piping section to the door card along another pencil line. With that fairly straight, I glued the rest of the ivory then glued foam to go behind the dark brown sections before folding the entire fabric around the edges of the board and spray glueing the fabric to the back with about an inch of fabric on the back.

The contact adhesive spray needs to wait a minute or so to become tacky at which point you can almost press the fabric on, and it is finished. However, for completeness I clip the fabric down for 5 minutes at each section I am working on.

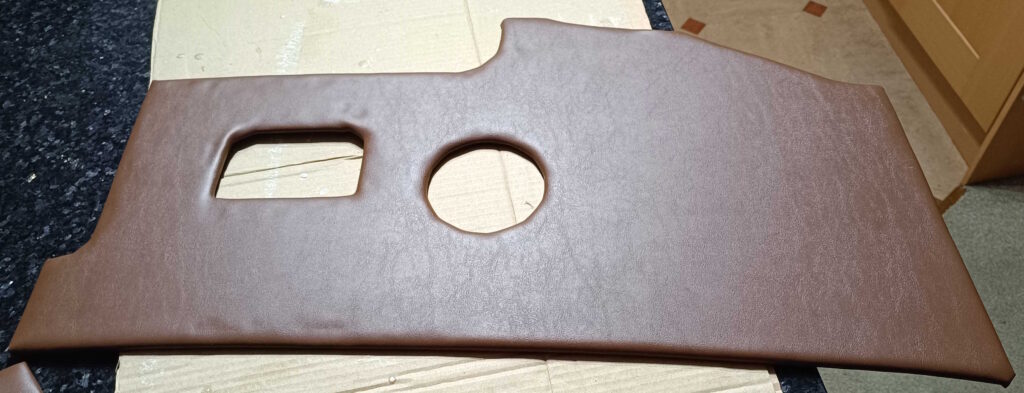
The end result is not completely straight as I am not a professional, but it is straight enough and looks great. I cut a hole for the door opening catch and glued the back of that but have yet to cut holes for the window winder or the closing strap. With the driver’s side finished, I repeated the process for the passenger side and then trimmed both kick panels in plain brown as they sit low. Trimming those is a simple case of glueing the 3-millimetre foam to the board then glueing the brown fabric around the rear and trimming as you go. The cutouts are for the warm air and the filler point for the windscreen washer fluid. Downstream, I may cut a further hole for some speakers that are in the loft in readiness.

With both front door cards and both kick panel board complete, I did the straightforward panels in the boot, one at each side and the one for the boot lid. Again, all plan brown reducing time as there is no piping required.

The sliding door follows the same idea as the front doors, a central stripe of ivory with vertical pleats and dark brown top and bottom. I did not notice the piping was wonky on the top creating a slight arc which meant that either the piping can be sewn to the ivory in a straight line leaving a rucked top or the top can be flat, but the piping is curved. It was not huge, but you see the sliding door panel quite a lot and I knew that it would irk me. Unpicking piping takes forever!

With straight piping, once again I joined the dark brown top and bottom sections to the central ivory and glued it all to the board. I am pleased with the result.

There is a panel on each side of the main sofa that need making with piping and multi fabric, then it is just 2 plain brown panels, one behind each front seat and the door cards are complete.

On the purchasing front, I jumped in and purchased a new 39mm Solex carburettor to replace the original 34mm Solex carb that needs a rebuild. I have the rebuild kit but the extra capacity will help with engine power plus it matches the one purchased last year for Poppy and with the same engine, same air filter and almost everything else, having two of everything may come in handy.

With the weather starting to warm up and the sun peeking through the incessant cloud of the last few months, perhaps I might get some progress that is not sitting at the dining table!
Member Report – Travels with Dennis the Dormobile by Linda Shuttleworth

TRAVELS WITH DENNIS THE DORMOBILE by Linda Shuttleworth

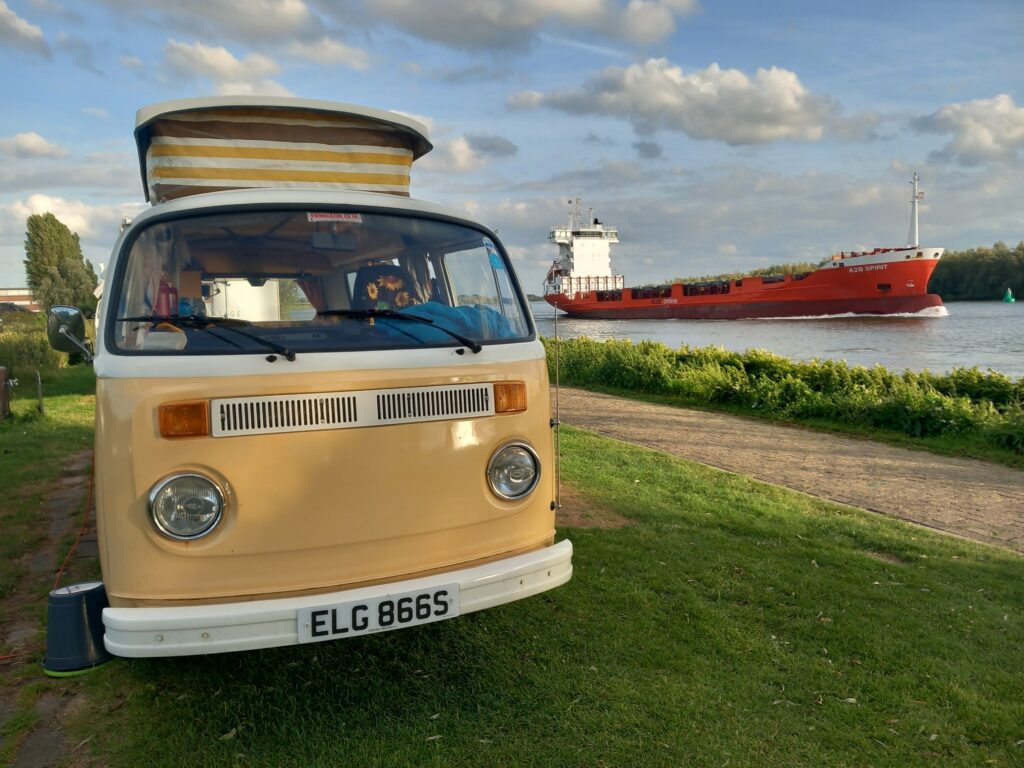
Years ago, we had a trip to Picardy in northern France with our two boys; our first venture with Dennis overseas, and we thought at the time that was probably about as far as we could reasonably expect to go with the van. However, last year we ventured into northern Spain and Portugal for most of the month of May, covering around 1500 miles without any major problem (until we broke down near Rugby on the way home, and missed the Embsay T2 rally!). That gave us the taste for continental travel with Dennis (as well as Mateus Rose!)

This year, the inspiration was Hanseatic ports. The Hanseatic League was a powerful medieval trading network which began tentatively in the 12th century, and continued until the mid-19th century. Many of the Hanseatic port cities have retained some of the architecture and townscape built in their prosperous glory days. Nijmegen in the Netherlands, and Bremen and Lubeck in northwest Germany suggested themselves. Lubeck is so close to the Danish border, that it would have been rude not to take the opportunity…we planned to visit first the southern Danish island of Lolland, then Copenhagen, and Odense on Funen. With the return journey back by Leer in German Friesland, and a couple of nights near Rotterdam, that took care of August!

To relieve ourselves of unnecessary driving miles, we took the overnight ferry from Hull to Rotterdam. This comes with small and comfortable ensuite cabins, two restaurants, bars and entertainment, a good start.

From Rotterdam Europort, we drove to Nijmegen, and camped south of the city at Heumens Bos for the first four nights. This was about an hour’s cycle from the city, no chore in cycle-friendly Netherlands. It was actually lovely to be in an area of woods, smallholding farms and waterways. We had two days in Nijmegen itself, and a day around the villages and fens. There are memorials everywhere to the post D-Day Allied efforts to take the bridges and liberate Europe, which was an additional interest for us, as Stewart’s Dad had been in Nijmegen in 1944 with the Royal Artillery. The campsite was green and peaceful, broken up into smaller areas with trees and hedges, a small shop, bar and café, swimming pool – and an outdoor gym!

Then to the Hanse campsite by a lake in a massive park in the outskirts of the majestic city of Bremen, good facilities again including a lakeside restaurant, a shorter cycle into the old heart of the city. We also enjoyed exploring the river and the harbour area.

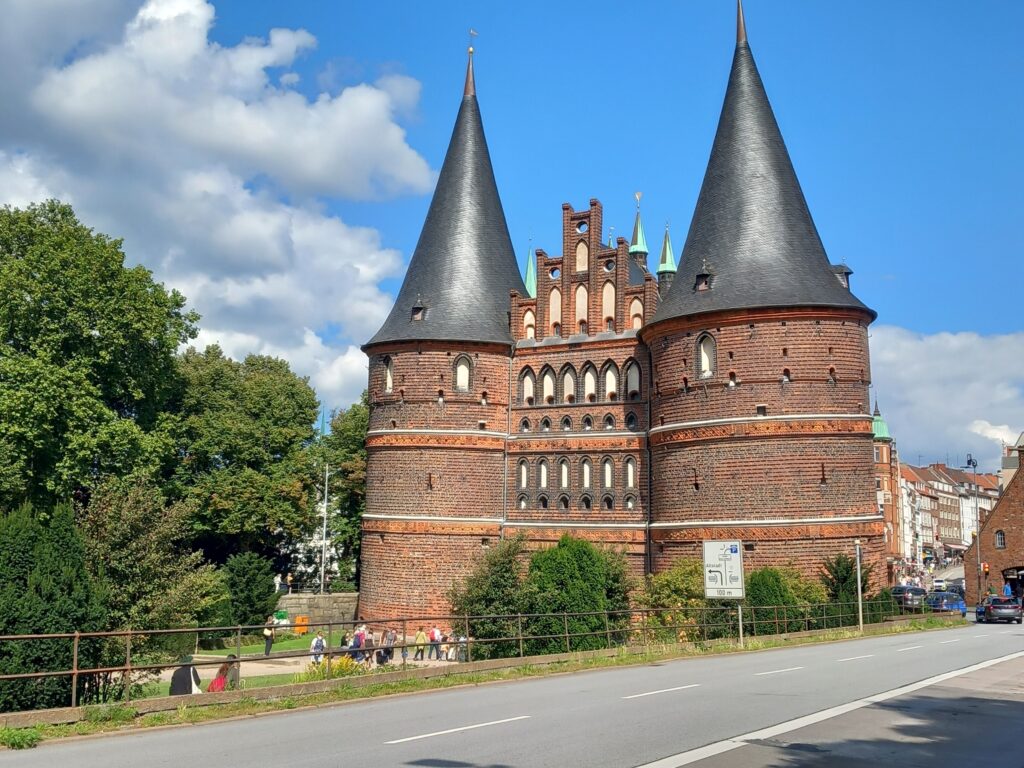
It was a short drive to our friendly Campingplatz on the edge of Lubeck, and near open countryside. Lubeck was stunning for its towers and spires, city walls and other buildings, a medieval cityscape on steroids! It was the cradle and most important city of the Hanseatic League. The historic old town, densely built on an island in the river, is Germany’s most extensive UNESCO World Heritage site.

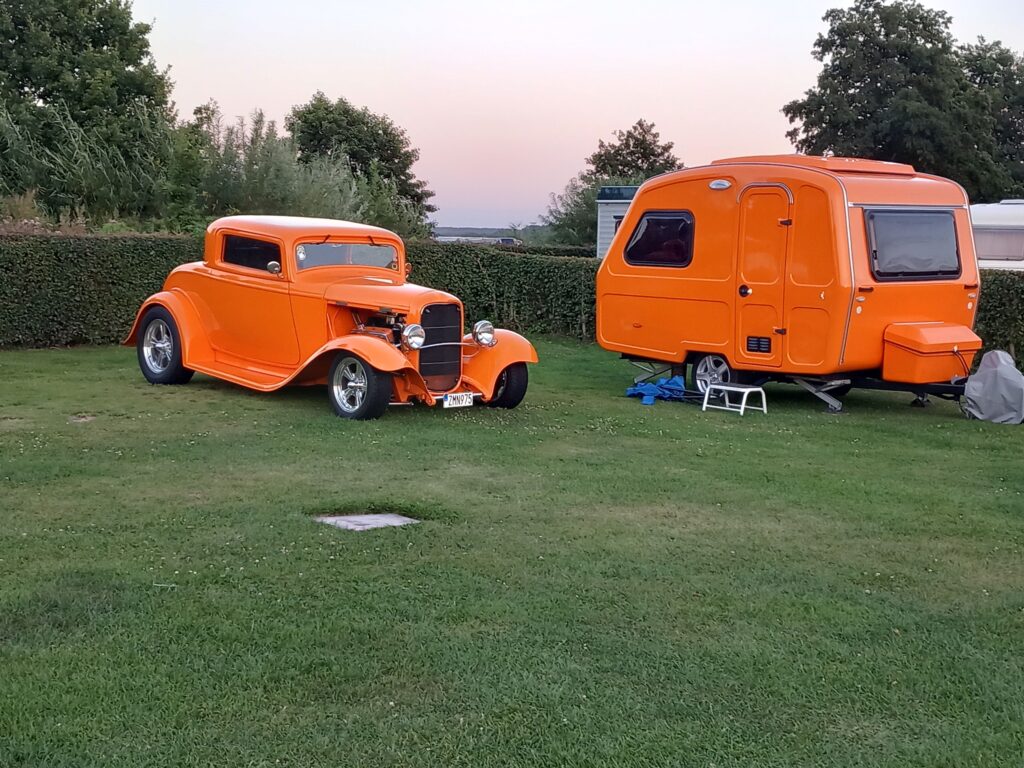
It felt dramatic to cross to Denmark by ferry, something that will soon be a thing of the past, as a massive tunnel on the seabed is being constructed right now, section by section. We visited the exhibition centre about the tunnel, which was fascinating. We had a lovely campsite by woods and a lake, within a short walk of the small town of Maribo. We had the best spot by the edge of the trees, with the bonus of the first night of ‘My Fair Lady’ belting out from the outdoor theatre behind us! We were also lucky to be there at the time of the two-yearly international gathering of vintage vehicles with souped-up engines (hot rods), which paraded themselves in and out every day.

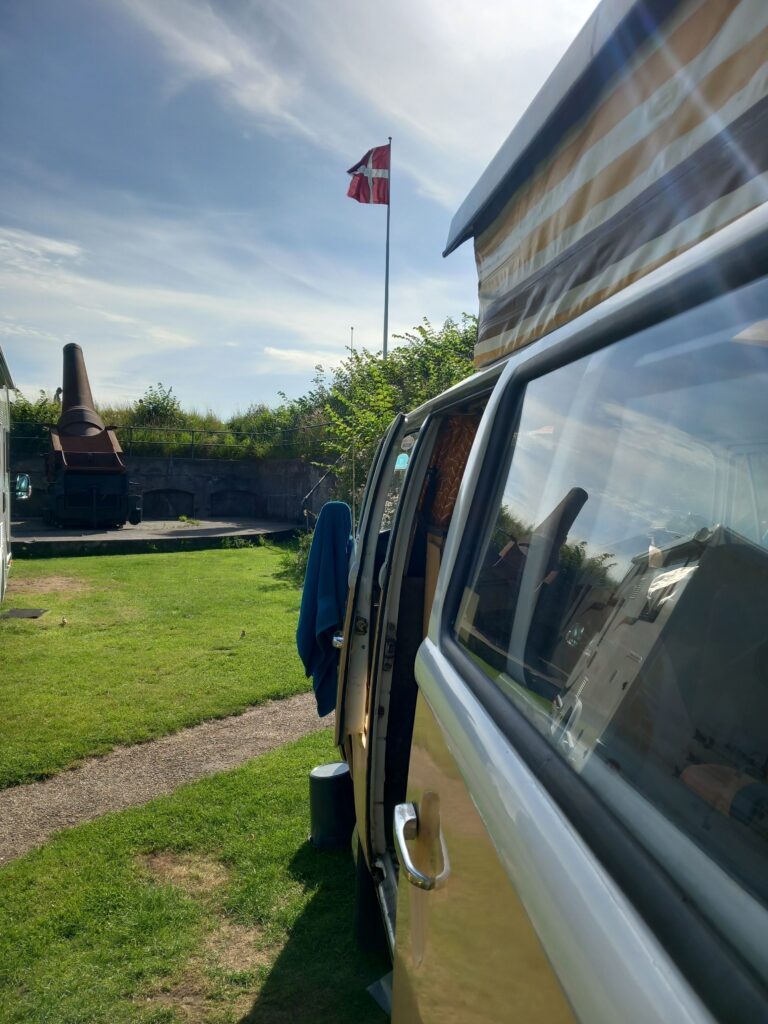
Tunnels and bridges between the islands (we hadn’t realised how many islands there are in Denmark) took us to Copenhagen, and the unique campsite tucked within the star shaped ramparts of the 19th century fort at Charlottenlund, complete with 1912 Howitzer guns still pointing at the sky. On the seaward side, the Baltic is fringed by a popular sandy beach, good for swimming. Even Linda got in and swam in the Baltic! The campsite information had mentioned the Morning Sing, slightly to our bemusement. And at 9 am, sure enough, there was a communal singing of Danish folksongs! We were impressed at how easy it was to cycle in and around this, the capital city of Denmark. We found being in the cycling rush hour at the end of the afternoon quite exhilarating. Of course, we had to go and find the Mermaid on the first day (she’s stunning, even with all the attention around her).

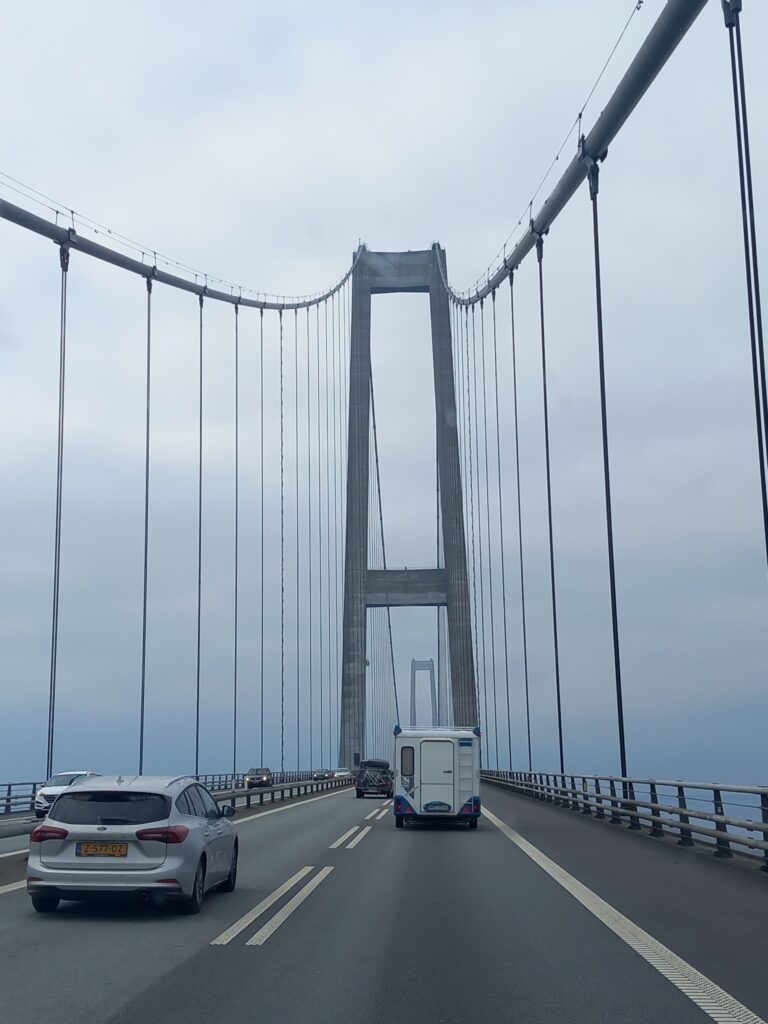
Odense was an unexpected joy, the third city of Denmark, and the centre is almost entirely traffic-free and green. Bikes and trams are the order of the day, both in the old quarters, and the twentieth century precincts. Hans Christian Andersen is perhaps the most celebrated son of the city. To drive there from Copenhagen takes you over a very familiar (to viewers of Scandi noir) and enormous Bridge in two distinct parts, 18km in total length. It was awe-inspiring, especially to be travelling over it in our old friend Dennis.

It was a relatively long drive from there to Leer, in German Friesland, which we had picked as a convenient break of the journey back to Rotterdam. The campsite is a little out of town, by a former marina (which is turning back into a wildlife wetland) on the river Ems. Leer turned out to be delightful, a historic town and harbour with equally historic boats, and the surrounding countryside blends into that of the Netherlands, with waterways, dykes and polders.

Finally, we crossed the border back into the Netherlands, and to the rather alarming outskirts of Rotterdam, at one point driving in the midst of two parallel motorways, twelve lanes of traffic and muttering ‘thought this was a cycling country!’ Having said that, it was well signed, and with one of us keeping an eye on navigation, we were fine. Suddenly we were driving along quiet narrow roads on top of dykes and through villages to our campsite southeast of the city, by the huge Oude Maas River. This site did have a functioning marina, and to our delight, some pitches on the banks of the river, very windy but with the most incredible amount of commercial traffic. Riverboats and barges were passing every few minutes, to Stewart’s unspeakable delight!

Rotterdam is a big city to take in on a day, and after walking our socks off, we had a lovely late afternoon trip on a heritage tram, which took us round both the old and the quirky modern aspects of the city. We spent our final day in Dordrecht, a few miles east of the campsite. Like Leer and Maribo, we had never heard of it before this trip, and like them, it took us by surprise. With the old heart of the city built on three islands, Dordrecht has Venice-like streets of houses built right into the water. We happily wandered around, taking it in, before treating the navigator to a large G&T and both to tiny poffertjes pancakes, and heading for the overnight ferry…and our first T2 rally at the Embsay and Bolton Abbey Railway!

Linda and Stewart Shuttleworth, summer 2024.

 Another one in the bag – Type 2 Detectives Maintenance Weekend

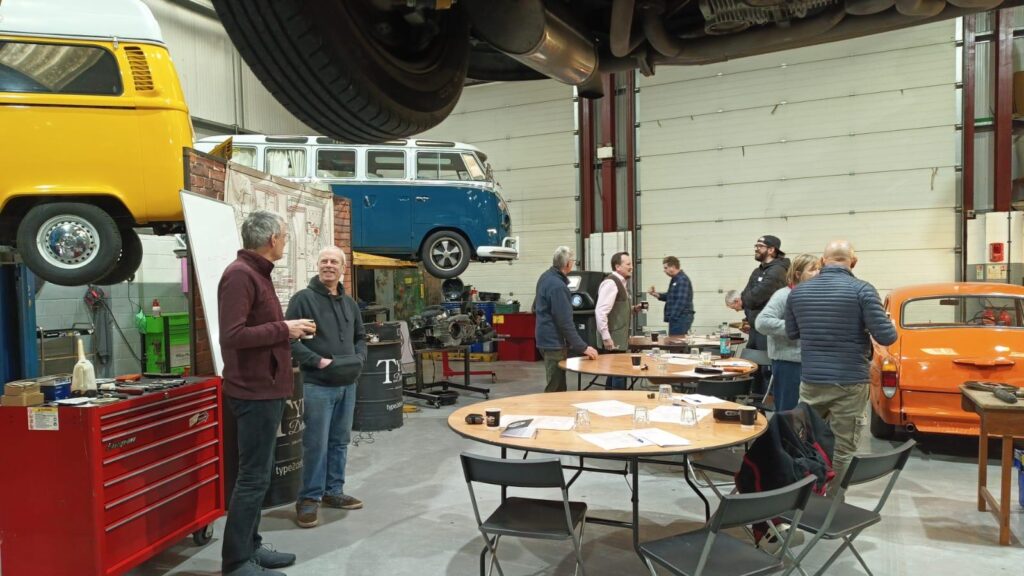
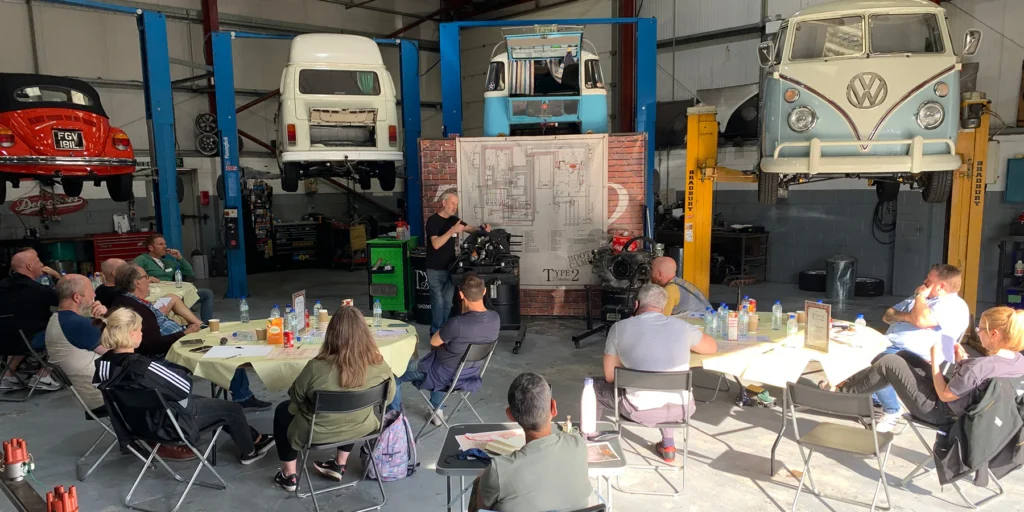
Type 2 Detectives Maintenance Day by Simone Smith

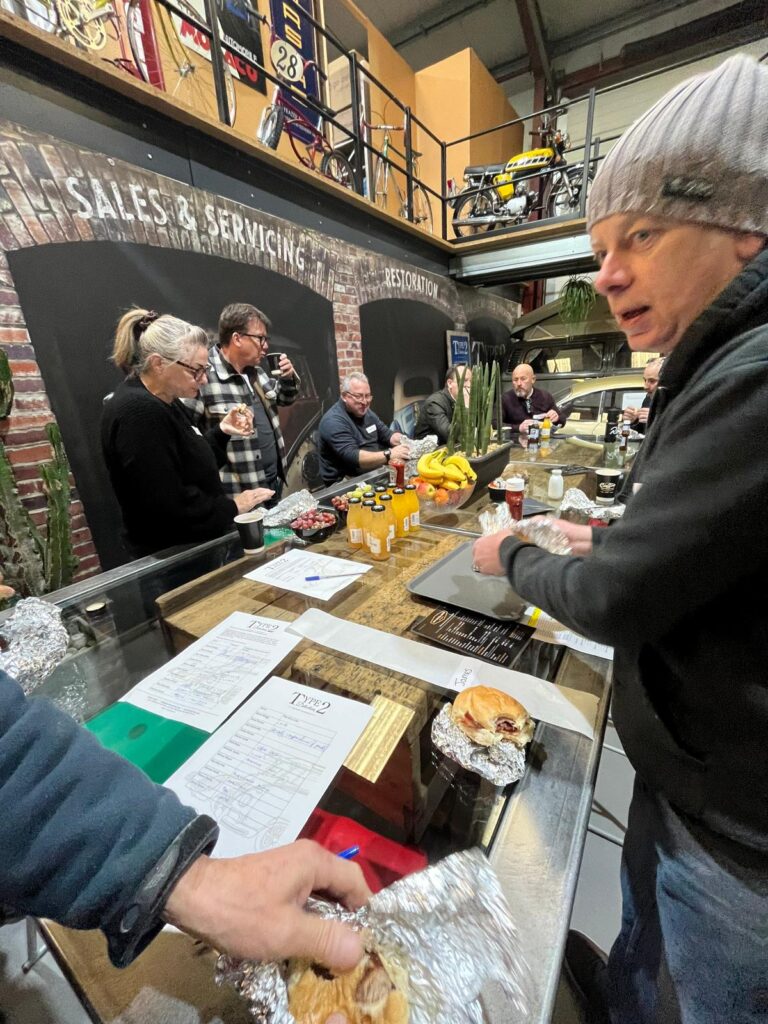
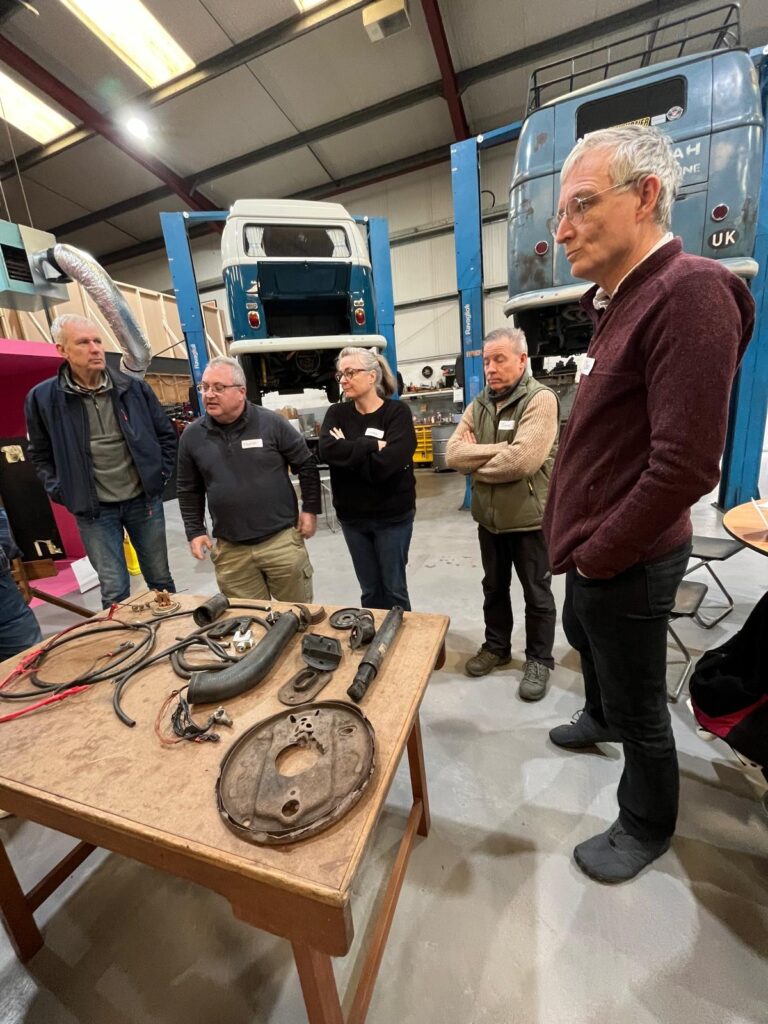
What can I say… this was excellent. If you are not technical minded (I am not and although my fiancée is, I was starting to find that I wasn’t able to help on issues, but after today I can) and want to help on your camper, then do a day at Type 2 detectives.

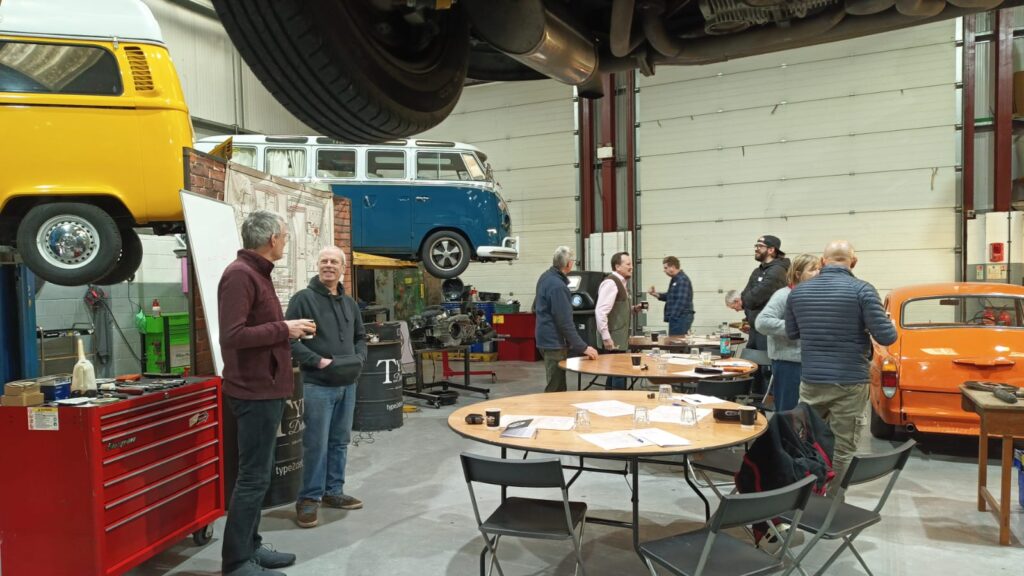
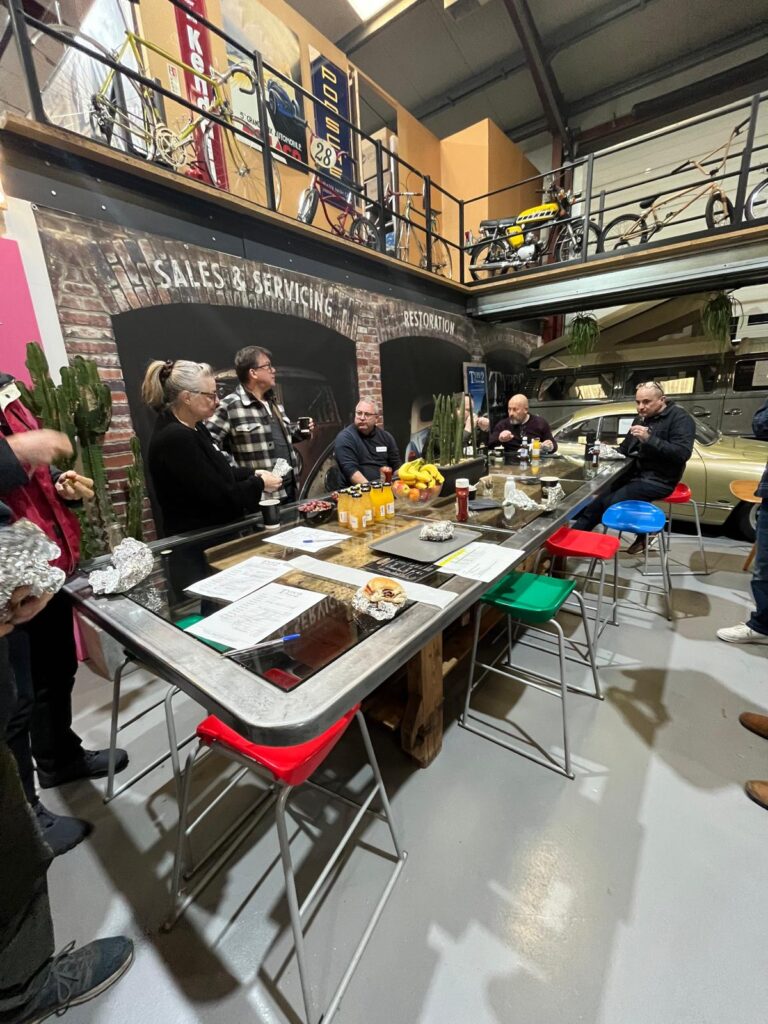
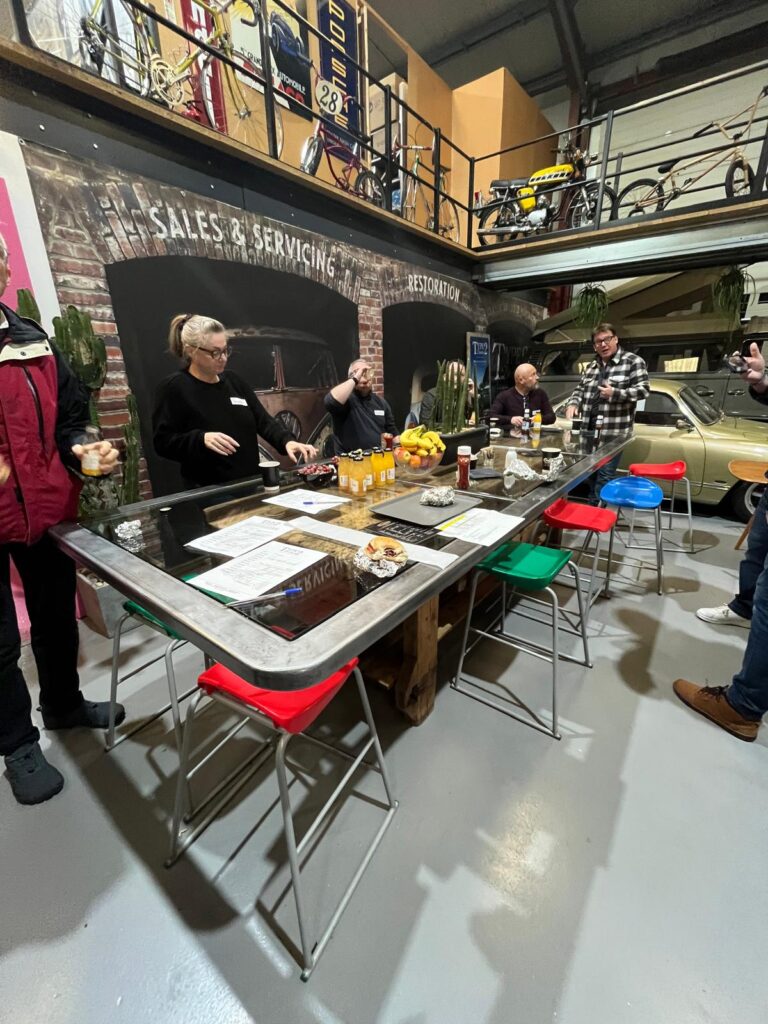
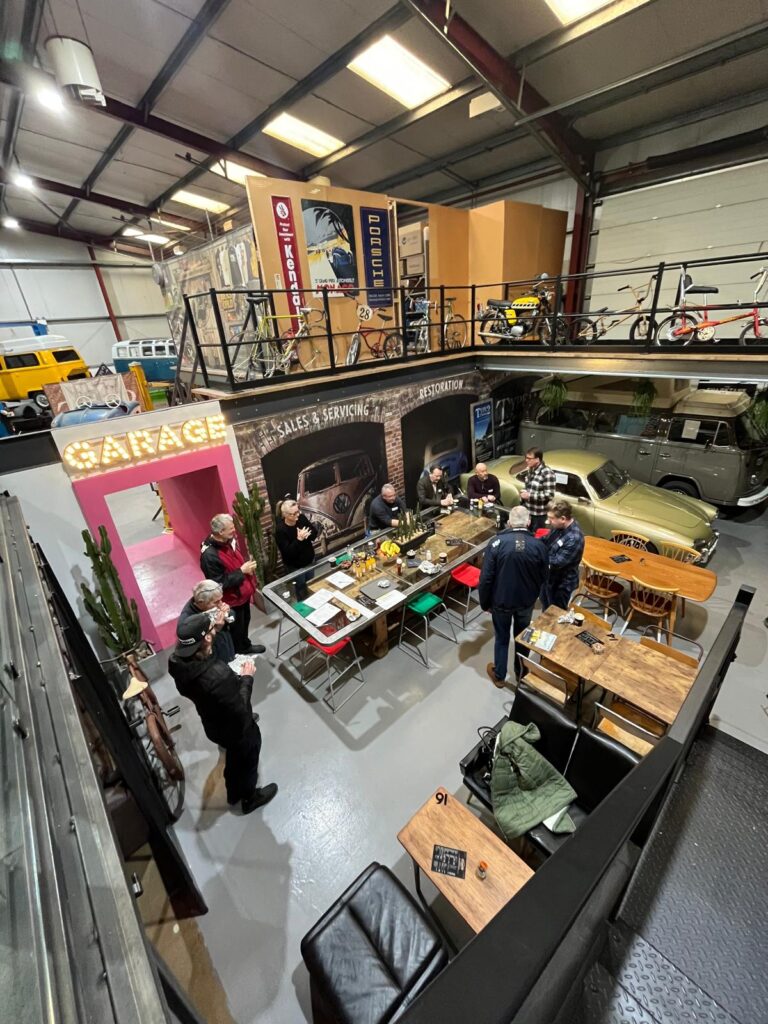
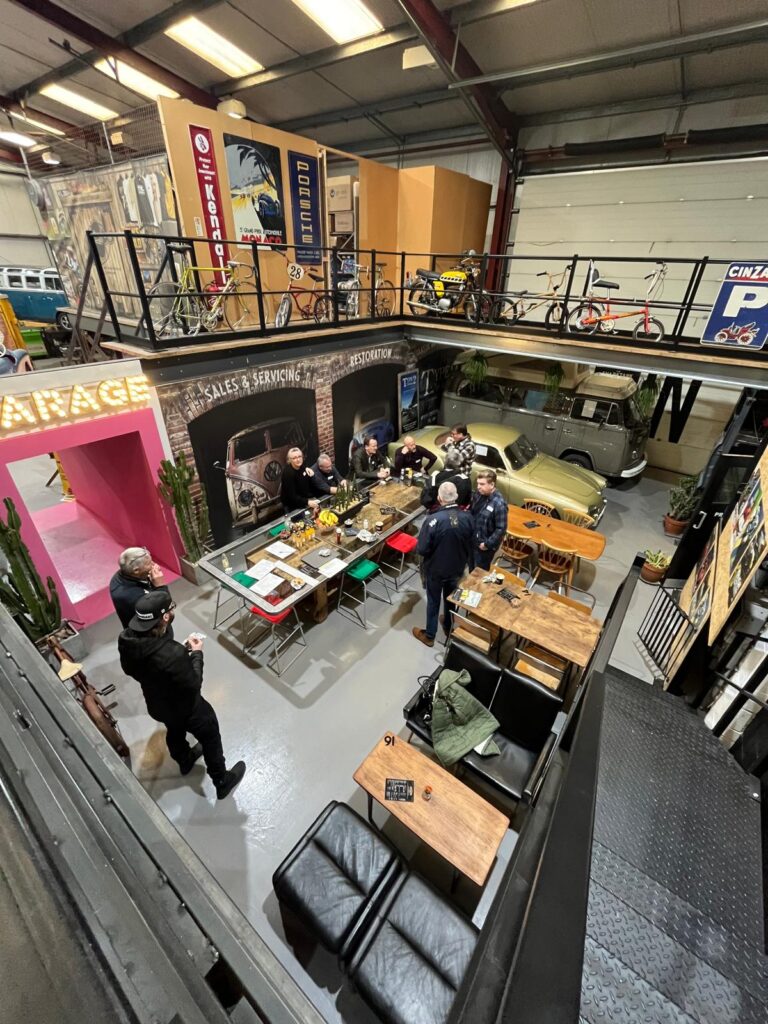
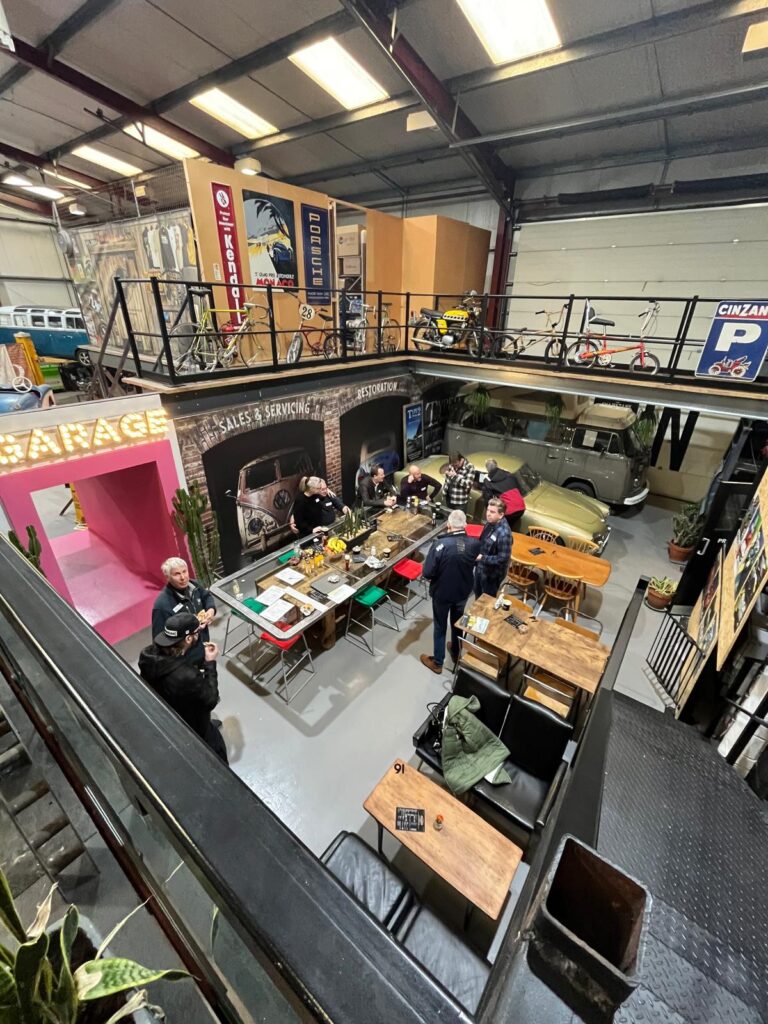
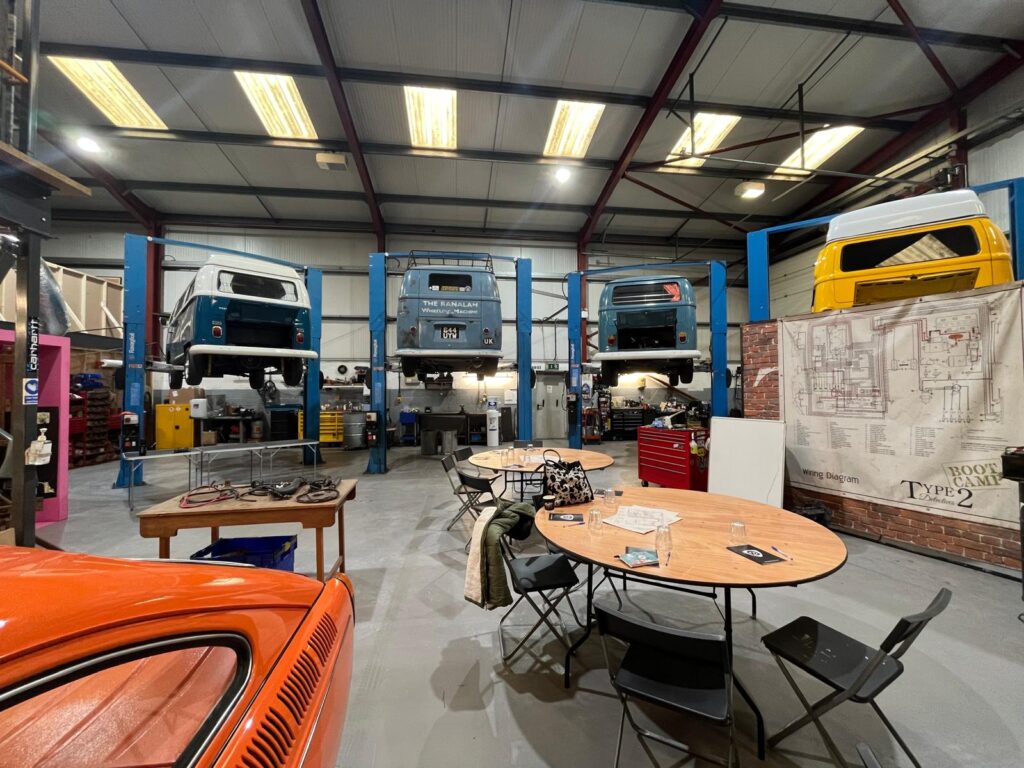
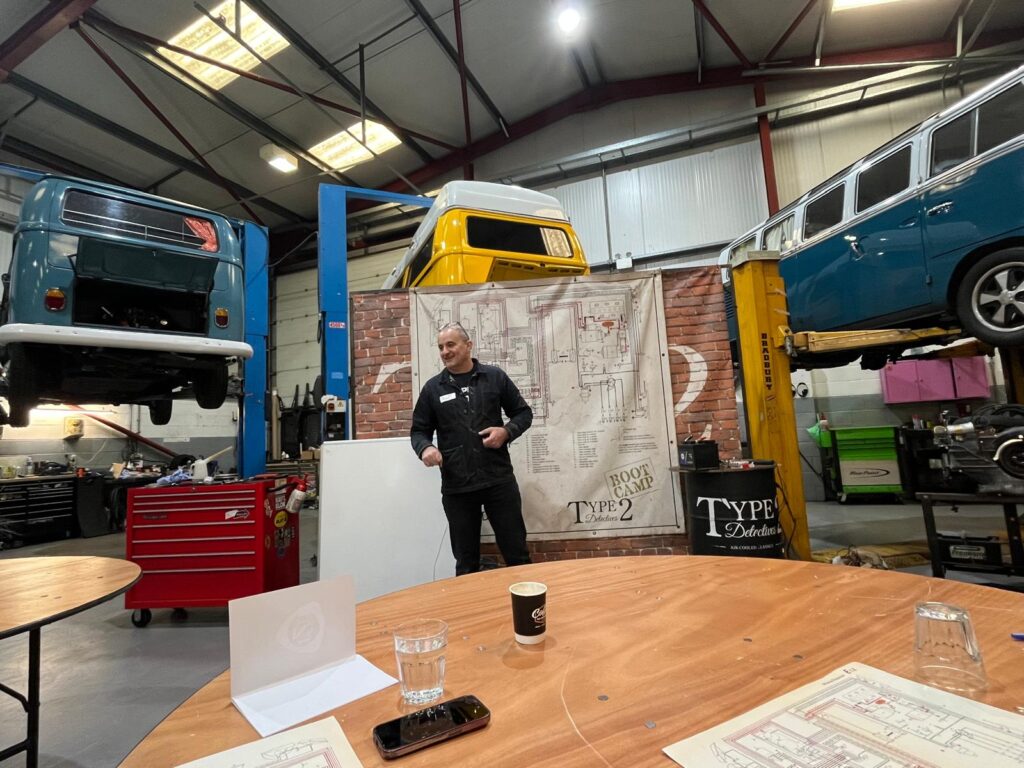
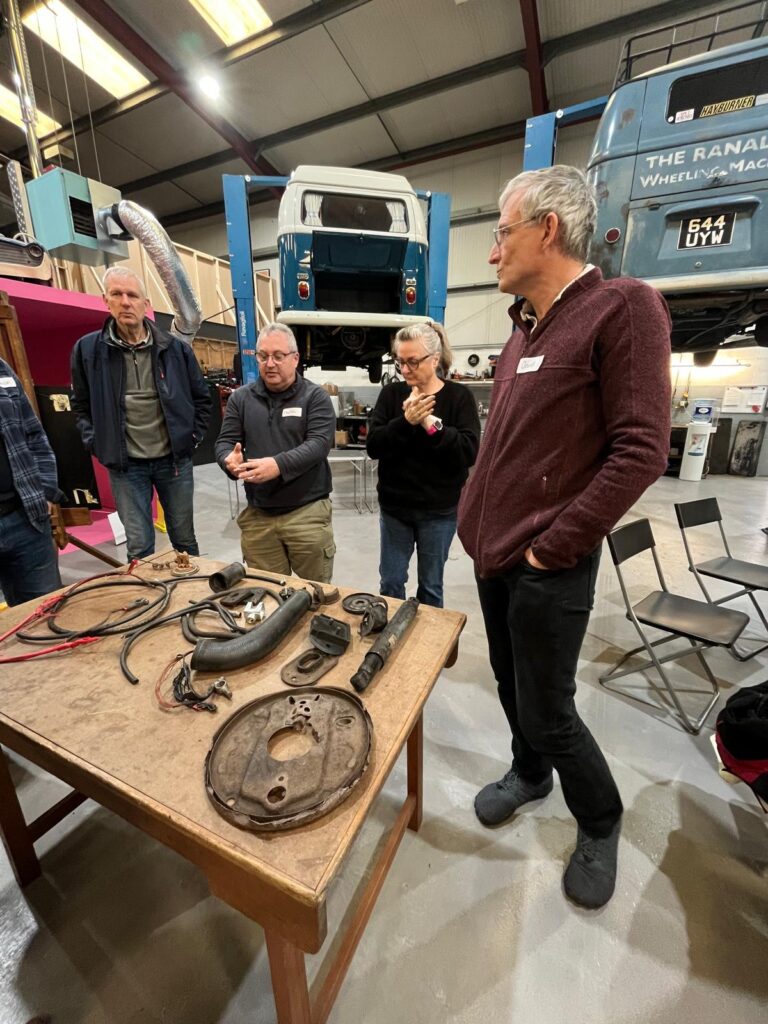
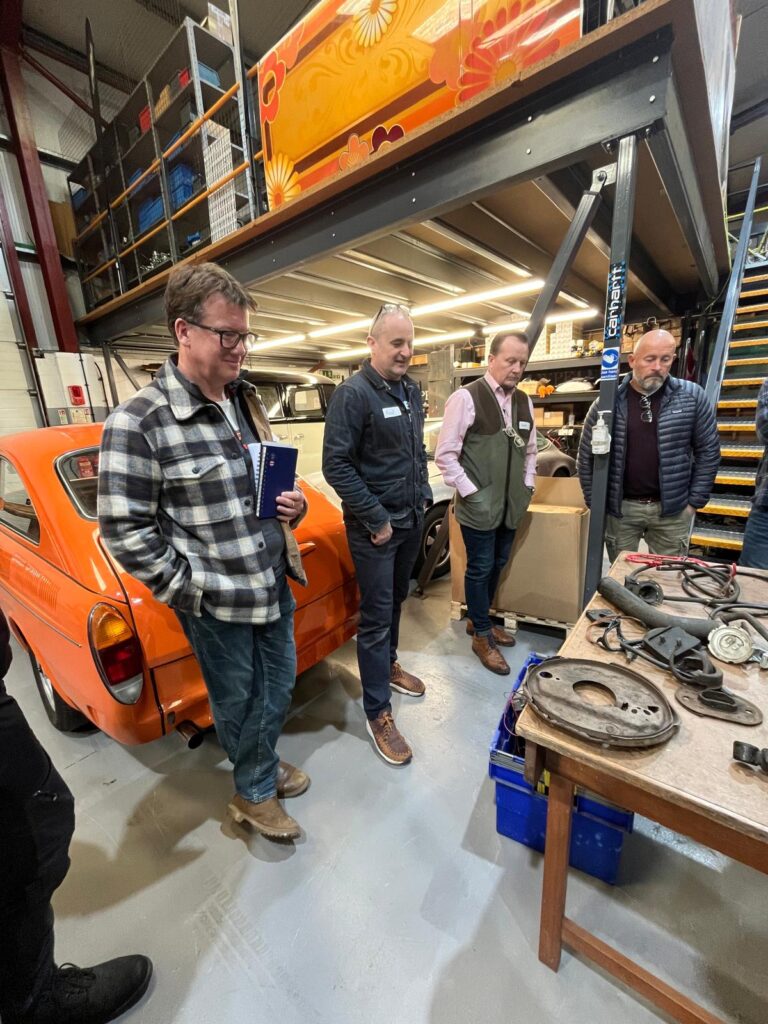
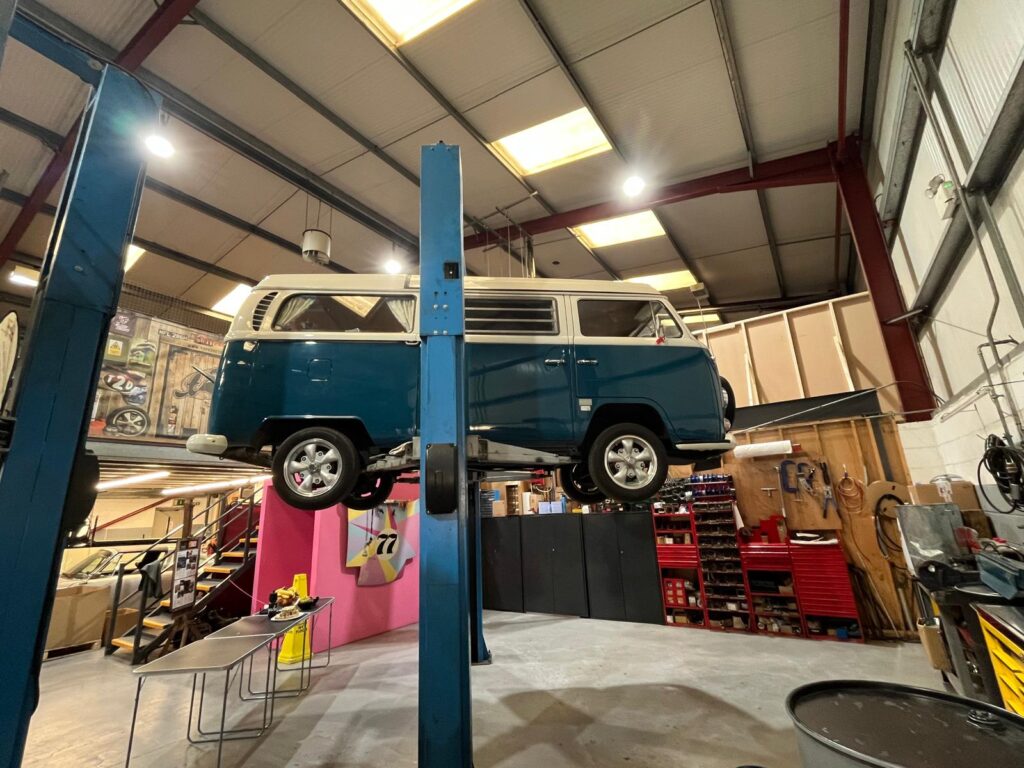
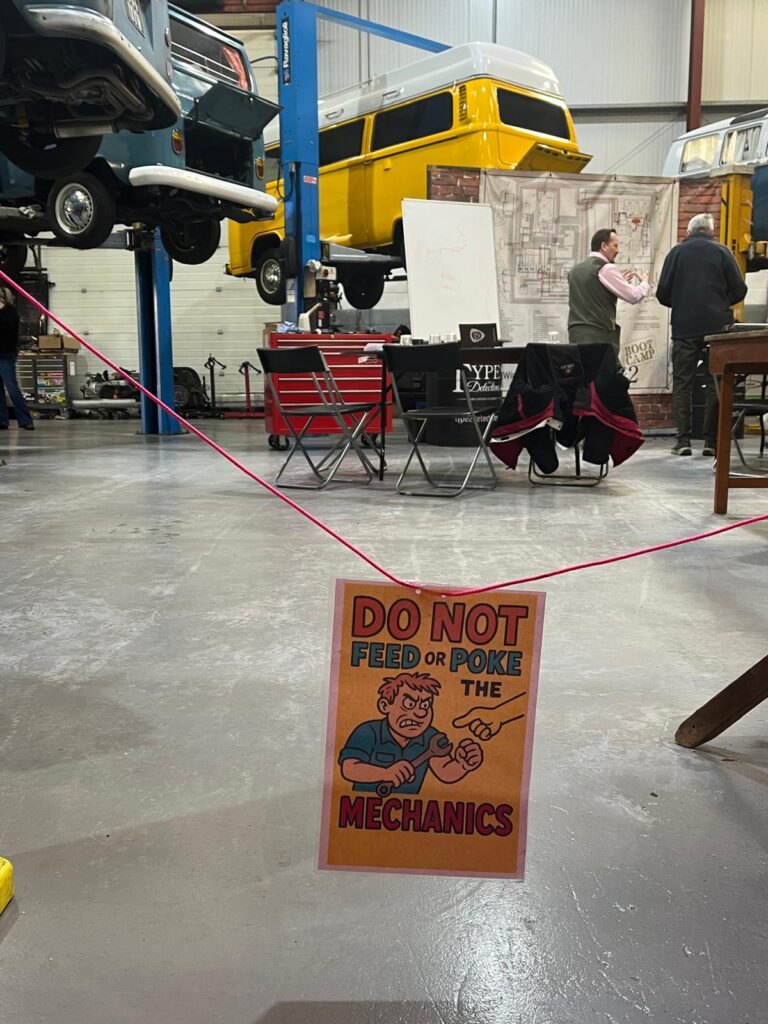
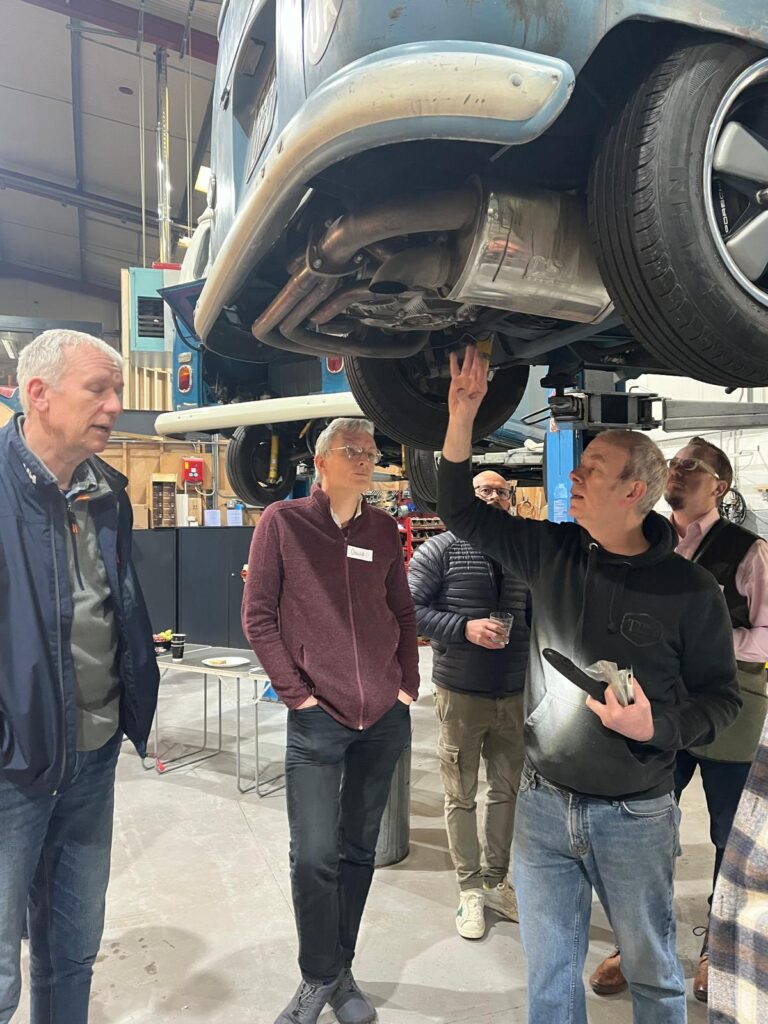
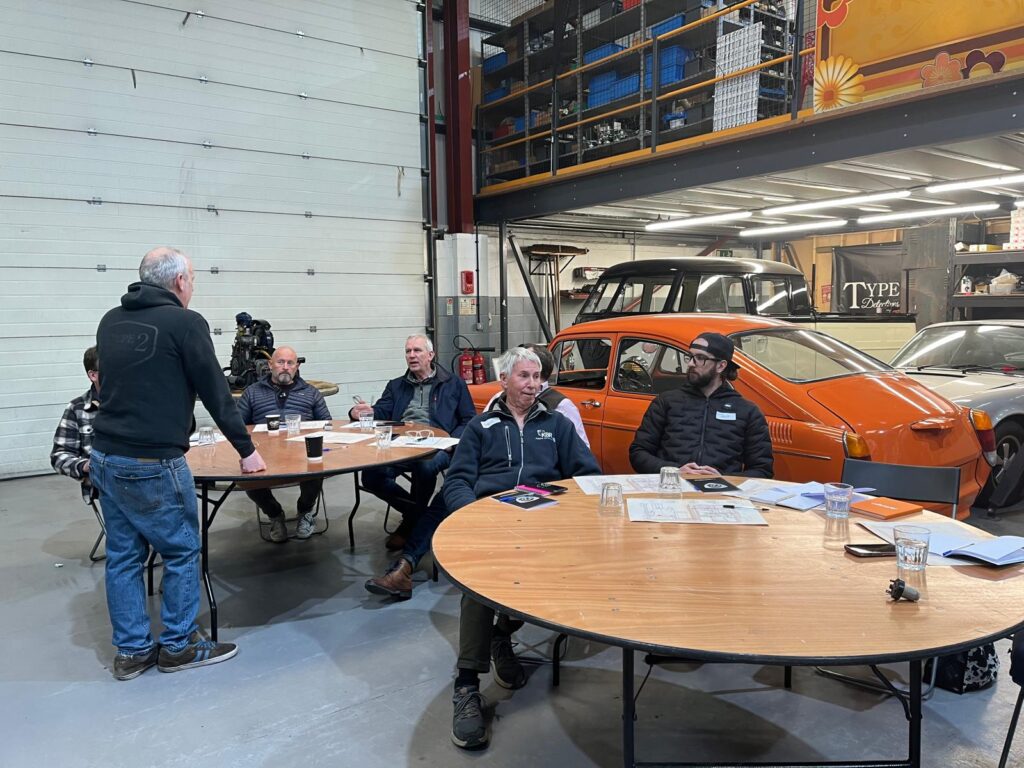
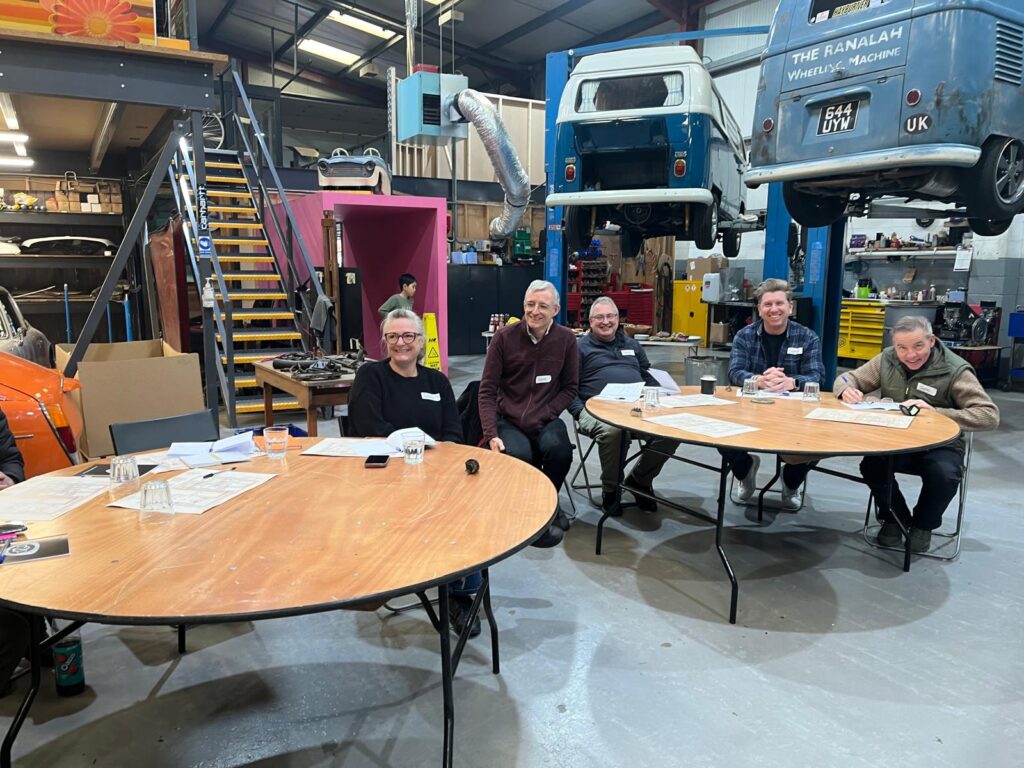
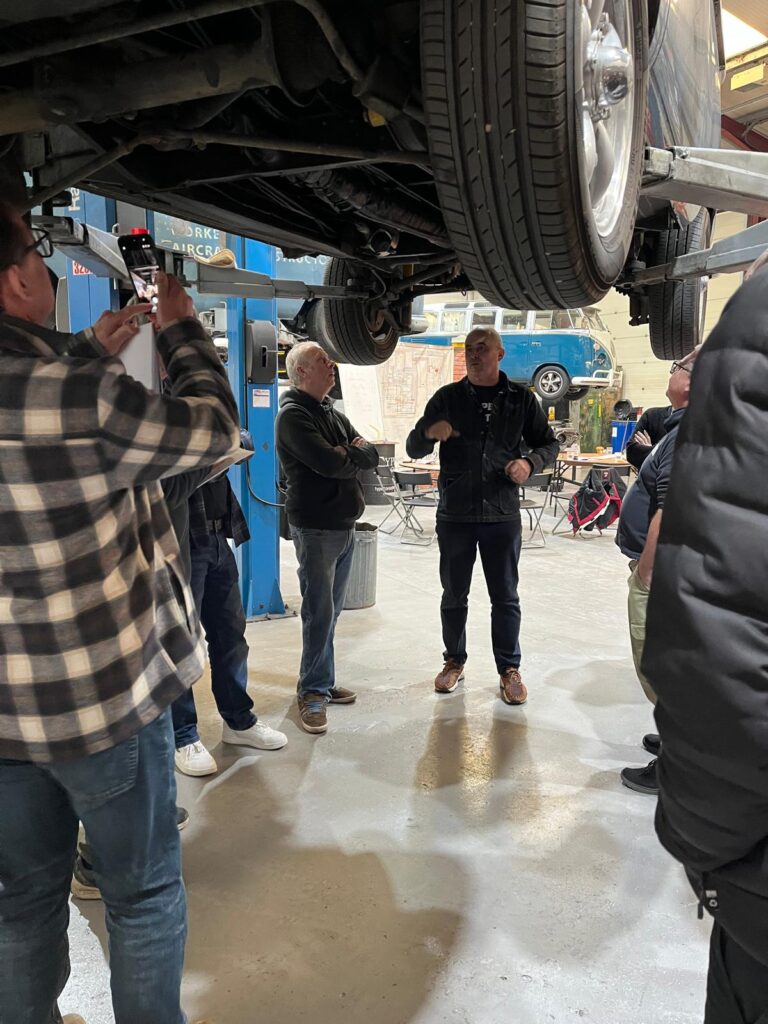
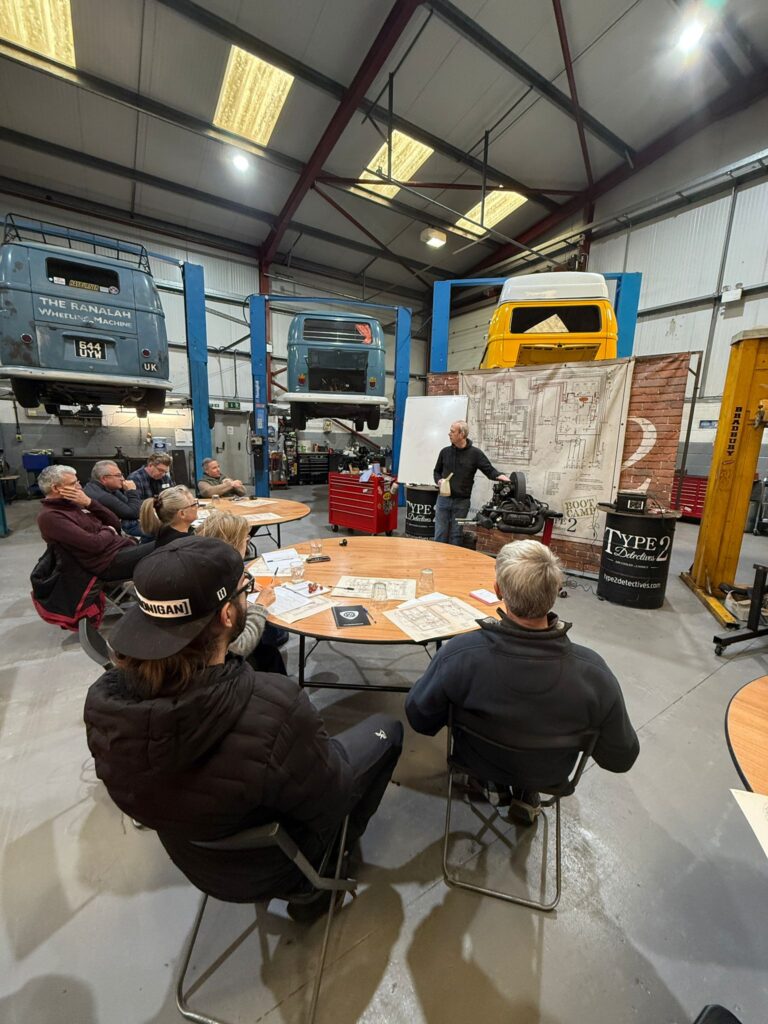
Andy and Paul were brilliant, very clear and great teachers, we were showed around the workshop and then explained what they do. They included everyone and made everyone feel able to fix or service their vehicle. 

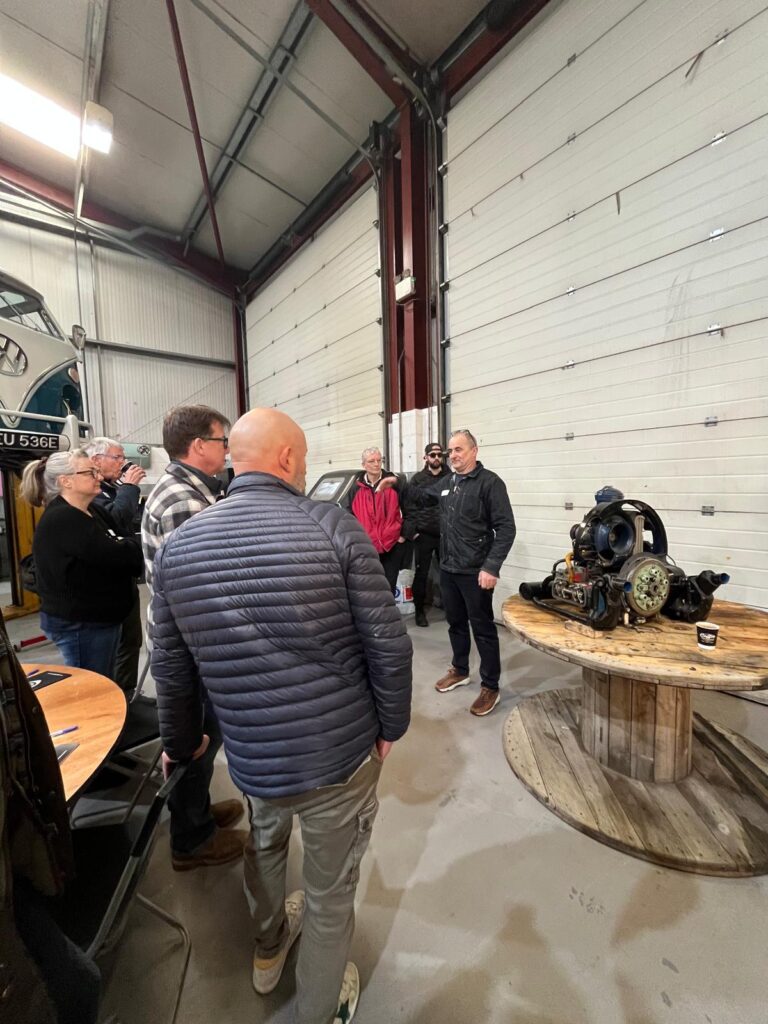
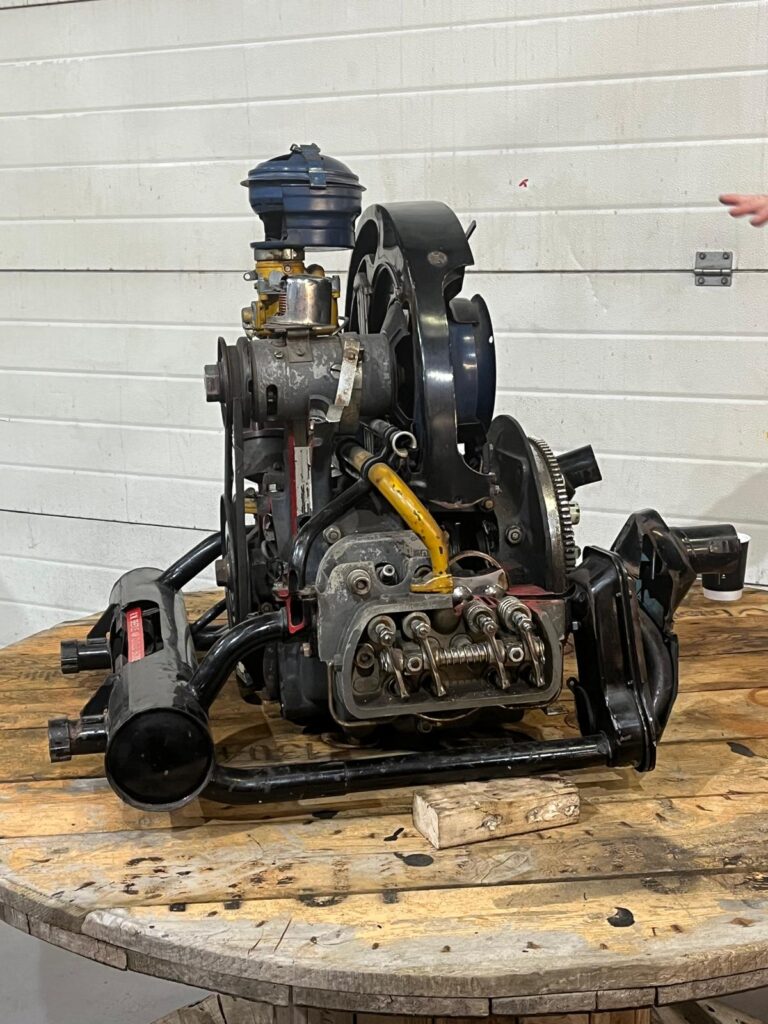
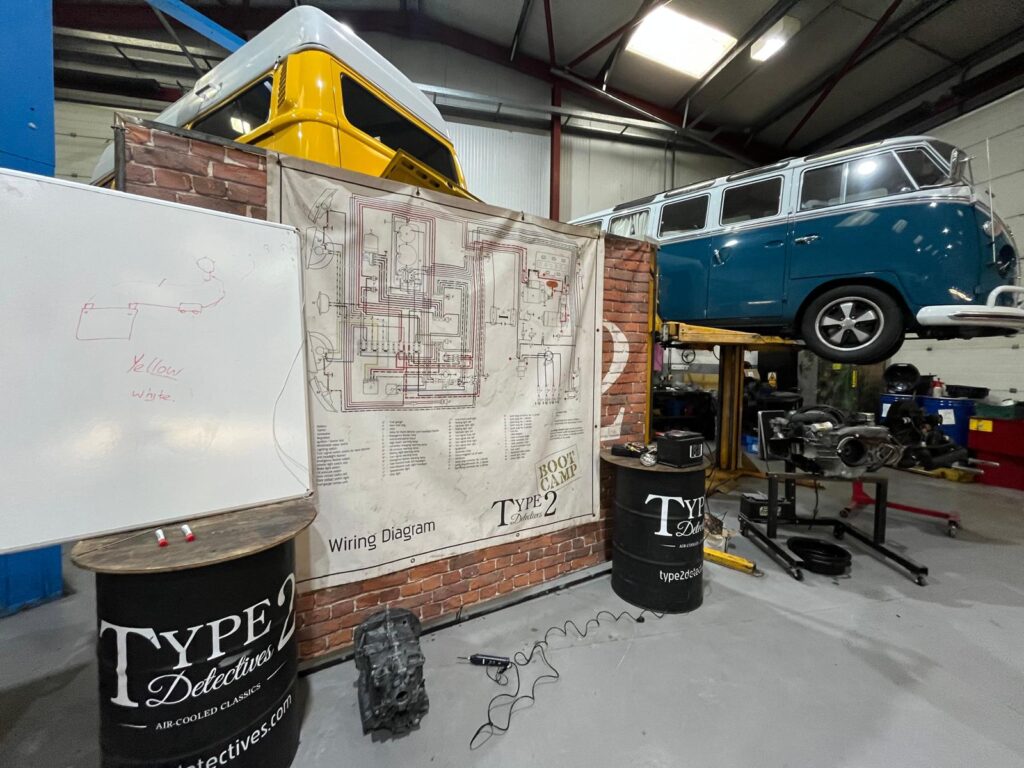
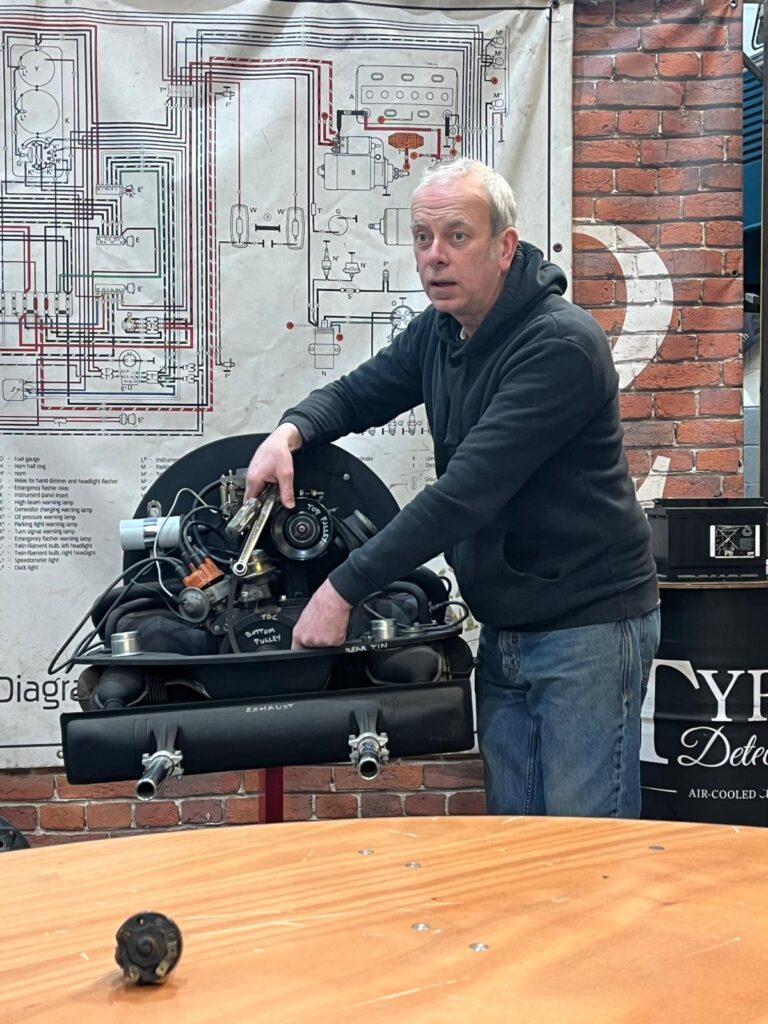
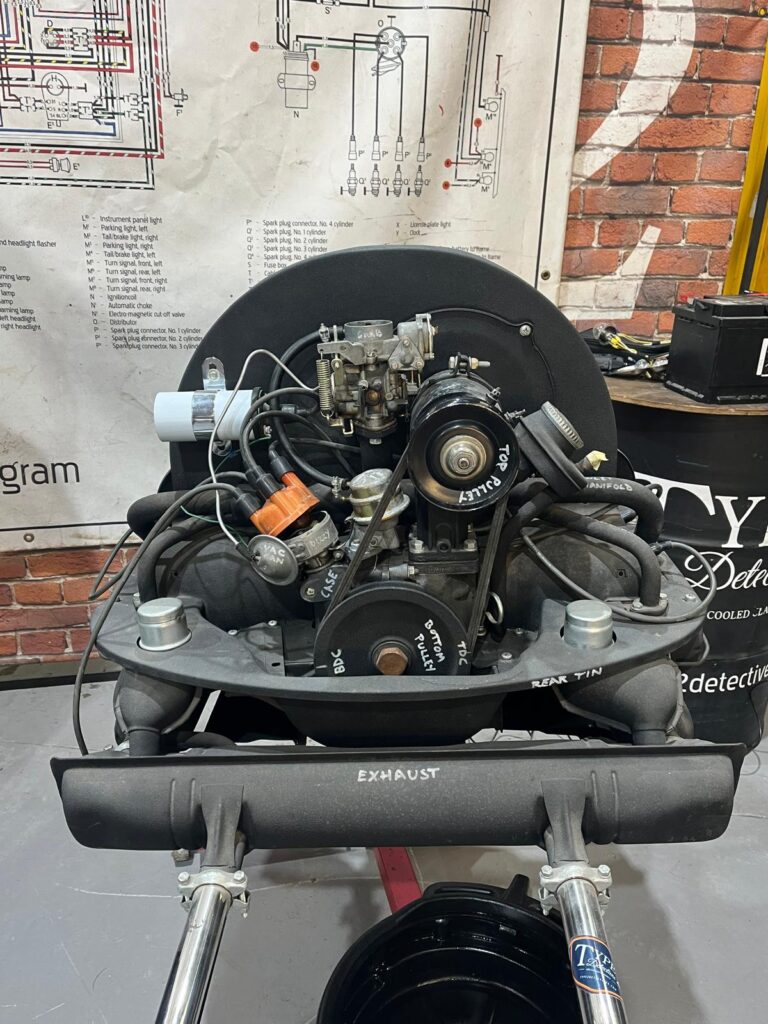
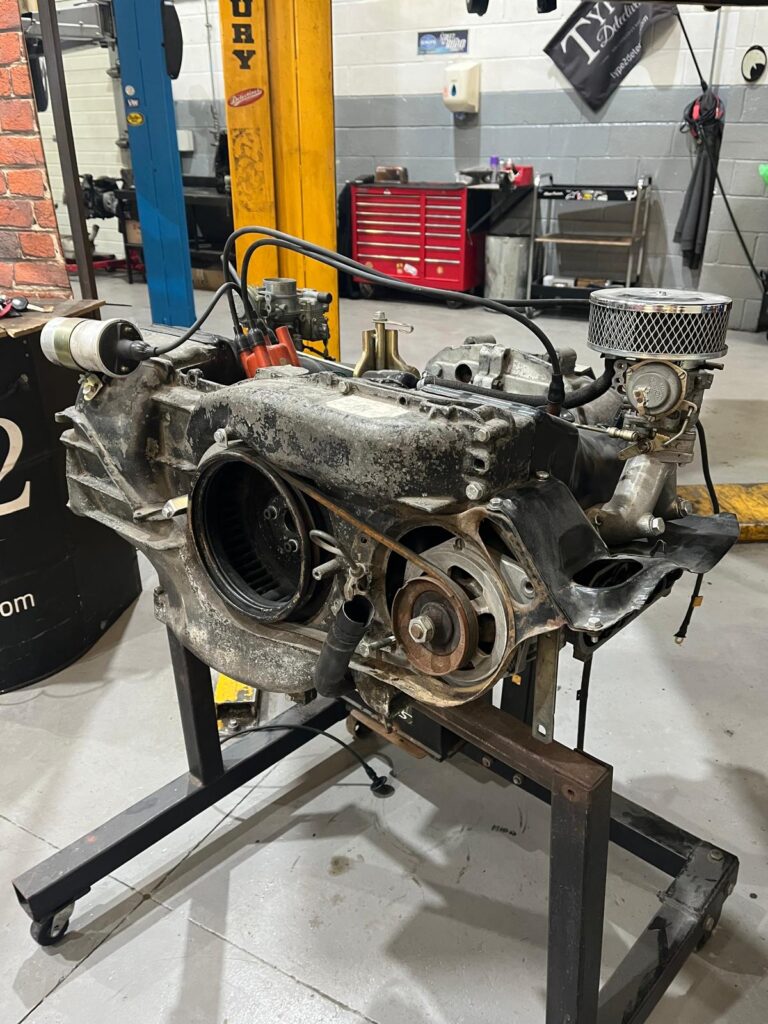
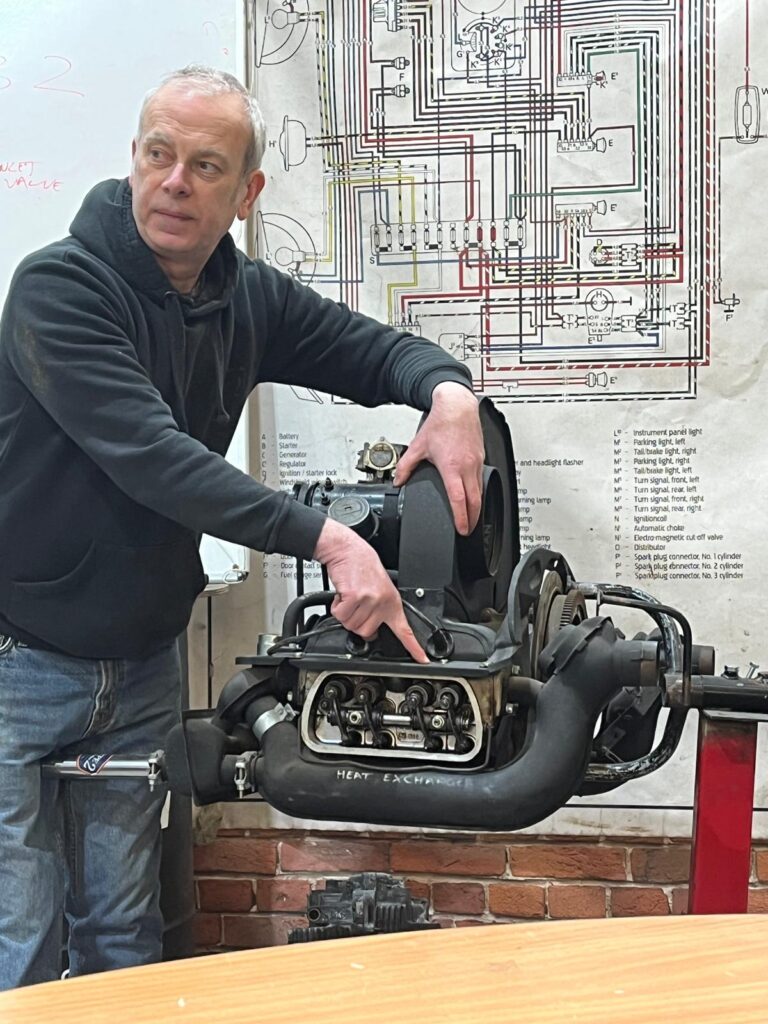
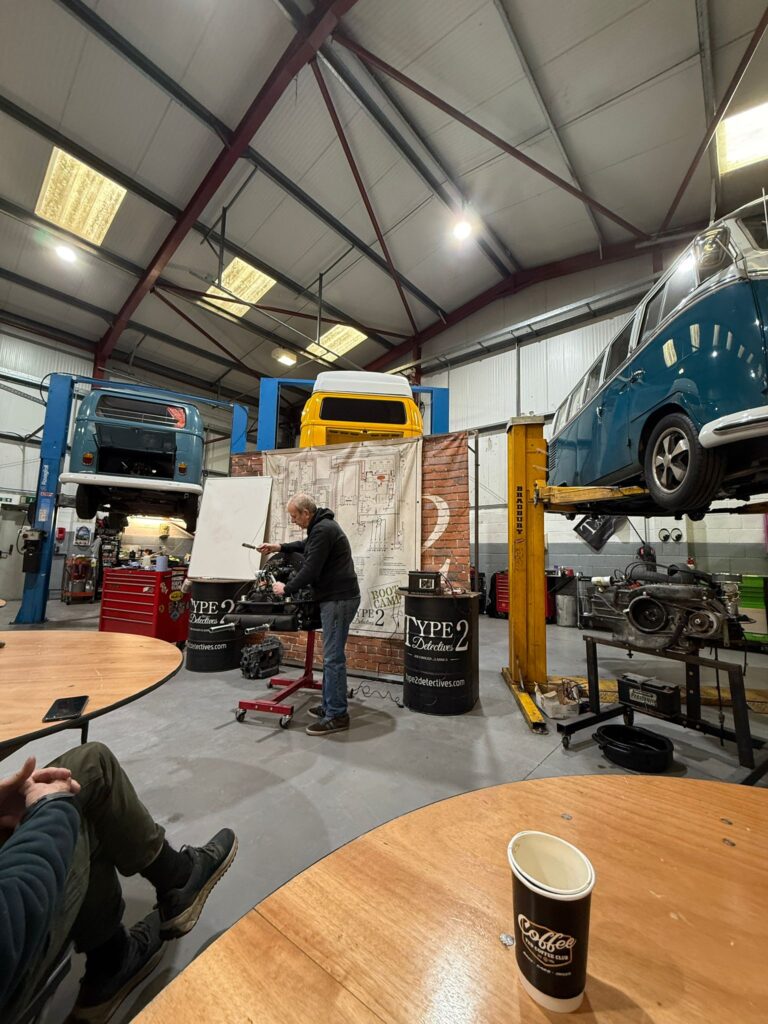
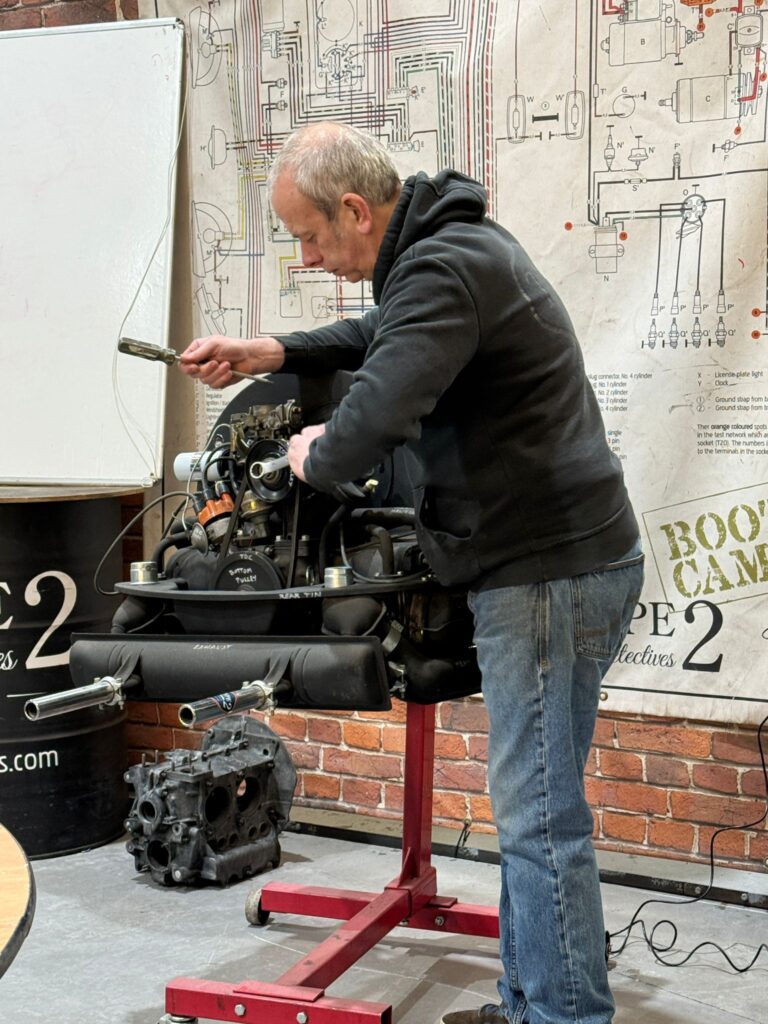
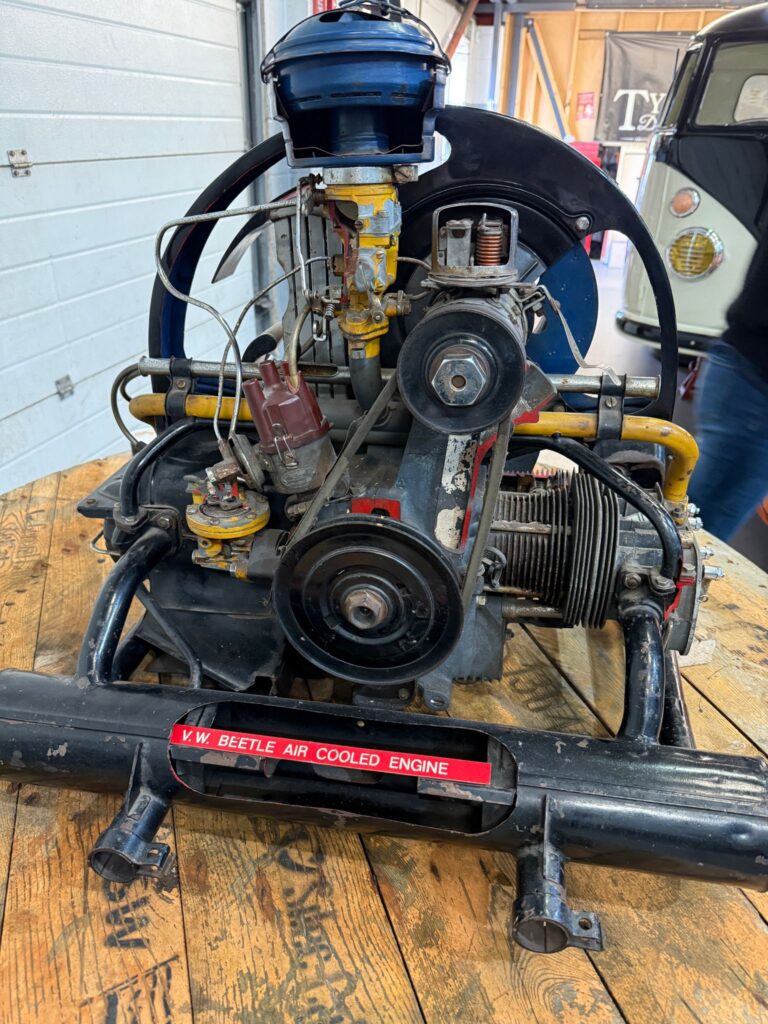
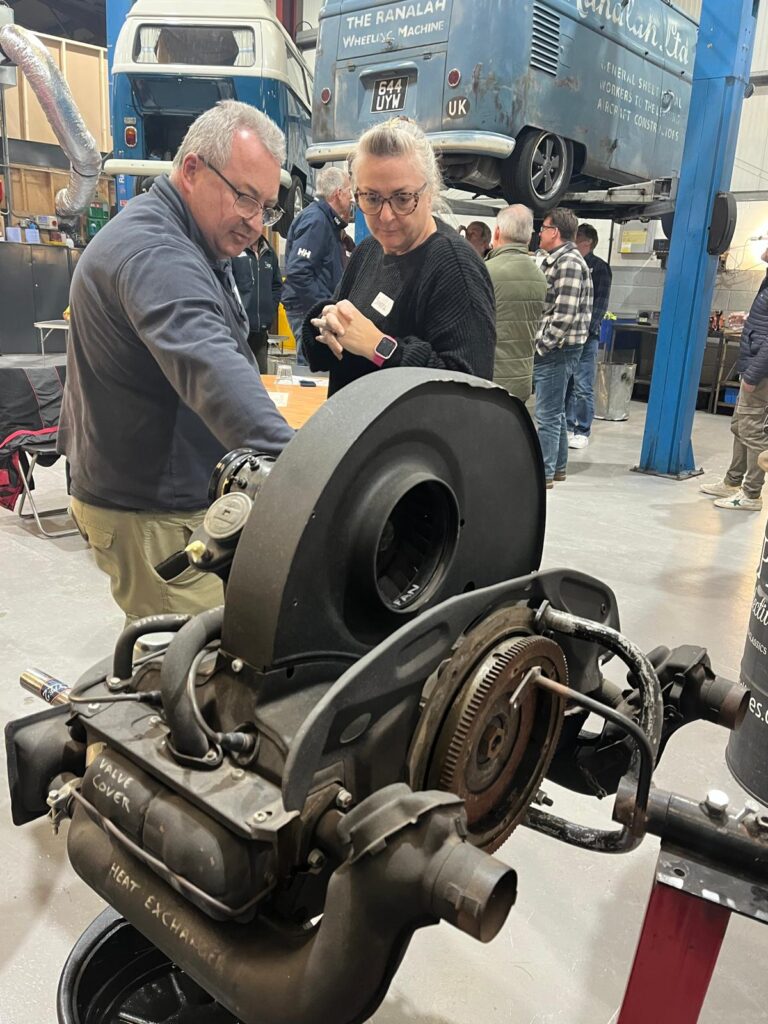
They showed us an engine with clear explanations of how it worked, and labels were on the different components, so we could understand things fully.  They explained a few stories about what could go wrong, and how they fixed them.  They also showed that the scary wiring system isn’t that complex once it had been explained and showed what to do in situations that may occur. Also, you could buy a wiring diagram (which is totally worth getting) (Editor notes that you can get these online and the Bay window 1972 to 1974 wiring diagram is on the club website in the “Technical articles” section because I had it for Eric!). They included everyone and made everyone feel able to fix or service your vehicle. 

We were shown:

  • How to change a fan belt
  • How to change the oil
  • How to set the gap on the valves 
  • How to set the gap on the distributor points and describe the firing order of the cylinders 

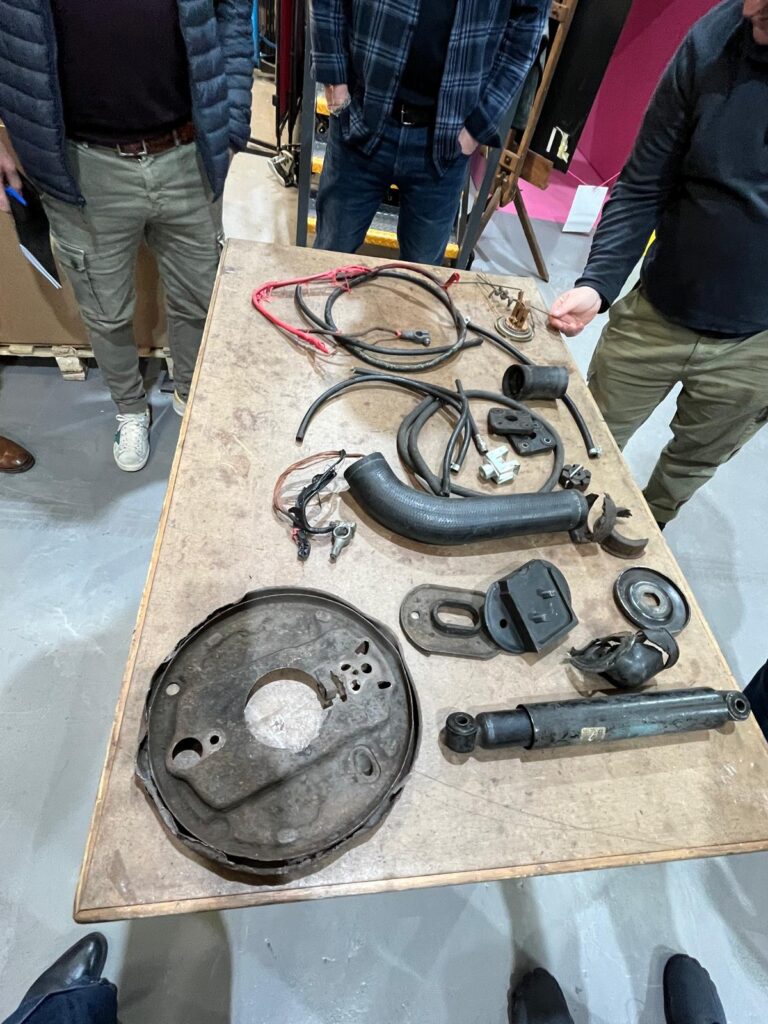
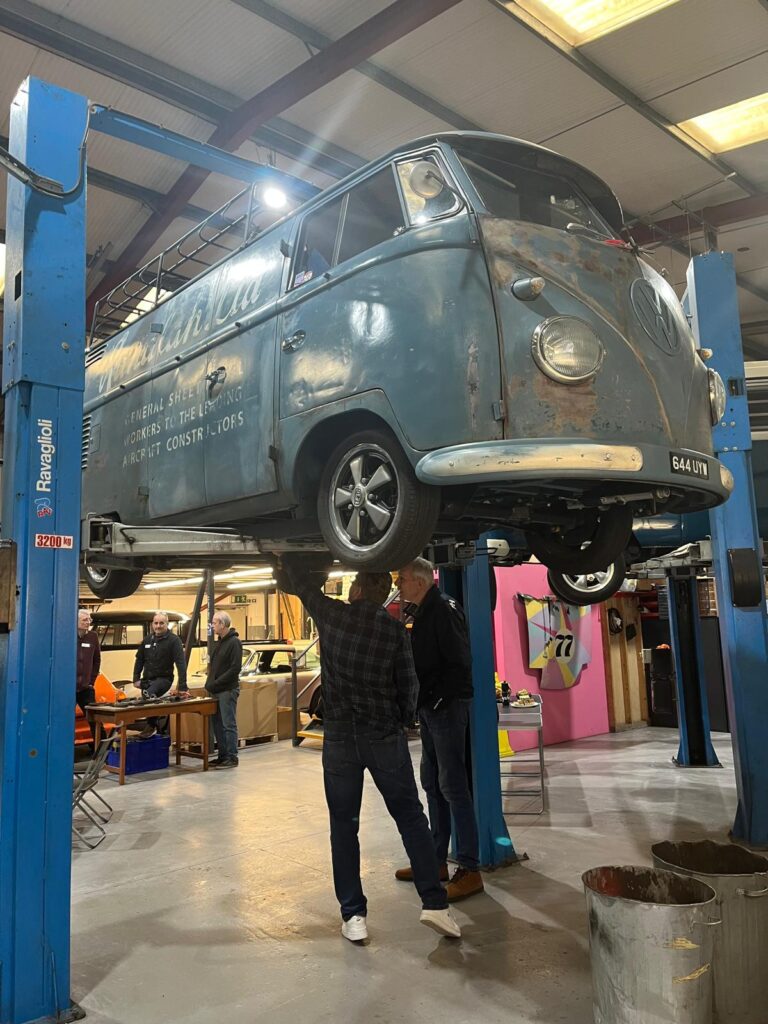
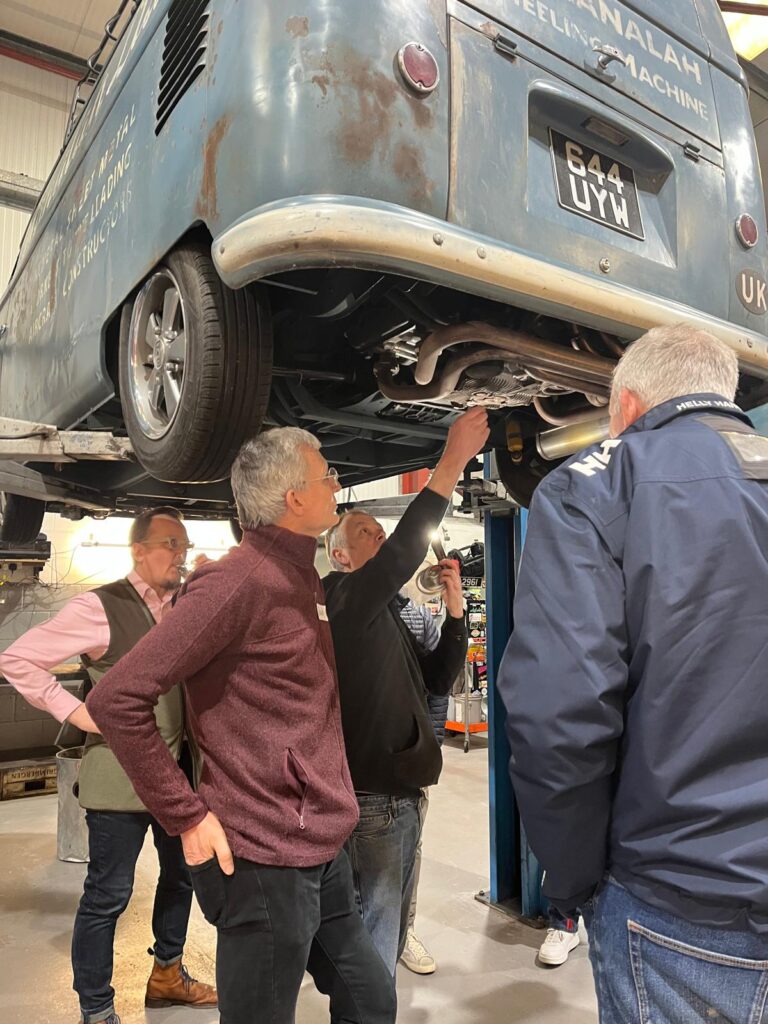
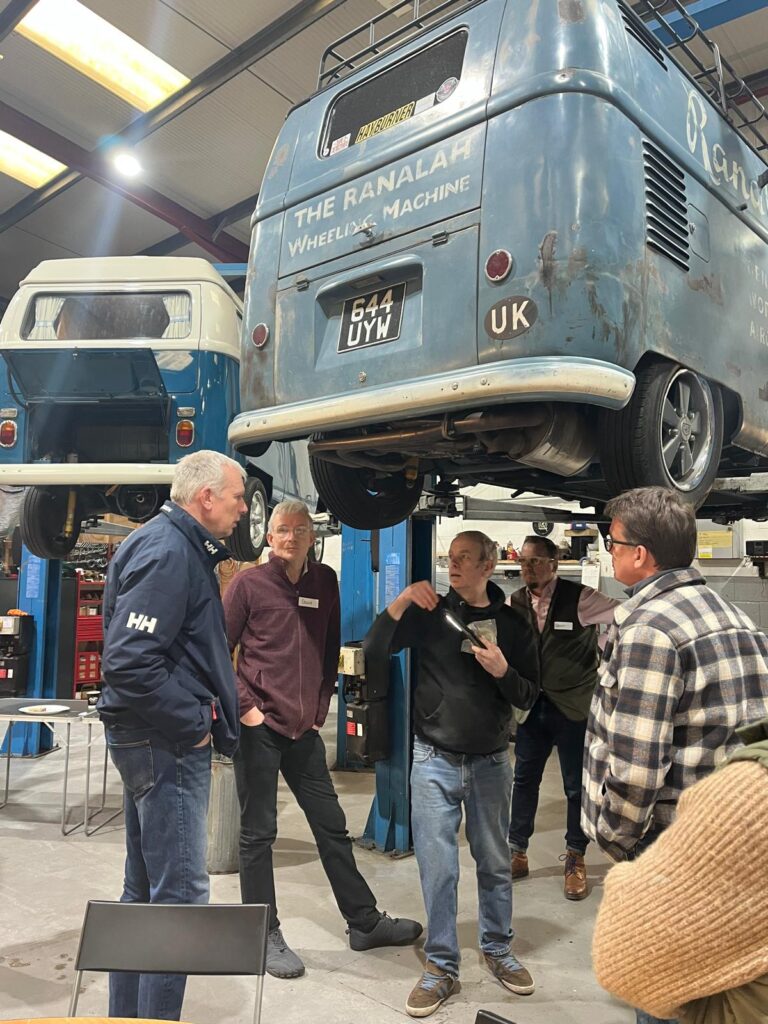
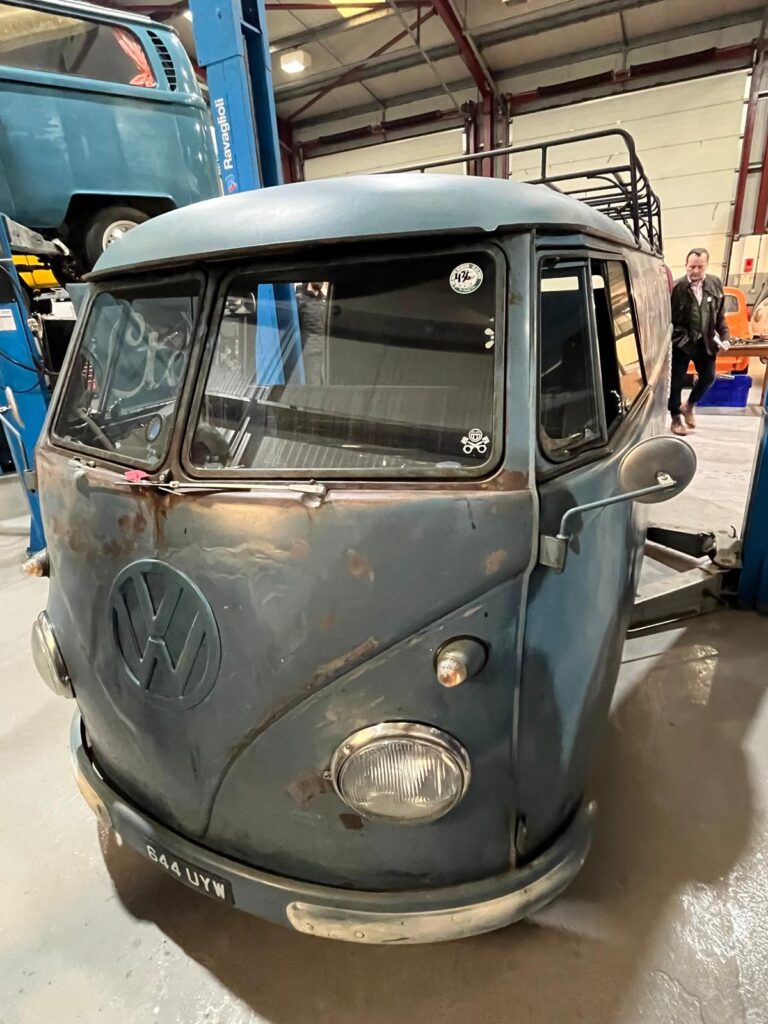
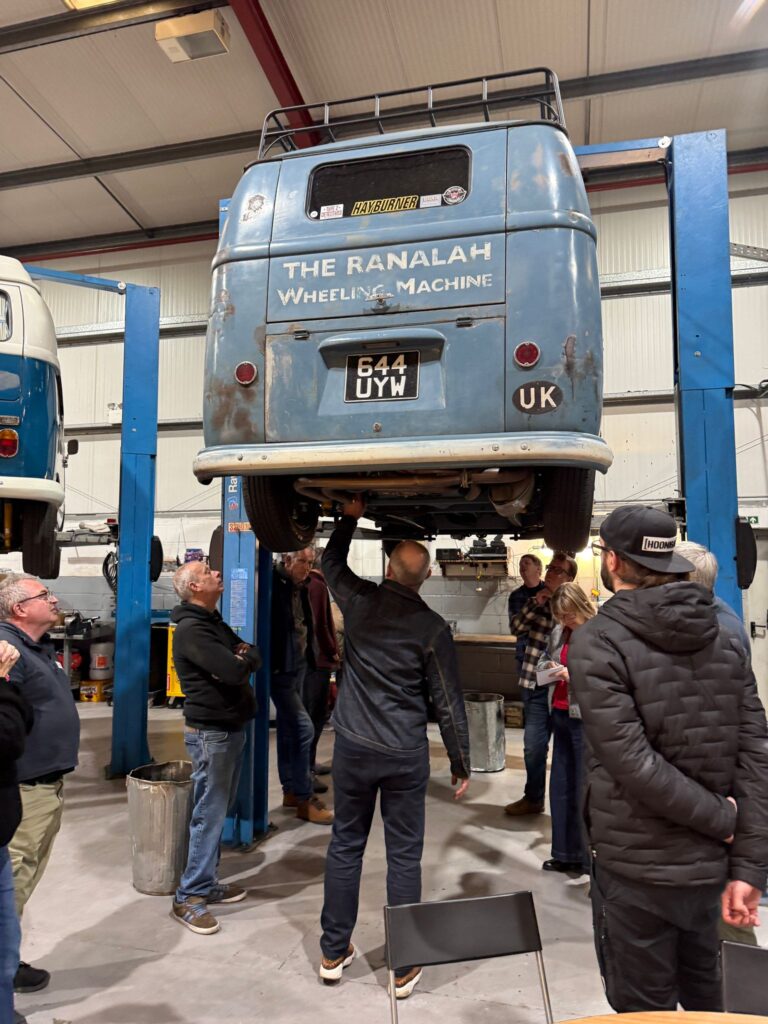
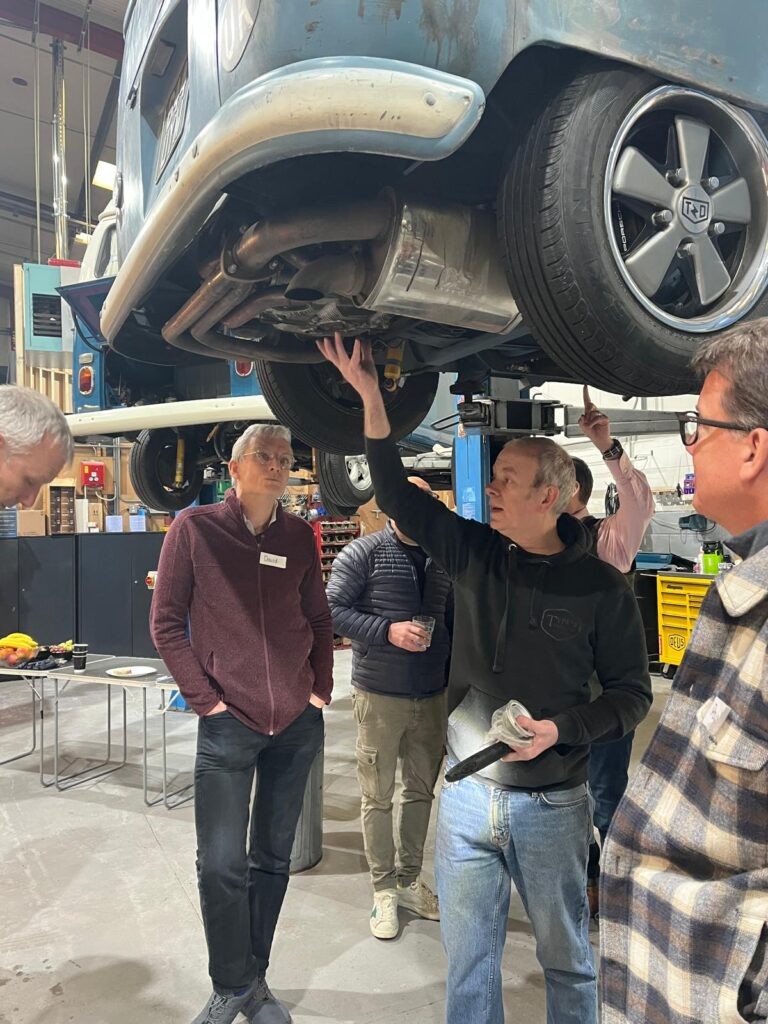
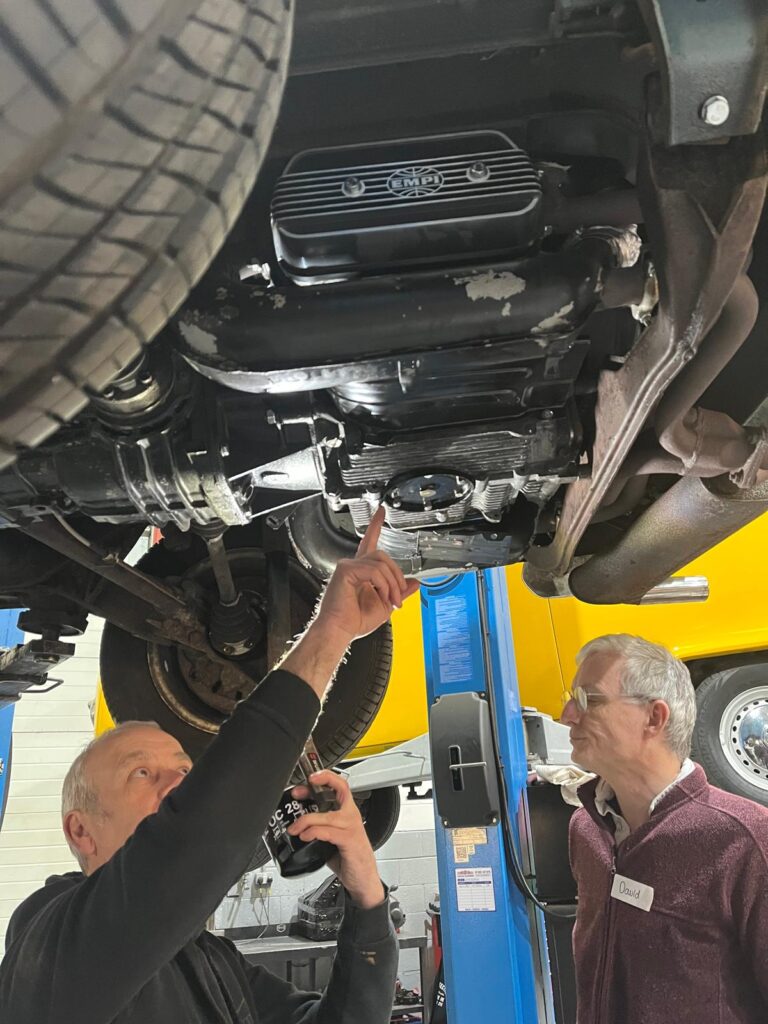
Andy and Paul walked us around the underneath of a variety of vans on ramps, then explained components, common faults and visual checks to keep our vans healthy.

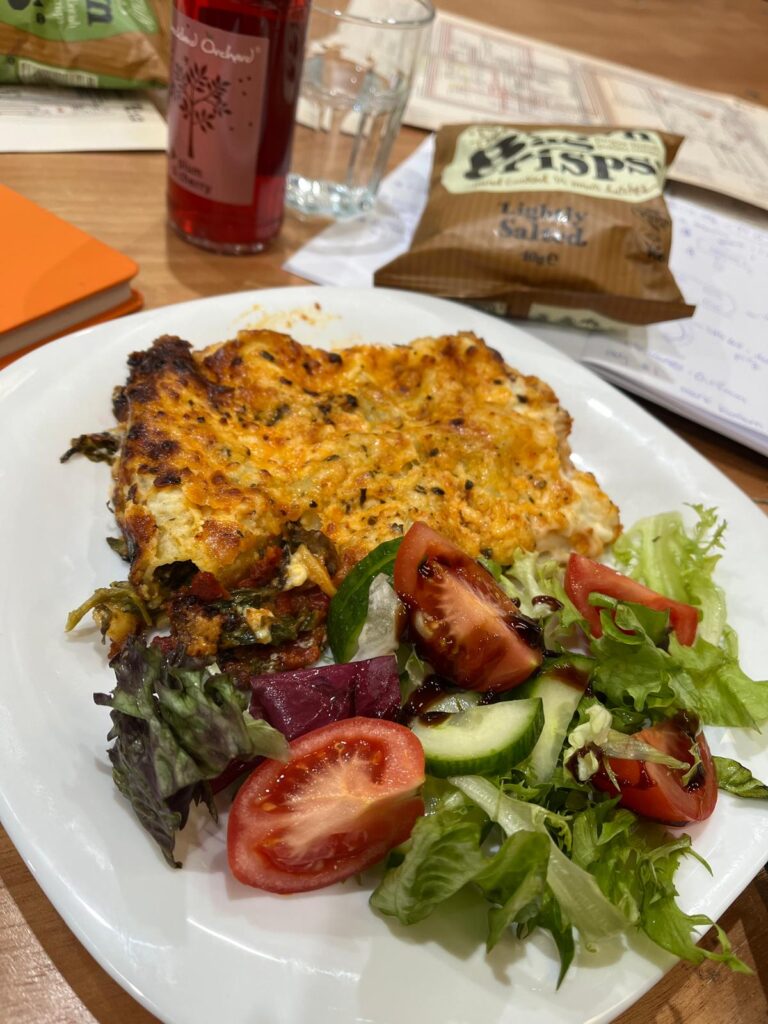
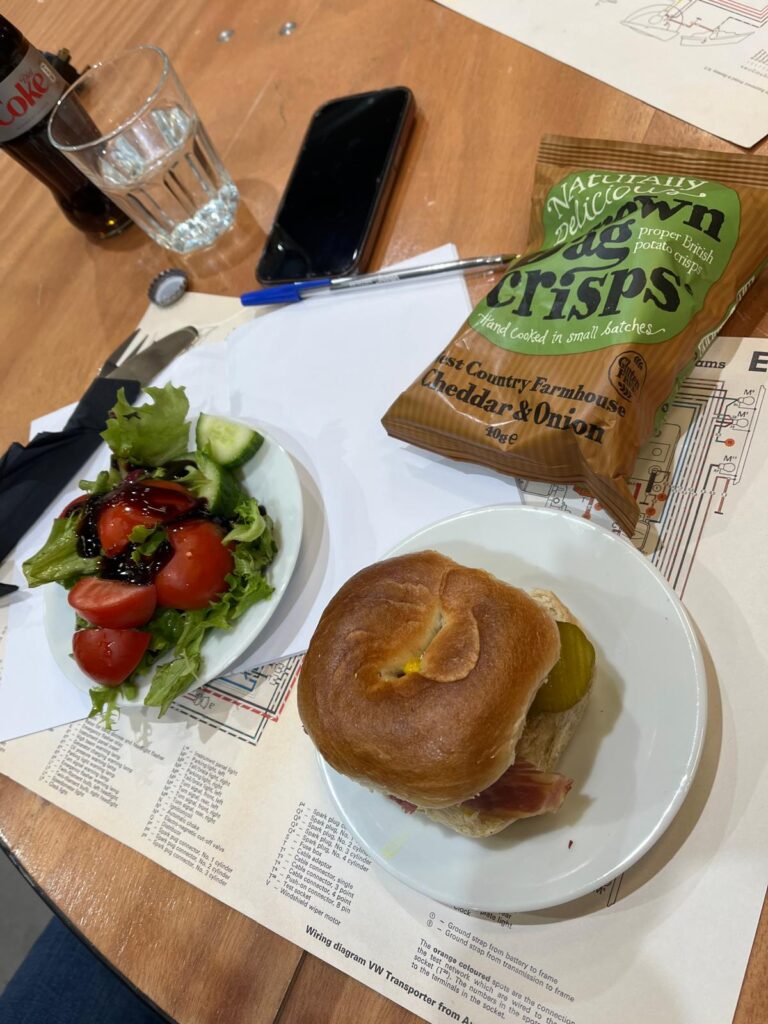
We were well feed and watered – seriously, the choice of food and variety of drinks was excellent. All staff were friendly and welcoming. We would pop in to say Hi, and have a drink if I was ever up this way … and you should too … totally worth a look.

I thoroughly enjoyed the entire day, I have come away with extra confidence of what to do if I was on my own in my Rusty Leigh and had issues or broke down. I also liked that we were told a few times throughout the day that we could just call them and they would talk us through any breakdown (which is so reassuring) also what essentials tools to keep in the van, that you might not think about.  (Editor notes that the Spare parts list is also on the web site in the “Technical articles” section)

Although we were told that Paul had a spare engine in his van when he was on his travels … smart man, we believe he didn’t need it lol!

At the end you were given a boot camp bible to take with you covering what you have been taught to you on the day and we were offered a comprehensive health check for our vehicle at a later date, convenient to both you and the workshop at an amazing cost.

I will pass on Type 2 detectives’ information to anyone who needs it, and when my stepdaughter is ready, we will be sending her to one of these workshops so she can get a better understand of our T2 camper.

Thanks again for an excellent and acknowledgeable day.

Inspect A Gadget – Solar MPPT controller

This one comes up regularly at club events – you want to do solar.

A solar panel makes energy from the sun using photovoltaic cells and sends these down 2 wires as if it was a battery. BUT. Sunshine changes through the day and you need a way to flatten out the power to something nicely controlled and also stop the power going the other way and coming out of the panel. This clever gadget is a solar charge controller and comes in 2 varieties, the cheap PWM controller (pulse width modulation) and the more expensive MPPT controller (maximum power point tracking).

This article is only about the MPPT controller.

If you find a bargain priced MPPT controller online, it is probably a PWM controller with an inflated price – avoid any controllers that are not from large brand names. The key players at time of writing are EcoWorthy, Epever, Renogy and Victron for MPPT controllers.

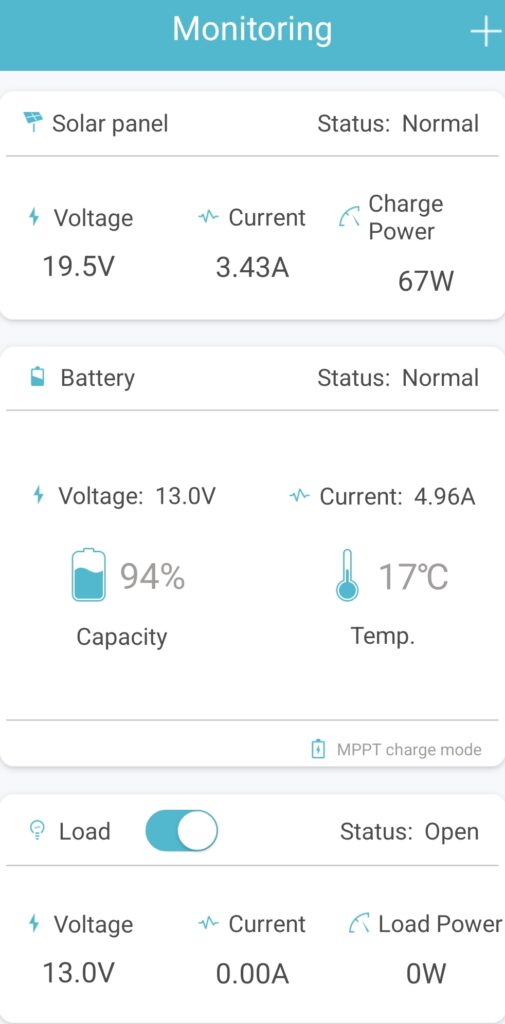
The monitoring image shows an MPPT controller operating normally during the day. The solar panel is generating 67 watts at a voltage of 19.5 volts meaning 3.43 amps of power. A traditional PWM controller would send those 3.43 amps down the wires to your battery and all would be well.

The MPPT controller tracks the voltage of the battery all of the time and converts the voltage from the solar to fractionally above the battery voltage, allowing the amps to increase. In the image, the voltage is converted to just above the 13.0 battery voltage, giving you 4.96 amps into the battery.

Those 4.96 amps compared to the 3.43 amps is an increase of 45% and is a real world example. You can expect to get around 30% increase in charging power across the day as lower sunlight will reduce the uplift percentage. This can be the difference between fully charging your leisure battery and not.

A single 100 watt solar panel with an MPPT controller is sufficient to give us an off grid experience from April to September unless the weather is totally awful. This is for the compressor fridge, lights, water pump, phone charging and if we take it, also the TV.

With electric hookup now often £5 per night plus usage at 50 pence per kilowatt hour, going off grid really is a cost effective way to go. With an MPPT controller, it helps to keep the battery topped up, improving its life expectancy.

Eric the Viking – a restoration in many parts – December 2024

Spend since last report: £136. Total hours labour since last report: 54.6

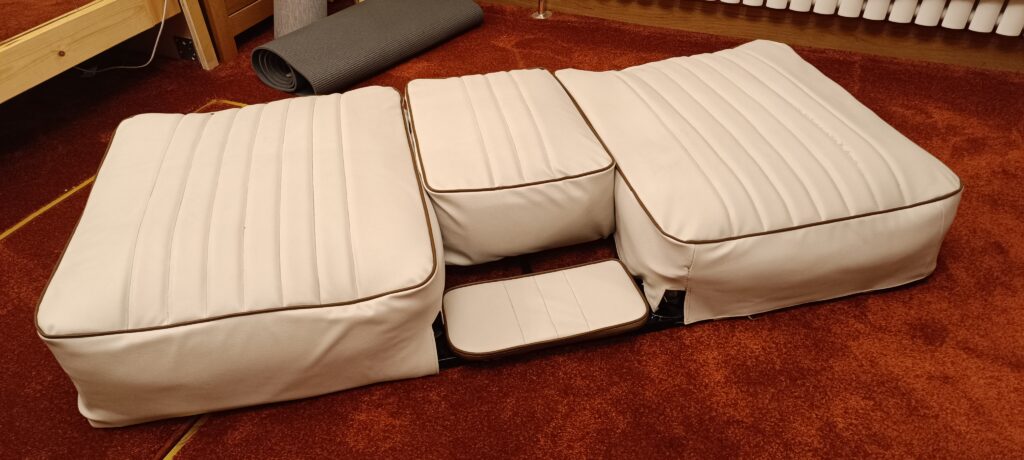
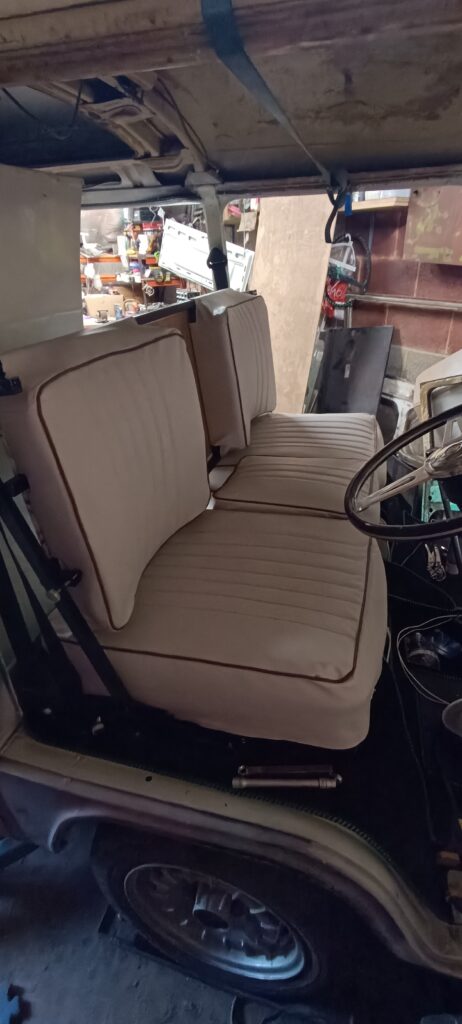
The last two months have been productive but mostly not in the garage. To “be nearby” as Lorna convalesces and frankly, to be warm, I have been busy wielding “Sally Sewing Machine”. The front seats that were originally in Eric are now in Poppy as we decide how to upholster them now that they have got rather old and soggy plus at least one piece needs welding. In their place in Eric, I made a frame for two seats that I wrote about some time ago – they are the same size as original ones and use the same spring and serpentine arrangement but they are mounted on a 20mm box section steel frame to allow them to be inclined correctly when facing forwards or backwards. With some bent metal staples added between the serpentines for support, I brought the base frame indoors and started cutting the material for the base trim.

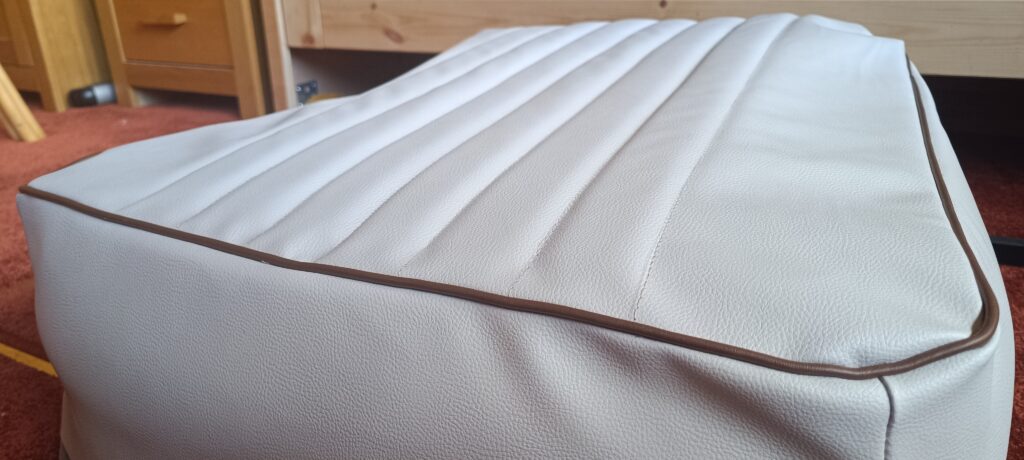
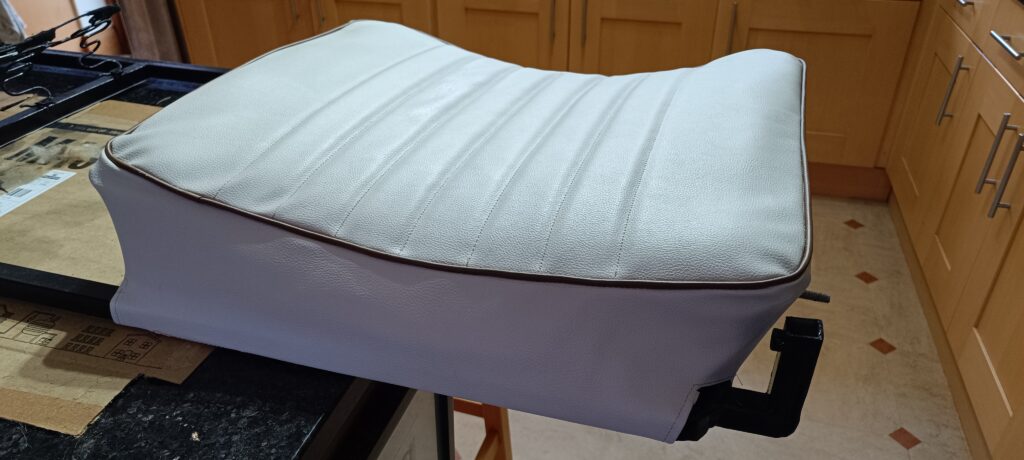
The first piece of material is the seat base top that you sit on, which I cut with a 10mm seam allowance and placed it on the metalwork – already it looked marvellous! Then I took the 10mm scrim foam and cut a piece to match. The new Somabond thread is high strength nylon and is 3,000 metres long – that’s towards two miles on the reel which is enormous. With a practice on a scrap, I found a way to get both material and foam under the presser foot of the sewing machine (it is a domestic one from Hobbycraft, not a professional one with a walking foot so it is a bit more tricky!) and get the pleat roughly straight. Then onto the real thing – a pencil line down the middle marked the first front to back pleat and 3 on each side of the middle at 5cm apart makes 7 pleats plus about 12cm of cheeks on either side. Pencil lines along all of them to guide things and I pushed the material through. The first one had around 1mm of movement along the straight line on a couple of the pleats but that was mainly to do with the domestic machine being asked to sew more material than it can comfortably eat.

The pencil lines can then come off and we have a rectangle of material with a foam backing and 7 pleats that look rather like the real thing. Quietly pleased with myself, although it took a while.

Then I took two full width pieces of the brown door card material (I did side to side and according to the Internet, piping should be cut from a diagonal but that is hugely wasteful), sewed them together into a 3-metre-long piece of 26mm wide and changing to my piping foot on the machine, I made brown piping.

Next up, I took a long rectangle of the cream material which will form the sides of the seat, long enough to go all the way around the seat base. The piping was sewn onto this rectangle of cream.

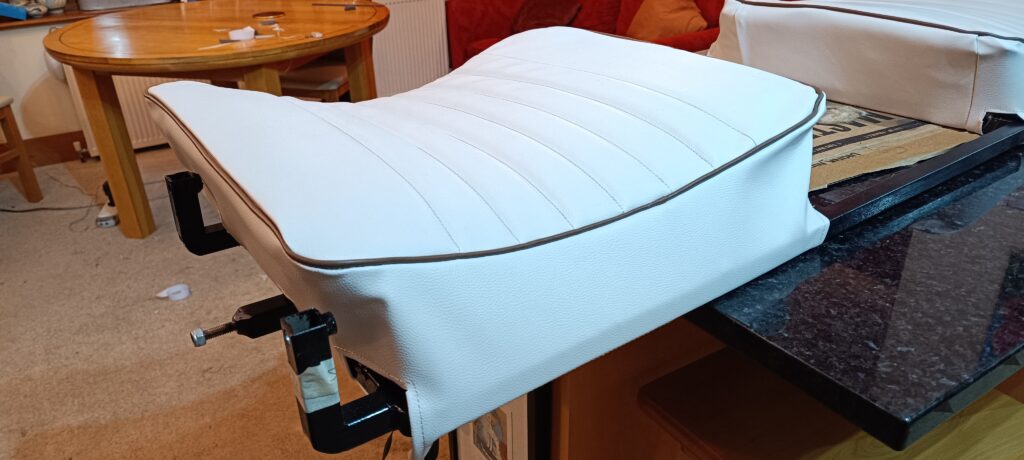
With my top and my sides made, I then ran a pencil line around the top where I wanted the piping, put on my big boy pants and set to work, the machine now sewing through the top, the side and both pieces of material that form the piping. Once the tension was adjusted high enough, the machine coped – the corners were a bit fiddly but went well. Eventually, I had a cover and once on the metalwork looked rather nice.

Under the cover, I added some man-made horsehair and it was very lumpy, even in a sewn bag that went under my evening sofa chair for a week. Layers of lambswool produce a much flatter, albeit slightly less soft, seat.

Rinse and repeat for the other front seat and already the pleats are coming out more defined and straighter as I get my eye in. Then a middle seat / arm rest / dog seat that is mounted on board and goes from the front to just in front of the arm rest so that the seatbelt buckle can emerge and a small upholstered flat piece for a drinks table when you are facing backwards.

Both seat bases received ears of fabric to allow a drawstring to be used underneath to pull everything tight, then on to the seat back!

The seat back metalwork is more sculpted to curve around the back of the user, which presented the issue of how to get the material sewed correctly to avoid and bagging. The main piece was made as previously with the foam underneath. The rectangle for the side similarly and the piping similarly as well. The piping was sewn straight for the sides, and in a curve at the top and bottom to match the curve of the metal. Once that had been worked out, it was then a case of repeating the attachment of the bib to the side piping and sewing up the start of the side to the end of the side.

Each of the covers has to go around metal in places which needed careful cutting and seaming.

And then the padding can be smoothed out, Velcro added to the metal (self-adhesive) and to the seat cover (sewn on for strength) and get a final trim.

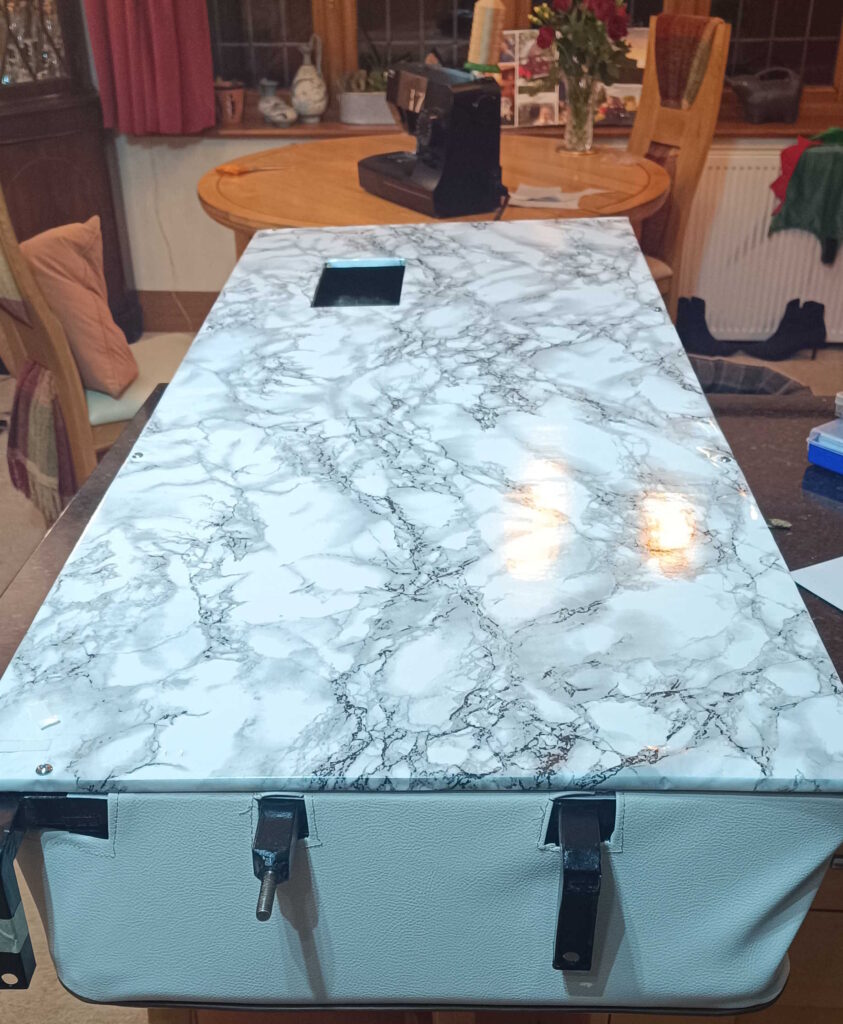
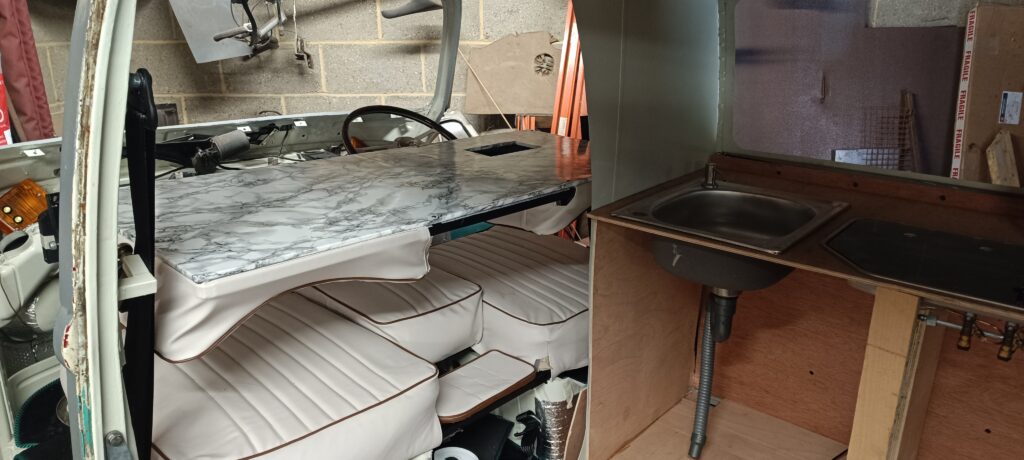
With the material complete, the seat back now needs the rear to be made pretty as you do not want to see the serpentines all the time. When not driving along and not sitting on the seat, I want the option to use it as a table – 3 jobs in 1! I removed the upholstery to keep it clean, cut a piece of 9mm exterior hardwood board and trimmed the edges to fit the metal of the seat back. With a suitable hole for the bottom of the steering wheel cut, I then came in and added some marble effect sticky back plastic and the back was finished.

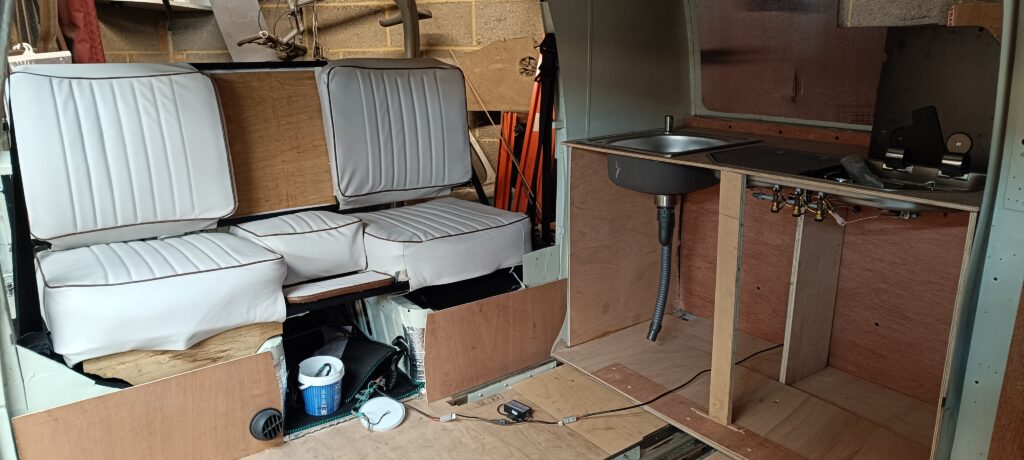
The dining room was requisitioned for sewing, the office was heaving full of rolls of material and the back bedroom was being used to cut material on the floor. With Christmas coming, it all needed to be tidied away to allow us to have pigs in blankets, or “relatives staying in the spare room” as some call it (sorry Mum and Dad, I know that you have heard that plenty of times before, but it is quite clever). The rolls of material, foam, sewing machine and everything else were tidied away, the upholstery stores converted to bedrooms and the seats removed from the house and into Eric both to empty the house and verify it all fits.

I was rather pleased with the result. This configuration gives me seats for driving, the same seats facing backwards for camping and a table for storage / dinner prep.

I will admit that in addition to the upholstery, I made a start on the wiring as well. After a full review of the wires, I added a battery to the right place, added the wire that ought to be on the alternator to the battery as well (since there is no alternator and no engine). As I turned on the side lights, headlights, beam, hazards and windscreen wipers, each fuse showed 12 volts as the right time. I was rather heartened and finished the day in a celebratory mood. The next day, I joined the right fuse to the actual side lights, headlights, beam, and windscreen wipers. Nothing worked, not a single circuit. Which was a key reason why Sally Sewing Machine came out.

A job for another day, perhaps I can persuade Malcolm to pop down and help me get it all sorted?

Wakey Wakey!

Yes, it is that time again. Hurray! Finally, after the long winter in our non-mobile houses, we can get out our beloved vehicles.

Checklist

Hopefully you all followed the article Time for bed to help put your vehicle to bed for the winter. Now that spring is in the air and we are starting to think about getting out and communing in nature, this is a key time to get things ready.

Doors locks – there’s nothing more annoying than a failed lock. get it fixed now before the season really gets going. Door lock issues can be very straight forward but a simple lubrication can be key. Pun intended. A non residue lubricant is best to move the dirt away as WD40 can leave enough gunk to create issues. We favour silicon spray. A little into each lock.

Windscreen wipers – did they perish in the cold winter freezing them to the windscreen. Inspect and replace now.

Water – check the radiator if you have one. Ensure that the bottles that you emptied in the Autumn / fall have no mice, carefully hidden Christmas presents or mildew. Clean with a weak Milton solution if it is drinking water or food related.

Batteries – check the charge on each battery with a good meter. A flat battery can indicate an earth leak. A failed battery needs careful investigation.

Carburettor – Or equivalent. Check for good operation, no stuck flaps or other deterioration over winter. If you are a professional, this will be straight forward. If you are an amateur, a test drive very close to home will highlight problems! But only after the other checks.

Brakes – your vehicle should roll easily, otherwise this can indicate jammed brakes. Parking in gear for long periods of time can be better for your brake health than a jammed set of brakes. Check the brakes for operation. Check the brake fluid level. If it has been more than 5 years, change the brake fluid as it is hygroscopic and slurps up water incredibly quickly. Water is not a good fluid for applying the brake pads to the disks.

Seals – inspect all door seals for any signs of damage, water ingress or other problems and sort them out now. Glue any loose bits back down with the correct glue.

Windows – ensure that they all open and close fully. Or at least as fully as they did last year if applicable!
Ignition – Once you are feeling confident, get in to your pride and joy and turn on the ignition to number 2. Look at the lights on the dashboard. Check there ARE lights! Are they what you expect / are used to seeing? Have you got fuel (for those with a working fuel gauge)?

Crank it over – don’t expect it to start immediately but things should kick into life within a few seconds.

A little test drive on your driveway will allow you to test the brakes, maybe the steering and other important parts. Softly, softly.

Stay local, take your phone with you and warm clothing. Just in case!

Once you get home, assuming that you have a big smile on your face, make a list of snags, get indoors, put the kettle on and start planning for your summer.

Check out the events page and come and see us at a meeting soon!

Day Trips by Neil Elliott

If, like me, work (school staff) gets in the way of a weekend away, don’t miss out on some fabulous days out. Winter or summer get some use out of that VW. You don’t have to go far.

We live in a small market town near Skegness and often just drive into the Wolds for the day, but it’s not the only local gem. Within 30 minutes we can be parked at Gibraltar point, a marvellous nature reserve with long or short walks, within an hour to an hour and a half we’re parked on the front at Cleethorpes, in a field next to a castle, walking along a river or wandering around the ruins of an Abbey!

Yesterday (Saturday), we took two of our children to Cleethorpes. My Daughter Elizabeth has quite severe Autism and loves our days out. We had a wonderful walk to the ice-cream kiosk and along the Prom’. Then it was back to the T3 for cheese on toast before a steady drive home.

You’ll be surprised how many of us just don’t bother with or even know what is on our doorstep. Get your maps out and take a look, you’ll be pleased you did. And why not put the word out, meet another VW, I’m always up for an impromptu meet up that’s only up the road.

Happy days

Neil.

JK TRAINING DAY by management team member David Marriott

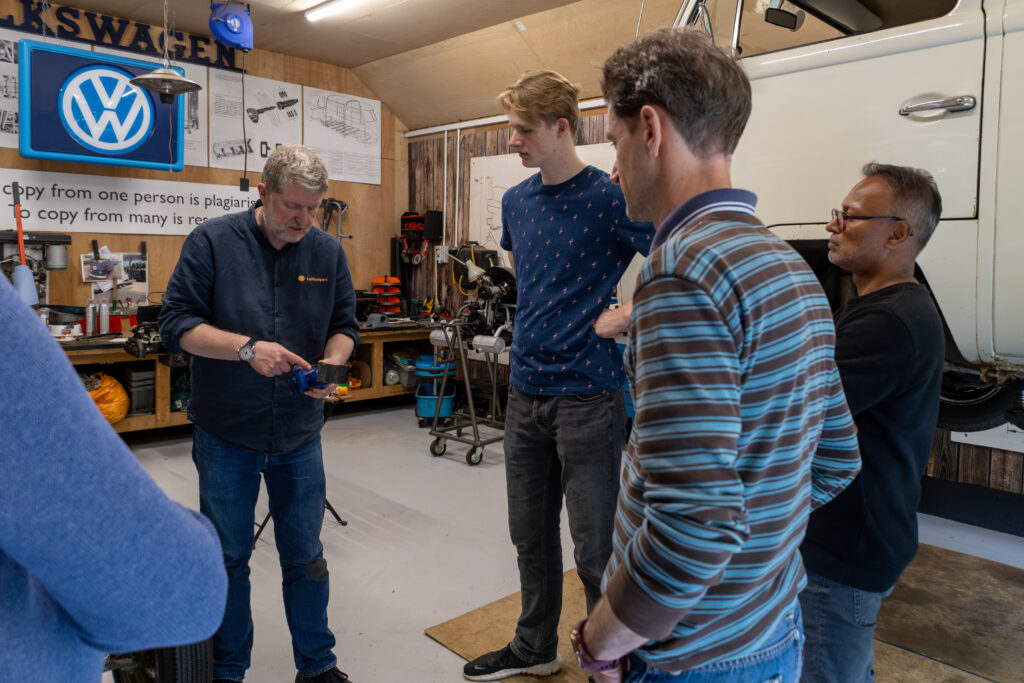
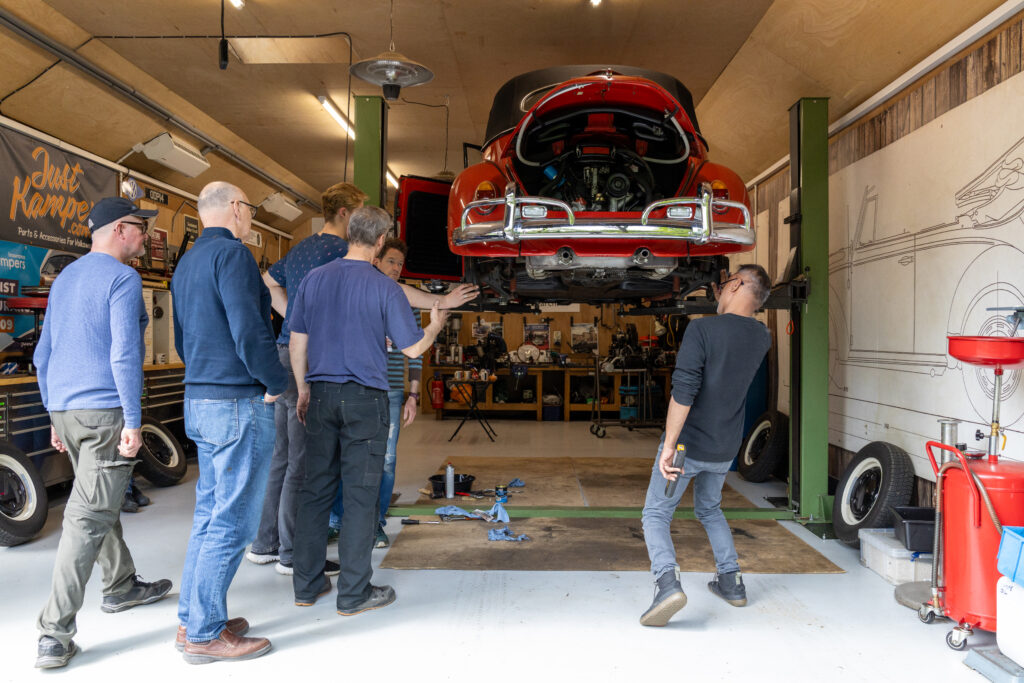
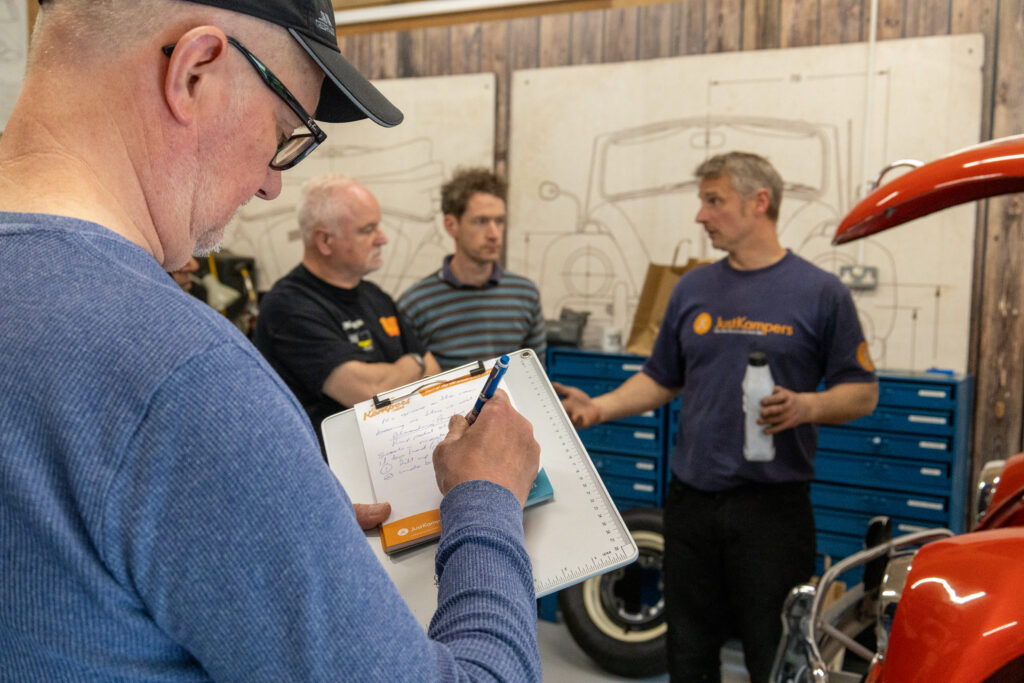
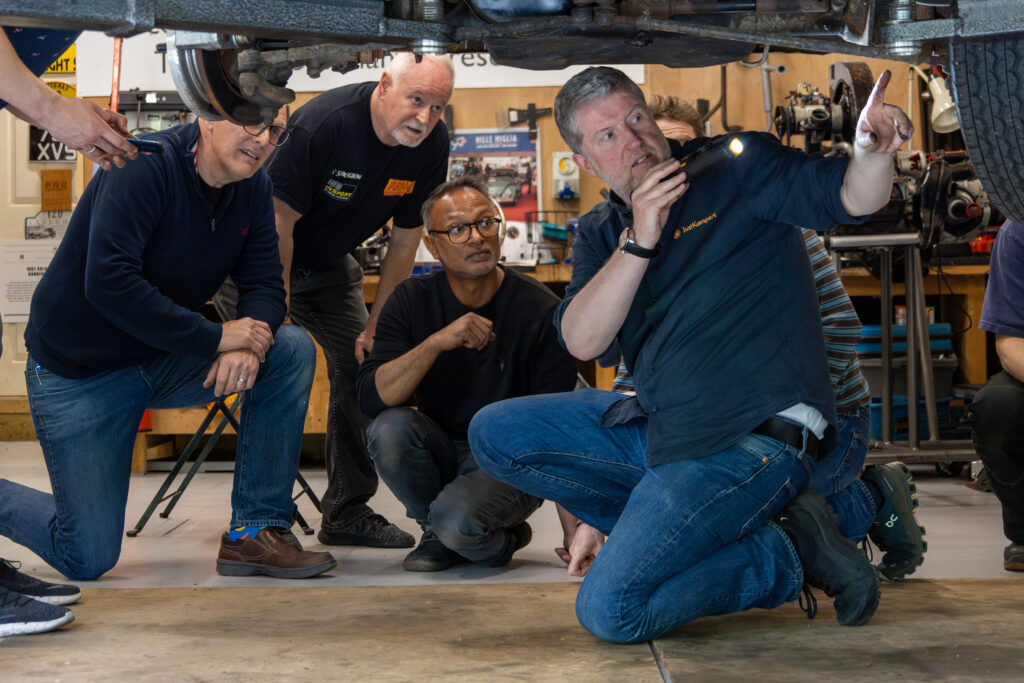
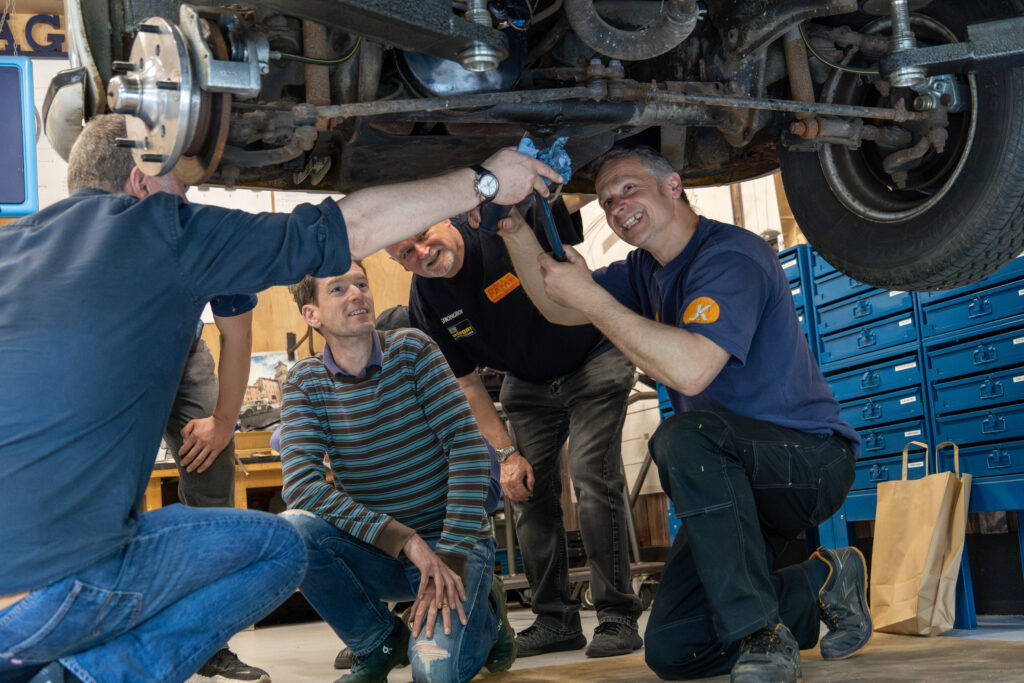
Just Kampers have recently wrapped up the first four of their JK Training Days, where they gave small groups of enthusiasts some hands-on mechanical experience working on classic Volkswagens.

 Mark Reynolds, who started Just Kampers back in 1989 (35 years ago last September!) hosted the Training Days in his own workshop, and was joined by ‘Workshop Mark’, who is Just Kampers’ onsite mechanic and star of their how-to videos on YouTube.

 They used Mark Reynolds’ 1967 Beetle Cabriolet and a 1970 T2 Bay belonging to Pete Dempsey from the JK Team, as well as a series of vintage cut-away engines, gearboxes, and floor pans to demonstrate how things work, how to check them, and how to fix them.

 A different topic was covered on each day:

• Getting your VW Ready to Use After Winter, and Basic Servicing

• An Introduction to Working on Classic VWs for Beginners

• Breakdown Prevention and 10 Tips to Get You Back on the Road If You Do Break Down

• An Introduction to Classic VW Brakes, Steering, and Suspension

These first four JK Training Days were used as a bit of a testing ground, to see how best to communicate the sorts of information that people might want if they’re new to working on air-cooled VWs, and to gauge interest in hands-on training days as a concept. It’s fair to say that there’s definitely interest in these sorts of events, as the limited number of tickets for the events sold out really fast!

Everyone who booked paid £100 for their place at the event and was then asked whether they wanted the money donated to Cancer Research UK or Phyllis Tuckwell Hospice Care, which is a charity local to Just Kampers. 100% of the money from the events went to charity, with a total of £2,500 raised – £1,100 went to Cancer Research UK, and £1,400 went to Phyllis Tuckwell Hospice Care.

After the success of these initial training days, and the great feedback they’ve had from attendees, the team at Just Kampers are keen to run more of these hands-on events.

If you have a topic or subject you’d like to see covered in a JK Training Day, you can email the JK Team at jkworld@justkampers.co.uk with your suggestion – there’s no promises that they’ll make it into a theme for a JK Training Day, but they’re definitely keen to know what you want to learn about!

You can read more about JK’s training day events at justkampers.com/jk-training-days/

You can also learn more about Cancer Research UK and Phyllis Tuckwell Hospice Care at cancerresearchuk.org and pth.org.uk respectively.

Inspector Gadget – Hub caps

Following on from a conversation with former editor Phil Aldridge, this is a mechanic’s cheat for any hub caps.

If you press your hub caps on and sometimes they fall off, the cause is loss of metal. The Splitscreen and Bay window steel wheels have hub caps that attach to the wheel by gripping 3 lugs on the wheel itself. Repeated attachment and removal of the hub caps over the years removes tiny amounts of metal from the steel wheel and can also make the hub caps slightly wider as well.

The new ones are known as “summer chrome” and do not last very long in our climate. The original ones tend to have rusted by now. Any time you clean one or fit one, there is a danger of them falling off.

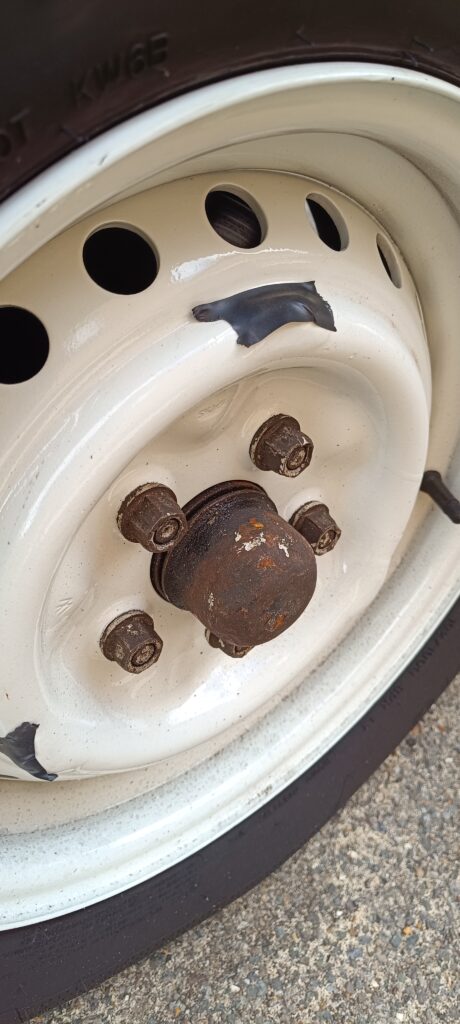
A mechanic friend suggested this trick which has worked for him for decades. Remove the hub cap and thoroughly clean the wheel. It looks better already, doesn’t it? Now with a clean, dry wheel, apply some electrician’s tape over each of the 3 lugs being careful to cover the piece that grips the hub cap. Offer up the hub cap to ensure that the tape is not visible.

Once all 3 lugs are taped, place the hub cap over 2 of them and tap the hub cap onto the third one. It can be quite difficult to do this and be careful to tap the edge of the hub cap otherwise you are likely to dent the middle! There are plenty of dented ones visible on member vans! If you dent it, tap the dent out carefully from the inside.
With all of them on, admire your handywork – and be a lot more confident that the caps will be there when you arrive.