
Spend since last report: £508. Total hours labour since last report: 88.9
Yes, that is a lot of hours since the last report. Yes, progress has been made! Last report, I noted that I had purchased a new spray gun and it was time to test it out. Prior to installing the nose / front panel, I decided to spray it before installation to get down to the bottom that is hidden when installed. At the same time, there is a lot of metal to spray on the cab floor, kick panel, seat tubs and main cargo floor. I mixed up my 2-pack L90D Pastel White and donned my trusty 3M mask and did a test spray on some cardboard to check the spray pattern. Once that was about right, I set to work and used about 750ml of paint.
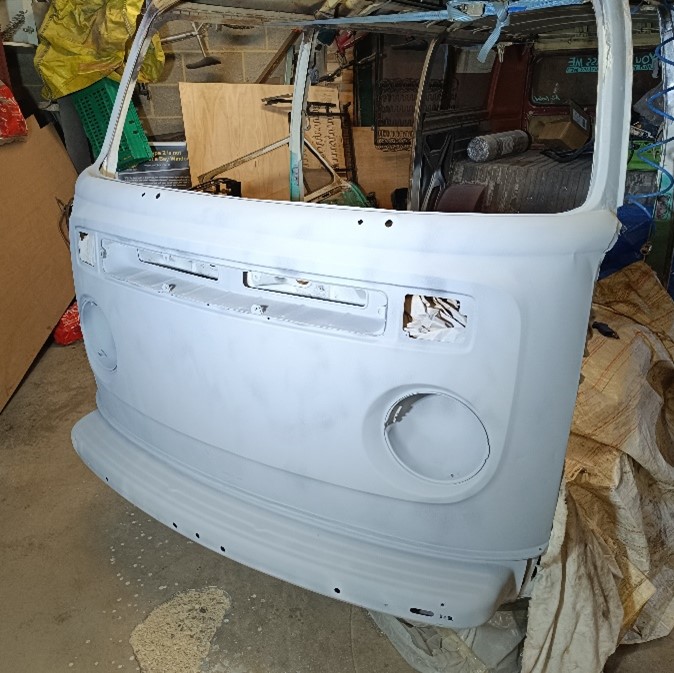
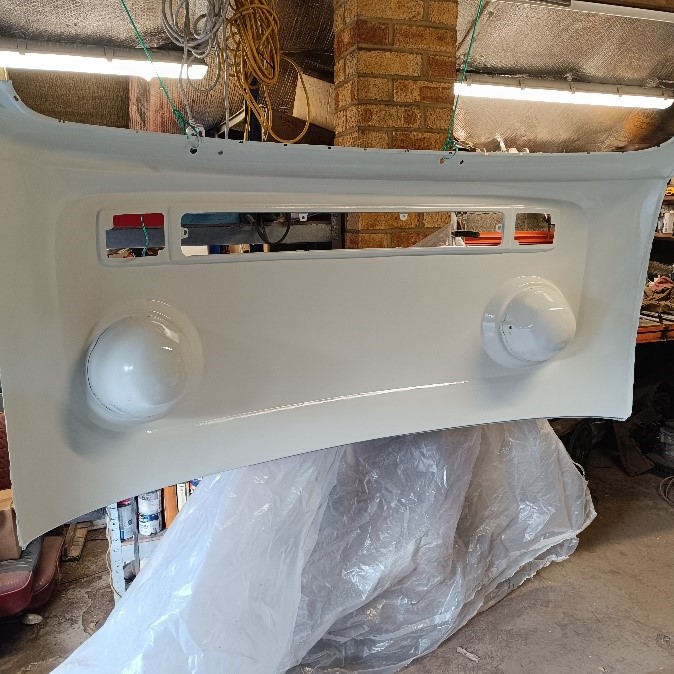
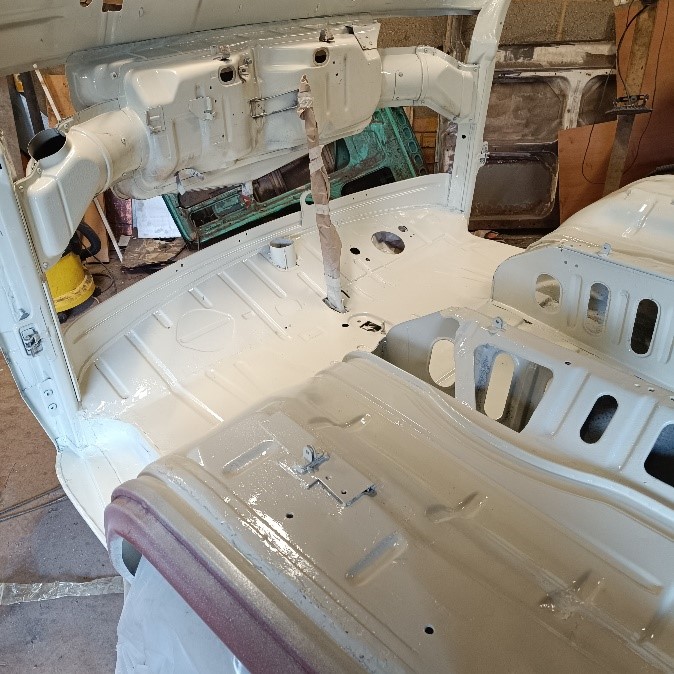
I’m not very good at paint and for sure others would be faster. My garage is dusty, so there’s a few bits under the paint here and there, but it is on and looks great. The feel of 2-pack paint is that it is really durable and smooth (dusty bits excepted!).
Then I moved on to the installation of the front panel. Welding that on is simple – loads of people do it. There was a recent article from John Undie Underwood on it with clear details, and is a regular thing to do as the front takes all of the weather when driving.
Simple huh?
I started to get it clamped into position just 2,023 days after purchasing the panel from Just Kampers in 2018 and it has been sitting in the corner of my garage ever since. Every clamp in my garage was used to get it into position along with a ratchet strap to hold things tight. No matter how I tried, it would not line up properly – I managed to get everything sitting comfortably except the bulges on each side between the windscreen and the air intake vent. Possibly the panel was a poor pressing or it got bent at some point, or I simply did not know what I was doing!
I welded it all into place except the bulges. All looked good. The outer panel matched to the inner windscreen panel to within 1mm which was brilliant given that the inner panel went in rather blind due to rot on the previous one.
The air vent tabs also lined up and the spot welds were things of beauty.
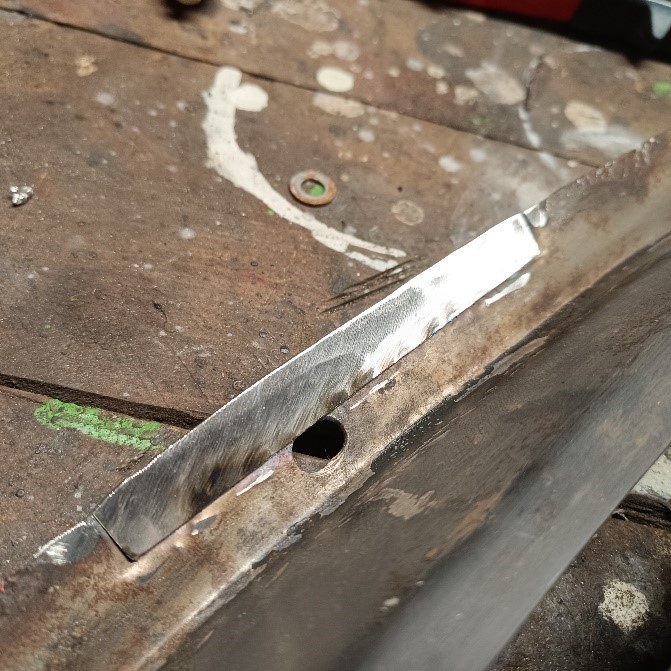
Next up is the dashboard. The dash is made of the metal front, a softer rubber style grab rail in the middle and then the metal for the dials, radio and switches. Separating the 3 components was straight forward, although the nuts would have been tricky without my trusty impact driver. Everything was stripped to bare metal before dealing with the inevitable rust on the front lip. This was chopped out and a few sections of new steel let in. I was quietly pleased with how smoothly that all went on!
Once stripped, I then rust proofed it all, etch primed twice and top coated twice with John Deere matt black tractor paint that is my go-to paint for black parts and it goes on wonderfully well. I also emptied the box of other metal to be painted black as well – dash, front of dash, steering column, steering column surround, foot pedals, steering column support bracket and closure panel on the floor, and finally the air vents that sit on the front of the dashboard.
The sun came out for a change and it all got air dried and sun baked.
The inner windscreen repair panel did not come with the bracket to attach the dashboard. Never mind, I can cut rectangles of steel, bend them, drill a hole and weld a captive nut. I made one for each mounting hole of the dashboard, offered up the dashboard, marked the location and welded them in place. They looked great and I then painted them in L90D pastel white and adjourned for the day with a big smile on my face.
It was later that night that I realised that you don’t put the dashboard in flush to the top of the inner windscreen, it goes about an inch down. The next day, I carefully removed the tabs, remaking a few that were not good enough to re-use, took the paint off the tabs and the inner screen, welded them on in the right place and then offered up the dashboard. Yet more time spent doing it a second time because I don’t know what I’m doing.