Category Archives: Technical

Items of a technical nature relating to mechanical, electrical or bodywork issues

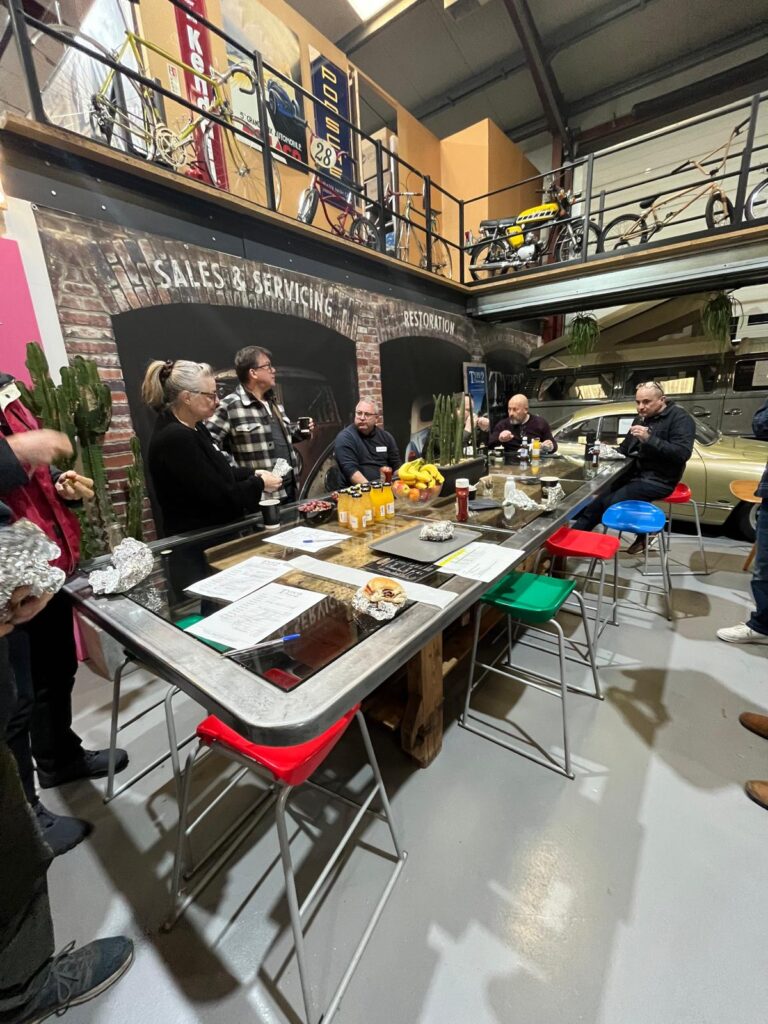
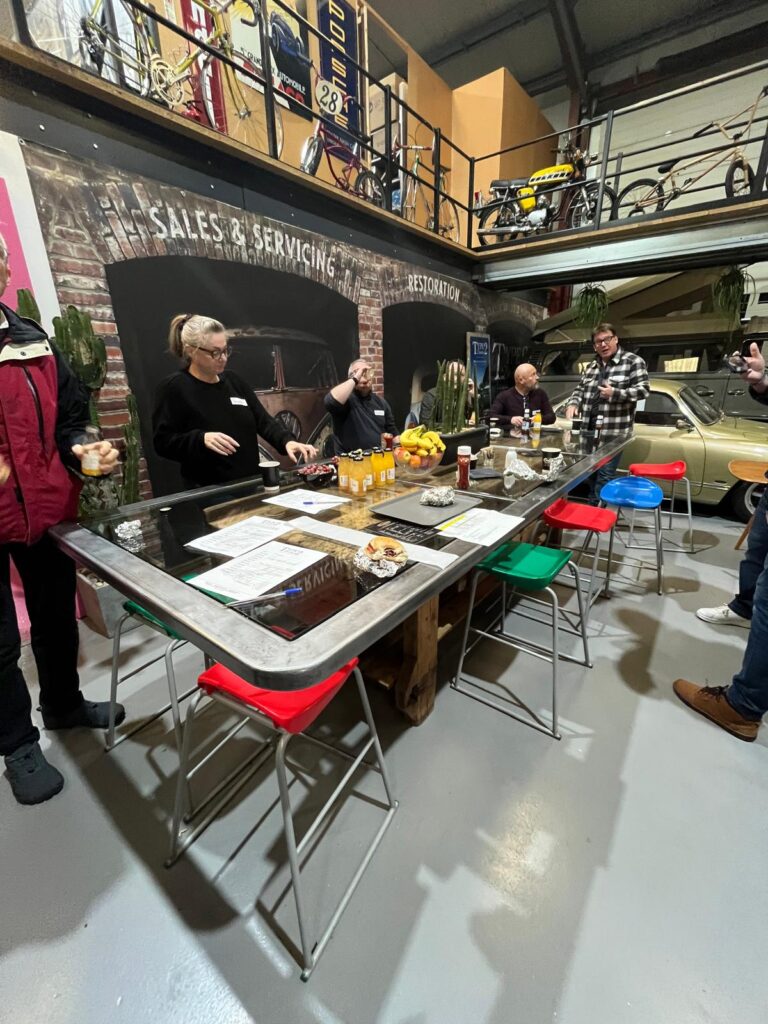
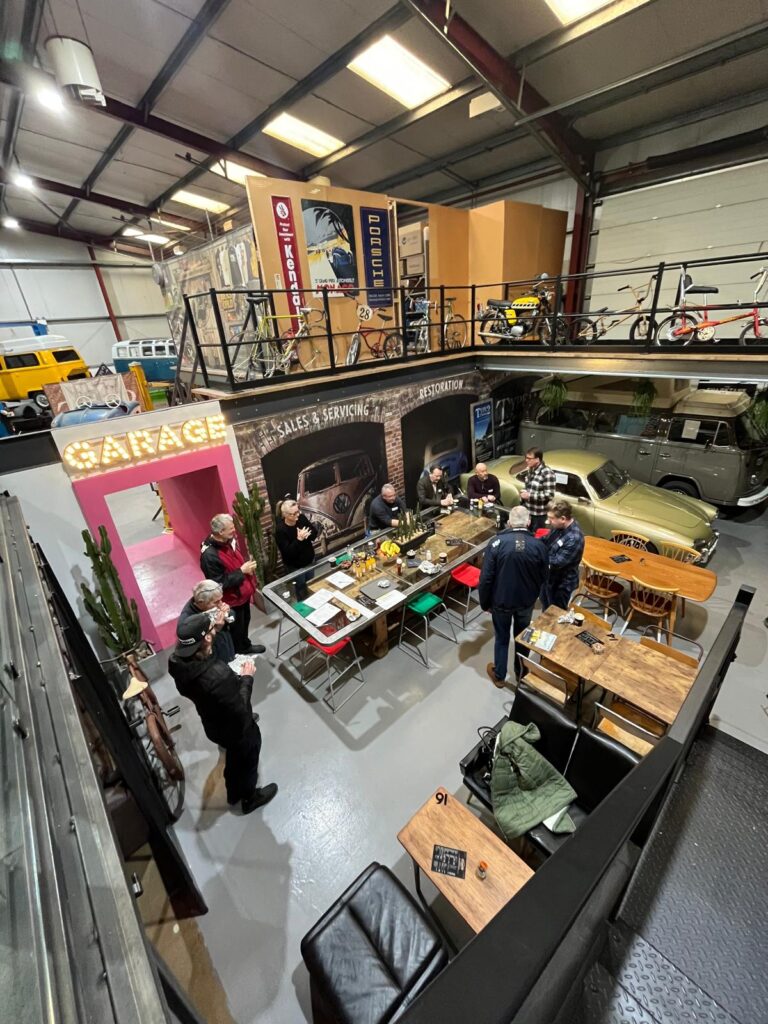
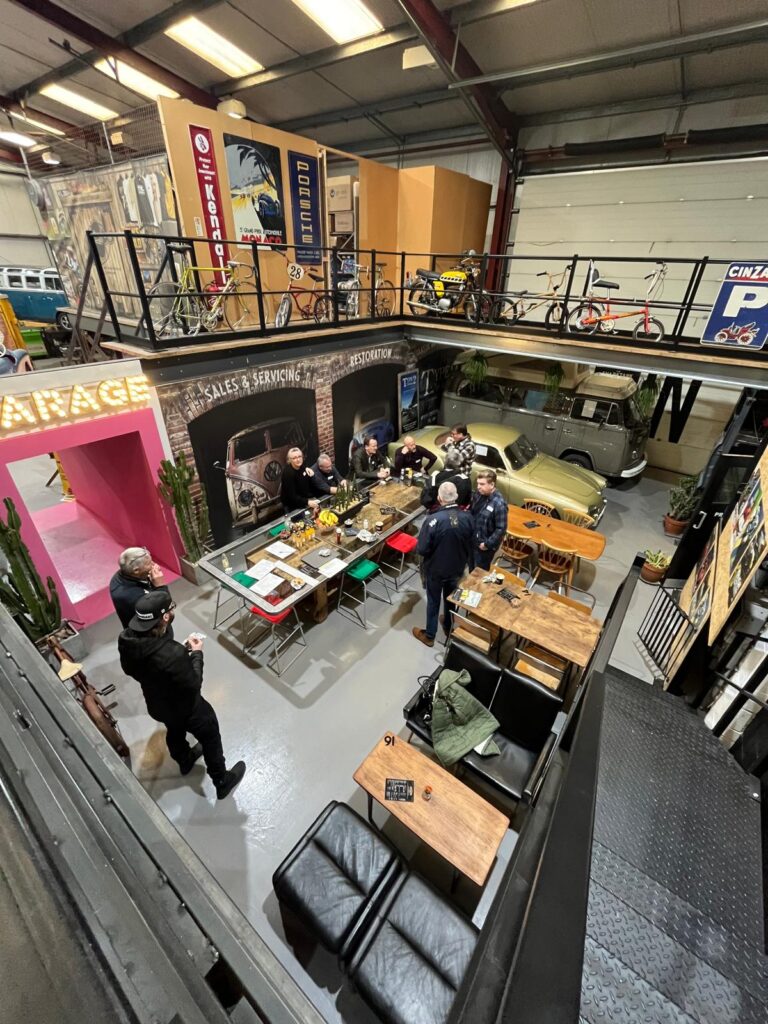
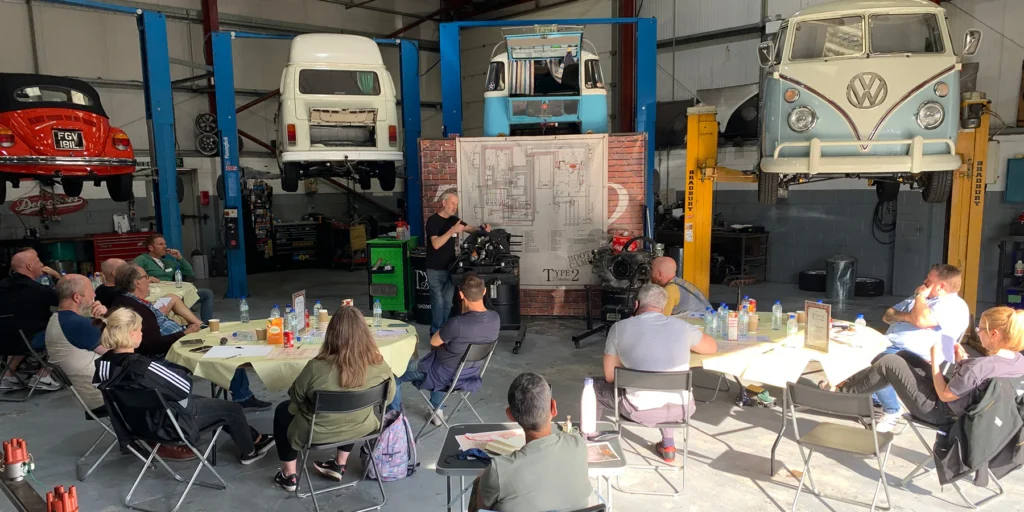
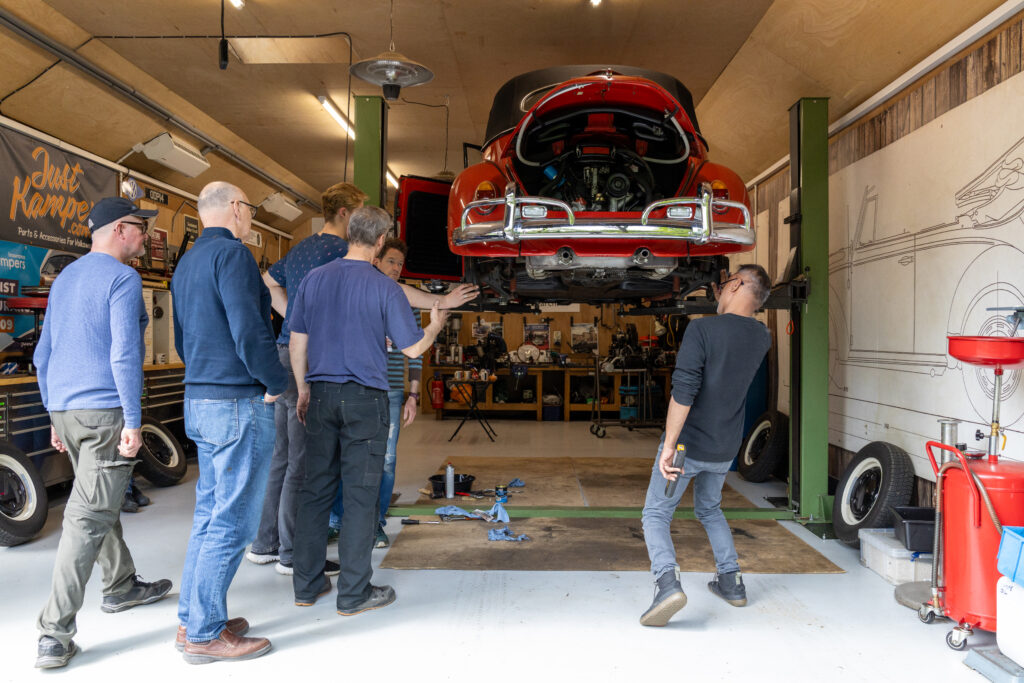
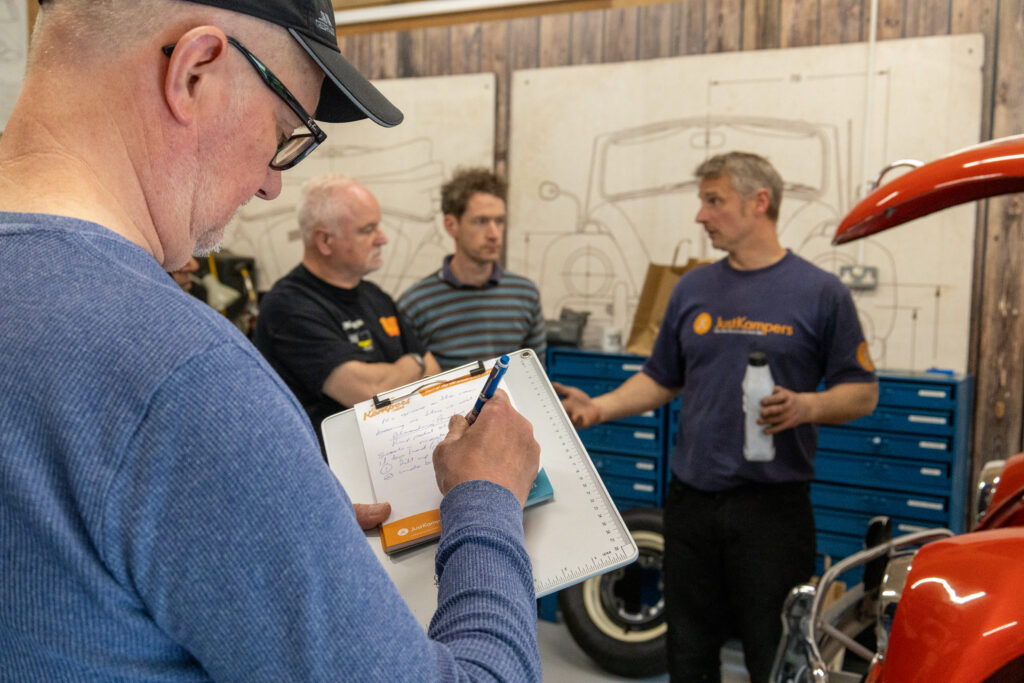
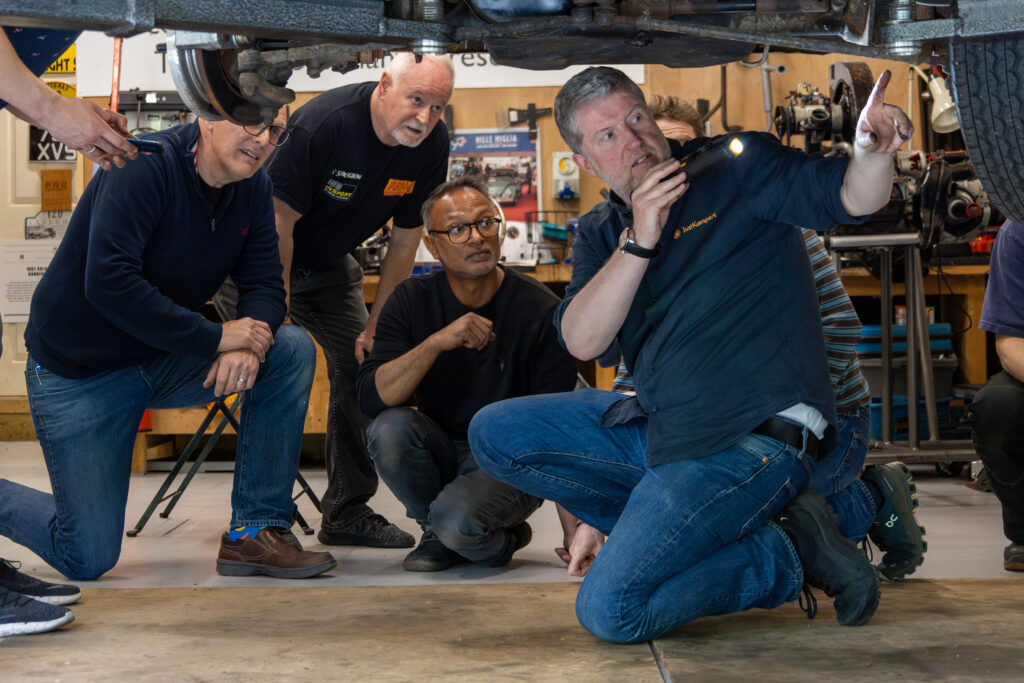
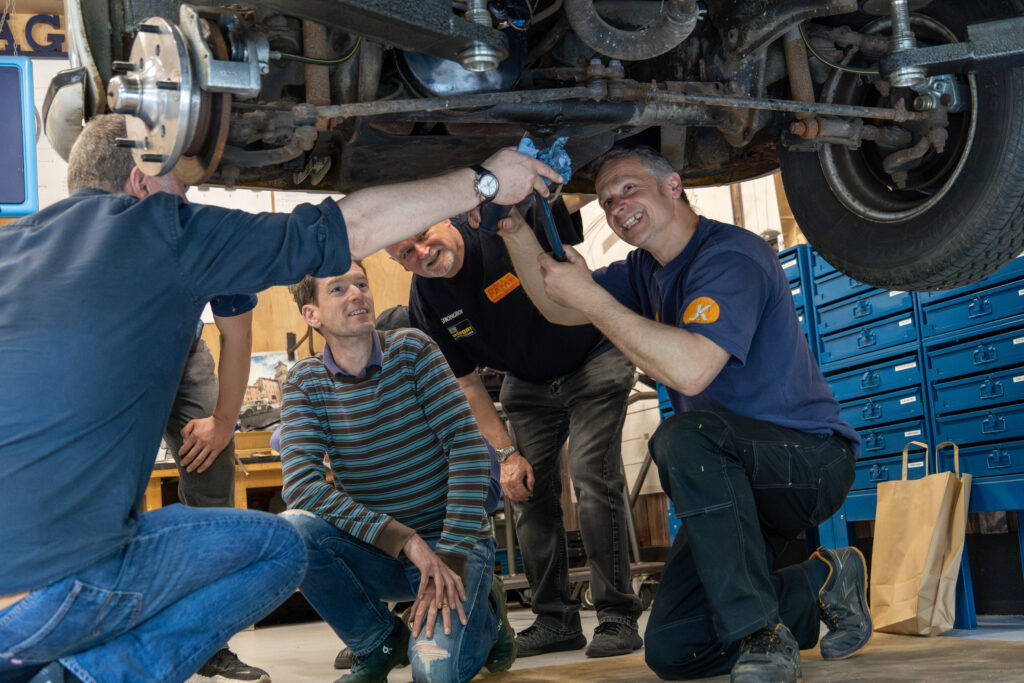
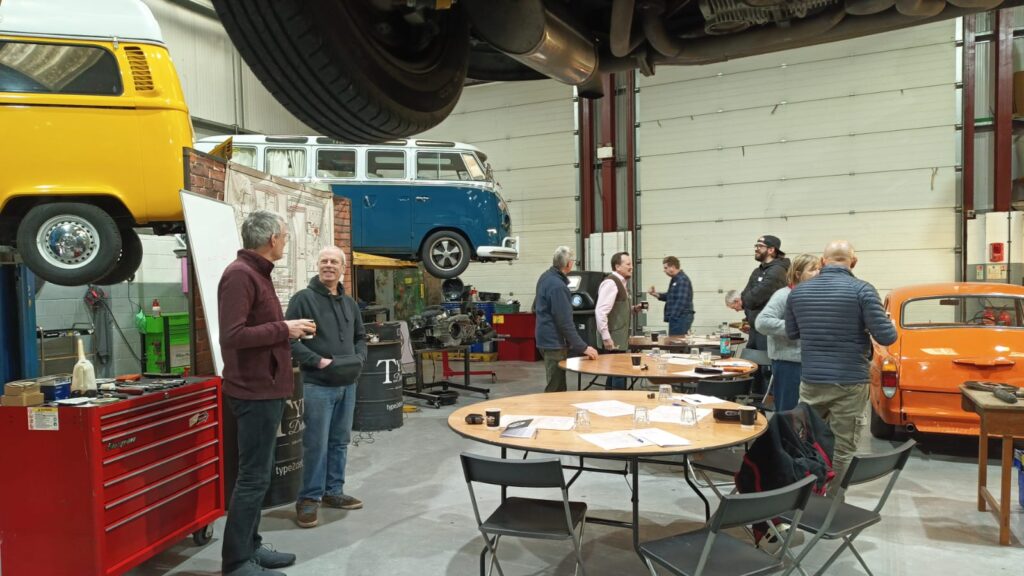
 Another one in the bag – Type 2 Detectives Maintenance Weekend

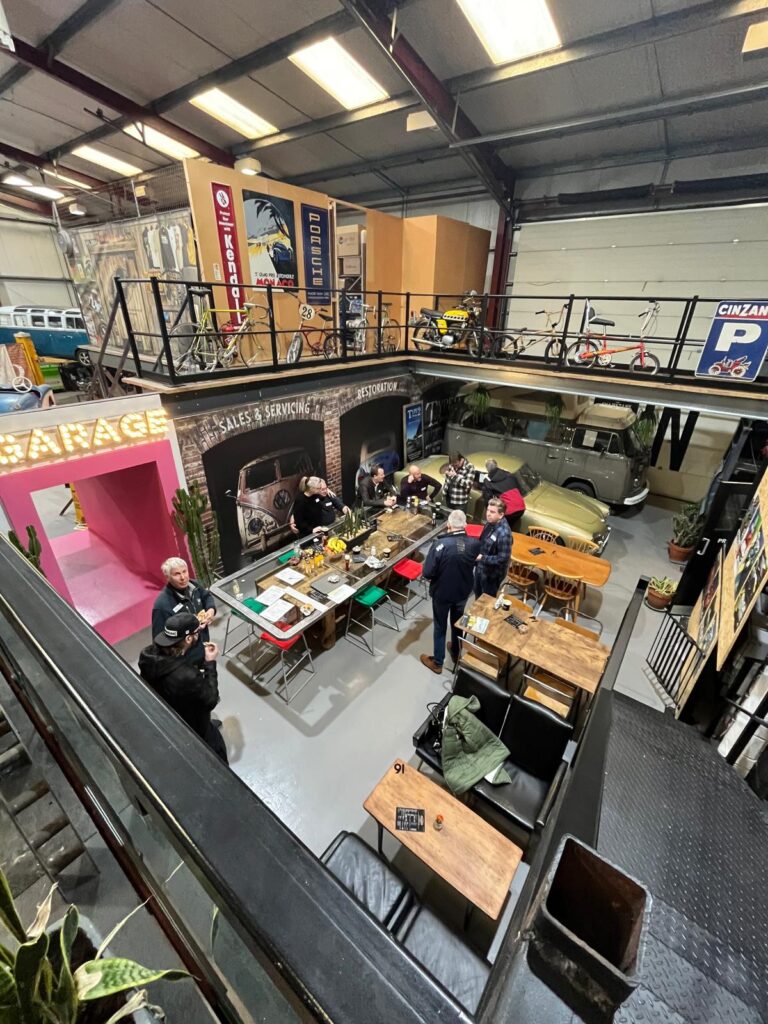
Type 2 Detectives Maintenance Day by Simone Smith

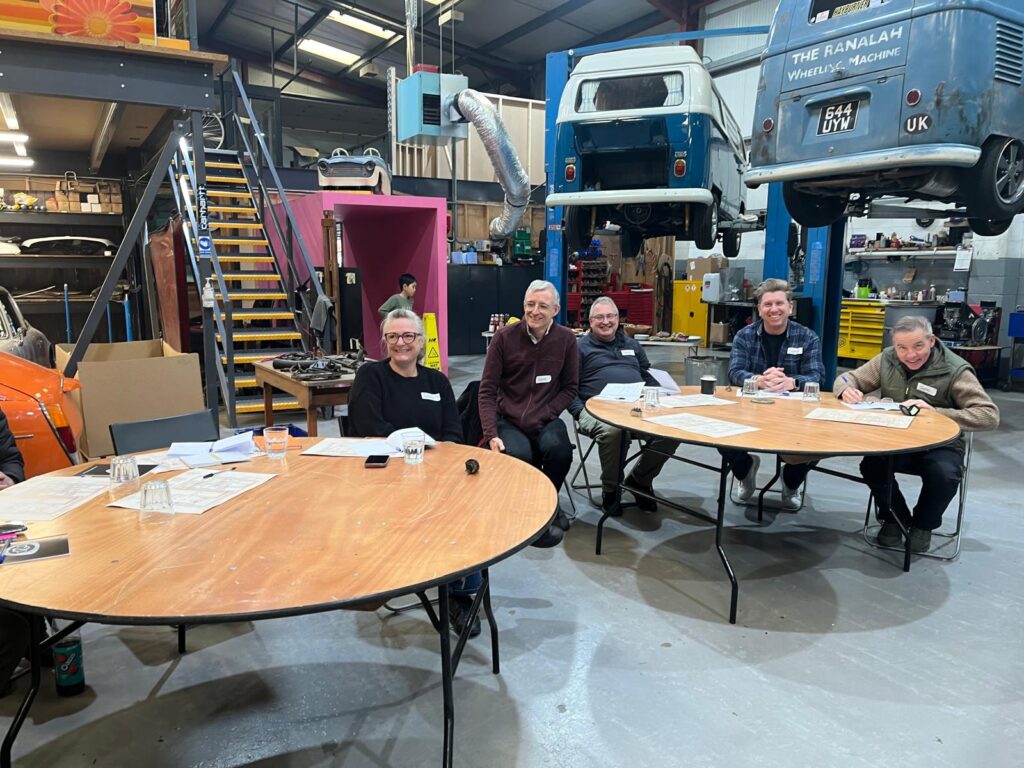
What can I say… this was excellent. If you are not technical minded (I am not and although my fiancée is, I was starting to find that I wasn’t able to help on issues, but after today I can) and want to help on your camper, then do a day at Type 2 detectives.

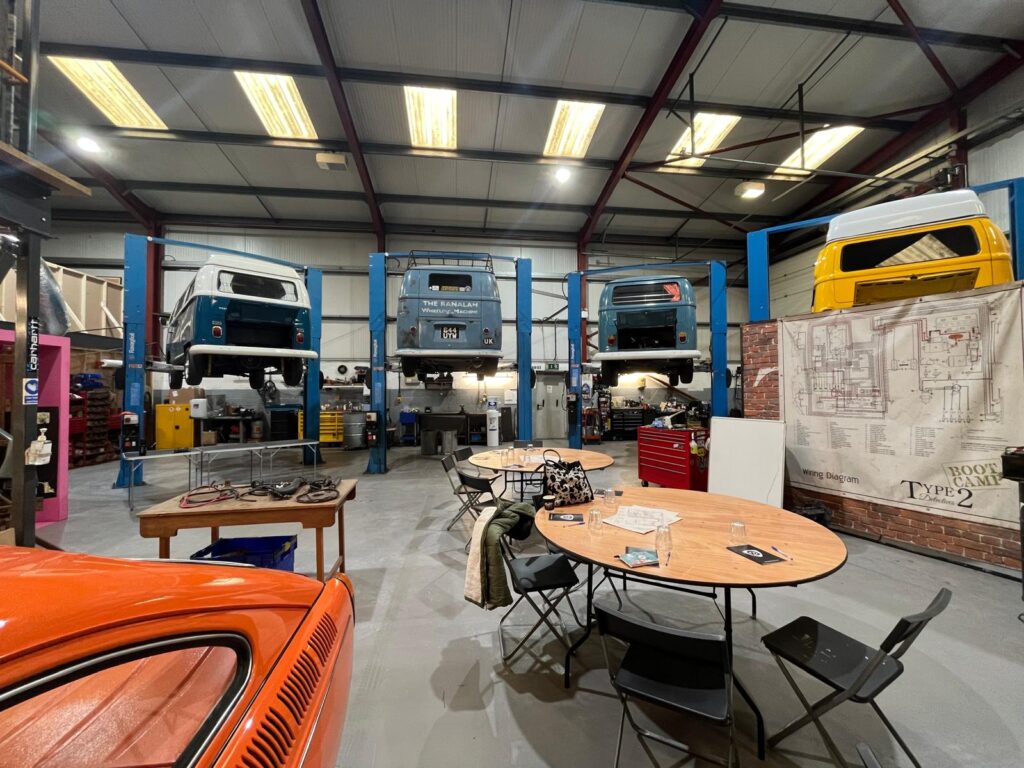
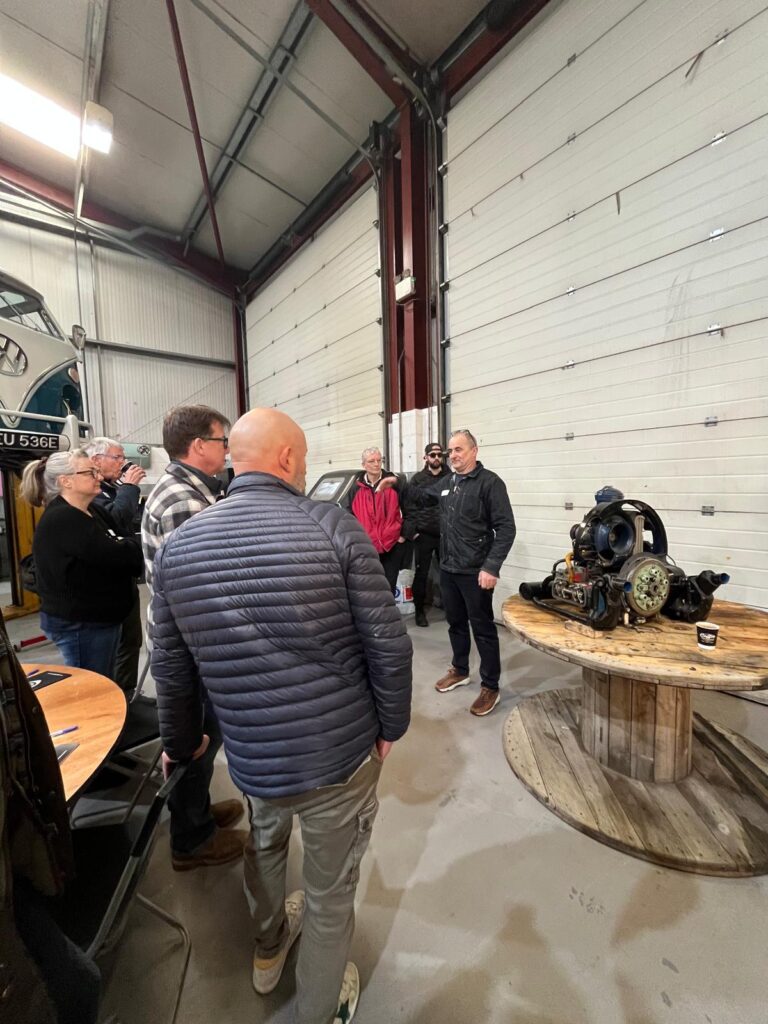
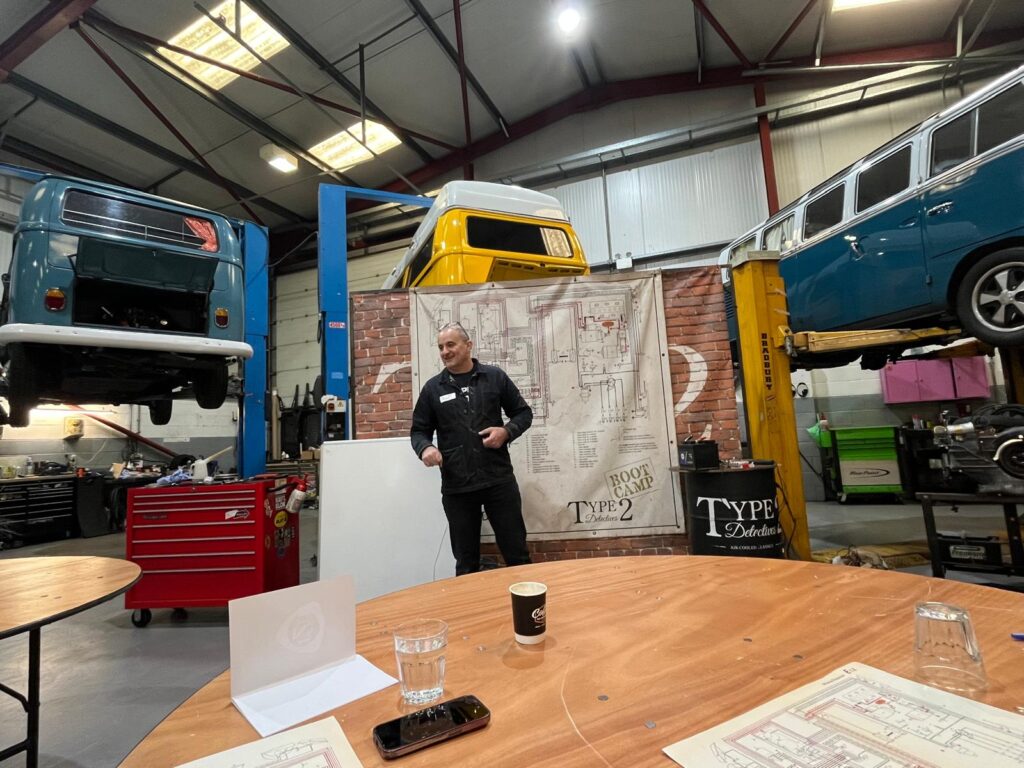
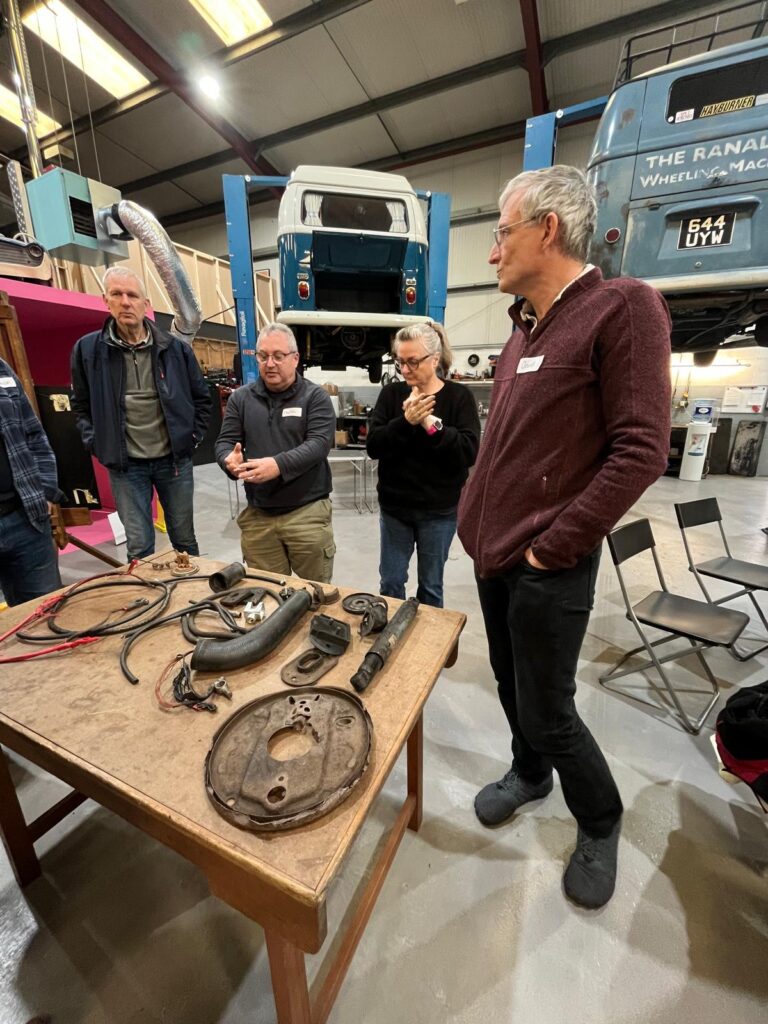
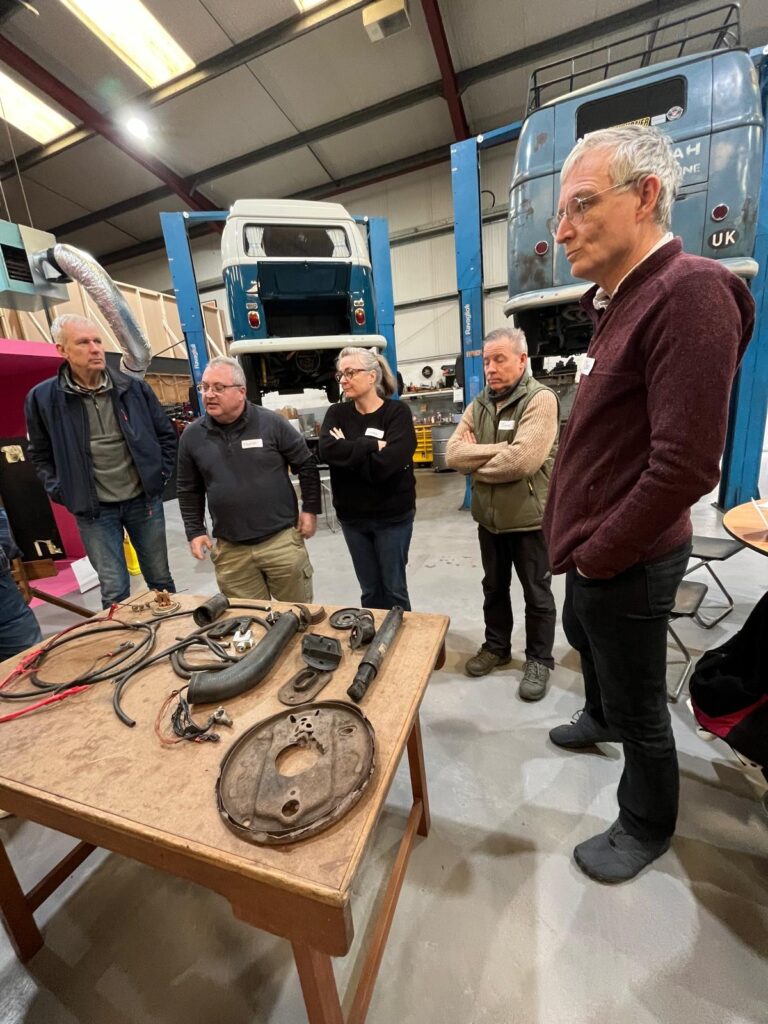
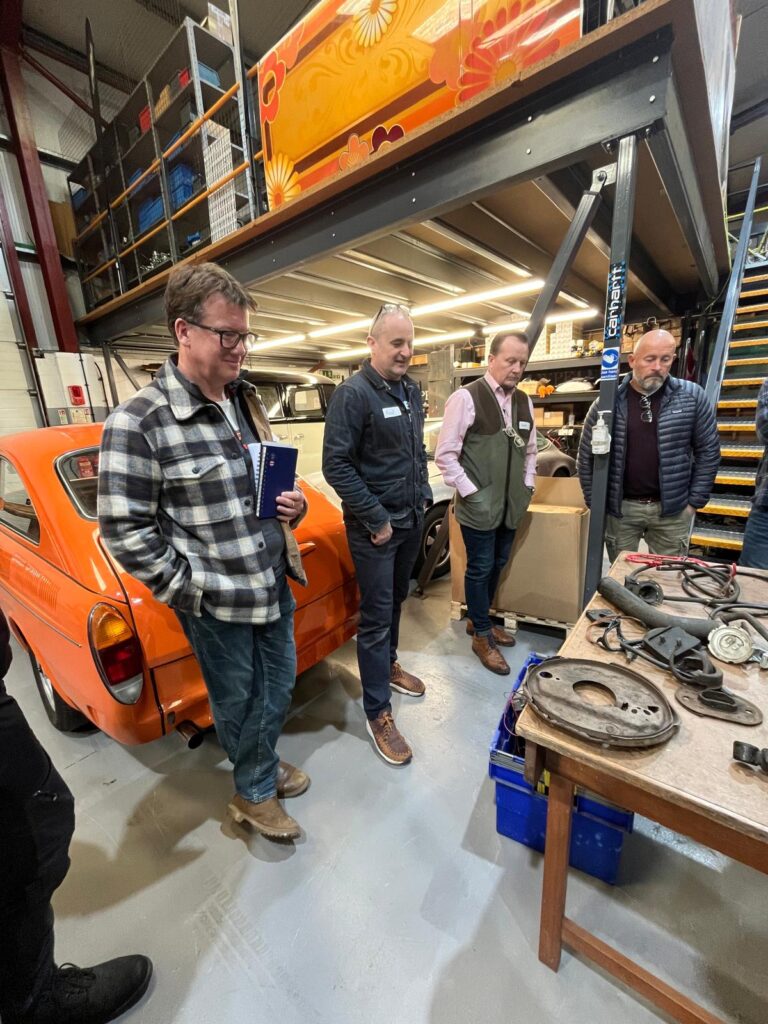
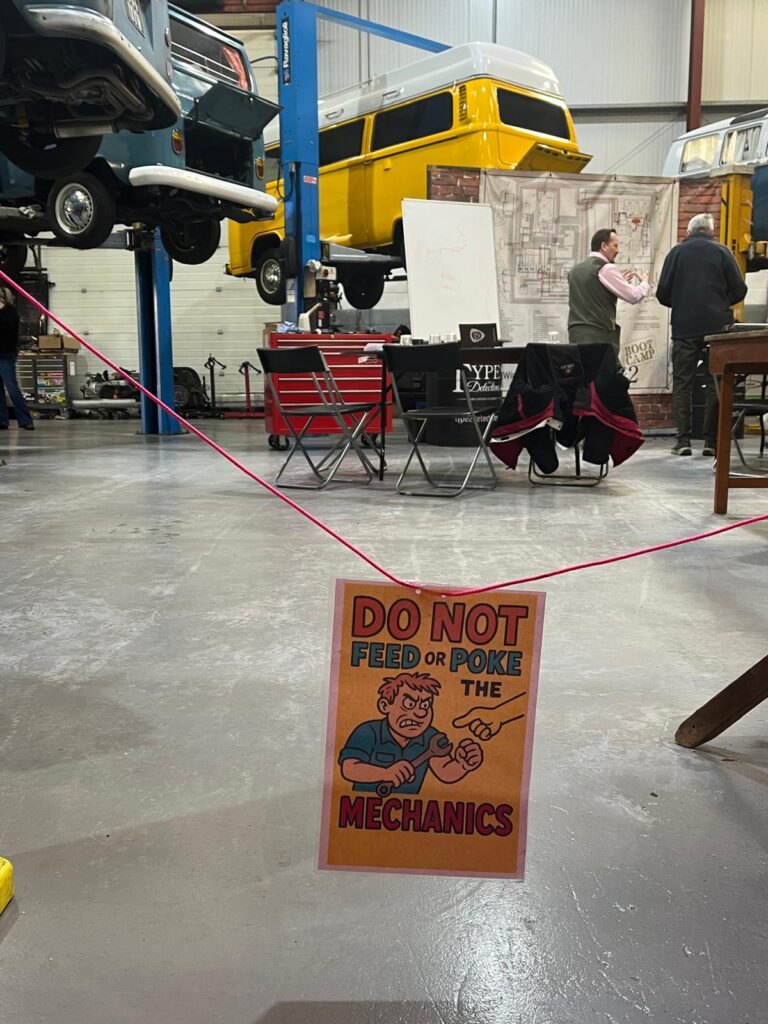
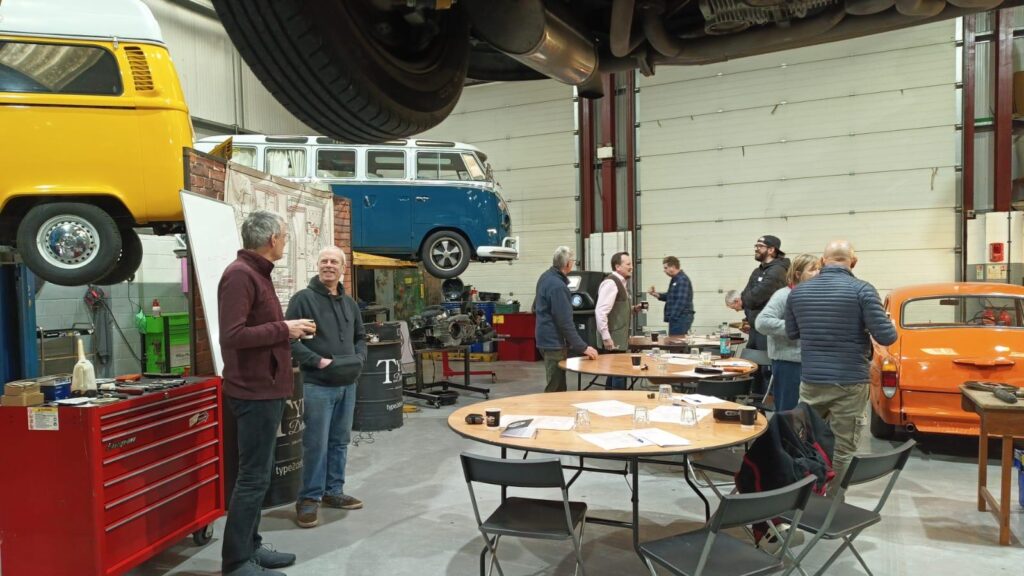
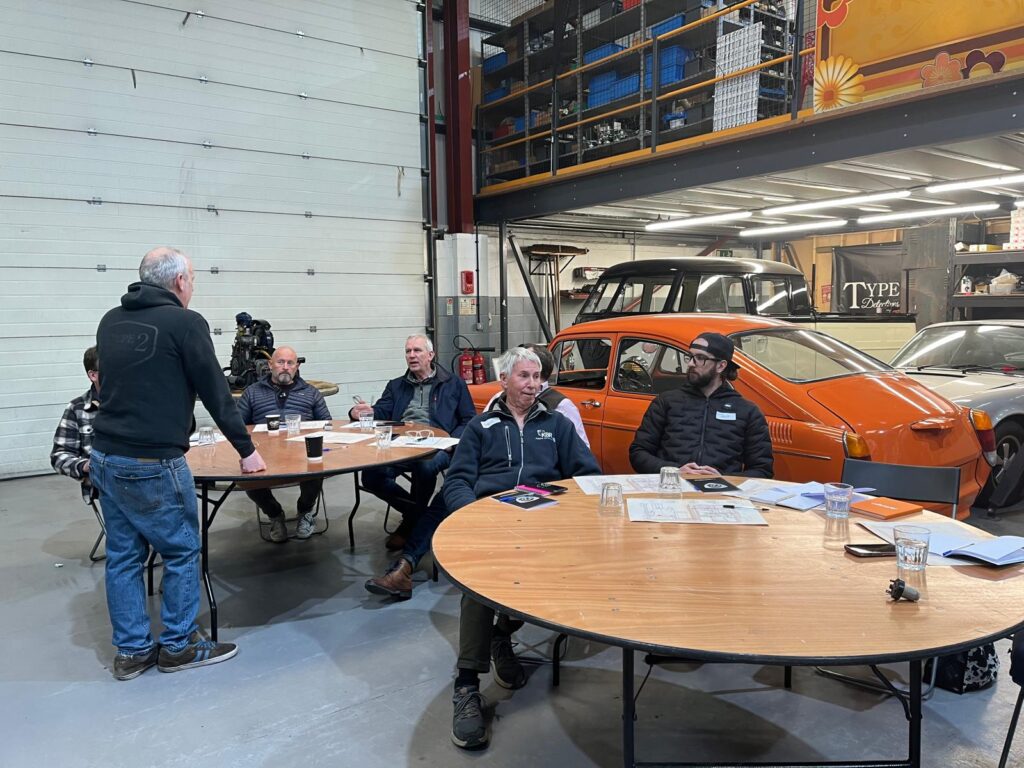
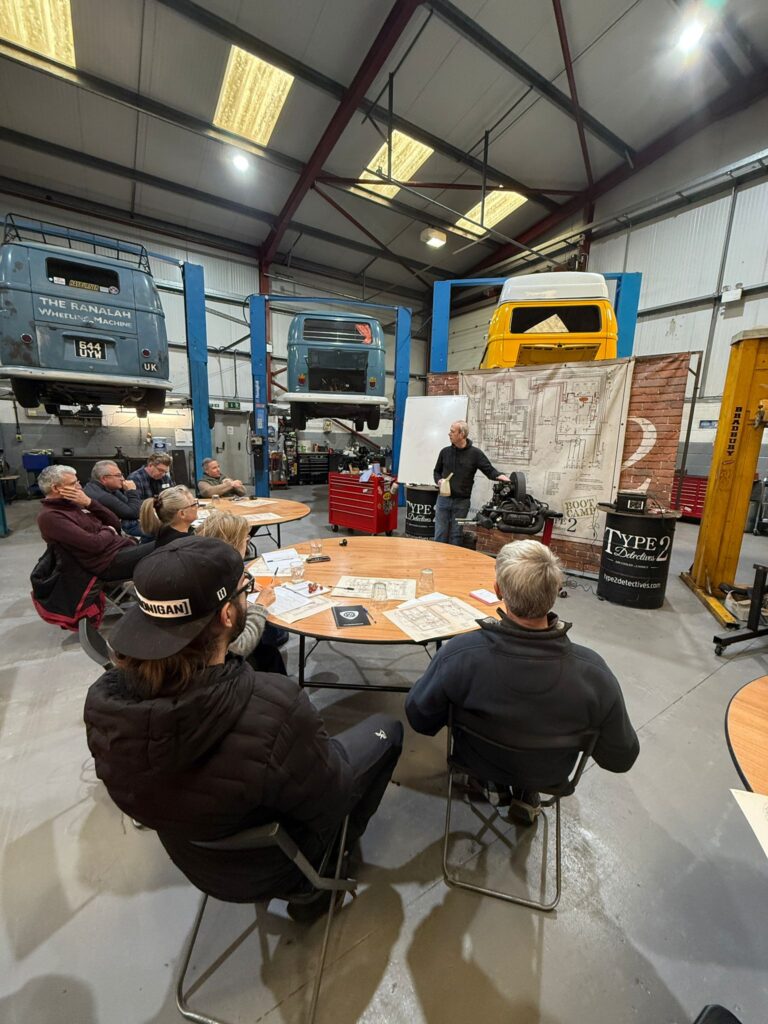
Andy and Paul were brilliant, very clear and great teachers, we were showed around the workshop and then explained what they do. They included everyone and made everyone feel able to fix or service their vehicle. 

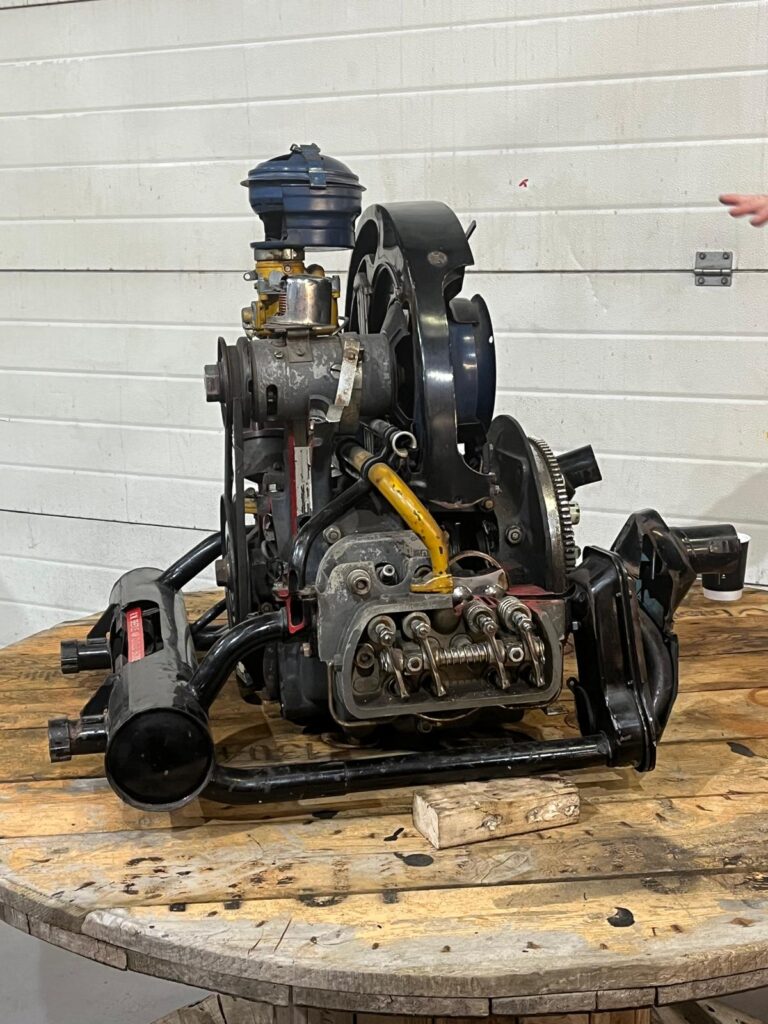
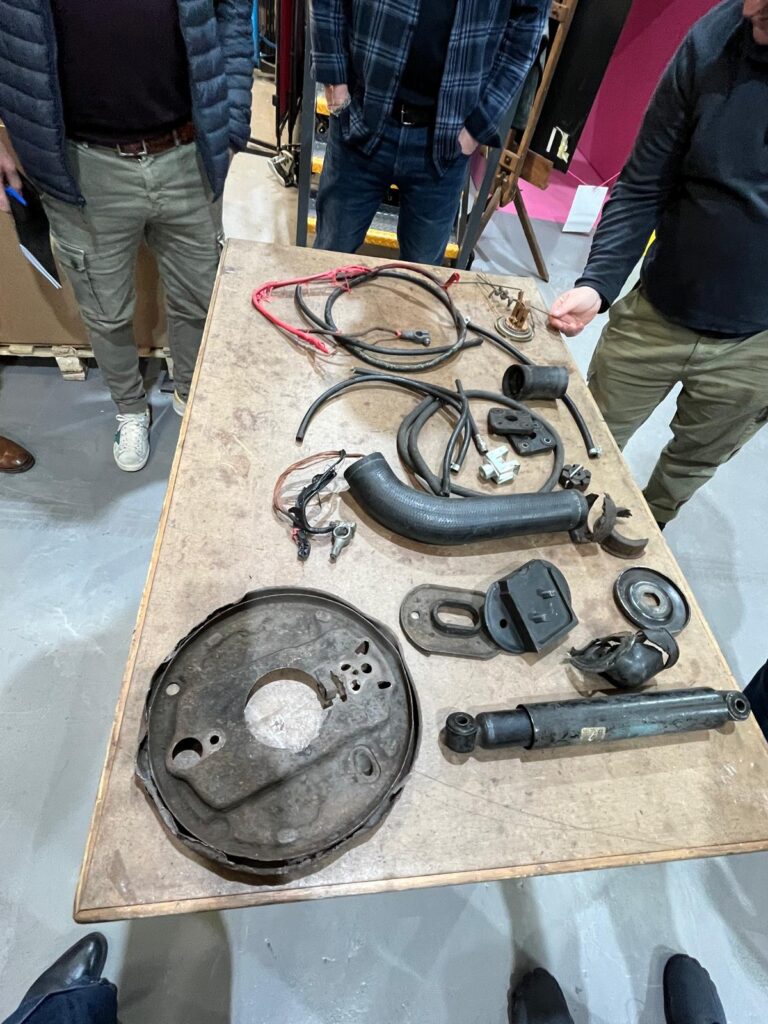
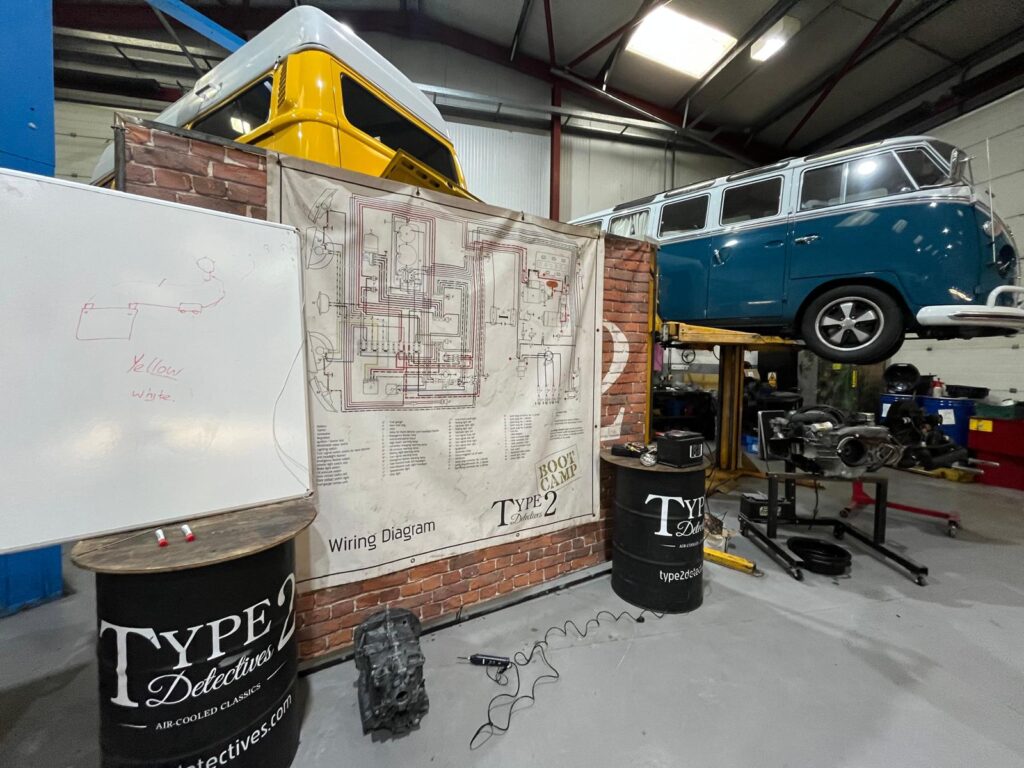
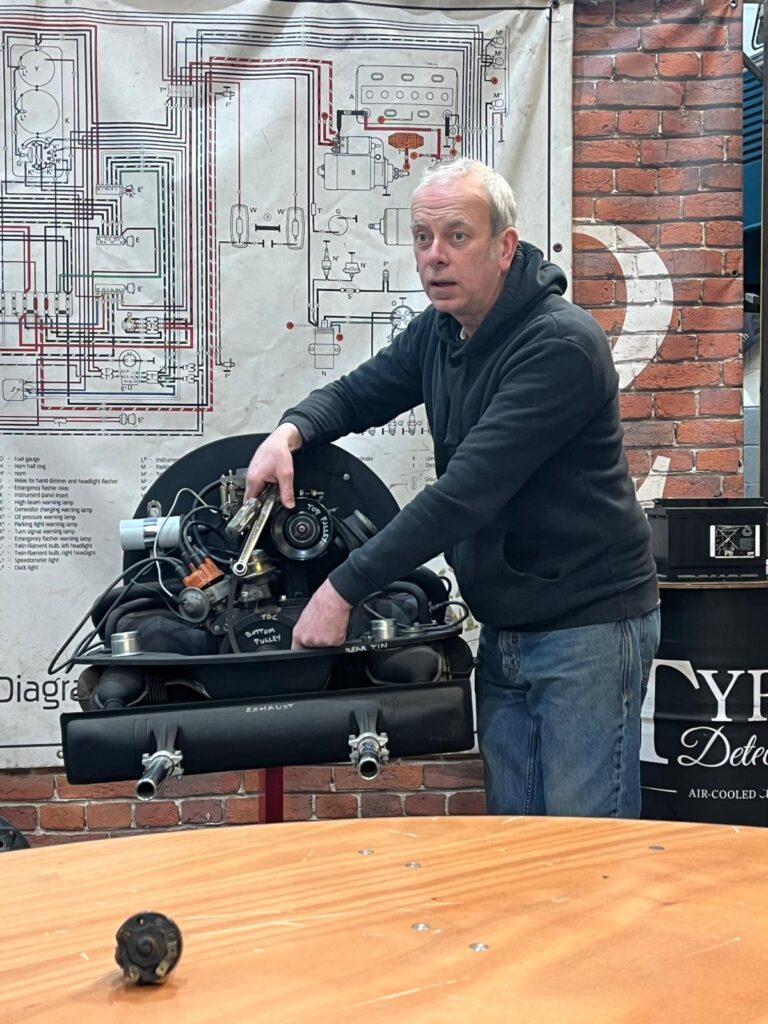
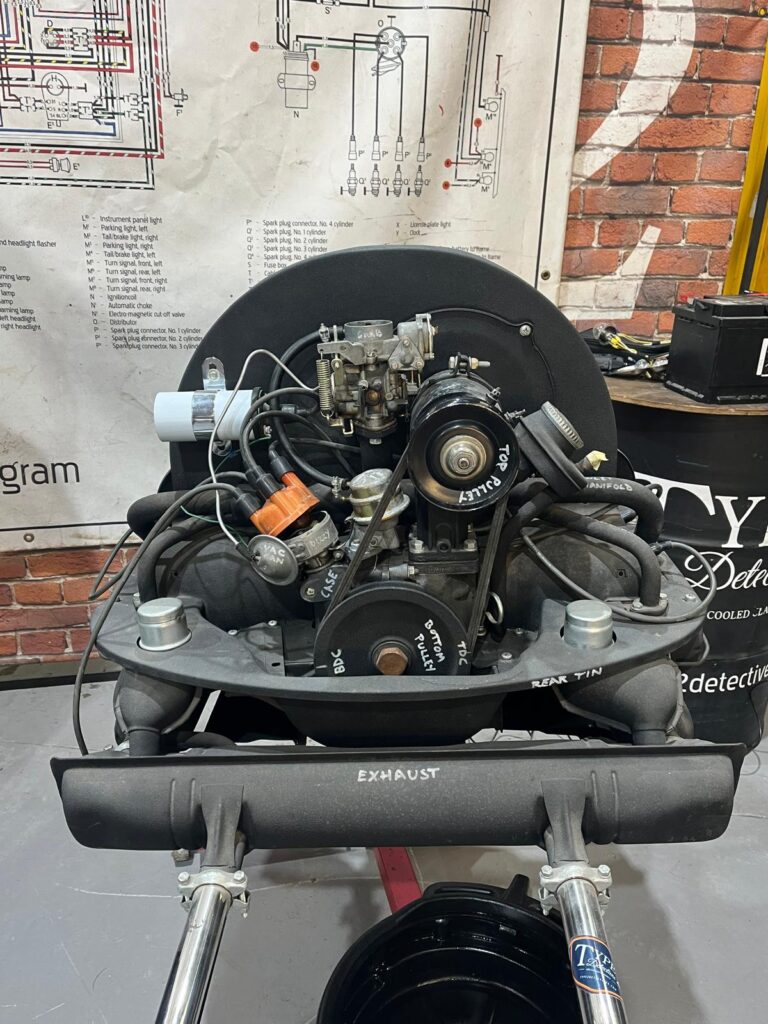
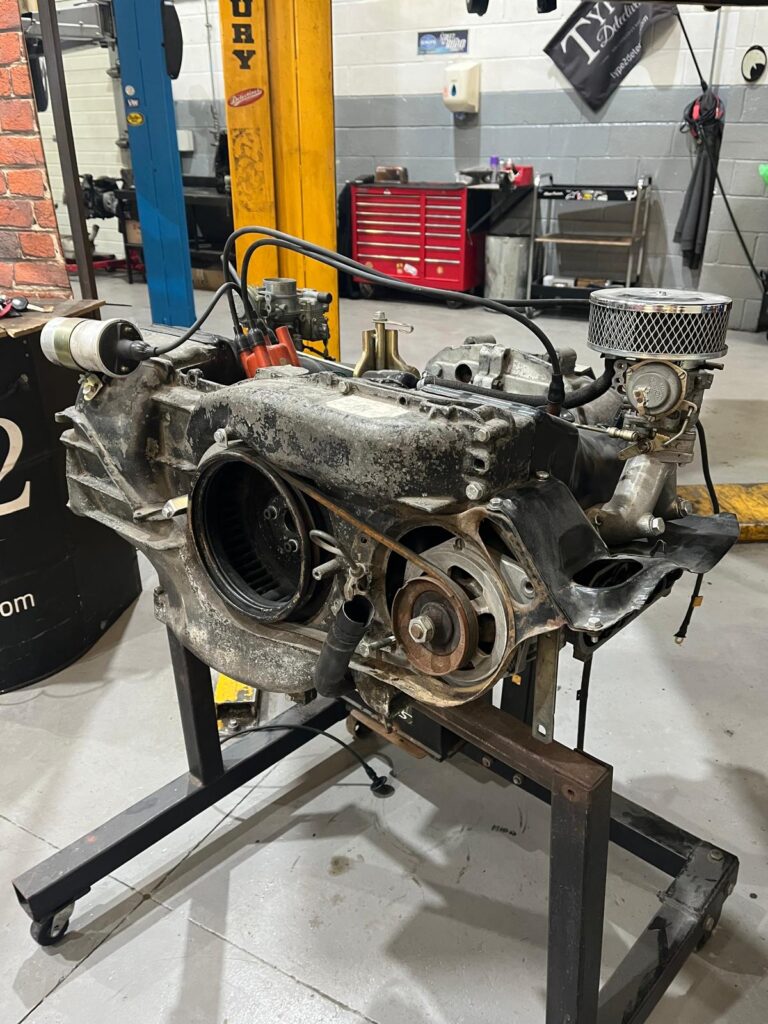
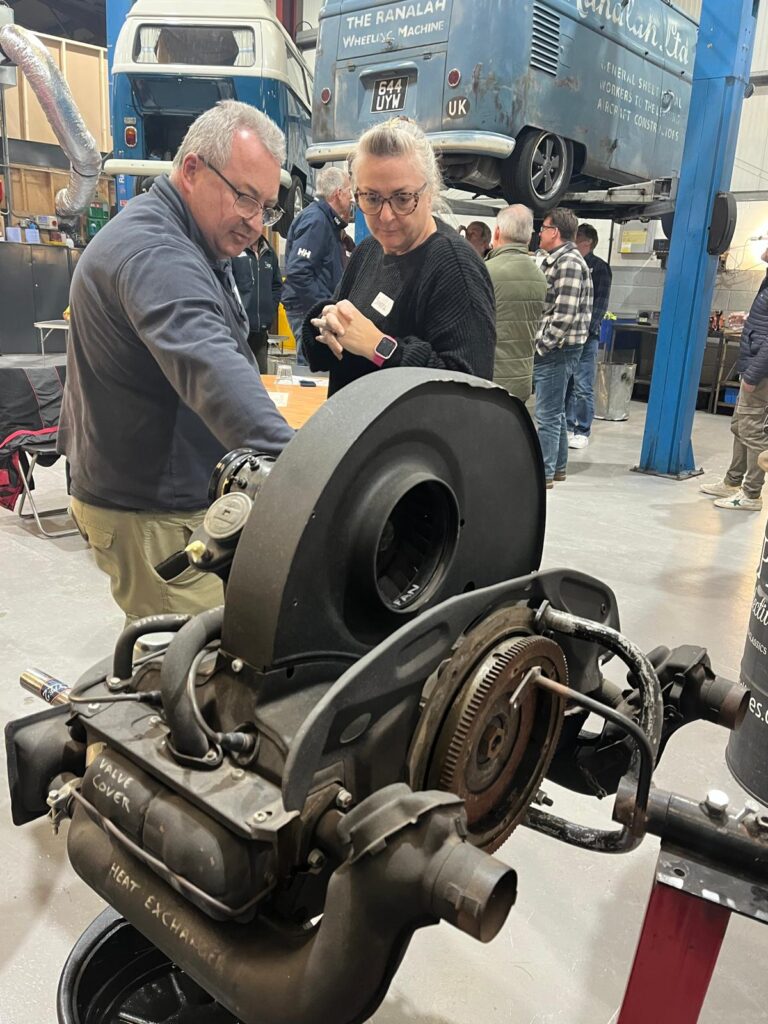
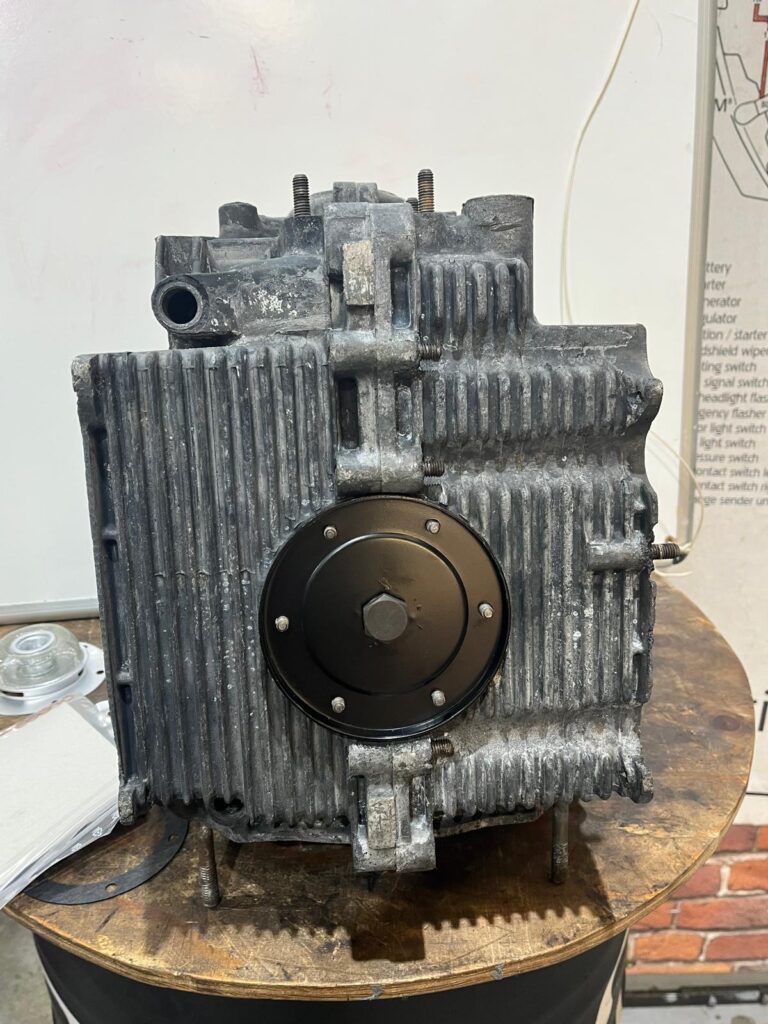
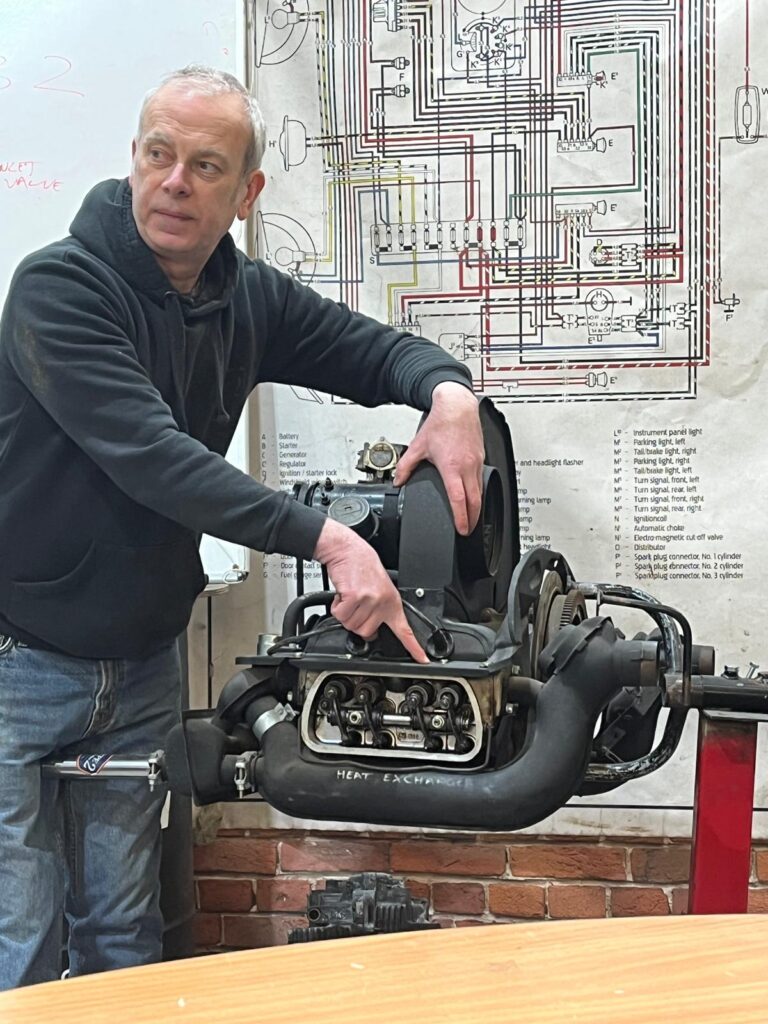
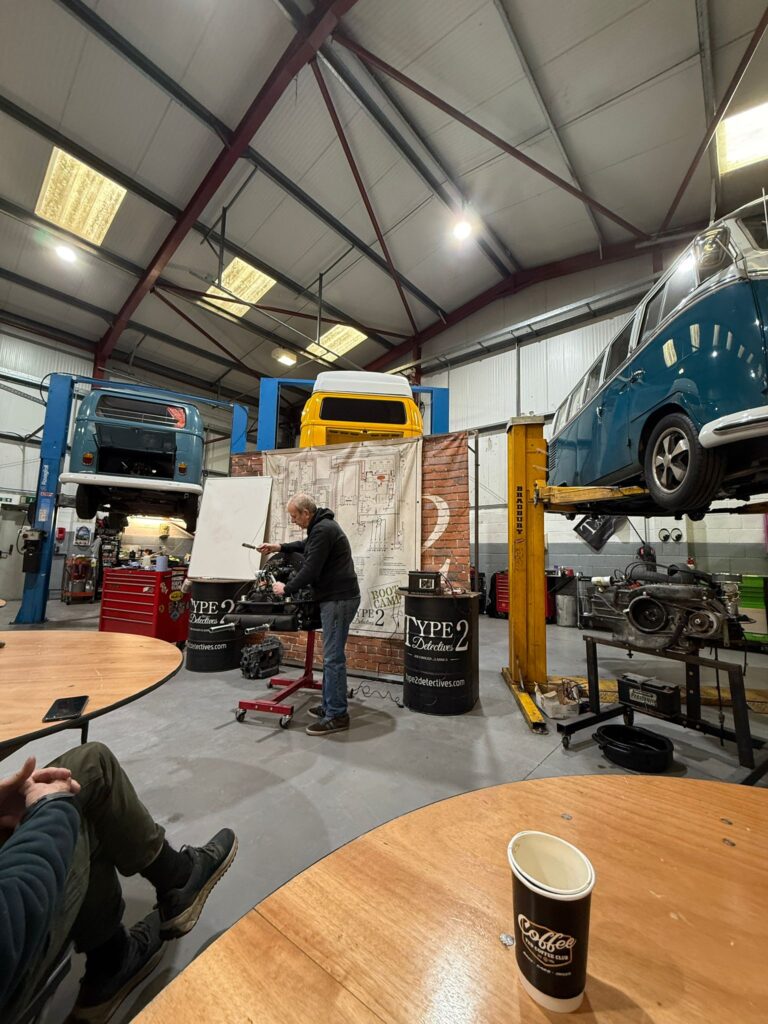
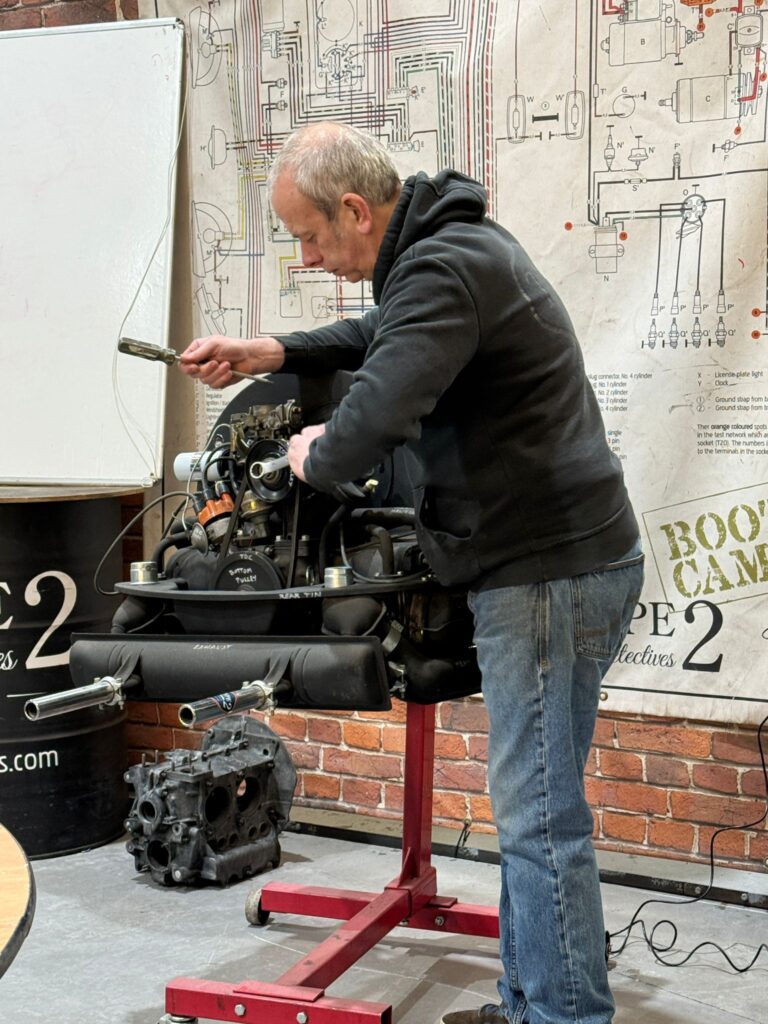
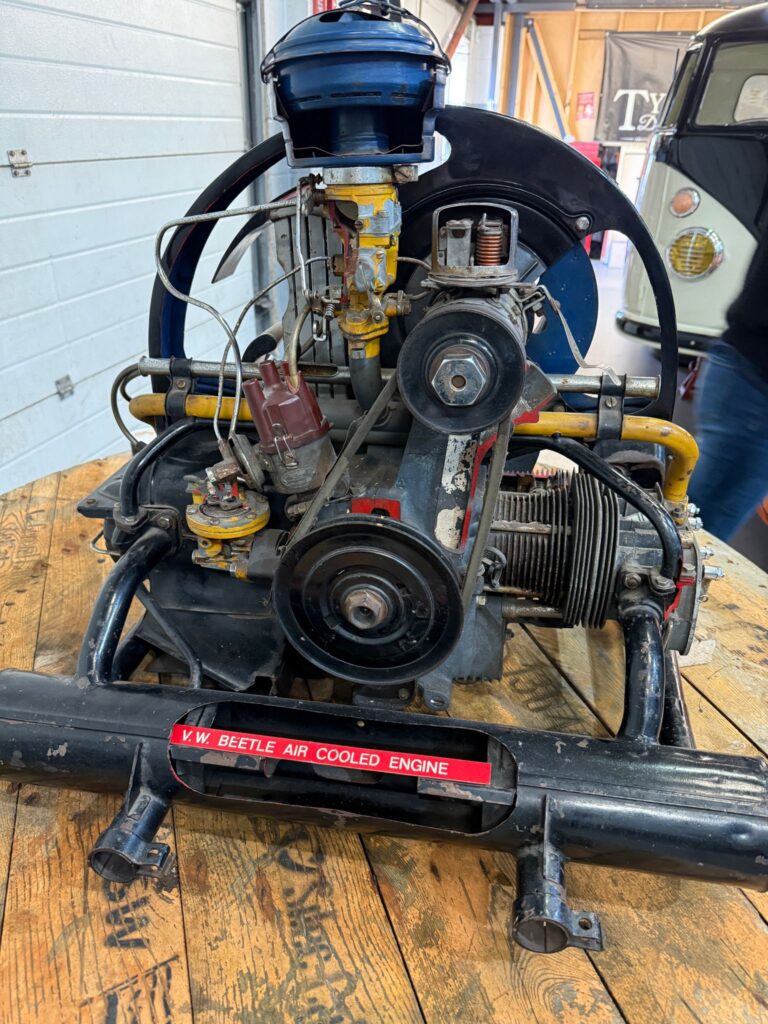
They showed us an engine with clear explanations of how it worked, and labels were on the different components, so we could understand things fully.  They explained a few stories about what could go wrong, and how they fixed them.  They also showed that the scary wiring system isn’t that complex once it had been explained and showed what to do in situations that may occur. Also, you could buy a wiring diagram (which is totally worth getting) (Editor notes that you can get these online and the Bay window 1972 to 1974 wiring diagram is on the club website in the “Technical articles” section because I had it for Eric!). They included everyone and made everyone feel able to fix or service your vehicle. 

We were shown:

  • How to change a fan belt
  • How to change the oil
  • How to set the gap on the valves 
  • How to set the gap on the distributor points and describe the firing order of the cylinders 

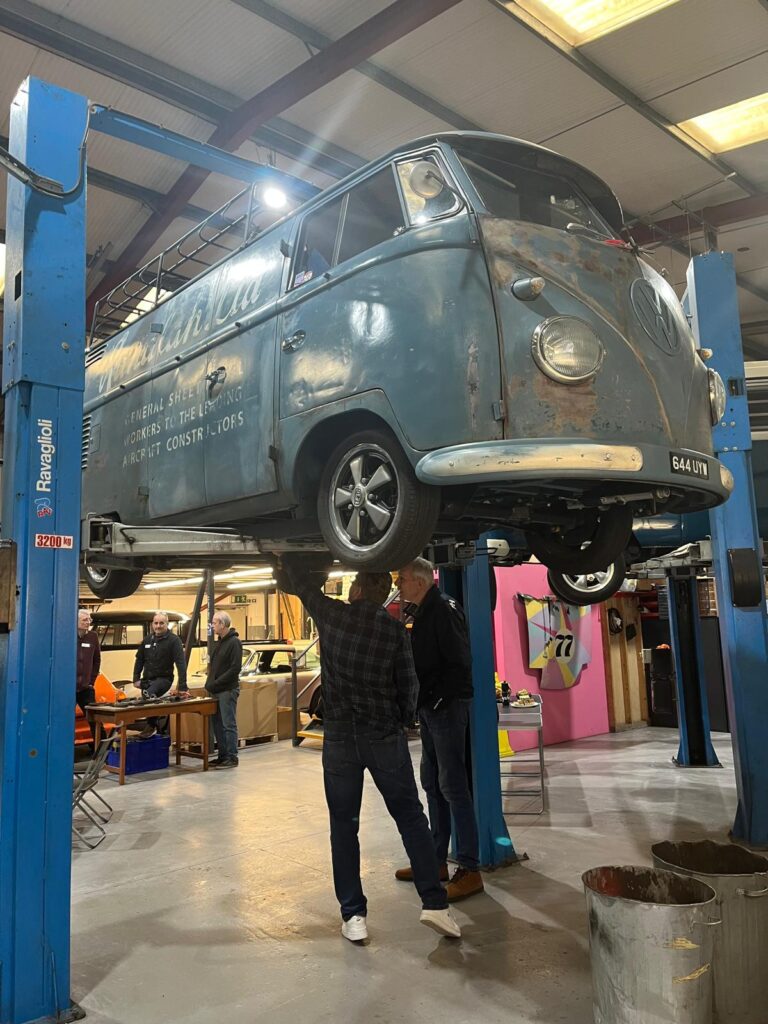
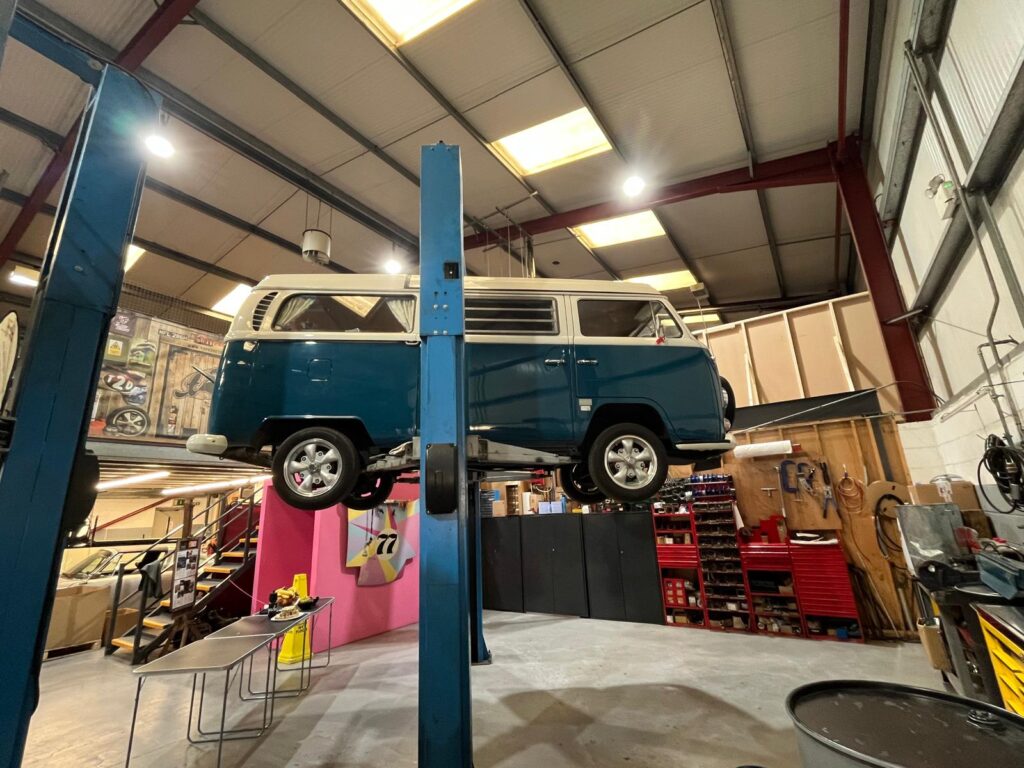
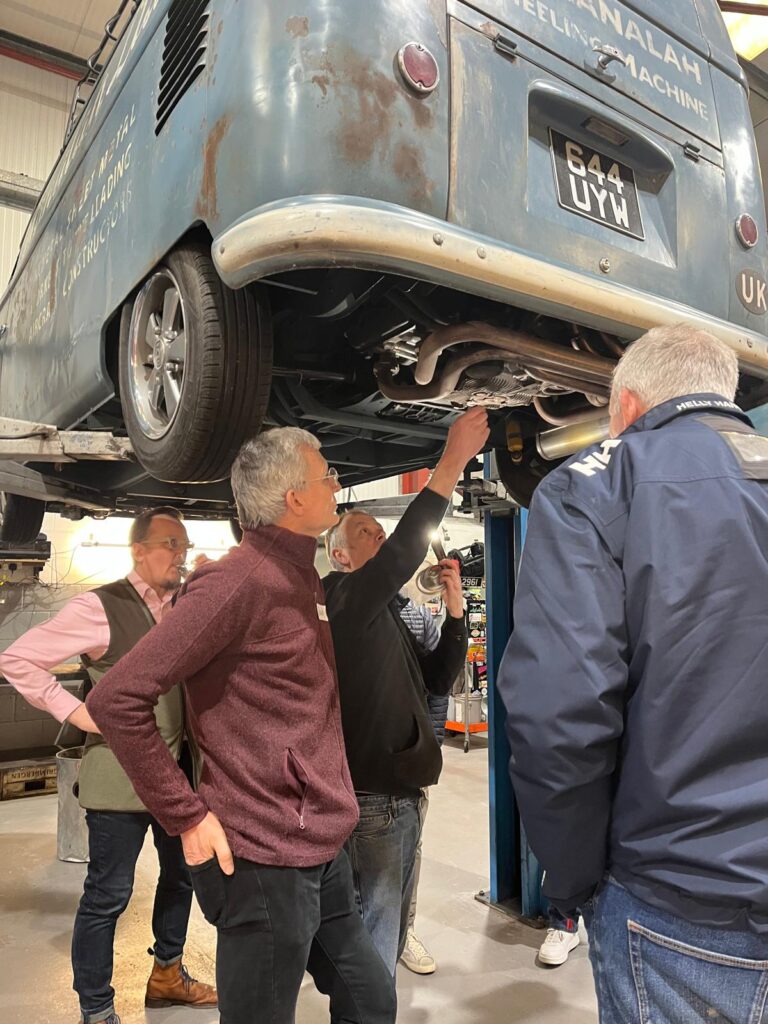
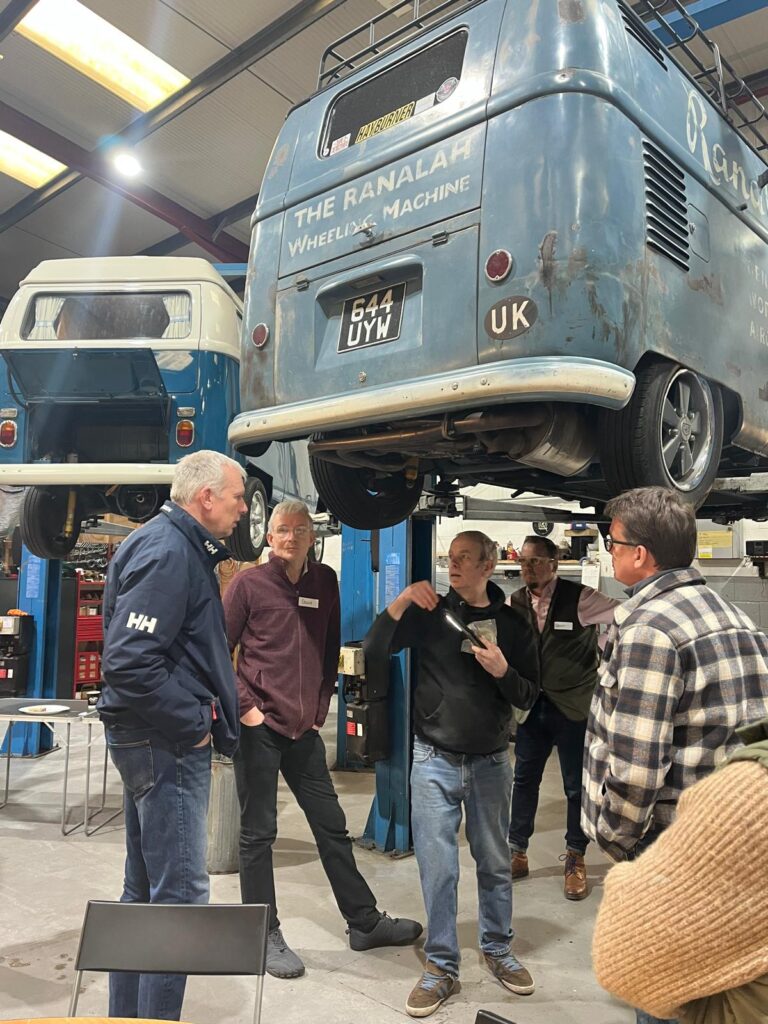
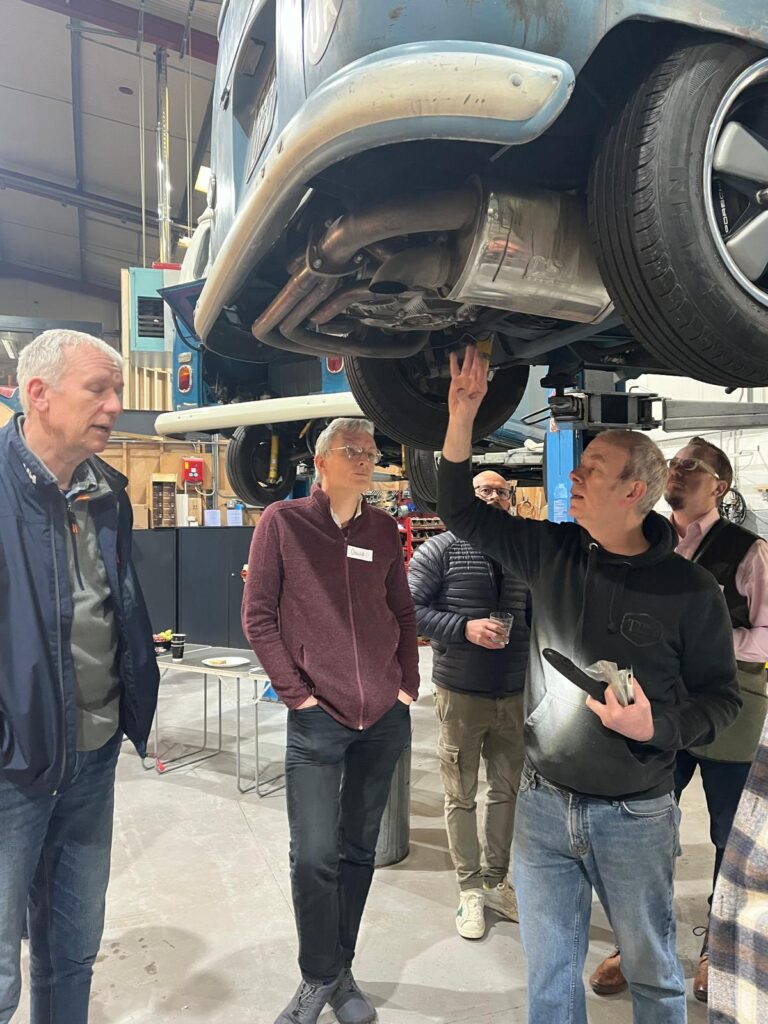
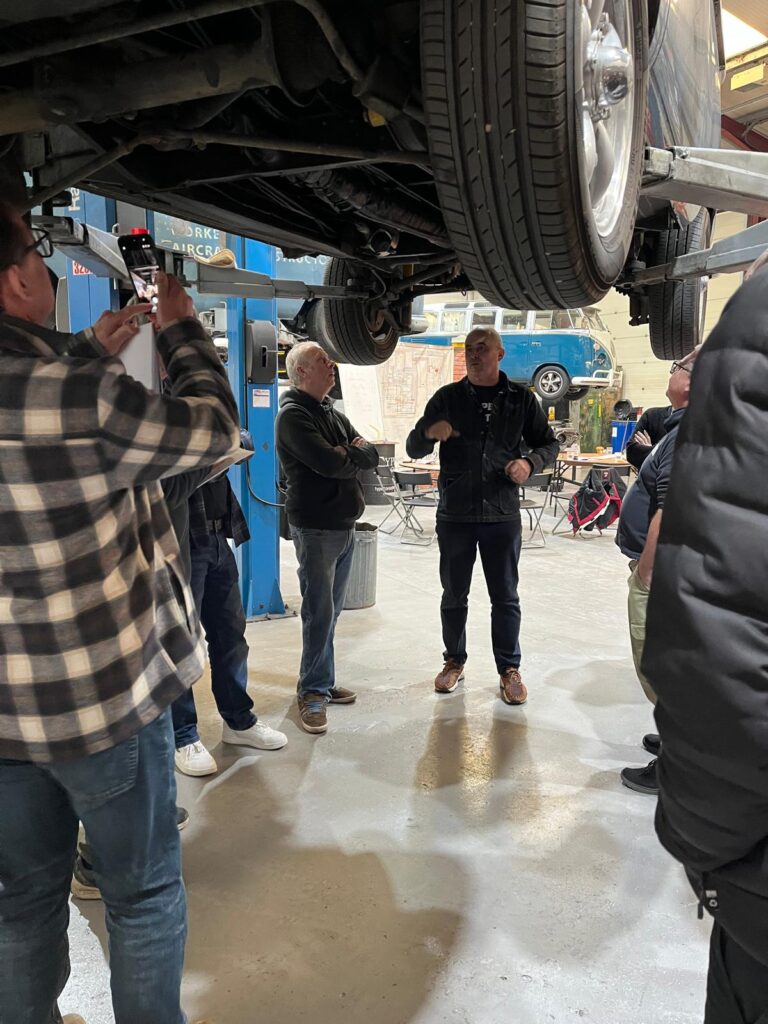
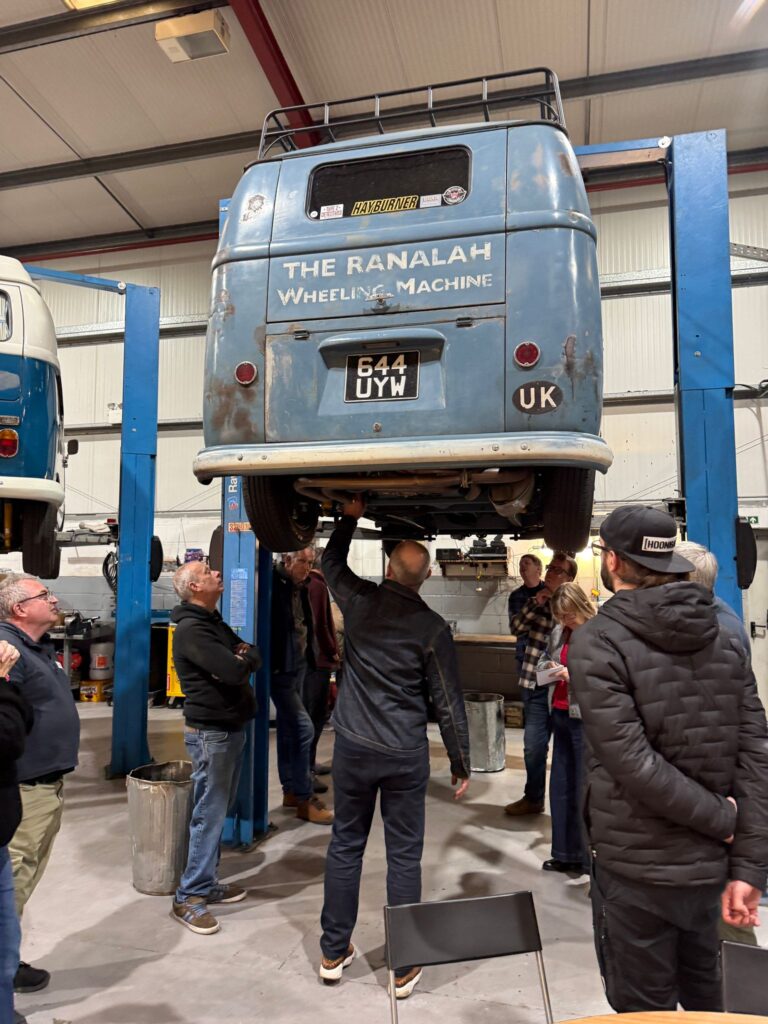
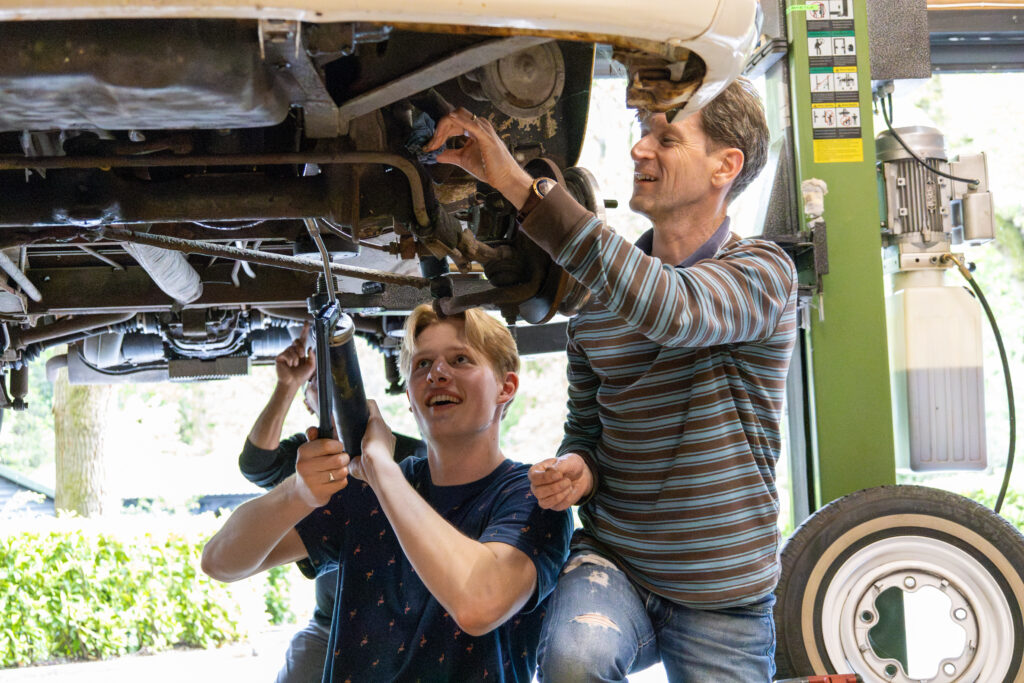
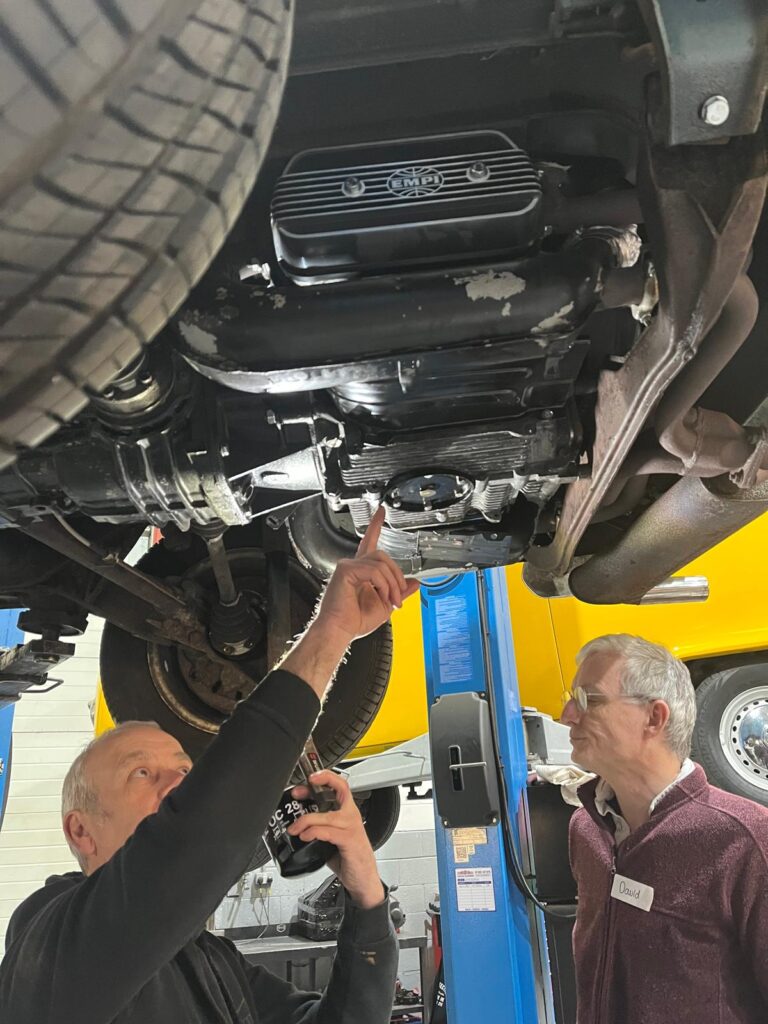
Andy and Paul walked us around the underneath of a variety of vans on ramps, then explained components, common faults and visual checks to keep our vans healthy.

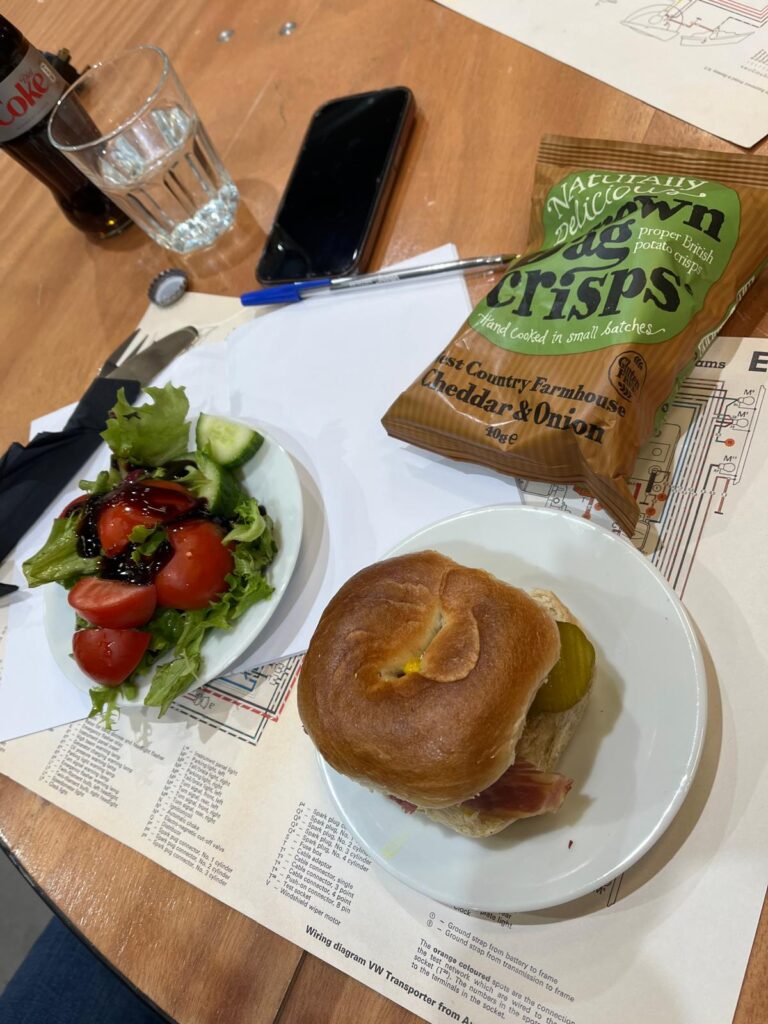
We were well feed and watered – seriously, the choice of food and variety of drinks was excellent. All staff were friendly and welcoming. We would pop in to say Hi, and have a drink if I was ever up this way … and you should too … totally worth a look.

I thoroughly enjoyed the entire day, I have come away with extra confidence of what to do if I was on my own in my Rusty Leigh and had issues or broke down. I also liked that we were told a few times throughout the day that we could just call them and they would talk us through any breakdown (which is so reassuring) also what essentials tools to keep in the van, that you might not think about.  (Editor notes that the Spare parts list is also on the web site in the “Technical articles” section)

Although we were told that Paul had a spare engine in his van when he was on his travels … smart man, we believe he didn’t need it lol!

At the end you were given a boot camp bible to take with you covering what you have been taught to you on the day and we were offered a comprehensive health check for our vehicle at a later date, convenient to both you and the workshop at an amazing cost.

I will pass on Type 2 detectives’ information to anyone who needs it, and when my stepdaughter is ready, we will be sending her to one of these workshops so she can get a better understand of our T2 camper.

Thanks again for an excellent and acknowledgeable day.
Inspect A Gadget – Solar MPPT controller

This one comes up regularly at club events – you want to do solar.

A solar panel makes energy from the sun using photovoltaic cells and sends these down 2 wires as if it was a battery. BUT. Sunshine changes through the day and you need a way to flatten out the power to something nicely controlled and also stop the power going the other way and coming out of the panel. This clever gadget is a solar charge controller and comes in 2 varieties, the cheap PWM controller (pulse width modulation) and the more expensive MPPT controller (maximum power point tracking).

This article is only about the MPPT controller.

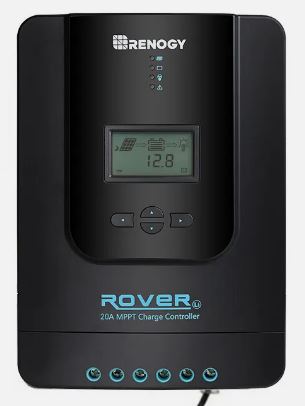
If you find a bargain priced MPPT controller online, it is probably a PWM controller with an inflated price – avoid any controllers that are not from large brand names. The key players at time of writing are EcoWorthy, Epever, Renogy and Victron for MPPT controllers.

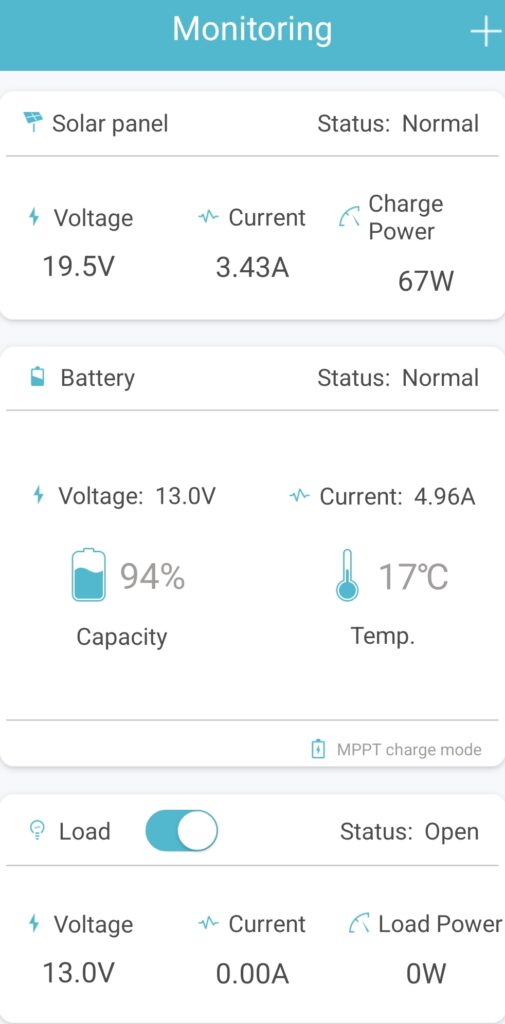
The monitoring image shows an MPPT controller operating normally during the day. The solar panel is generating 67 watts at a voltage of 19.5 volts meaning 3.43 amps of power. A traditional PWM controller would send those 3.43 amps down the wires to your battery and all would be well.
The MPPT controller tracks the voltage of the battery all of the time and converts the voltage from the solar to fractionally above the battery voltage, allowing the amps to increase. In the image, the voltage is converted to just above the 13.0 battery voltage, giving you 4.96 amps into the battery.

Those 4.96 amps compared to the 3.43 amps is an increase of 45% and is a real world example. You can expect to get around 30% increase in charging power across the day as lower sunlight will reduce the uplift percentage. This can be the difference between fully charging your leisure battery and not.

A single 100 watt solar panel with an MPPT controller is sufficient to give us an off grid experience from April to September unless the weather is totally awful. This is for the compressor fridge, lights, water pump, phone charging and if we take it, also the TV.

With electric hookup now often £5 per night plus usage at 50 pence per kilowatt hour, going off grid really is a cost effective way to go. With an MPPT controller, it helps to keep the battery topped up, improving its life expectancy.

Wakey Wakey!

Yes, it is that time again. Hurray! Finally, after the long winter in our non-mobile houses, we can get out our beloved vehicles.

Checklist

Hopefully you all followed the article Time for bed to help put your vehicle to bed for the winter. Now that spring is in the air and we are starting to think about getting out and communing in nature, this is a key time to get things ready.

Doors locks – there’s nothing more annoying than a failed lock. get it fixed now before the season really gets going. Door lock issues can be very straight forward but a simple lubrication can be key. Pun intended. A non residue lubricant is best to move the dirt away as WD40 can leave enough gunk to create issues. We favour silicon spray. A little into each lock.
Windscreen wipers – did they perish in the cold winter freezing them to the windscreen. Inspect and replace now.

Water – check the radiator if you have one. Ensure that the bottles that you emptied in the Autumn / fall have no mice, carefully hidden Christmas presents or mildew. Clean with a weak Milton solution if it is drinking water or food related.

Batteries – check the charge on each battery with a good meter. A flat battery can indicate an earth leak. A failed battery needs careful investigation.

Carburettor – Or equivalent. Check for good operation, no stuck flaps or other deterioration over winter. If you are a professional, this will be straight forward. If you are an amateur, a test drive very close to home will highlight problems! But only after the other checks.

Brakes – your vehicle should roll easily, otherwise this can indicate jammed brakes. Parking in gear for long periods of time can be better for your brake health than a jammed set of brakes. Check the brakes for operation. Check the brake fluid level. If it has been more than 5 years, change the brake fluid as it is hygroscopic and slurps up water incredibly quickly. Water is not a good fluid for applying the brake pads to the disks.

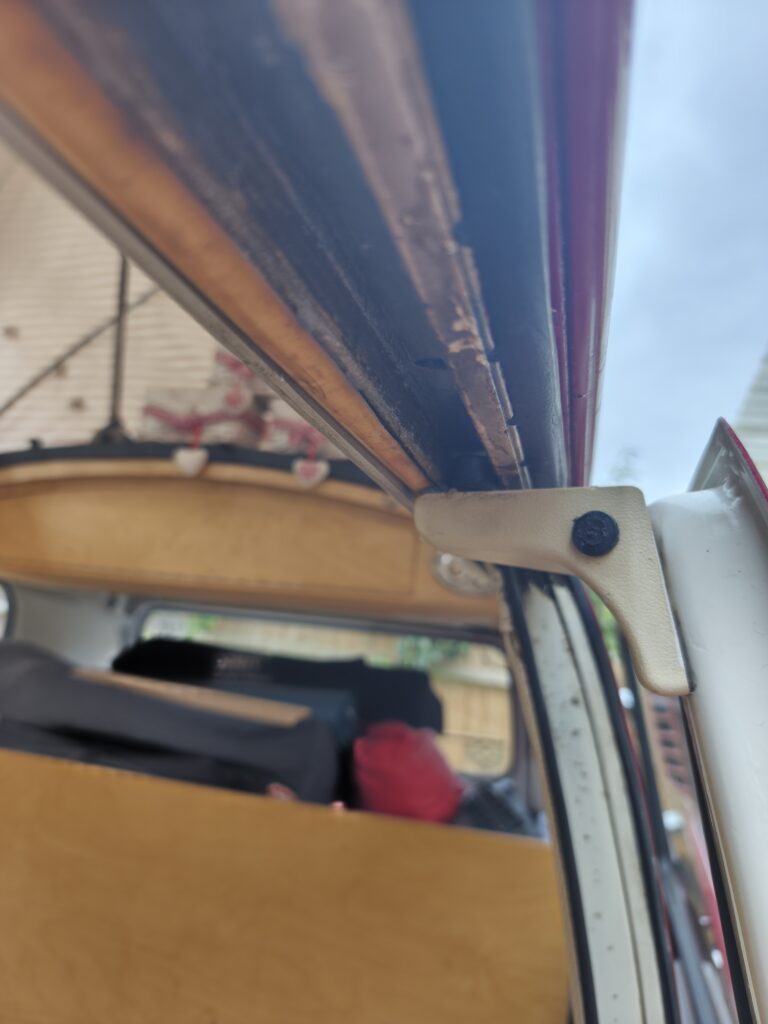
Seals – inspect all door seals for any signs of damage, water ingress or other problems and sort them out now. Glue any loose bits back down with the correct glue.

Windows – ensure that they all open and close fully. Or at least as fully as they did last year if applicable!

Ignition – Once you are feeling confident, get in to your pride and joy and turn on the ignition to number 2. Look at the lights on the dashboard. Check there ARE lights! Are they what you expect / are used to seeing? Have you got fuel (for those with a working fuel gauge)?

Crank it over – don’t expect it to start immediately but things should kick into life within a few seconds.

A little test drive on your driveway will allow you to test the brakes, maybe the steering and other important parts. Softly, softly.

Stay local, take your phone with you and warm clothing. Just in case!

Once you get home, assuming that you have a big smile on your face, make a list of snags, get indoors, put the kettle on and start planning for your summer.

Check out the events page and come and see us at a meeting soon!

JK TRAINING DAY by management team member David Marriott

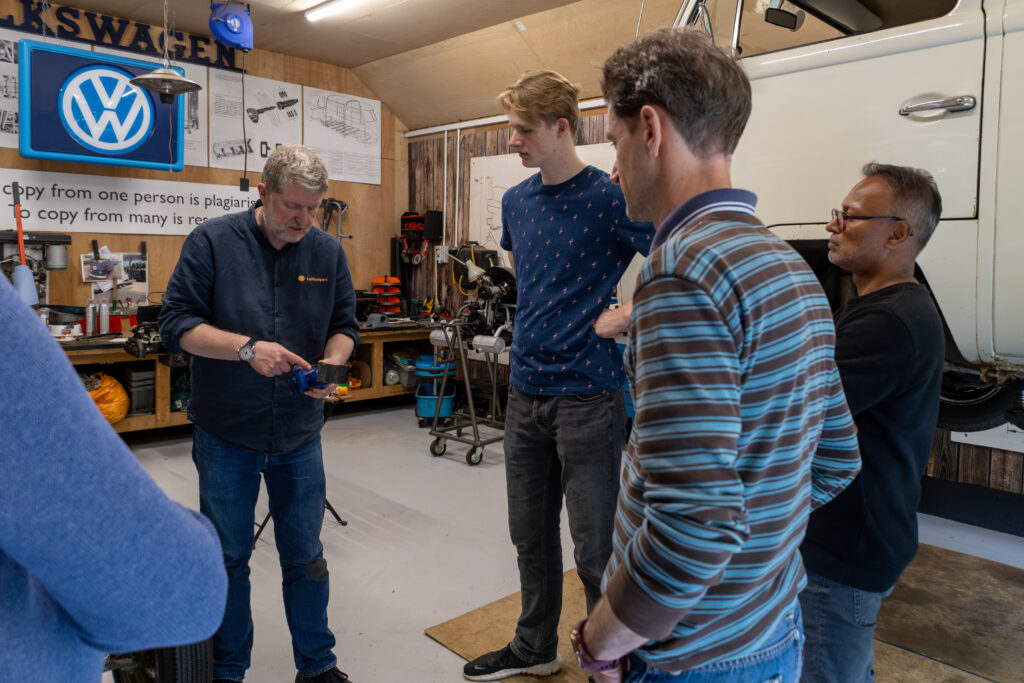
Just Kampers have recently wrapped up the first four of their JK Training Days, where they gave small groups of enthusiasts some hands-on mechanical experience working on classic Volkswagens.

 Mark Reynolds, who started Just Kampers back in 1989 (35 years ago last September!) hosted the Training Days in his own workshop, and was joined by ‘Workshop Mark’, who is Just Kampers’ onsite mechanic and star of their how-to videos on YouTube.

 They used Mark Reynolds’ 1967 Beetle Cabriolet and a 1970 T2 Bay belonging to Pete Dempsey from the JK Team, as well as a series of vintage cut-away engines, gearboxes, and floor pans to demonstrate how things work, how to check them, and how to fix them.

 A different topic was covered on each day:

• Getting your VW Ready to Use After Winter, and Basic Servicing

• An Introduction to Working on Classic VWs for Beginners

• Breakdown Prevention and 10 Tips to Get You Back on the Road If You Do Break Down

• An Introduction to Classic VW Brakes, Steering, and Suspension

These first four JK Training Days were used as a bit of a testing ground, to see how best to communicate the sorts of information that people might want if they’re new to working on air-cooled VWs, and to gauge interest in hands-on training days as a concept. It’s fair to say that there’s definitely interest in these sorts of events, as the limited number of tickets for the events sold out really fast!

Everyone who booked paid £100 for their place at the event and was then asked whether they wanted the money donated to Cancer Research UK or Phyllis Tuckwell Hospice Care, which is a charity local to Just Kampers. 100% of the money from the events went to charity, with a total of £2,500 raised – £1,100 went to Cancer Research UK, and £1,400 went to Phyllis Tuckwell Hospice Care.

After the success of these initial training days, and the great feedback they’ve had from attendees, the team at Just Kampers are keen to run more of these hands-on events.

If you have a topic or subject you’d like to see covered in a JK Training Day, you can email the JK Team at jkworld@justkampers.co.uk with your suggestion – there’s no promises that they’ll make it into a theme for a JK Training Day, but they’re definitely keen to know what you want to learn about!

You can read more about JK’s training day events at justkampers.com/jk-training-days/

You can also learn more about Cancer Research UK and Phyllis Tuckwell Hospice Care at cancerresearchuk.org and pth.org.uk respectively.

Inspector Gadget – Hub caps

Following on from a conversation with former editor Phil Aldridge, this is a mechanic’s cheat for any hub caps.

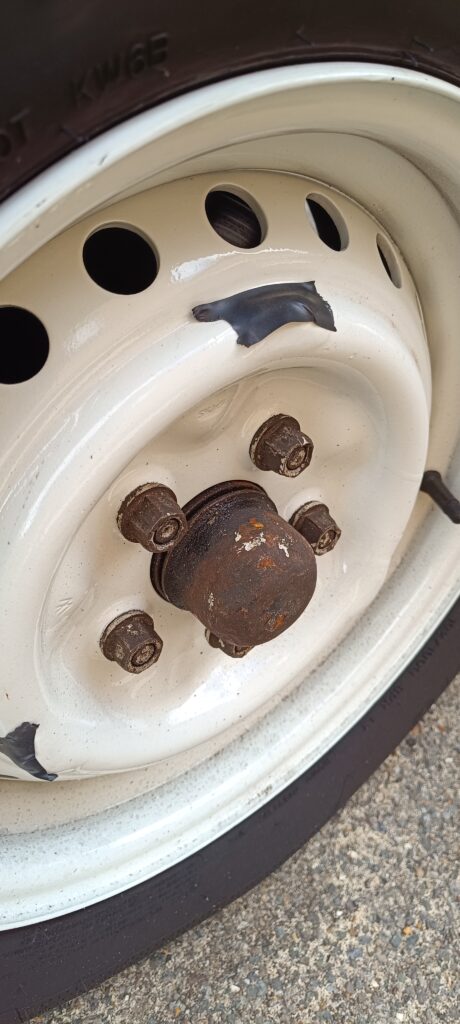
If you press your hub caps on and sometimes they fall off, the cause is loss of metal. The Splitscreen and Bay window steel wheels have hub caps that attach to the wheel by gripping 3 lugs on the wheel itself. Repeated attachment and removal of the hub caps over the years removes tiny amounts of metal from the steel wheel and can also make the hub caps slightly wider as well.

The new ones are known as “summer chrome” and do not last very long in our climate. The original ones tend to have rusted by now. Any time you clean one or fit one, there is a danger of them falling off.

A mechanic friend suggested this trick which has worked for him for decades. Remove the hub cap and thoroughly clean the wheel. It looks better already, doesn’t it? Now with a clean, dry wheel, apply some electrician’s tape over each of the 3 lugs being careful to cover the piece that grips the hub cap. Offer up the hub cap to ensure that the tape is not visible.

Once all 3 lugs are taped, place the hub cap over 2 of them and tap the hub cap onto the third one. It can be quite difficult to do this and be careful to tap the edge of the hub cap otherwise you are likely to dent the middle! There are plenty of dented ones visible on member vans! If you dent it, tap the dent out carefully from the inside.

With all of them on, admire your handywork – and be a lot more confident that the caps will be there when you arrive.

Ask The Mechanic – Gas bottles

Have you ever run out of gas at totally the wrong time? I know that my tea obsessed wife has suddenly shrieked in a field due to the gas bottle being empty half way through a rainy weekend and the kettle won’t boil.

We run a CampingGaz 907 bottle, the blue butane one that holds 2.7kg of liquid gas but the theory is sound for any bottle. We weighed that empty one on a suitable kitchen scale and found it to be 3.6kg. Then we took the bottle to the shop and exchanged it for a full one, which we weighed at 6.35kg full.

Now that we know the full and empty weights, we then wrote down the weights for each percentage which helps on how much gas is left. Because we know how many nights we have been away on each bottle, it gives us a good idea not only “how much gas” but more importantly “how many nights before we run out?”. We have now calculated around 43 nights away on a full bottle but the weights table comes with us just in case.

Ask the Mechanic – My sliding door doesn’t work properly

Between Saturday 2nd August and Sunday 10th August 2025, 6 club member vehicles or Bay windows parked nearby, were reported to have sliding door issues. Each one was the same root cause, each fixed in under 10 minutes for free. You can do it too!

Sliding door won’t close and nothing has changed?
Sliding door won’t open and nothing has changed?
Sliding door won’t run smoothly and nothing has changed?

The root cause is the same – something HAS changed! Time has passed.

The sliding door has a top roller that runs in a channel. Grab your grease pot (avoid copper based as it is potentially carcinogenic), and put a decent sized blob of grease on that roller itself above the cream plastic cover. It runs in that top channel and only touches the left and right / inside and outside edges of the channel. Add a smear of grease to both sides – don’t bother greasing the top, the roller doesn’t touch it.

At the bottom of the door opening is another roller and another channel. You’ll need to repeat the process with the grease here – don’t just spray product into the hole, you need to grease the C shaped channel inside that hole and again you are doing the sides not the top. A blob on the roller as well will really help.

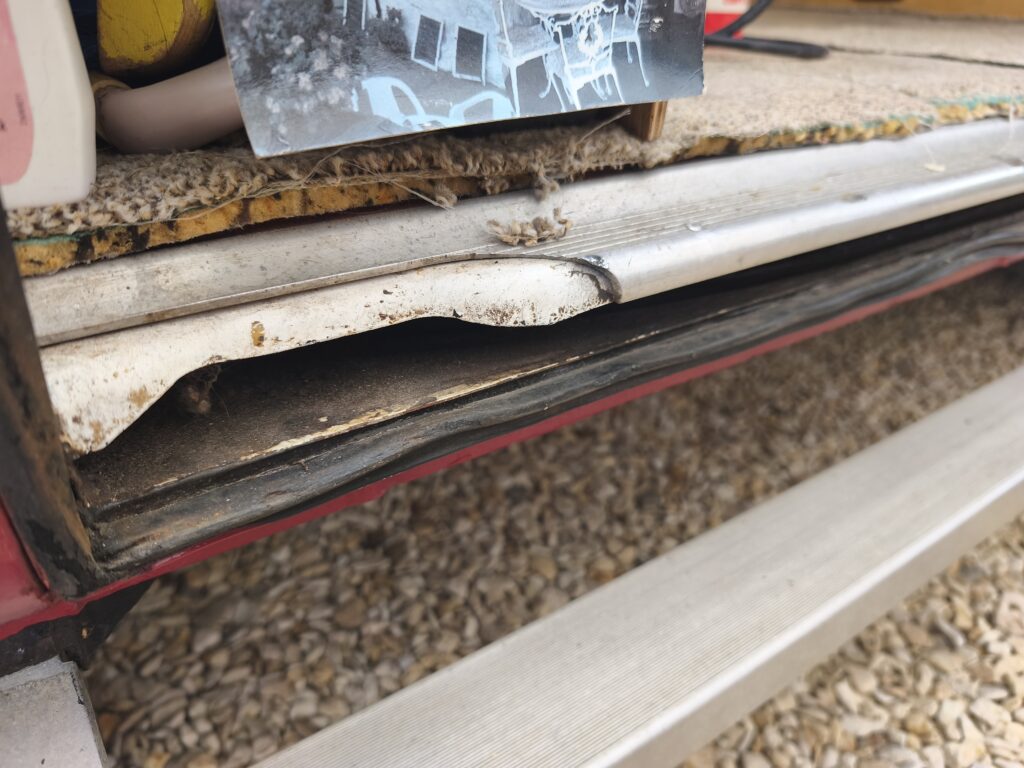
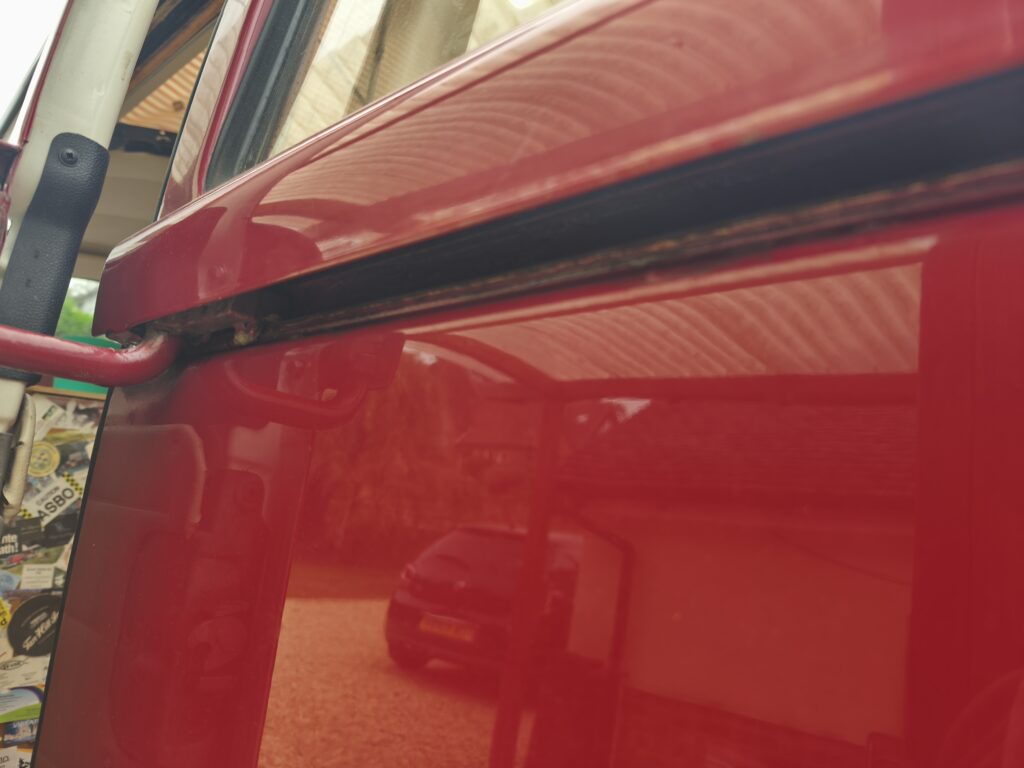
Now put the sliding door almost closed as in the above shot. The middle runner slides on top of a single 2mm thick piece of steel. Grease on the top of that but don’t worry about getting it perfectly on, just grease it up. The rearmost inch or so doesn’t get used, no need to grease to the end. When you are down there, that red U shaped steel goes up into the latch mechanism. From underneath, get a load of WD40 into there.

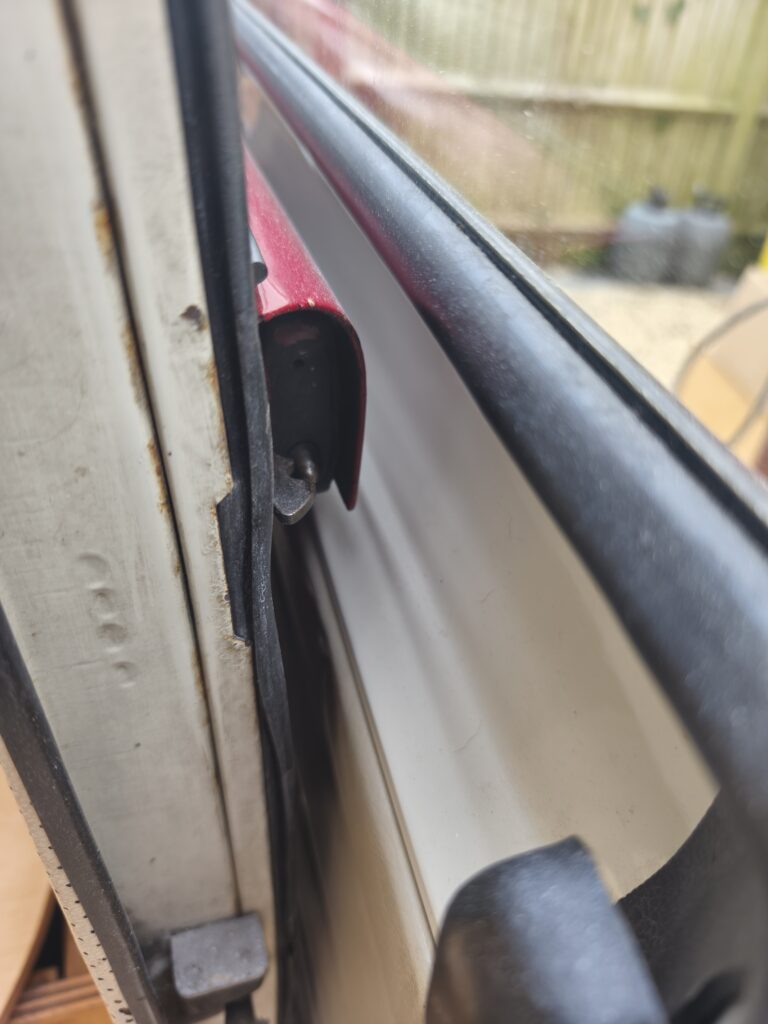
Now with the door almost fully open but not quite, locate the middle latch as shown above. That little finger holds the door open. Spray that liberally with WD40 from this side having just doused it from underneath.

That’s it for the hard work, now slide the door mostly closed to mostly open. Repeat 20 or 30 times to get that grease really spread through the dry sections and your sliding door should be a whole lot better.

You do do this as part of your regular maintenance though right?

Inspect A Gadget – Outwell Sandcrest L tailgate awning by club member Mark Broad-Holcombe

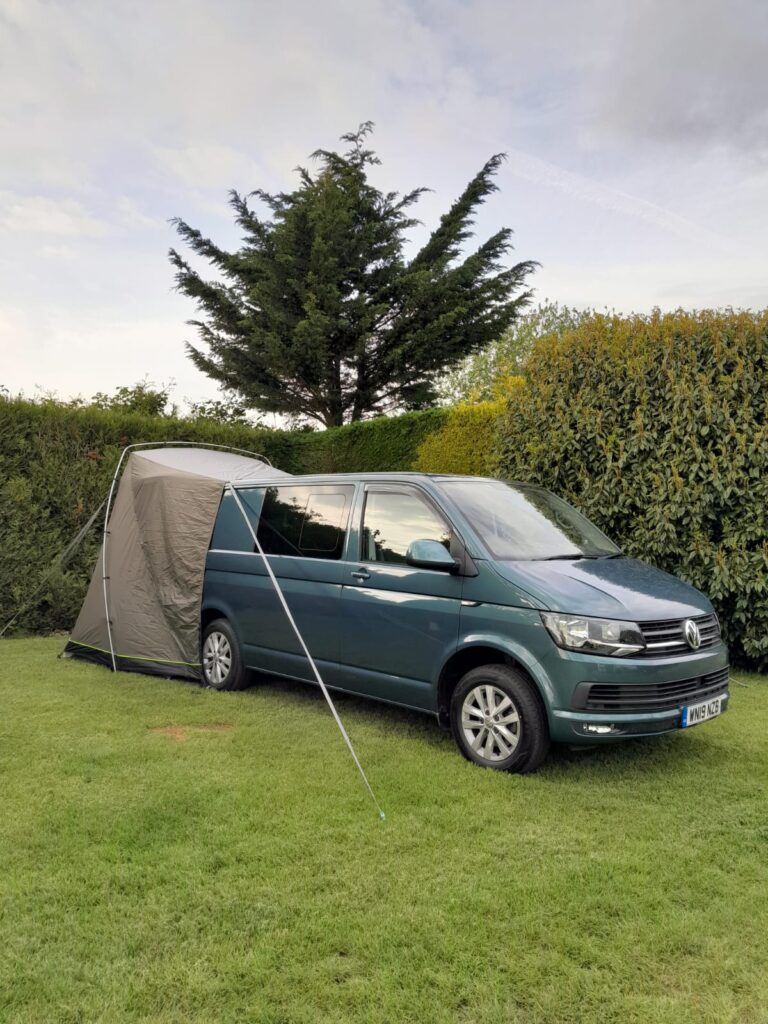
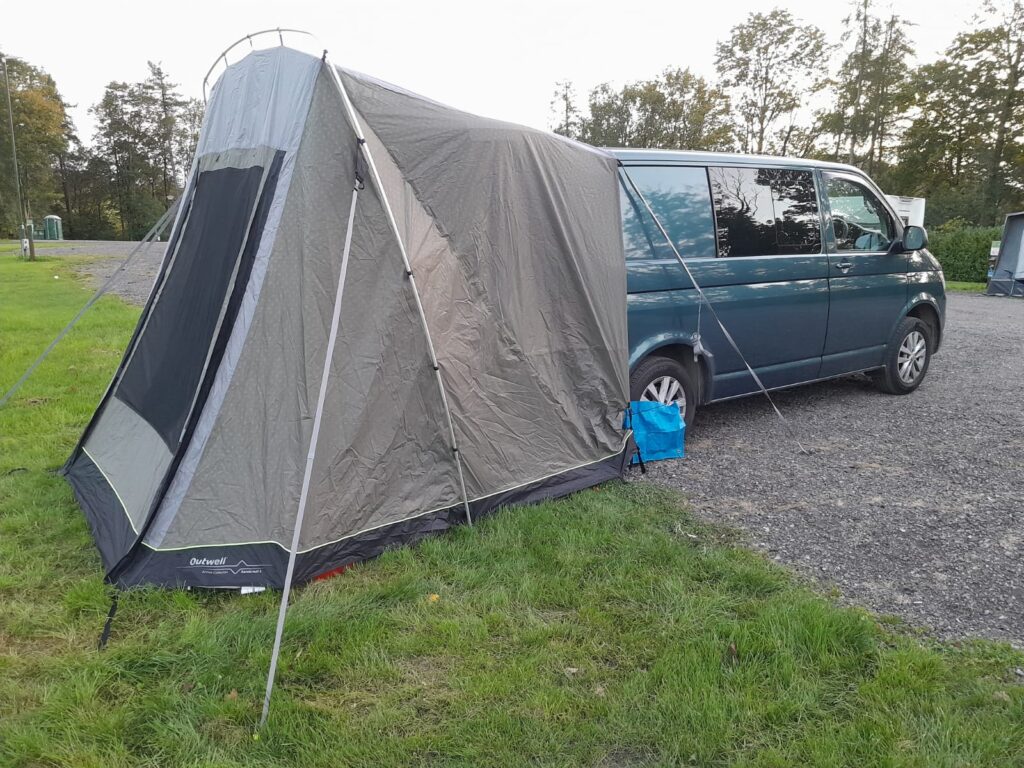
We have always used a freestanding awning with the campers, especially when the offspring were going away with us. Now it’s just two, we find we don’t need so much space, and putting an awning up for short stays is a chore. At the moment our van is a kombi conversion with a rear slide out kitchen, so rather than extra people creating a lack of space, it’s now the large bulk of a triple middle row seat that forms part of the bed and can’t be removed for camping.

This got me looking at tailgate awnings but most had one flaw. The tailgate had to be left up to support the awning therefore major lack of security. This is where the Sandcrest L is different. It has a single aluminium sectioned hoop to support the nylon, and so the tailgate can be lowered. Although not advertised as driveaway, I have done so using the guylines for support like any tent, although I wouldn’t risk it if it was too windy. It only takes about ten minutes to erect, is light(5.7kg) and takes up very little space (packed size is 64 x 22 x 22cm). As with all Outwell tents/awnings it has many useful features including a zipped mosquito mesh for when camping in warmer climates. Overall size is 310 x 220 cm and living space is about 180 x 200 cm. Enough room for a couple of chairs, table and my offside slide out. The Sandcrest L fits most Transporter sized vans and there is a smaller Sandcrest S for caddy sized vans.

The awning is available at around £330.

Ask The Mechanic – Adding a buzzer for your lights

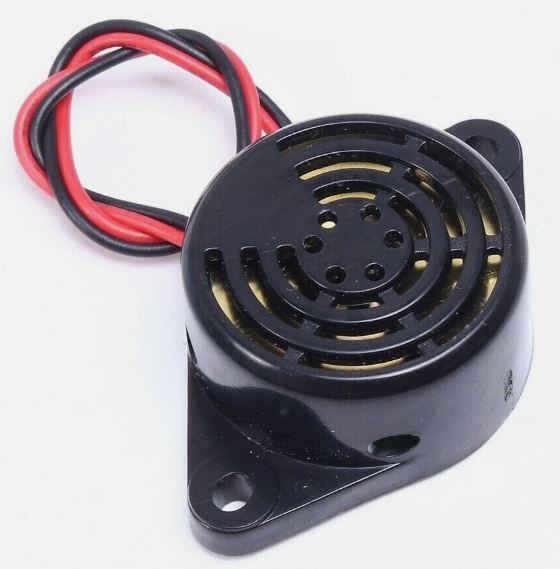
Do you ever leave your lights on in your classic van and forget because your modern car reminds you with a buzzer? Add one for very little money yourself!

Have you ever not noticed about the lights and ended up with a flat battery? It is easier than you think to add this level of protection and can be done by anyone with an electrical test meter.

Head over to your favourite auction site of choice and type in “12 volt buzzer”. You can choose the size and volume of the buzzer and maybe get several!

The buzzer should have just 2 wires, red and black. Take the red wire and connect it to the grey wire with the red stripe on it that is on the headlight switch (there will be half a dozen wires in and out of the switch, use your test meter to find one that goes live when the sidelights are on but has no power otherwise). Remember that your vehicle may not provide power to the headlights unless the ignition is turned on – that throws me every time until I remember.

Now connect the black wire to the brown wire of the door switch on the door pillar. The circuit will be completed when the door is open and the buzzer will be off.

Open the door – no noise. Close the door, turn on the sidelights and open the door – the buzzer should now go off.

Why did I suggest buying 2? If you want to be reminded about an open door, just wire the red wire of a second buzzer to the permanent live of the headlight switch (always live even with ignition off) or any other permanent live under the dash. Attach the black wire to the same brown wire of the door switch. Now you have a buzzer for the door being left open.

Given that these buzzers are about £3 and only go off to remind you about your lights being on, that is a small price to pay to avoid a flat battery!