Category Archives: T1

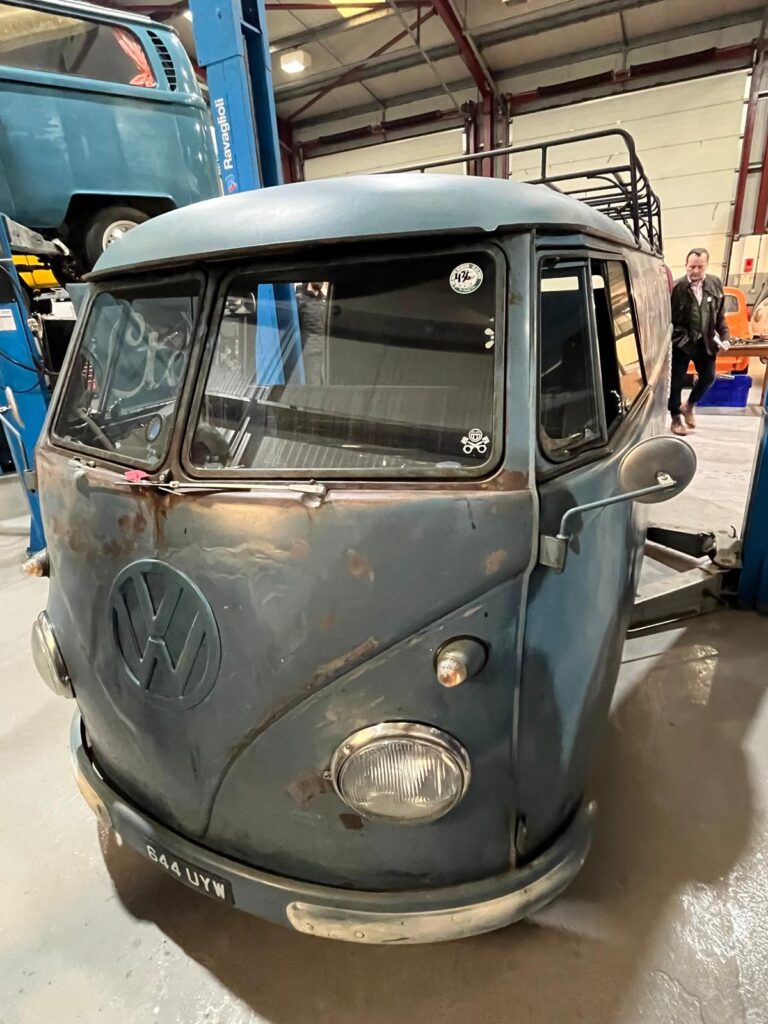
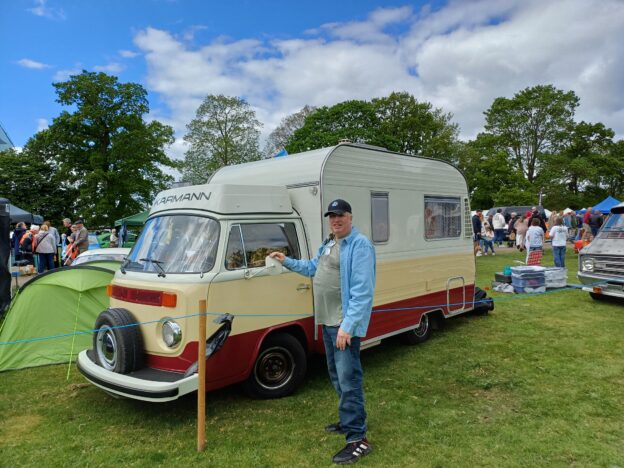
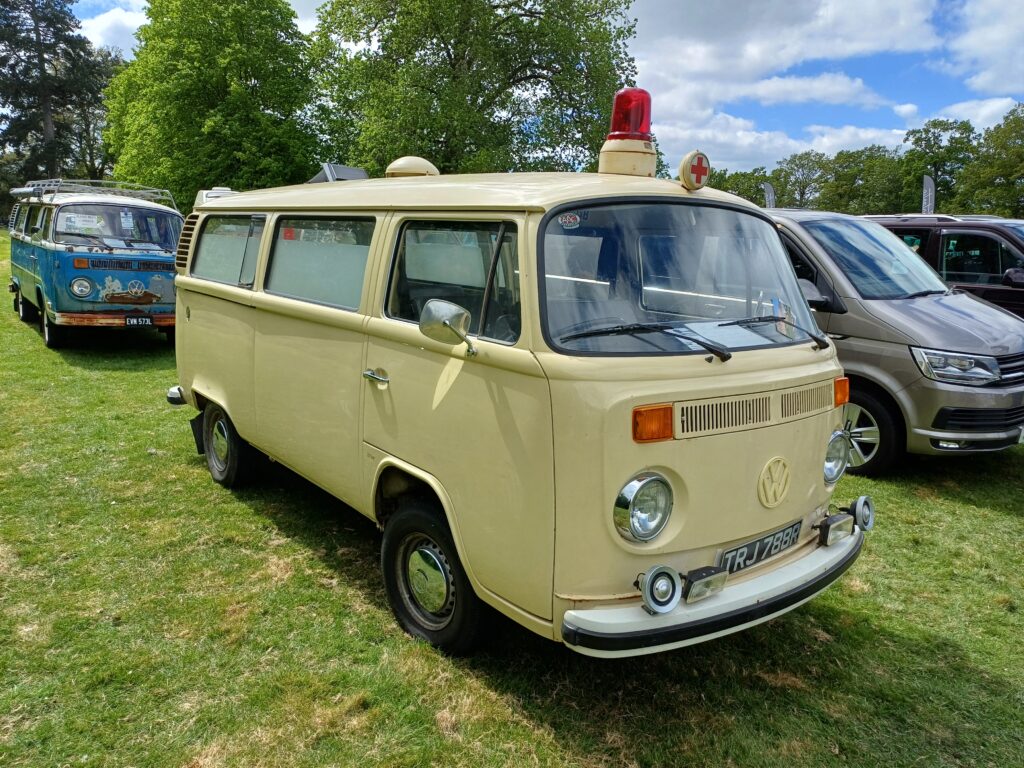
The original Transporter. What a great idea!

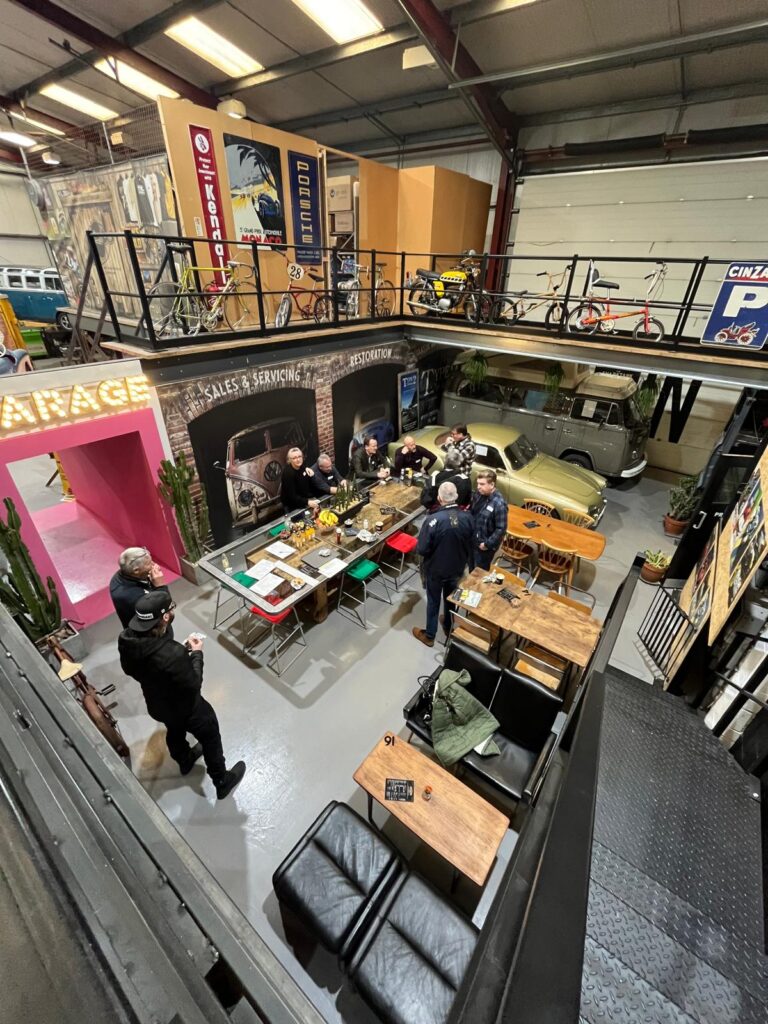
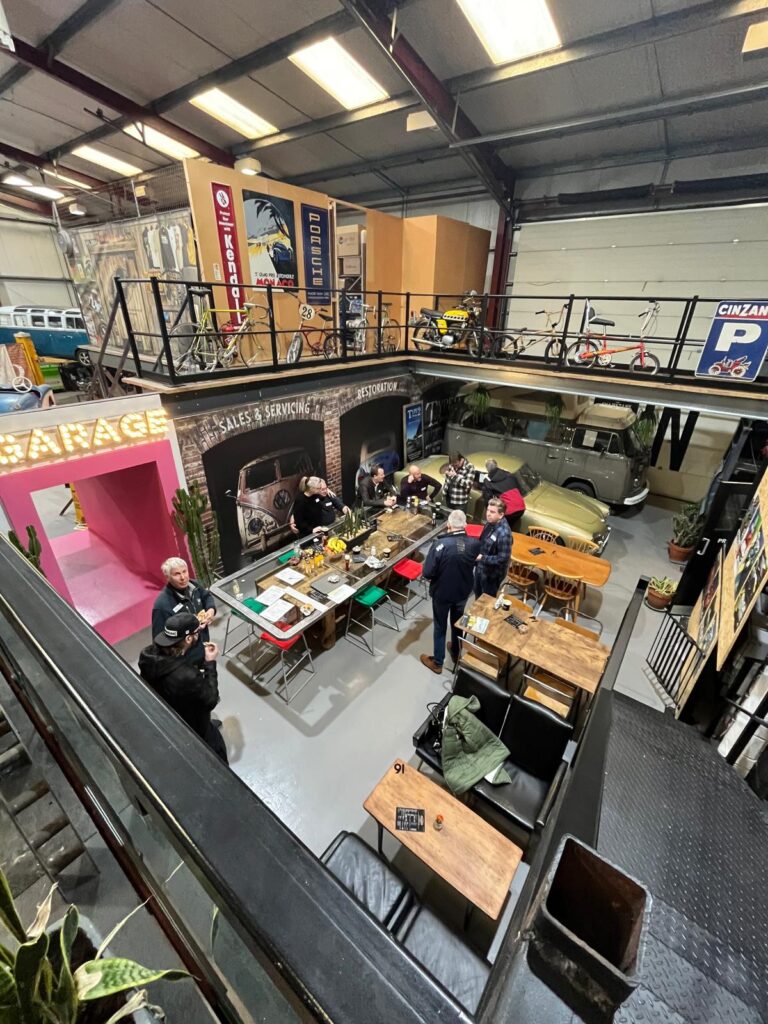
 Another one in the bag – Type 2 Detectives Maintenance Weekend

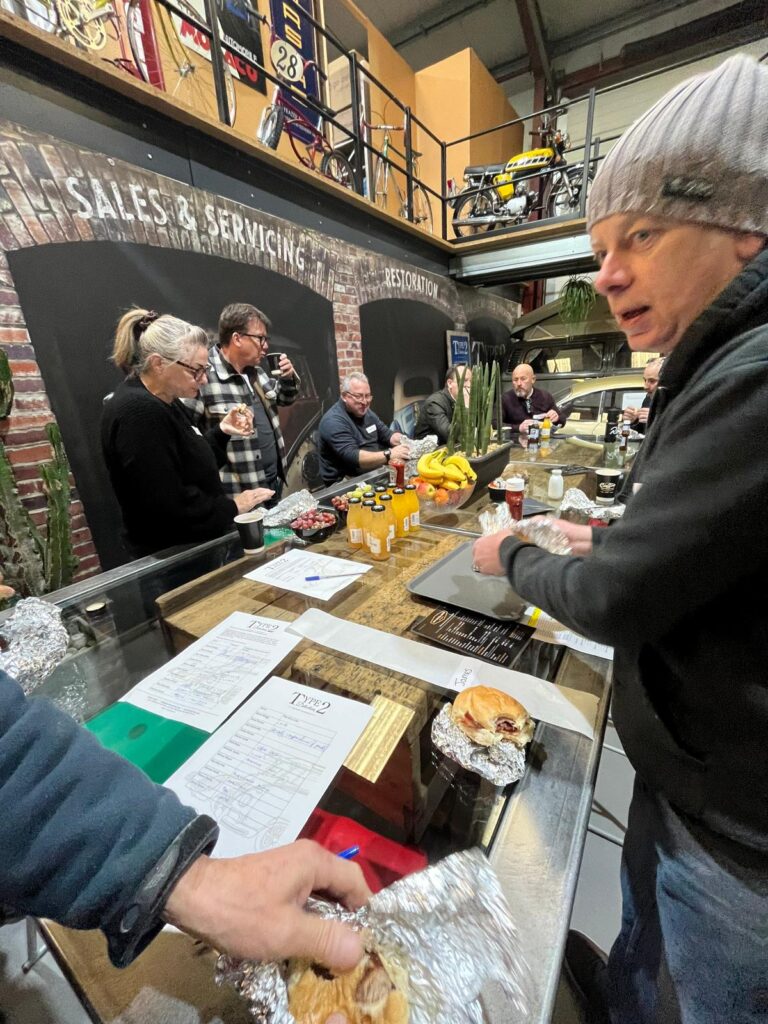
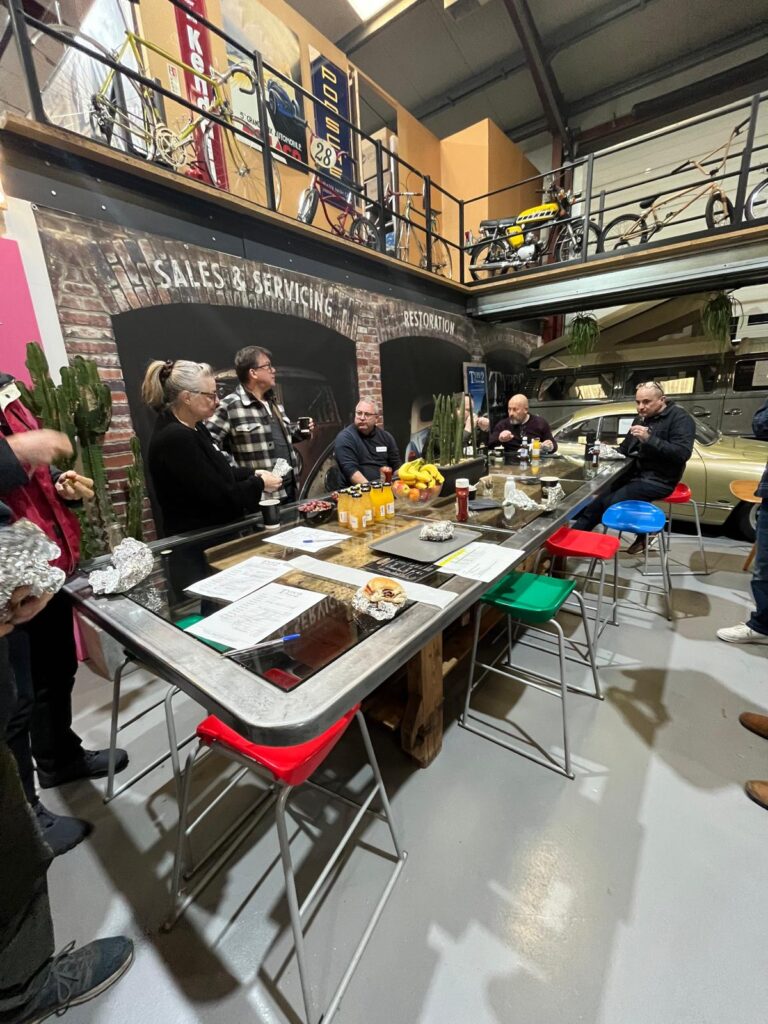
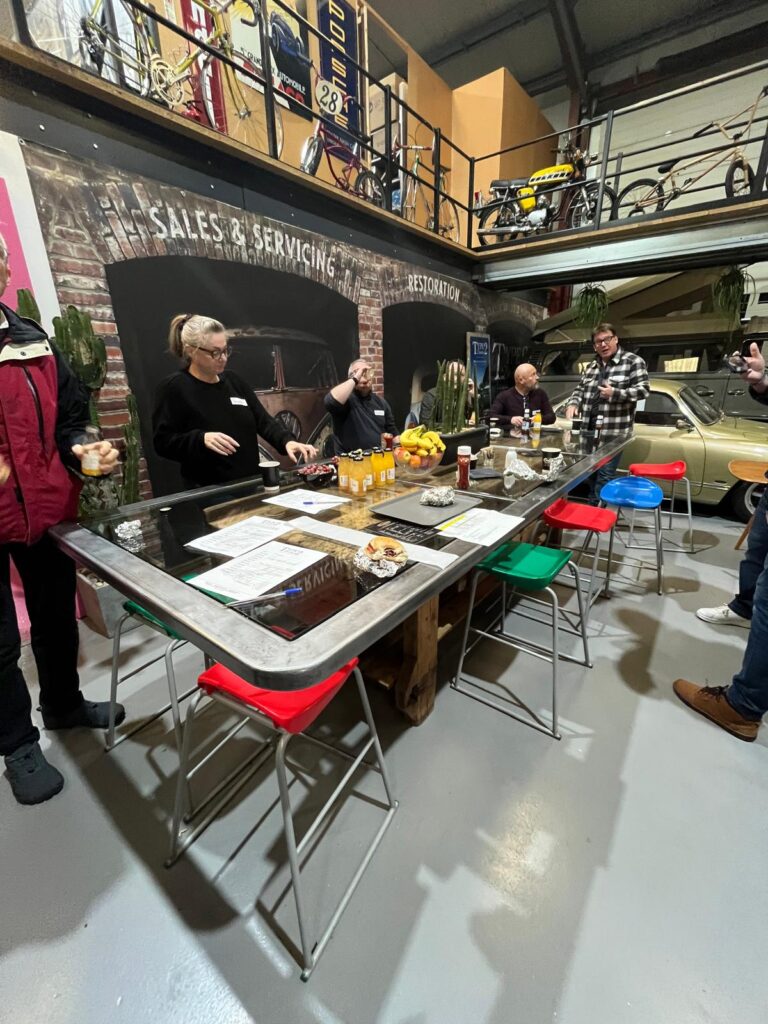
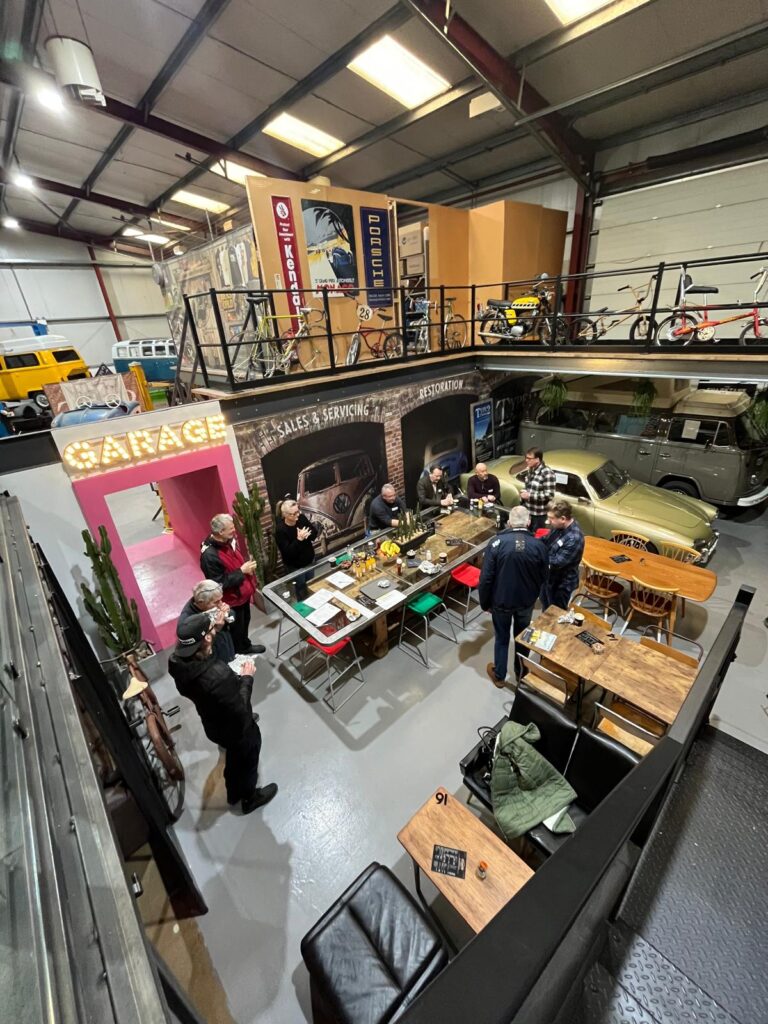
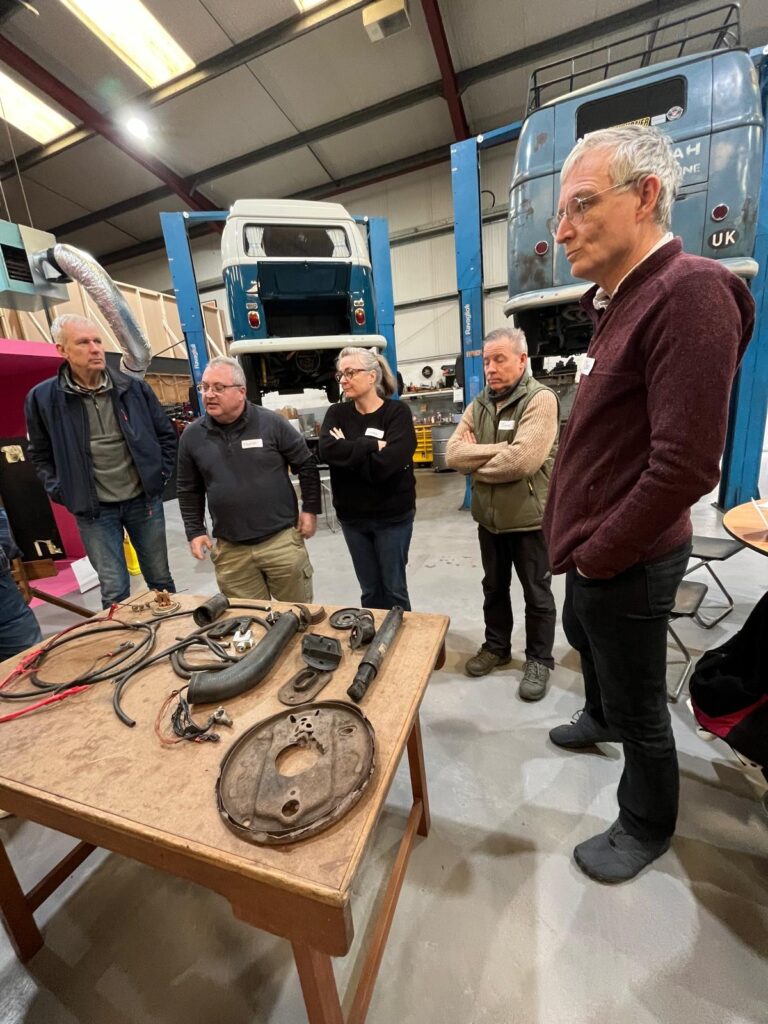
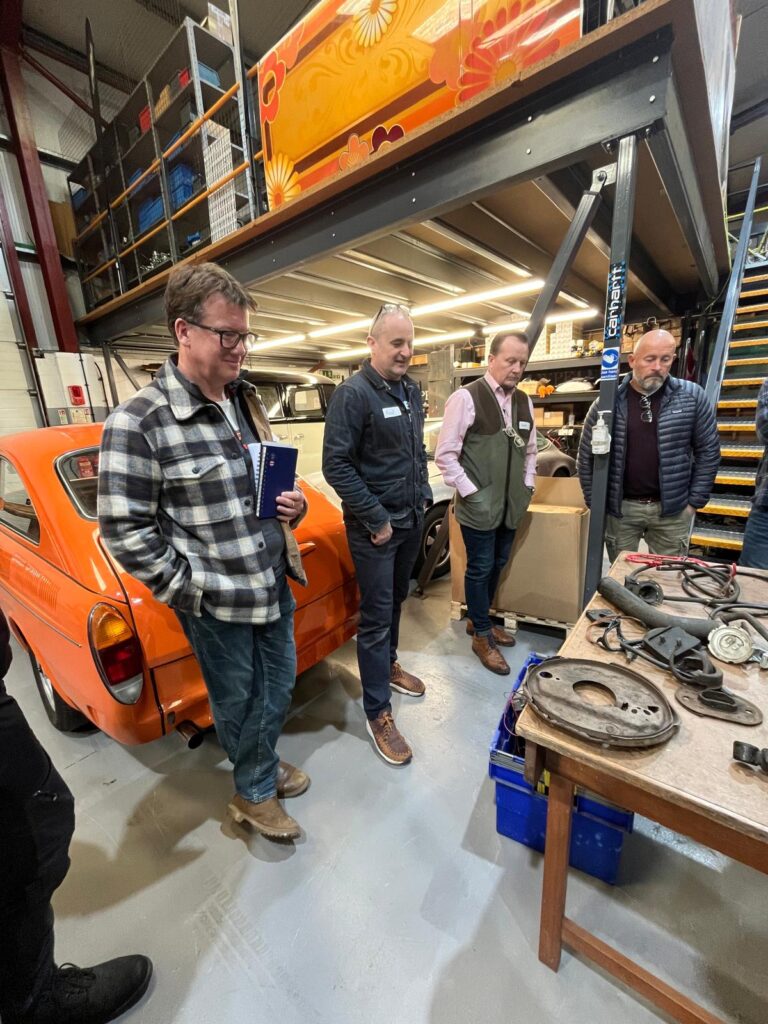
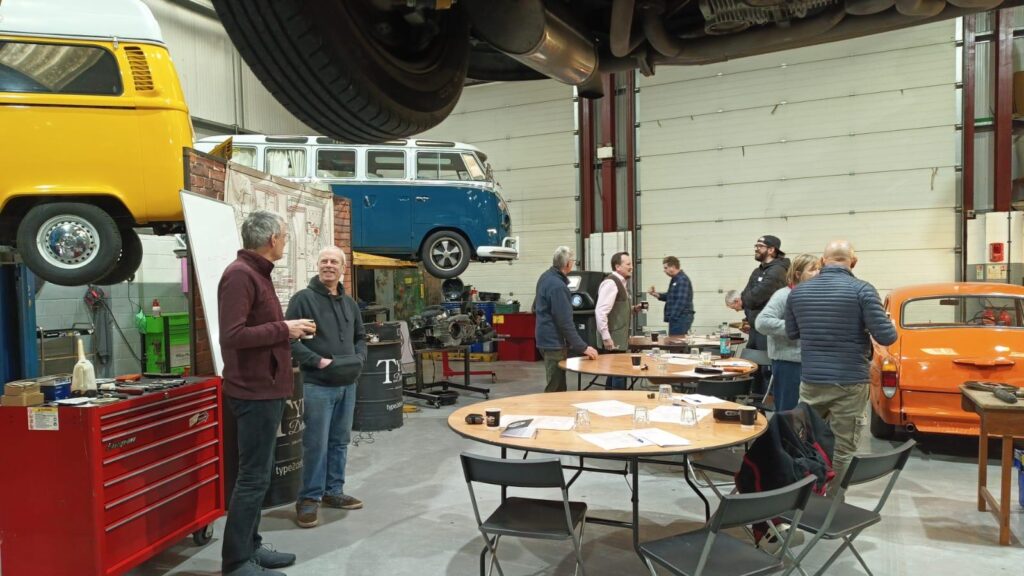
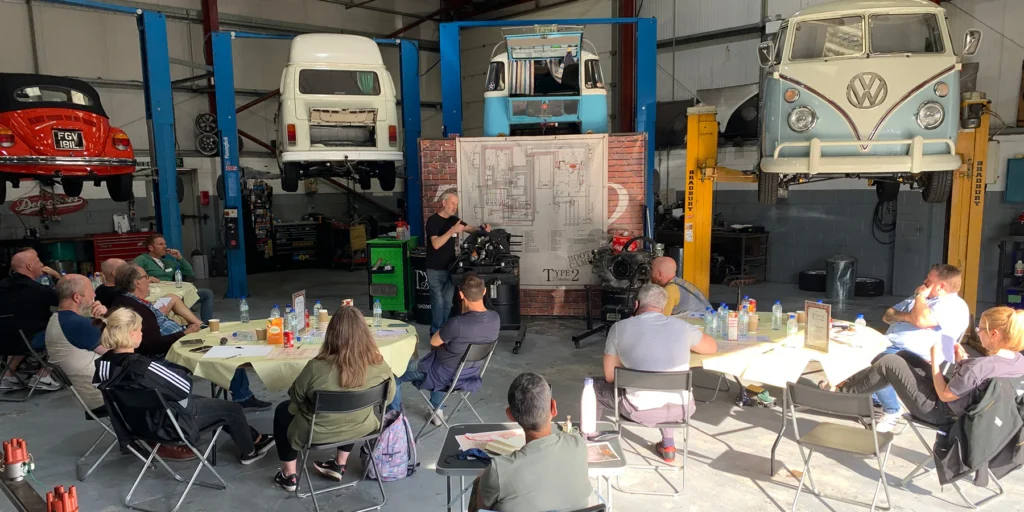
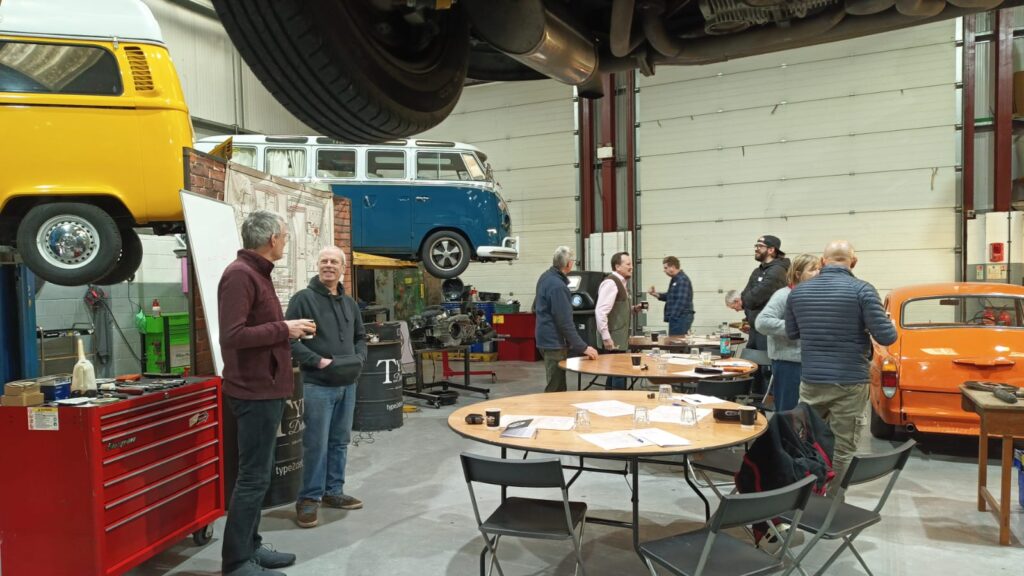
Type 2 Detectives Maintenance Day by Simone Smith

What can I say… this was excellent. If you are not technical minded (I am not and although my fiancée is, I was starting to find that I wasn’t able to help on issues, but after today I can) and want to help on your camper, then do a day at Type 2 detectives.

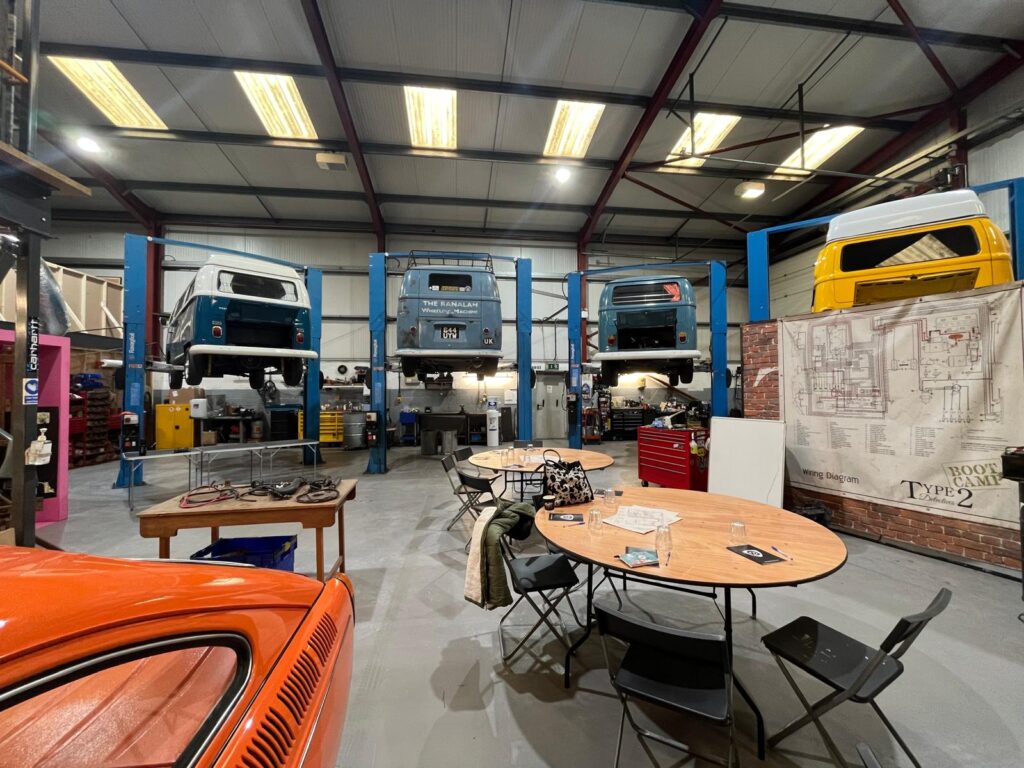
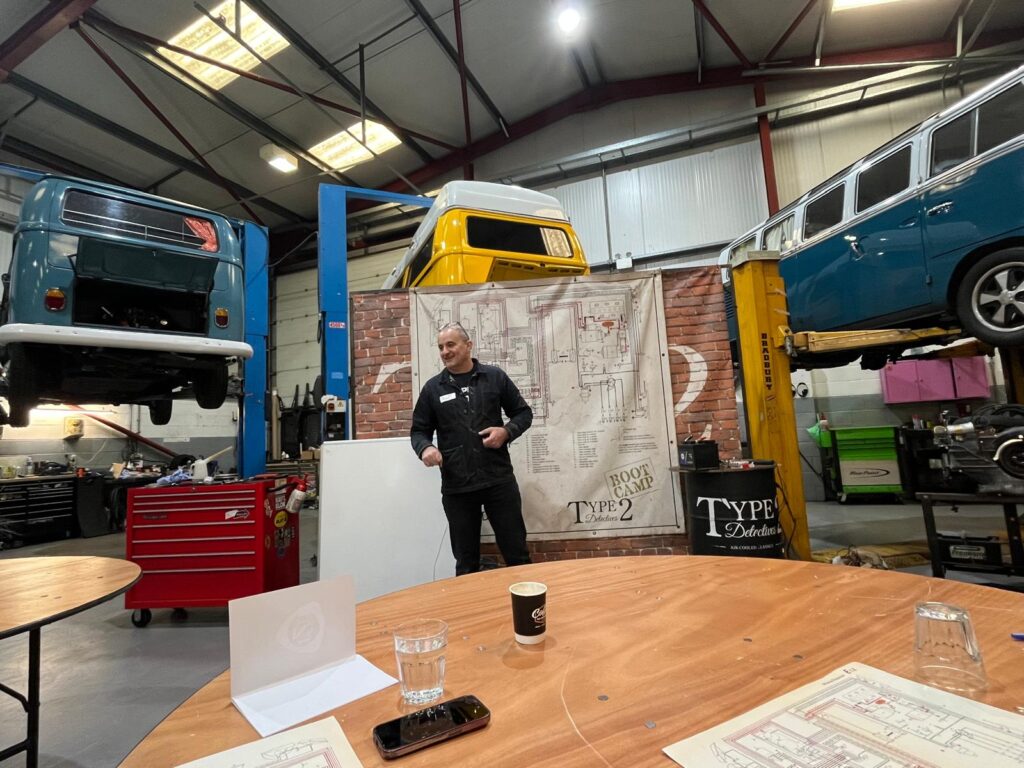
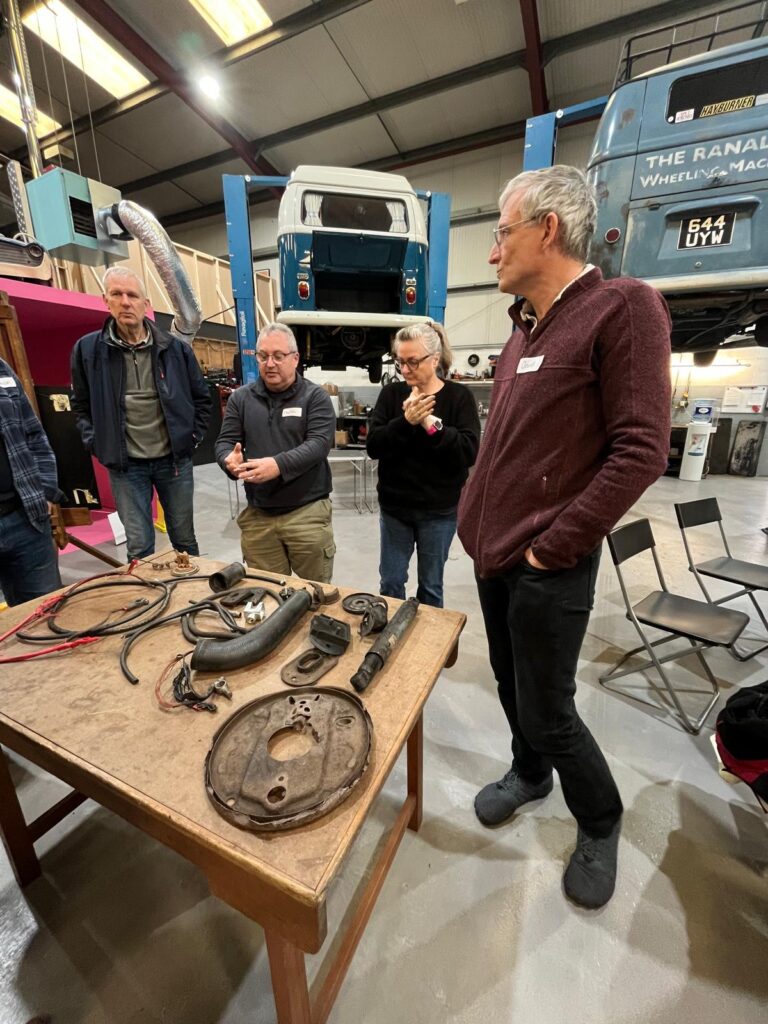
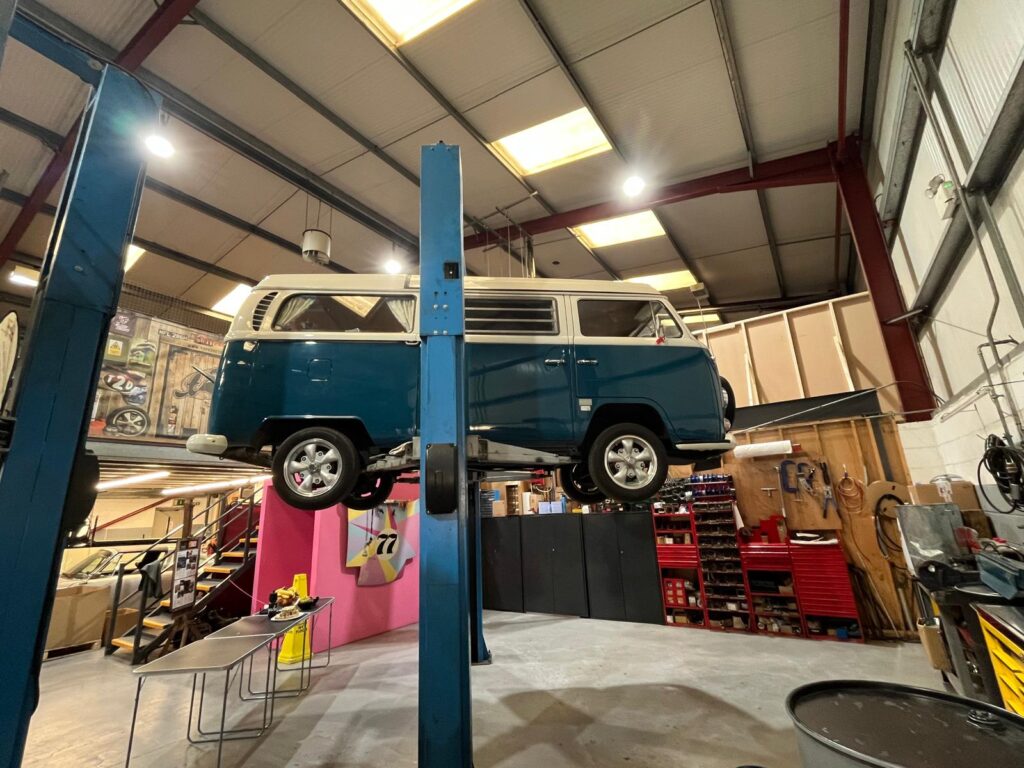
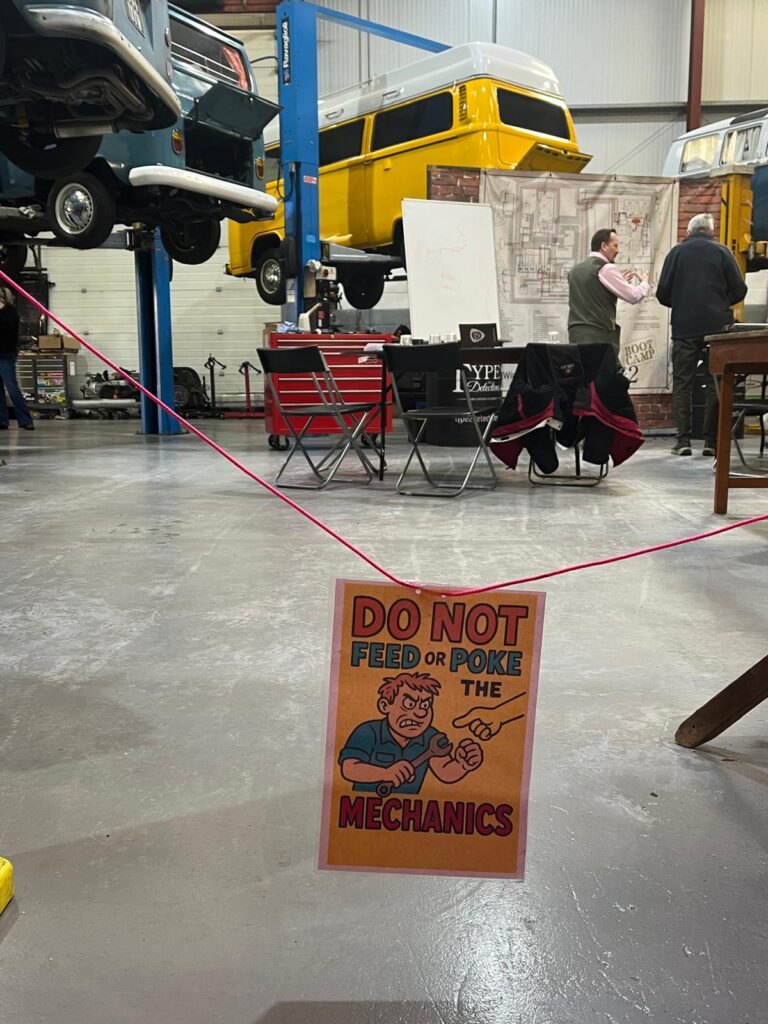
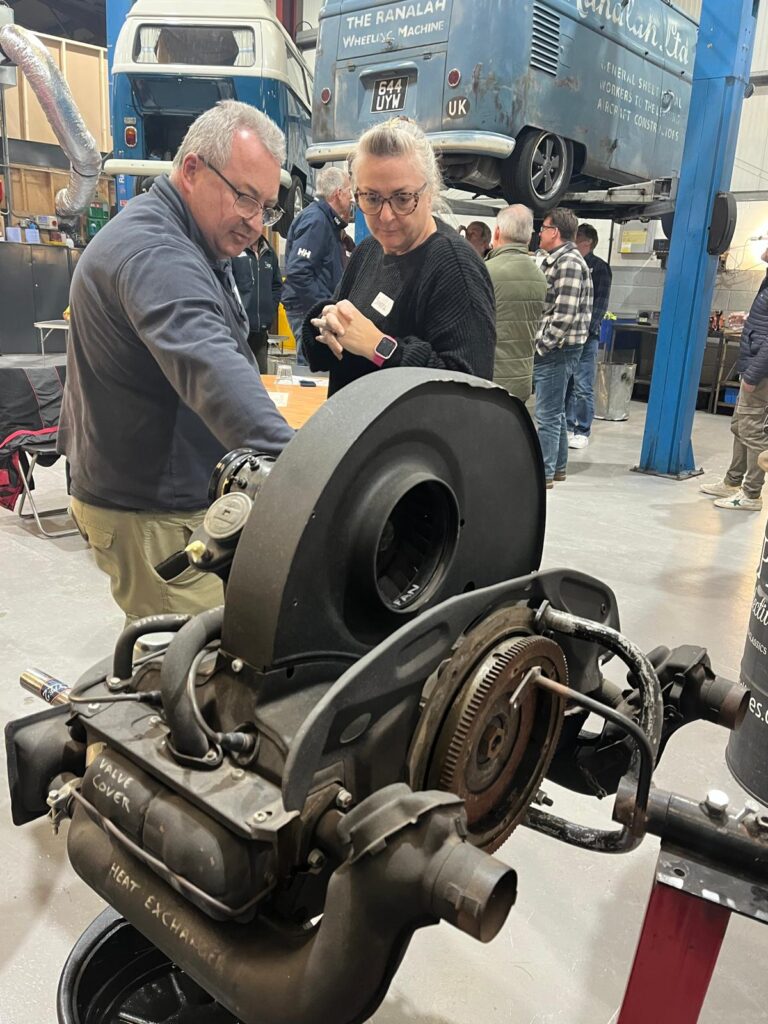
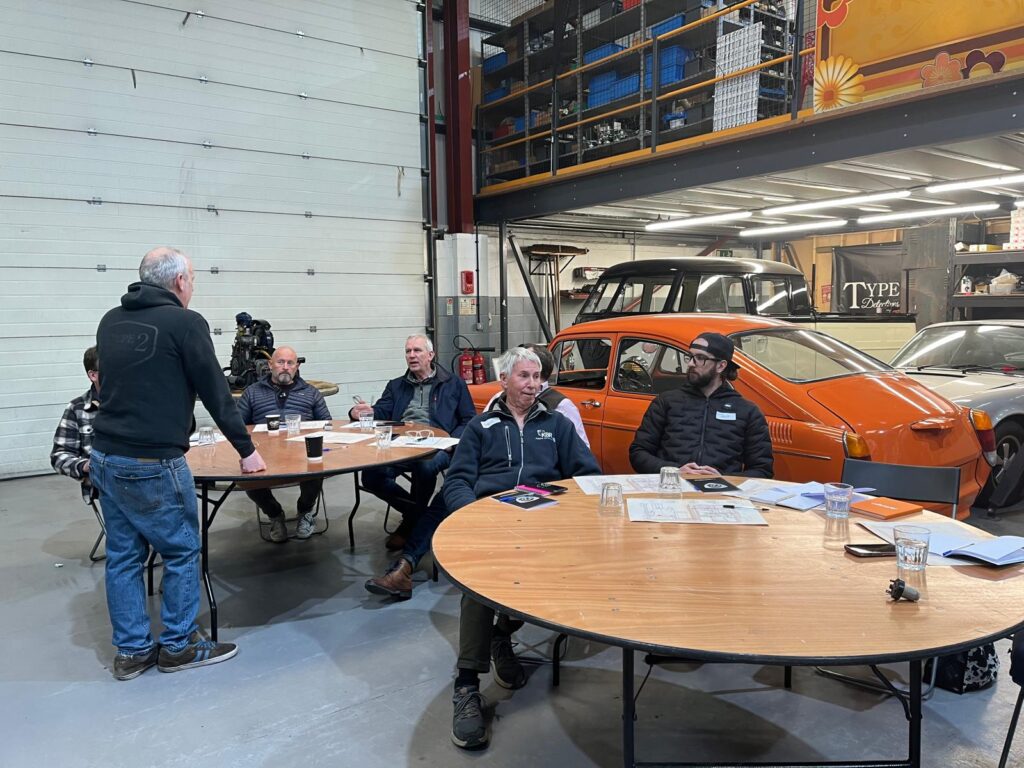
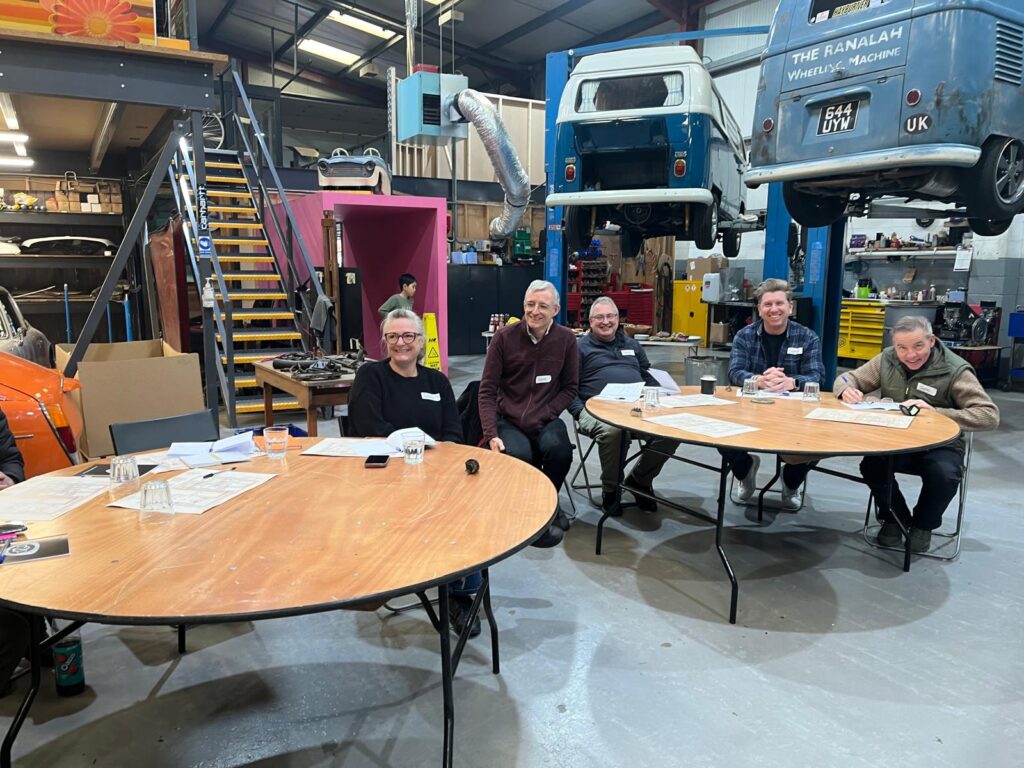
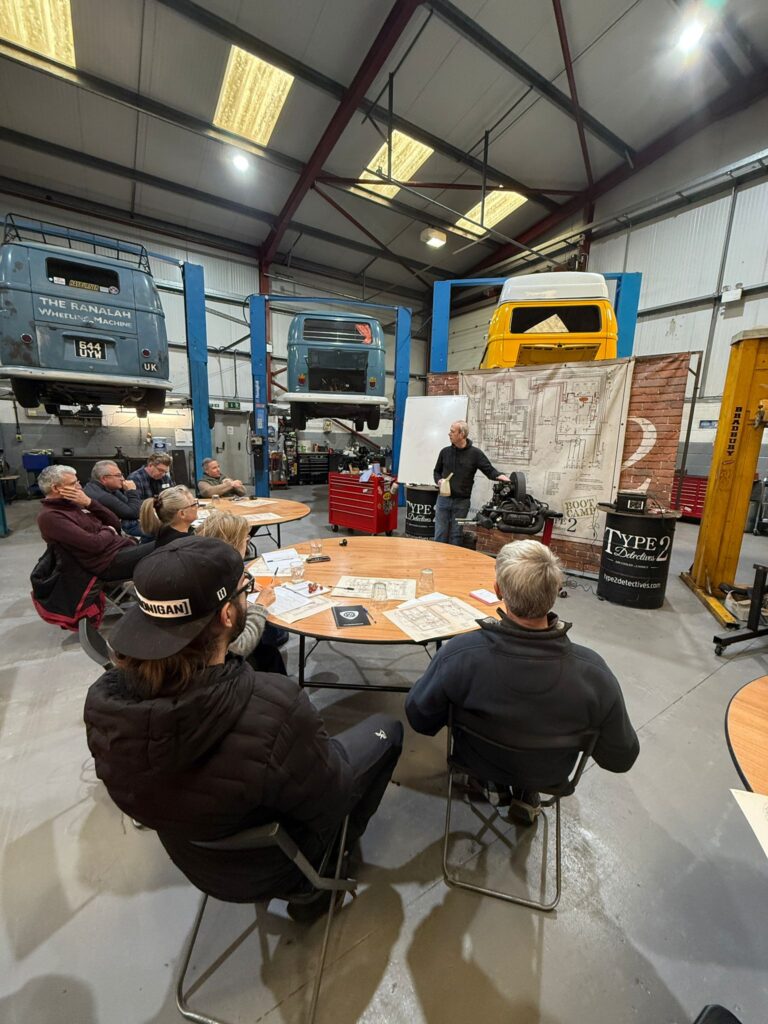
Andy and Paul were brilliant, very clear and great teachers, we were showed around the workshop and then explained what they do. They included everyone and made everyone feel able to fix or service their vehicle. 

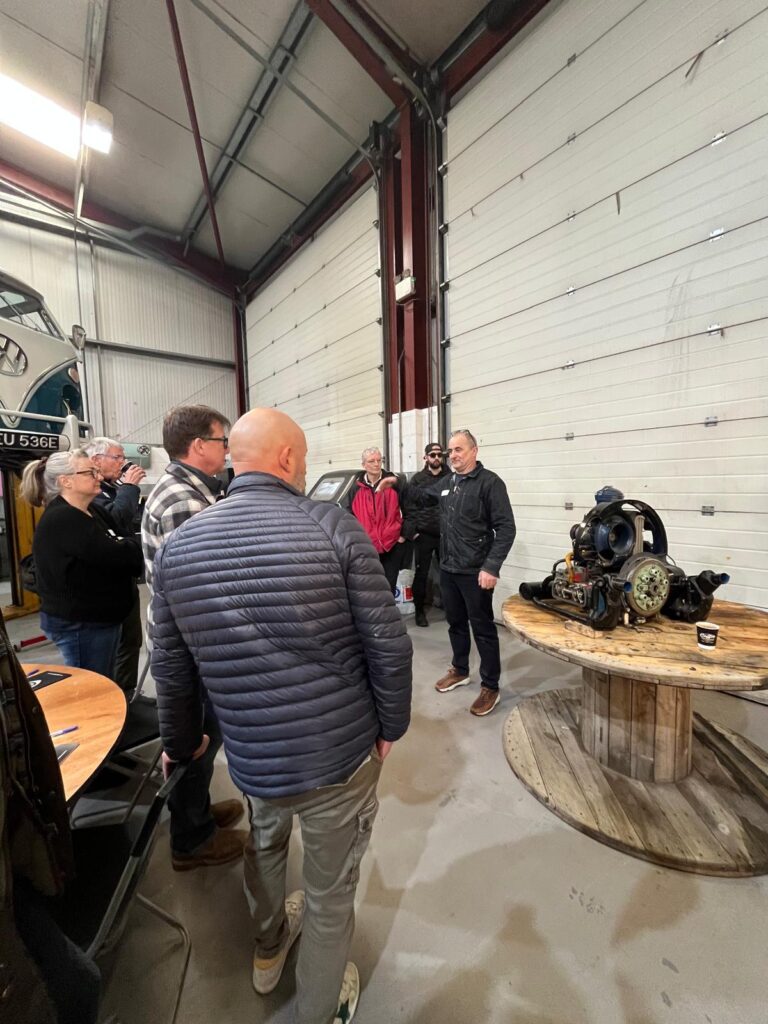
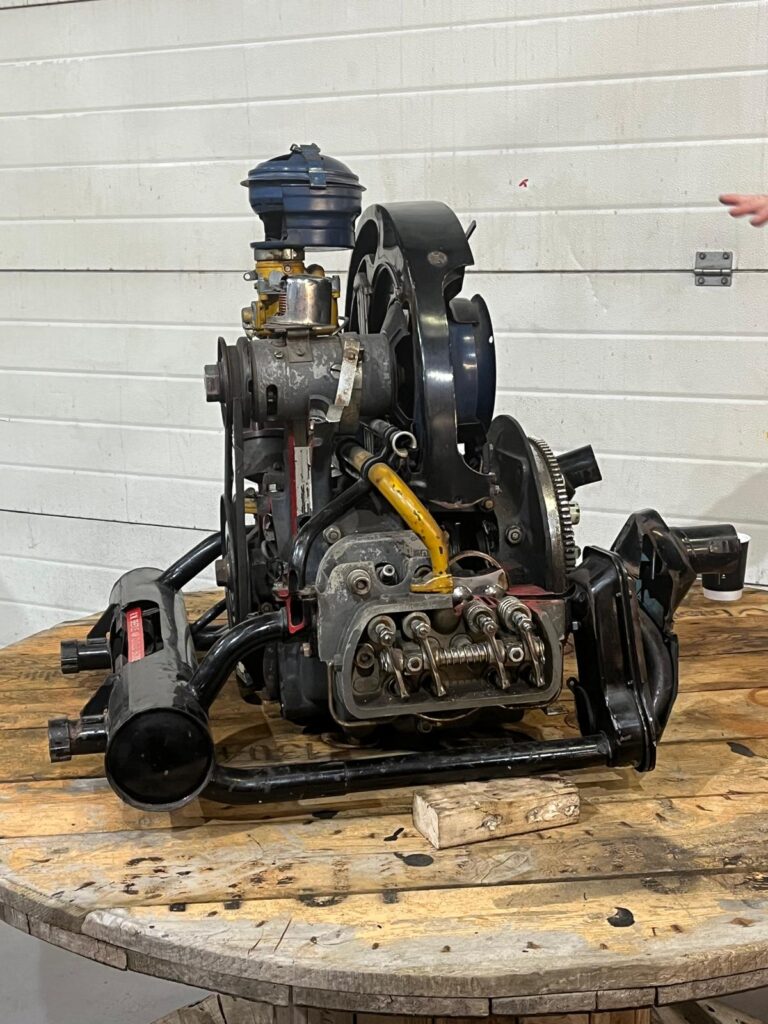
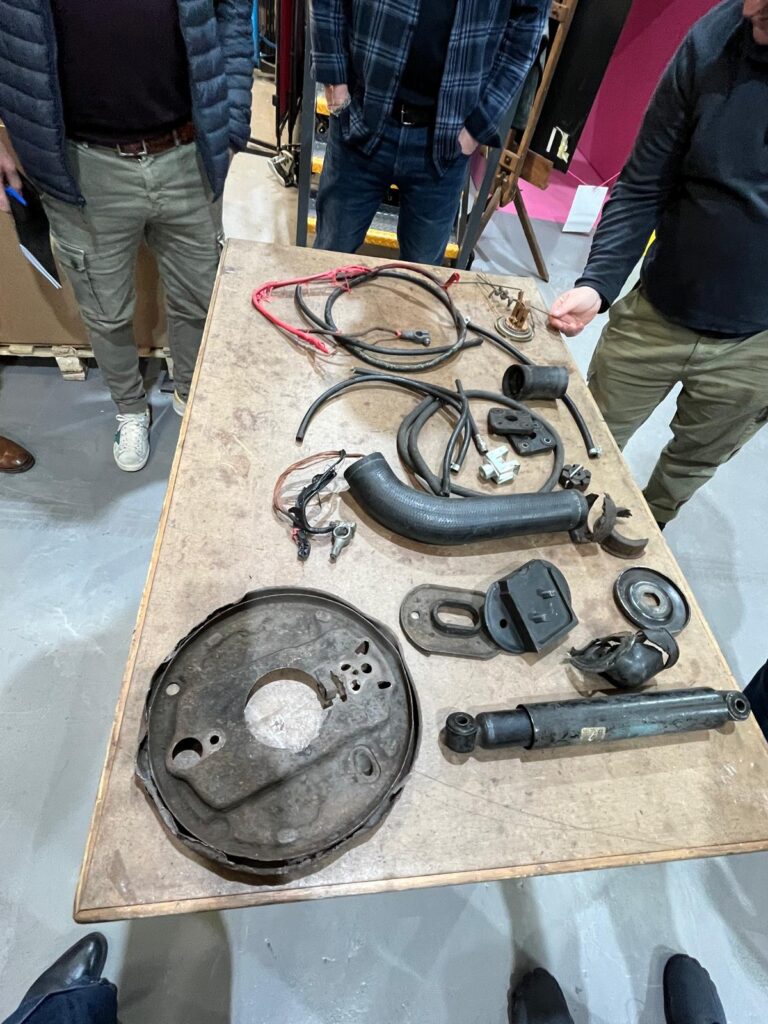
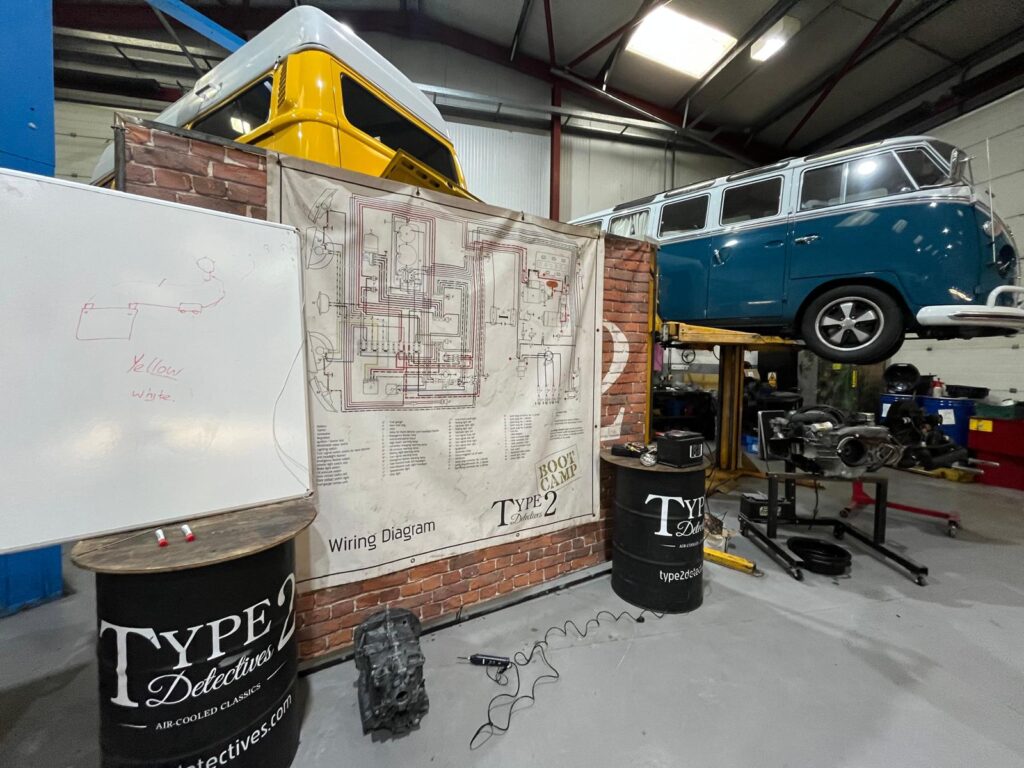
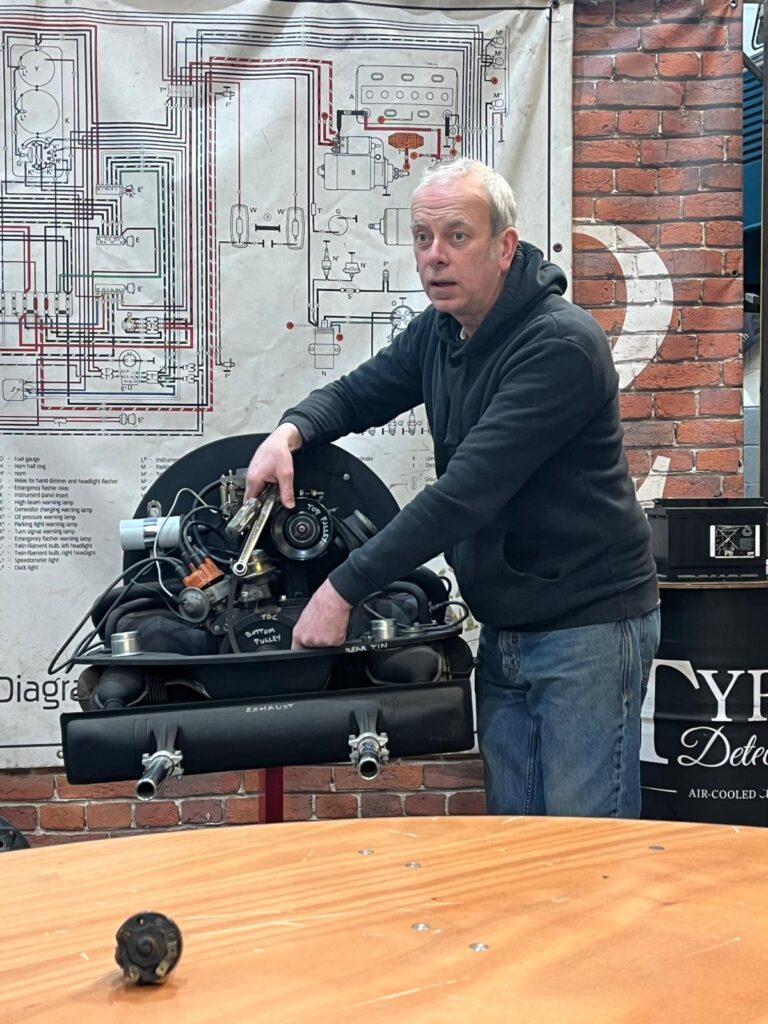
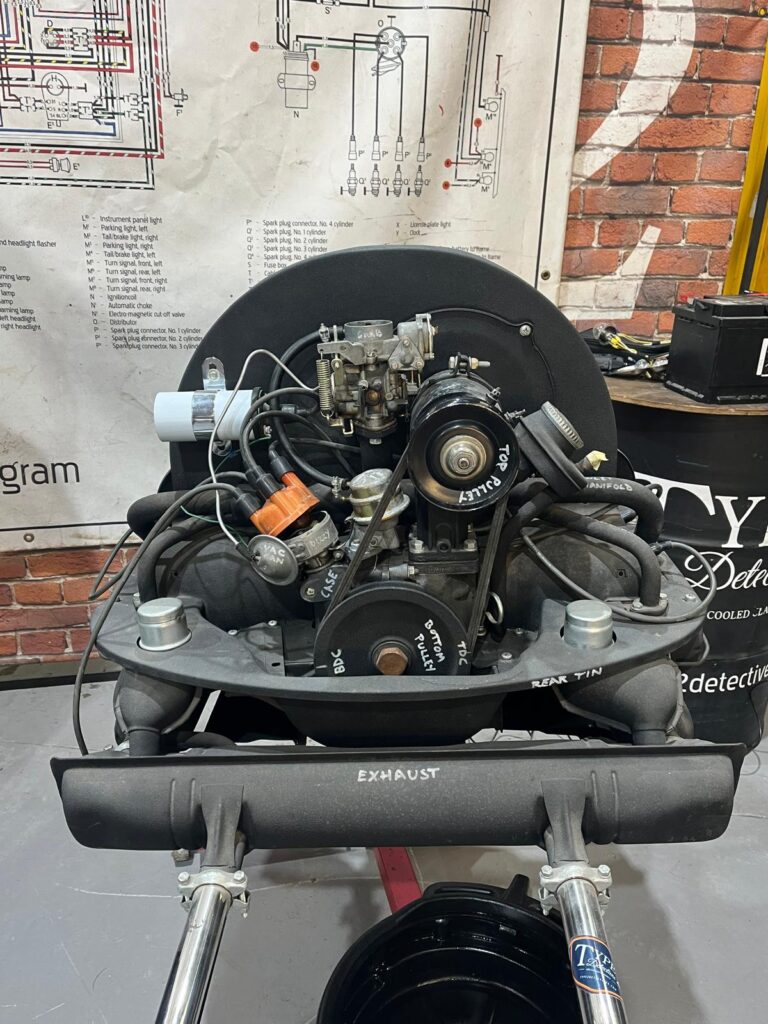
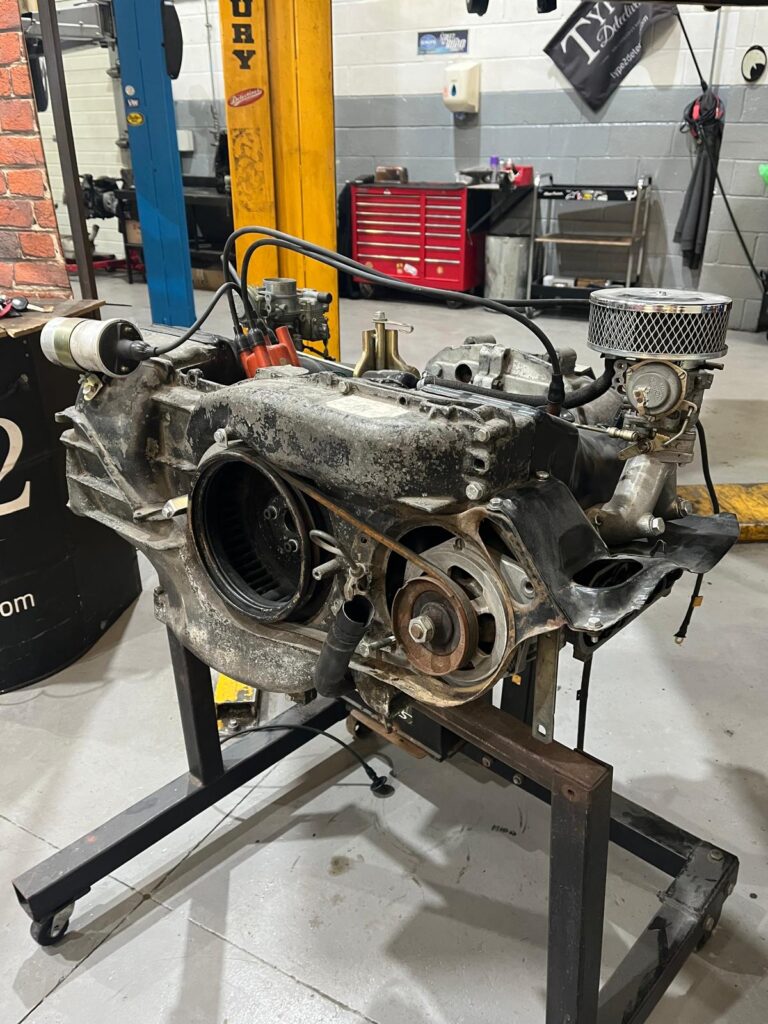
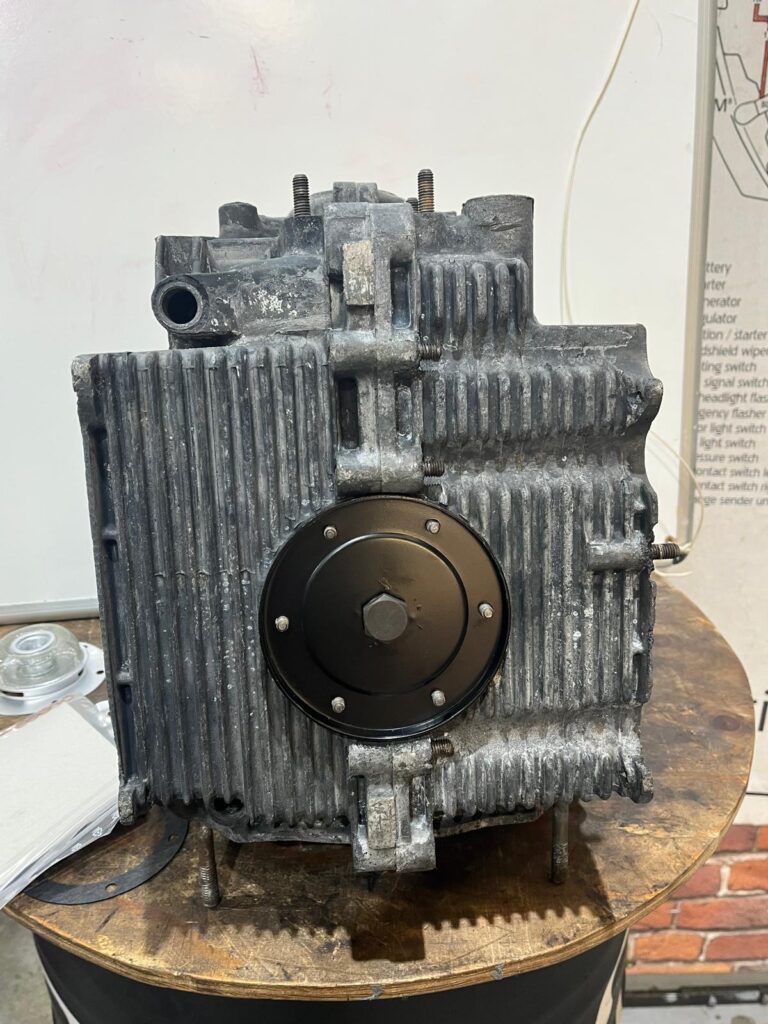
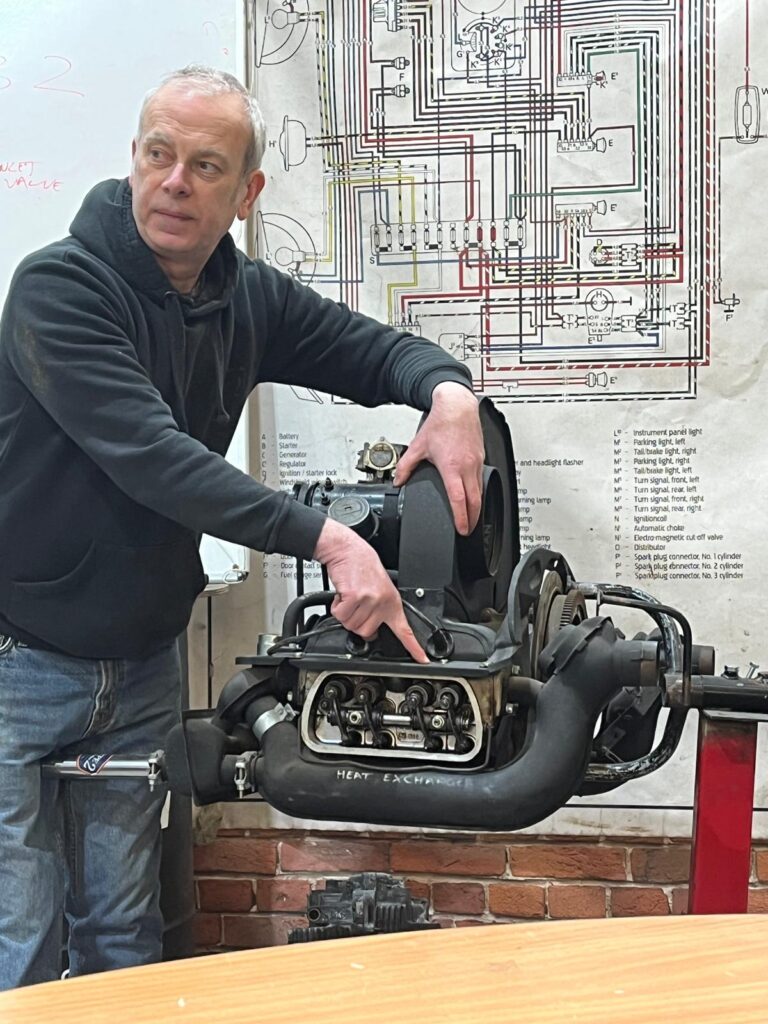
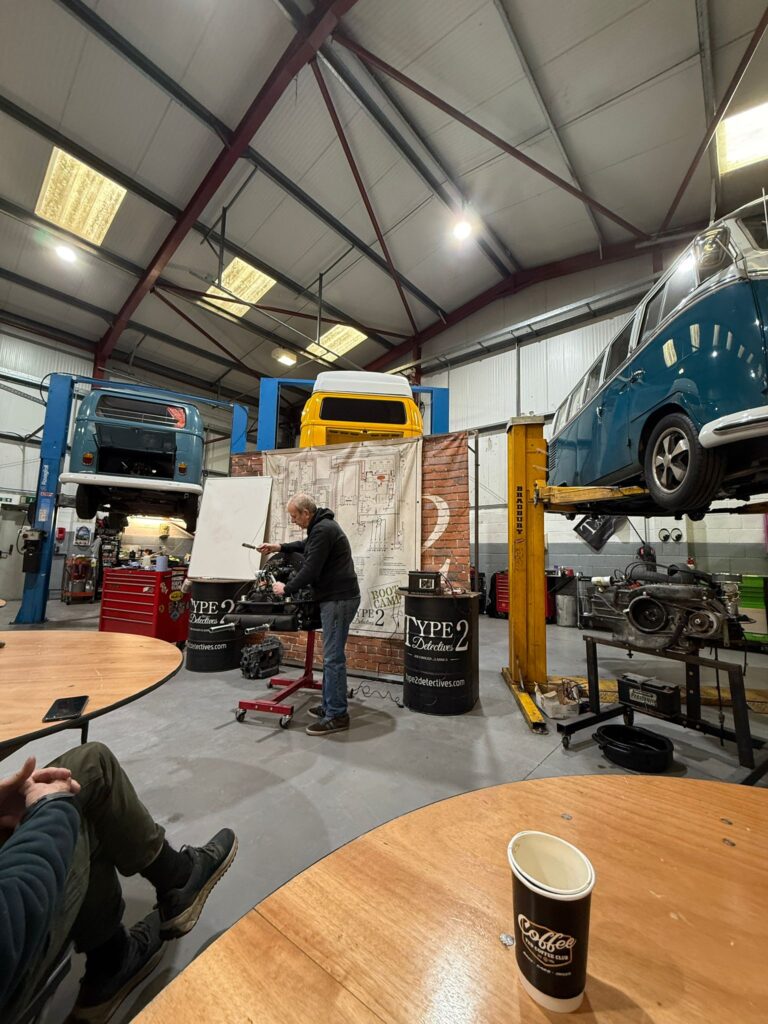
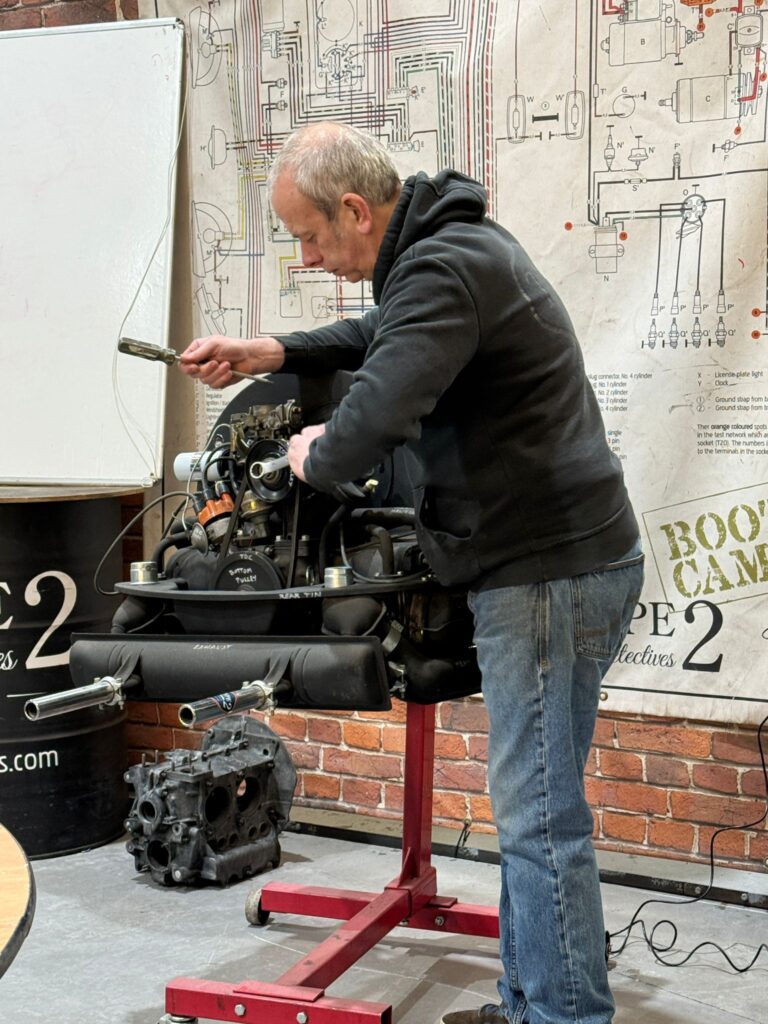
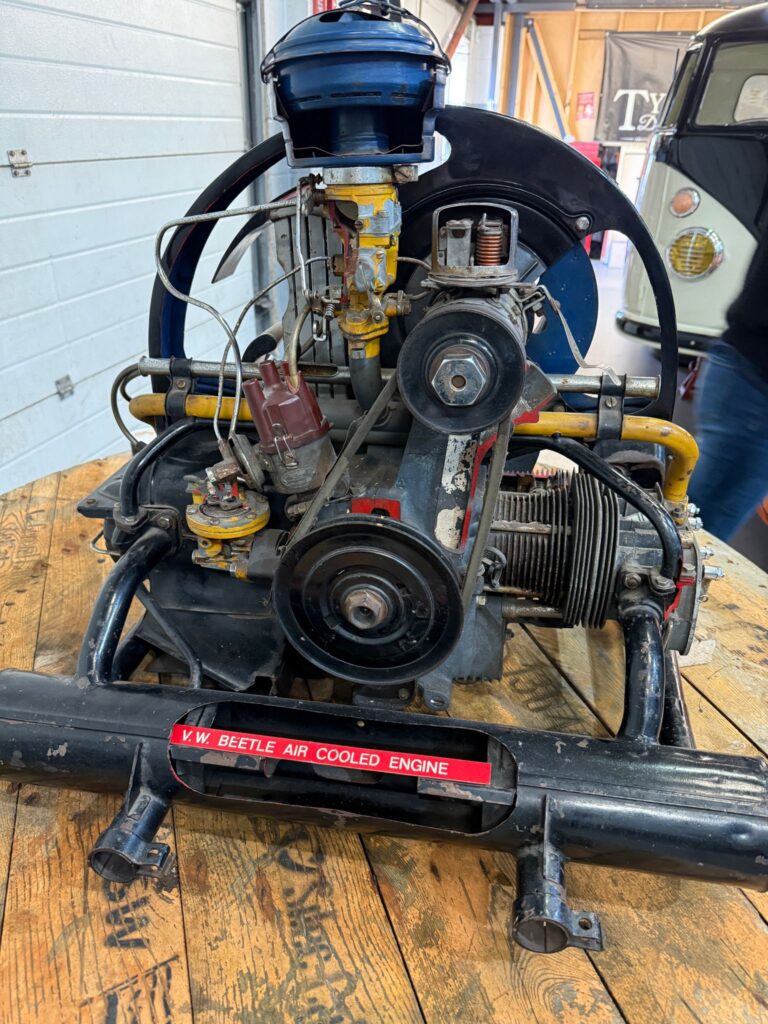
They showed us an engine with clear explanations of how it worked, and labels were on the different components, so we could understand things fully.  They explained a few stories about what could go wrong, and how they fixed them.  They also showed that the scary wiring system isn’t that complex once it had been explained and showed what to do in situations that may occur. Also, you could buy a wiring diagram (which is totally worth getting) (Editor notes that you can get these online and the Bay window 1972 to 1974 wiring diagram is on the club website in the “Technical articles” section because I had it for Eric!). They included everyone and made everyone feel able to fix or service your vehicle. 

We were shown:

  • How to change a fan belt
  • How to change the oil
  • How to set the gap on the valves 
  • How to set the gap on the distributor points and describe the firing order of the cylinders 

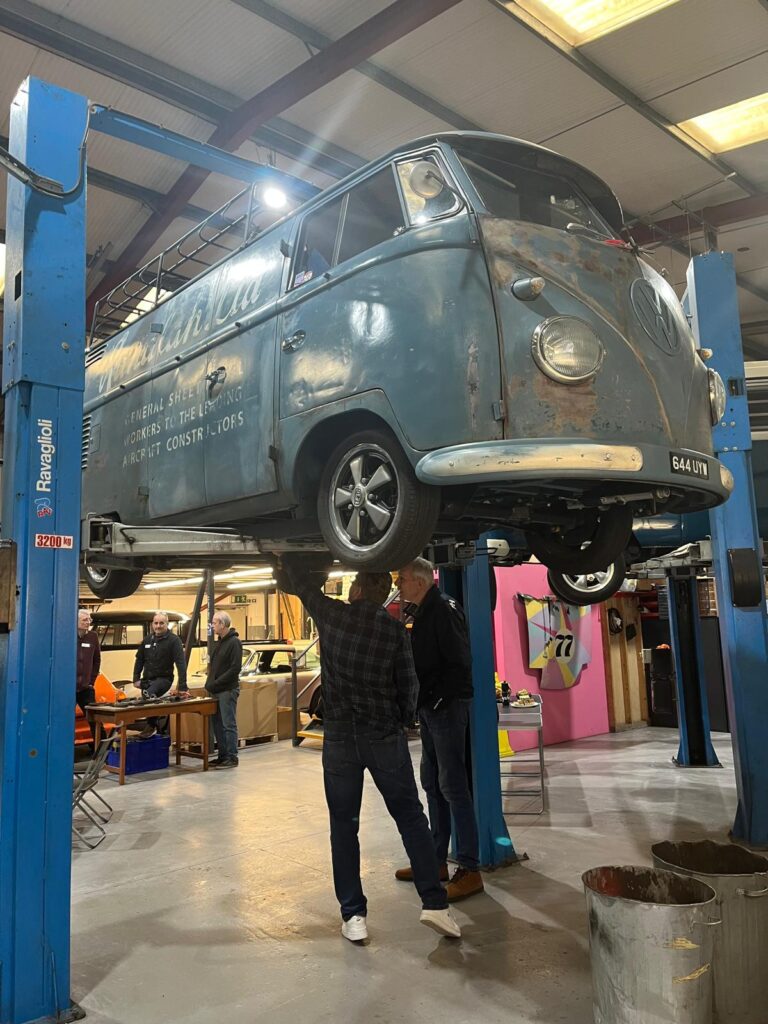
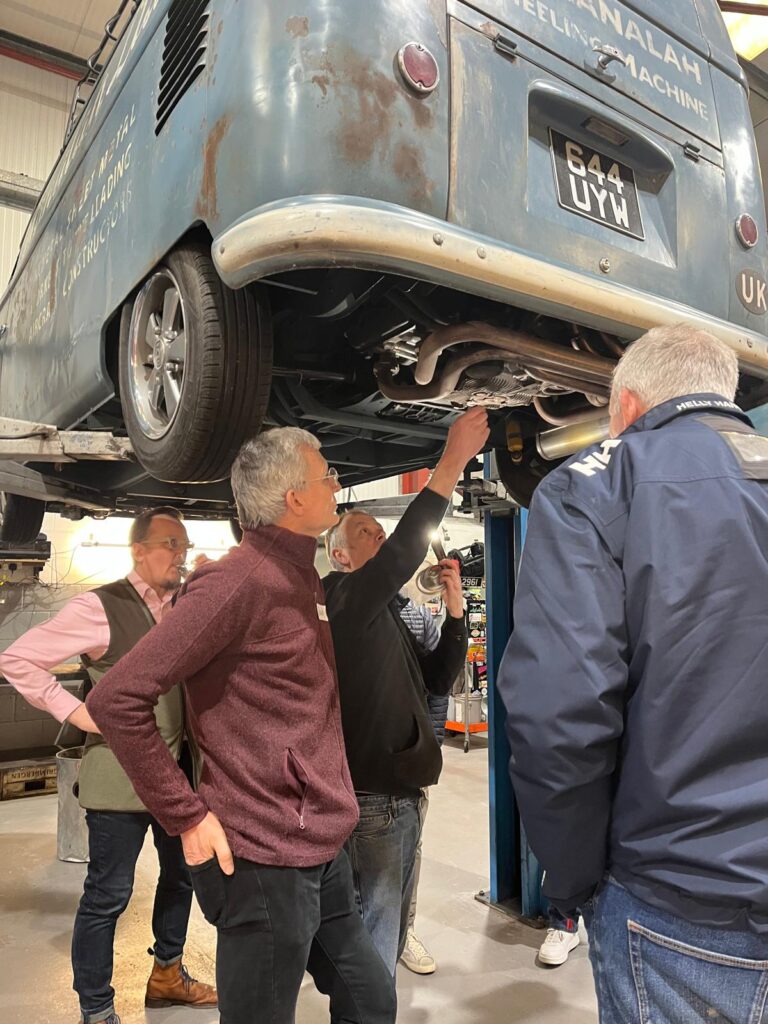
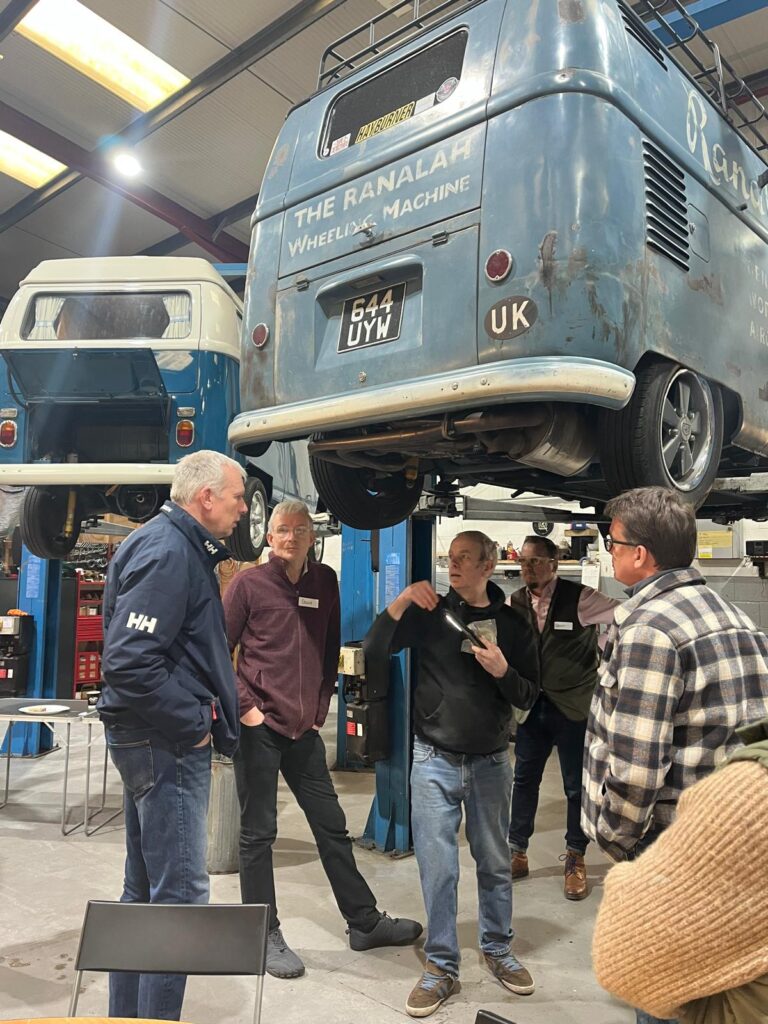
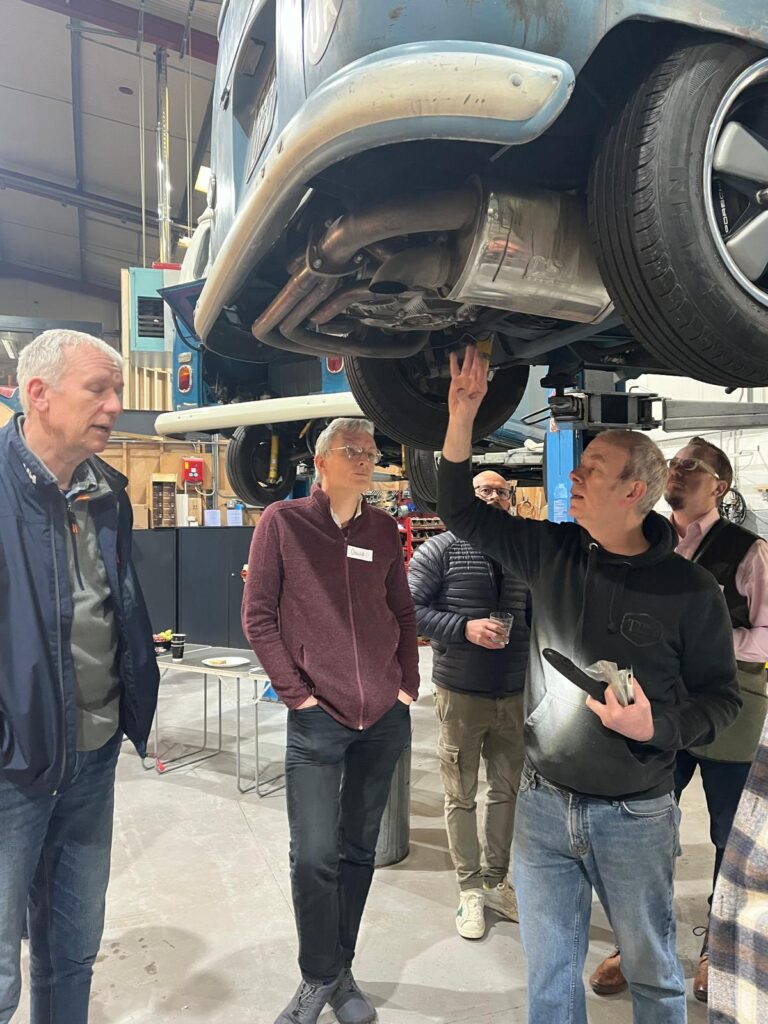
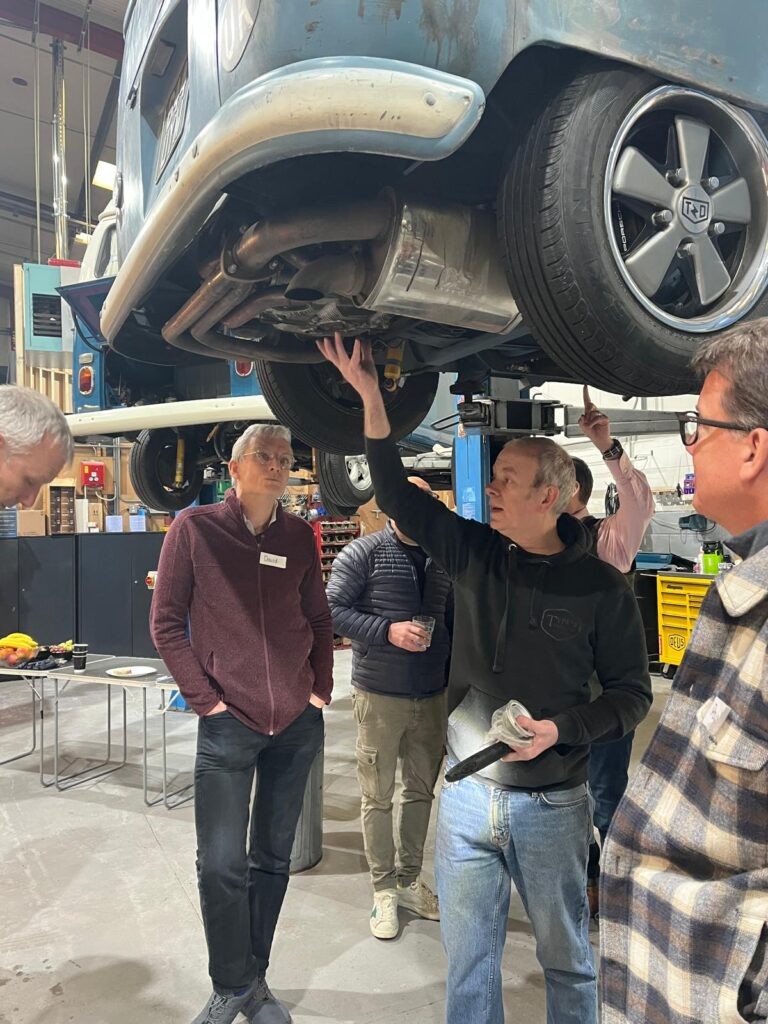
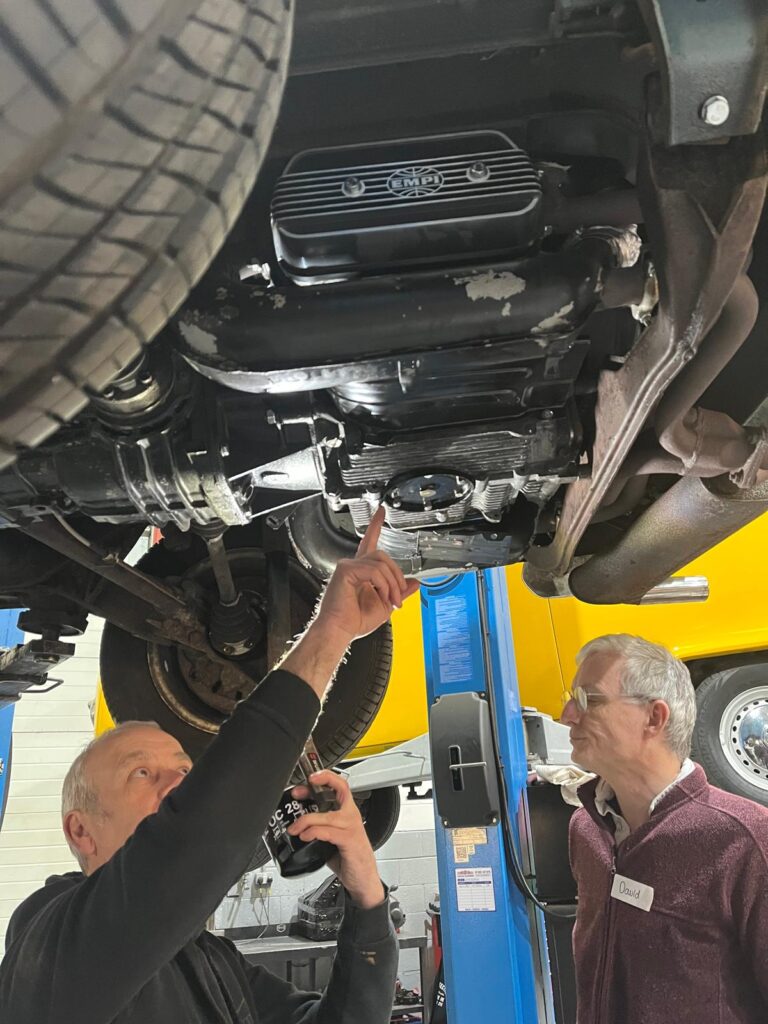
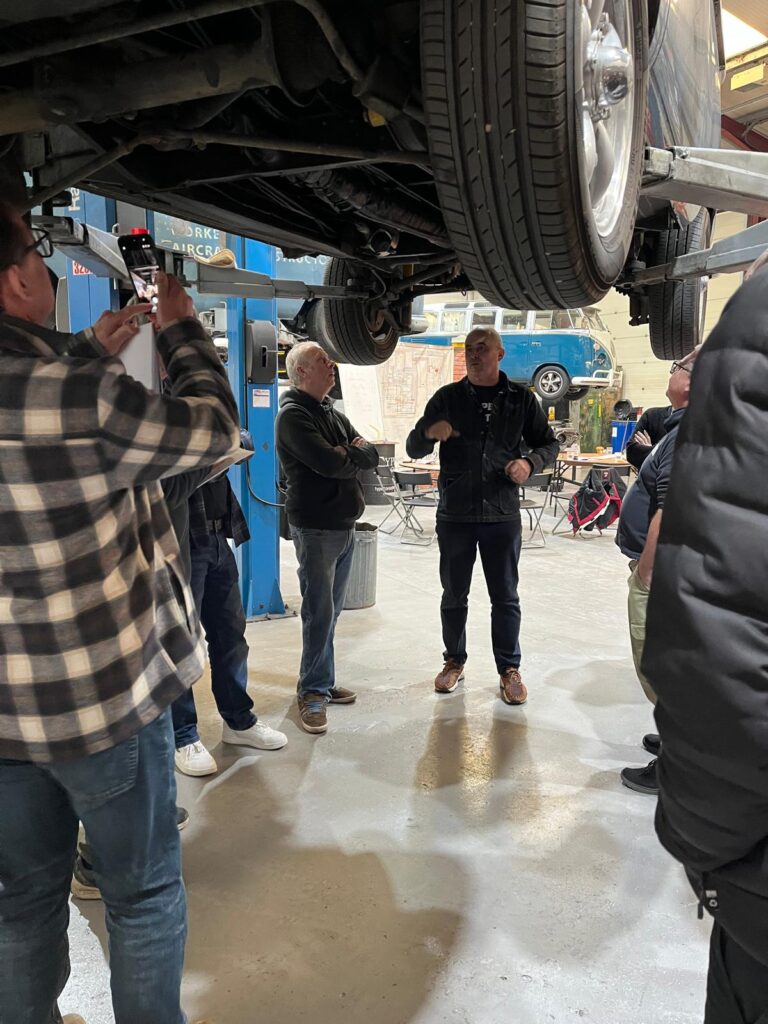
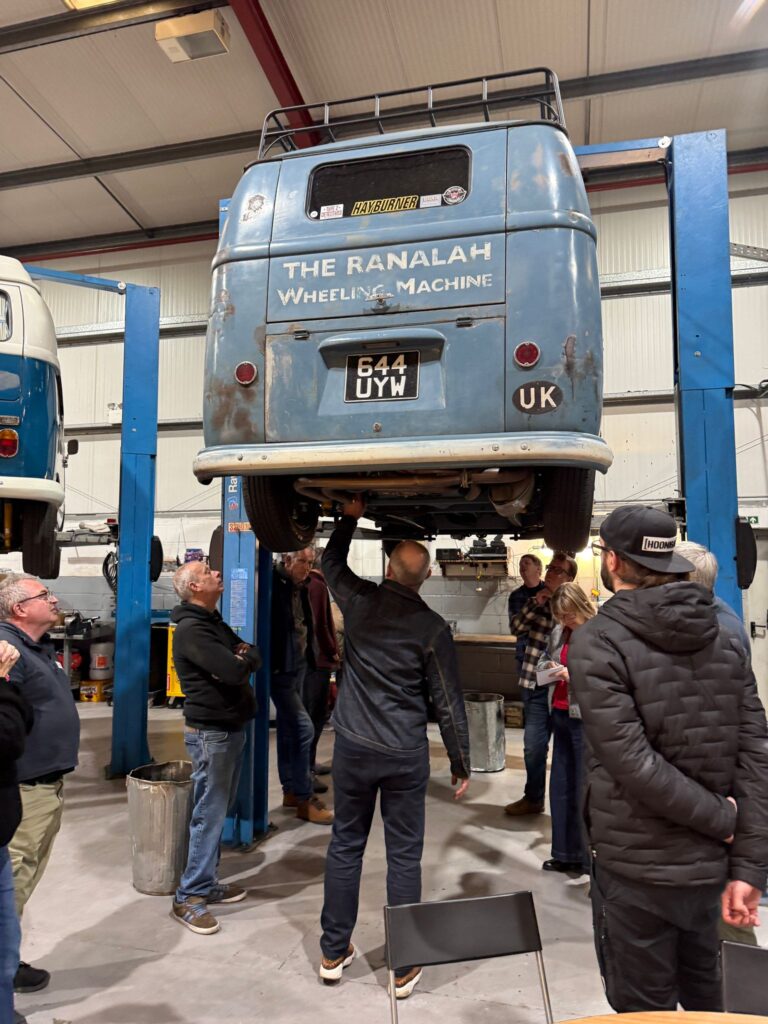
Andy and Paul walked us around the underneath of a variety of vans on ramps, then explained components, common faults and visual checks to keep our vans healthy.

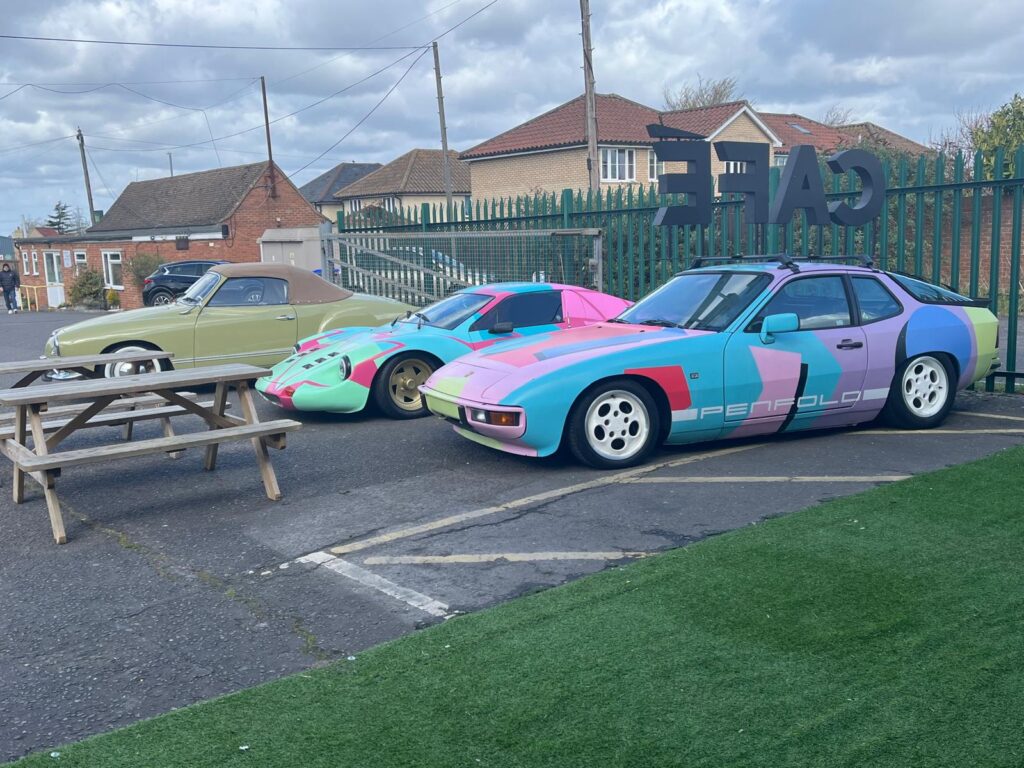
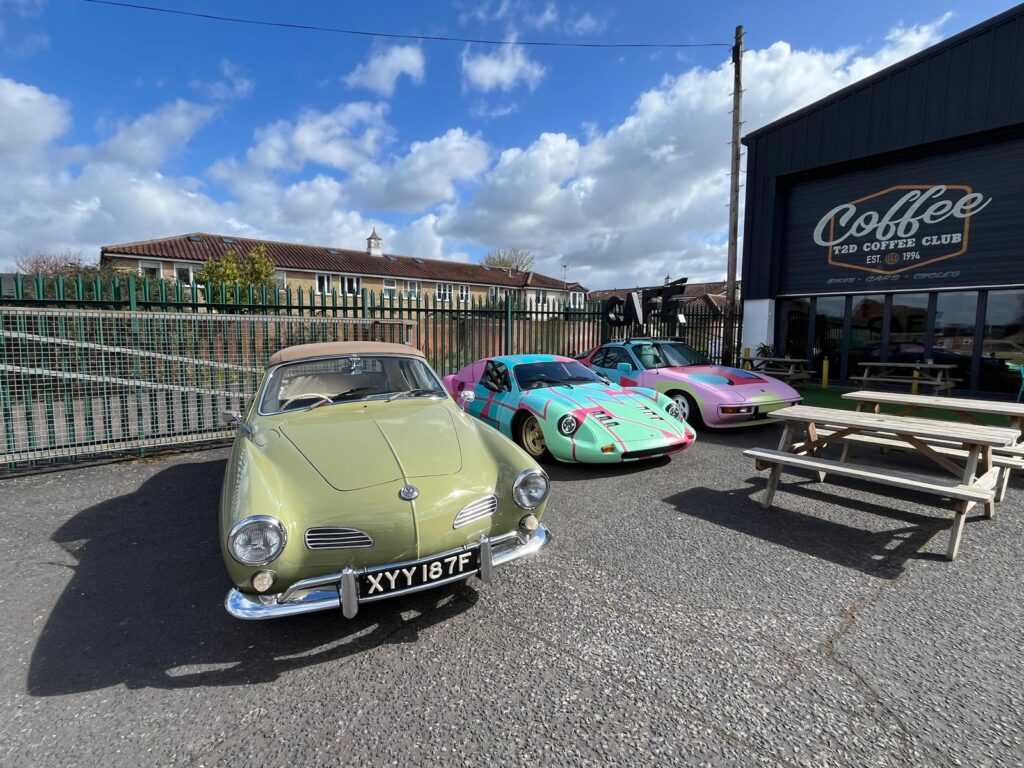
We were well feed and watered – seriously, the choice of food and variety of drinks was excellent. All staff were friendly and welcoming. We would pop in to say Hi, and have a drink if I was ever up this way … and you should too … totally worth a look.

I thoroughly enjoyed the entire day, I have come away with extra confidence of what to do if I was on my own in my Rusty Leigh and had issues or broke down. I also liked that we were told a few times throughout the day that we could just call them and they would talk us through any breakdown (which is so reassuring) also what essentials tools to keep in the van, that you might not think about.  (Editor notes that the Spare parts list is also on the web site in the “Technical articles” section)

Although we were told that Paul had a spare engine in his van when he was on his travels … smart man, we believe he didn’t need it lol!

At the end you were given a boot camp bible to take with you covering what you have been taught to you on the day and we were offered a comprehensive health check for our vehicle at a later date, convenient to both you and the workshop at an amazing cost.

I will pass on Type 2 detectives’ information to anyone who needs it, and when my stepdaughter is ready, we will be sending her to one of these workshops so she can get a better understand of our T2 camper.

Thanks again for an excellent and acknowledgeable day.
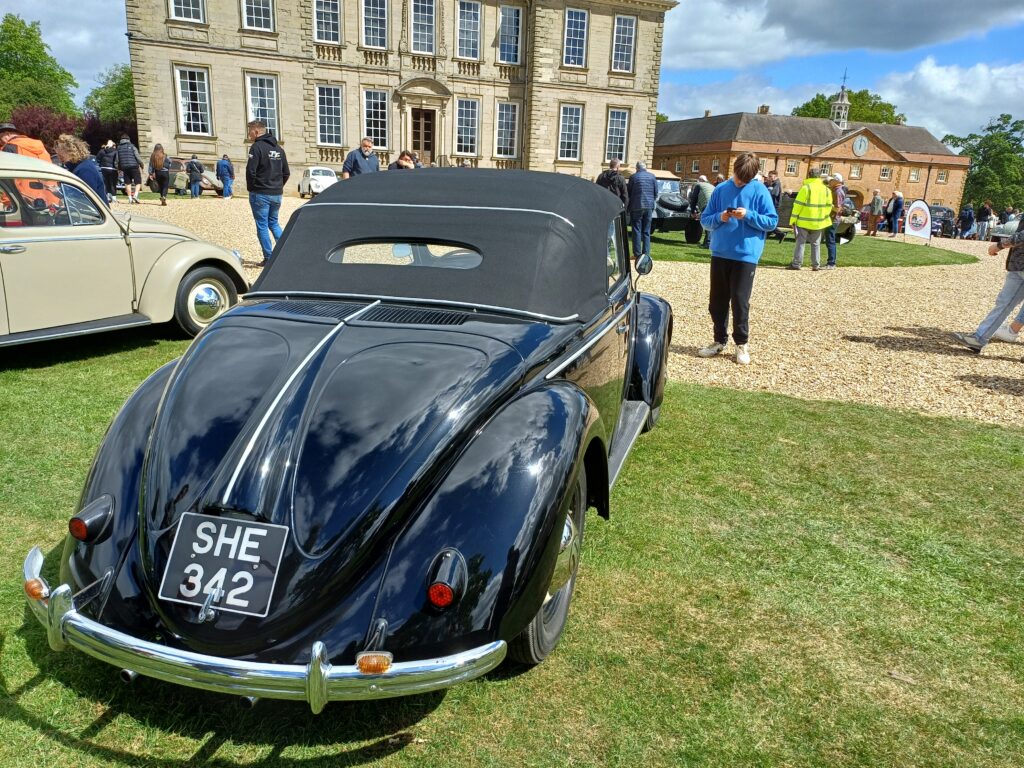
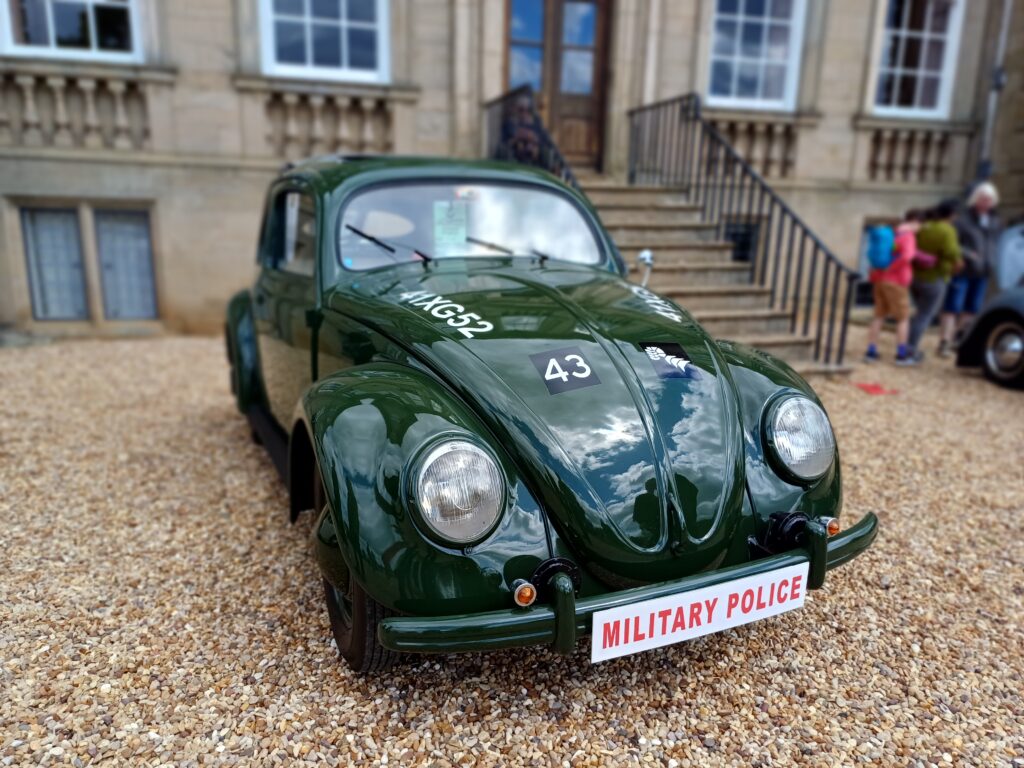
Upcoming Club Event – Stanford Hall Classic Volkswagen Show May 3rd 2026

In my humble opinion one of the best shows of the calendar and my personal favourite. Organised by the wonderful Leicestershire & Warwickshire Volkswagen Owners Club the event hosts classic air and water cooled models side by side. This is a one day event Sunday only but camping is available on both Saturday and Sunday nights, details of booking can be found on their Web Site.

Inspector Gadget – Hub caps

Following on from a conversation with former editor Phil Aldridge, this is a mechanic’s cheat for any hub caps.

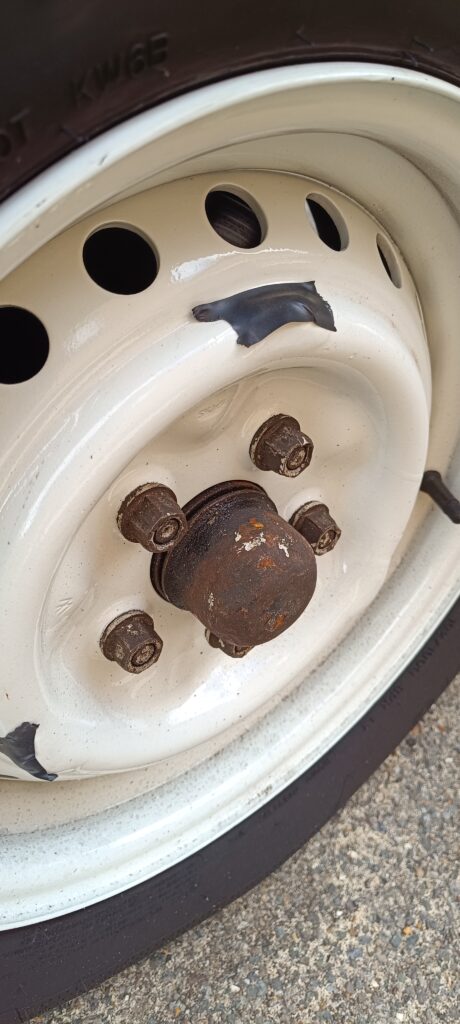
If you press your hub caps on and sometimes they fall off, the cause is loss of metal. The Splitscreen and Bay window steel wheels have hub caps that attach to the wheel by gripping 3 lugs on the wheel itself. Repeated attachment and removal of the hub caps over the years removes tiny amounts of metal from the steel wheel and can also make the hub caps slightly wider as well.

The new ones are known as “summer chrome” and do not last very long in our climate. The original ones tend to have rusted by now. Any time you clean one or fit one, there is a danger of them falling off.

A mechanic friend suggested this trick which has worked for him for decades. Remove the hub cap and thoroughly clean the wheel. It looks better already, doesn’t it? Now with a clean, dry wheel, apply some electrician’s tape over each of the 3 lugs being careful to cover the piece that grips the hub cap. Offer up the hub cap to ensure that the tape is not visible.

Once all 3 lugs are taped, place the hub cap over 2 of them and tap the hub cap onto the third one. It can be quite difficult to do this and be careful to tap the edge of the hub cap otherwise you are likely to dent the middle! There are plenty of dented ones visible on member vans! If you dent it, tap the dent out carefully from the inside.

With all of them on, admire your handywork – and be a lot more confident that the caps will be there when you arrive.

Ask the Mechanic – My sliding door doesn’t work properly

Between Saturday 2nd August and Sunday 10th August 2025, 6 club member vehicles or Bay windows parked nearby, were reported to have sliding door issues. Each one was the same root cause, each fixed in under 10 minutes for free. You can do it too!

Sliding door won’t close and nothing has changed?
Sliding door won’t open and nothing has changed?
Sliding door won’t run smoothly and nothing has changed?

The root cause is the same – something HAS changed! Time has passed.

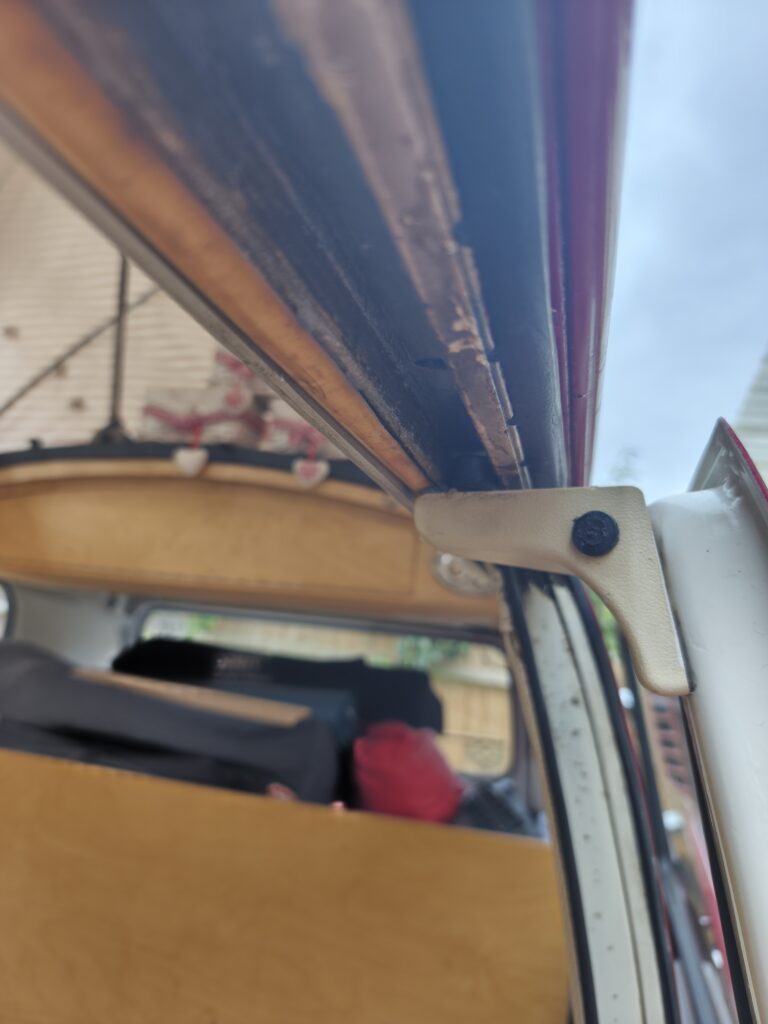
The sliding door has a top roller that runs in a channel. Grab your grease pot (avoid copper based as it is potentially carcinogenic), and put a decent sized blob of grease on that roller itself above the cream plastic cover. It runs in that top channel and only touches the left and right / inside and outside edges of the channel. Add a smear of grease to both sides – don’t bother greasing the top, the roller doesn’t touch it.

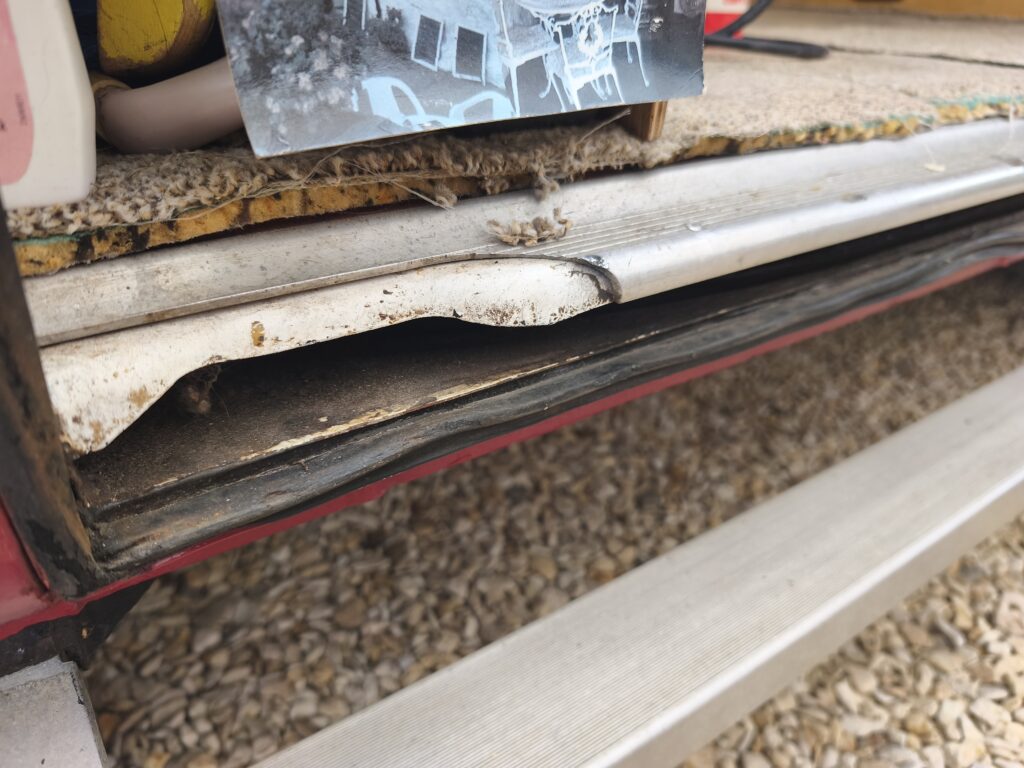
At the bottom of the door opening is another roller and another channel. You’ll need to repeat the process with the grease here – don’t just spray product into the hole, you need to grease the C shaped channel inside that hole and again you are doing the sides not the top. A blob on the roller as well will really help.

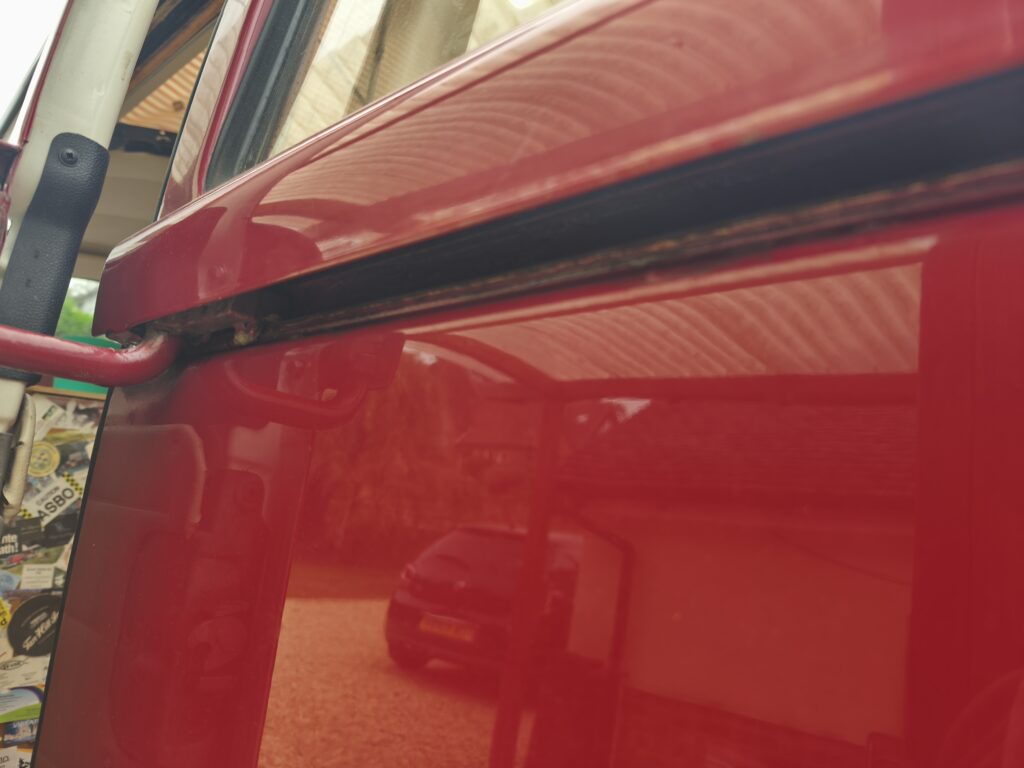
Now put the sliding door almost closed as in the above shot. The middle runner slides on top of a single 2mm thick piece of steel. Grease on the top of that but don’t worry about getting it perfectly on, just grease it up. The rearmost inch or so doesn’t get used, no need to grease to the end. When you are down there, that red U shaped steel goes up into the latch mechanism. From underneath, get a load of WD40 into there.

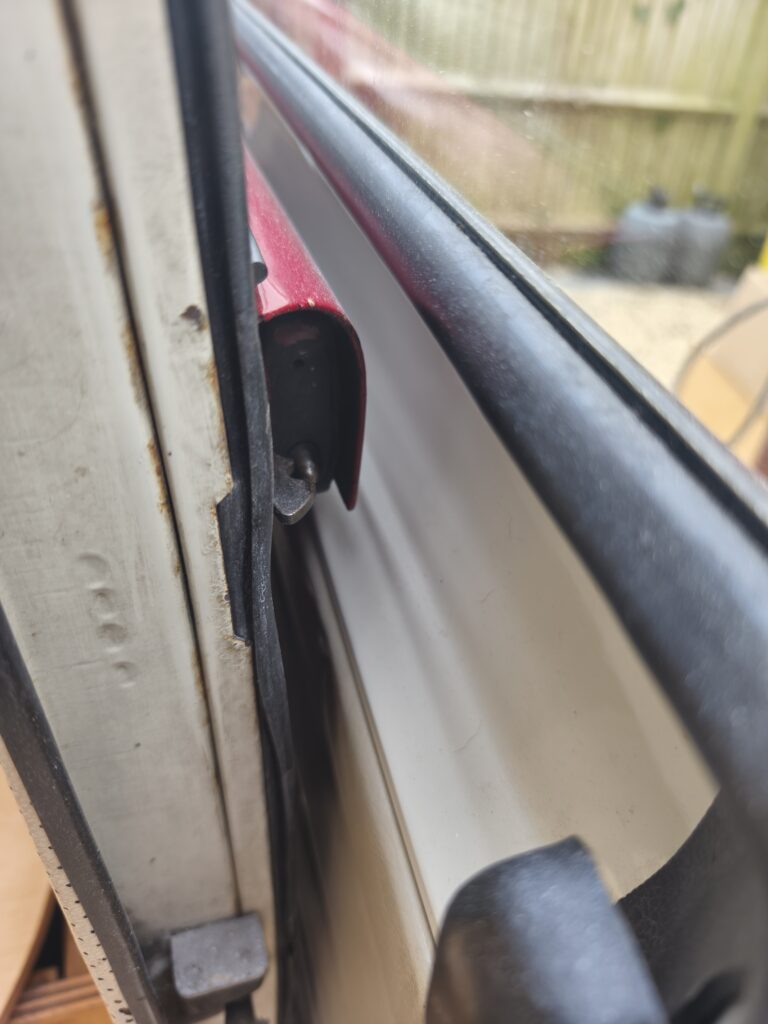
Now with the door almost fully open but not quite, locate the middle latch as shown above. That little finger holds the door open. Spray that liberally with WD40 from this side having just doused it from underneath.

That’s it for the hard work, now slide the door mostly closed to mostly open. Repeat 20 or 30 times to get that grease really spread through the dry sections and your sliding door should be a whole lot better.

You do do this as part of your regular maintenance though right?

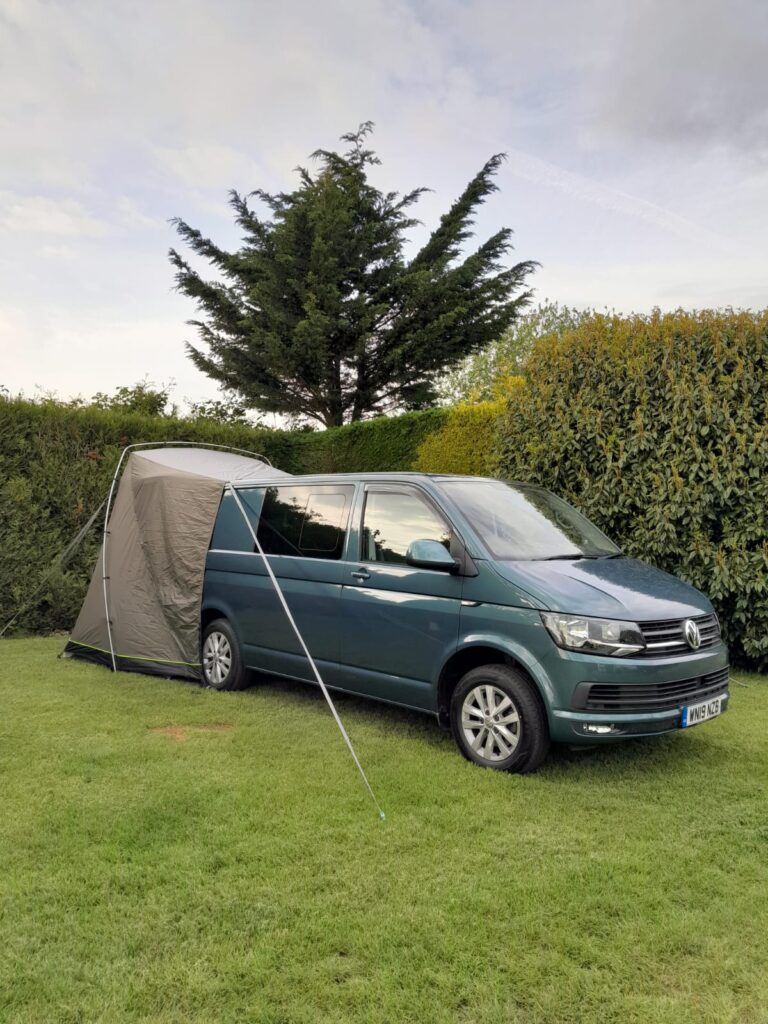
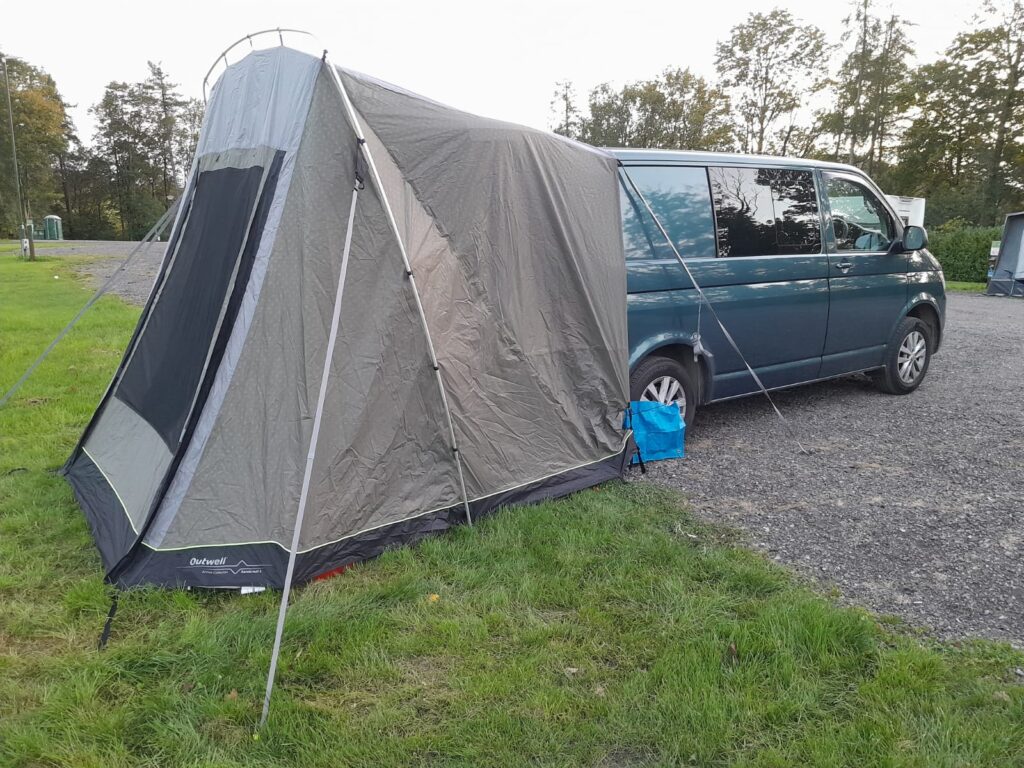
Inspect A Gadget – Outwell Sandcrest L tailgate awning by club member Mark Broad-Holcombe

We have always used a freestanding awning with the campers, especially when the offspring were going away with us. Now it’s just two, we find we don’t need so much space, and putting an awning up for short stays is a chore. At the moment our van is a kombi conversion with a rear slide out kitchen, so rather than extra people creating a lack of space, it’s now the large bulk of a triple middle row seat that forms part of the bed and can’t be removed for camping.

This got me looking at tailgate awnings but most had one flaw. The tailgate had to be left up to support the awning therefore major lack of security. This is where the Sandcrest L is different. It has a single aluminium sectioned hoop to support the nylon, and so the tailgate can be lowered. Although not advertised as driveaway, I have done so using the guylines for support like any tent, although I wouldn’t risk it if it was too windy. It only takes about ten minutes to erect, is light(5.7kg) and takes up very little space (packed size is 64 x 22 x 22cm). As with all Outwell tents/awnings it has many useful features including a zipped mosquito mesh for when camping in warmer climates. Overall size is 310 x 220 cm and living space is about 180 x 200 cm. Enough room for a couple of chairs, table and my offside slide out. The Sandcrest L fits most Transporter sized vans and there is a smaller Sandcrest S for caddy sized vans.

The awning is available at around £330.

Ask The Mechanic – Adding a buzzer for your lights

Do you ever leave your lights on in your classic van and forget because your modern car reminds you with a buzzer? Add one for very little money yourself!

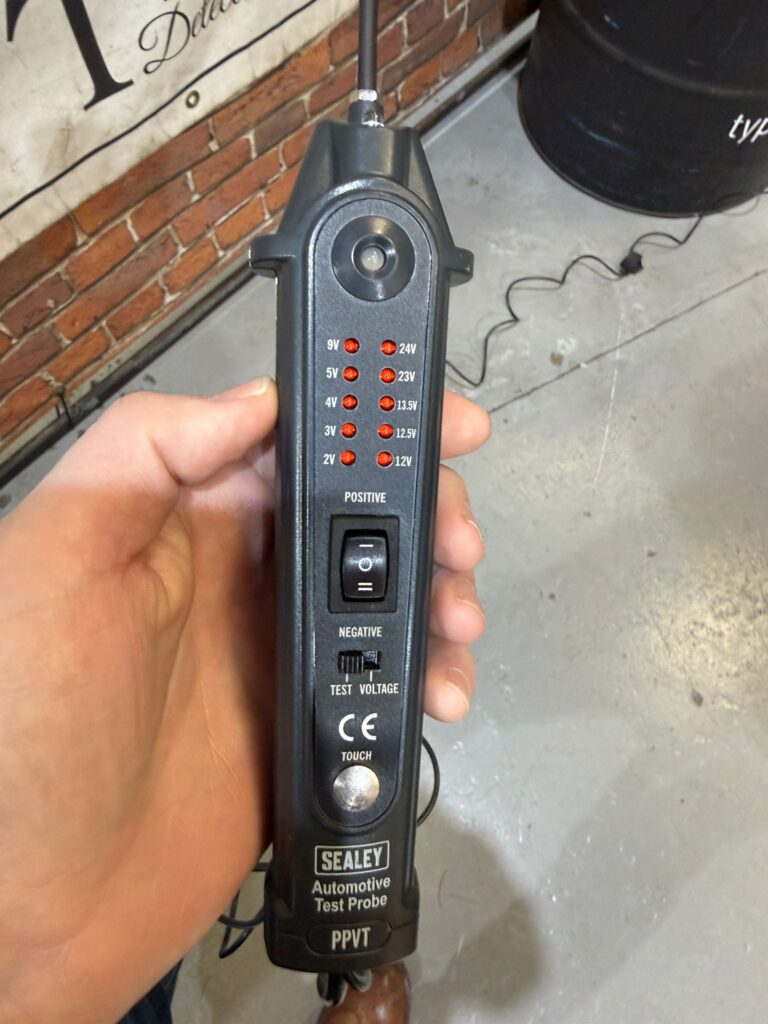
Have you ever not noticed about the lights and ended up with a flat battery? It is easier than you think to add this level of protection and can be done by anyone with an electrical test meter.

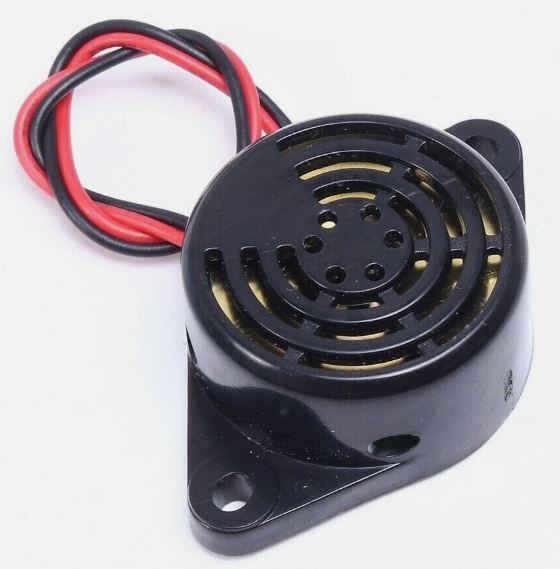
Head over to your favourite auction site of choice and type in “12 volt buzzer”. You can choose the size and volume of the buzzer and maybe get several!

The buzzer should have just 2 wires, red and black. Take the red wire and connect it to the grey wire with the red stripe on it that is on the headlight switch (there will be half a dozen wires in and out of the switch, use your test meter to find one that goes live when the sidelights are on but has no power otherwise). Remember that your vehicle may not provide power to the headlights unless the ignition is turned on – that throws me every time until I remember.

Now connect the black wire to the brown wire of the door switch on the door pillar. The circuit will be completed when the door is open and the buzzer will be off.

Open the door – no noise. Close the door, turn on the sidelights and open the door – the buzzer should now go off.

Why did I suggest buying 2? If you want to be reminded about an open door, just wire the red wire of a second buzzer to the permanent live of the headlight switch (always live even with ignition off) or any other permanent live under the dash. Attach the black wire to the same brown wire of the door switch. Now you have a buzzer for the door being left open.

Given that these buzzers are about £3 and only go off to remind you about your lights being on, that is a small price to pay to avoid a flat battery!