This is a variation of my lovely mother-in-law’s excellent phrase, “Don’t put it down, put it away” (thank you, Millie!). Most marked when you first start campervanning and take far too much stuff, this tip helps reduce frustration. How? Well, when you inevitably need to move stuff around to get to the item you’re looking for, at least you only need to move one trayful of twenty items, instead of twenty individual pieces!
One pot sauce and make the spaghetti first in that pan to keep the washing up to a minimum!
Yum!
Serves 2
Ingredients 200 grams minced beef or quorn mince 1 large white onion chopped 1 cup mushrooms chopped 1 tin chopped tomatoes 1 beef or vegetable stock cube 2 large garlic cloves chopped or minced 1 tsp Herbes de Provence or other dried mixed herbs Olive oil 200 grams Dried spaghetti
Cook the spaghetti until just soft enough to eat. Drain and set to one side with a few tablespoons of water from the pan. Into the same pan fry the onion until nicely soft. Add the mince and on a medium heat cook it until brown, removing the oil or water as you go. Stir in everything else and simmer for 30 minutes with the lid slightly off.
Add the cooked spaghetti and stir it all together, adding any of the reserved water to thin as required.
You now have only 1 pan to clean and you can even use some crusty bread to wipe around the edges!
Spend since last report: £2,747. Total hours labour since last report: 52.05
As 2022 draws to a close, I am prompted to look back at the progress made this year. Ahead of what happened this episode, here is a summary of the year:
Kitchen pod created.
Bulkheads removed.
Flip / fold front seats made.
Engine case purchased.
Poppy’s old engine dismantled.
Eric’s old engine dismantled.
Brand new engine being built by Stateside Tuning.
In addition to the above, I have also made progress elsewhere.
The front beam has been dismantled, removed from the van and was hanging on a block and tackle for ease of movement for about a month. It is an adjustable beam of unknown origin that came with Eric. The bottoms of the clamshell sections that form the chassis mounts were both rusted, but were by no means unsalvageable – cutting out the minor amounts of rot and replacing it properly with butt welded sections made for a great look. Much easier and more satisfying than the work on the vehicle that has been rather worse hit by rust!
Each component of the front suspension, steering and brakes was removed and either stripped, painted in anti rust treatment, primed and painted or was replaced. The brake calipers have been painted in 3 coats of bright green Kawasaki high temperature paint and all other components were top coated in John Deere tractor paint in gloss black. This was a recommendation some years ago by a VW restorer and the colour and protection are great.
Then with the beam off the van, I was able to tackle the chassis rails in the sections that had been hidden by the beam. As this was only about a foot on each chassis rail, it did not seem like a long job however, the access is only by laying on the ground and understandably, 50 years of water, mud and rust had accumulated to rot out a large chunk of this. New sections in 2mm semi-galvanized steel were fabricated up and welded in place, and with new thick steel onto nicely tidied chassis 2mm steel, this went in smoothly and with minimal grinding required. Once fully smooth, again this was rust proofed and primed but top coat on the chassis / underside is the original L90D pastel white. I am using synthetic enamel for its hard wearing and easy to apply properties.
Once finished (first picture), and with the anti roll bar back in place complete with the new rubbers and mounting brackets, it all got a final check before calling on a neighbour. The recommended way to refit a beam is to get it under the van and jack it up on a trolley jack, keeping it horizontal and continue lifting onto the chassis rails.
I had a brainwave and for once it worked out well. We wheeled the finished beam to underneath Eric, ensured that it was approximately as vertical as needed. Eric was on the block and tackle to get it high enough for the beam to go underneath, then we simply lowered Eric onto the beam, which was therefore completely flat and the sheer weight of the van helped press the chassis rails into the beam. A few little wiggles and we were able to get the first bolt on each side before a little further wiggling could get the remaining bolts into the chassis. From the beam being up on the block and tackle, to moving the beam, lifting the van on the same block and tackle, lowering the van onto it and aligning all bolts took 45 minutes. We felt that was a big result! Picture 2 shows the offside front wheelarch, all painted in white with the beam in place and shiny green calipers.
Picture 3 shows the chassis under the beam, the lumpy underseal was hiding some gremlins but new steel sections have made it all strong again. With the chassis rail opened, I have been able to add rust proofing paint to the insides of the rails in a lot of places and will follow that up with underseal in due course.
Once that was complete, Eric had a beam with which to roll him over. The garage was suitably tidied and emptied, Eric was turned nearly 180 degrees (not easy in a double garage) and the offside wheels removed. The rollover jig was bolted in place of the wheels and Eric was laid onto his off side. This allowed me to get to the underside to work on the sections not easily accessible when he was on his other side a year or so ago. The key section here was the nearside rear chassis rail. Picture 4 shows the remains of the chassis rail – I knew this was bad when I did the other side of the same section. If you have a box that has seen better days, replace one side then the other – more reliable for positioning than replacing it all at once. Just behind the torsion tube was about 30cm / 1 foot that needed a significant section replacing and as it was curved, this was done in 3 sections, again rust proofing the inside as it became accessible. Anything rusty was cut out. The mounting bracket of the bump stop was removed as that was very bad, new sections fabricated for that before welding that back on to fresh steel.
It looks much better with steel instead of holes! Picture 5 was when the rust proofing paint was still wet, once dry it goes purple and then the primer went on twice and several coats of L90D top coat as well.
A similar story on the offside rear wheel arch – remove buckets of underseal, get visibility on the metal, remove the paint unless it is looking great. Remove rust, add new metal if required, rust proof, prime and paint. Once all of that was complete, the majority of the underside is now done – just minor bits that were missed plus the underside of the fuel tank to go then it is build up time. Picture 6 of the offside rear wheelarch and bump stop all clean and white made me feel rather good!
With that section complete, I was able to tackle the offside rear suspension. Nothing major here as it is heavy steel that needed stripping and again rust proof / prime / paint. On investigation of the driveshaft, this was ok but the CV joints were sadly not – I had bought new gaiters for the CV joints and now need to buy CV joints. Which come with gaiters. That outlay will have to wait for a while until I feel happy about paying good money for something that I already own!
Next jobs are – assemble the rear drum brakes, add the brake cables, brake pipes, find which brake servo is which and where they go. Add the brake flexi pipes to the right places, join everything up. Add the steering box, connect that to the beam. Gear selector mechanism. Air heating pipe completion. Finish cleaning the gearbox, prime it and paint it, mount it, add the driveshafts once I buy the CV joints. Around that time I can put Eric back on his wheels for what I hope will be the last time. Perhaps I will manage that for the next issue but it is cold. And that list feels daunting! Until next time.
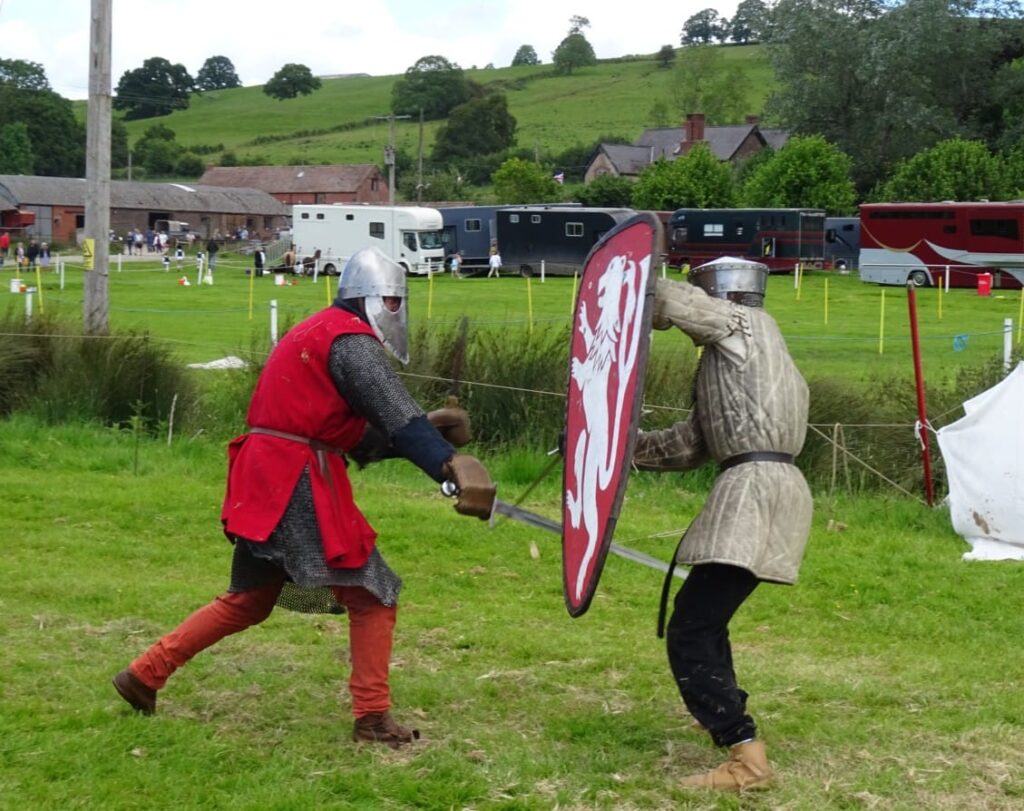
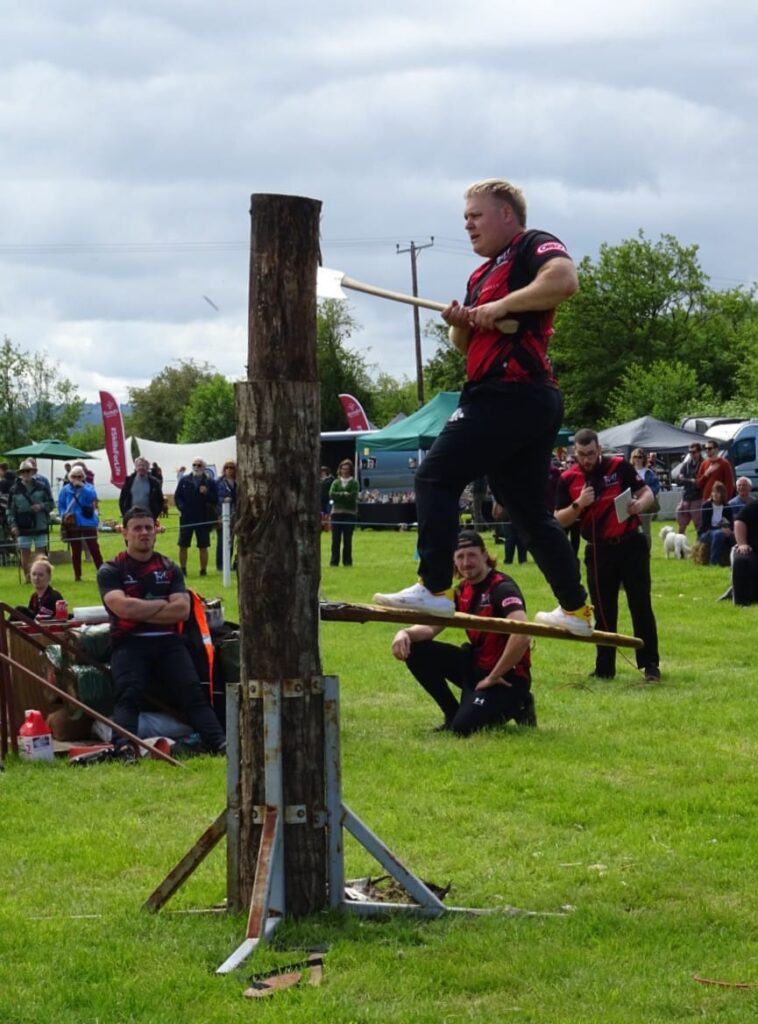
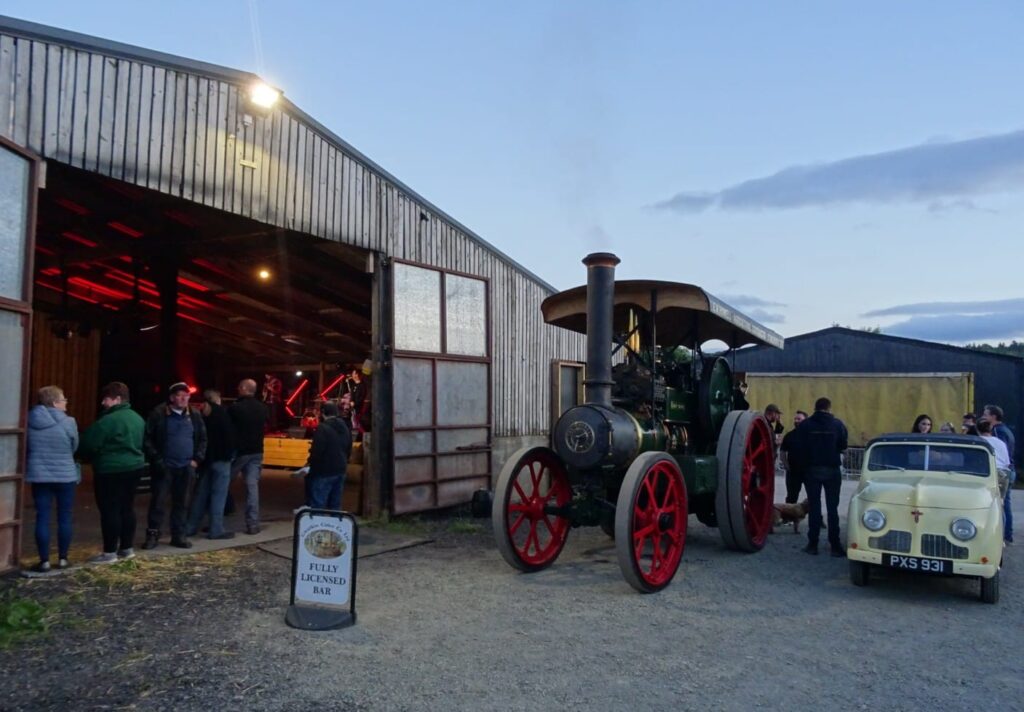
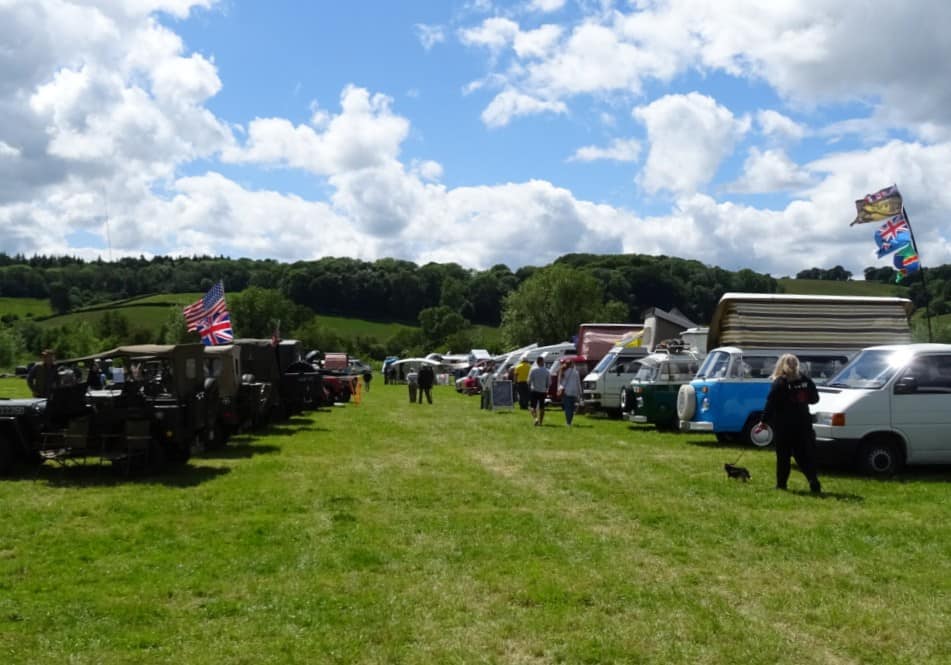
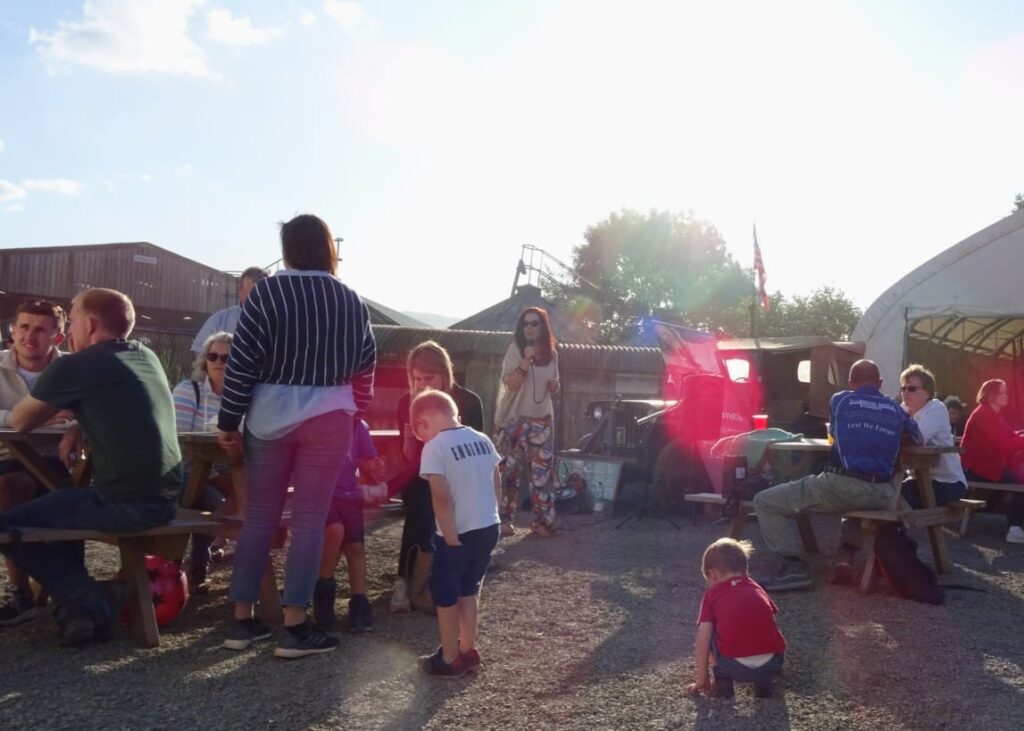
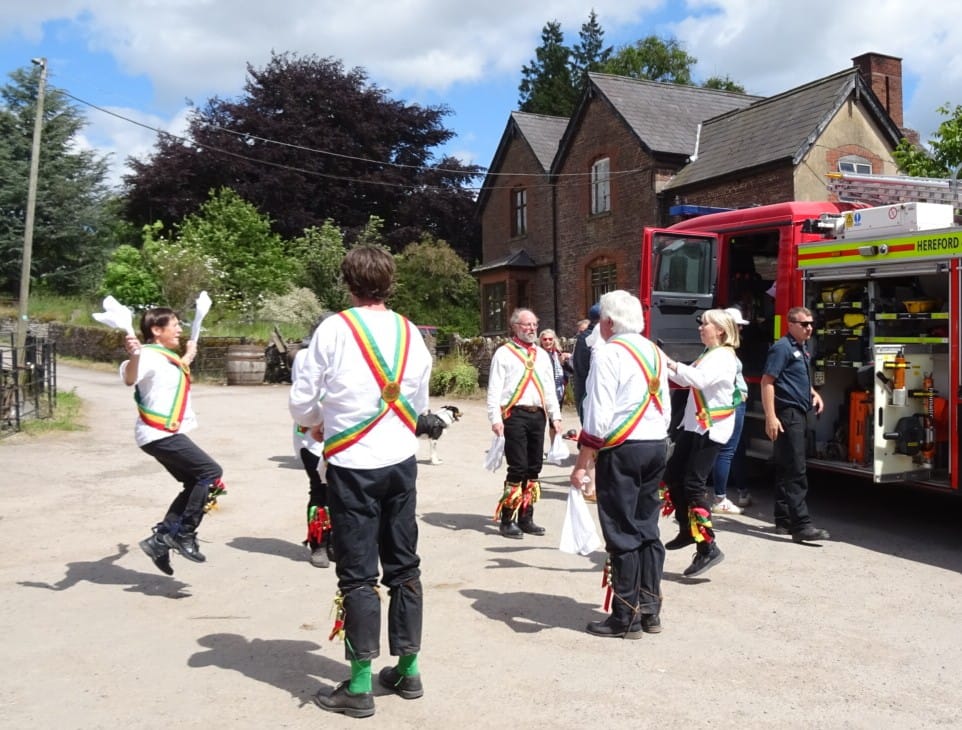
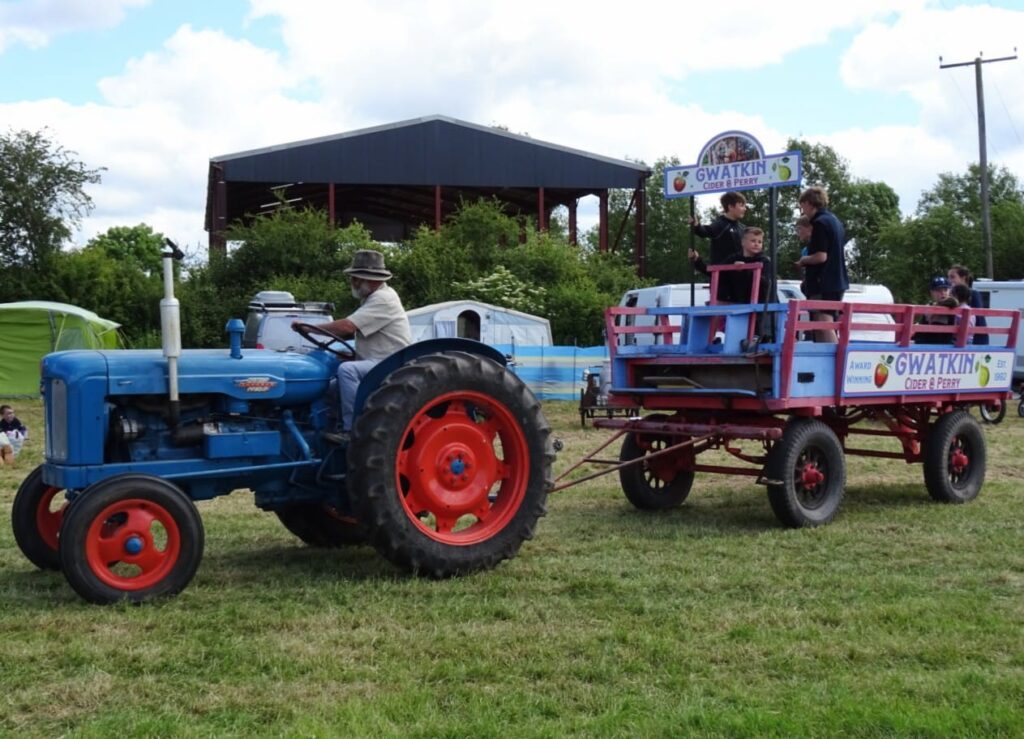
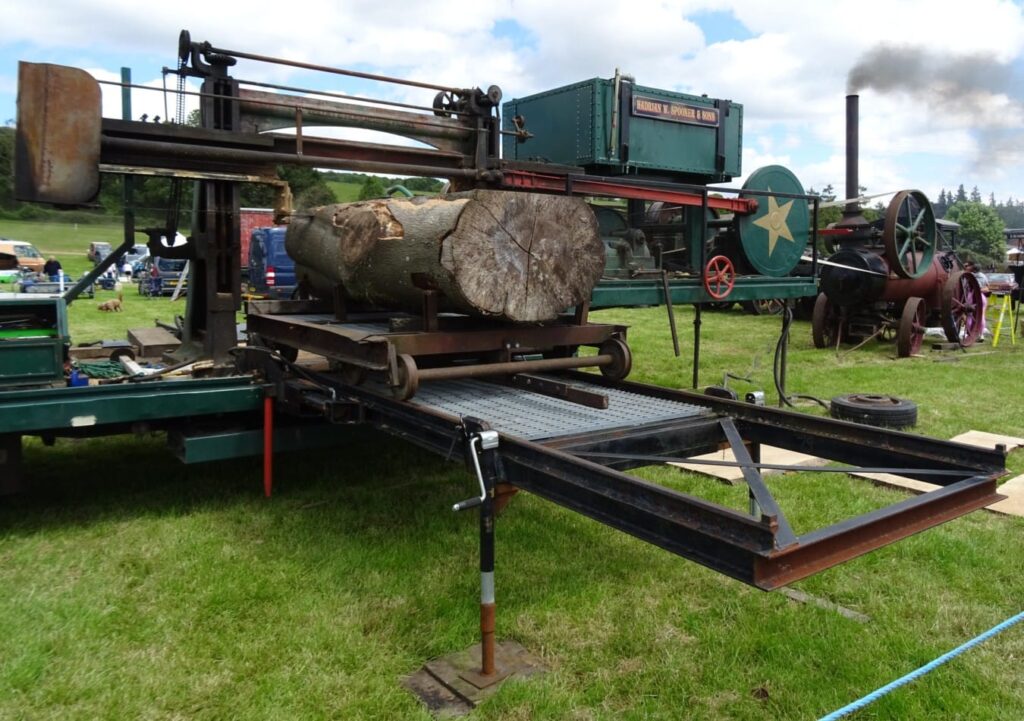
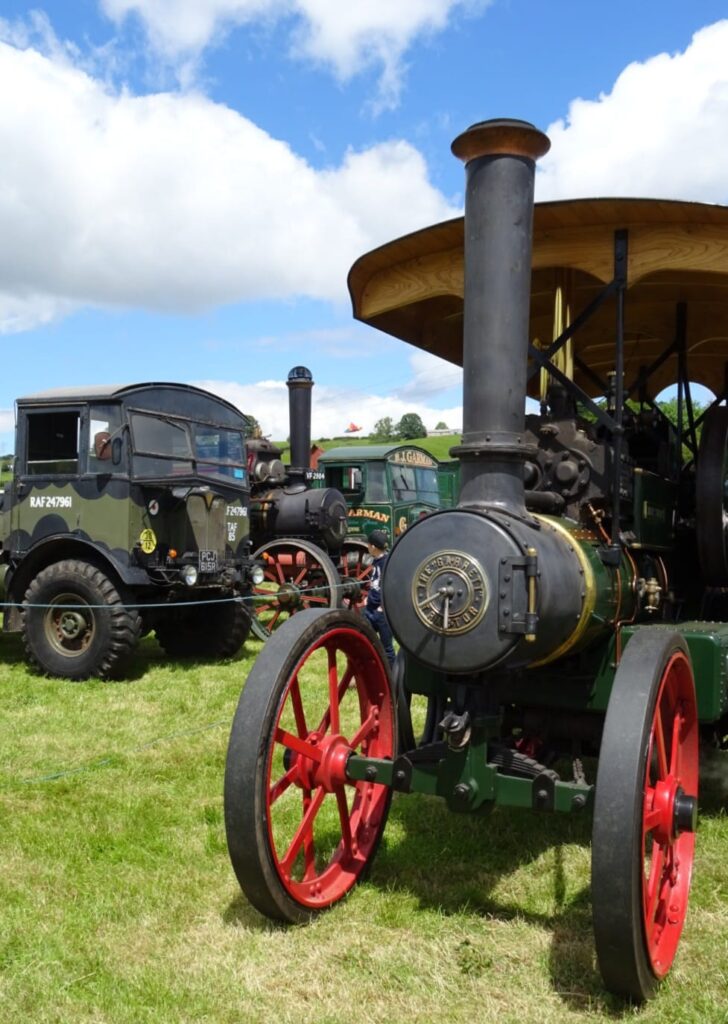
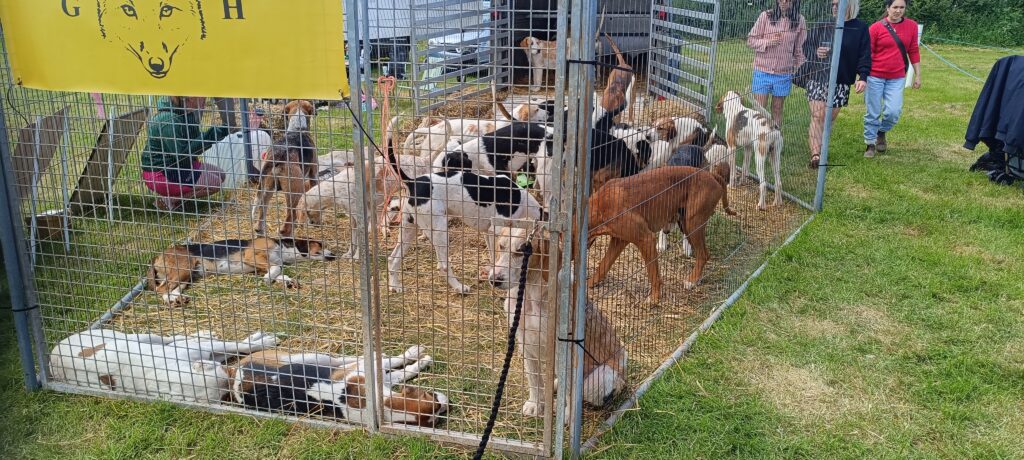
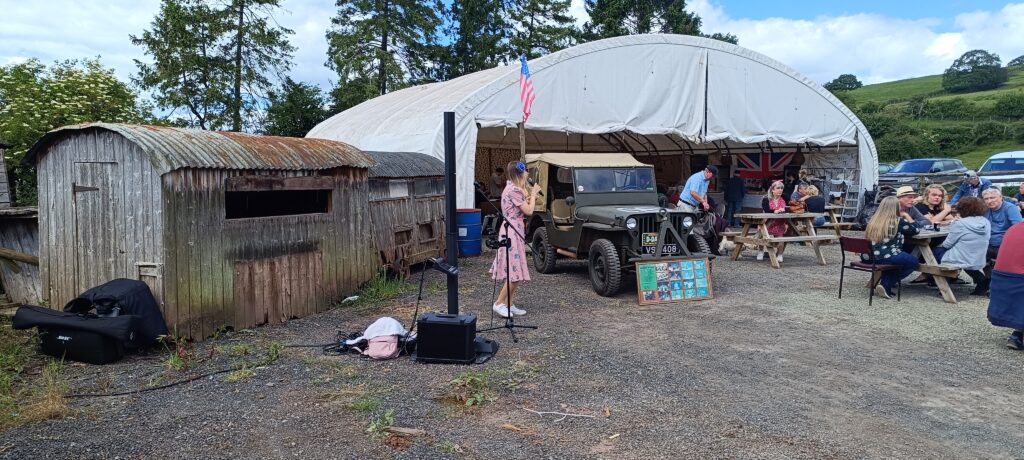
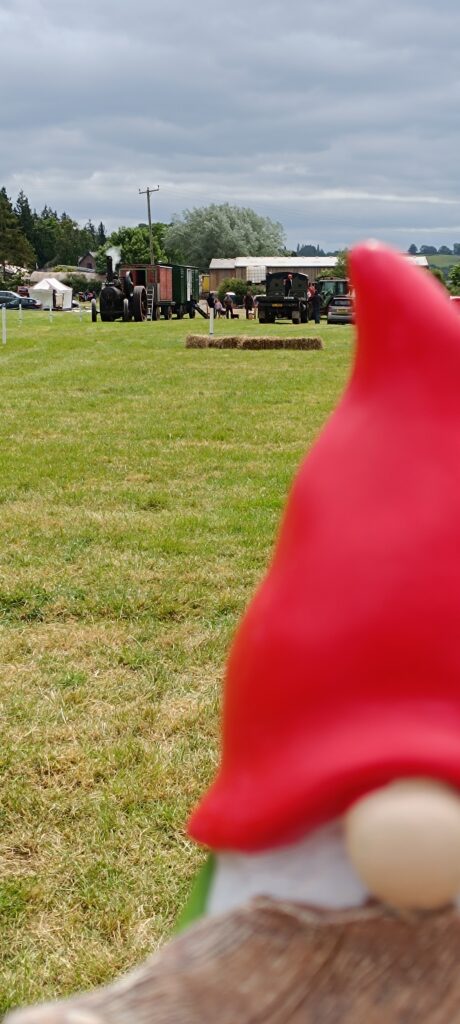
Join us for a full day of entertainment at Moorhampton Park Farm, the home of Gwatkin Cider in Herefordshire. Golden Valley Classic Show will be exhibiting hundreds of vehicles including classic cars, engines, motorbikes and tractors. Taking pride of place will be the John Fowler general purpose engine. VF 2984 – owned by David Williams.
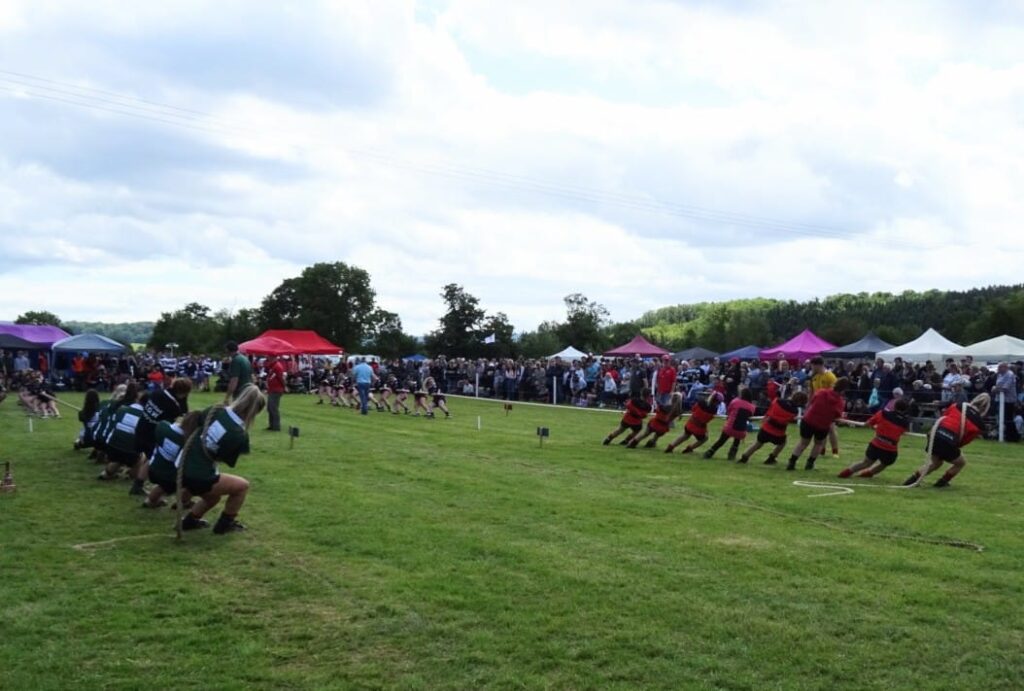
There will also be falconry, archery, medieval re-enactment, farm animals, gun dog demonstration, clay pigeon shooting, dog trick training, tug of war and a range of country stalls selling produce, crafts and more, with lots of fantastic food and drink to enjoy too.
Mark Broad-holcombe had a spare VW hub cap. He also needed to store tools. In an alternative use, he repurposed the hub cap to become a toolbox on his Lambretta – we are not sure if we are jealous of the scooter or the invention! Great work Mark!
The next edition of the club magazine has been finished by our Editors and looks fantastic. It should be arriving through your door soon! If you are enjoying the club magazine and have a story about a trip, an upgrade, a restoration or just a tip, send a contribution to our Editor at editor@vwt2oc.co.uk.
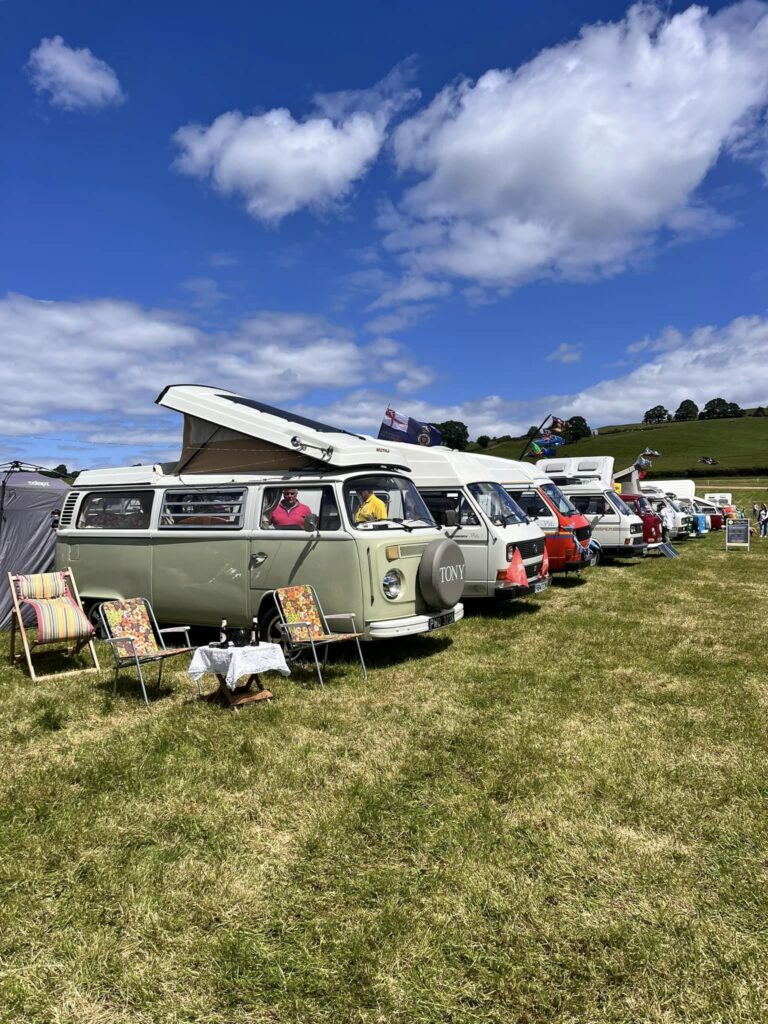
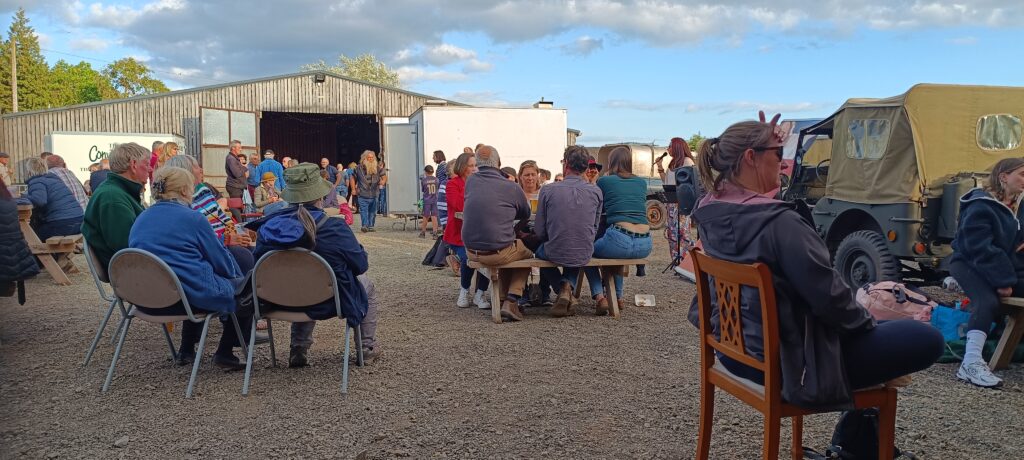
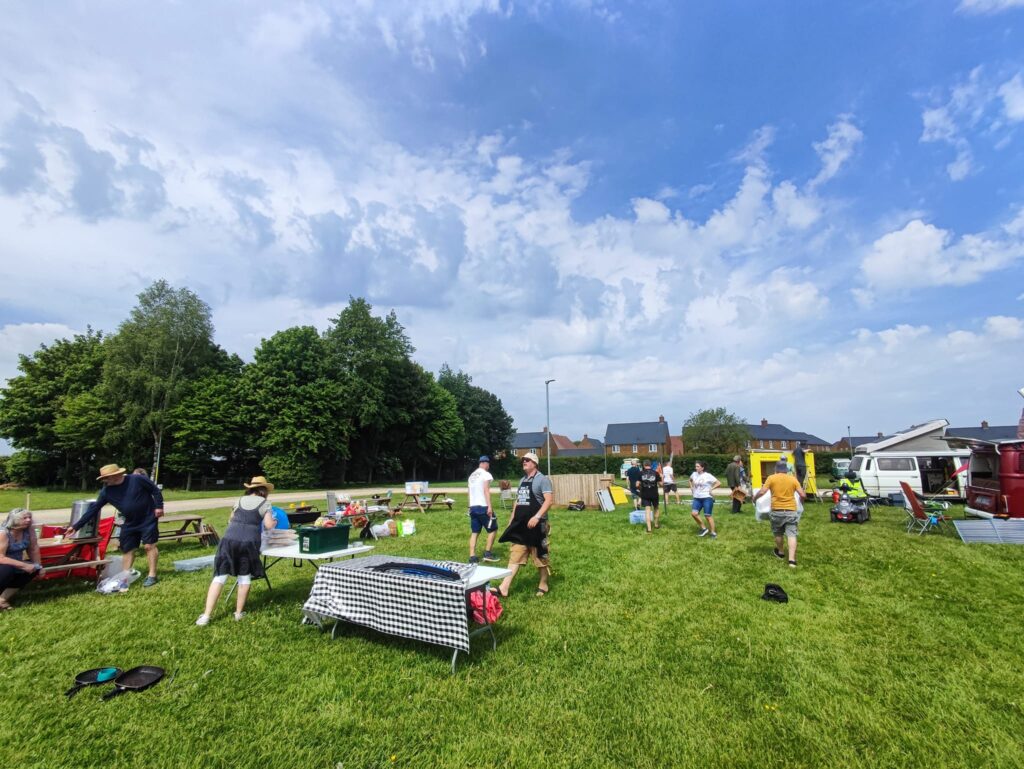
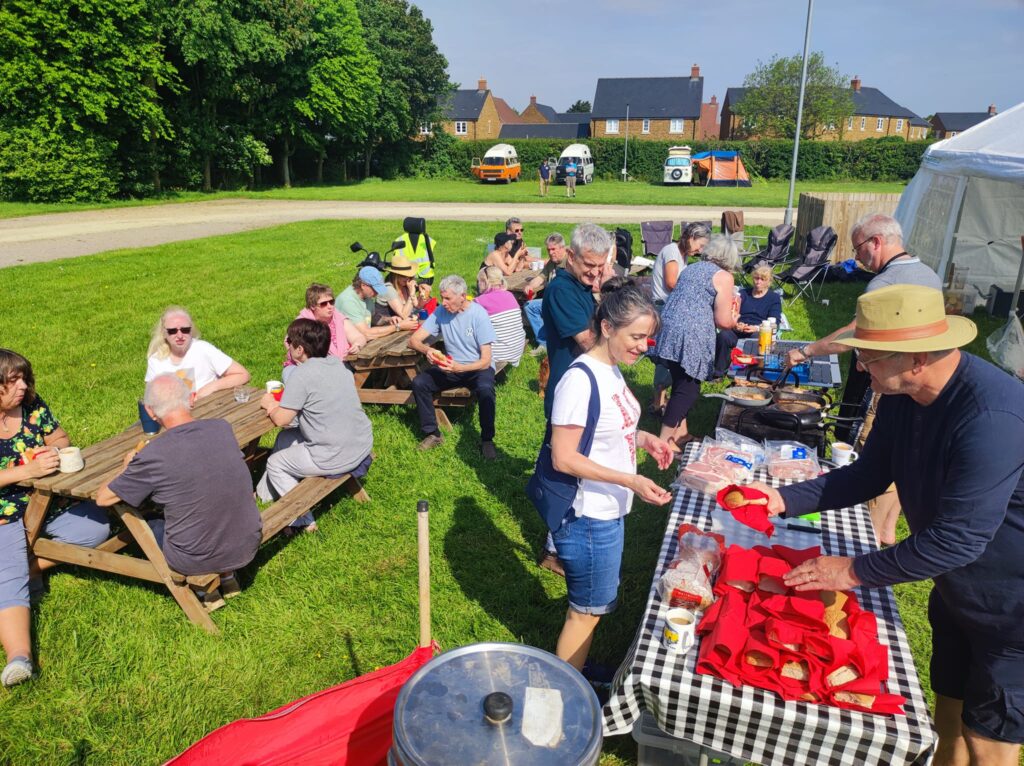
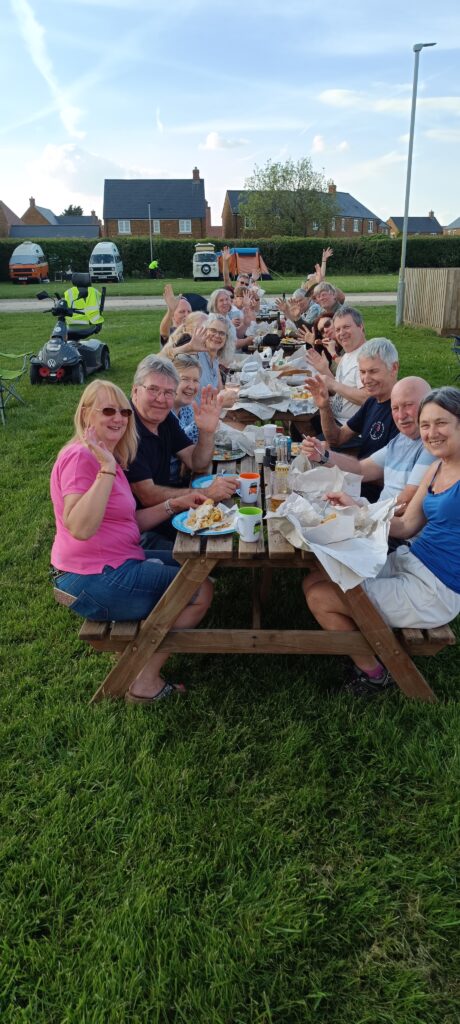
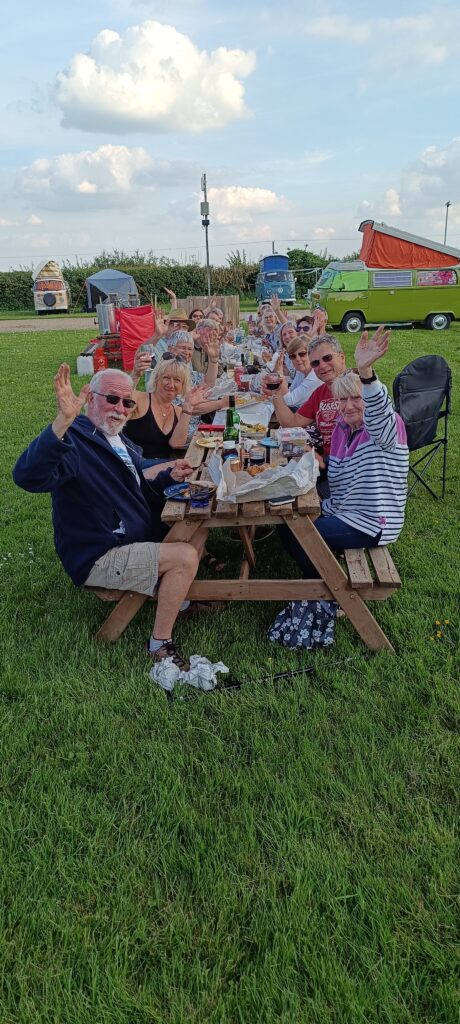
Just a week away is the ABC, our annual AGM, BBQ and Club Camp – are you going?
Get together with members and hear what’s happening in your Club at our short AGM. The Barnstones site has served us really well over the last several years, and is located in Great Bourton, Banbury, Oxfordshire, OX17 1QU, just a couple of miles off the M40.
Scene of our earliest club BBQs, which are free for members, we’re very much looking forward to going back. We will be using a local hall to host the AGM part of proceedings, along with light refreshments. Just bring your membership card with you.
Price per night is about £15 for a pitch (van with or without awning), but electric hook-up prices cannot be quoted at the moment, due to uncertainty in the market. I’ll share this information as soon as we have it, but please be reassured, we will be able to power the BBQ food storage safely.
I will be making all the bookings, just let me know your dates, how many adults, children and dogs, whether you need electric, and whether you’re bringing an awning. Places are limited so contact me soon to reserve your spot! Please do not book direct as there may be insufficient space on the rally field.
The site itself says, “Barnstones is a very attractive 4 star AA award winning site situated on the edge of the pretty village of Great Bourton. 3 miles from the historic town of Banbury, other attractions nearby are Stratford-upon-Avon, Warwick Castle, Oxford, Blenheim Palace and the very beautiful Cotswolds area all within a 20 mile radius of the site. The site is very mature with beautiful landscaped grounds, full serviced pitches and hard standing pitches are available, all pitches have hook-ups provided, the high quality toilet block provides free showers, dishwashing facilities and a full laundry room. Wi-Fi and a children’s play area are available. A local pub serving very good food is 200 yards from the site.”
A vegetarian option but equally you can substitute the lentils for lamb
Ingredients – serves 4
500 grams sweet potato 1 white onion 1 carrot 1 can of chopped tomatoes 1 cup of mushrooms 150ml red wine 400ml can of lentils, drained Cheese (optional) Butter Herbes de Provence or other dried mixed herbs Stock cube
Chop everything into fairly small chunks. Fry the onion in the butter for 5 minutes. Add the carrots, mushrooms, a teaspoon of herbs, the wine and the stock cube. Simmer for 10 minutes then add the lentils and tomatoes, and cook that all for another 10 minutes.
In a separate pan, add the sweet potato and bring to the boil from cold then drain and mash after 20 minutes. During the mashing, add butter and salt to taste.
Once both pans are ready, spoon the lentil mix into a nice serving bowl, top with the potato and then grate cheese over the top if required.