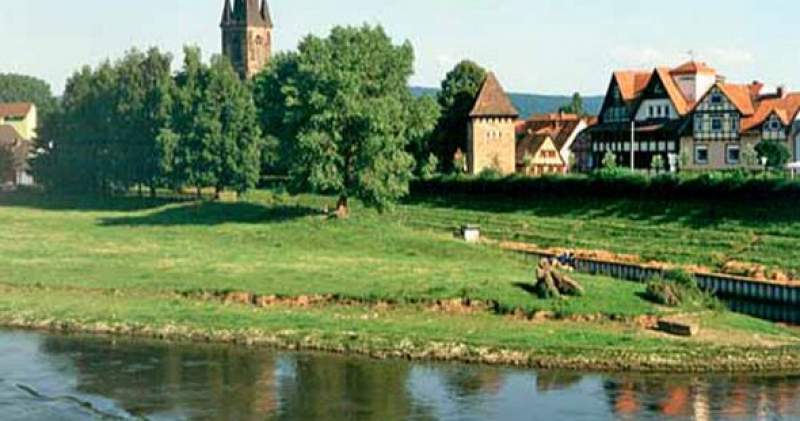
Its back to the roots with this special event. We will take our beloved Vans home. Here we will also meet up with our German Friends from our sister club. This will be one not to miss folks. Remember make sure those passports are up to date and your Van is ready for the long trip.
The next edition of the club magazine has been finished by our Editors and looks fantastic. It should be arriving through your door soon! If you are enjoying the club magazine and have a story about a trip, an upgrade, a restoration or just a tip, send a contribution to our Editor at editor@vwt2oc.co.uk.
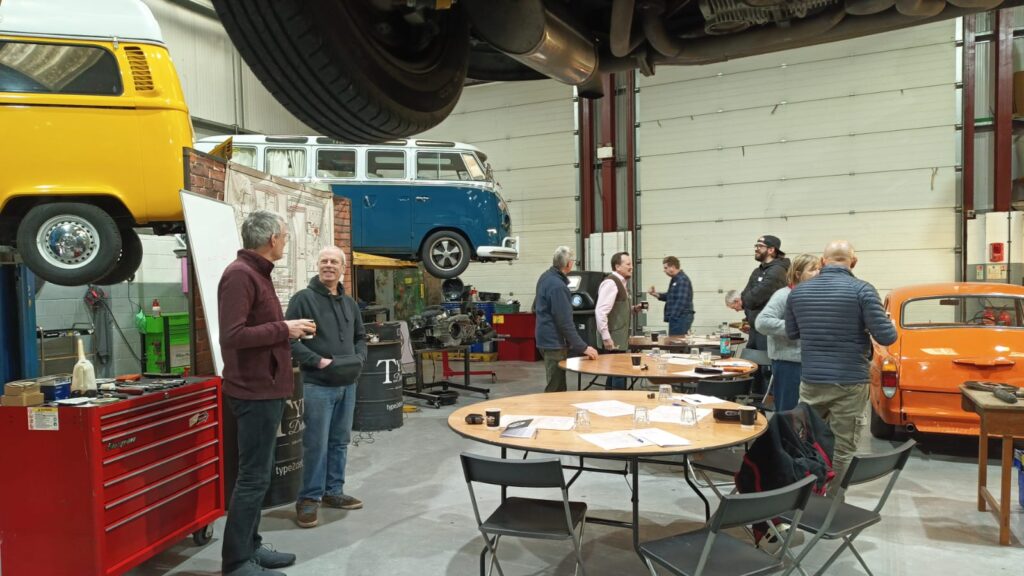
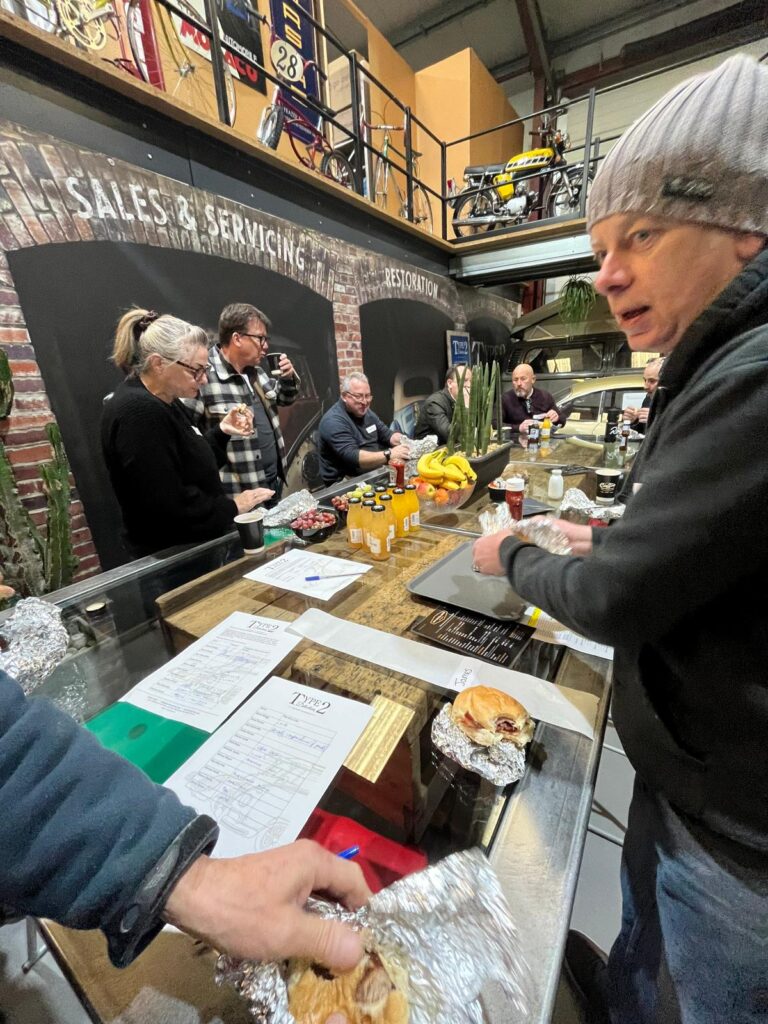
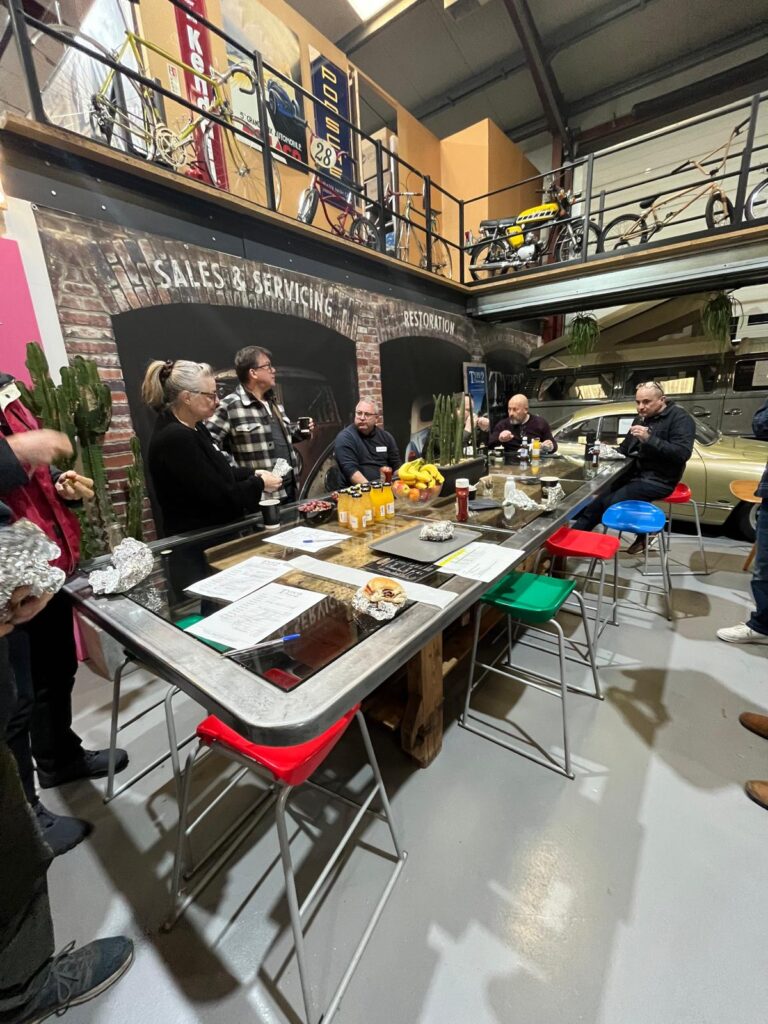
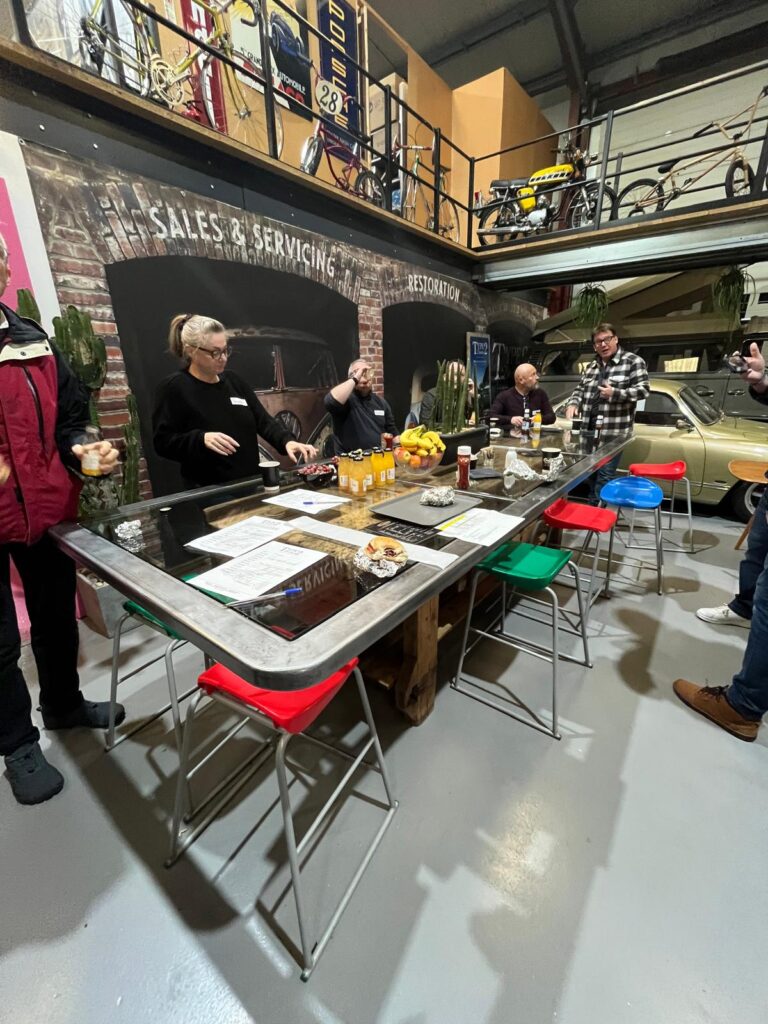
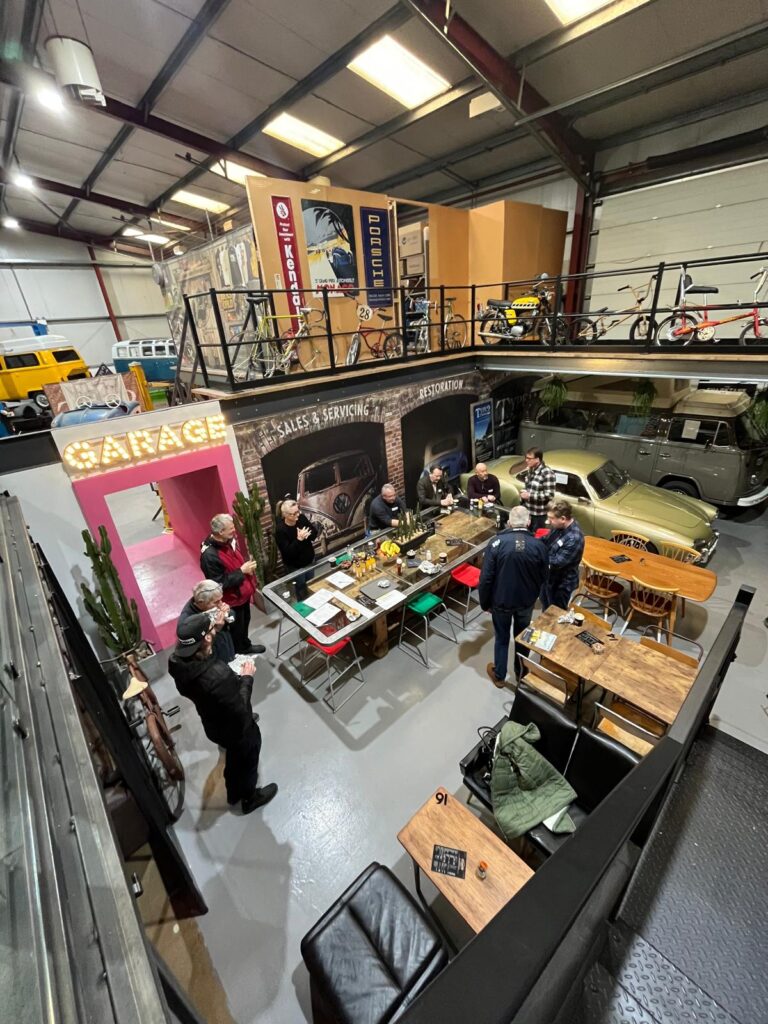
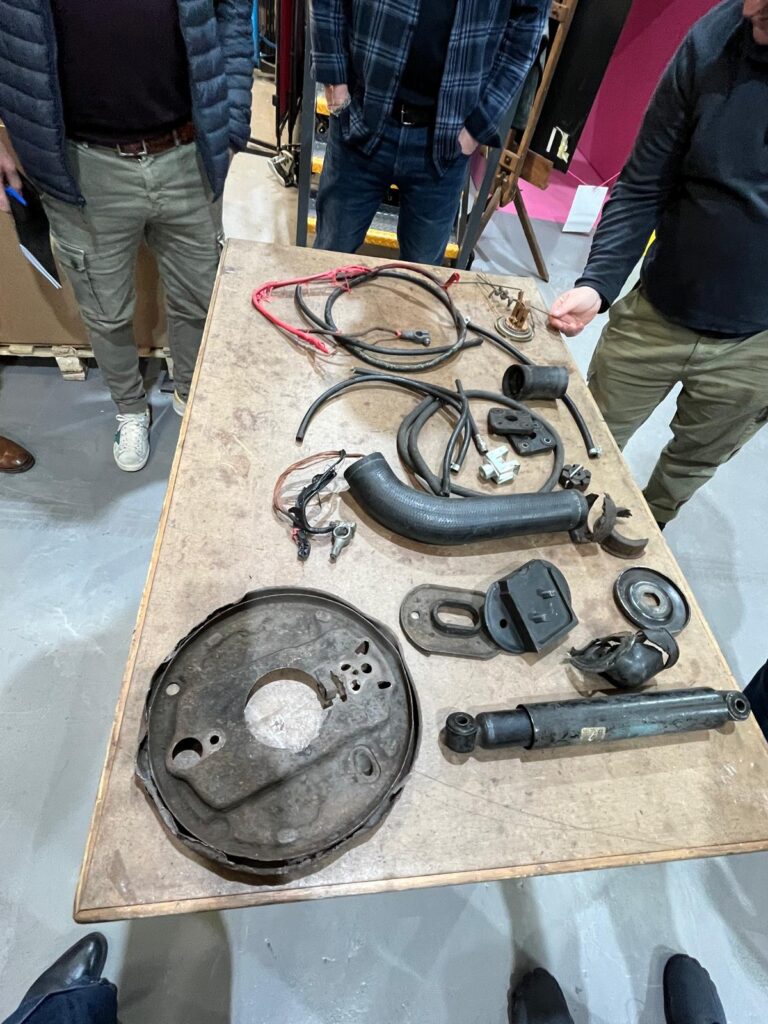
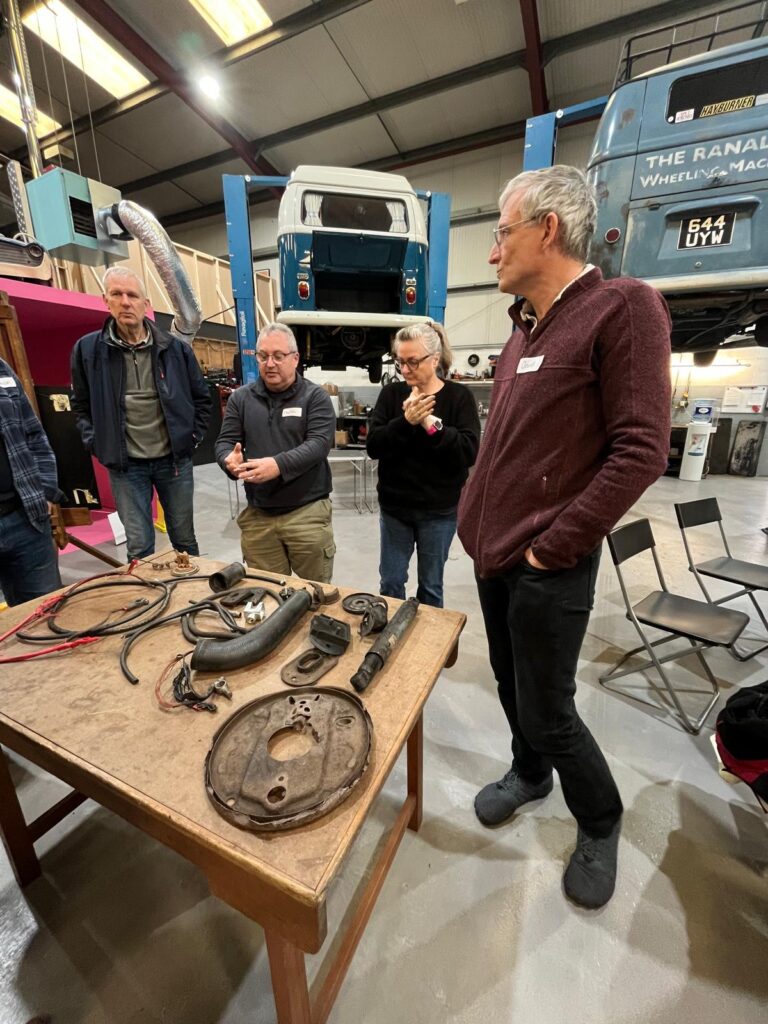
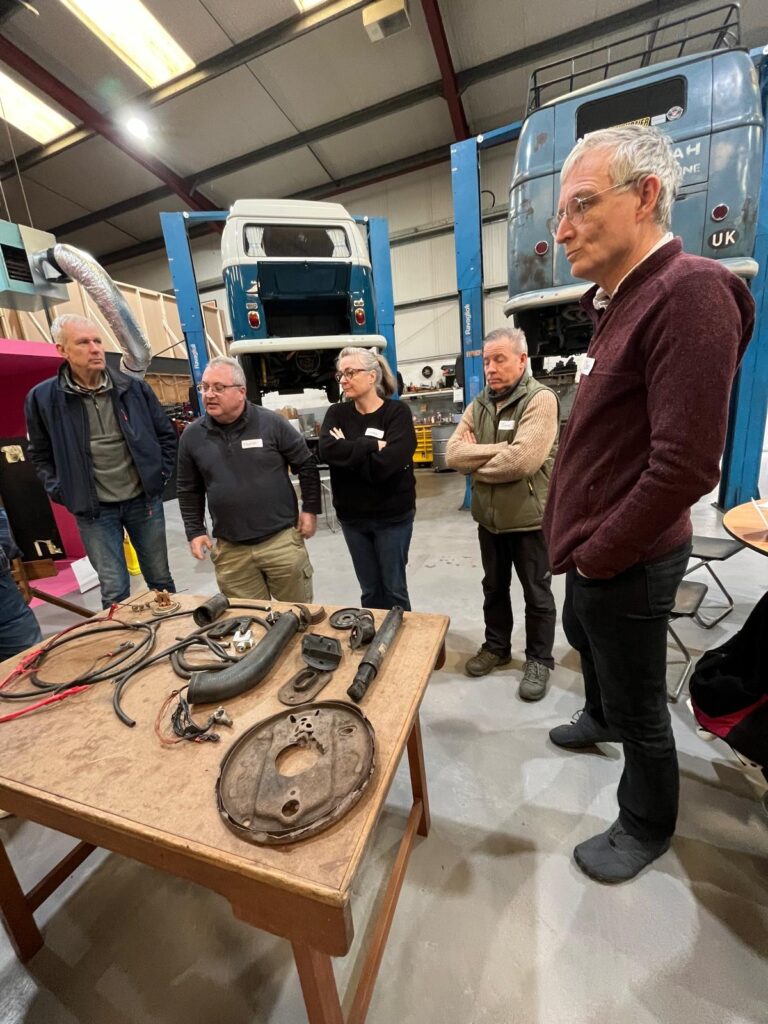
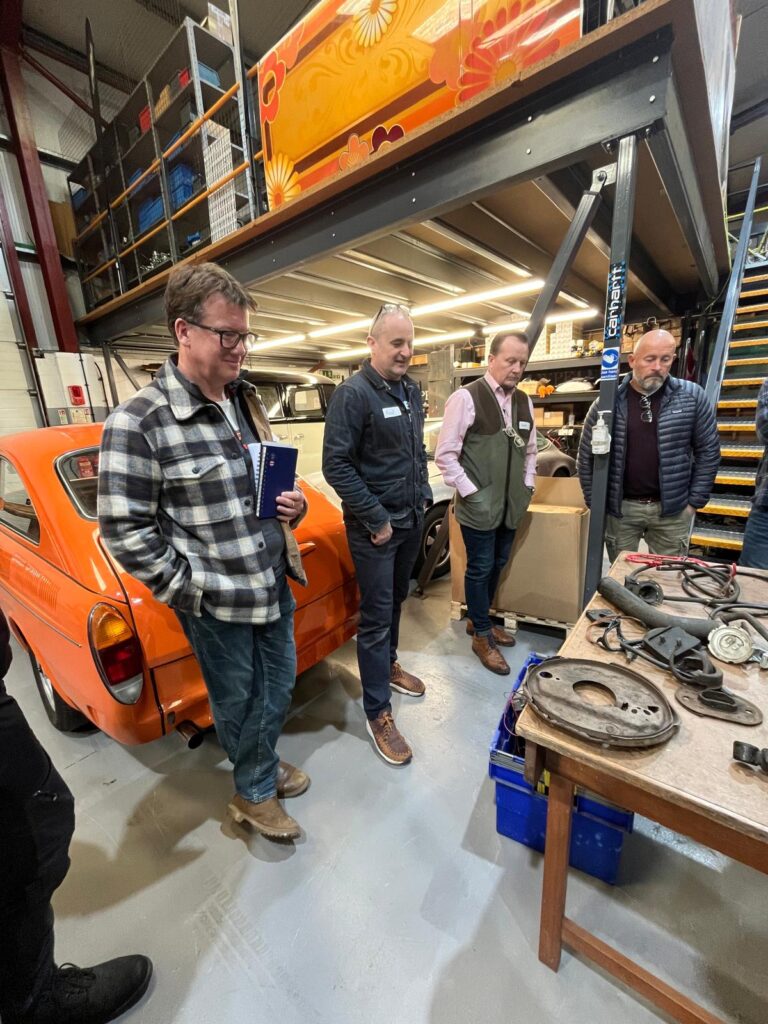
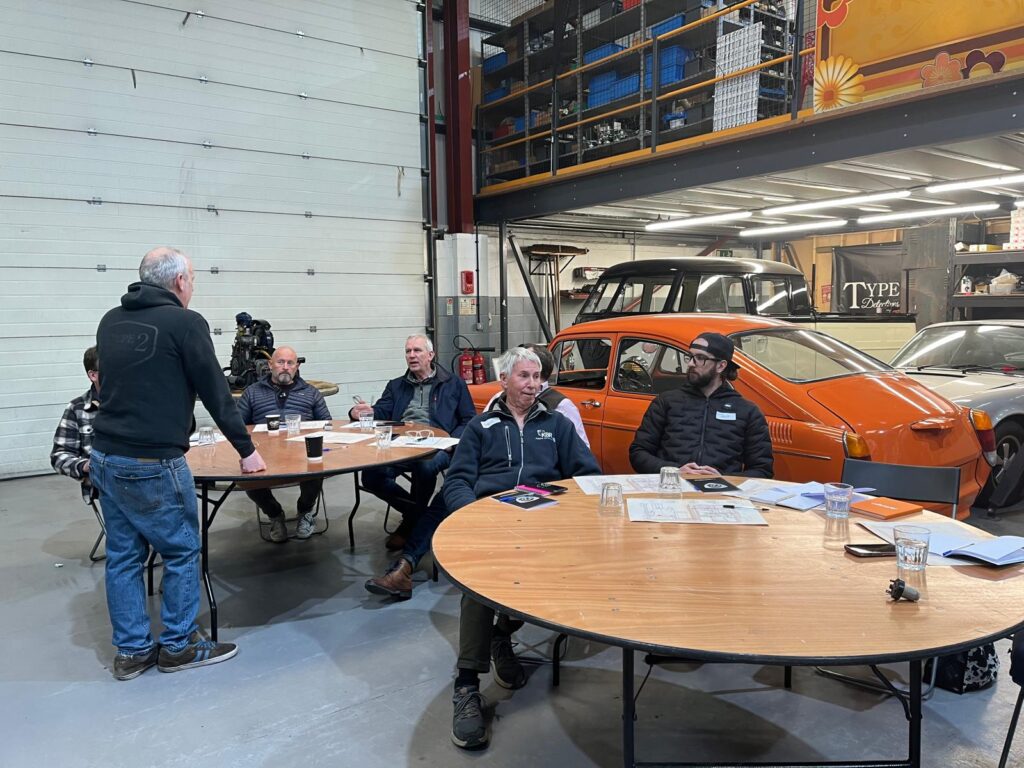
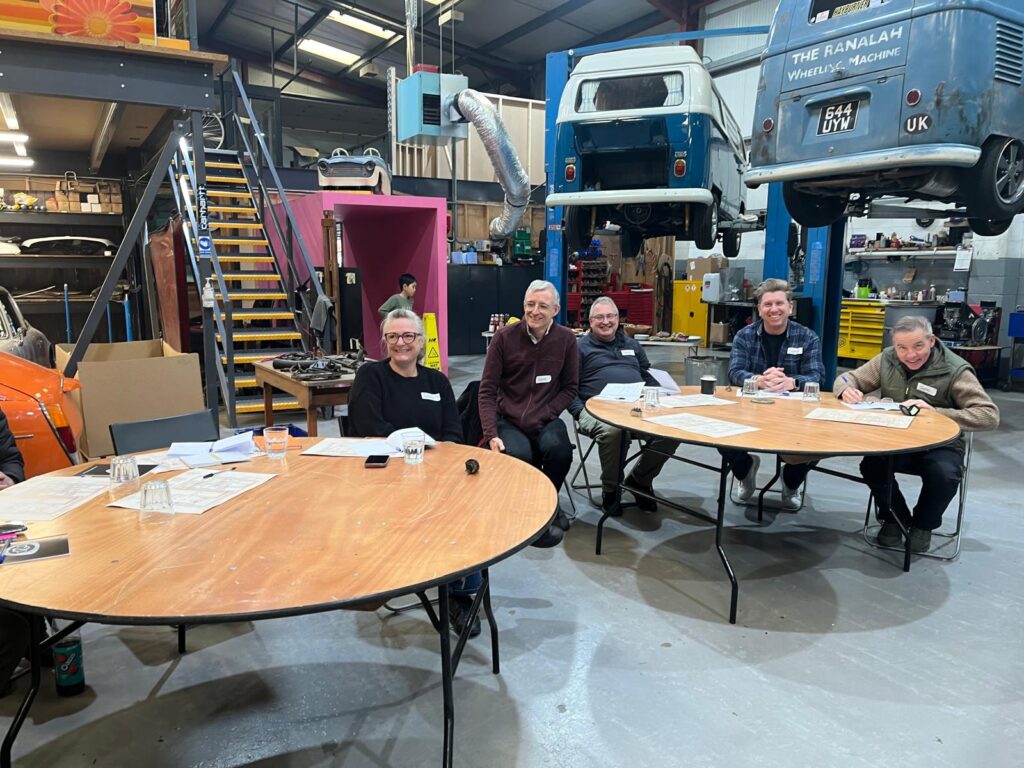
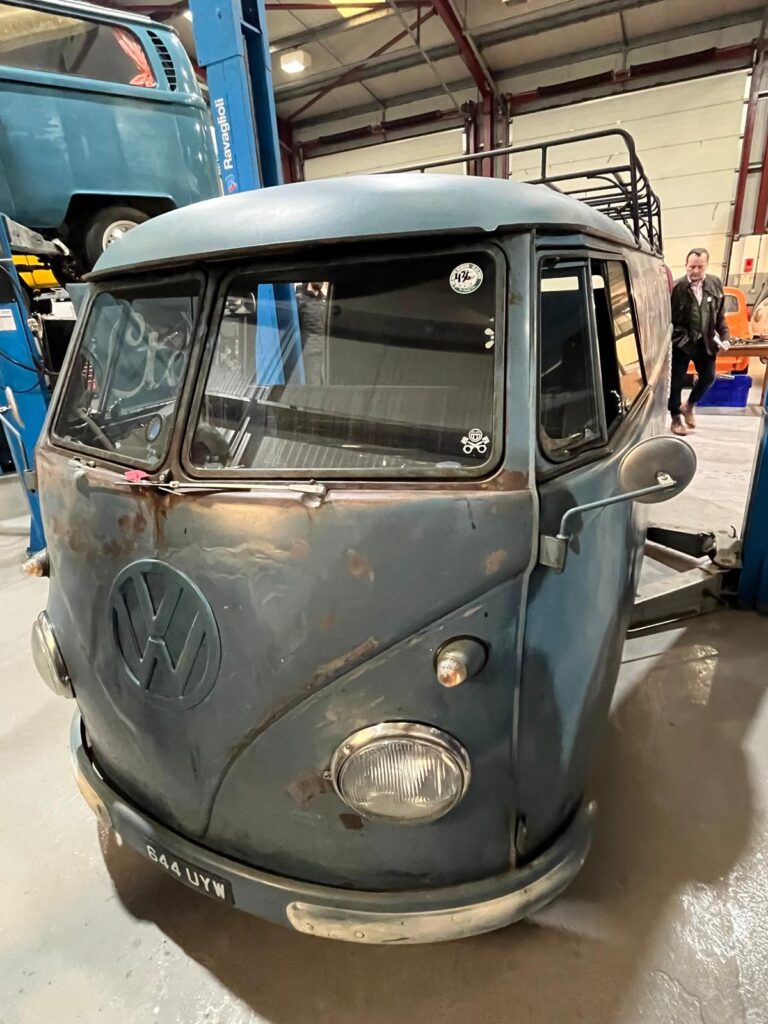
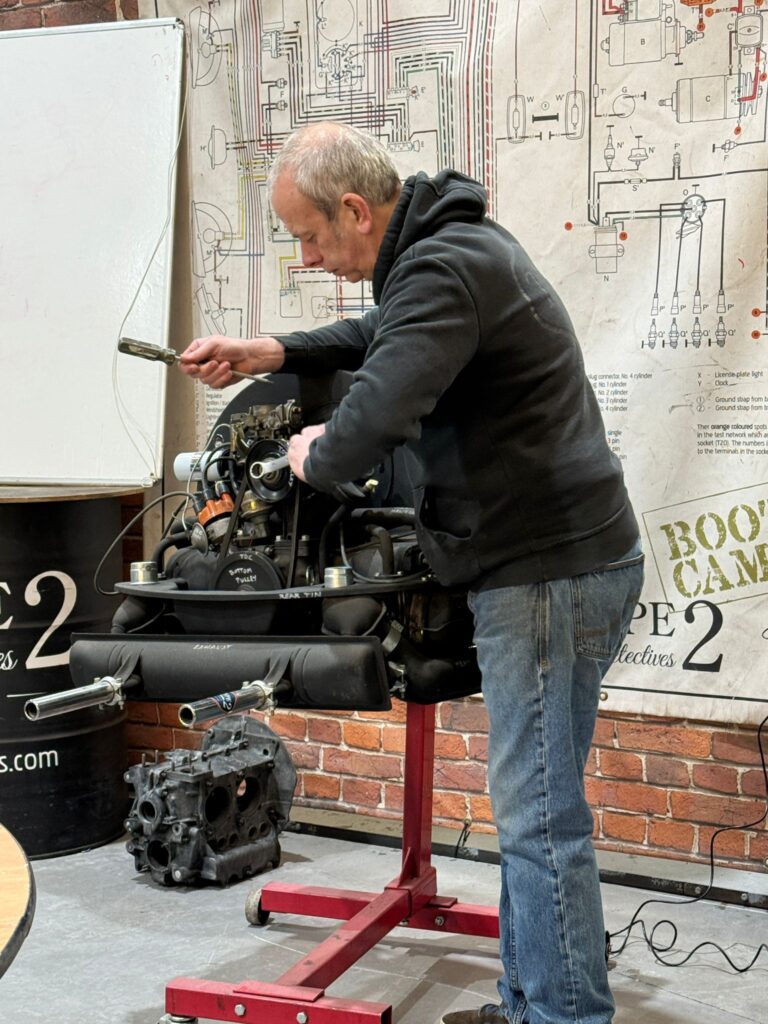
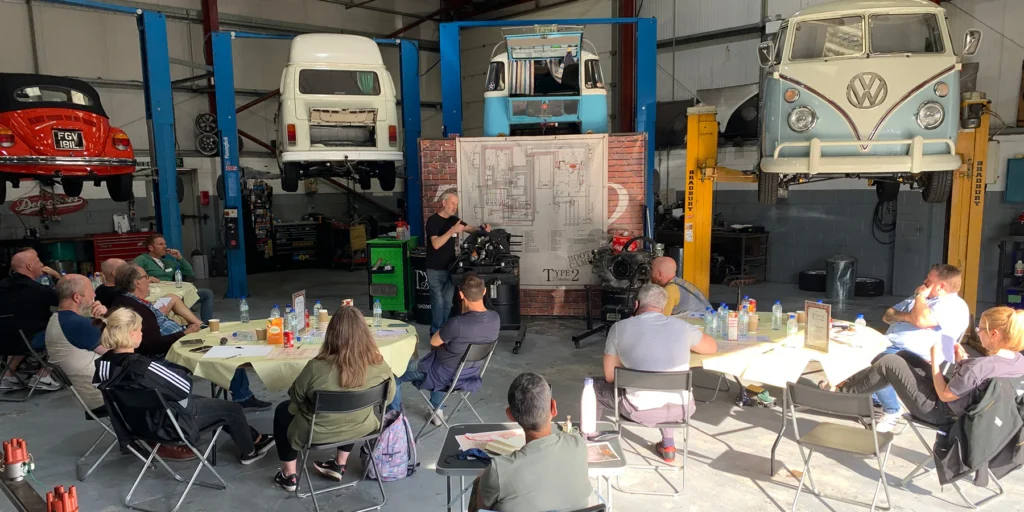
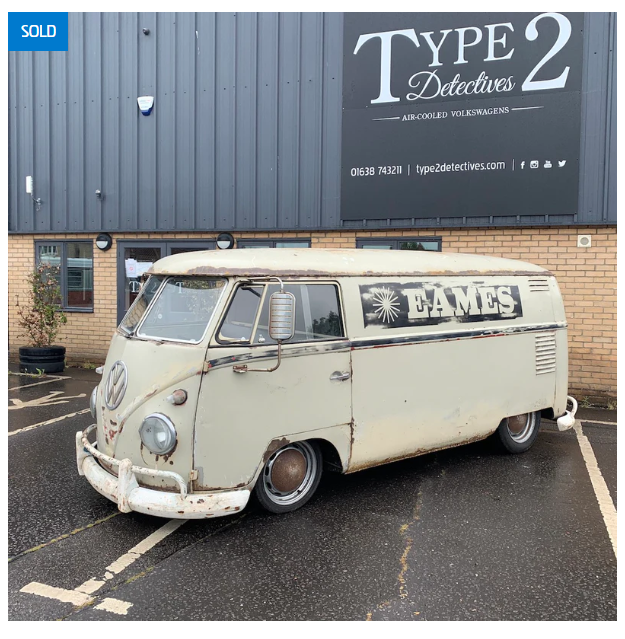
What can I say… this was excellent. If you are not technical minded (I am not and although my fiancée is, I was starting to find that I wasn’t able to help on issues, but after today I can) and want to help on your camper, then do a day at Type 2 detectives.
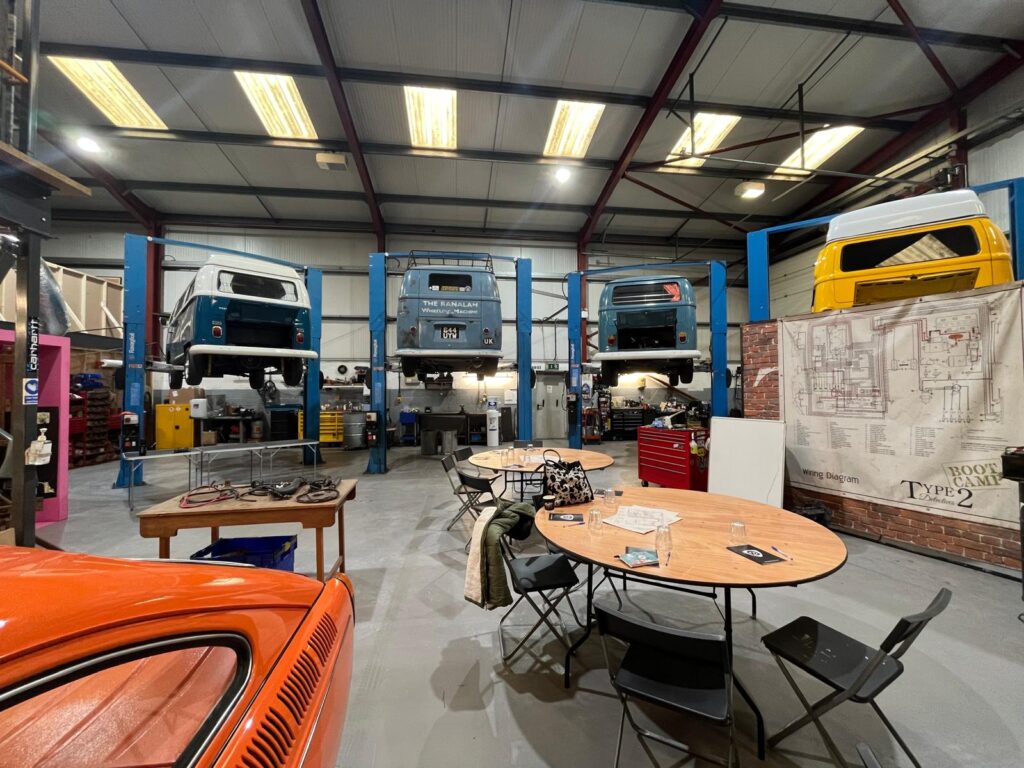
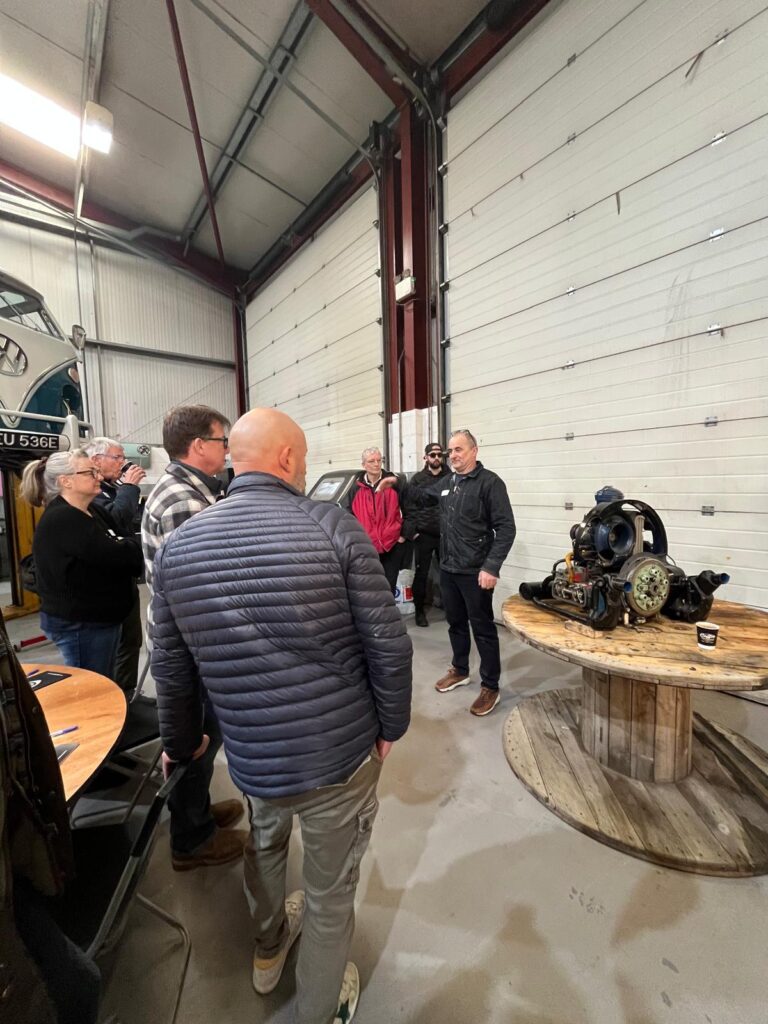
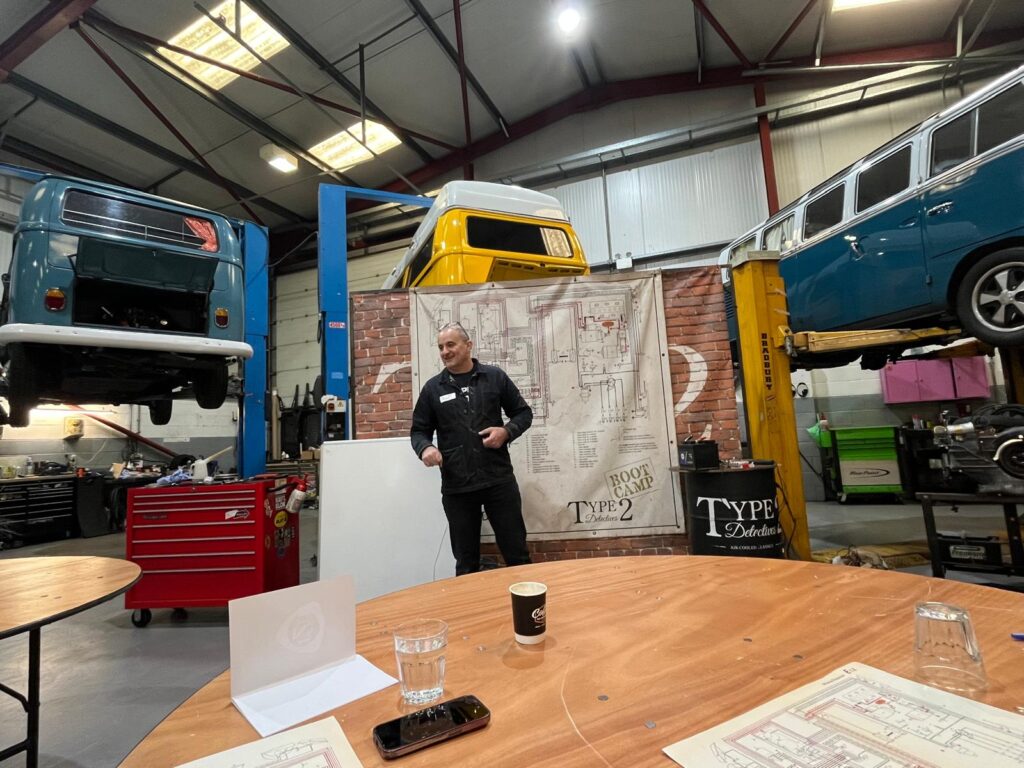
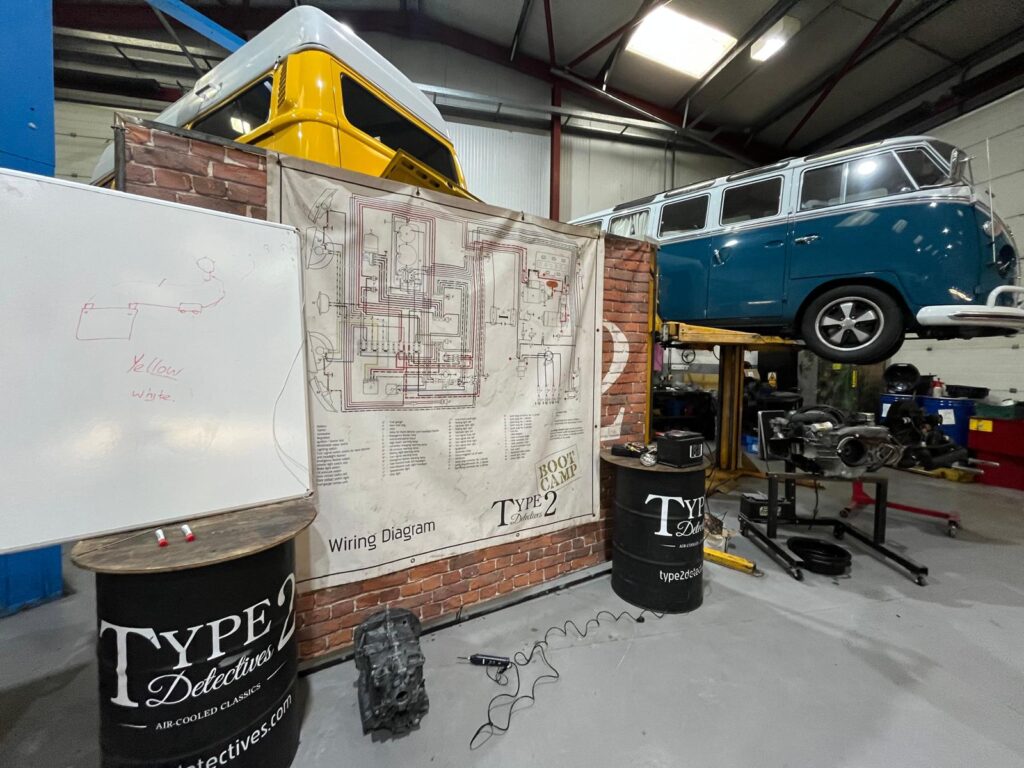
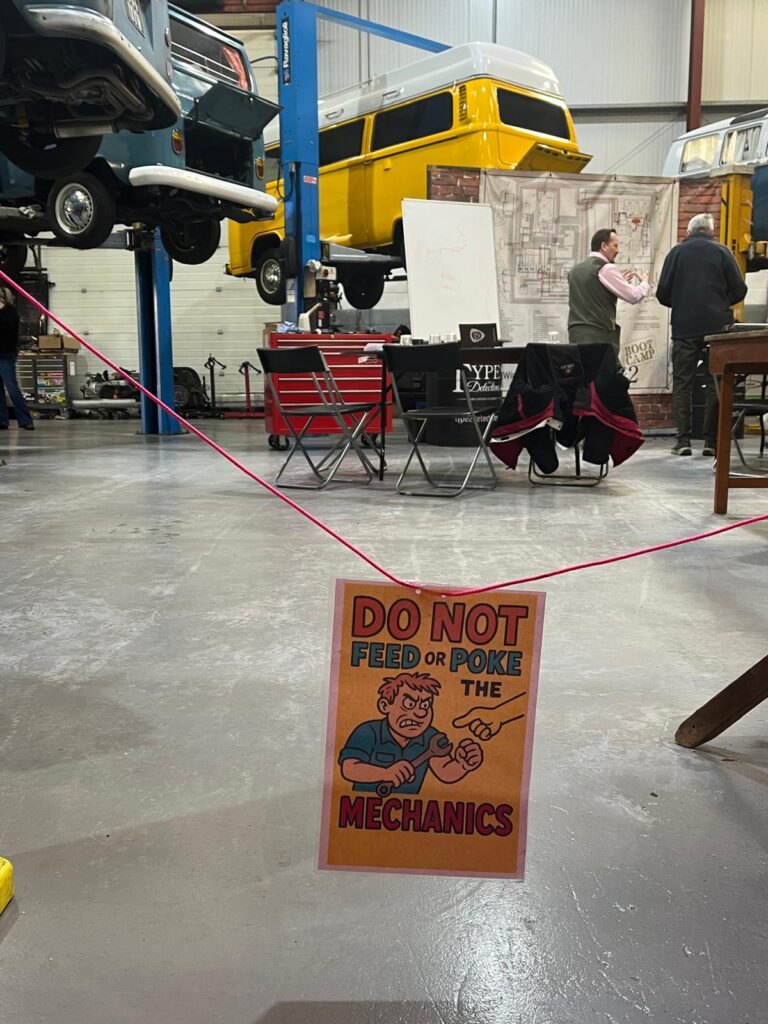
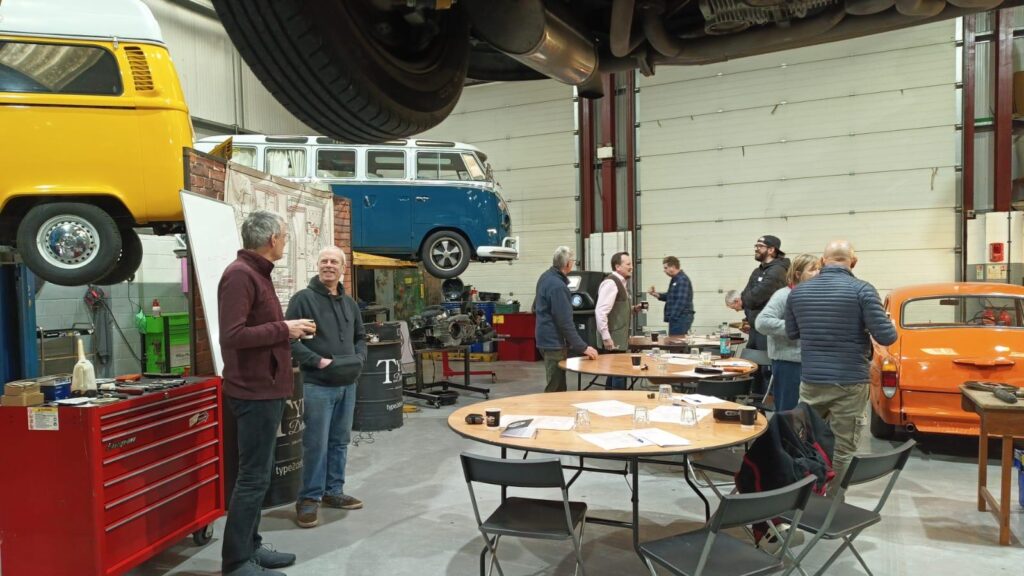
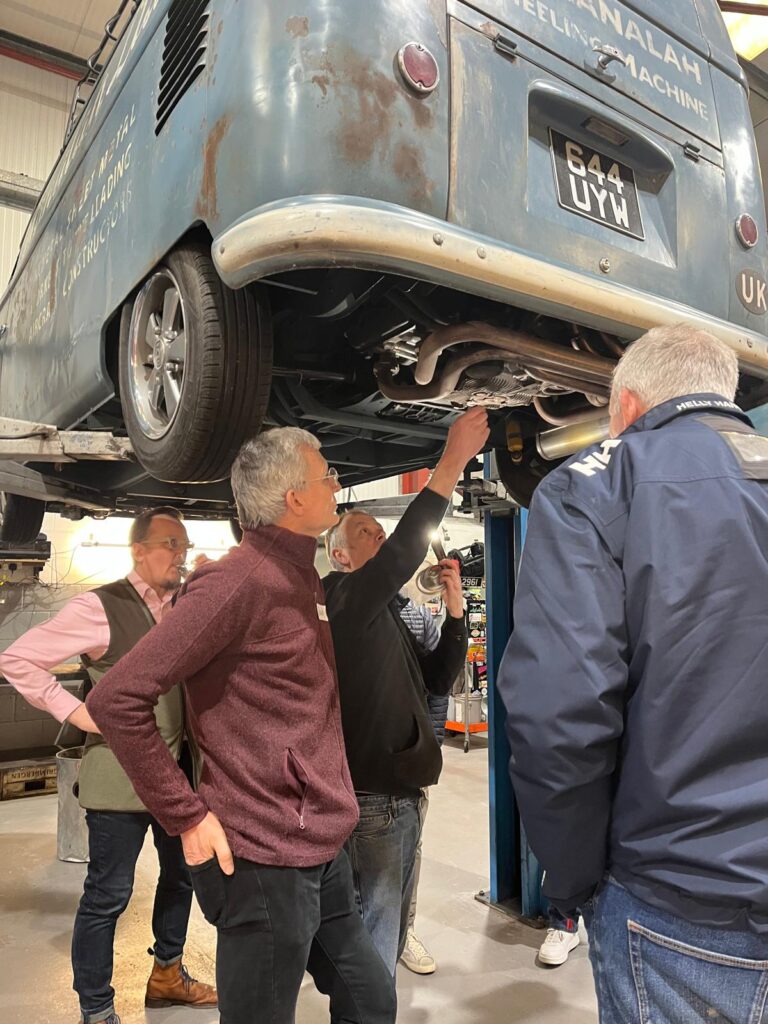
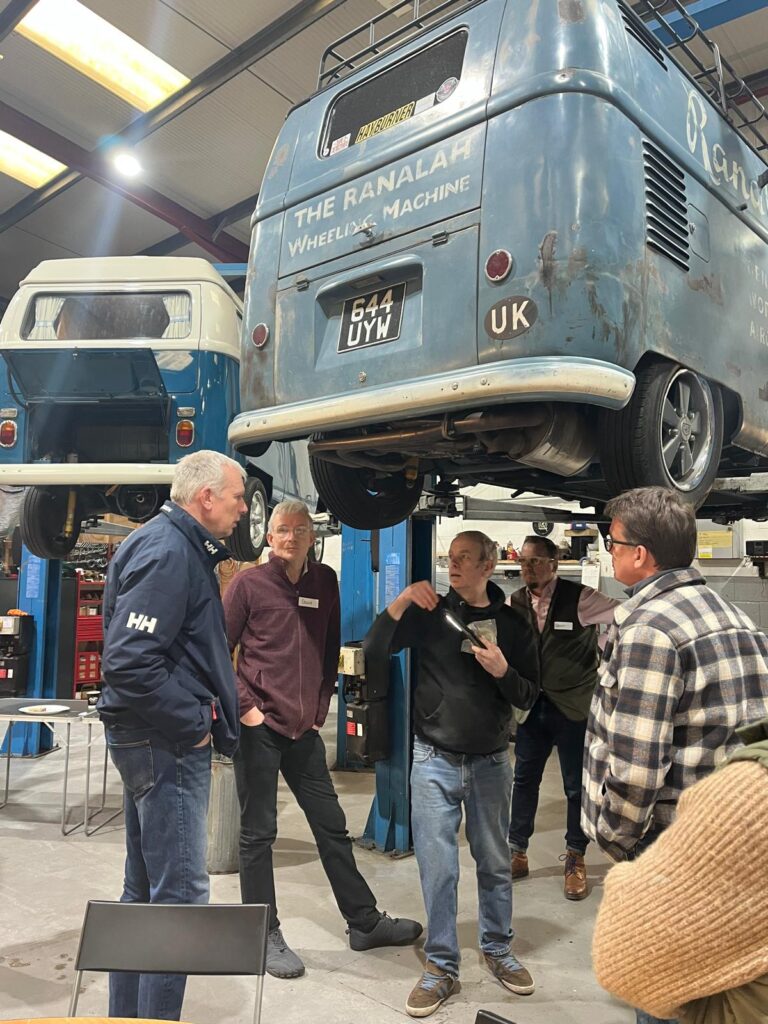
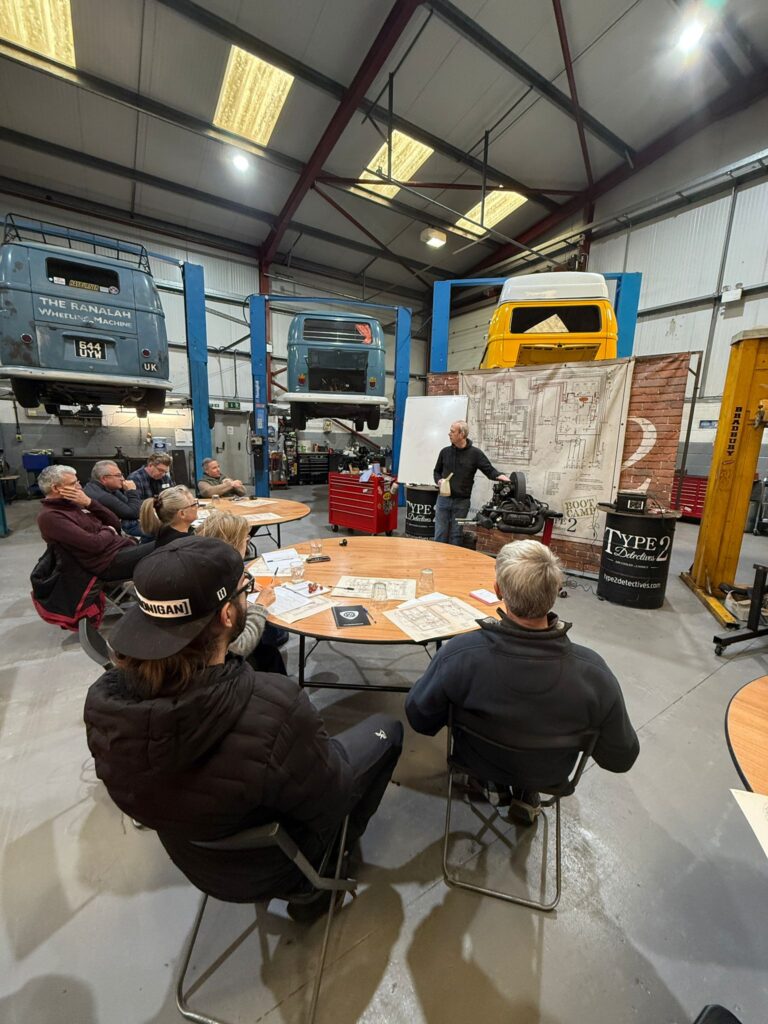
Andy and Paul were brilliant, very clear and great teachers, we were showed around the workshop and then explained what they do. They included everyone and made everyone feel able to fix or service their vehicle.
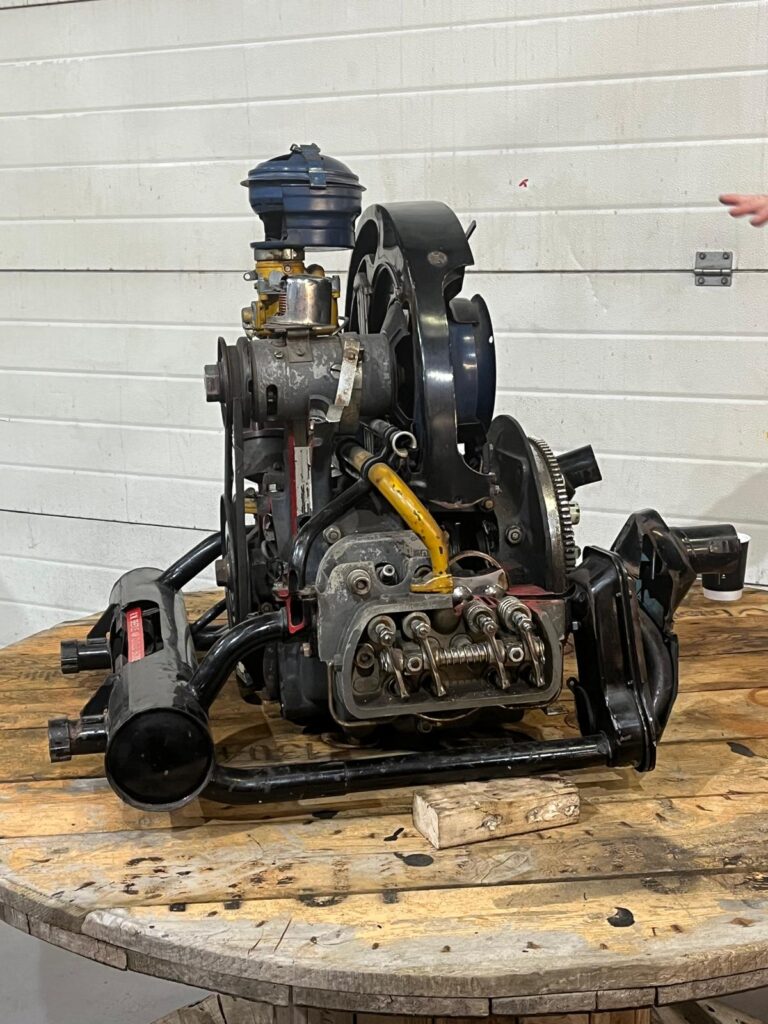
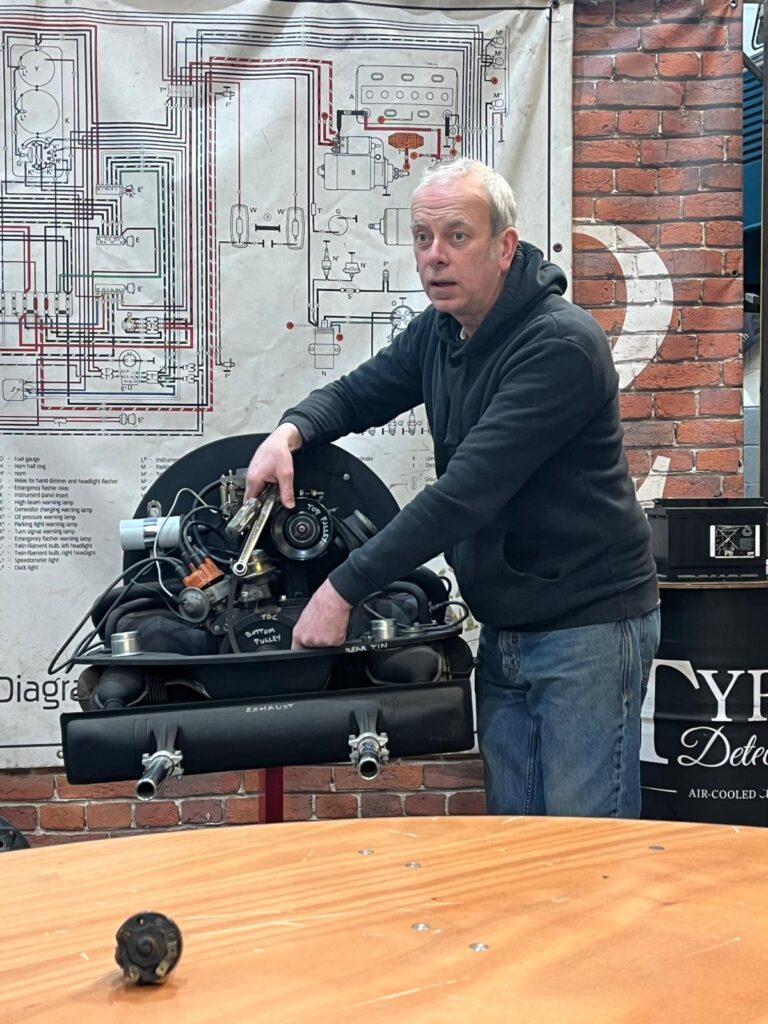
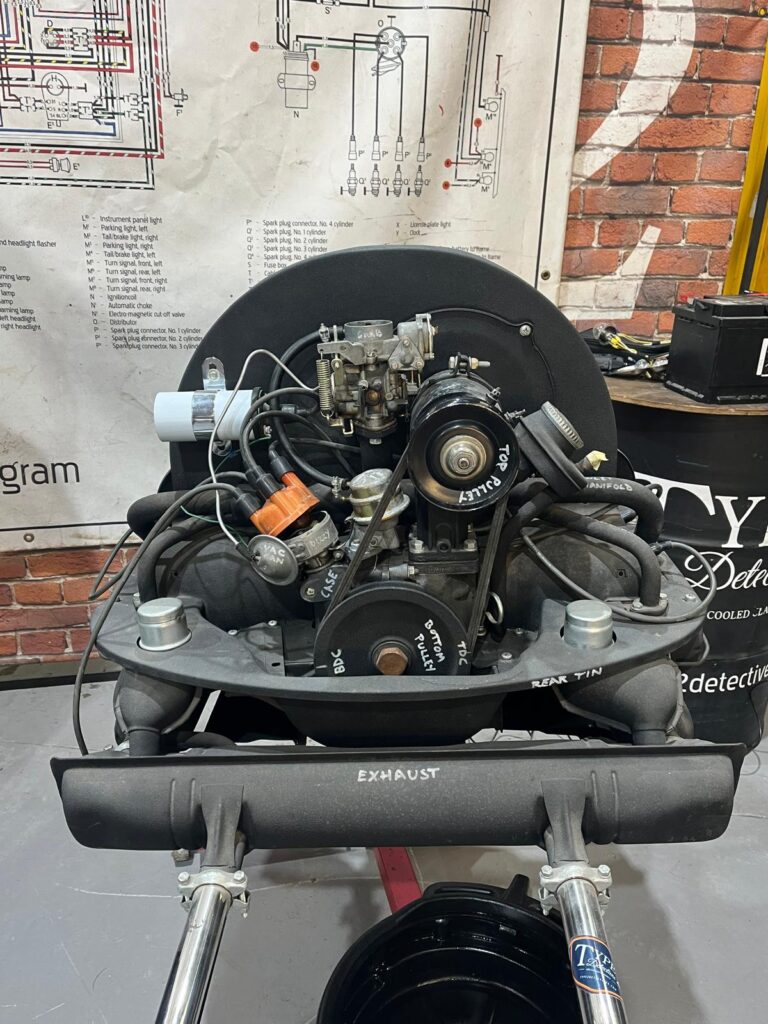
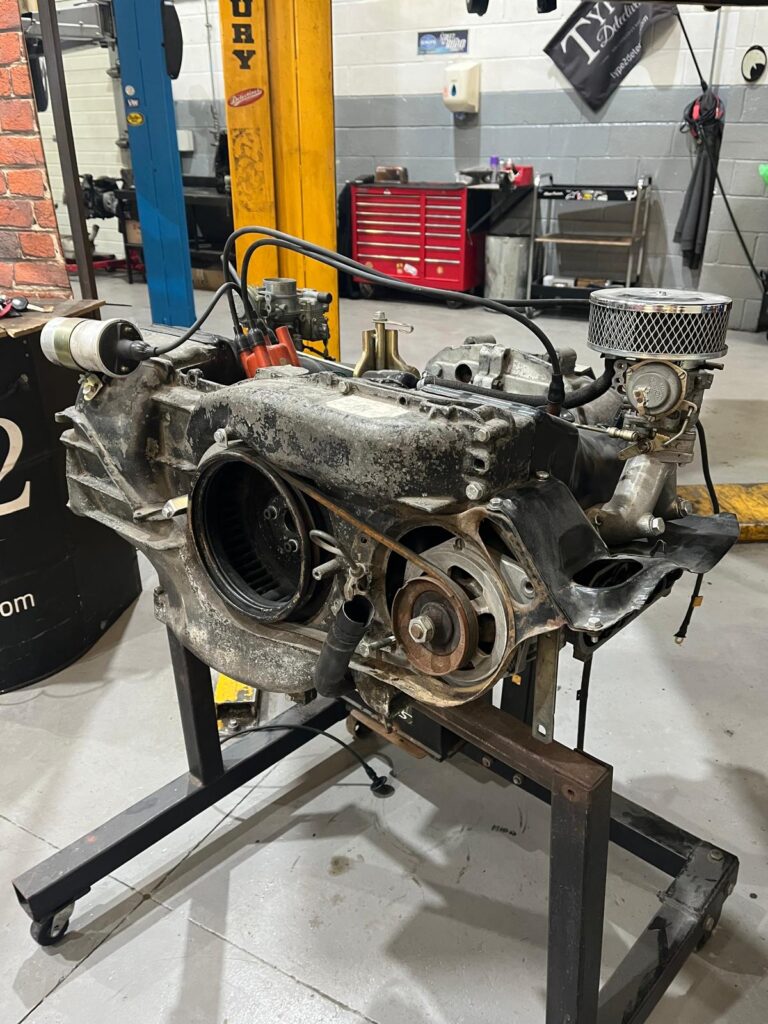
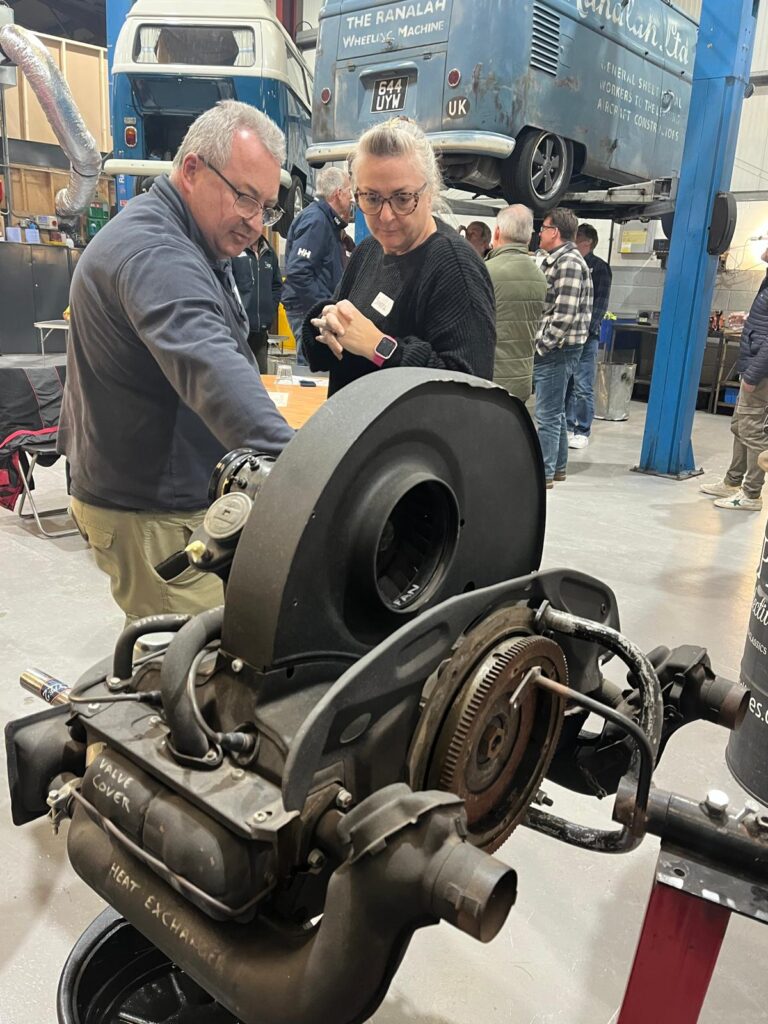
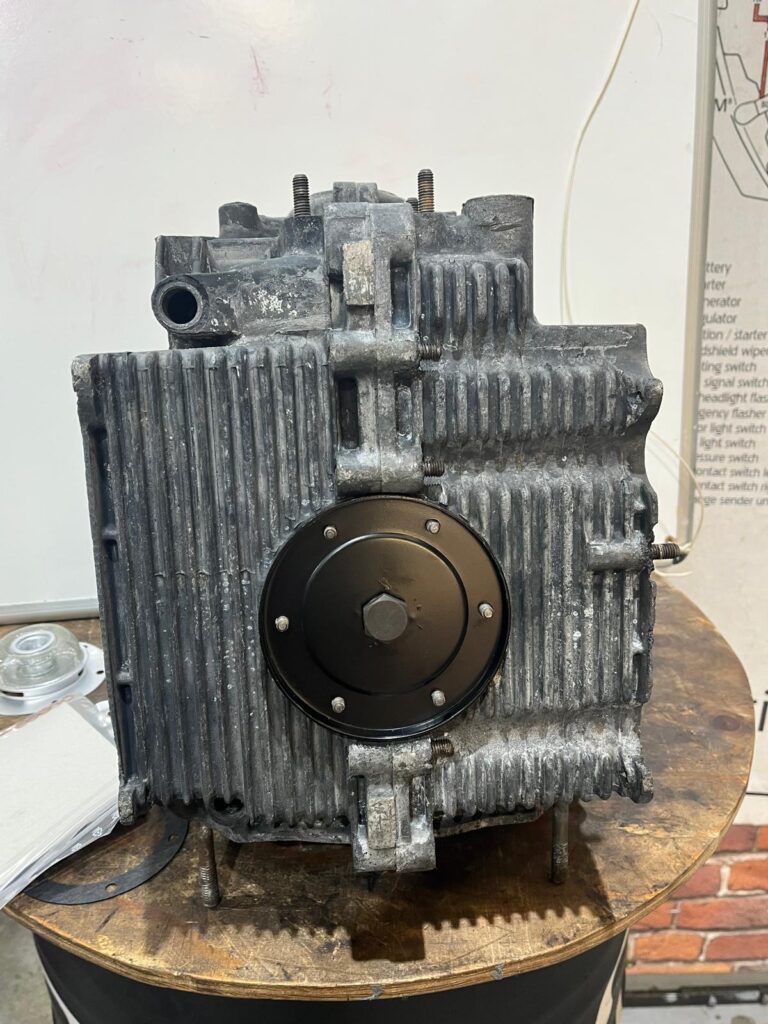
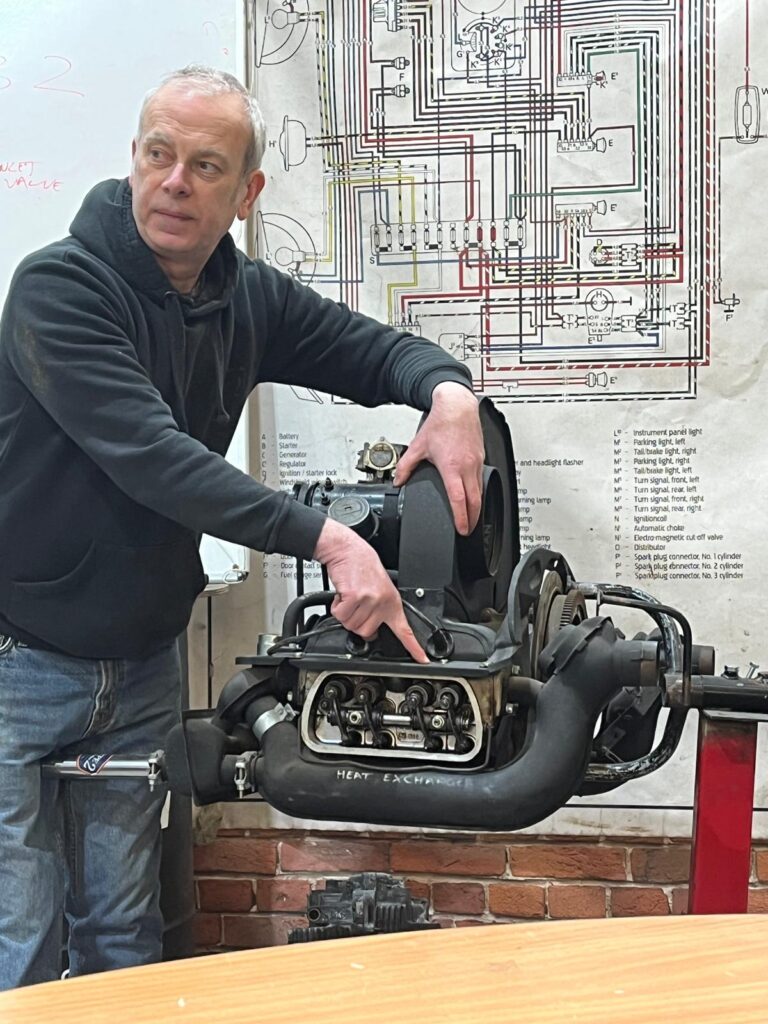
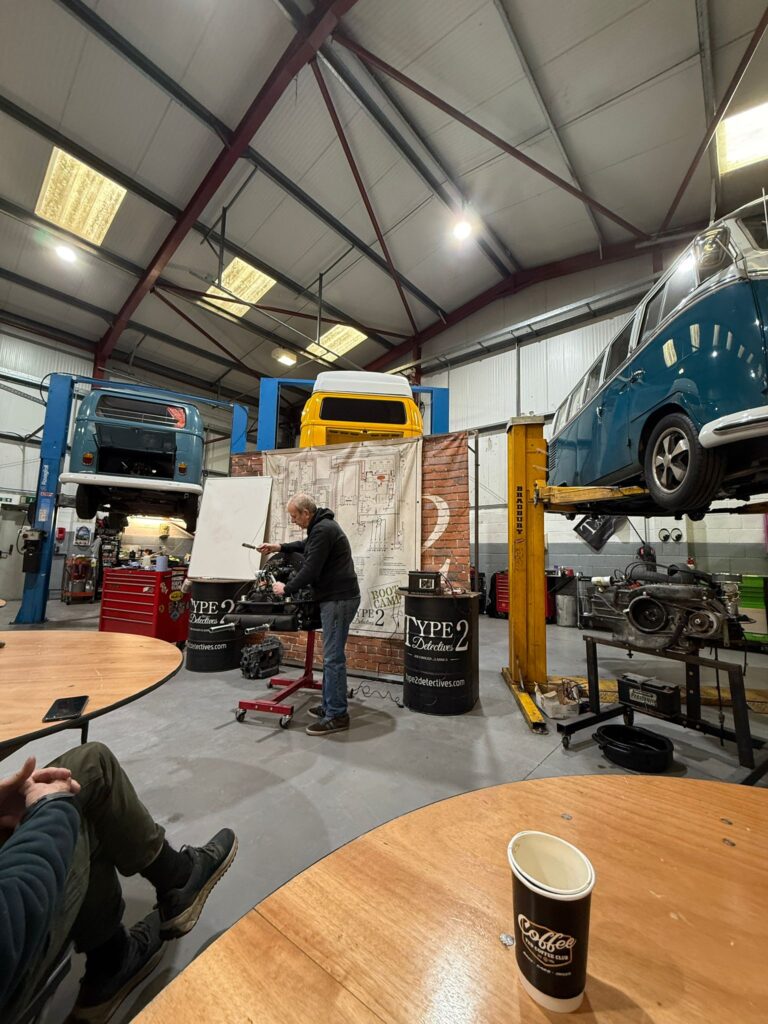
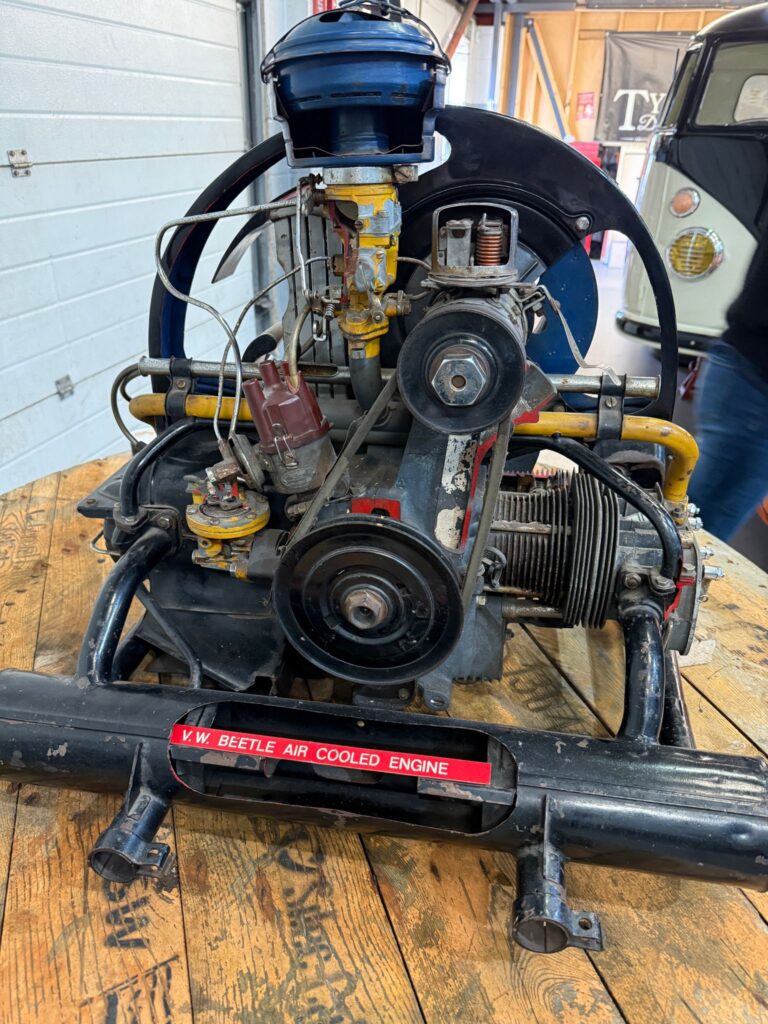
They showed us an engine with clear explanations of how it worked, and labels were on the different components, so we could understand things fully. They explained a few stories about what could go wrong, and how they fixed them. They also showed that the scary wiring system isn’t that complex once it had been explained and showed what to do in situations that may occur. Also, you could buy a wiring diagram (which is totally worth getting) (Editor notes that you can get these online and the Bay window 1972 to 1974 wiring diagram is on the club website in the “Technical articles” section because I had it for Eric!). They included everyone and made everyone feel able to fix or service your vehicle.
We were shown:
How to change a fan belt
How to change the oil
How to set the gap on the valves
How to set the gap on the distributor points and describe the firing order of the cylinders
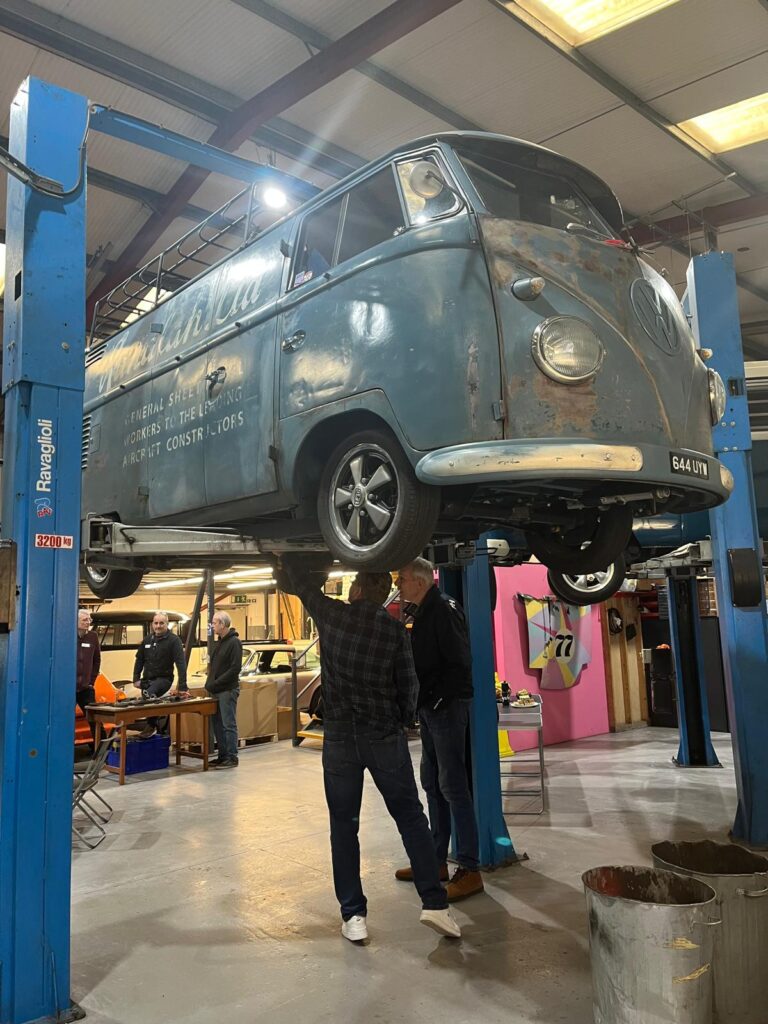
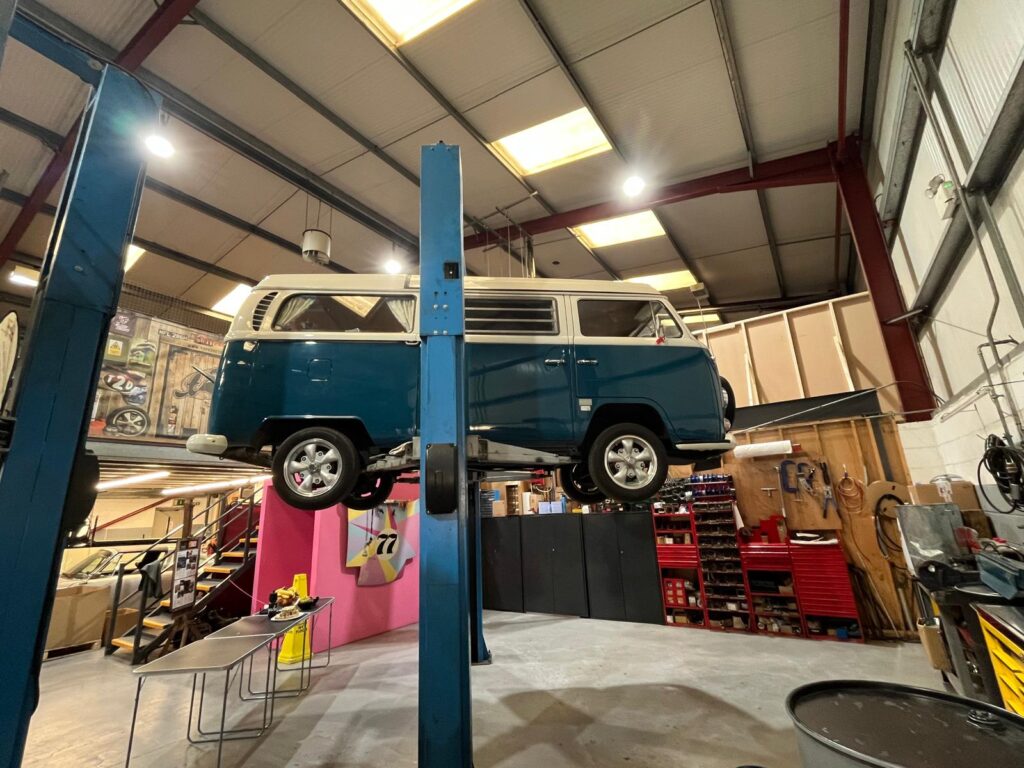
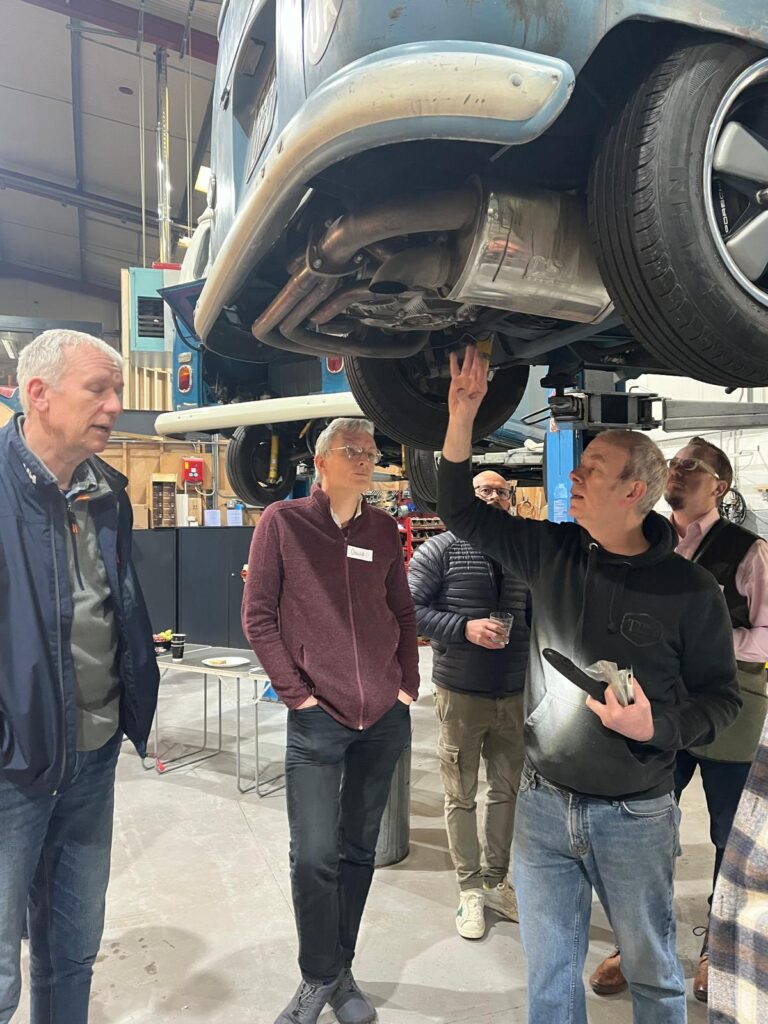
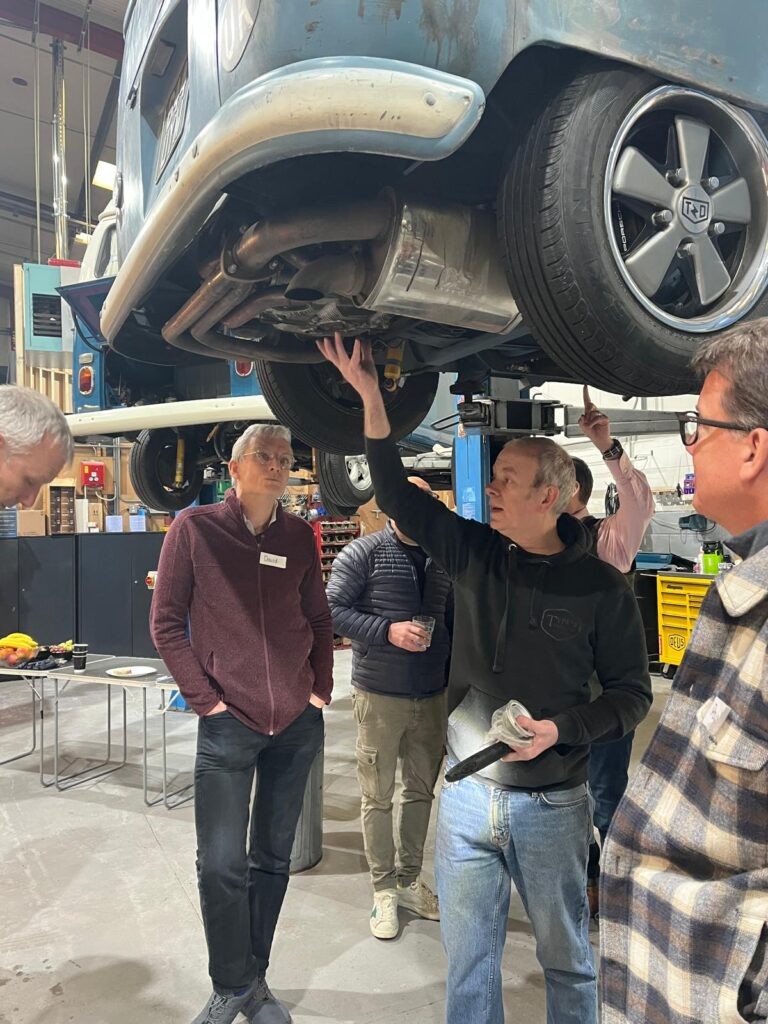
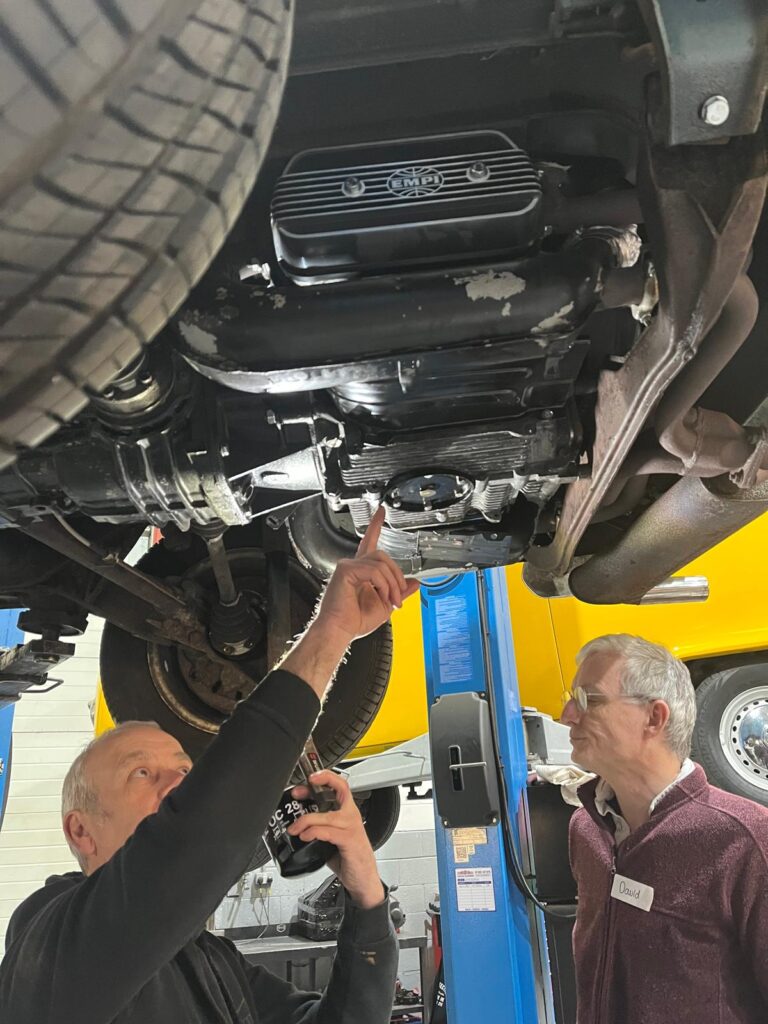
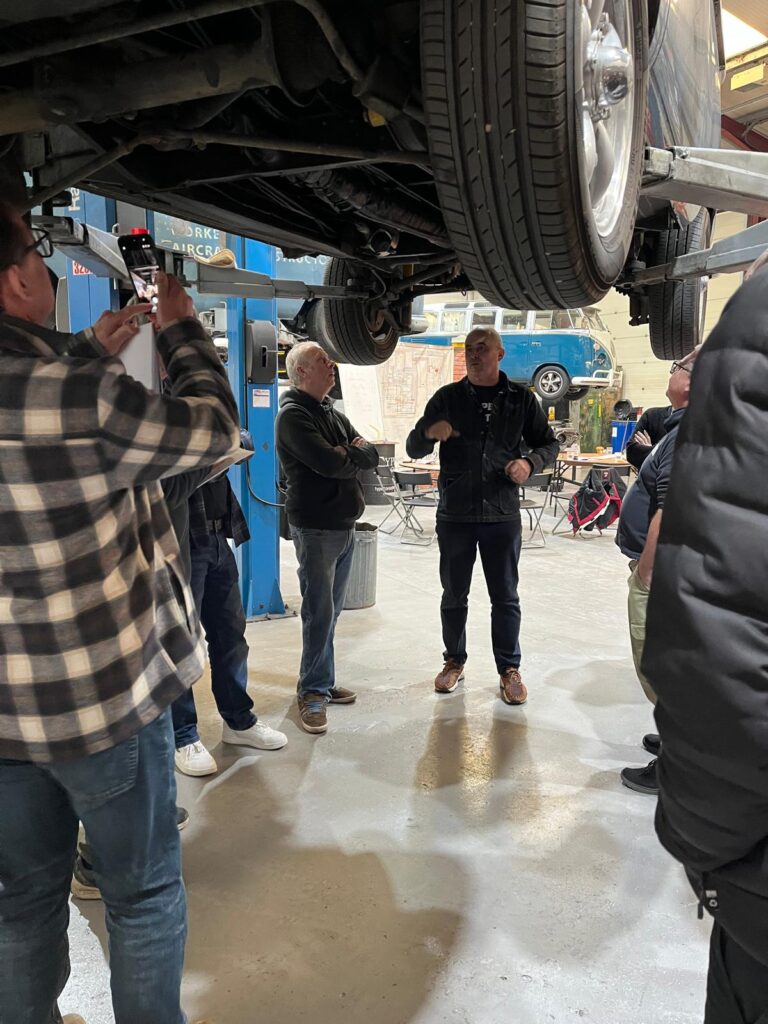
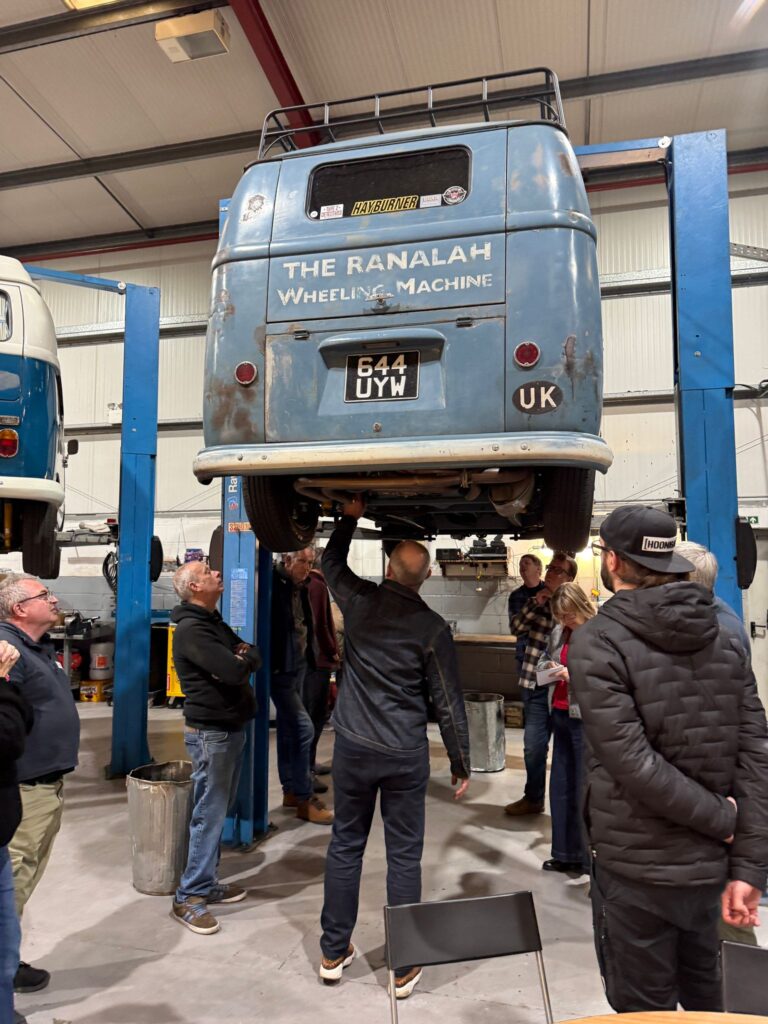
Andy and Paul walked us around the underneath of a variety of vans on ramps, then explained components, common faults and visual checks to keep our vans healthy.
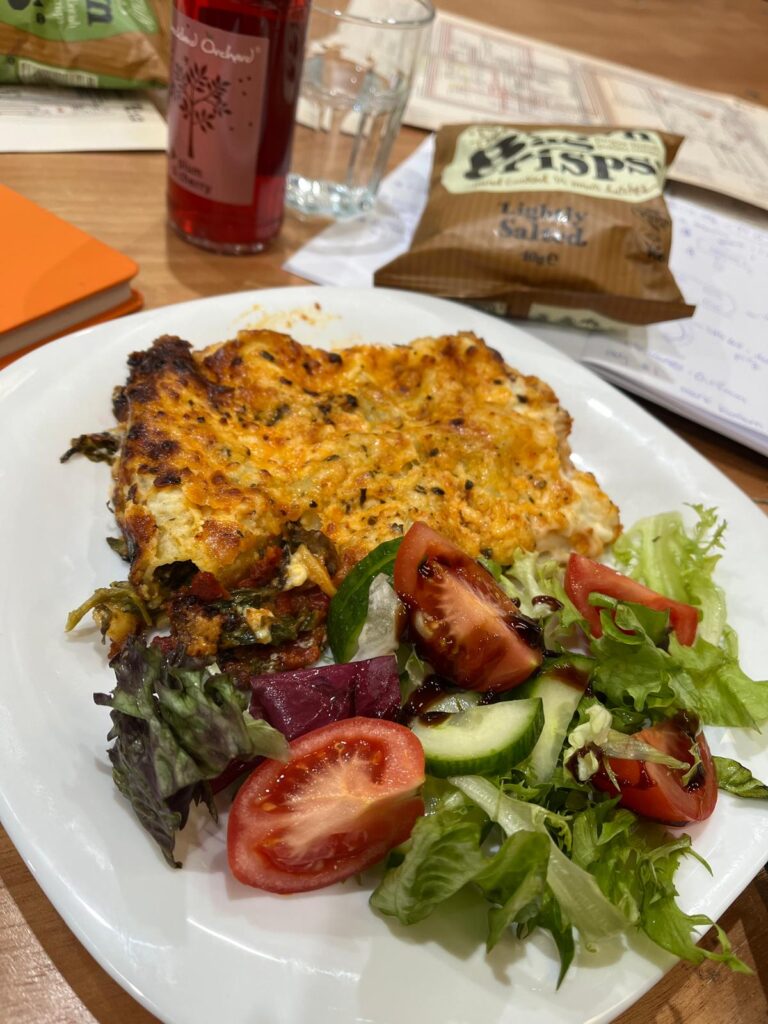
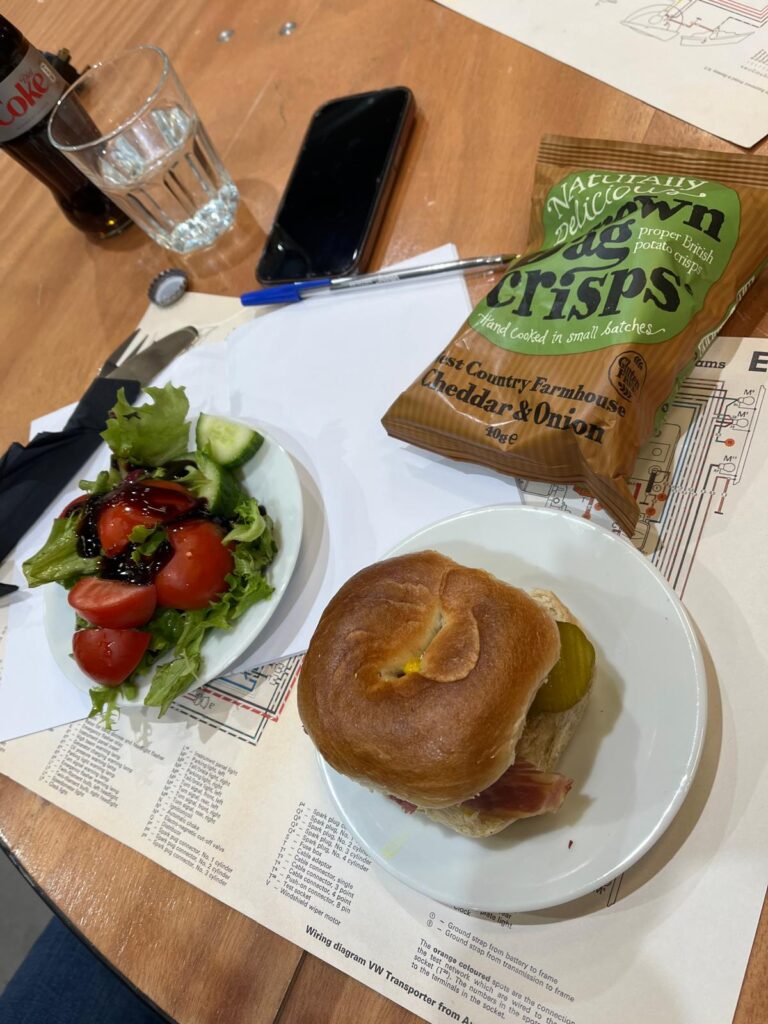
We were well feed and watered – seriously, the choice of food and variety of drinks was excellent. All staff were friendly and welcoming. We would pop in to say Hi, and have a drink if I was ever up this way … and you should too … totally worth a look.
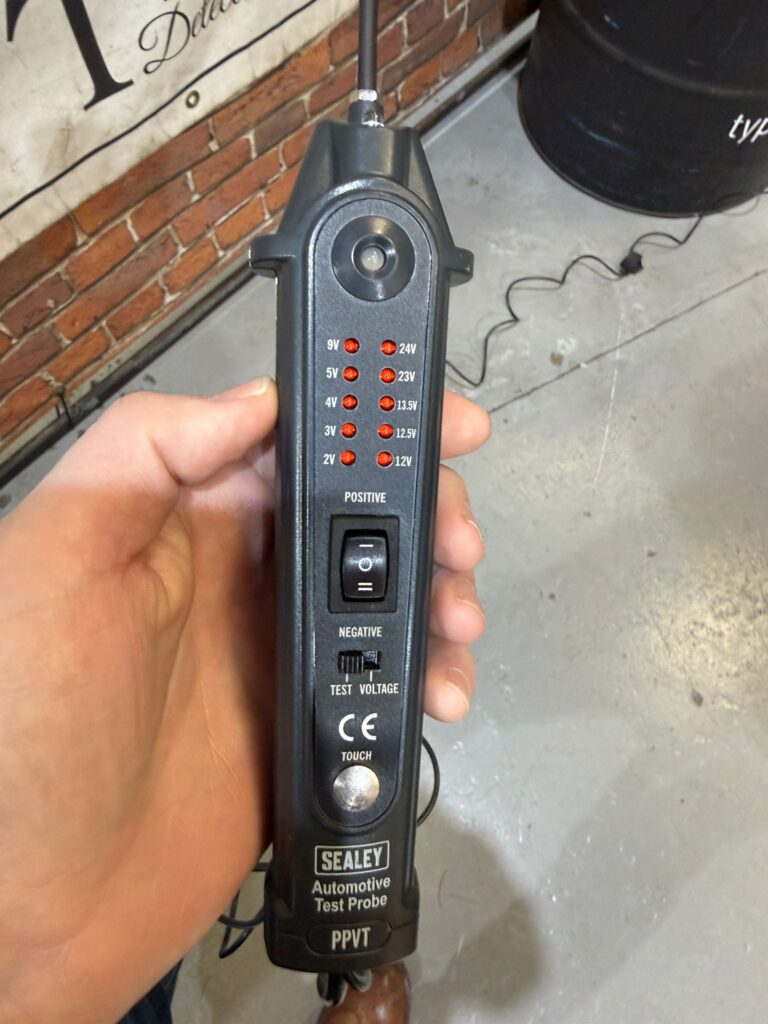
I thoroughly enjoyed the entire day, I have come away with extra confidence of what to do if I was on my own in my Rusty Leigh and had issues or broke down. I also liked that we were told a few times throughout the day that we could just call them and they would talk us through any breakdown (which is so reassuring) also what essentials tools to keep in the van, that you might not think about. (Editor notes that the Spare parts list is also on the web site in the “Technical articles” section)
Although we were told that Paul had a spare engine in his van when he was on his travels … smart man, we believe he didn’t need it lol!
At the end you were given a boot camp bible to take with you covering what you have been taught to you on the day and we were offered a comprehensive health check for our vehicle at a later date, convenient to both you and the workshop at an amazing cost.
I will pass on Type 2 detectives’ information to anyone who needs it, and when my stepdaughter is ready, we will be sending her to one of these workshops so she can get a better understand of our T2 camper.
Thanks again for an excellent and acknowledgeable day.
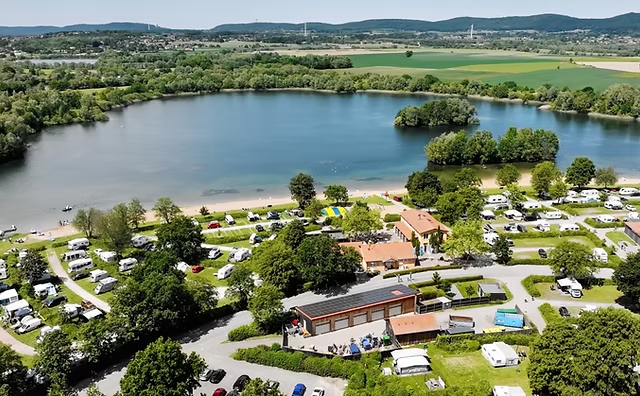
One not to be missed. our Annual get together at this lovely camp site. Here you can have your say on how your club is run. Its not all about the admin either as the majority of the weekend is set phasers to chill.
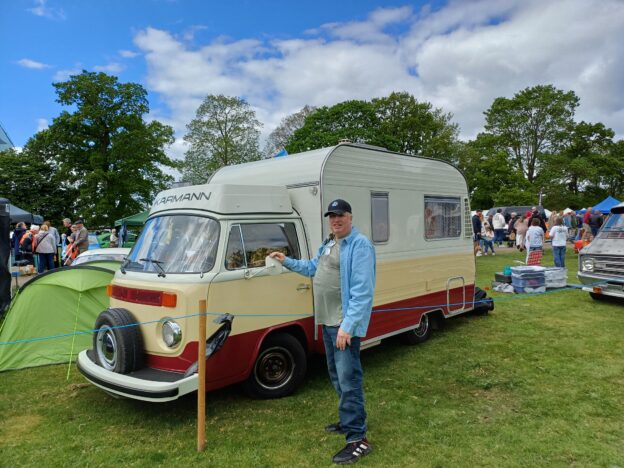
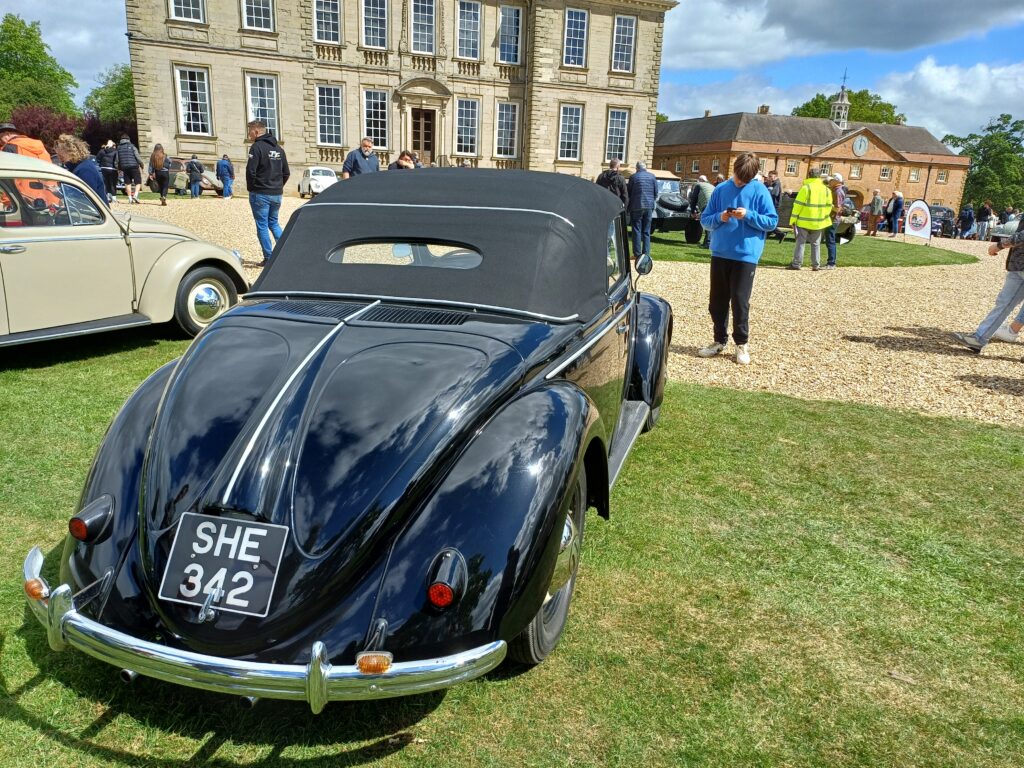
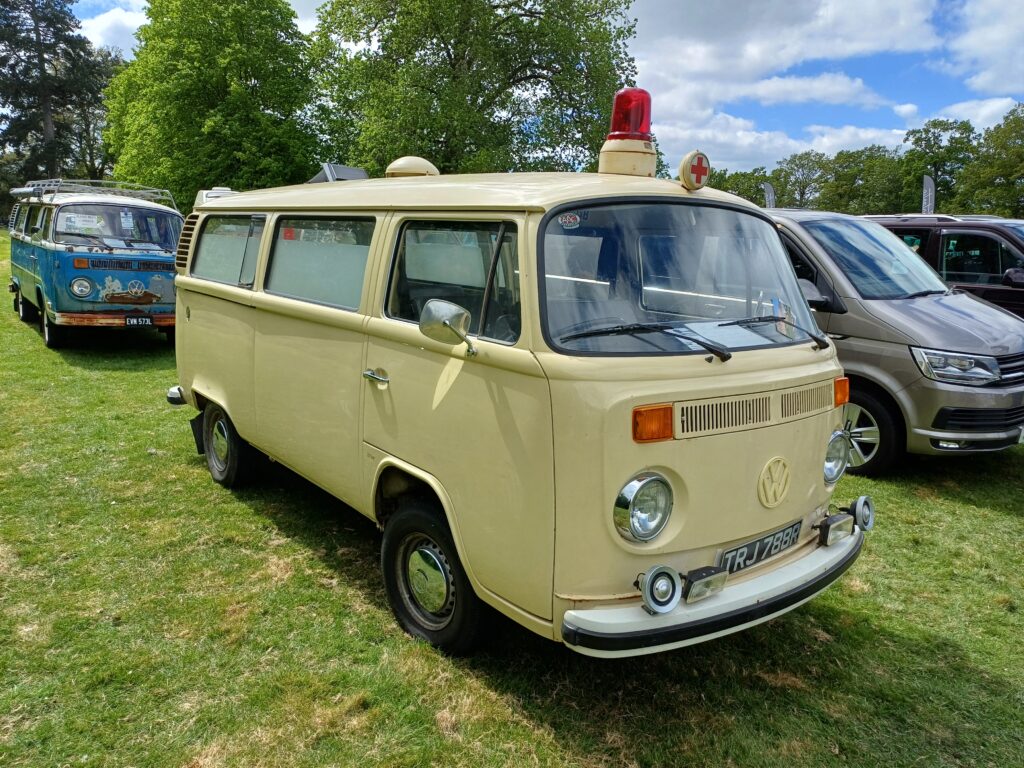
In my humble opinion one of the best shows of the calendar and my personal favourite. Organised by the wonderful Leicestershire & Warwickshire Volkswagen Owners Club the event hosts classic air and water cooled models side by side. This is a one day event Sunday only but camping is available on both Saturday and Sunday nights, details of booking can be found on their Web Site.
2 heaped tbsp crunchy peanut butter 3 tbsp chutney 2 tbsp soy sauce Juice of 1 lime 1 onion, chopped 1 garlic clove, finely chopped 1 tsp red curry paste 400g chicken thighs, bones removed and meat diced Oil for frying Coriander leaves (optional), roughly chopped Rice
Before you leave home, combine the peanut butter, chutney, soy sauce, lime juice, onion, garlic and curry paste with 100ml water in a food processor. If it gets too stodgy, add a splash of water and give it a stir. Keep it in an airtight container otherwise the smell will permeate everything! When you are ready, roll the chicken cubes in a little oil and thread onto skewers. Grill on high for 3 minutes on each side or until the chicken is cooked through and starting to colour. If your van does not have access to a grill or BBQ, skip the skewers and shallow fry. Pour the peanut sauce over the chicken and grill for 1 minute more or remove as much oil as possible from the pan and cook in the same pan. The sauce will caramelise slightly – the more caramel and sticky the better! Serve with rice and coriander sprinkled over.
This one comes up regularly at club events – you want to do solar.
A solar panel makes energy from the sun using photovoltaic cells and sends these down 2 wires as if it was a battery. BUT. Sunshine changes through the day and you need a way to flatten out the power to something nicely controlled and also stop the power going the other way and coming out of the panel. This clever gadget is a solar charge controller and comes in 2 varieties, the cheap PWM controller (pulse width modulation) and the more expensive MPPT controller (maximum power point tracking).
This article is only about the MPPT controller.
If you find a bargain priced MPPT controller online, it is probably a PWM controller with an inflated price – avoid any controllers that are not from large brand names. The key players at time of writing are EcoWorthy, Epever, Renogy and Victron for MPPT controllers.
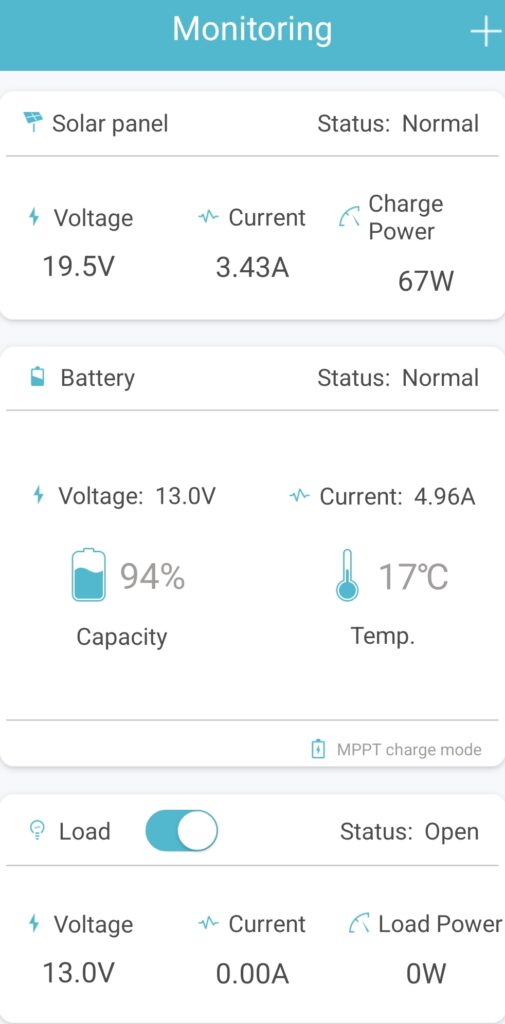
The monitoring image shows an MPPT controller operating normally during the day. The solar panel is generating 67 watts at a voltage of 19.5 volts meaning 3.43 amps of power. A traditional PWM controller would send those 3.43 amps down the wires to your battery and all would be well.
The MPPT controller tracks the voltage of the battery all of the time and converts the voltage from the solar to fractionally above the battery voltage, allowing the amps to increase. In the image, the voltage is converted to just above the 13.0 battery voltage, giving you 4.96 amps into the battery.
Those 4.96 amps compared to the 3.43 amps is an increase of 45% and is a real world example. You can expect to get around 30% increase in charging power across the day as lower sunlight will reduce the uplift percentage. This can be the difference between fully charging your leisure battery and not.
A single 100 watt solar panel with an MPPT controller is sufficient to give us an off grid experience from April to September unless the weather is totally awful. This is for the compressor fridge, lights, water pump, phone charging and if we take it, also the TV.
With electric hookup now often £5 per night plus usage at 50 pence per kilowatt hour, going off grid really is a cost effective way to go. With an MPPT controller, it helps to keep the battery topped up, improving its life expectancy.
Spend since last report: £136. Total hours labour since last report: 54.6
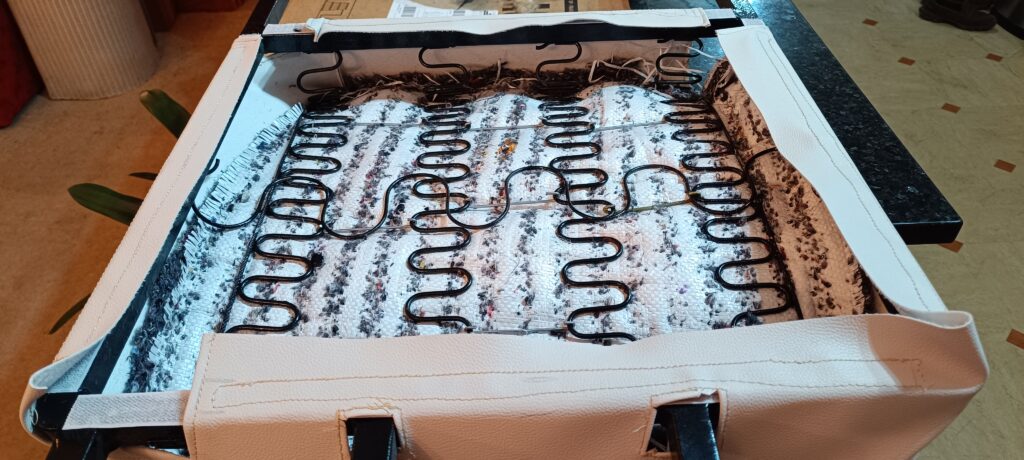
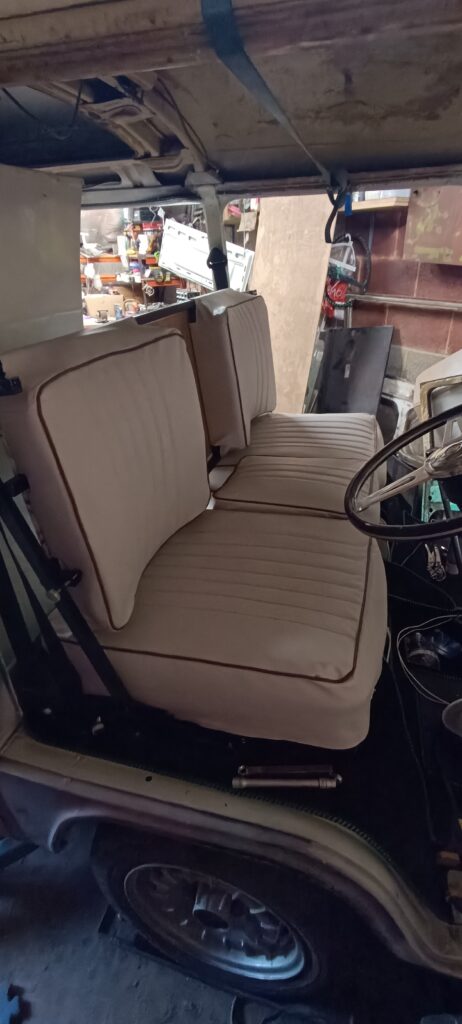
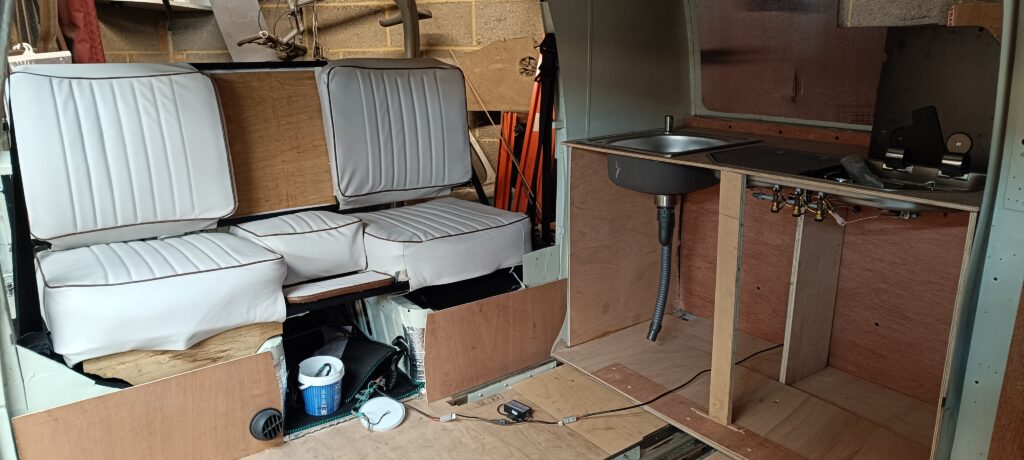
The last two months have been productive but mostly not in the garage. To “be nearby” as Lorna convalesces and frankly, to be warm, I have been busy wielding “Sally Sewing Machine”. The front seats that were originally in Eric are now in Poppy as we decide how to upholster them now that they have got rather old and soggy plus at least one piece needs welding. In their place in Eric, I made a frame for two seats that I wrote about some time ago – they are the same size as original ones and use the same spring and serpentine arrangement but they are mounted on a 20mm box section steel frame to allow them to be inclined correctly when facing forwards or backwards. With some bent metal staples added between the serpentines for support, I brought the base frame indoors and started cutting the material for the base trim.
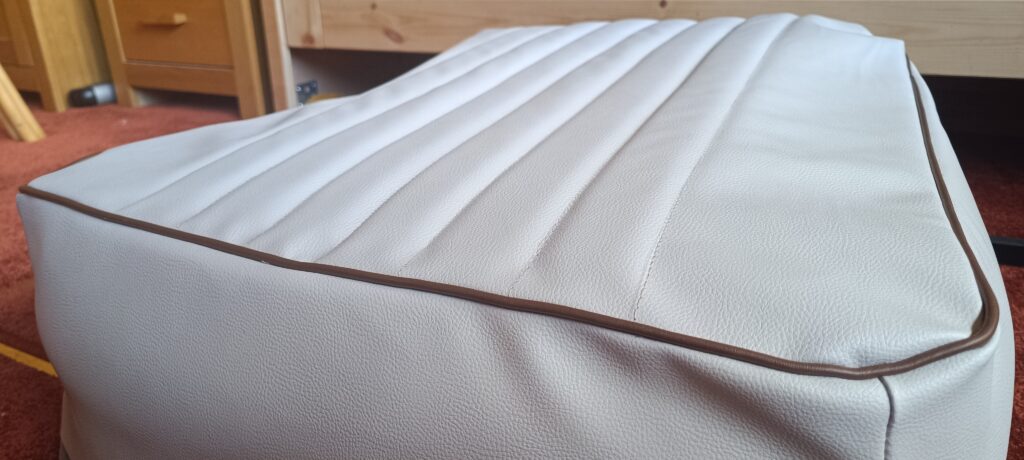
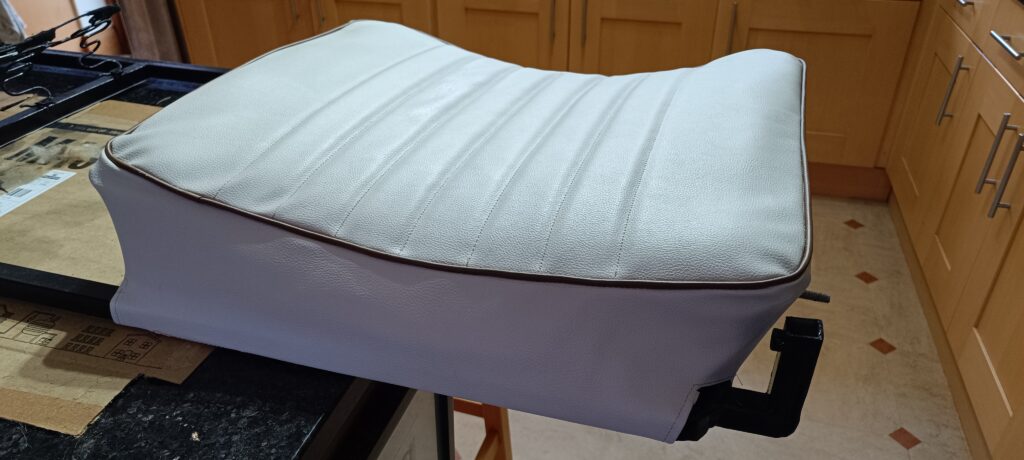
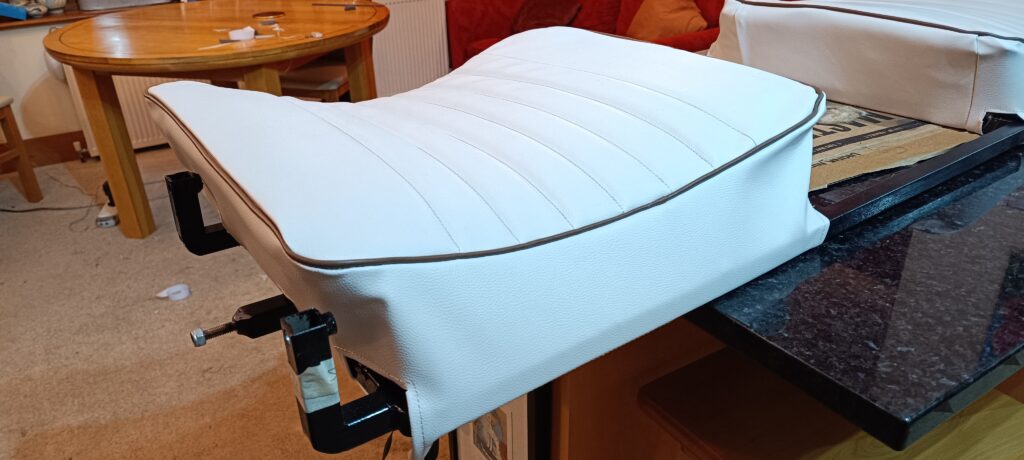
The first piece of material is the seat base top that you sit on, which I cut with a 10mm seam allowance and placed it on the metalwork – already it looked marvellous! Then I took the 10mm scrim foam and cut a piece to match. The new Somabond thread is high strength nylon and is 3,000 metres long – that’s towards two miles on the reel which is enormous. With a practice on a scrap, I found a way to get both material and foam under the presser foot of the sewing machine (it is a domestic one from Hobbycraft, not a professional one with a walking foot so it is a bit more tricky!) and get the pleat roughly straight. Then onto the real thing – a pencil line down the middle marked the first front to back pleat and 3 on each side of the middle at 5cm apart makes 7 pleats plus about 12cm of cheeks on either side. Pencil lines along all of them to guide things and I pushed the material through. The first one had around 1mm of movement along the straight line on a couple of the pleats but that was mainly to do with the domestic machine being asked to sew more material than it can comfortably eat.
The pencil lines can then come off and we have a rectangle of material with a foam backing and 7 pleats that look rather like the real thing. Quietly pleased with myself, although it took a while.
Then I took two full width pieces of the brown door card material (I did side to side and according to the Internet, piping should be cut from a diagonal but that is hugely wasteful), sewed them together into a 3-metre-long piece of 26mm wide and changing to my piping foot on the machine, I made brown piping.
Next up, I took a long rectangle of the cream material which will form the sides of the seat, long enough to go all the way around the seat base. The piping was sewn onto this rectangle of cream.
With my top and my sides made, I then ran a pencil line around the top where I wanted the piping, put on my big boy pants and set to work, the machine now sewing through the top, the side and both pieces of material that form the piping. Once the tension was adjusted high enough, the machine coped – the corners were a bit fiddly but went well. Eventually, I had a cover and once on the metalwork looked rather nice.
Under the cover, I added some man-made horsehair and it was very lumpy, even in a sewn bag that went under my evening sofa chair for a week. Layers of lambswool produce a much flatter, albeit slightly less soft, seat.
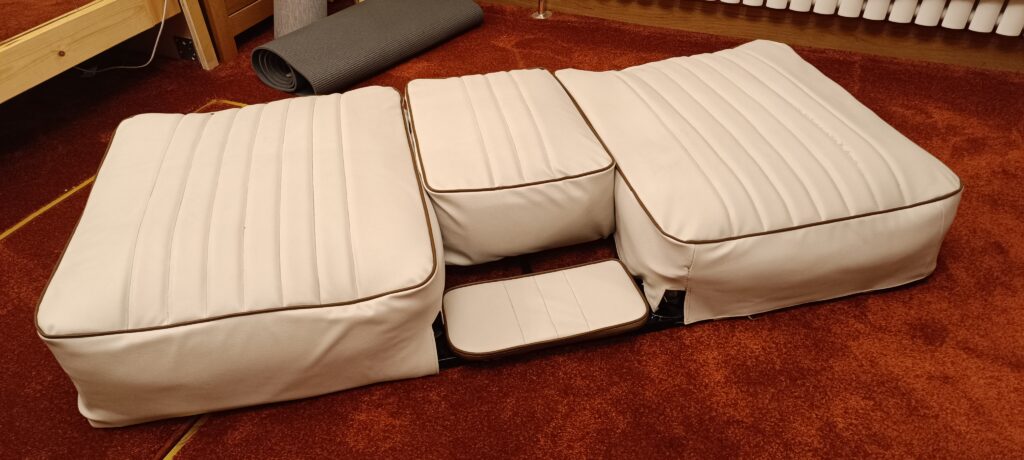
Rinse and repeat for the other front seat and already the pleats are coming out more defined and straighter as I get my eye in. Then a middle seat / arm rest / dog seat that is mounted on board and goes from the front to just in front of the arm rest so that the seatbelt buckle can emerge and a small upholstered flat piece for a drinks table when you are facing backwards.
Both seat bases received ears of fabric to allow a drawstring to be used underneath to pull everything tight, then on to the seat back!
The seat back metalwork is more sculpted to curve around the back of the user, which presented the issue of how to get the material sewed correctly to avoid and bagging. The main piece was made as previously with the foam underneath. The rectangle for the side similarly and the piping similarly as well. The piping was sewn straight for the sides, and in a curve at the top and bottom to match the curve of the metal. Once that had been worked out, it was then a case of repeating the attachment of the bib to the side piping and sewing up the start of the side to the end of the side.
Each of the covers has to go around metal in places which needed careful cutting and seaming.
And then the padding can be smoothed out, Velcro added to the metal (self-adhesive) and to the seat cover (sewn on for strength) and get a final trim.
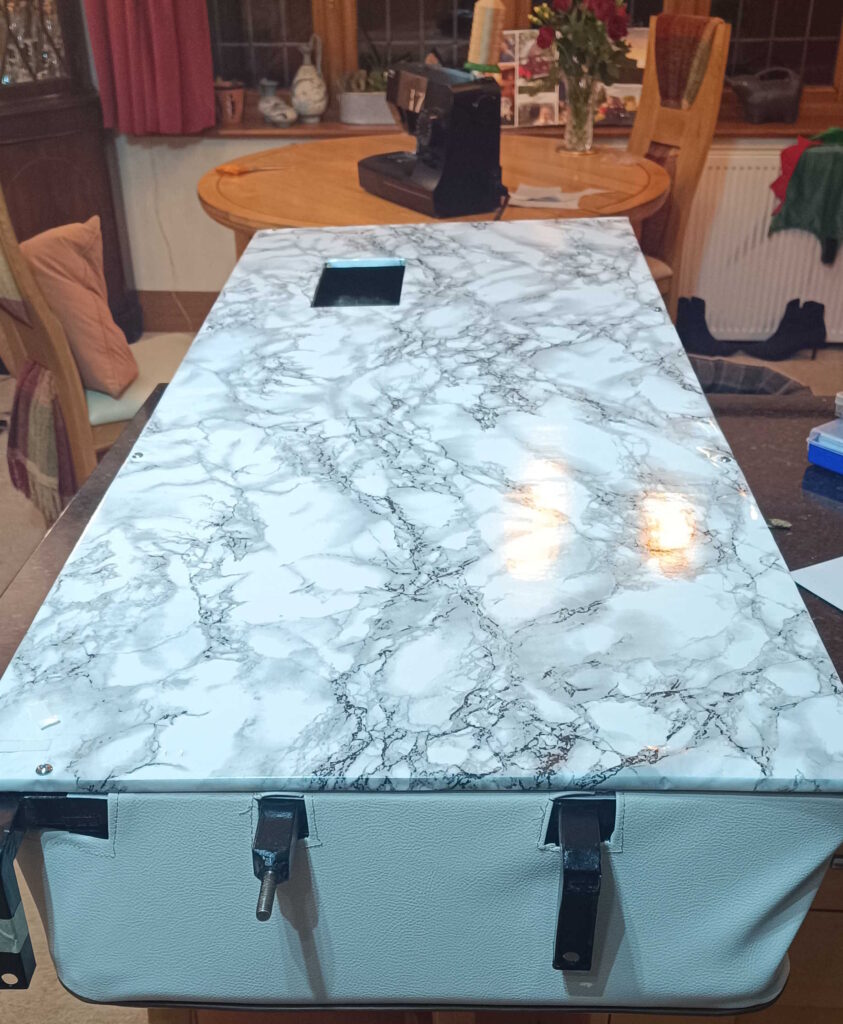
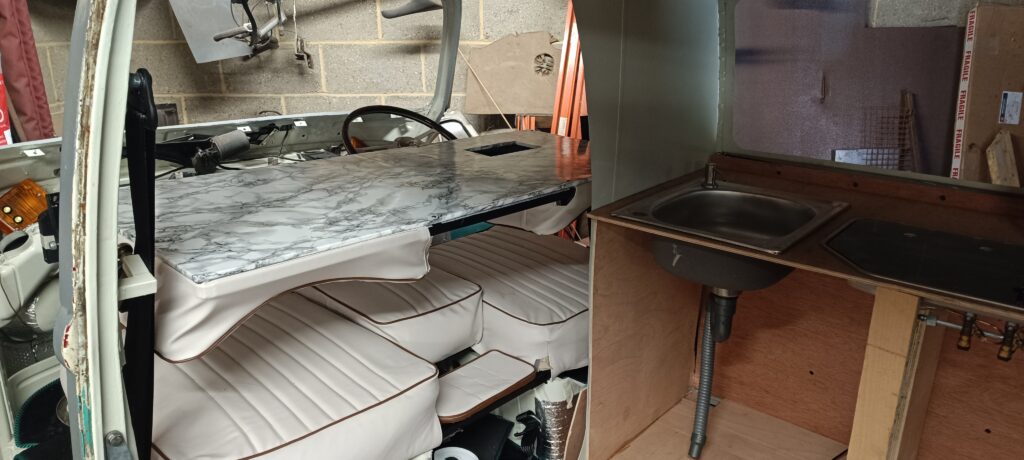
With the material complete, the seat back now needs the rear to be made pretty as you do not want to see the serpentines all the time. When not driving along and not sitting on the seat, I want the option to use it as a table – 3 jobs in 1! I removed the upholstery to keep it clean, cut a piece of 9mm exterior hardwood board and trimmed the edges to fit the metal of the seat back. With a suitable hole for the bottom of the steering wheel cut, I then came in and added some marble effect sticky back plastic and the back was finished.
The dining room was requisitioned for sewing, the office was heaving full of rolls of material and the back bedroom was being used to cut material on the floor. With Christmas coming, it all needed to be tidied away to allow us to have pigs in blankets, or “relatives staying in the spare room” as some call it (sorry Mum and Dad, I know that you have heard that plenty of times before, but it is quite clever). The rolls of material, foam, sewing machine and everything else were tidied away, the upholstery stores converted to bedrooms and the seats removed from the house and into Eric both to empty the house and verify it all fits.
I was rather pleased with the result. This configuration gives me seats for driving, the same seats facing backwards for camping and a table for storage / dinner prep.
I will admit that in addition to the upholstery, I made a start on the wiring as well. After a full review of the wires, I added a battery to the right place, added the wire that ought to be on the alternator to the battery as well (since there is no alternator and no engine). As I turned on the side lights, headlights, beam, hazards and windscreen wipers, each fuse showed 12 volts as the right time. I was rather heartened and finished the day in a celebratory mood. The next day, I joined the right fuse to the actual side lights, headlights, beam, and windscreen wipers. Nothing worked, not a single circuit. Which was a key reason why Sally Sewing Machine came out.
A job for another day, perhaps I can persuade Malcolm to pop down and help me get it all sorted?
Organised by your club this will help owners to service and maintain their vehicles. This course is based at Type 2 HQ in Cambridgeshire. This is a pre booked event only. Spaces are limited