The next edition of the club magazine has been finished by our Editors and looks fantastic. It should be arriving through your door soon! If you are enjoying the club magazine and have a story about a trip, an upgrade, a restoration or just a tip, send a contribution to our Editor at editor@vwt2oc.co.uk.
Yes, it is that time again. Hurray! Finally, after the long winter in our non-mobile houses, we can get out our beloved vehicles.
Checklist
Hopefully you all followed the article Time for bed to help put your vehicle to bed for the winter. Now that spring is in the air and we are starting to think about getting out and communing in nature, this is a key time to get things ready.
Doors locks – there’s nothing more annoying than a failed lock. get it fixed now before the season really gets going. Door lock issues can be very straight forward but a simple lubrication can be key. Pun intended. A non residue lubricant is best to move the dirt away as WD40 can leave enough gunk to create issues. We favour silicon spray. A little into each lock.
Windscreen wipers – did they perish in the cold winter freezing them to the windscreen. Inspect and replace now.
Water – check the radiator if you have one. Ensure that the bottles that you emptied in the Autumn / fall have no mice, carefully hidden Christmas presents or mildew. Clean with a weak Milton solution if it is drinking water or food related.
Batteries – check the charge on each battery with a good meter. A flat battery can indicate an earth leak. A failed battery needs careful investigation.
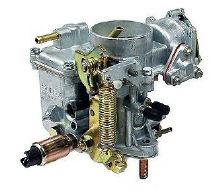
Carburettor – Or equivalent. Check for good operation, no stuck flaps or other deterioration over winter. If you are a professional, this will be straight forward. If you are an amateur, a test drive very close to home will highlight problems! But only after the other checks.
Brakes – your vehicle should roll easily, otherwise this can indicate jammed brakes. Parking in gear for long periods of time can be better for your brake health than a jammed set of brakes. Check the brakes for operation. Check the brake fluid level. If it has been more than 5 years, change the brake fluid as it is hygroscopic and slurps up water incredibly quickly. Water is not a good fluid for applying the brake pads to the disks.
Seals – inspect all door seals for any signs of damage, water ingress or other problems and sort them out now. Glue any loose bits back down with the correct glue.
Windows – ensure that they all open and close fully. Or at least as fully as they did last year if applicable!
Ignition – Once you are feeling confident, get in to your pride and joy and turn on the ignition to number 2. Look at the lights on the dashboard. Check there ARE lights! Are they what you expect / are used to seeing? Have you got fuel (for those with a working fuel gauge)?
Crank it over – don’t expect it to start immediately but things should kick into life within a few seconds.
A little test drive on your driveway will allow you to test the brakes, maybe the steering and other important parts. Softly, softly.
Stay local, take your phone with you and warm clothing. Just in case!
Once you get home, assuming that you have a big smile on your face, make a list of snags, get indoors, put the kettle on and start planning for your summer.
Check out the events page and come and see us at a meeting soon!
If, like me, work (school staff) gets in the way of a weekend away, don’t miss out on some fabulous days out. Winter or summer get some use out of that VW. You don’t have to go far.
We live in a small market town near Skegness and often just drive into the Wolds for the day, but it’s not the only local gem. Within 30 minutes we can be parked at Gibraltar point, a marvellous nature reserve with long or short walks, within an hour to an hour and a half we’re parked on the front at Cleethorpes, in a field next to a castle, walking along a river or wandering around the ruins of an Abbey!
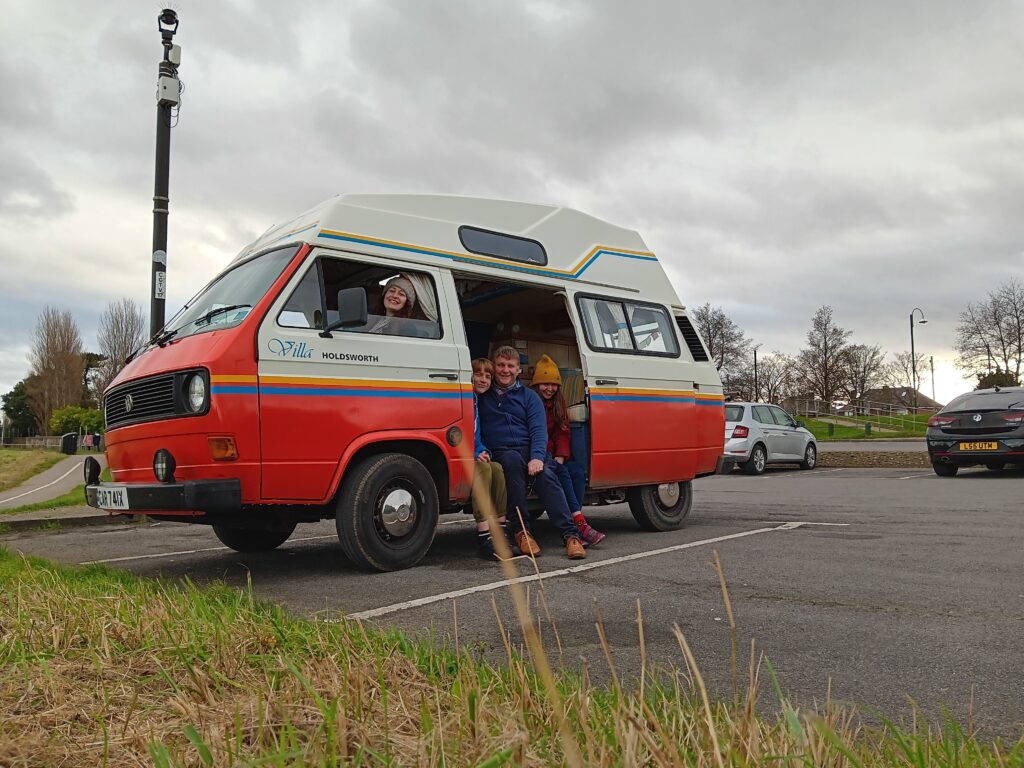
Yesterday (Saturday), we took two of our children to Cleethorpes. My Daughter Elizabeth has quite severe Autism and loves our days out. We had a wonderful walk to the ice-cream kiosk and along the Prom’. Then it was back to the T3 for cheese on toast before a steady drive home.
You’ll be surprised how many of us just don’t bother with or even know what is on our doorstep. Get your maps out and take a look, you’ll be pleased you did. And why not put the word out, meet another VW, I’m always up for an impromptu meet up that’s only up the road.
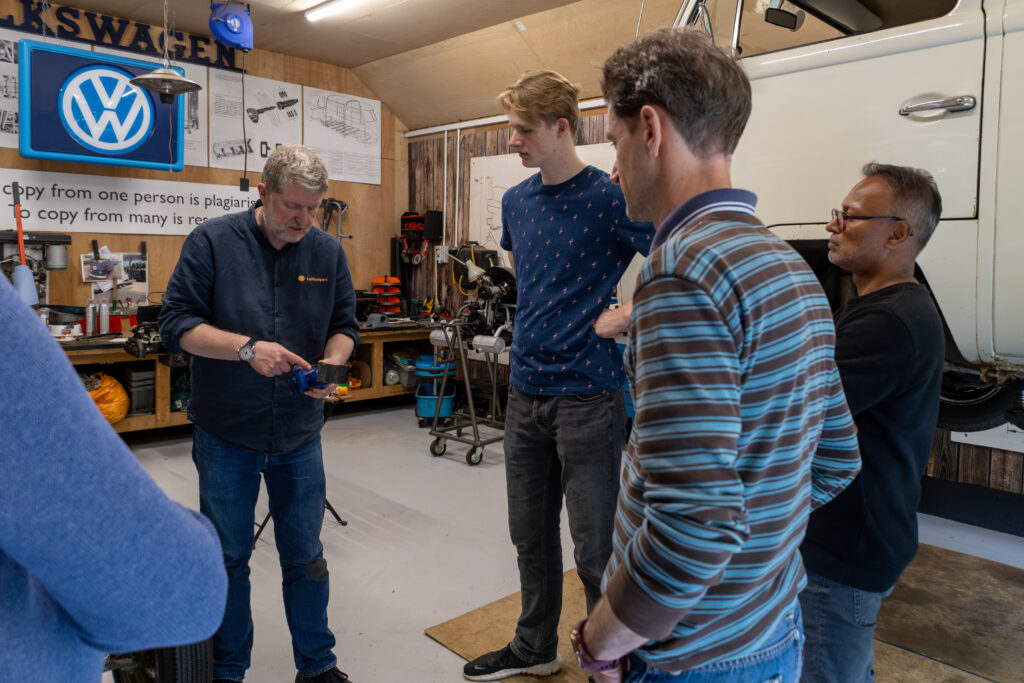
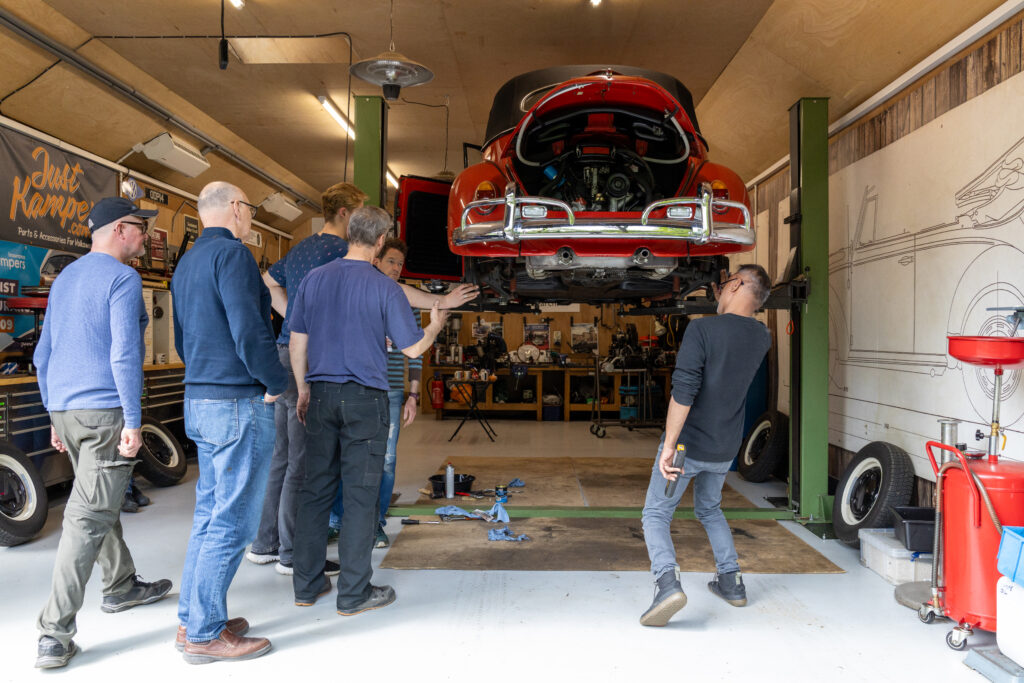
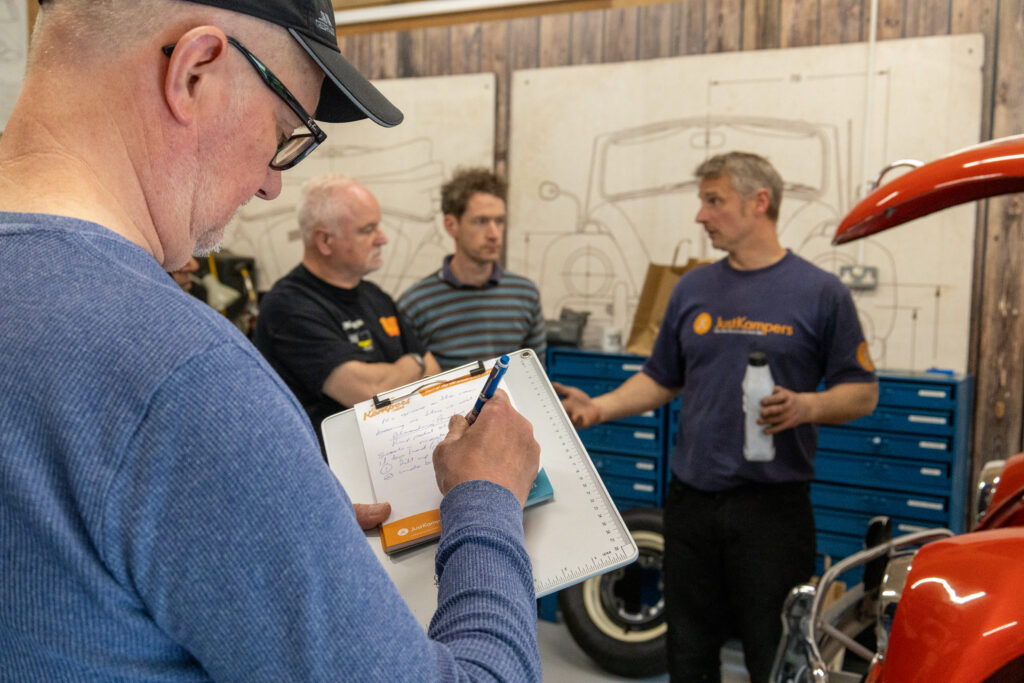
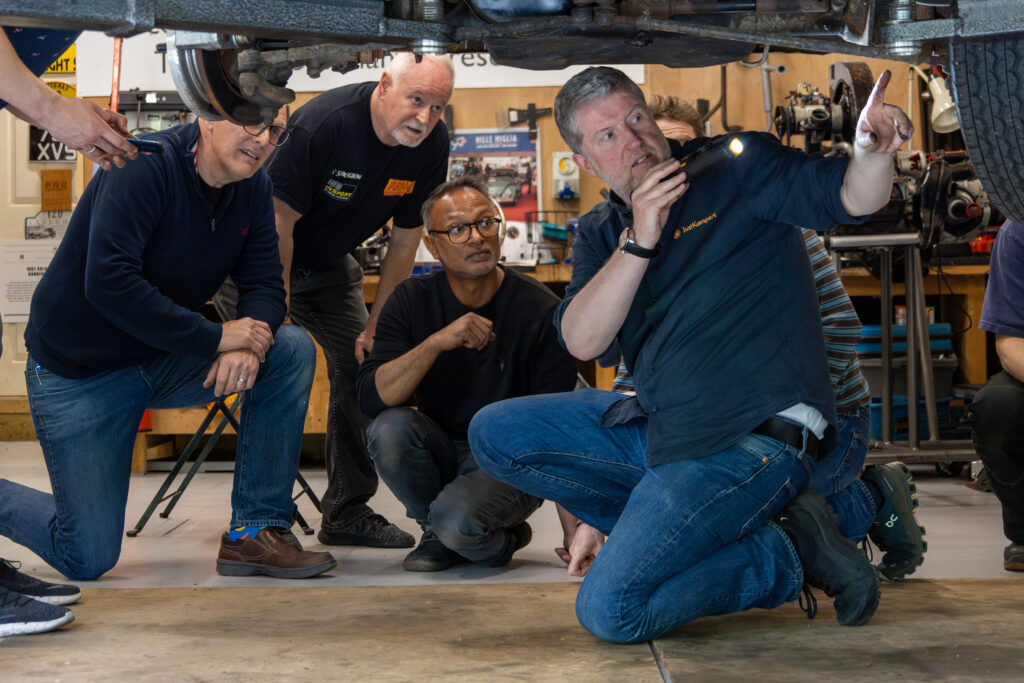
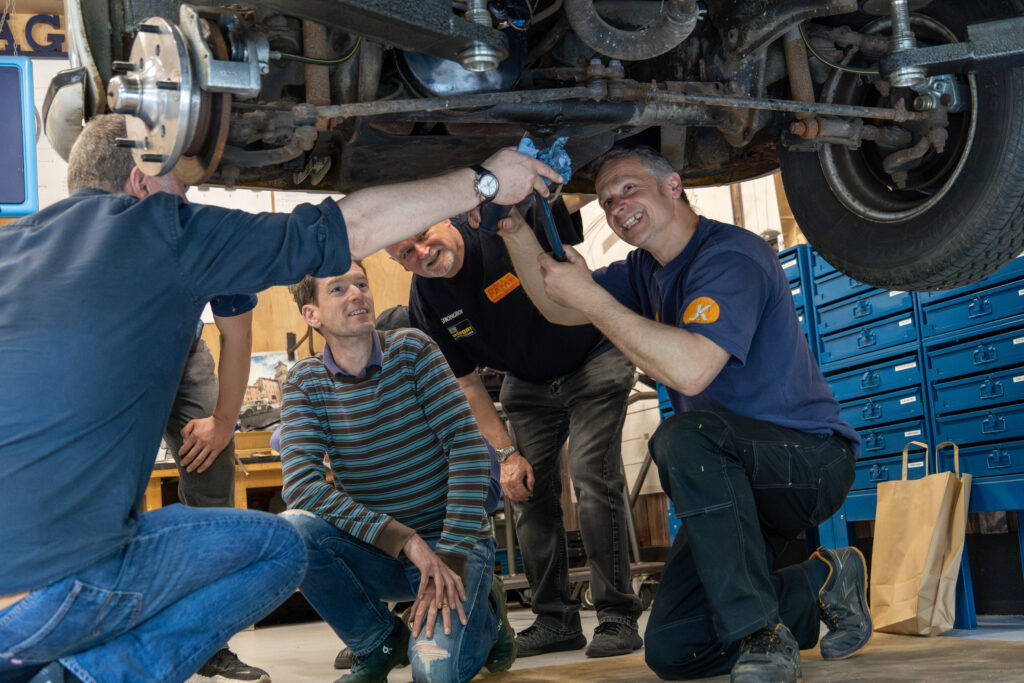
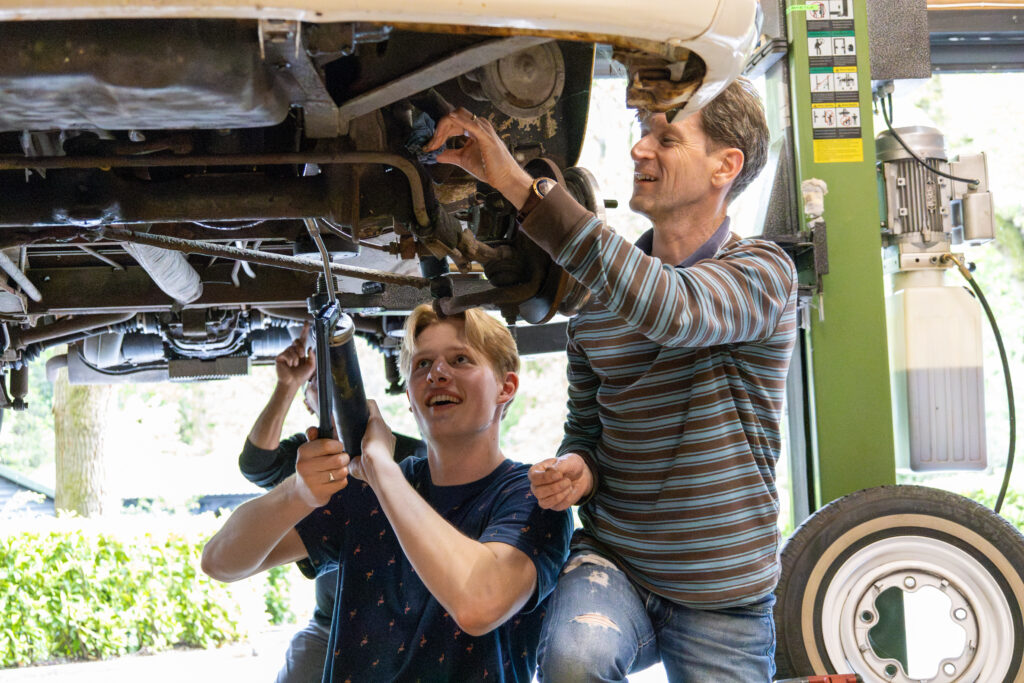
Just Kampers have recently wrapped up the first four of their JK Training Days, where they gave small groups of enthusiasts some hands-on mechanical experience working on classic Volkswagens.
Mark Reynolds, who started Just Kampers back in 1989 (35 years ago last September!) hosted the Training Days in his own workshop, and was joined by ‘Workshop Mark’, who is Just Kampers’ onsite mechanic and star of their how-to videos on YouTube.
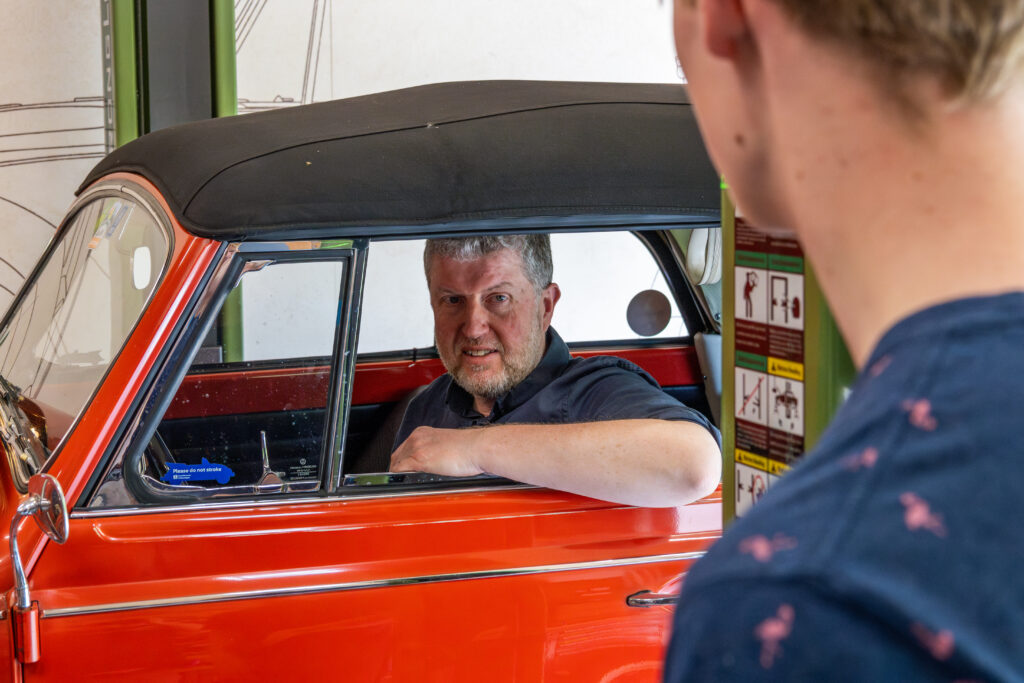
They used Mark Reynolds’ 1967 Beetle Cabriolet and a 1970 T2 Bay belonging to Pete Dempsey from the JK Team, as well as a series of vintage cut-away engines, gearboxes, and floor pans to demonstrate how things work, how to check them, and how to fix them.
A different topic was covered on each day:
• Getting your VW Ready to Use After Winter, and Basic Servicing
• An Introduction to Working on Classic VWs for Beginners
• Breakdown Prevention and 10 Tips to Get You Back on the Road If You Do Break Down
• An Introduction to Classic VW Brakes, Steering, and Suspension
These first four JK Training Days were used as a bit of a testing ground, to see how best to communicate the sorts of information that people might want if they’re new to working on air-cooled VWs, and to gauge interest in hands-on training days as a concept. It’s fair to say that there’s definitely interest in these sorts of events, as the limited number of tickets for the events sold out really fast!
Everyone who booked paid £100 for their place at the event and was then asked whether they wanted the money donated to Cancer Research UK or Phyllis Tuckwell Hospice Care, which is a charity local to Just Kampers. 100% of the money from the events went to charity, with a total of £2,500 raised – £1,100 went to Cancer Research UK, and £1,400 went to Phyllis Tuckwell Hospice Care.
After the success of these initial training days, and the great feedback they’ve had from attendees, the team at Just Kampers are keen to run more of these hands-on events.
If you have a topic or subject you’d like to see covered in a JK Training Day, you can email the JK Team at jkworld@justkampers.co.uk with your suggestion – there’s no promises that they’ll make it into a theme for a JK Training Day, but they’re definitely keen to know what you want to learn about!
Ingredients – Serves 2 Oil for frying 4 large or 6 medium tomatoes (or 1 tin for ease!) Pesto sauce Chilli sauce (optional) Crème fraiche 2 packs of filled ravioli Grated cheese (optional)
Fry the tomatoes in the oil for 5 minutes. Add the pesto, chilli sauce and 2 tablespoons of crème fraiche and simmer for 2 to 3 minutes. The ravioli usually says drop into boiling water for 3 minutes, feel free to do that. We just drop the ravioli into the frying pan for 3 minutes and have not had a problem, plus it saves using a second ring and saves on washing up!
We sometimes do a side salad if the weather is warm enough, but really a pasta dish is just an excuse for loads of garlic bread.
Following on from a conversation with former editor Phil Aldridge, this is a mechanic’s cheat for any hub caps.
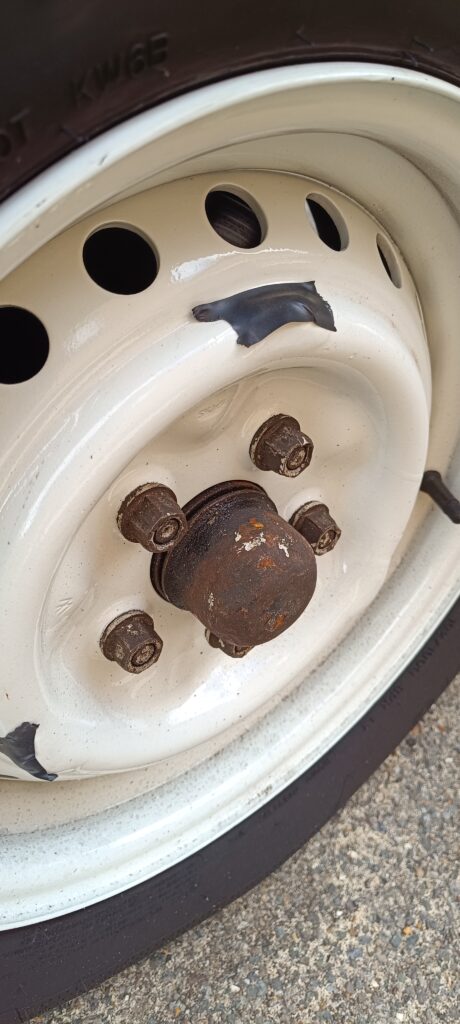
If you press your hub caps on and sometimes they fall off, the cause is loss of metal. The Splitscreen and Bay window steel wheels have hub caps that attach to the wheel by gripping 3 lugs on the wheel itself. Repeated attachment and removal of the hub caps over the years removes tiny amounts of metal from the steel wheel and can also make the hub caps slightly wider as well.
The new ones are known as “summer chrome” and do not last very long in our climate. The original ones tend to have rusted by now. Any time you clean one or fit one, there is a danger of them falling off.
A mechanic friend suggested this trick which has worked for him for decades. Remove the hub cap and thoroughly clean the wheel. It looks better already, doesn’t it? Now with a clean, dry wheel, apply some electrician’s tape over each of the 3 lugs being careful to cover the piece that grips the hub cap. Offer up the hub cap to ensure that the tape is not visible.
Once all 3 lugs are taped, place the hub cap over 2 of them and tap the hub cap onto the third one. It can be quite difficult to do this and be careful to tap the edge of the hub cap otherwise you are likely to dent the middle! There are plenty of dented ones visible on member vans! If you dent it, tap the dent out carefully from the inside.
With all of them on, admire your handywork – and be a lot more confident that the caps will be there when you arrive.
Have you ever run out of gas at totally the wrong time? I know that my tea obsessed wife has suddenly shrieked in a field due to the gas bottle being empty half way through a rainy weekend and the kettle won’t boil.
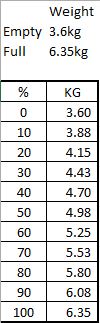
We run a CampingGaz 907 bottle, the blue butane one that holds 2.7kg of liquid gas but the theory is sound for any bottle. We weighed that empty one on a suitable kitchen scale and found it to be 3.6kg. Then we took the bottle to the shop and exchanged it for a full one, which we weighed at 6.35kg full.
Now that we know the full and empty weights, we then wrote down the weights for each percentage which helps on how much gas is left. Because we know how many nights we have been away on each bottle, it gives us a good idea not only “how much gas” but more importantly “how many nights before we run out?”. We have now calculated around 43 nights away on a full bottle but the weights table comes with us just in case.
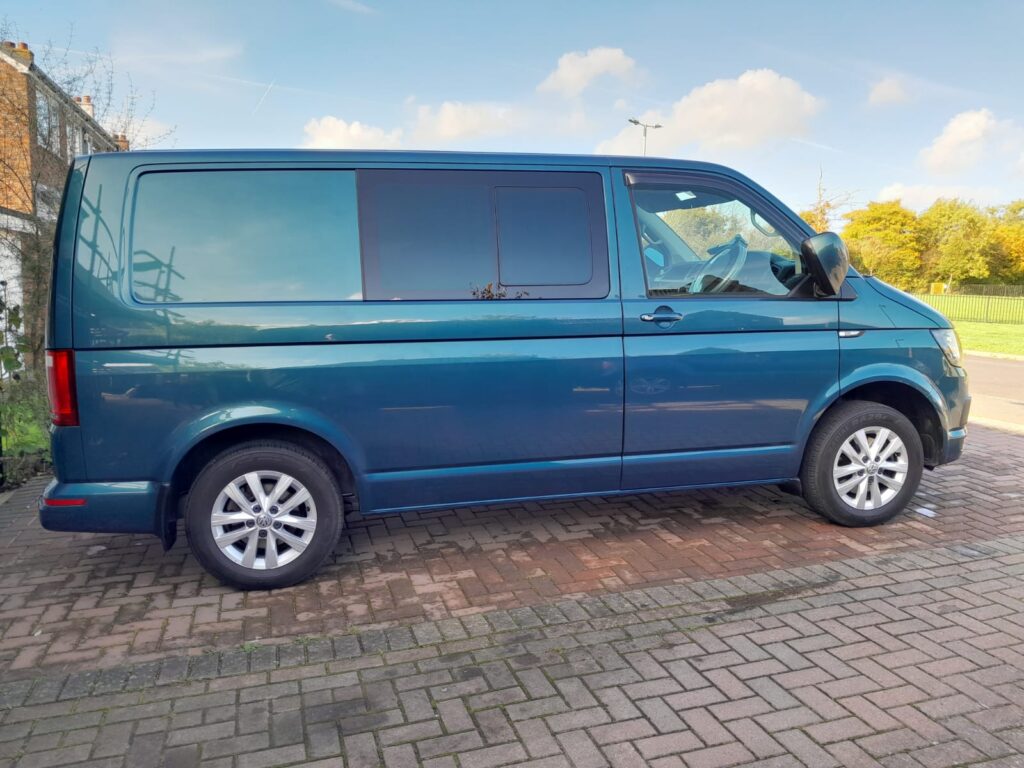
The unreliability of our beloved vans is not the sole ownership of the air-cooled bays and splits. Helen and I waved summer 2023 travels goodbye due to our 2019, 18,500 miles only T6 Kombi developing an EGR fault.
Back in May we were literally just pulling onto the drive after a trip to Derbyshire and Suffolk to visit family when an engine fault light lit up on the dash. My usual mechanic was able to diagnose the fault as EGR problems but as the van was so low mileage reckoned I should try to get VW to fix it on goodwill.
Now the fun begins. Yes, VW will look into the fault and possibly fix as a goodwill gesture but there’s a three month wait for a garage slot! Bye Bye summer camping. The appointment eventually arrived and despite a few niggles, VW did indeed fix the fault on goodwill (the new manager was very helpful). An EGR flush was carried out. I did have to pay for a forced regen which wasn’t so bad as you all know put the word Volkswagen in the mix and costs reach for the sky.
It seems this problem isn’t uncommon with the newer Euro 6 transporters due to the ever increasing tightening up of emissions basically blocking the EGR valve with carbon. Pottering around town, which I try not to do seems to be the arch enemy and I have been told by a few knowledgeable people to minimize carbon build up red line it and drive it like you stole it!!!
After having the T6 EGR flush and forced regen carried out in early September 2023, I thought that the engine might behave for a while. It did, but only for nine months and not a lot of miles. On the return journey to Bristol from South Gloucestershire in early June on the M5 joy of joys engine light came on. Managed to book into the local garage within a week. Diagnostic results came back; EGR insufficient flow. They fixed it there and then but I picked it up at the end of the day with a bank balance £1,100 pounds lighter! Most of that bill was for parts.
By all accounts the EGR flush is basically like sticking a plaster on the problem. I suppose I did get nine months out of it.
The next edition of the club magazine has been finished by our Editors and looks fantastic. It should be arriving through your door soon! If you are enjoying the club magazine and have a story about a trip, an upgrade, a restoration or just a tip, send a contribution to our Editor at editor@vwt2oc.co.uk.
Eric the Viking – a restoration in many parts – August 2024
Spend since last report: £73. Total hours labour since last report: 16.1
The last issue was reserved for the Germany trip, so this is actually 4 months of very minor and rather eclectic updates.
I bought a diesel heater some years ago which in the short term was on the garage wall to take the edge off the winter cold. This was dismantled and built into the wasted space under the passenger seat. It took a little fiddling as the space is large enough for the heater but the entrance was too small. A section of bracing was removed and welded in a few inches away allowing the heater to pass into the hole. A hole was cut in the floor of that area for the exhaust pipe and air inlet and the 2mm thick steel plate provided with the heater was bolted into place. A 70mm hole was cut in the rear of the bulkhead to allow hot air into the cargo area as well. I have fashioned a very small fuel tank that also sits in the same area to run the heater at night. It is very discrete as well as functional.
The kitchen pod has been filled, sanded, epoxy primed and top coated on the inside and looks rather good. It cannot go in until the B post and C post are finished and top coated though, so it is sitting forlornly at the side of the garage. That left nothing needing white paint that was finished, so I sanded the dashboard, pedal and steering column sections before spraying them black and trial fitting them back in.
The wiring loom was removed some years ago and had been subjected to some “upgrades”. This included a lot of bullet connectors to join the front to the rear and plenty of extra wires serving unknown purposes. Every wire was removed from the fuse board, inspected, cleaned and the coil, ignition and main live cables from front to rear were replaced. The entire plastic shrouding from 1973 was hard, brittle and missing sections, so it was removed and discarded. The fuse board was filthy and slipped out of my hands, accidentally landing in the dishwasher whilst Lorna was out. Along with some of the plastic air vents. Once it was all clean and ready, the smaller cables like rear lights and indicators were rejoined, the whole loom rebuilt into the fuse board following the 1973 wiring diagram and the long snake hung from the fuse board.
Several rolls of fabric tape were used to give me a neat finish from the fuse board for about a metre. This was then passed through the hole in the floor in front of the passenger’s feet and onto the garage floor.
The brake lines were still not right, so to finish both brakes and wiring, Eric went onto his side again.
All brake joints were dismantled, checked and put back together or replaced. Malcolm’s advice was that making the end is all well and good but to finish it, you wind it down into the correct place.
With the van on his side, the rest of the wiring from front to rear was taped up and run as far as the engine bay. Then the reversing light switch on the gearbox received a pair of new cables in more fabric and that ran into the engine bay as well. Then finally, the brake light switch on the new master cylinder also received a new pair of cables in fabric up to the fuse board. All told, that looked rather nice.
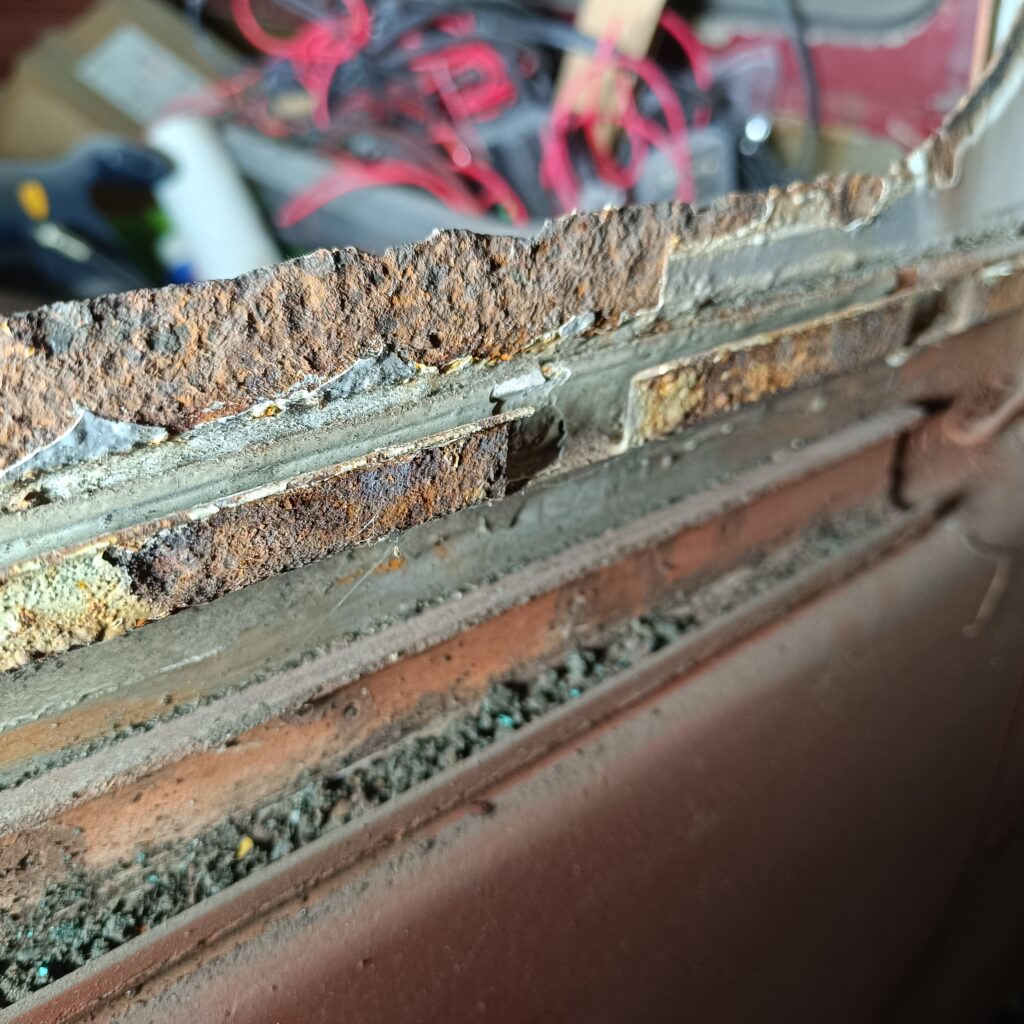
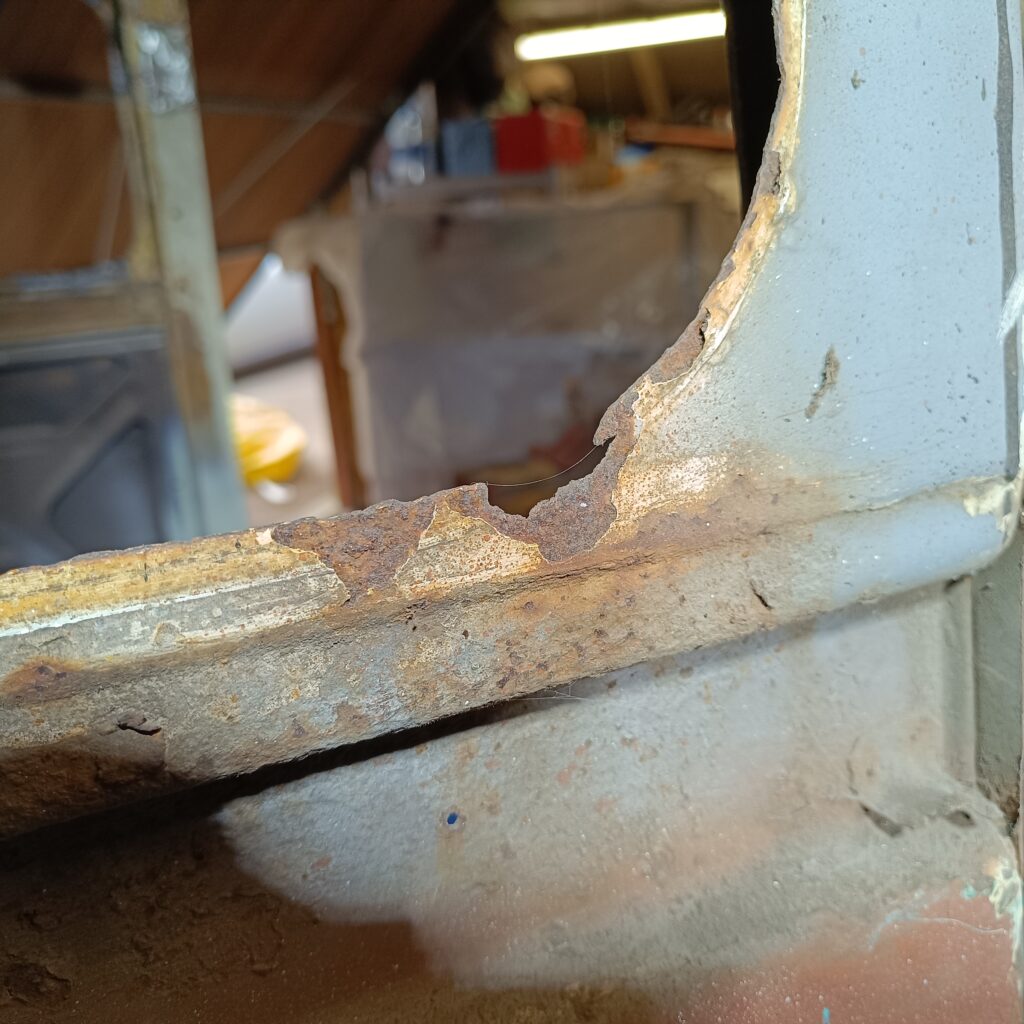
The rear windows had also seen better days and needed some attention – very frilly metal was removed, new sections added, and welds tidied up. The external covers on each side sit on clips nearly a metre long which had also perished and have been removed. New ones are a continuous U-shaped steel section, the old ones were more like fingers which makes them very fiddly to make. JK came to the rescue (with club discount) supplying the simple rectangle of steel folded over. There were no mounting holes either, so I drilled holes ready to weld them to the body.
Brake bleeding again. The master cylinder was now leaking on the joint heading to the rear brakes. I’m not playing that game again – just that one end removed, and new flare added. Every time I remove a pipe leaking at one end, the other end leaks!
I would have done more, but since the last report, we have been to the AGM, Germany, the Cider farm, Cheddar, Herefordshire again, RAF Odiham and that is just club events. I’m going back to work for a rest!!