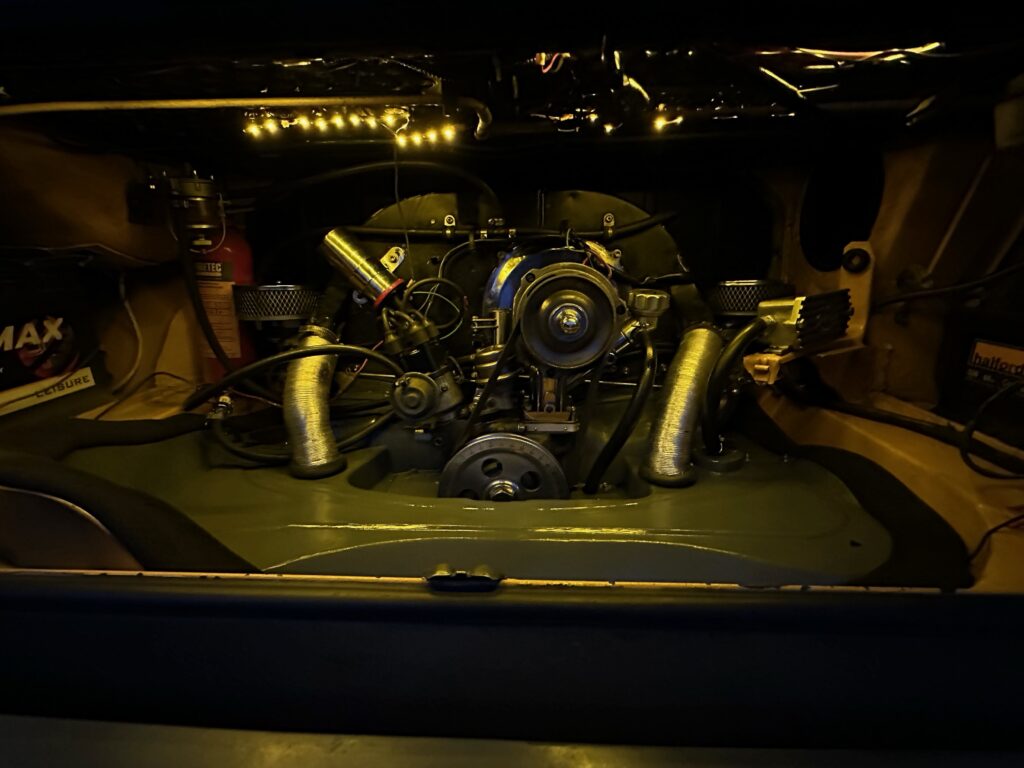
Hey guys here’s one that’s not for the faint hearted. Pushrod tube replacement. It’s something I have been putting off for ages and one that needed addressing as the oil leak was getting progressively worse. I’m very lucky to have a neighbour who loves to tinker and a brother-in-law (sun seeker Betti) to offer to help and advice. Or if I’m being honest show me how to do. Not knowing how this will go is always daunting but we got the engine out and mounted onto the stand. (Believe me without this it would have been nigh on impossible). Then this is where I realised that it wouldn’t be an easy or straight forward job, I had to remove the heat exchangers and manifolds and fan housing to give me adequate access to remove the rocker cover and the heads to get to the pushrods.
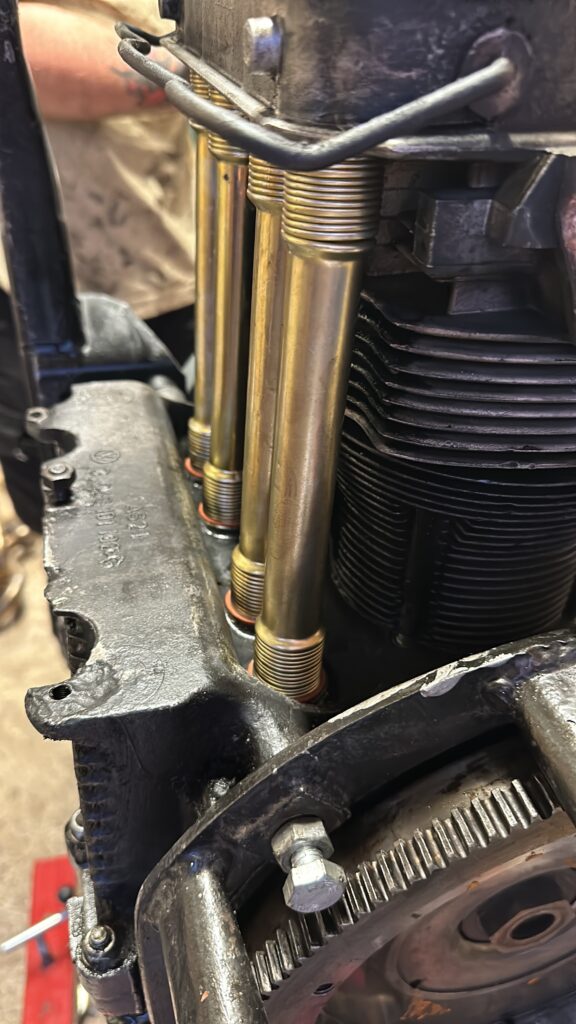
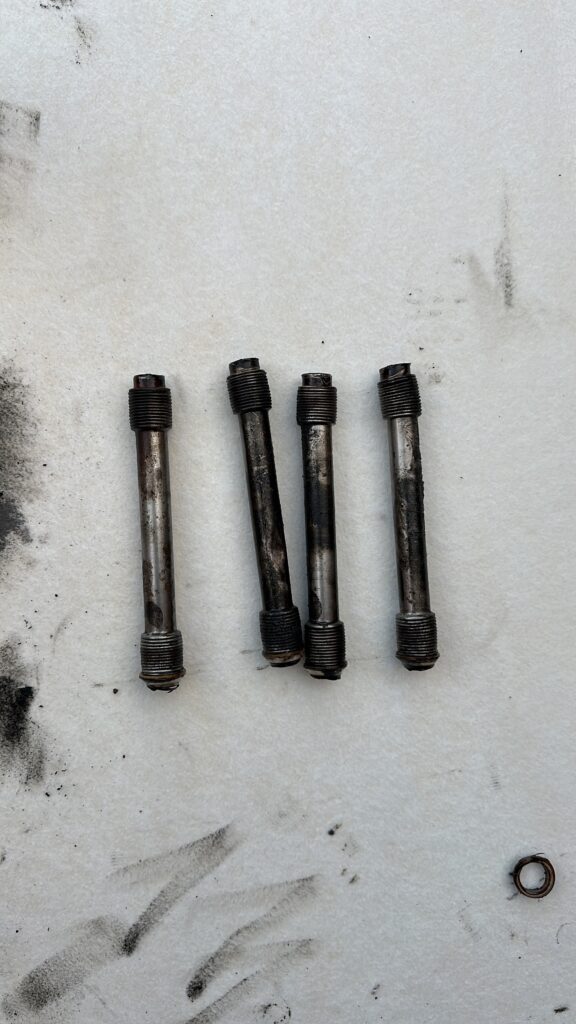
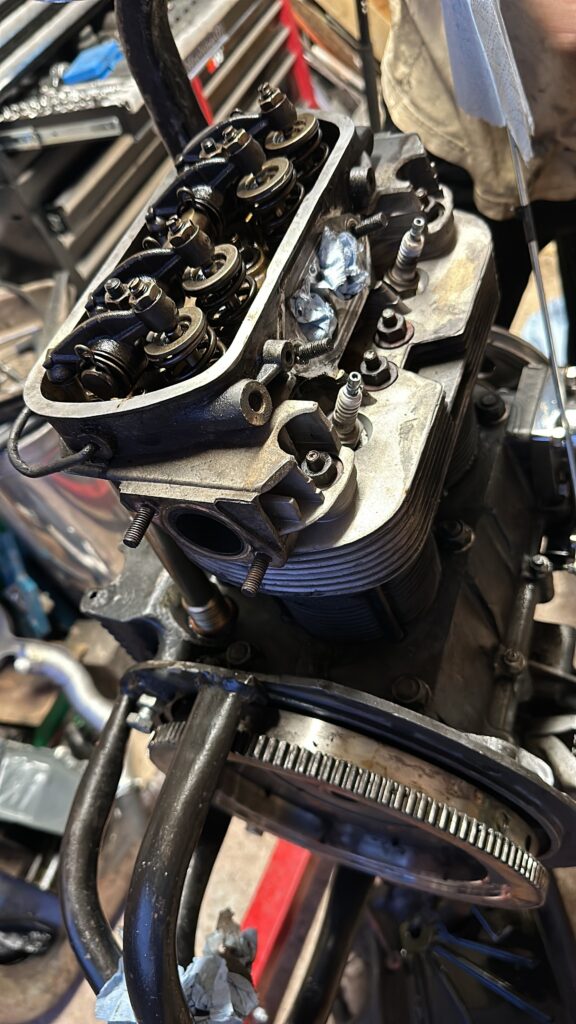
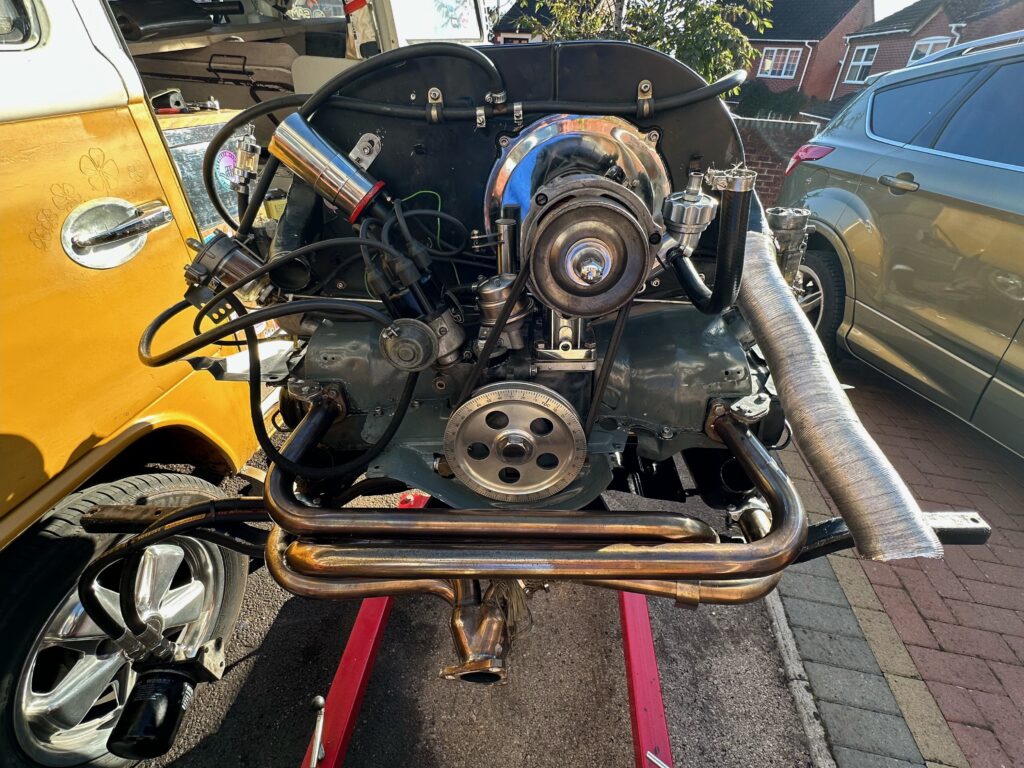
Once all this has been removed and tappets and pushrods removed and cleaned and put in an order ready to go back could we start the removal of the old pushrods. This was the state of the driver’s side.
Bent at the top and slightly kinked, no wonder there was an oil leak!
The new pushrods tones were fitted using some copper gasket seal and new seals and repeated on the other side and the pushrods and tappets replaced.
And all case fitting put back together ensuring the nuts were done to the correct torque and sequence, something I knew nothing of, so I am glad that my neighbour did ! This is very important as you don’t want to tighten down wrongly as the case won’t sit perfectly. Or the pushrods sit correctly into the slots. Now this has been done time to set the correct tappit distances, definitely a two person job as you have to understand the firing sequence in order to set these correctly, so one turning the engine to get the pushrods in the correct location ie Top dead centre on crank to give piston 1 and rotating 180’ to bottom dead centre on piston four and so on through the sequence while the other sets the distance and locks it in each time the crank rotates.
Like most things on our beloved vans, once you take one thing apart you realise something else needs addressing, and yes this was the case for me! Main seal to the clutch needed changing along with the bar that holds the gear box to the chassis needed to be fitted as it was completely missing.
Now everything is in place and securely sealed and torqued up the exhaust manifold fitted and engine back in. All this in three days and before Busfest! But yes there’s always a but! The journey up and back of about 70 miles proved to be a warmup as when we got back, I could sense the engine was not right, you get to know after a while of working and driving these vans, and yes jacked the van back up removed the wheels and the rocker covers and checked the tappet distances. They were miles out, so redone them back to the correct setting and resealed the rockers let it set in overnight checked the oil again and relax, all’s good in the engine and she sounds sweet.