Classic risotto either vegetarian or not, all in one pan
Ingredients – serves 4
500 grams butternut squash or 500 grams of chicken breast – cubed 1 large white onion chopped 1 red pepper sliced 1 cup of sliced mushrooms 1 stock cube vegetarian or chicken 500 grams risotto rice 150ml white or red wine 1 tsp Herbes de Provence or other mixed herbs Some olive oil
Heat the olive oil in a frying pan and fry the onions, mushrooms and pepper on a medium heat until soft then add the squash or chicken and fry for about 5 to 8 minutes until nicely coloured or softened. Add the herbs. Add the wine and simmer for a further few minutes. Now add the risotto rice, stock cube and water. Leave it simmering with the lid on, until all of the liquid has been absorbed and the rice is nicely tender.
Now that you have a delicious dinner, you can enjoy it with another glass of that wine!
A variation to the Mechanic this time as so many people at club events ask Malcolm and/or Nick about solar. If you want to be off-grid / not using expensive hook up on a site or when that is simply not an option, you can keep your leisure battery topped up with a solar panel.
To help members, Nick got in touch with Just Kampers (owned by one of the club founders Mark Reynolds) to ask about their Solar Charging Screen, to see what it does and how it works. Josh from the JK Team got back to us straight away and told us the following.
He says:
“I’m a big fan of the JK Solar Charging Screen, after getting involved with bringing it into the range and having put it through its paces at VW shows and photoshoots for Just Kampers. For anyone who hasn’t seen one, the charging screen is a solar panel array which folds out from tote bag size to give you twelve solar panels for capturing that elusive sunlight to turn it into electricity. There’s a power outlet hidden away on the back of the screen, which has three USB outlets for charging up phones, as well as a DC outlet you can use to charge up your main vehicle battery or leisure battery.
The kit also comes with six really strong suction clamps, which you can use to mount it to the inside or outside of your vehicle’s windscreen. We designed it to fit the inside of a VW T6’s windscreen, but it’ll go onto any vehicle, and it’s just as useful when you just spread it out over the ground or hook it onto your windbreak.
We took one on a JK photoshoot last summer to keep our phones topped up, and it worked really efficiently. It’s definitely something I’ll take next time I’m camping, to keep our tablet charged up (and therefore my kids quiet while we drive!), and to ward off a flat battery. I usually work on the theory that you’ve got spares and tools and stuff for a breakdown, you’re somehow less likely to actually have one!
If you’ve got some epic adventures or road trips planned for your camper, a JK Solar Charging Screen is definitely worth taking a look at, especially if you’ve got a fridge, interior lights, laptop, camera, etc. on board.
If you do take one on a cool adventure, we’d love to see some photos!
You can read up on the technical specs and other information (like what a monocrystalline solar panel is) at justkampers.com/jk-solar-screen/ or scanning the QR code here.”
This is a variation of my lovely mother-in-law’s excellent phrase, “Don’t put it down, put it away” (thank you, Millie!). Most marked when you first start campervanning and take far too much stuff, this tip helps reduce frustration. How? Well, when you inevitably need to move stuff around to get to the item you’re looking for, at least you only need to move one trayful of twenty items, instead of twenty individual pieces!
One pot sauce and make the spaghetti first in that pan to keep the washing up to a minimum!
Yum!
Serves 2
Ingredients 200 grams minced beef or quorn mince 1 large white onion chopped 1 cup mushrooms chopped 1 tin chopped tomatoes 1 beef or vegetable stock cube 2 large garlic cloves chopped or minced 1 tsp Herbes de Provence or other dried mixed herbs Olive oil 200 grams Dried spaghetti
Cook the spaghetti until just soft enough to eat. Drain and set to one side with a few tablespoons of water from the pan. Into the same pan fry the onion until nicely soft. Add the mince and on a medium heat cook it until brown, removing the oil or water as you go. Stir in everything else and simmer for 30 minutes with the lid slightly off.
Add the cooked spaghetti and stir it all together, adding any of the reserved water to thin as required.
You now have only 1 pan to clean and you can even use some crusty bread to wipe around the edges!
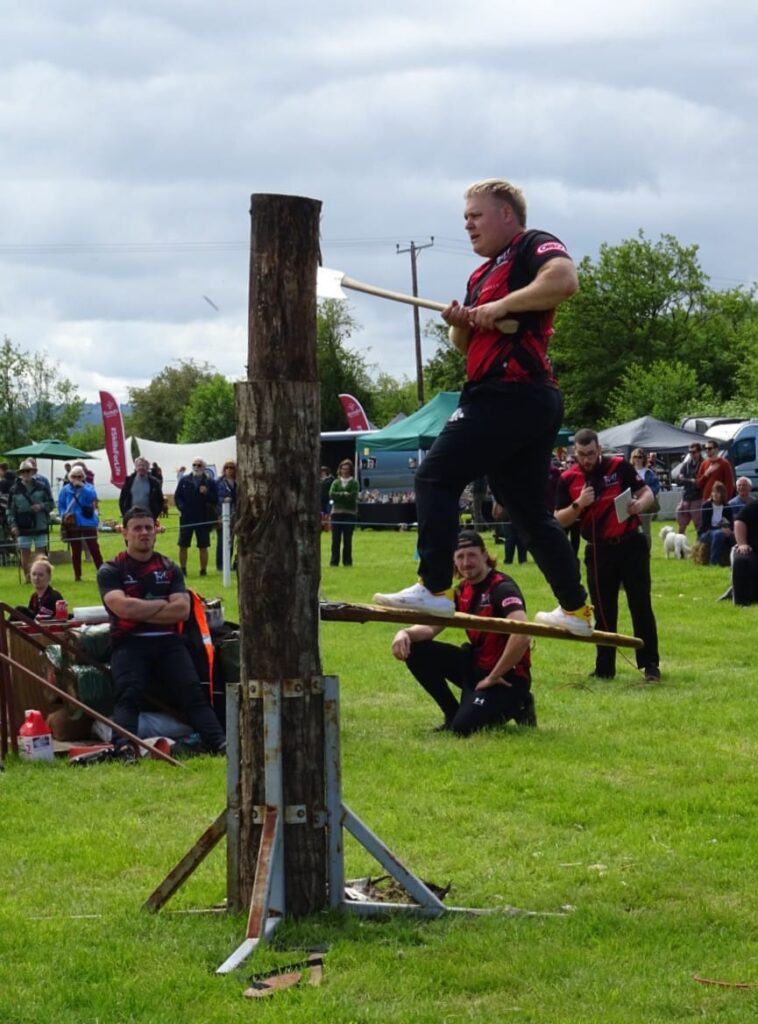
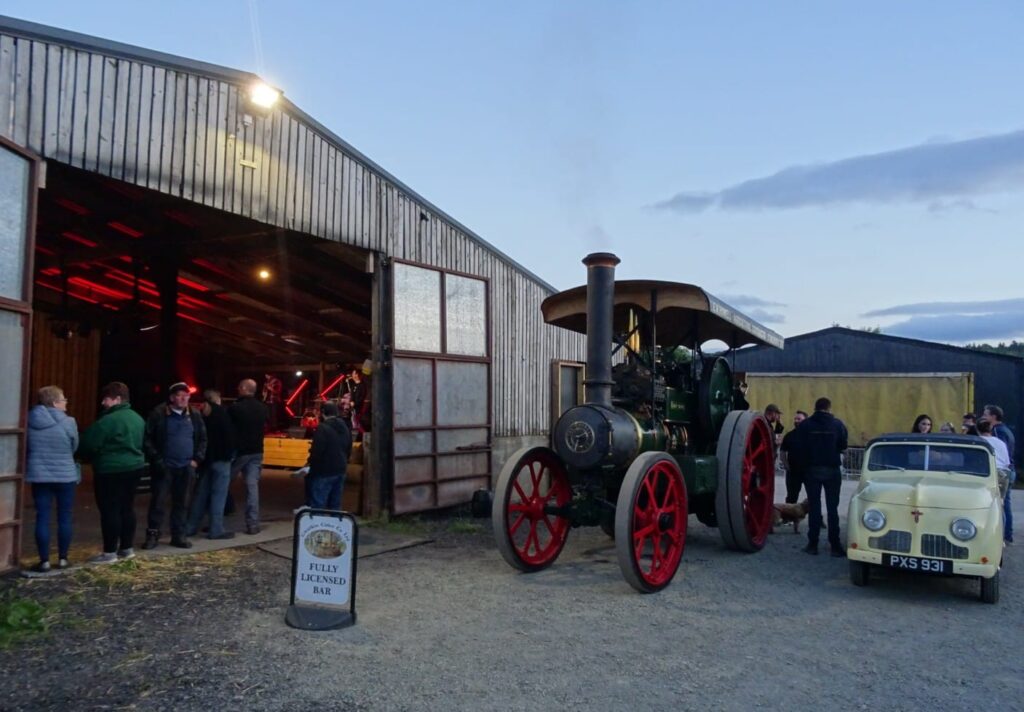
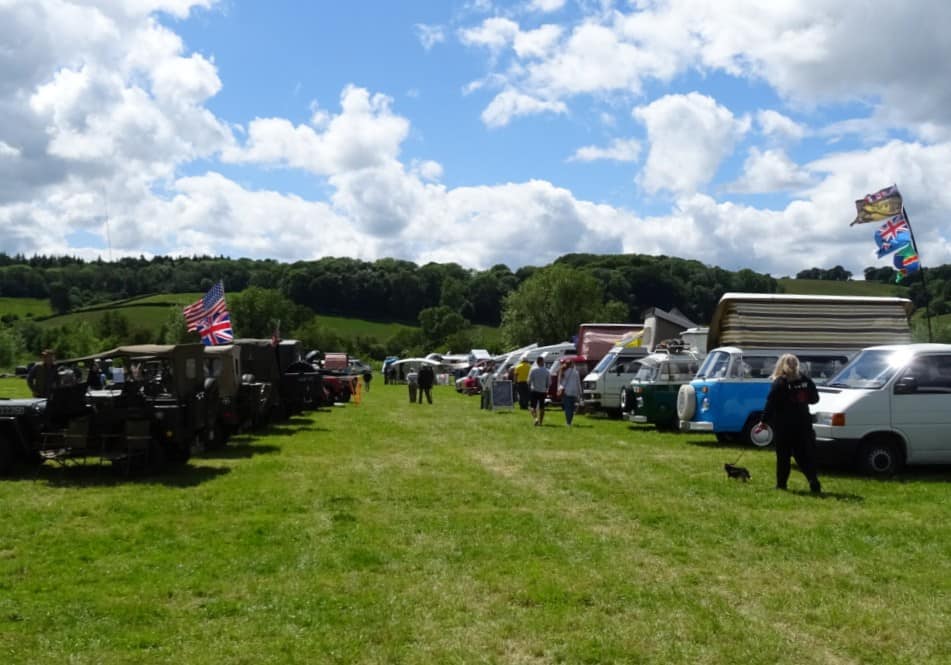
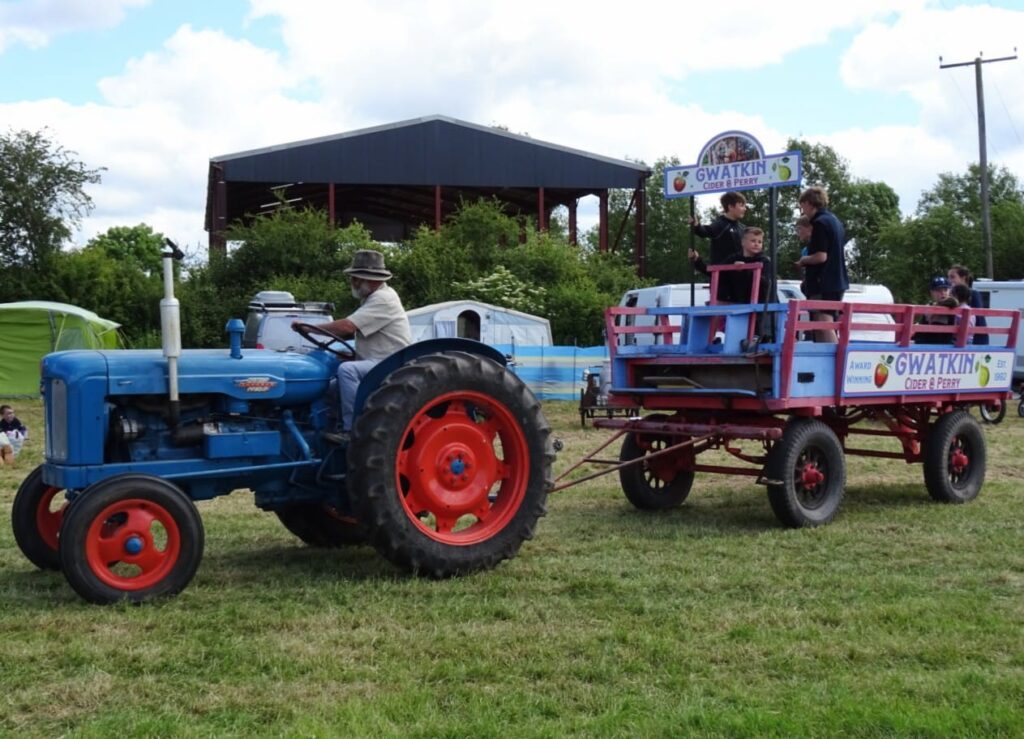
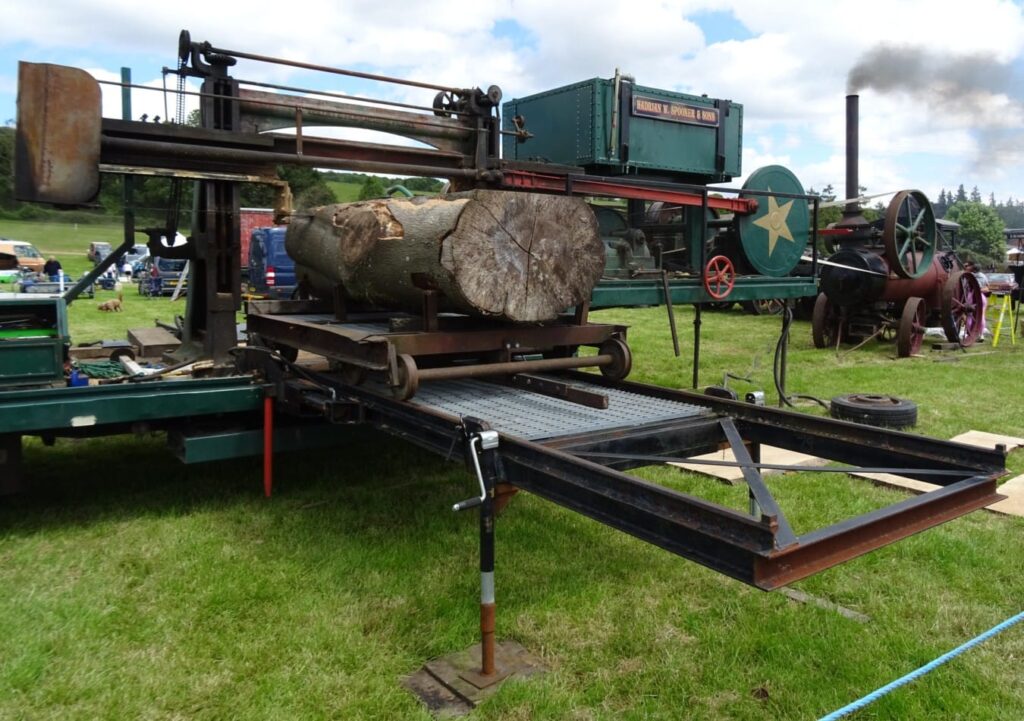
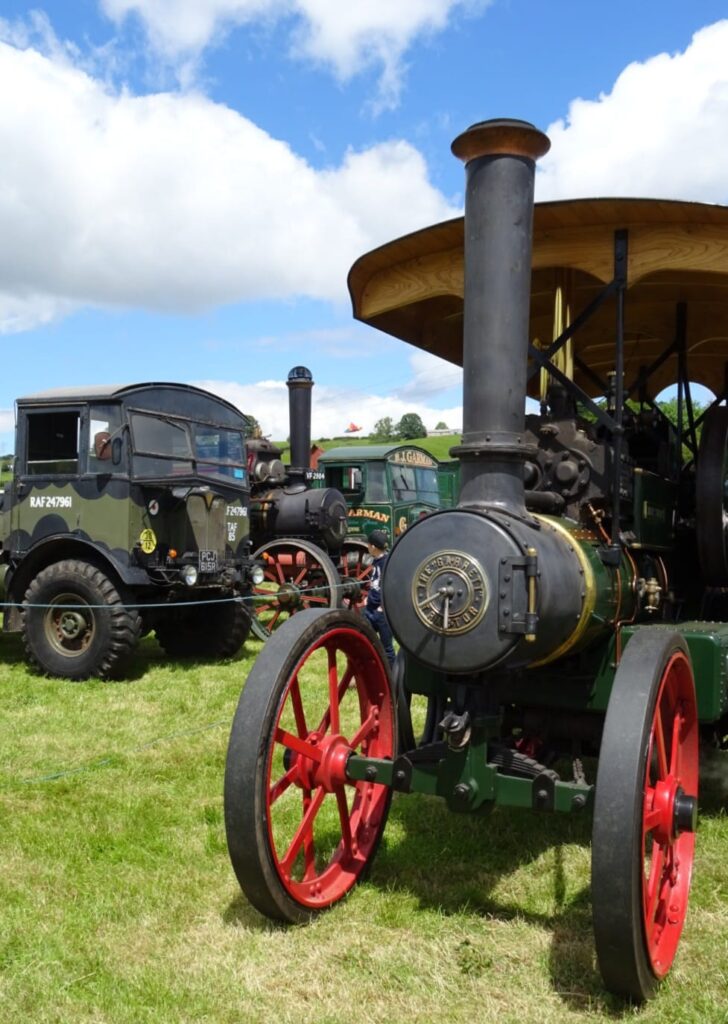
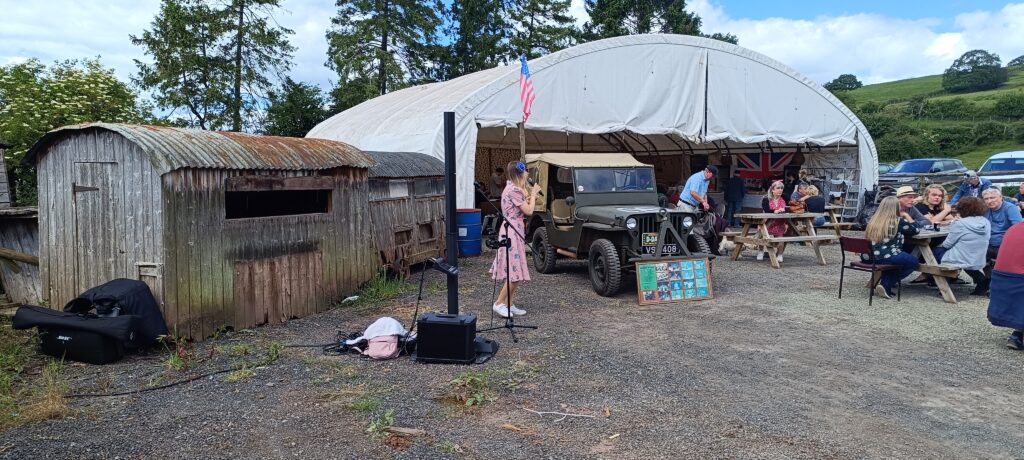
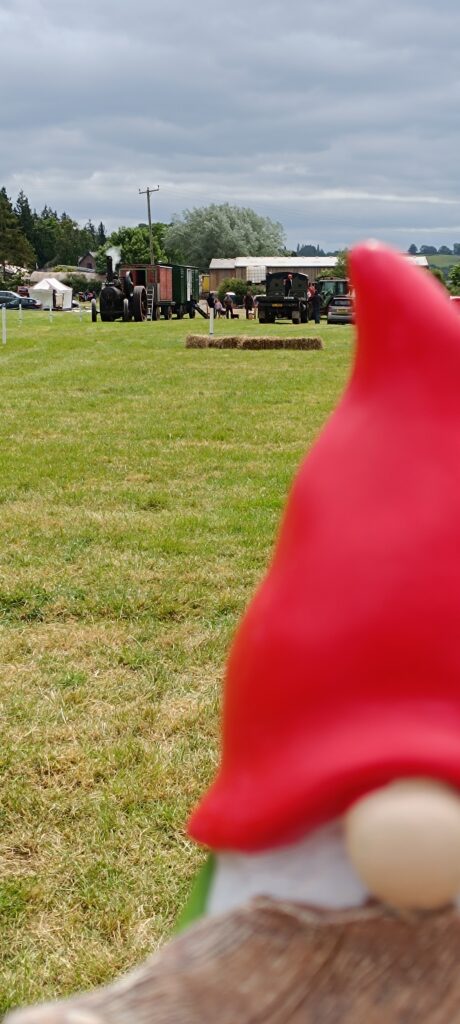
Join us for a full day of entertainment at Moorhampton Park Farm, the home of Gwatkin Cider in Herefordshire. Golden Valley Classic Show will be exhibiting hundreds of vehicles including classic cars, engines, motorbikes and tractors. Taking pride of place will be the John Fowler general purpose engine. VF 2984 – owned by David Williams.
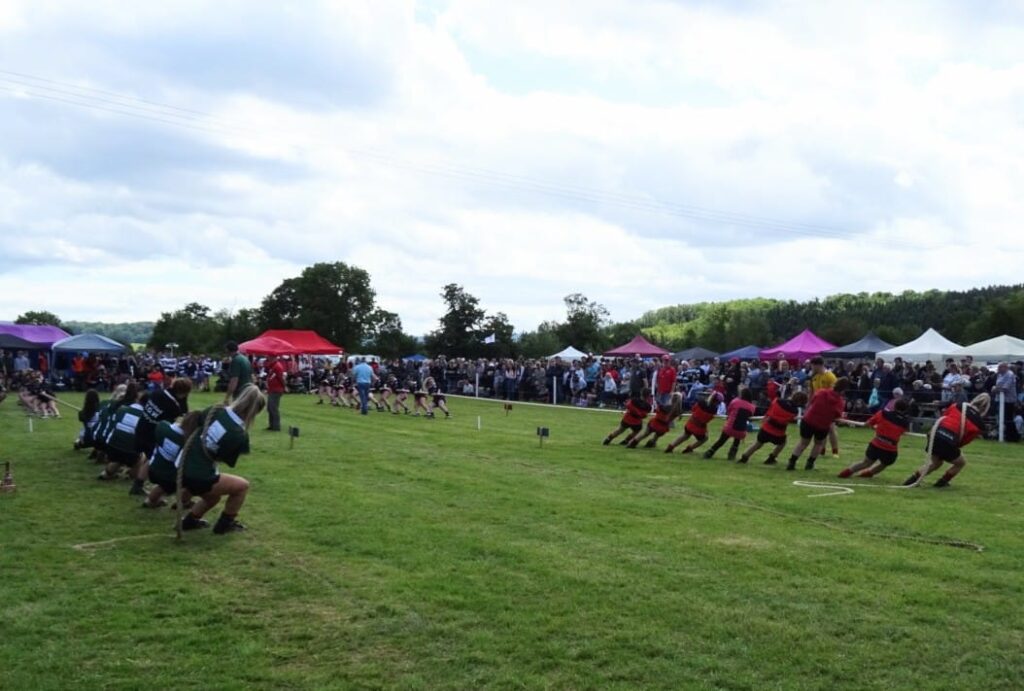
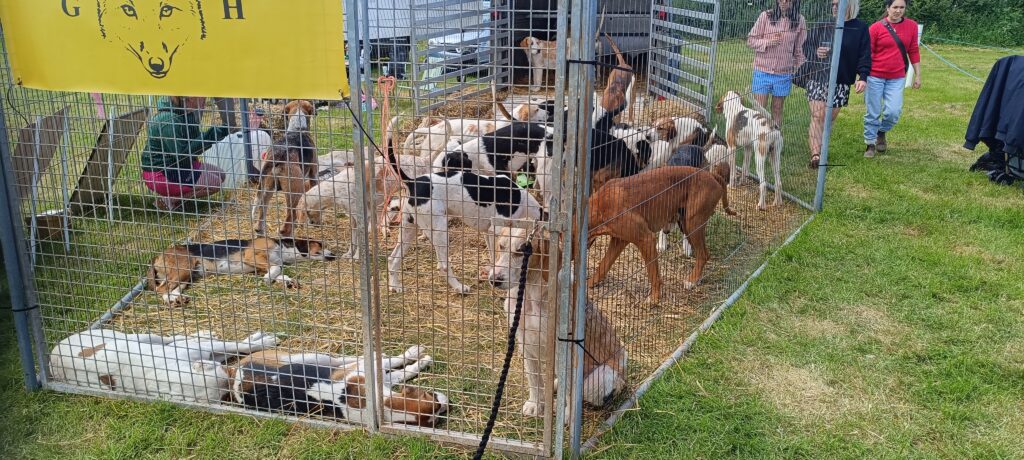
There will also be falconry, archery, medieval re-enactment, farm animals, gun dog demonstration, clay pigeon shooting, dog trick training, tug of war and a range of country stalls selling produce, crafts and more, with lots of fantastic food and drink to enjoy too.
Just a week away is the ABC, our annual AGM, BBQ and Club Camp – are you going?
Get together with members and hear what’s happening in your Club at our short AGM. The Barnstones site has served us really well over the last several years, and is located in Great Bourton, Banbury, Oxfordshire, OX17 1QU, just a couple of miles off the M40.
Scene of our earliest club BBQs, which are free for members, we’re very much looking forward to going back. We will be using a local hall to host the AGM part of proceedings, along with light refreshments. Just bring your membership card with you.
Price per night is about £15 for a pitch (van with or without awning), but electric hook-up prices cannot be quoted at the moment, due to uncertainty in the market. I’ll share this information as soon as we have it, but please be reassured, we will be able to power the BBQ food storage safely.
I will be making all the bookings, just let me know your dates, how many adults, children and dogs, whether you need electric, and whether you’re bringing an awning. Places are limited so contact me soon to reserve your spot! Please do not book direct as there may be insufficient space on the rally field.
The site itself says, “Barnstones is a very attractive 4 star AA award winning site situated on the edge of the pretty village of Great Bourton. 3 miles from the historic town of Banbury, other attractions nearby are Stratford-upon-Avon, Warwick Castle, Oxford, Blenheim Palace and the very beautiful Cotswolds area all within a 20 mile radius of the site. The site is very mature with beautiful landscaped grounds, full serviced pitches and hard standing pitches are available, all pitches have hook-ups provided, the high quality toilet block provides free showers, dishwashing facilities and a full laundry room. Wi-Fi and a children’s play area are available. A local pub serving very good food is 200 yards from the site.”
A vegetarian option but equally you can substitute the lentils for lamb
Ingredients – serves 4
500 grams sweet potato 1 white onion 1 carrot 1 can of chopped tomatoes 1 cup of mushrooms 150ml red wine 400ml can of lentils, drained Cheese (optional) Butter Herbes de Provence or other dried mixed herbs Stock cube
Chop everything into fairly small chunks. Fry the onion in the butter for 5 minutes. Add the carrots, mushrooms, a teaspoon of herbs, the wine and the stock cube. Simmer for 10 minutes then add the lentils and tomatoes, and cook that all for another 10 minutes.
In a separate pan, add the sweet potato and bring to the boil from cold then drain and mash after 20 minutes. During the mashing, add butter and salt to taste.
Once both pans are ready, spoon the lentil mix into a nice serving bowl, top with the potato and then grate cheese over the top if required.
Last issue, Thomas covered the trials and tribulations of getting an MOT. He continues:
By 1999, the van had been well travelled with the family. We had taken it to France a number of times, and a tour of the Irish Republic. All went well on these trips. The only real problem we had was in County Wexford, Eire.
The generator (it’s an alternator on our bus) light came on while travelling on a very hot summer’s day. Having a look in the engine bay, the alternator was so hot you could not touch it. A local small garage was near, so I asked a mechanic to have a look. There was a campsite near, so if we had a real problem, we could camp in the awning we had with us.
The mechanic said we needed a new alternator-without looking! By then, the engine had cooled down. Turning the key, the engine burst into life without the generator light on. Deciding to drive around a bit (the day was still scorching hot) the light came on again a while later. I was not convinced that the mechanics opinion of needing a new alternator was correct without looking or investigating for other faults first. As the light came on after a while, I had an idea. Taking one of the air tubes off the exhaust heat exchanger I used thick foil to create a funnel and wired it up so that the air from the doghouse blew directly onto the alternator body. We drove around locally in case the problem returned. It didn’t come on again, so we continued our trip.
We continued our tour of Ireland and visited all places I had as a child (my family are from Wexford) and a great trip. The kids loved the beautiful beaches and green places in the local countryside. We returned home without incident.
Later when home (1999) my exhaust system had corroded and needed replacement. I seem to have to replace it by every time the MOT was due. JustKampers started to produce more and more new products for T2 vans. They stocked a full stainless steel exhaust system for £118. I thought that this would be good value for money over time. I had no idea that it will still be working well in 2022. So is the alternator I had a problem with. I would say that was excellent value for money.
Using and enjoying the van into the new Millennium, by 2009 I needed to do some serious work on the body.
The front body panel had been patched at a garage some years before. Another hole appeared there, so a good poke about revealed corrosion requiring a more serious repair. Finding that my ‘repairs’ some years before had been nothing more than filler and spray can paint, it had not been welded. Investing in a MIG welder and other tools, I practiced and practiced.
My articles may give the impression that I don’t like mechanics. This is not so. I know some very good ones. It’s just that I developed some knowledge of mechanics myself and simply hate being ripped off. Working hard for my money I don’t want to give it away – I can bodge things myself for a fraction of the cost of a garage doing it. I also hate bodges!
My first bodywork was the inner and outer sill below the opening side door. This went well, and I was so pleased to have the alignment looking good. Best of all the door gaps were good and nothing dropped off. Getting brave, the window rubbers were, well, no longer rubber. Hard black stuff that oozed water when pushed with a finger.
New window rubbers were purchased at Busfest. All except the front windscreen. I had a great plan for that. A seal for a louvre window was purchased. Only because I found one in a hedge! Yes, it’s true. Camping at a non-VW event, I spotted a familiar shape of such a window hanging in a hedge. Retrieving it, it only needed a careful clean. All the glass was there, and the mechanisms worked.
All the window rubbers were cut out. Being careful to use suction handles to hold the glass to prevent unnecessary breakage. This revealed some corrosion as I feared, but not as much as I had expected. Cutting out the bad and letting in new metal all was soon looking well again. The rear window went in easily. Not so the side window rubbers. Asking a windscreen fitter that I came across in the street, he gave me an impromptu teaching session and a tube of screen rubber sealant if I needed it. Even so, fitting the side windows was the hardest work I have done on my bus to date. That is, until I learnt that I needed to be much more forceful with the glass panes than I was. The rubber around the glass needed to slip over the lip of the window opening. Using silicone spray as lubricant (never use washing up liquid, it contains a massive amount of salt) and cord wrapped around the rubber to pull on, each window rubber would almost get in place only to pop out at the last minute. This was so frustrating. I thumped it hard with my arm. Didn’t know glass could bend, but it does. Perhaps I was lucky not to cut myself to pieces and break all my glass, but it went in.
Next on my list were the two front wheel arches. They were a bit crusty. Schofields provided nice German made replacements. Brazilian ones are ok, but a little on the thin side and poor pressings. Still, this is dependent on your budget. Having two full wheel arch panels with steps stored away a few years earlier, I found them out removed them from my stash of bits to set about fitting them.
It is good practice to remove both doors to start fitting them. Being new to this work I didn’t, wanting to keep the doors on to help with alignment and good gaps.
The old sills were cut out. Drilling holes where they are to be separated. By now I owned a compressor and tools. An air chisel makes short work of separating panels. Great noises too.
Don’t think that my van looks amazing and pristine. It isn’t and doesn’t. It is solid underneath and will not leave a trail of rust in the road.
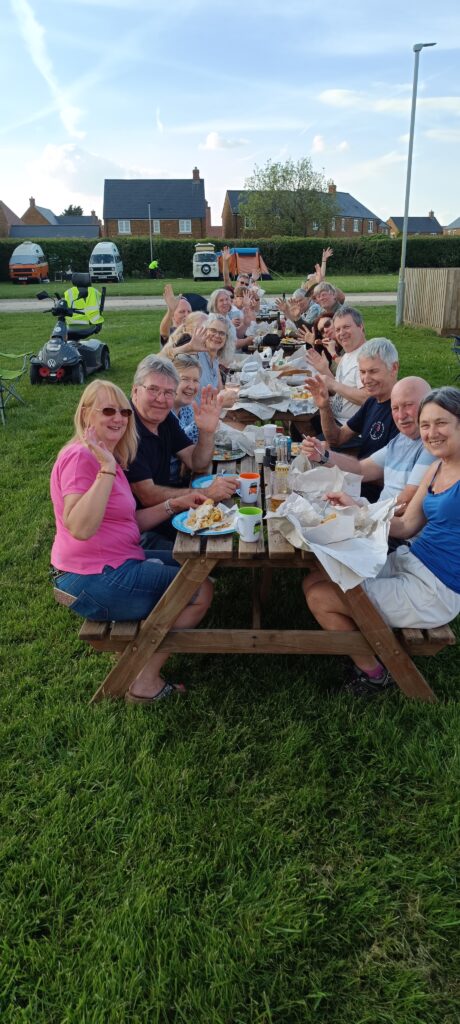
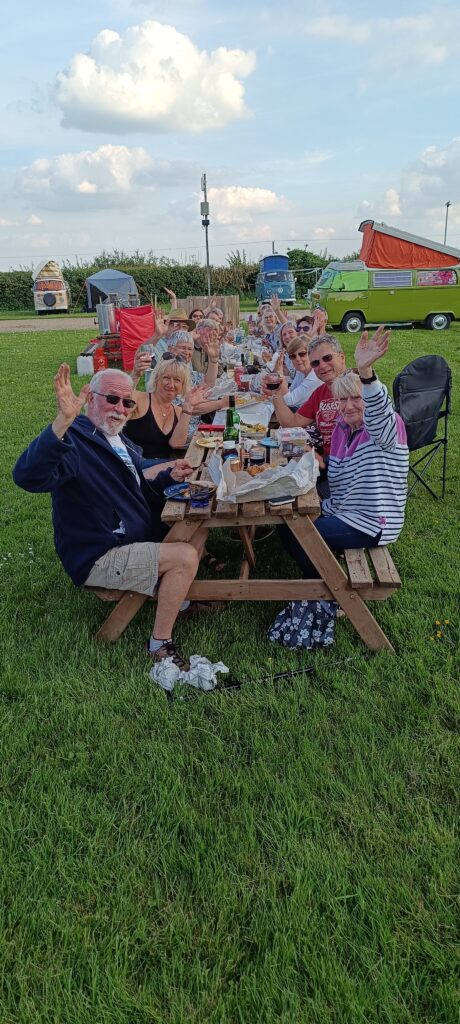
Owning a van is not all about repairs, although a part of it. More fun was to be had in the van before more serious work. There is nothing better than a meal in the evening air, the smell of a BBQ (or six) warming yourself by a campfire and putting the world to rights.
Next time I’ll write how I replaced the vans entire braking system, working at the 2012 Olympic Games in my van, front panel and windscreen replacement and a full engine build on my kitchen table.