Have you ever run out of gas at totally the wrong time? I know that my tea obsessed wife has suddenly shrieked in a field due to the gas bottle being empty half way through a rainy weekend and the kettle won’t boil.
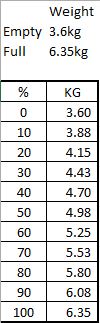
We run a CampingGaz 907 bottle, the blue butane one that holds 2.7kg of liquid gas but the theory is sound for any bottle. We weighed that empty one on a suitable kitchen scale and found it to be 3.6kg. Then we took the bottle to the shop and exchanged it for a full one, which we weighed at 6.35kg full.
Now that we know the full and empty weights, we then wrote down the weights for each percentage which helps on how much gas is left. Because we know how many nights we have been away on each bottle, it gives us a good idea not only “how much gas” but more importantly “how many nights before we run out?”. We have now calculated around 43 nights away on a full bottle but the weights table comes with us just in case.
The unreliability of our beloved vans is not the sole ownership of the air-cooled bays and splits. Helen and I waved summer 2023 travels goodbye due to our 2019, 18,500 miles only T6 Kombi developing an EGR fault.
Back in May we were literally just pulling onto the drive after a trip to Derbyshire and Suffolk to visit family when an engine fault light lit up on the dash. My usual mechanic was able to diagnose the fault as EGR problems but as the van was so low mileage reckoned I should try to get VW to fix it on goodwill.
Now the fun begins. Yes, VW will look into the fault and possibly fix as a goodwill gesture but there’s a three month wait for a garage slot! Bye Bye summer camping. The appointment eventually arrived and despite a few niggles, VW did indeed fix the fault on goodwill (the new manager was very helpful). An EGR flush was carried out. I did have to pay for a forced regen which wasn’t so bad as you all know put the word Volkswagen in the mix and costs reach for the sky.
It seems this problem isn’t uncommon with the newer Euro 6 transporters due to the ever increasing tightening up of emissions basically blocking the EGR valve with carbon. Pottering around town, which I try not to do seems to be the arch enemy and I have been told by a few knowledgeable people to minimize carbon build up red line it and drive it like you stole it!!!
After having the T6 EGR flush and forced regen carried out in early September 2023, I thought that the engine might behave for a while. It did, but only for nine months and not a lot of miles. On the return journey to Bristol from South Gloucestershire in early June on the M5 joy of joys engine light came on. Managed to book into the local garage within a week. Diagnostic results came back; EGR insufficient flow. They fixed it there and then but I picked it up at the end of the day with a bank balance £1,100 pounds lighter! Most of that bill was for parts.
By all accounts the EGR flush is basically like sticking a plaster on the problem. I suppose I did get nine months out of it.
Eric the Viking – a restoration in many parts – August 2024
Spend since last report: £73. Total hours labour since last report: 16.1
The last issue was reserved for the Germany trip, so this is actually 4 months of very minor and rather eclectic updates.
I bought a diesel heater some years ago which in the short term was on the garage wall to take the edge off the winter cold. This was dismantled and built into the wasted space under the passenger seat. It took a little fiddling as the space is large enough for the heater but the entrance was too small. A section of bracing was removed and welded in a few inches away allowing the heater to pass into the hole. A hole was cut in the floor of that area for the exhaust pipe and air inlet and the 2mm thick steel plate provided with the heater was bolted into place. A 70mm hole was cut in the rear of the bulkhead to allow hot air into the cargo area as well. I have fashioned a very small fuel tank that also sits in the same area to run the heater at night. It is very discrete as well as functional.
The kitchen pod has been filled, sanded, epoxy primed and top coated on the inside and looks rather good. It cannot go in until the B post and C post are finished and top coated though, so it is sitting forlornly at the side of the garage. That left nothing needing white paint that was finished, so I sanded the dashboard, pedal and steering column sections before spraying them black and trial fitting them back in.
The wiring loom was removed some years ago and had been subjected to some “upgrades”. This included a lot of bullet connectors to join the front to the rear and plenty of extra wires serving unknown purposes. Every wire was removed from the fuse board, inspected, cleaned and the coil, ignition and main live cables from front to rear were replaced. The entire plastic shrouding from 1973 was hard, brittle and missing sections, so it was removed and discarded. The fuse board was filthy and slipped out of my hands, accidentally landing in the dishwasher whilst Lorna was out. Along with some of the plastic air vents. Once it was all clean and ready, the smaller cables like rear lights and indicators were rejoined, the whole loom rebuilt into the fuse board following the 1973 wiring diagram and the long snake hung from the fuse board.
Several rolls of fabric tape were used to give me a neat finish from the fuse board for about a metre. This was then passed through the hole in the floor in front of the passenger’s feet and onto the garage floor.
The brake lines were still not right, so to finish both brakes and wiring, Eric went onto his side again.
All brake joints were dismantled, checked and put back together or replaced. Malcolm’s advice was that making the end is all well and good but to finish it, you wind it down into the correct place.
With the van on his side, the rest of the wiring from front to rear was taped up and run as far as the engine bay. Then the reversing light switch on the gearbox received a pair of new cables in more fabric and that ran into the engine bay as well. Then finally, the brake light switch on the new master cylinder also received a new pair of cables in fabric up to the fuse board. All told, that looked rather nice.
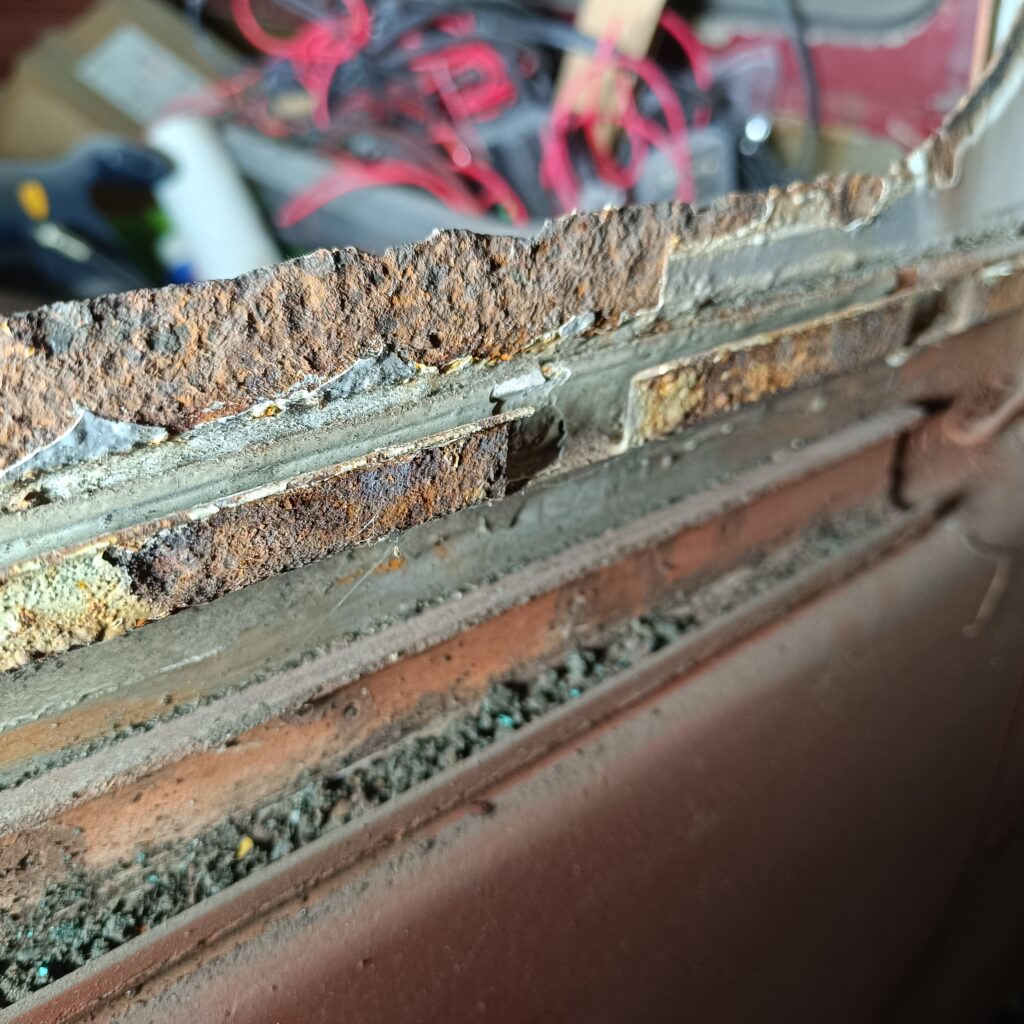
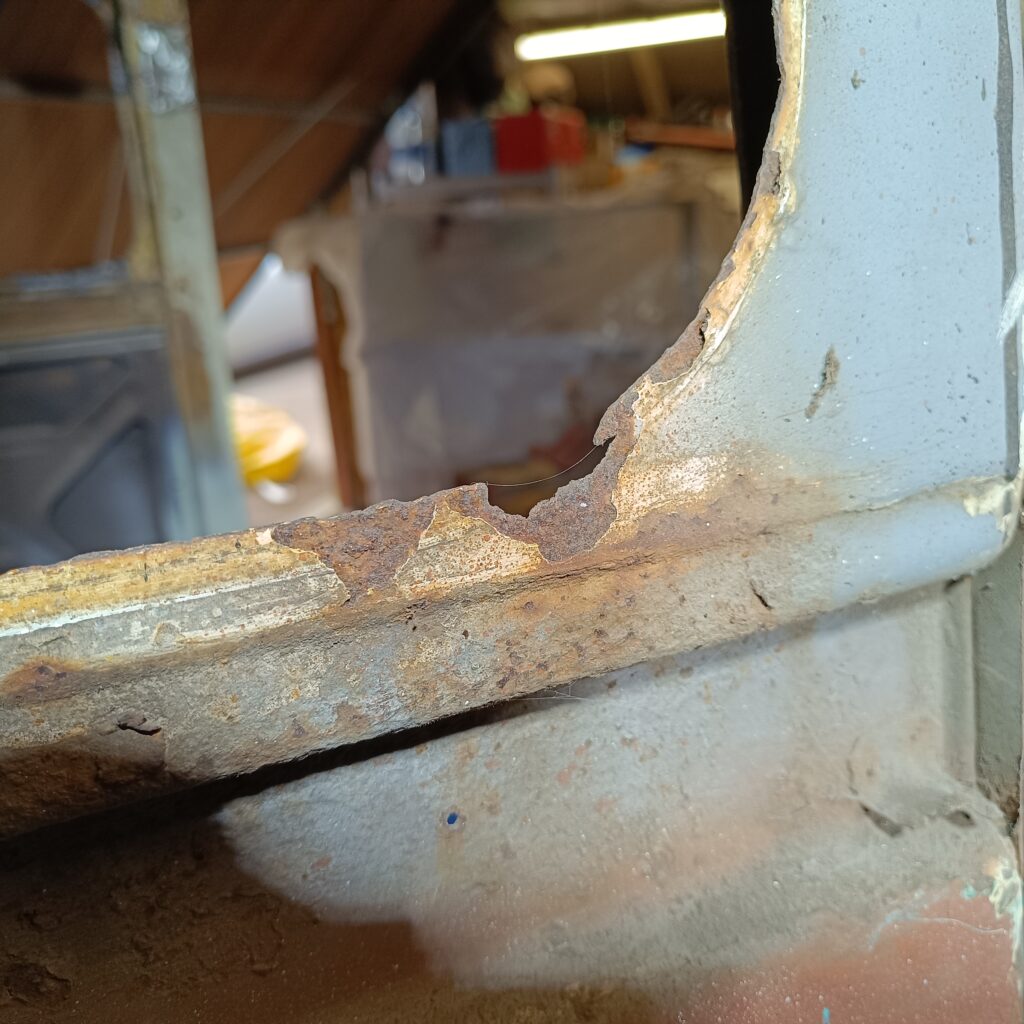
The rear windows had also seen better days and needed some attention – very frilly metal was removed, new sections added, and welds tidied up. The external covers on each side sit on clips nearly a metre long which had also perished and have been removed. New ones are a continuous U-shaped steel section, the old ones were more like fingers which makes them very fiddly to make. JK came to the rescue (with club discount) supplying the simple rectangle of steel folded over. There were no mounting holes either, so I drilled holes ready to weld them to the body.
Brake bleeding again. The master cylinder was now leaking on the joint heading to the rear brakes. I’m not playing that game again – just that one end removed, and new flare added. Every time I remove a pipe leaking at one end, the other end leaks!
I would have done more, but since the last report, we have been to the AGM, Germany, the Cider farm, Cheddar, Herefordshire again, RAF Odiham and that is just club events. I’m going back to work for a rest!!
Between Saturday 2nd August and Sunday 10th August 2025, 6 club member vehicles or Bay windows parked nearby, were reported to have sliding door issues. Each one was the same root cause, each fixed in under 10 minutes for free. You can do it too!
Sliding door won’t close and nothing has changed? Sliding door won’t open and nothing has changed? Sliding door won’t run smoothly and nothing has changed?
The root cause is the same – something HAS changed! Time has passed.
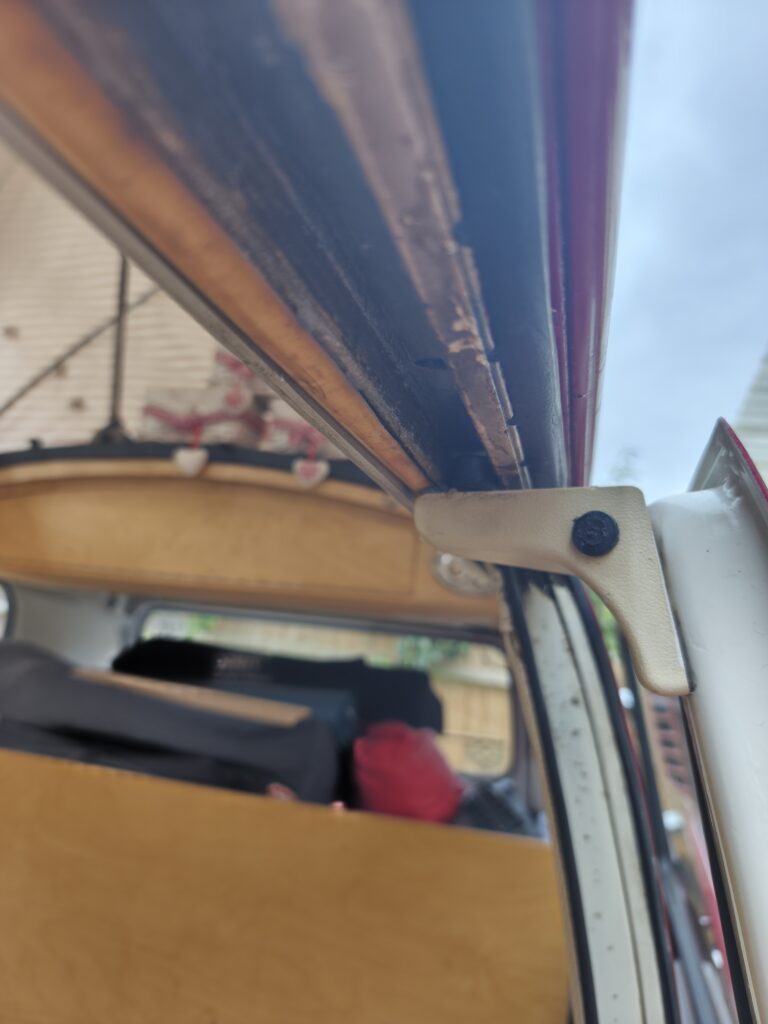
The sliding door has a top roller that runs in a channel. Grab your grease pot (avoid copper based as it is potentially carcinogenic), and put a decent sized blob of grease on that roller itself above the cream plastic cover. It runs in that top channel and only touches the left and right / inside and outside edges of the channel. Add a smear of grease to both sides – don’t bother greasing the top, the roller doesn’t touch it.
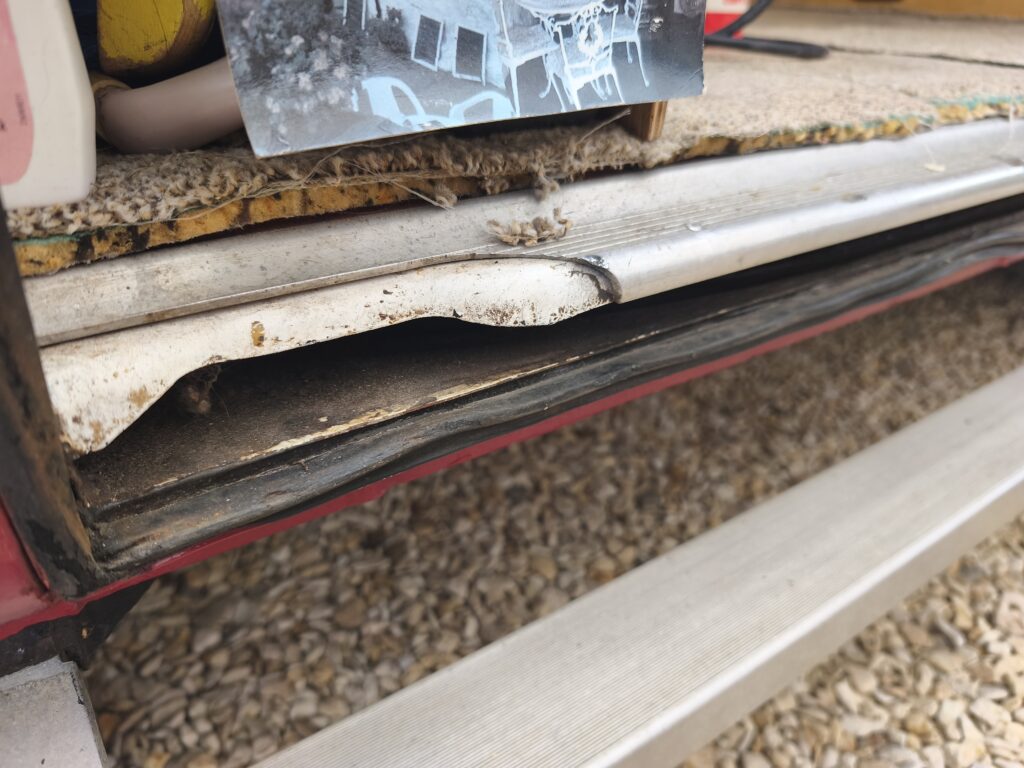
At the bottom of the door opening is another roller and another channel. You’ll need to repeat the process with the grease here – don’t just spray product into the hole, you need to grease the C shaped channel inside that hole and again you are doing the sides not the top. A blob on the roller as well will really help.
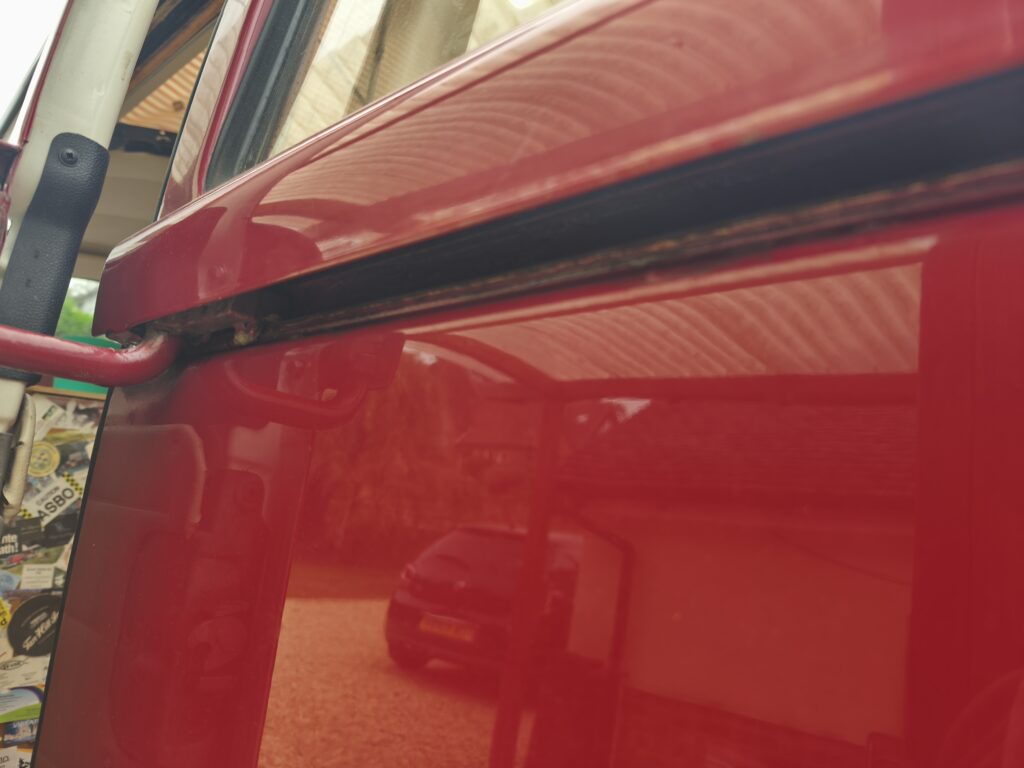
Now put the sliding door almost closed as in the above shot. The middle runner slides on top of a single 2mm thick piece of steel. Grease on the top of that but don’t worry about getting it perfectly on, just grease it up. The rearmost inch or so doesn’t get used, no need to grease to the end. When you are down there, that red U shaped steel goes up into the latch mechanism. From underneath, get a load of WD40 into there.
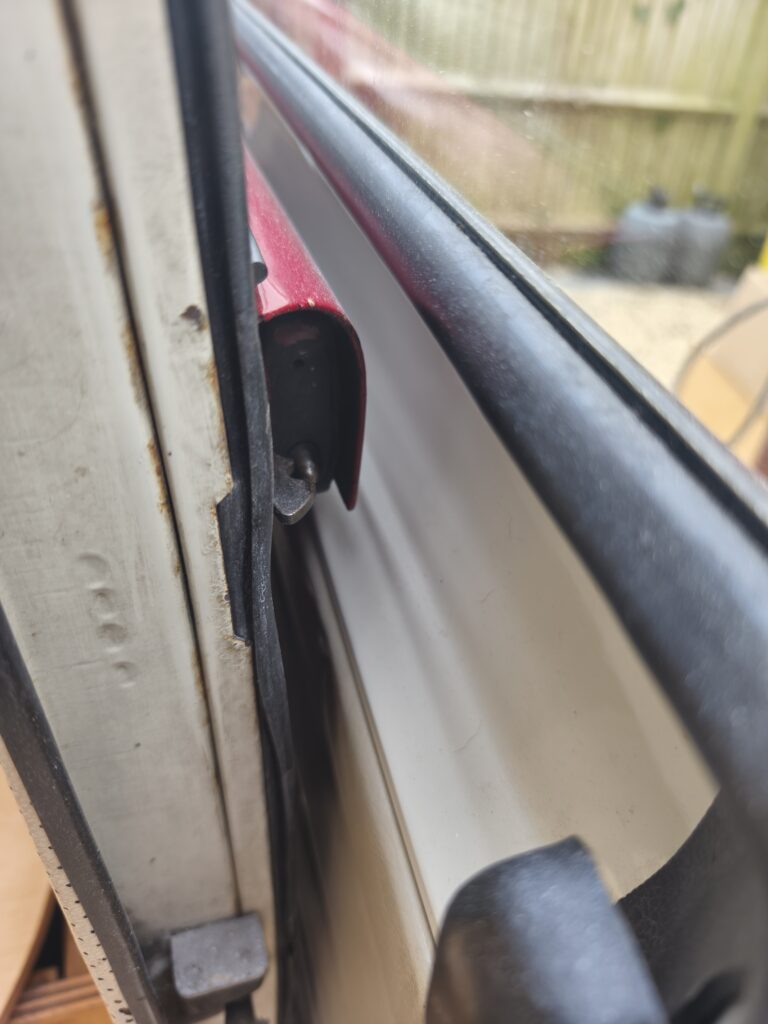
Now with the door almost fully open but not quite, locate the middle latch as shown above. That little finger holds the door open. Spray that liberally with WD40 from this side having just doused it from underneath.
That’s it for the hard work, now slide the door mostly closed to mostly open. Repeat 20 or 30 times to get that grease really spread through the dry sections and your sliding door should be a whole lot better.
You do do this as part of your regular maintenance though right?
Our story is probably not at all typical of your members – all amazingly enthusiastic about their old campers!
My husband and I rather fell into the purchase of our first campervan, Penny Lane, a 1975 T2. Jamie is a 4th generation farmer running a big business on the Norfolk/Lincolnshire border. We’ve been thinking over the years of how to diversify and how to make the most of old buildings no longer suitable for modern agriculture. Not quite on the tourist trail, and not convenient enough for a business park.
Then a friend mentioned that they knew of a local couple wanting to downsize their campervan rental fleet, knowing that our son is a classic car enthusiast (his first car at 17 and all through university was a 1969 Imp – and it’s still running). We were intrigued, and met the then owners of Retro Campers Norfolk, which has been running since 2011. Their main issue was storage – they had to pay silly money for inadequate, often damp and not very convenient winter storage of their 5 classic campers and decided they needed to sell at least two of them to continue with holiday rentals of the others, and we agreed to buy Penny Lane. They then started to think they’d sell the whole business, and we thought why not? A new adventure, we have lots of space, and our enthusiastic son could help with maintaining the vehicles. We could do this!
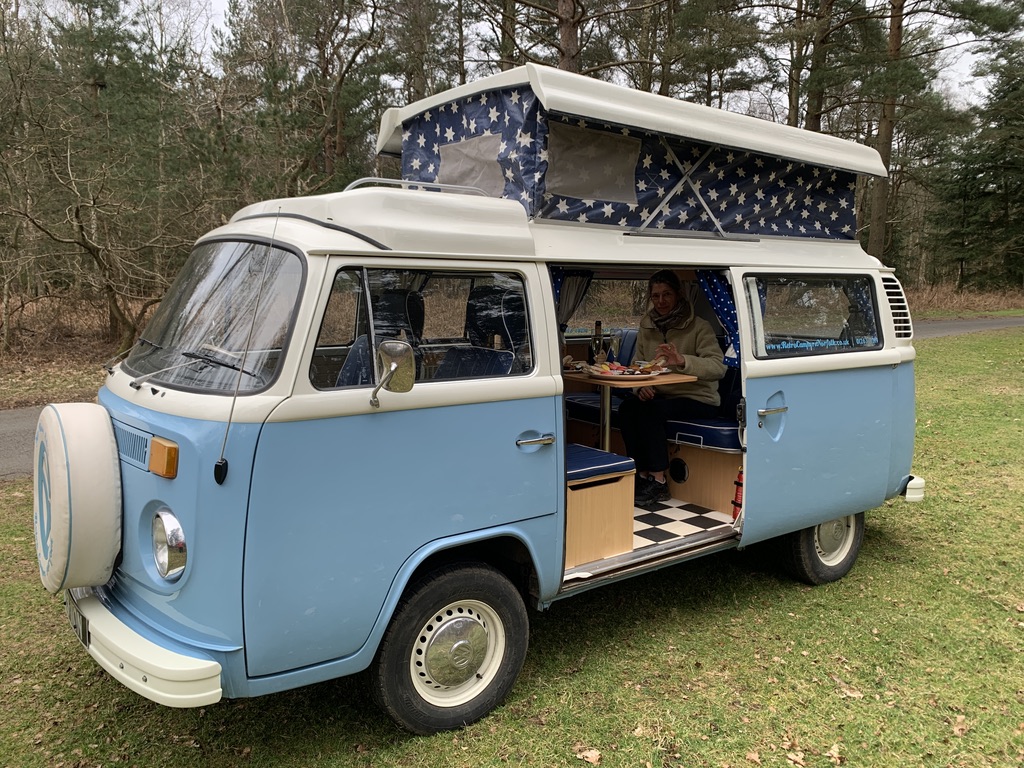
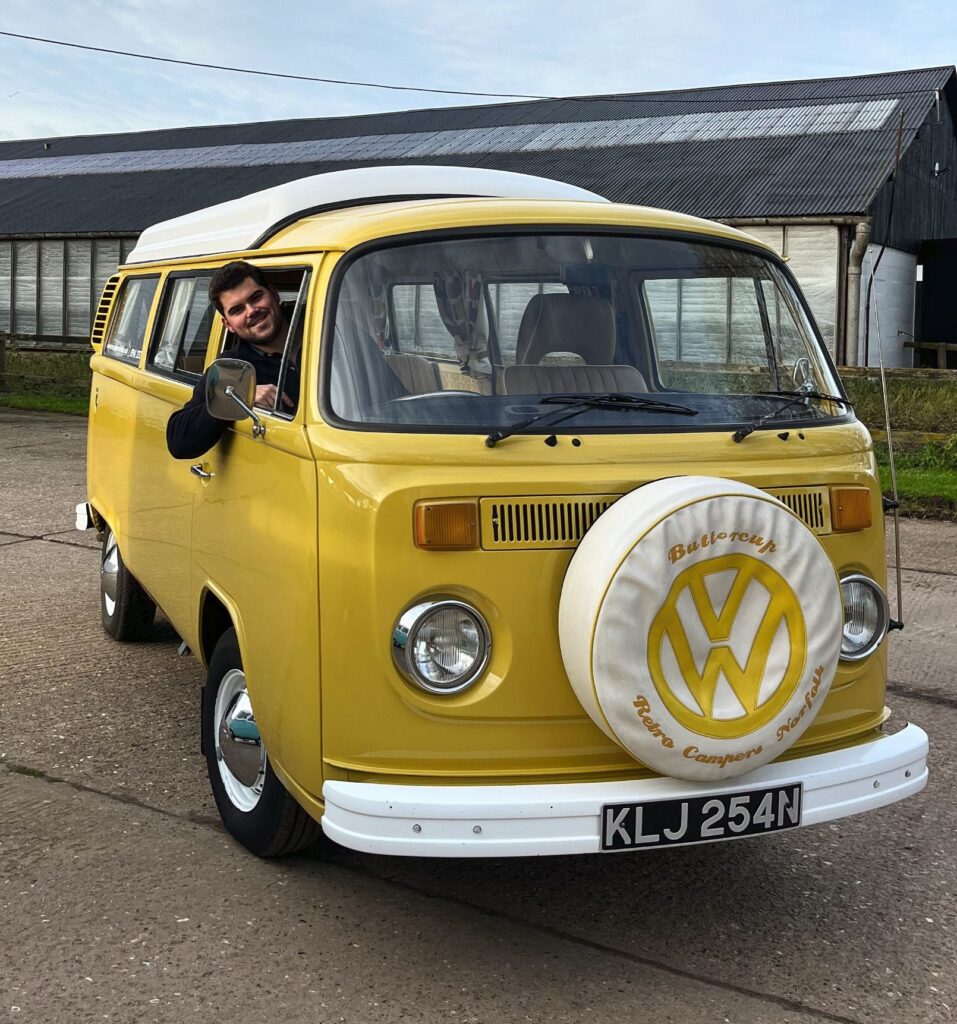
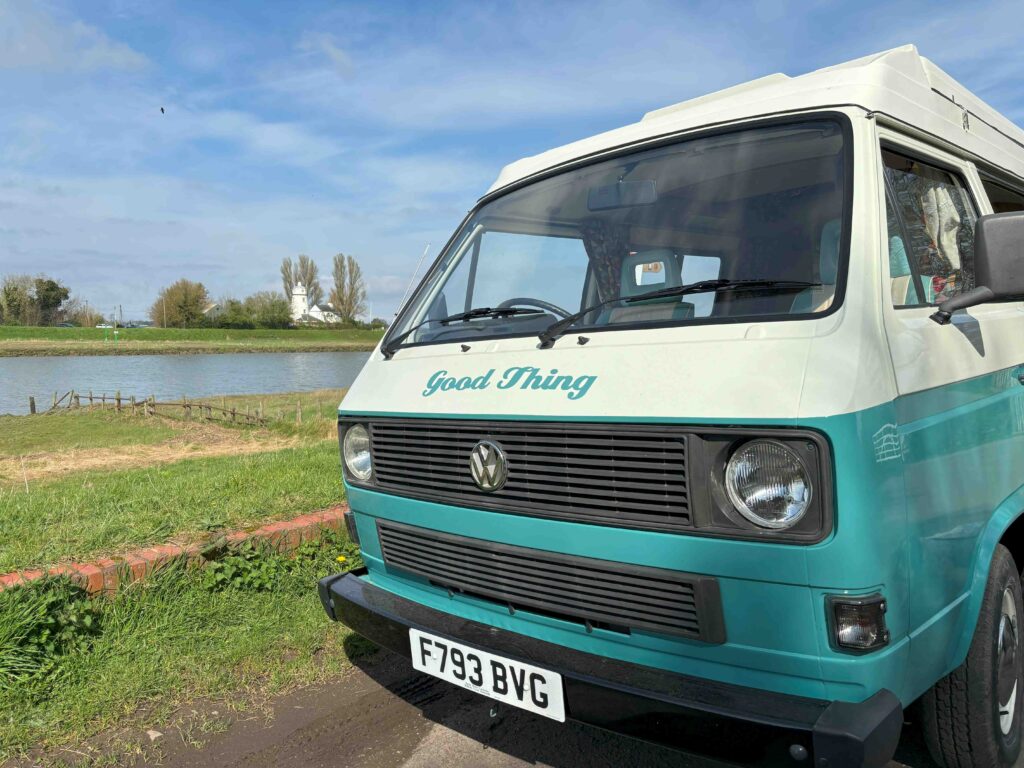
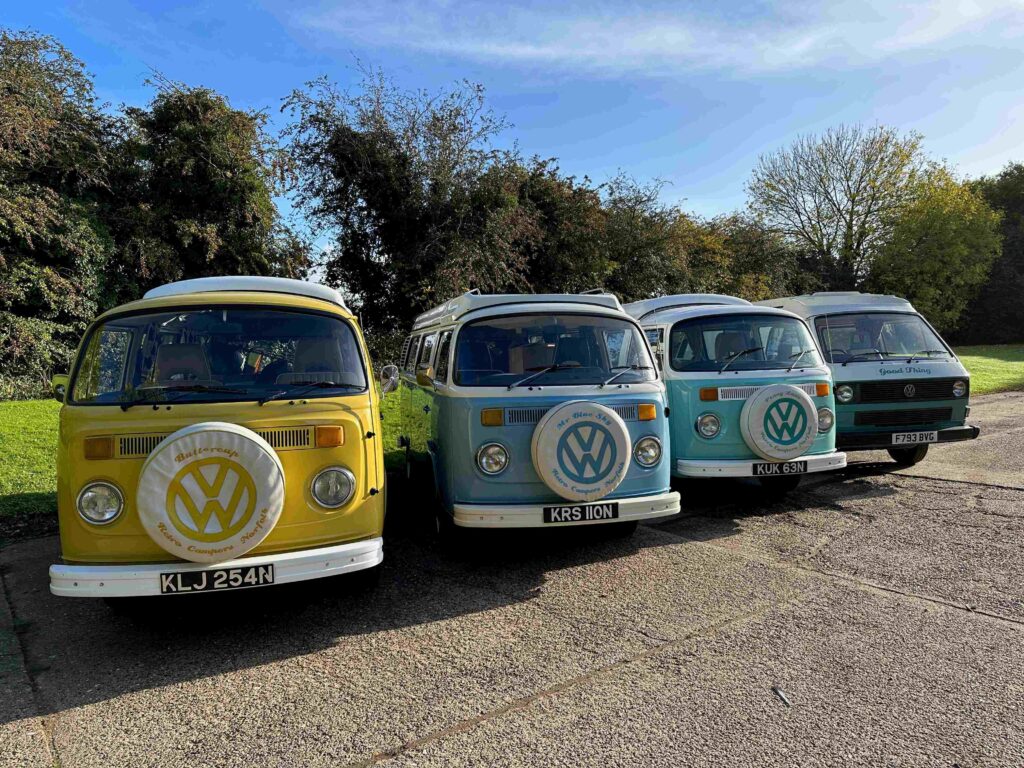
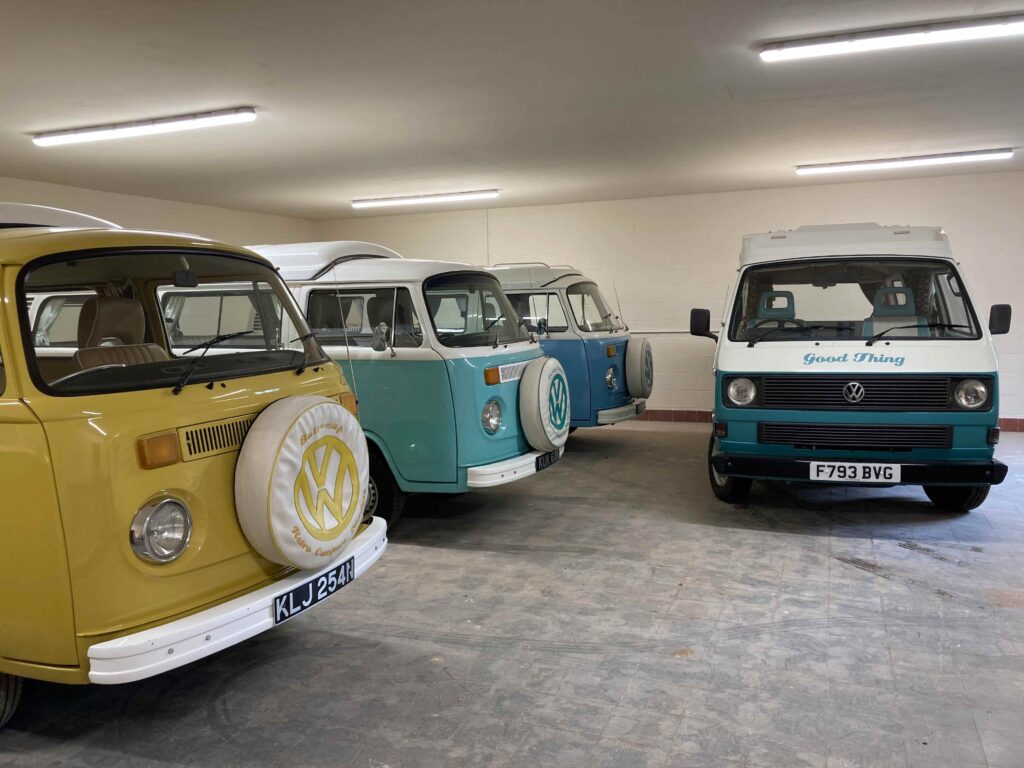
By autumn 2023, we had ourselves a new venture on the farm, and we became the proud owners of Penny Lane, Buttercup and Mr Blue Sky – all RHD 1975 T2s in excellent order, plus Good Thing, a funky 1989 T25 – perfect for the holiday rental market. We spent much of the winter (and considerable expense!) converting a redundant building into their new home. Plenty of space for customers to get the hang of the gears and non-power steering in our farmyard and along quiet country lanes before they reach the main roads around King’s Lynn, ready for their camping adventures. Whilst we don’t have a mileage limit, we do ask customers to stay within a 60-mile (as the crow flies) radius of King’s Lynn, so most explore the Norfolk coast and Broads, but our area also includes Suffolk, the Fens, Rutland and Lincolnshire.
As you can imagine each camper has its own little quirks, and each new customer has to be carefully taken through how to drive and live in a classic camper. But our first major set-back was Buttercup needing a new engine! Despite having a pre- and mid-season service each year, you never quite know what’s round the corner with old vehicles. We are lucky to have Jason at Dubs and Classics nearby, and he put a new VW Engine Company engine in, plus various other tweaks. Despite being reasonably mechanically-minded on the farm, we are very much novices when it comes to old VWs, and feel reassured to have Jason and other local experienced guys to call on. The vans have to be in tip-top condition to hire out.
And running the new business has been quite a learning curve too! I’ve had to learn how to run a website, booking system and social media, but they say learning something new keeps our brains younger…
Personally we’re looking forward to a long weekend away with friends very soon – we’ll take two campers to the Norfolk Broads, so look out for us on the roads!
If any members of the T2 Owners Club would like to hire a camper for a few days (maybe yours is off the road, or you have friends who’d like to join you?), please get in touch – we can offer a 15% discount off any booking by members. Please see www.retrocampersnorfolk.co.uk or email info@retrocampersnorfolk.co.uk.
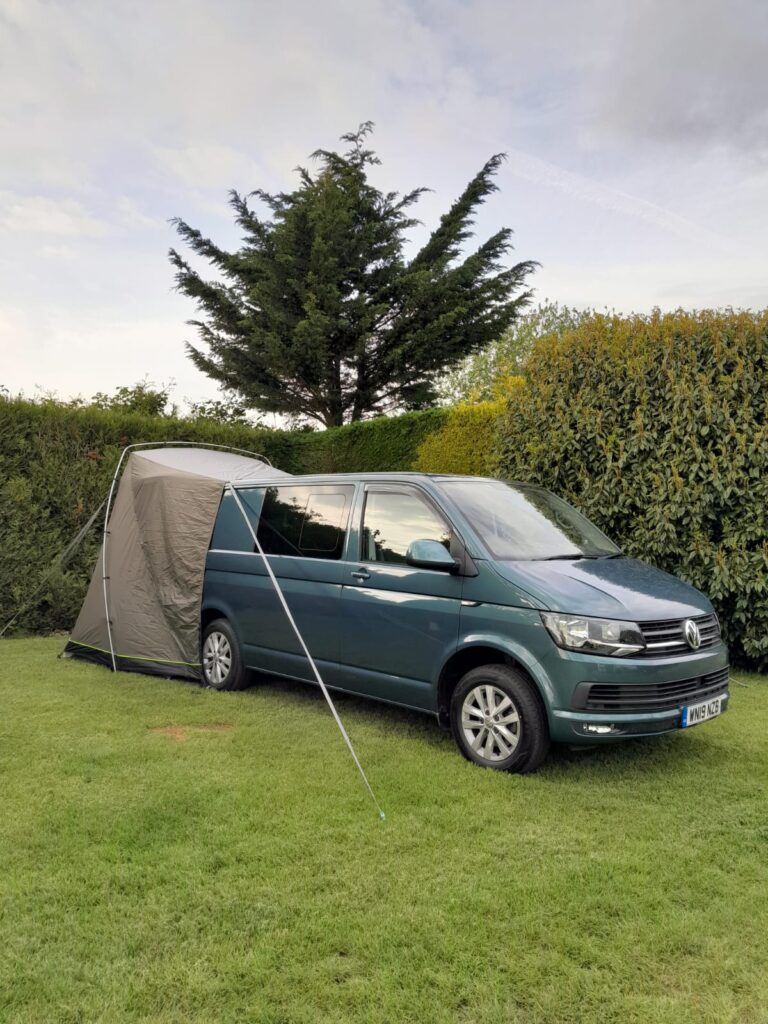
We have always used a freestanding awning with the campers, especially when the offspring were going away with us. Now it’s just two, we find we don’t need so much space, and putting an awning up for short stays is a chore. At the moment our van is a kombi conversion with a rear slide out kitchen, so rather than extra people creating a lack of space, it’s now the large bulk of a triple middle row seat that forms part of the bed and can’t be removed for camping.
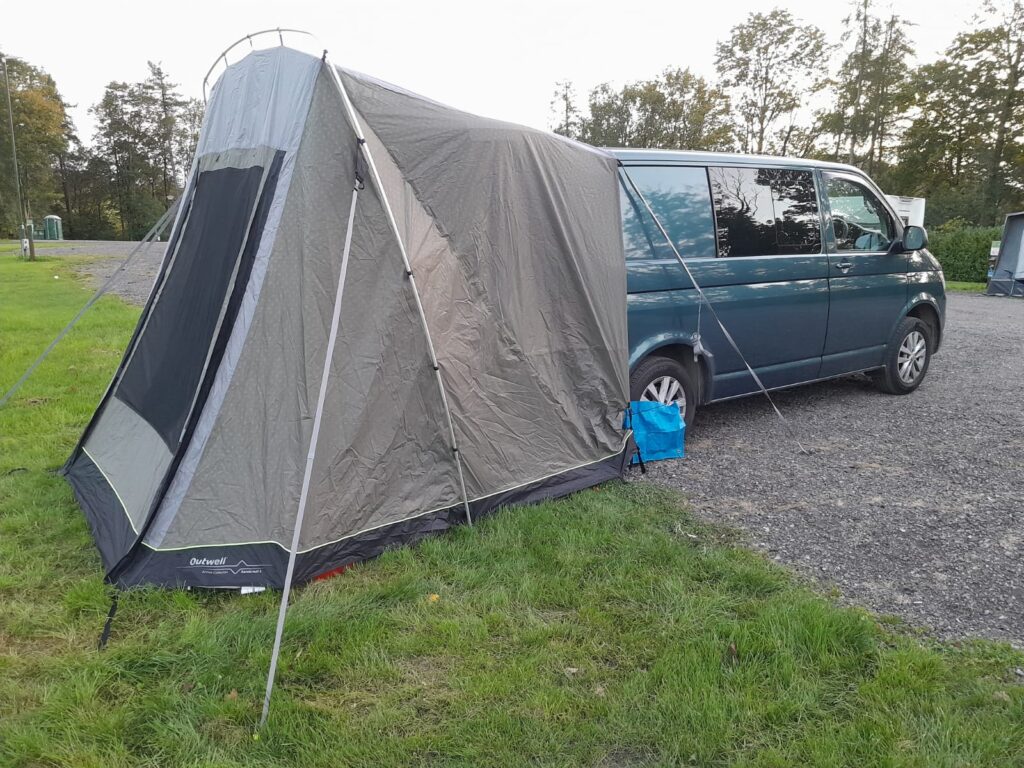
This got me looking at tailgate awnings but most had one flaw. The tailgate had to be left up to support the awning therefore major lack of security. This is where the Sandcrest L is different. It has a single aluminium sectioned hoop to support the nylon, and so the tailgate can be lowered. Although not advertised as driveaway, I have done so using the guylines for support like any tent, although I wouldn’t risk it if it was too windy. It only takes about ten minutes to erect, is light(5.7kg) and takes up very little space (packed size is 64 x 22 x 22cm). As with all Outwell tents/awnings it has many useful features including a zipped mosquito mesh for when camping in warmer climates. Overall size is 310 x 220 cm and living space is about 180 x 200 cm. Enough room for a couple of chairs, table and my offside slide out. The Sandcrest L fits most Transporter sized vans and there is a smaller Sandcrest S for caddy sized vans.
Do you ever leave your lights on in your classic van and forget because your modern car reminds you with a buzzer? Add one for very little money yourself!
Have you ever not noticed about the lights and ended up with a flat battery? It is easier than you think to add this level of protection and can be done by anyone with an electrical test meter.
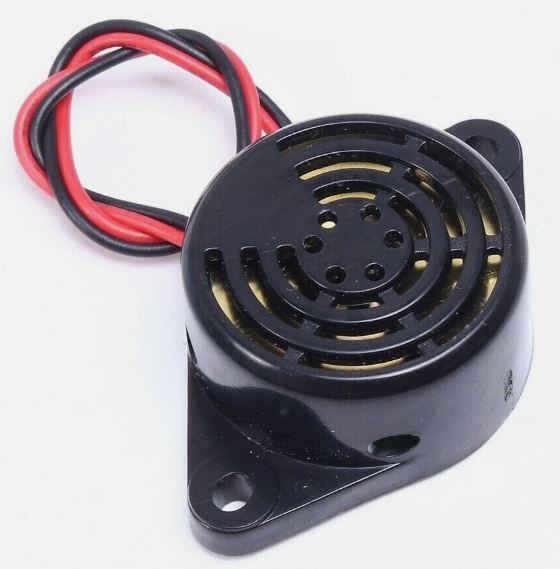
Head over to your favourite auction site of choice and type in “12 volt buzzer”. You can choose the size and volume of the buzzer and maybe get several!
The buzzer should have just 2 wires, red and black. Take the red wire and connect it to the grey wire with the red stripe on it that is on the headlight switch (there will be half a dozen wires in and out of the switch, use your test meter to find one that goes live when the sidelights are on but has no power otherwise). Remember that your vehicle may not provide power to the headlights unless the ignition is turned on – that throws me every time until I remember.
Now connect the black wire to the brown wire of the door switch on the door pillar. The circuit will be completed when the door is open and the buzzer will be off.
Open the door – no noise. Close the door, turn on the sidelights and open the door – the buzzer should now go off.
Why did I suggest buying 2? If you want to be reminded about an open door, just wire the red wire of a second buzzer to the permanent live of the headlight switch (always live even with ignition off) or any other permanent live under the dash. Attach the black wire to the same brown wire of the door switch. Now you have a buzzer for the door being left open.
Given that these buzzers are about £3 and only go off to remind you about your lights being on, that is a small price to pay to avoid a flat battery!
Well, what do we say – a very exciting and fun trip for our three vans.
First of all, a massive thank you to Lorna for all the hard work she and Nick put in to make it work so well. A group WhatsApp was set up so that we could all follow each other, which was a terrific bonus and we didn’t lose anyone en route. All of the camp sites were amazing. A true testament to the organisation of the trip.
Sunday 19th May
Departure day … we all travelled separately to our respective campsites before crossing the channel tunnel the following day.
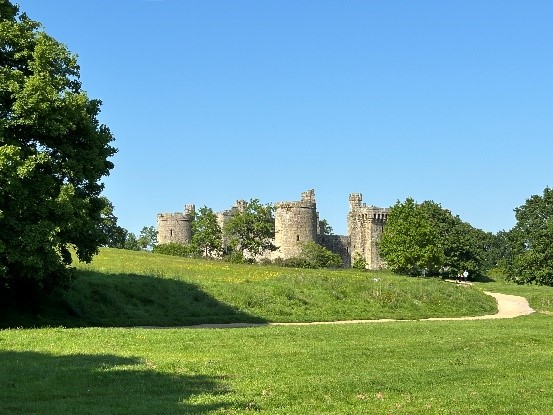
We set off for Park Farm Campsite about 30 miles from Folkstone as we wanted the train journey to be stress free. We set off from home around 9am and had the day to get there. The campsite was spotless and virtually empty at this time of year. A great start for the coming trip to France the next day. We arrived late afternoon and so we took a walk to Bodium Castle. There was a pathway from the campsite alongside a river. A beautiful walk in the sunshine and had an evening meal in the local pub next to the castle.
Monday 20th May
The next morning, we packed up early and set off for the Channel Tunnel. This was the first time that we had been on the tunnel, and found it interesting and exciting. It could not have been easier. We arrived early and were told that we could take an earlier train than our ticket specified, as it was not busy. We took this opportunity to go to France early and I would certainly use the Tunnel again.
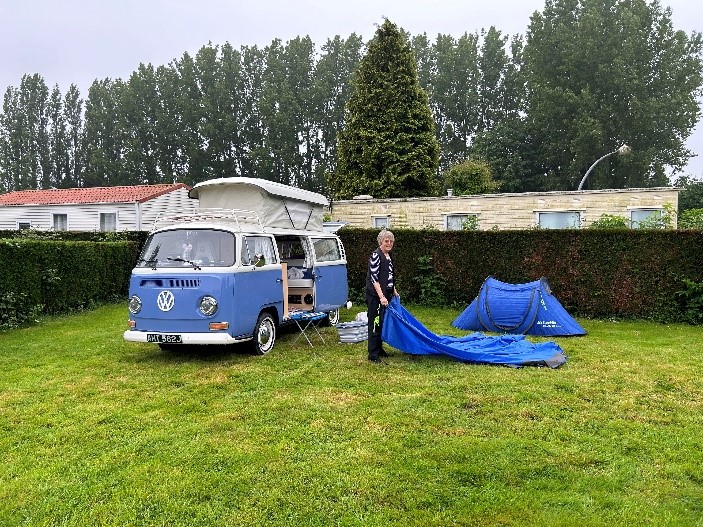
Arriving in France 35 minutes later we decided to go to Dunkirk, as it is nearby and I have been fascinated by the stories and films of WW2. This was well worth the small trip. We then headed for the campsite at Renescure. We arrived first out of our group and so set-up pitch. The pitches were individual and quite large. Val, Malcolm, Lorna and Nick arrived about an hour later having been shopping for supplies. The place was so nice. Each pitch had its own electricity and water supply. I did not bring a French plug convertor (against my wife’s advice) but the Campsite owners lent us one. They were such lovely people.
And so the trip had really begun.
Tuesday 21st May
The next morning we set off on a 240 mile journey through France, Belgium, and Holland and on to Germany. Although this was quite a number of miles, we stopped for meal / toilet breaks or whenever someone felt they needed a further stop. It gave the drivers a chance to get used to the ‘other side’ of the road.
Taking the bypass round Antwerp was quite an experience, as the roads were extremely busy and it was raining hard. We all noticed the extreme number of huge lorries on the roads particularly on this section. And when we say big, they were enormous. Apparently, this is a trade route so this could be expected. But this was all part of the Adventure.
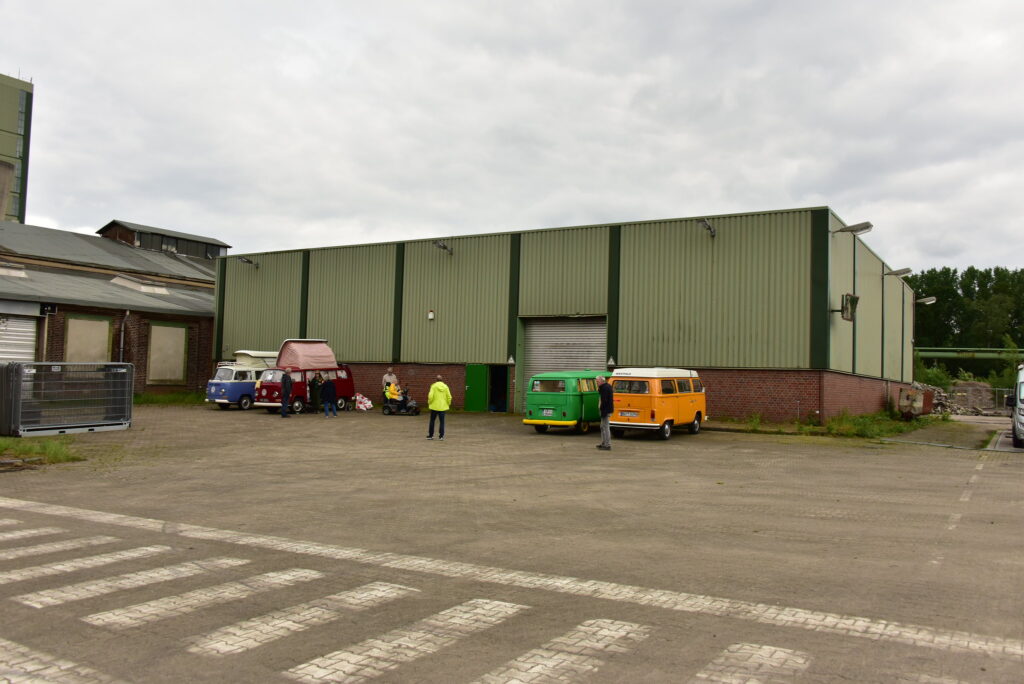
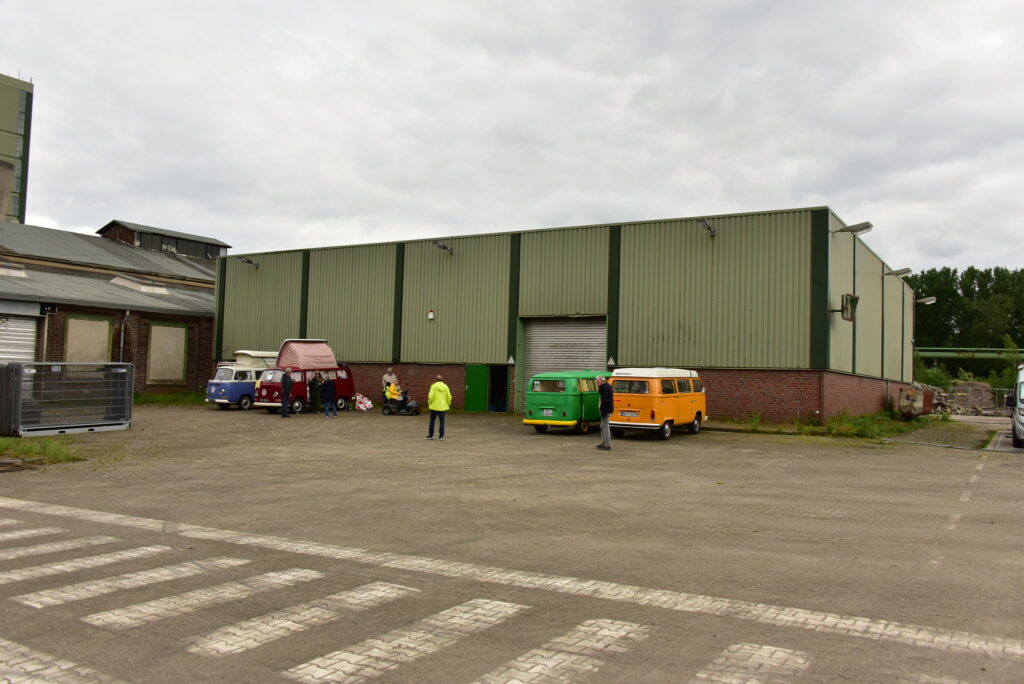
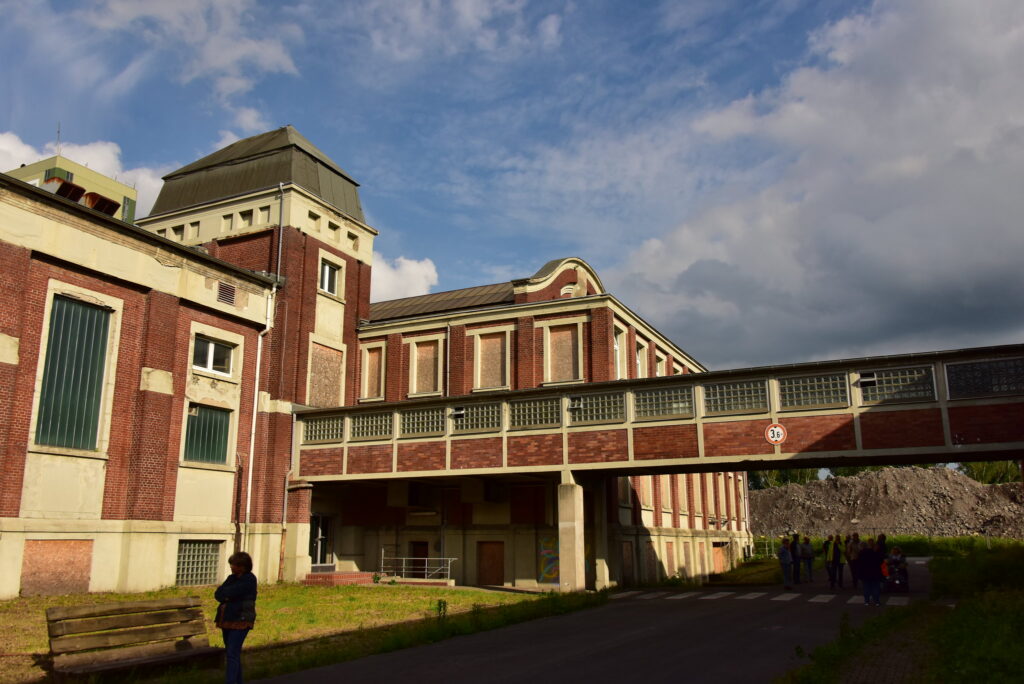
Leaving Antwerp the road opened out and we made good progress. Our first stopover was to be in a disused coal colliery, and we wondered what we might find there. We had just stopped to decide if we were in the correct place when someone hailed us to follow them which we did. We arrived at the Bulli Museum in Gelsenkirchen.
One of the buildings was used by the T2 Club in Germany to store all their vans and parts. Roland greeted us and made us very welcome. My word when they opened the doors and we saw their fabulous collection (many under wraps), we all got very excited.
After showing us where the facilities were, we had a general chat and were invited out for a meal. We camped in the car park which was not as bad as it sounded as a water supply and toilets were available in the Museum which remained open during our stay.
Wednesday 22nd May
Bright and early our hosts arrived including Detlef (who was the German organiser of the trip) and Ulf (who became our driver to certain events) together with a few of the Club members. We couldn’t wait to have a look at their collection. Most of the vehicles work or at least they will when completed.
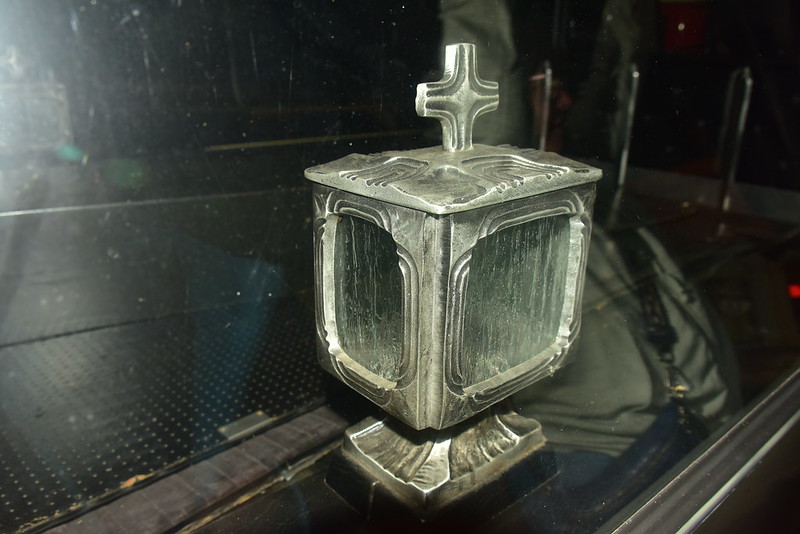
A lot of the vehicles had individual stories attached to them and one by one we were shown them. There was even a fire truck and 2 hearses; one reminded us of the Victorian times as it was decked out with lace fringing and carriage lanterns.
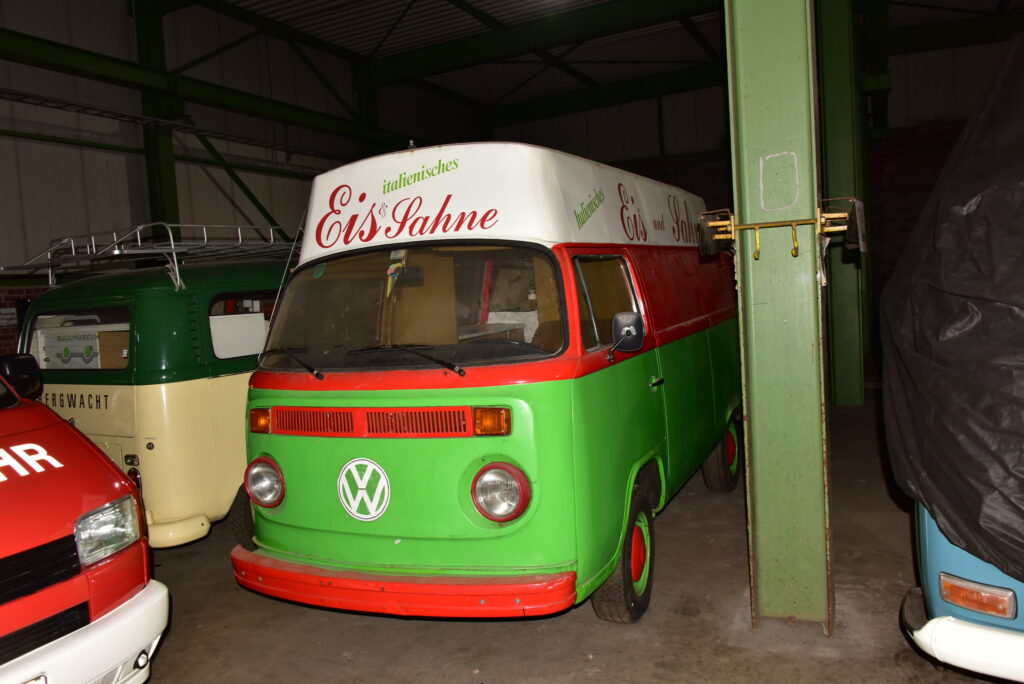
It was amazing the number of different kinds of vehicles. One was used at the airports with a lookout tower on the top, another had a crane used for carrying lamp posts. An ice-cream van and a Police radar van were also there. The vehicles ranged from Split screens to T4s. Each one was unique.
In the afternoon, we were given a guided tour around the colliery by a man who was working on the buildings and site. The whole site is being preserved and put to use in different ways. The Bulli Museum (Bulli being the German name for VW transporter vans) is working towards making a bigger area in order to display their vehicles to their best advantage.
We look forward to a possible return trip in order to see that!
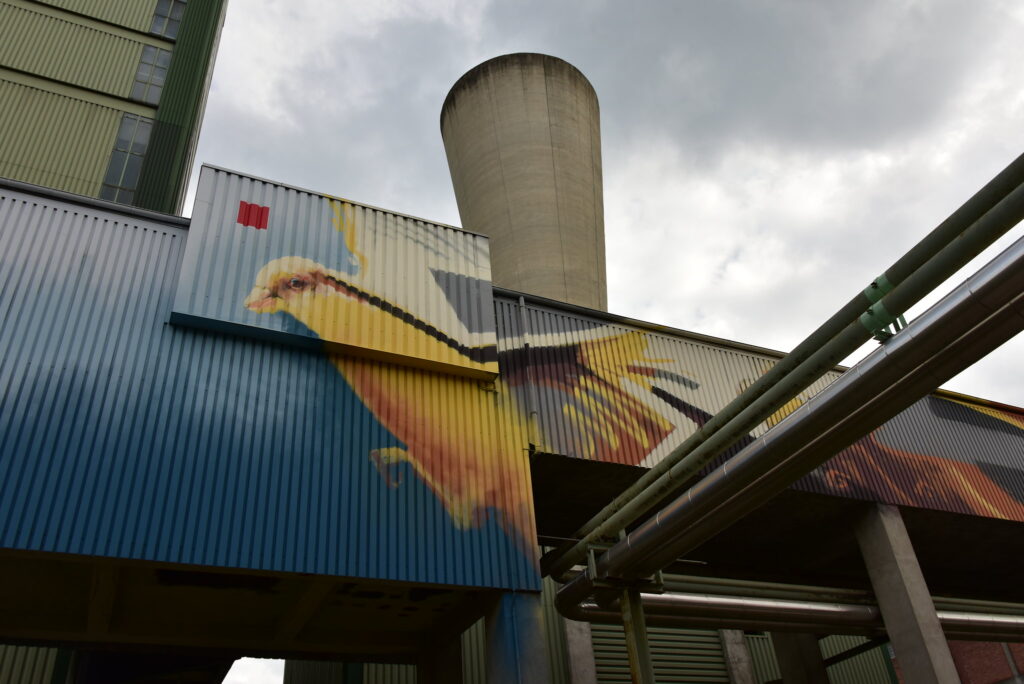
There had been an art celebration a little while ago and many of the buildings had been painted with different artwork and writing. CAN YOU SPOT THE DELIBERATE ERROR IN ONE PIECE?
Some beautiful artwork included Canaries representing the birds taken down the mines to give an alarm when gas is detected.
It was interesting to know how the colliery had been worked and what the buildings were used for. One room was for the injured and there was a doctor’s house on site although this is not going to be used as part of the regeneration of the site.
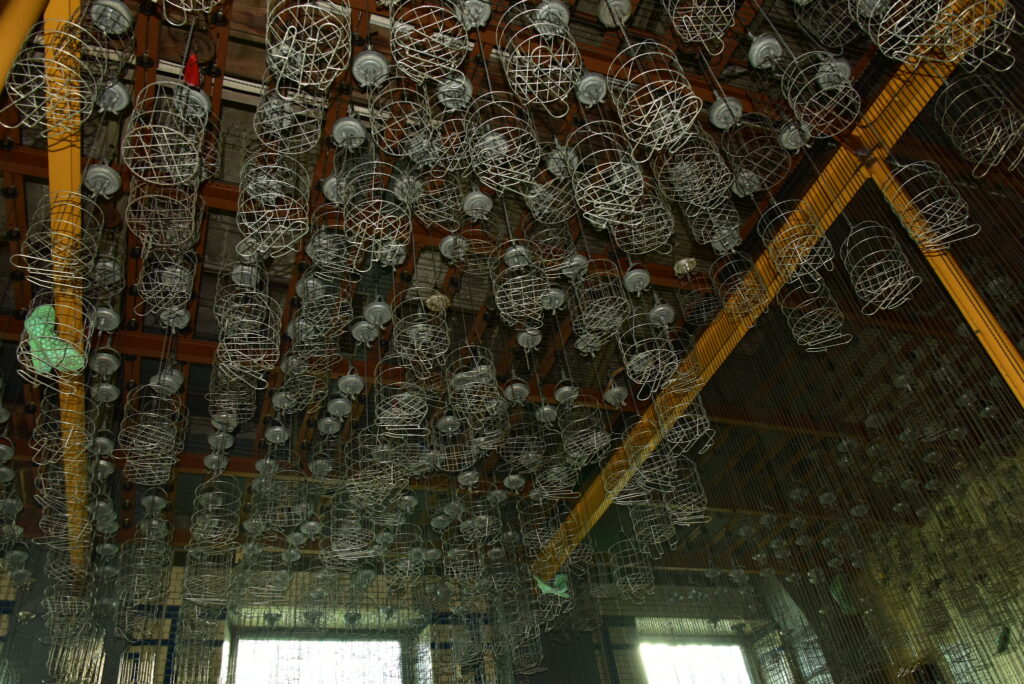
One area contained many metal baskets which were hanging from the ceilings on long chains with an individual padlock on each one. These were for the workers to leave their clothes in when they changed into their working clothes in a different room. At the end of the working day they put their dirty clothes down into a special hole in the room where they dropped into the laundry area. They then took a communal shower and were so close to each other that they could wash each other’s backs.
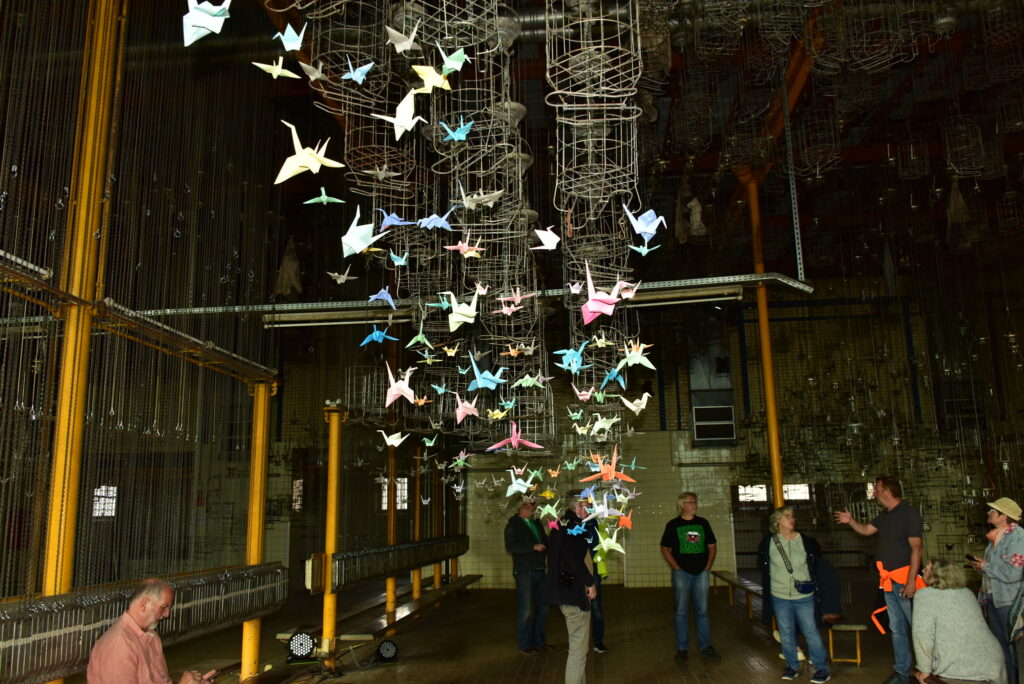
As part of the art exhibition an artist had made origami birds. These were coloured from black to grey to a variety of colours depicting the coal dust to clean. The birds were then put in the cages. A lovely spectacle.
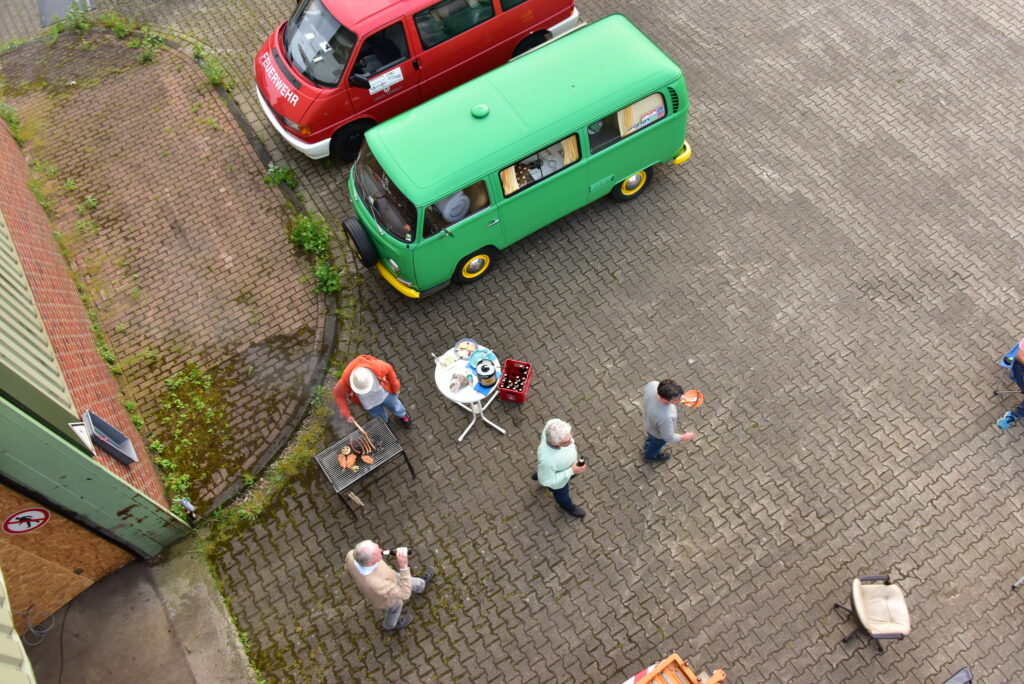
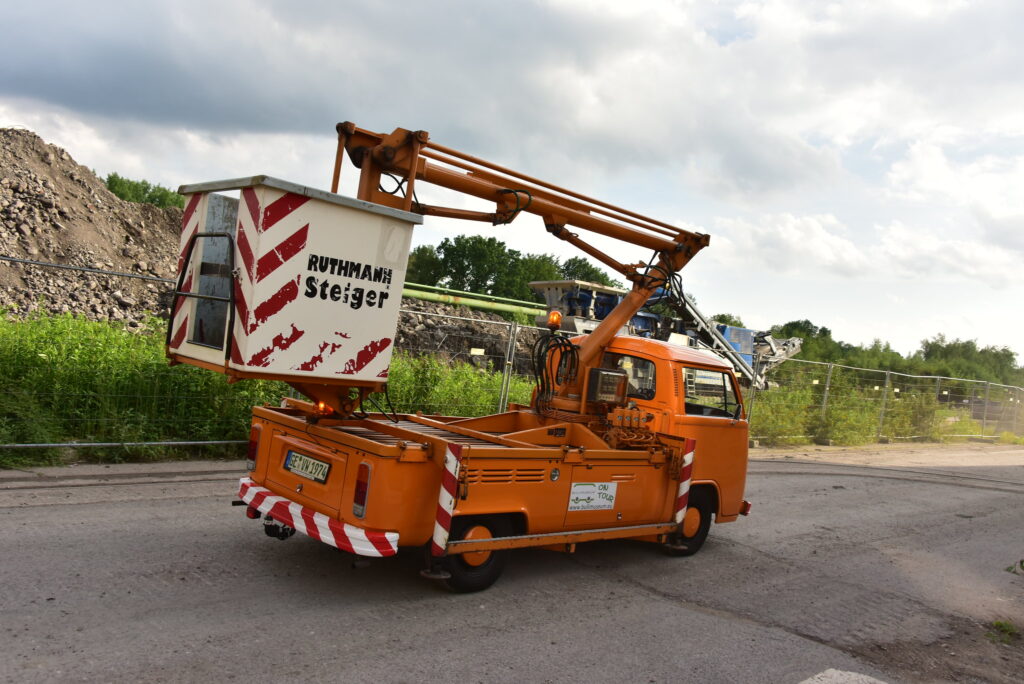
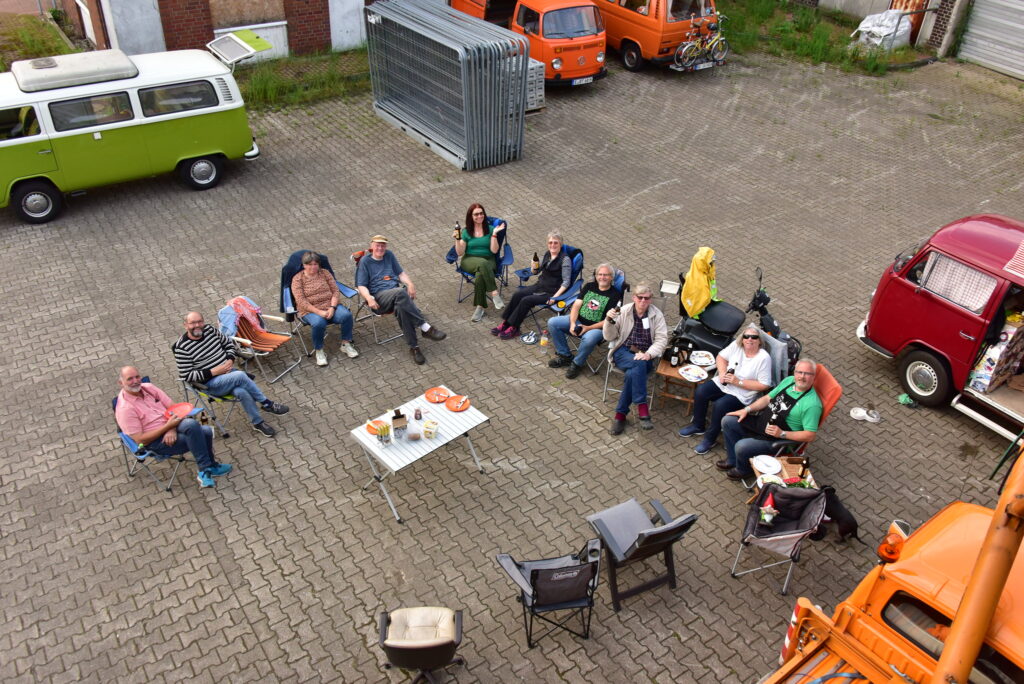
Being nominated ‘unofficial’ club photographer I was asked by Nick and Lorna to take a picture of us all from the top of the Bulli Museum building. I needed to get high, so I was offered this vehicle as the platform (Editor notes that “I needed to get high” means elevation, not smoking!). This vehicle is owned by a member of the German VW Club.
The resulting picture shows the fun were we having with the German Club. They laid on a BBQ for us with plenty of food and drink of all varieties including some incredible German sausages made by Roland’s next-door neighbour who is a butcher.
This was just the first day with the German Club members.
The team are offering additional services this year of engine servicing as well as rebuilding. Again, their experience means that those niggly issues with your engine can be addressed by people who live and breathe these machines. This is for Beetle engines, Splitscreens, Bay windows and T25s but petrol engines only. Everything from a 1300cc up to some huge 2.3 litre beasts if that is what you want.
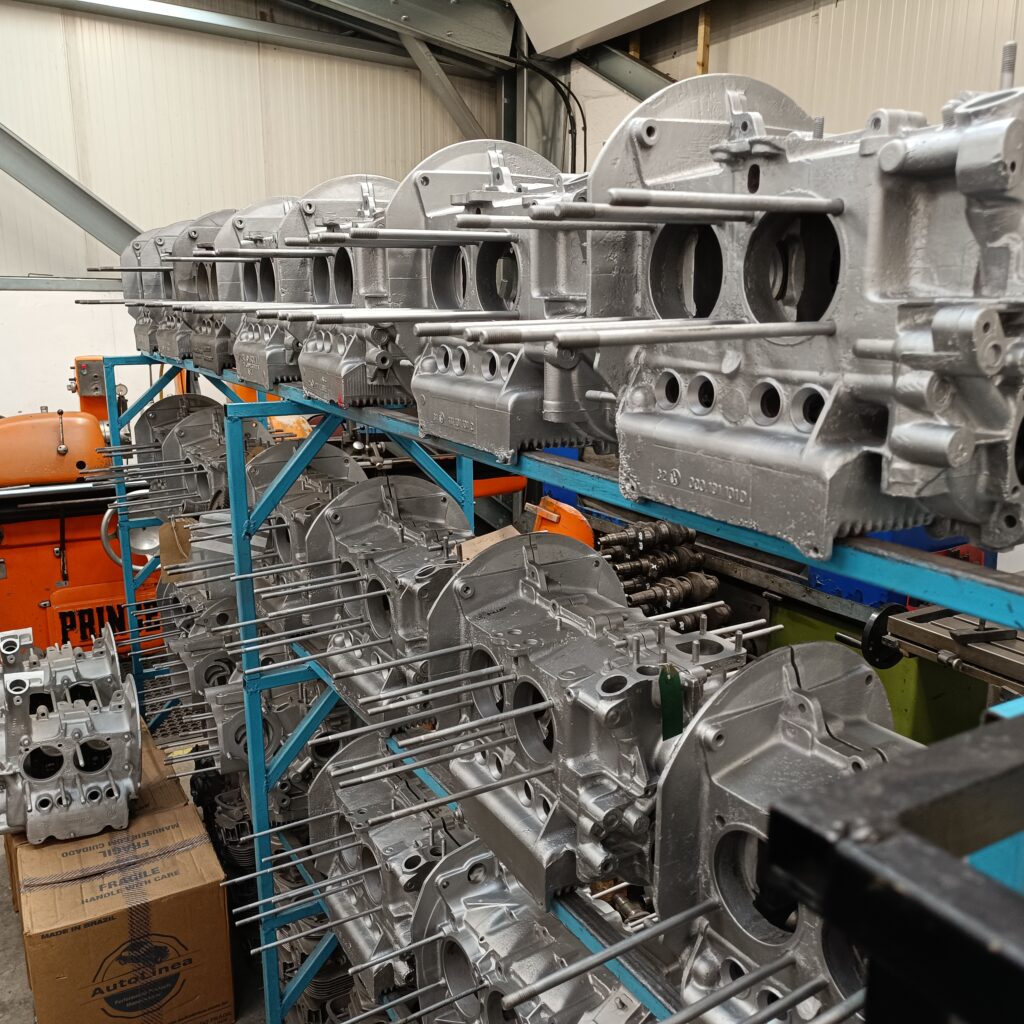
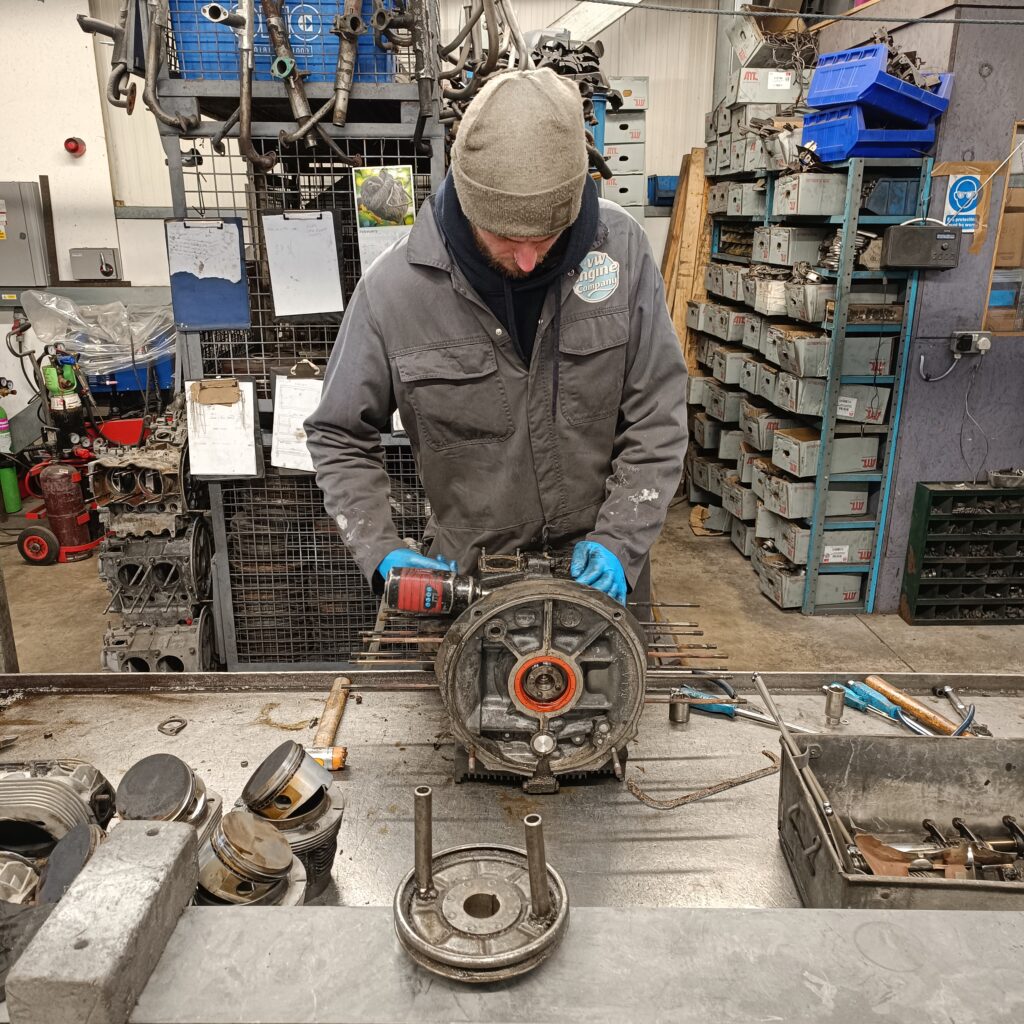
Next over is the storage racks of cleaned, painted and tested crankcases, with around 20 on the rack ready to build up. This is also where they check the crankshafts, machining them if required and repair the edges of the cases if they have damage where they need to be bolted to other components.
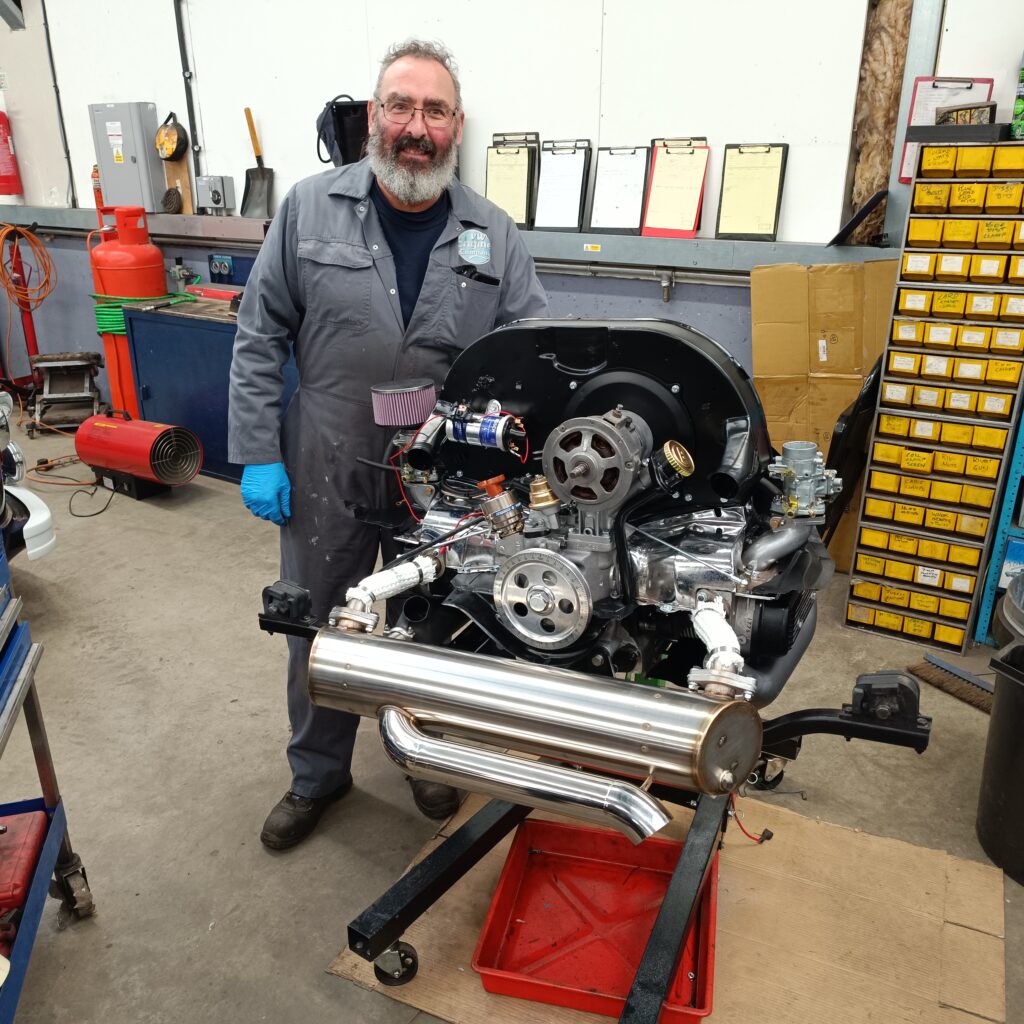
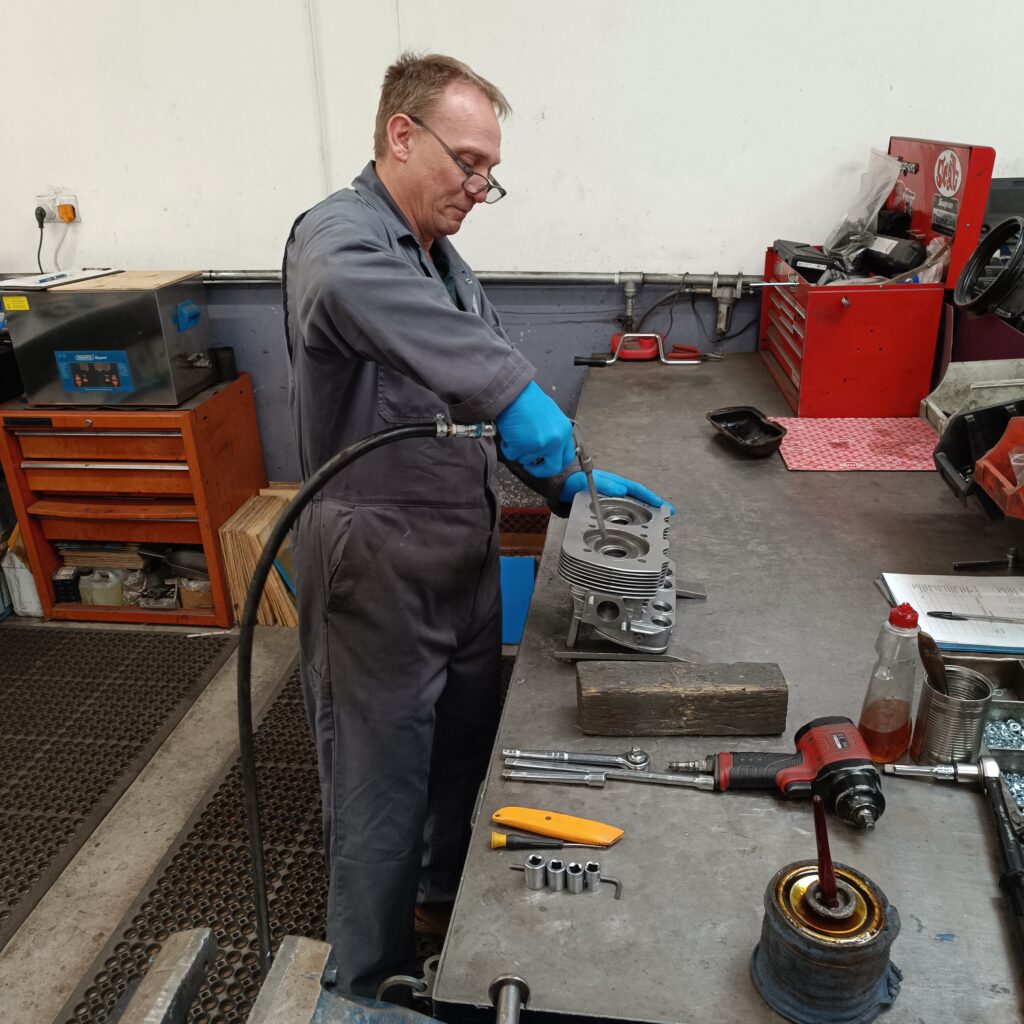
Once the case has been chosen, machined if required for larger heads and is ready, it goes to the engine build room. Sam who was doing customer engine work is normally in here building engines but today instead it was Michael, preparing engine heads and putting the final touches to another customer engine and cold testing yet another. The testing also allows them to measure oil pressure and record cylinder compression levels in their high-tech A4 diary. You don’t need technology for everything, and it is much easier than having to start up a computer each time! To test the paper trail, we looked at Poppy’s engine, noted the engine number and looked it up in the book. The engine was built on Friday 27th October 2023 by Sam, and we can see the test results.
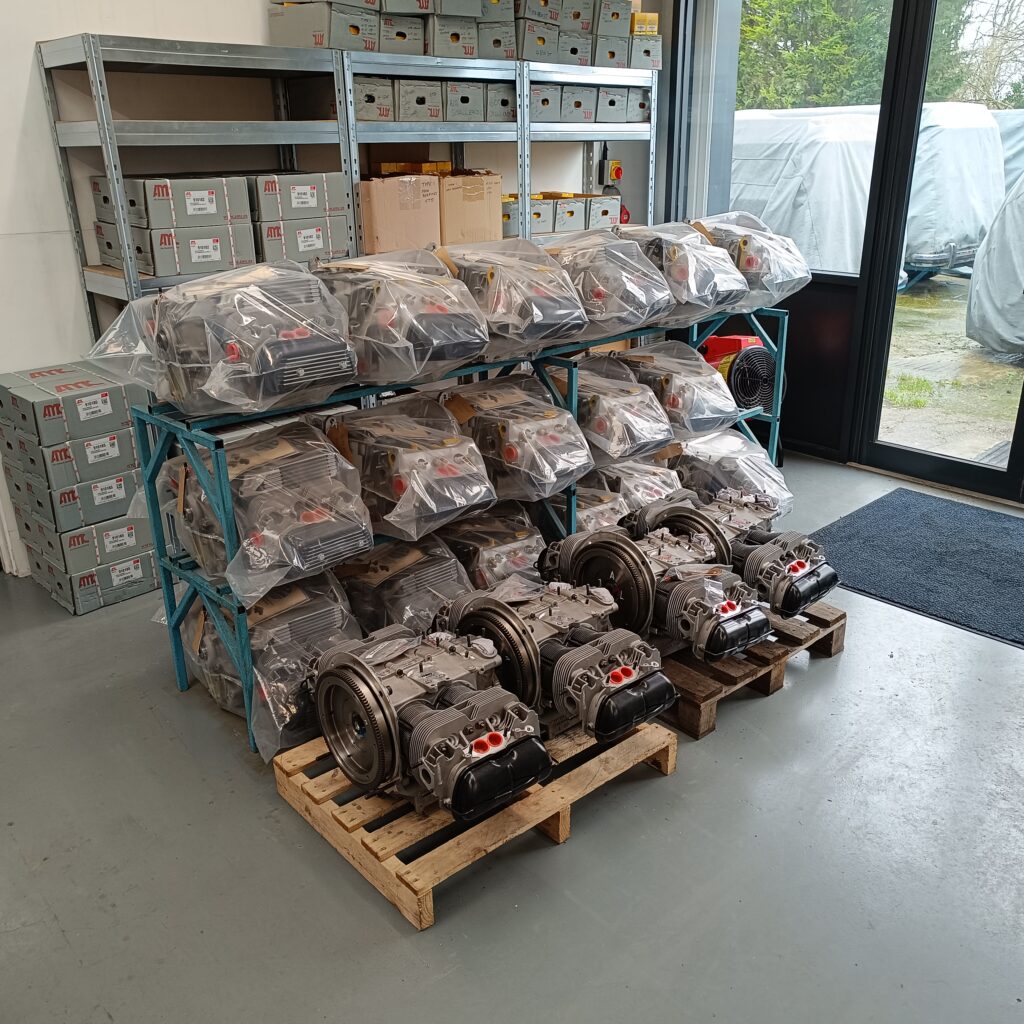
Back out to main reception, James then showed me the warehouse storeroom where there are over 150 engines all finished as long blocks, sitting on pallets, and bolted inside metal frames to keep them protected. These were ready for shipping and the number was very high during my visit as the season was about to start and they simply cannot keep up with spring demand otherwise!
With these pallets, you can order the long block and have it delivered to your house or your local mechanic. The engine can then be removed from your vehicle and stripped of the tinware, fan, alternator, fuel pump, distributor, oil cooler and so on. The new engines are supplied with a new oil cooler though. Then rebuild those parts onto the new arrival and fit back into the vehicle. Then the old block complete with rocker covers at each end can be bolted into the metal frame on the pallet and the VW engine company will arrange for the pallet to be shipped back to their HQ for rework. And so the process begins again. I was surprised to find that shipping the engine to you and the old one back to them comes to a total for both journeys of just £168! Given that they are inside the ULEZ zone at £12.50 for older vehicles and I used the Dartford crossing both ways, I spent a good chunk of that heading over there myself!
On the turnkey side, if you rock up with your vehicle, they can also offer extra bits – refinishing your tinware to get it looking good, a new 123 distributor, upgrade to electronic ignition if you want to retain the distributor, add an electronic fuel pump. Almost anything can be done there.
As you can tell, this is an impressive operation filled with passionate experts, helping to keep our vehicles running properly. This is not a budget operation, and the word-of-mouth recommendations are extremely strong.
As a reminder, example prices to our club are:
A 1641cc long block engine with a reconditioned crank case = £2,200+vat
A 1641cc long block engine with a new crank case = £2,700+vat
A 1776cc long block engine with a new crank case, big valve heads, mild road camshaft = £3,400+vat
These prices are based on an exchange process with your old engine. During this interim period a surcharge deposit is held of £400+vat. Once your old engine is returned this deposit can be refunded. In the event of your old engine not being “serviceable” they will contact you to explain, send pictures if necessary and a proportionate value of deposit may need to be retained which is understandable.
Knowing what I know now about their operation, I’d have had Eric the Viking’s engine done here. Poppy’s engine was swapped by our local, tame mechanic but in fact, driving Poppy over to Biggin Hill, the team could have done it all for me.
James and I loaded Poppy’s shiny, new 1776cc engine into the boot of my car and I headed off to Aylesbury to see Poppy and deliver it to our mechanic ready for reinstallation. All engines come with a 12-month unlimited mileage warranty. Not that I expect to need that – these are built with the best quality parts, sourced from America, Brazil, Denmark amongst others to give longevity of your new engine to ensure that you get as much time with it as possible.
Instead of getting your local mechanic working on your engine that has not run correctly for many years, consider taking it to James and the team. Or take the vehicle and have them change the engine. Or they can just supply the main part of the engine for someone else to do the fun bits. Whatever you choose to do, don’t forget to mention your membership of the club to get the discount that varies depending on which engine you need.
Example prices for a turnkey solution where you take your vehicle over (club prices, not available to the public) are:
Turnkey Service £595+vat (transfer all of your engine’s bits from the old to the new engine)
Basic service parts (oil, fan belt, fuel filter, ancillary nuts and bolts etc) £70+vat
Engine removal and refitting £495+vat
Plus any potential ancillary replacements that may be required or that you may wish to be replaced at the same time.
Lead times depend on the time of year but would be typically 3 to 8 weeks’ notice, and your vehicle would need to be with them for about 2 weeks.
My thanks to James, Patricia and the team at the VW Engine Company for showing me around and helping me to understand in depth about the operation and what they can offer us.
You have surely heard of them and most likely seen them but do you know about them?
Solar panels capture energy from light (not necessarily sunny days, bright will work), using a photovoltaic cell that generates electrons when it is exposed to light. These flow through the circuit and create electricity. With the right number of cells, these panels can act almost like a battery to provide electricity – however they obviously do not generate without light and the current varies depending on the weather.
For those of us in sunny countries, who like to go away in our vehicles and who use 12-volt electrical items, solar charging is now possible. In fact, it is quite easy with a small amount of reading and hopefully this article will help.
The theory
You have a battery that I’m going to call the leisure battery, but you can call it a second battery or camping battery. It powers your various camping related items but is not designed to run large appliances like heaters or disco units!
You want to charge that up for free from the sun so that you are not tethered to an electrical socket on each camp site.
The calculation
List all equipment that you have in your vehicle that needs powering from 12 volts
Check on the equipment or in the manual (which is probably online too and you can magnify the text easier!) for the wattage or the amperage. Make a note of each one in a list.
Think about how often you use each item in each day and be realistic.
Think about when you camp.
Now, convert the amps to watts by multiplying by 12 if you only noted the amps.
Otherwise list each item like this:
Fridge uses 60 watts and will be in use for 12 hours per day on average when in the UK. That makes 720 watt hours per day.
Lights are 2 watts each and I use 4 of them making 8 watts. In use for 2 hours each. Total is 16 watt hours.
I use 2 USB sockets that are 7.2 volts and 2 amp which is a maximum of 14.4 watts. Total of 3 hours per day. That is 44 watt hours.
Then add up all those little watt hours to get a total for the day. In this example I get 780 watt hours. It doesn’t really matter what that means, just get the number!
In the UK I think we can get 6 hours of sunshine per day in the summer and 4 hours in spring and autumn (fall). Your country may be different and your feeling might be different.
You then take the total watt hours, in this case 780 watt hours and divide that by the number of hours of sunshine (aka charging) to get the number of watts of input charge you need to counteract the discharge. 780 watt hours divided by 6 hours is 120 watts.
Therefore to replace the lost charge I need a solar panel that has an output of 120 watts. If you need more than 100 watts, consider more than one panel.
The solar panel itself
They come in 3 main flavours, choose the type you prefer!
Briefcase – these pack away and get stored unused when travelling. They can plug into the cigarette lighter that connects to the correct battery.
Solid frame free standing panel – these can either be inclined towards the sun and stood on the grass when you are pitched or could be mounted on the roof of your vehicle. They tend to be the least expensive.
Flexible and semi-flexible – these tend to be the most expensive and will be the focus of the rest of this article. They can be permanently attached to your vehicle.
Attachment
We purchased a 100 watt solar panel that is “semi flexible” meaning it is about 2mm thick and bends a little but bending too much will break it. We have used both Biard and Renogy panels but other manufacturers are available. The price is around the £100 mark for the supply only of just a flexible 100 watt panel and around £180 for a flexible 200 watt. We would recommend buying a branded panel and ensure that the physical size matches the quoted watts – 1 square metre of solar panel will generate just over 100 watts. If the panel is tiny, walk away!
We then purchased a used roof rack and connected it at the back of our bay window to the roof gutters with a little modification as roof racks are generally lower and narrower than a Bay window needs! It did cost £4 though!
As an expedient, we laid the panel on the grass upside down, laid the roof rack on the panel also upside down and gaffer taped the two together. It was a plan for a couple of months before glueing the panel to the Dormobile roof and 5 years later it was still gaffer taped but is now bolted to the same roof rack.
There are two cables coming out of the solar panel and remember they are live except in the dark so tape them up / ensure the ends are not able to create a short circuit.
The clever box in the middle
You cannot just wire the solar panel to the leisure battery – bad things will happen. You need a box in the middle that will stop the leisure battery sending its charge out through the solar panel into the night. It stops the solar panel over charging the leisure battery so far that it explodes. You need to avoid that. This clever box is called a regulator or solar controller and comes in 2 main types – PWM (pulse width modulated) and MPPT (maximum power point tracking). The PWM is less efficient at getting power out of the panel into your battery but is generally a lot cheaper. MPPT would be recommended if you camp outside summer as it is more efficient in less than full sunny days or if you have more than one panel. Do not buy an MPPT controller under about £30 as they tend to think they are MPPT controllers but are just expensive PWM controllers.
The clever box for us was a cheap PWM controller that was about £10 / $15 and has just 3 lights. Charging, discharging and battery health (green is good, flashing is full, red is bad). This has since been replaced with a Renogy MPPT controller at £120.
Wiring it
We dropped the solar panel cables down the air vent at the back so that there are no new holes on the van and therefore no chances of a water leak! Then got the wires up next to the spare wheel inside the vehicle as the controller is easier to see and that engine bay can get quite warm.
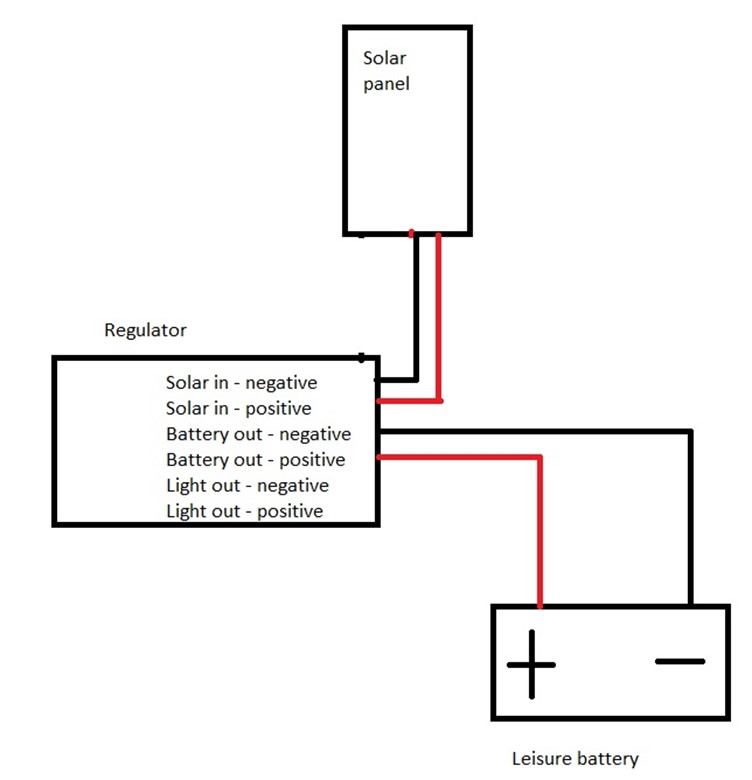
The leisure battery has two new wires, leisure battery positive to the hole on the regulator for battery positive. And then battery negative to regulator battery negative.
Then the solar controller should give you a light on the box.
Next I connected the solar cables – positive first as it is always live in daylight – to the solar controller / regulator. Now my controller had a light saying it was charging.
Then I checked the voltage coming from the controller to the leisure battery – I was getting over 13 volts! It works! I used a dedicated wire directly to the battery rather than using the chassis.
Next step
Take the “Light out” positive and negative terminals and use those to power your leisure items – DO NOT run anything directly from the leisure battery, then the controller can shut off power if the battery gets low. Erm, that’s it!
Now I have a solar panel permanently on the roof, always charging from dawn until dusk even on the move. The regulator means that even with the engine running and the split charge working, we do not over charge the leisure battery and it works even under the car port in the winter keeping that battery going until spring time.
Total cost of solar system for 100 watts non-flexible panel and PWM controller is now under £100. A 200 watt flexible panel and MPPT controller is about £300 at time of going to press. Cost of replacing the leisure battery every year £120. Saving on electricity per night at a camp site is up to £10 per night. This system seriously pays for itself in no time.