Hello, my name is Tish and I’m having a go at writing some camp friendly recipes. We have a small 70s two hob stove like I’m sure many of you do. I carry on board a small and large cast iron saucepan and a none stick frying pan. I’m also a bit of a foodie so I have a small wicker basket on board which always contains – a proper salt and pepper grinder, olive oil, stock cubes, a few dried herbs and cinnamon. I also like to have some chutney/pickle/jam around too. Great for making fancy sandwiches or elevating a charcuterie board when it’s too hot to cook. Whenever my husband complains about fuel economy I just shrug my shoulders.
I tried to incorporate bits you’ll have on board for breakfasts or have at home to use up. With the cost of camp sites going up, and restaurants increasing their prices (understandably) it’s nice to try and save a few pennies where you can.
This can be made on a camping stove, or at home and warmed up on site.
You’ll need 2 hobs
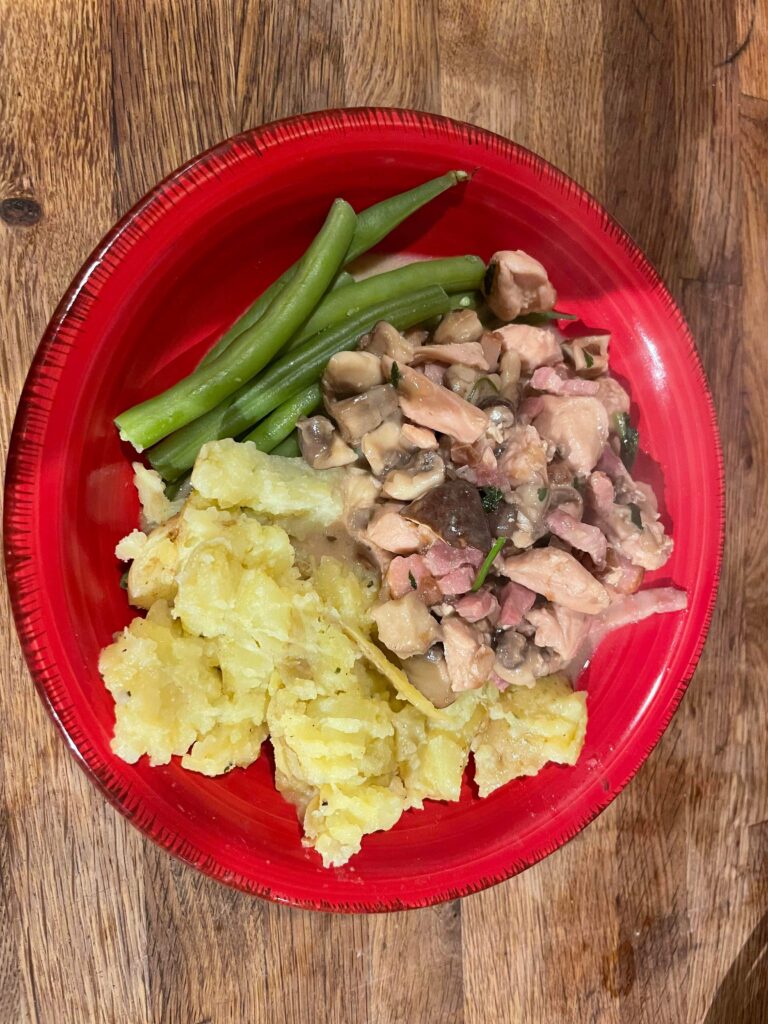
Whatever chicken you have available (about 250g) or vegan alternative. Chopped. Bacon lardons (I used smoked for extra flavour) Mushrooms 200g Chicken stock Cream cheese (at least a tablespoonsworth – useful if you’re using it for breakfast!) Small Waxy potatoes. (You can precook these at home, they travel well – or boil in a separate pan) Salt and pepper and some butter.
Instructions Boil a full kettle. Once kettle is boiled add almost all the water into a small pan, add your potatoes on to boil. (Omit this if you’ve precooked them at home) try reserve about 100ml of water. Add a small bit of oil into a medium saucepan and once hot add in chicken and bacon. After the chicken starts to cook through (about 5-10 mins) crumble in your mushrooms. Leave for another 5 minutes to soften. Now you can add in your stock, soft cheese, salt and pepper with 100ml of water. (I add in some onion chutney here) Leave this to bubble and reduce. At this point you can add your peas into the stew or green beans into the same pan as the potatoes. Neither need very long. Once potatoes are soft, pop onto a plate and crush gently with a fork. Add salt and pepper to taste and as much butter as you like. I’m not your doctor! (If you’ve precooked your potatoes, similarly crush them and warm them up in a pan with some butter, salt and potatoes) If you wanted some fresh herbs now is the time to mix into the stew.
Then divvy up into bowls and enjoy. To make this a one pot lower carb meal, omit the potatoes entirely. Or if you’re low on cooking facilities the stew can be happily mopped up with some bread.
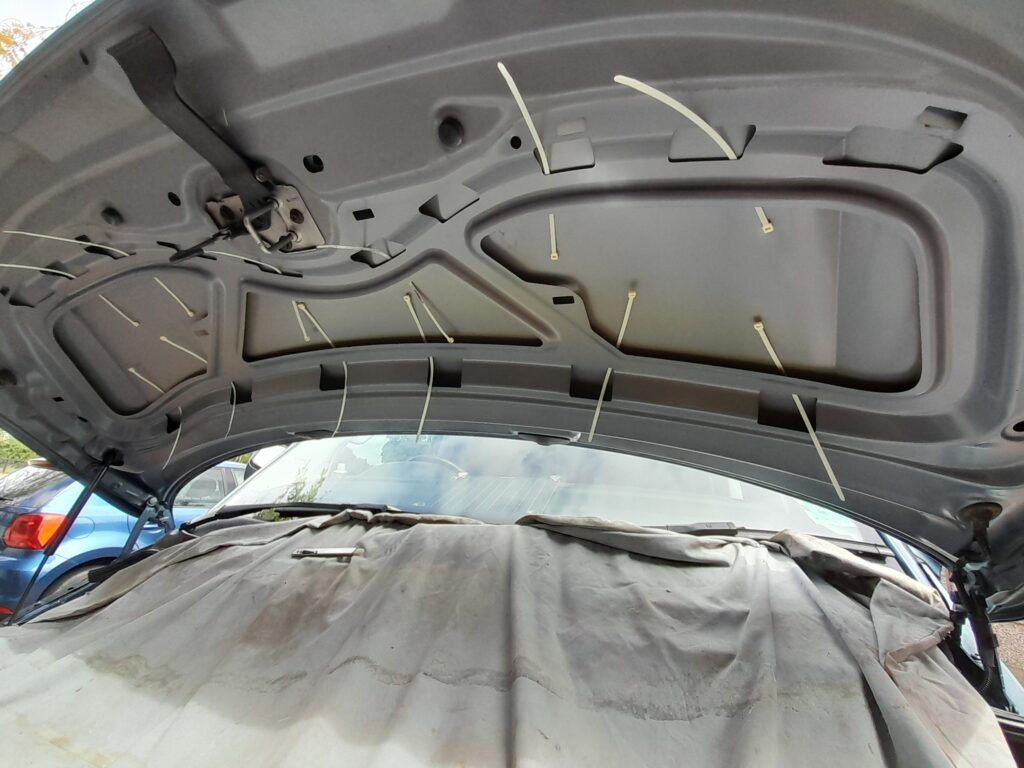
Fitting my competition prize (at last). Quite a while back I was lucky enough to win an Engine Fire Fighter, Automatic engine fire suppression device in one of the club competitions as supplied by our friends at Just Kampers.
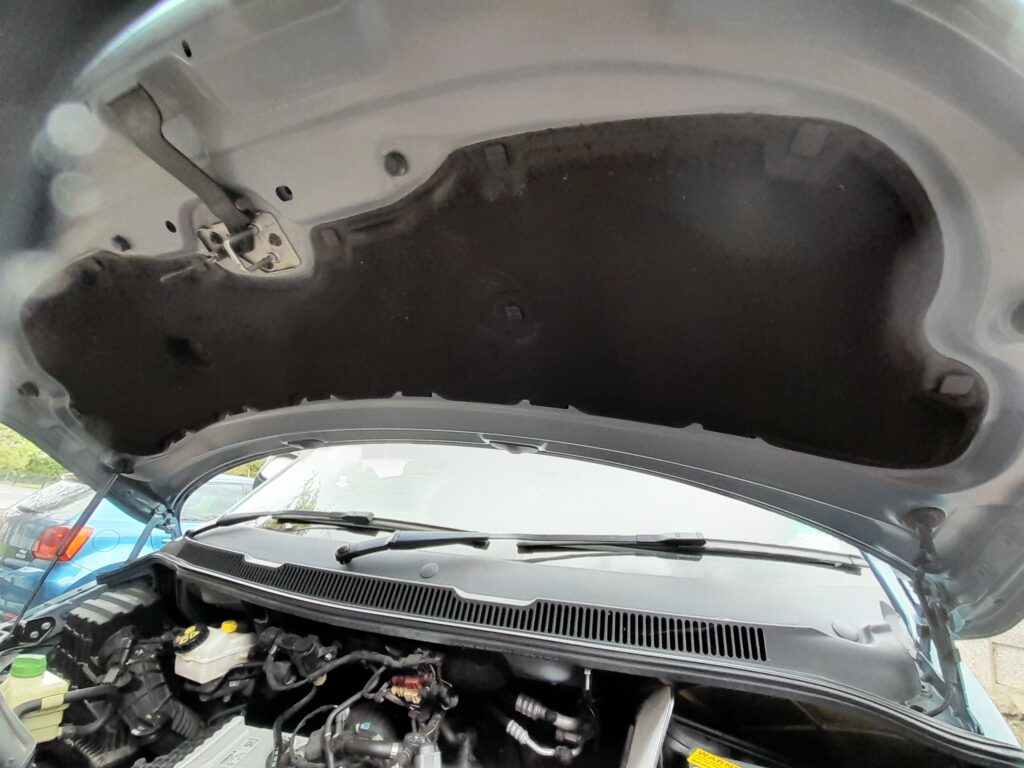
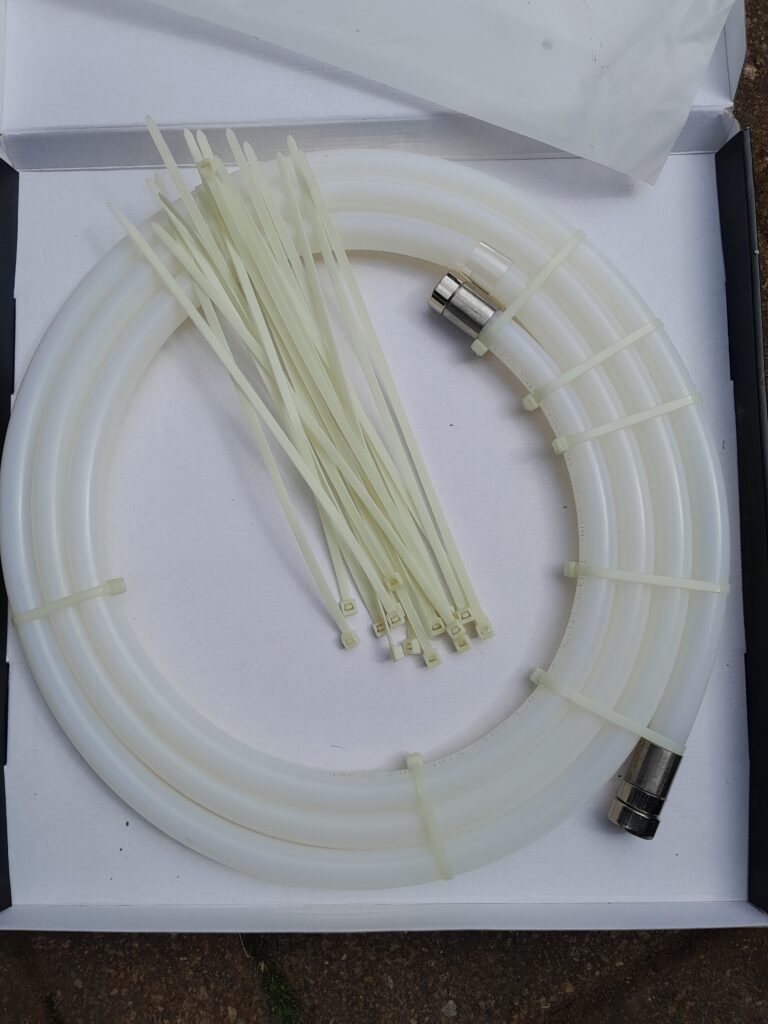
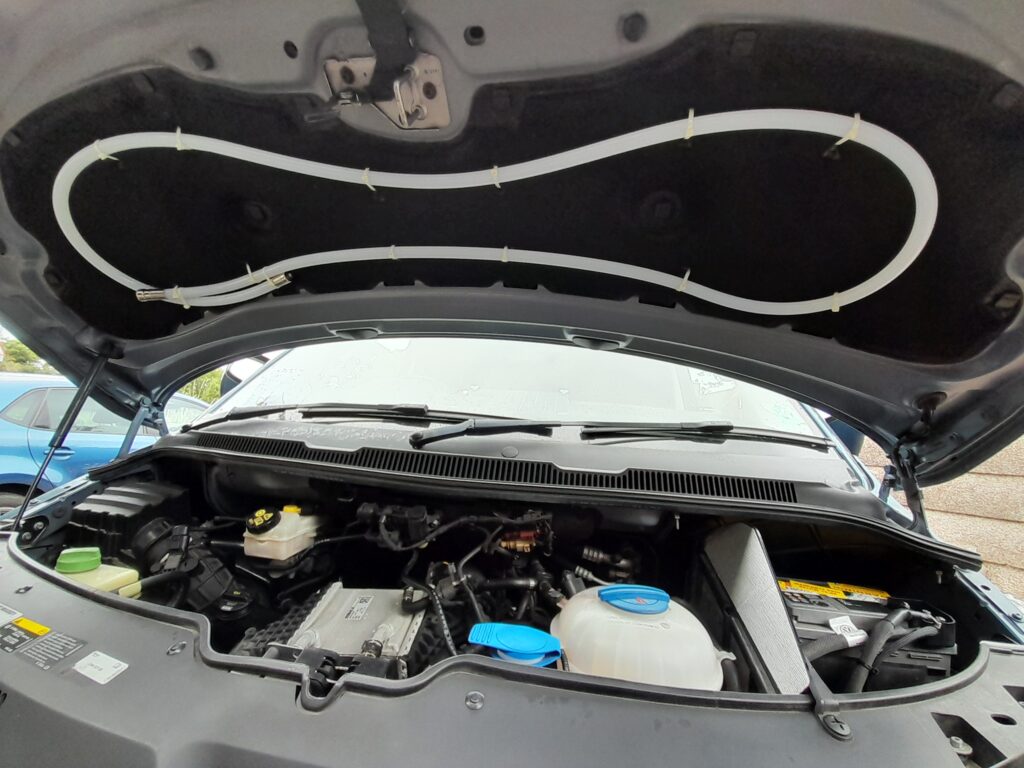
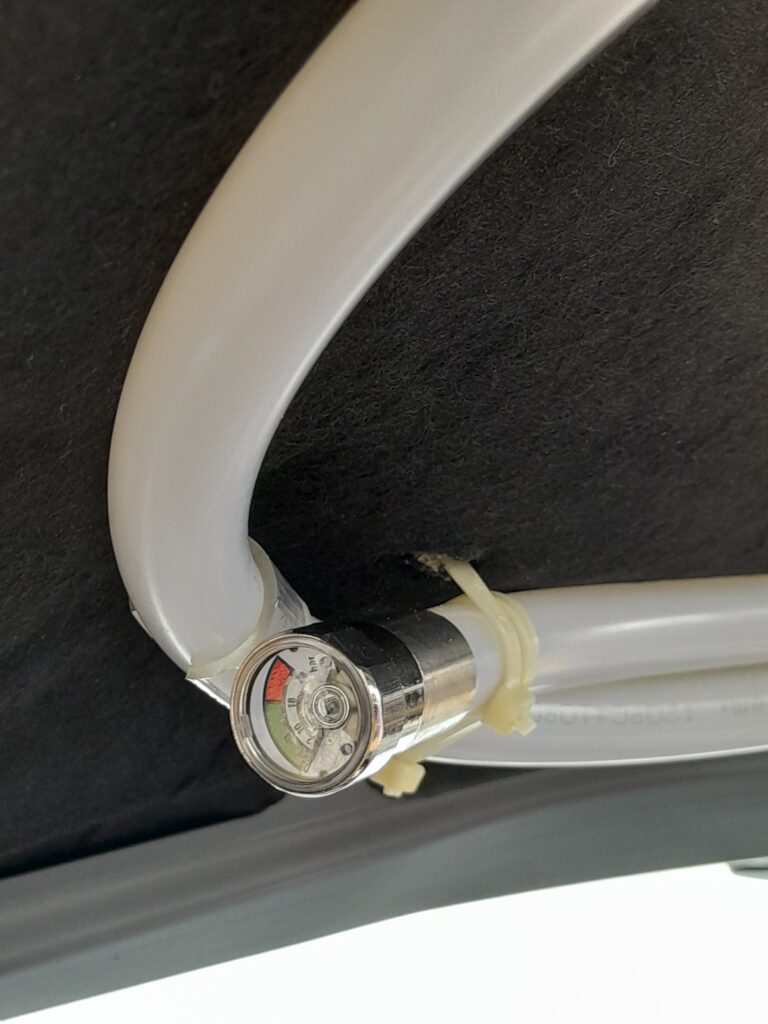
It’s 3m in length, has a burst temperature of 120 degrees centigrade, fire rating class A,B,C,E and only takes five minutes to install (as long as you don’t have to work around other fittings such as an under bonnet insulation pad that is). It’s still not a long job though!
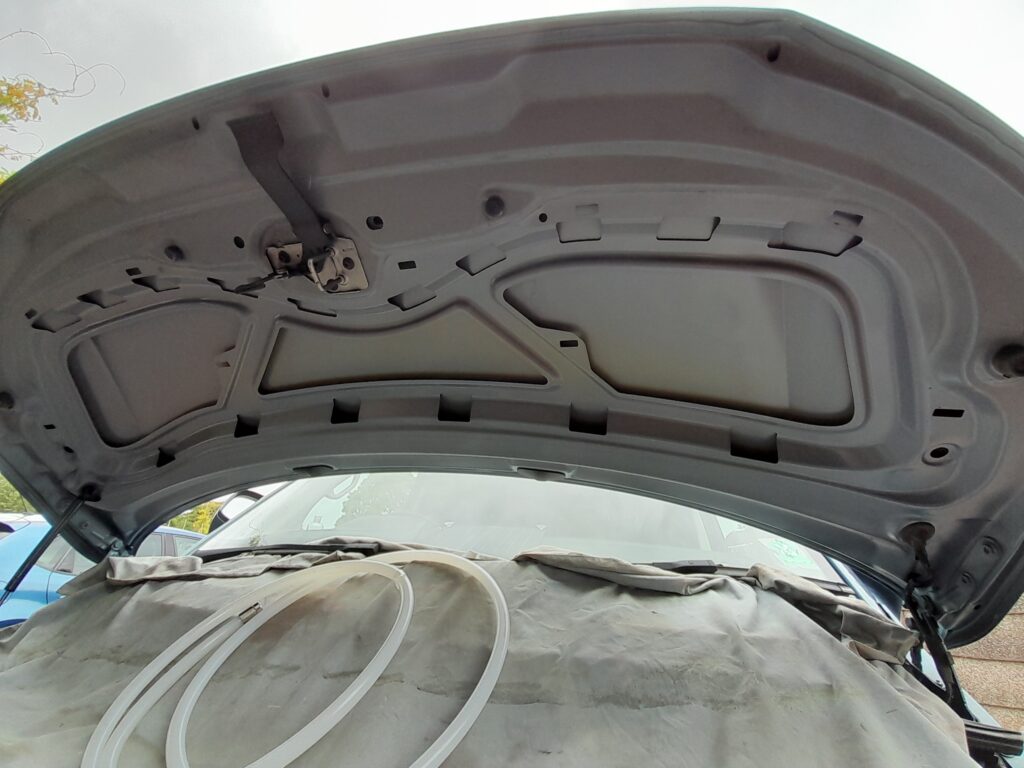
I decided to remove the pad and utilize the bonnet framework to attach the included cable ties to secure the extinguisher to the bonnet.
It is advised to use these cable ties as opposed to wire because part of their job is to melt in the eventuality of an engine fire and allow the extinguisher to drop onto the engine.
Passing the ties behind the framework wasn’t too hard, although I did have to make some small holes through the factory mastic in a few places. Next, I marked and made holes in the bonnet pad to enable it to be put back in place. This was the trickiest part, achieved by temporarily taping the two ends of each cable tie once passed through the pad and when all were in position I could reattach the pad to the bonnet. It was then just a matter of cable tying the extinguisher into position and hope it’s never called into action.
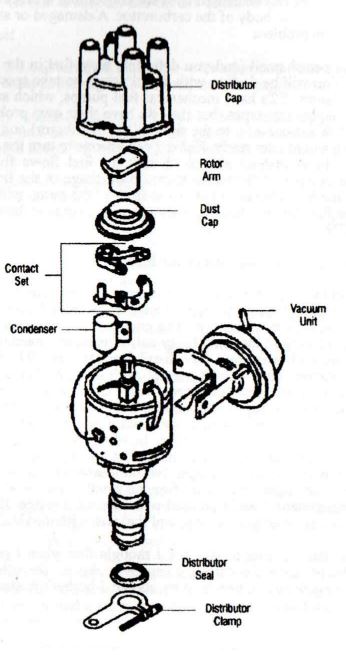
Within a petrol engine, a spark is required at the exact moment when a gas (of air and petrol) is compressed by a piston. For the spark to exist at all depends upon three essential parts: the distributor, the coil and the contact breaker. There are two electrical components in this system, called the High Tension (HT) and Low Tension (LT) circuits.
The LT circuit consists of the battery, the coil and the bottom bits of the distributor, namely the contact (with its points) and the condenser. The HT circuit has the spark plugs (and their leads), the top part of distributor, namely the cap and the rotor arm, and the link cable from the coil to the cap.
The coil is essentially two windings of cable; a primary winding of only a few turns of thick wire and a secondary winding of many thousands of turns of finer wire. Initiating voltage to the coil (and starter) is activated by the ignition switch and supplied by the battery. The energy goes directly to the coil’s primary winding, then to the condenser and contact breaker. (The condenser is there to prevent excessive arcing at the points). The primary coil is now active but at an exact moment (when the contact breaker points open), the circuit is broken, and this generates a very high voltage within coil’s secondary winding.
We now begin to follow the HT circuit. From the short link between the coil and distributor, thousands of volts are fed to the rotor arm via a graphite bush, inside the distributor’s cap. Here also are the terminals to all of the engine’s spark plugs. The rotor arm feeds each one in turn as it rotates, again at an exact moment, and the spark plugs receive several thousand volts, arcing across their end terminals.
The HT circuit is completed and an explosion occurs within the cylinder, forcing the piston down.
Ignition fault finding
Symptom – The engine turns over, but doesn’t fire at all.
The chances are that it’s an ignition problem; to make sure, pull a lead off a spark plug, hold it near the engine block and get someone to turn the engine over. A big blue spark means a carburettor (fuel) problem (see later), or defective plugs.
So there’s no spark at all. It’s a good idea now to determine whether fault lies in the Low Tension or High Tension circuit, as this then eliminates a number of variables, saving time.
Pull out the short HT link from the coil terminal and hold it a few millimetres away from its socket. Get someone to turn the engine and watch for a spark. If there is a spark, the HT leads to the plugs or the upper part of the distributor is defective. No spark at all means the coil is suspect and the LT circuit needs testing.
Testing the HT circuit
Put the link back into the coil terminal and remove its other end from the distributor cap. Hold the end close to the engine block and turn the engine over. A weak spark probably means the condenser is short circuiting; don’t mess about with it, it’s irreparable, and easy to replace. No spark at all means the HT link from coil to distributor is defective, or the coil has had it. Replace both.
A strong spark means that we have to apply another test.
Replace the short link into the distributor cap terminal and remove one of the plug leads from the cap, and hold it close to its terminal. Tum the engine over. If there’s no spark, the distributor cap is defective (dirt, moisture or cracks). Ensure the graphite bush and its spring are clean; examine the rotor arm and clean if necessary. Clean the spark plug terminals. If damp, spray everything with WD 40.
If there’s a spark, the leads to the plugs are defective; it is possible that the plugs themselves are also suspect. Take out each lead in turn, hold it close to the engine block, and turn over the engine. If there’s no spark, the HT lead is defective; replace it.
If there is a spark, the plug is defunct; again, replace it.
Dealing with the Low Tension circuit
Notice the term – dealing. Testing the Low Tension side of the distributor and coil requires the use of a test light or meter. If you suspect this is where the trouble lies (after going through the High Tension circuit), it saves time and trouble to just replace the contact breaker points, condenser and maybe the coil (though having no moving parts, it seldom goes wrong). Double-check the wiring; frayed or loose terminals increase electrical resistance, loading the circuit. Sometimes all
that is required is application of a screwdriver, and you’re on the way again. Carrying spare points, condenser and a rotor arm should be as second nature as having a spare alternator belt and bulbs.
Carburettor problems
The carburettor is a precision device and shouldn’t be tinkered with unless you know what you’re doing. Flooding the engine (with petrol) is a very common fault, especially when the vehicle is new to you, or when the engine’s hot. In most cases, all that is required is to rest the engine for a few minutes and try starting again. If the engine fires and splutters, press the accelerator gently (choking). If it still splutters and dies and there’s a definite petrol smell, flooding is the problem.
Repeated flooding can be caused by a sticking choke, a blocked air filter or damage to the float in the body of the carburettor. A damaged or sticking needle valve may also be the problem.
If there’s no petrol smell (and you definitely have fuel in the tank), suspect fuel starvation. You will be dealing with liquid petrol, so take special care with sparks and naked flames. Type 1 upright engines are likely to have mechanical fuel pumps, which are more robust than electrical (diaphragm) types, but they do have their own problems. Find the fuel pump (on air-cooleds, to the right of the distributor) and disconnect the fuel inlet, having a container ready. Either get someone to turn the engine over or do it yourself by hand (safest) and check that the fuel flows from the pump. If it doesn’t, the pump is defective or there’s a blockage in the line or the fuel filter.
Removing the brass hexagon nut at the front of the pump will reveal the pull-out filter. If the fuel line is blocked, a garage will arrange to have the system blown through.
Where am I going wrong? A cry for help.
I have a 1600 twin port in a 1971 T2 camper and average 21 mpg. I drive around at 50-55 mph and don’t go for rapid acceleration. It’s a Devon Moonraker conversion with a low profile pop-top. The engine is a new Veggie replacement, but gives the same mpg as the rattly leaky nail it replaced – much smoother, though.
Timing is set with a strobe – 009 distributor (10 deg BTDC), TDC mark confirmed as correct, plug colour normal with a slight tan coloured deposit and there’s no sign of fuel leaks anywhere. Valve clearances at 0.006 thousandths, checked regularly, but never much adjustment needed and no signs of a misfire; starts well and idles smoothly. New coil, normal carburettor and exhaust (9 months old); tailpipe is always black inside, but no build-up of carbon. The carb has been stripped, cleaned and rebuilt with new float valve, adjuster screws, diaphragms and gaskets with no effect on mpg. No noticeable smoke when driving; oil bath air cleaner looks clean; brakes are free, no smell of petrol when parked, or in the engine compartment; 20w50 oil used with negligible usage. Even on a long run at 55mph I’ve only ever got 24 mpg, and that was with the OLD engine. HELP! !??
Sounds familiar? It does to me; and I thought that when I got round to fitting a 009 distributor, gave the carb a going over and all the things the poster has done, my mpg would improve. Why should I bother? Better to save the money and spend it on petrol!
Why is the mixture so rich – are we to believe that a black inside to the exhaust is normal? (But the plugs seem OK). Can anyone help? Is there something obvious that can be done to improve the mpg that the poster tried? Even if it only improves by 3 or 4 mpg, it’s got to cheer him up, after spending all that money. This guy seems to know what he’s doing, and I sure as hell don’t want to fill the pockets of Shell/Esso/Texaco shareholders while I’ve got my T2.
Vacuum unit
It may seem unlikely, but the answer could lie within this clever gadget on the side of the distributor. The vacuum unit changes the timing of the engine at higher revs giving you a more accurate spark at the time that you need it. This means a better burn, in turn giving the spark at the right time, giving more power, less wasted fuel and therefore better economy.
A worn distributor or the lack of a vacuum unit can be done easily and does not take long for a professional mechanic if you want to outsource it. To buy a brand new SVDA distributor from Accuspark with electronic ignition to dispense with old fashioned points will cost you around £80. This should give you another 3mpg over a non vacuum 009 distributor – more if it is worn!
At 21mpg the fuel is costing you 33 pence per mile.
If the new distributor increases that by 3mpg to 24mpg then the price per mile drops to 28.5p saving you 4.5 pence. Payback on your £80 is in 1,800 miles.
Plus your oil temperature will be slightly lower, what’s not to like?
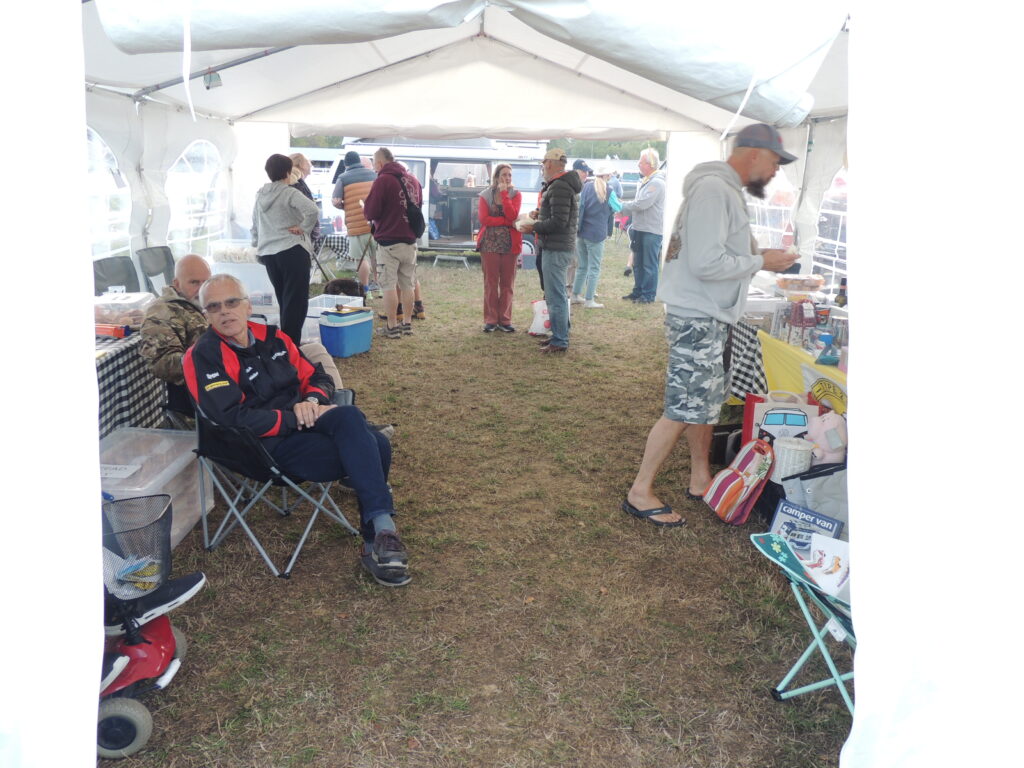
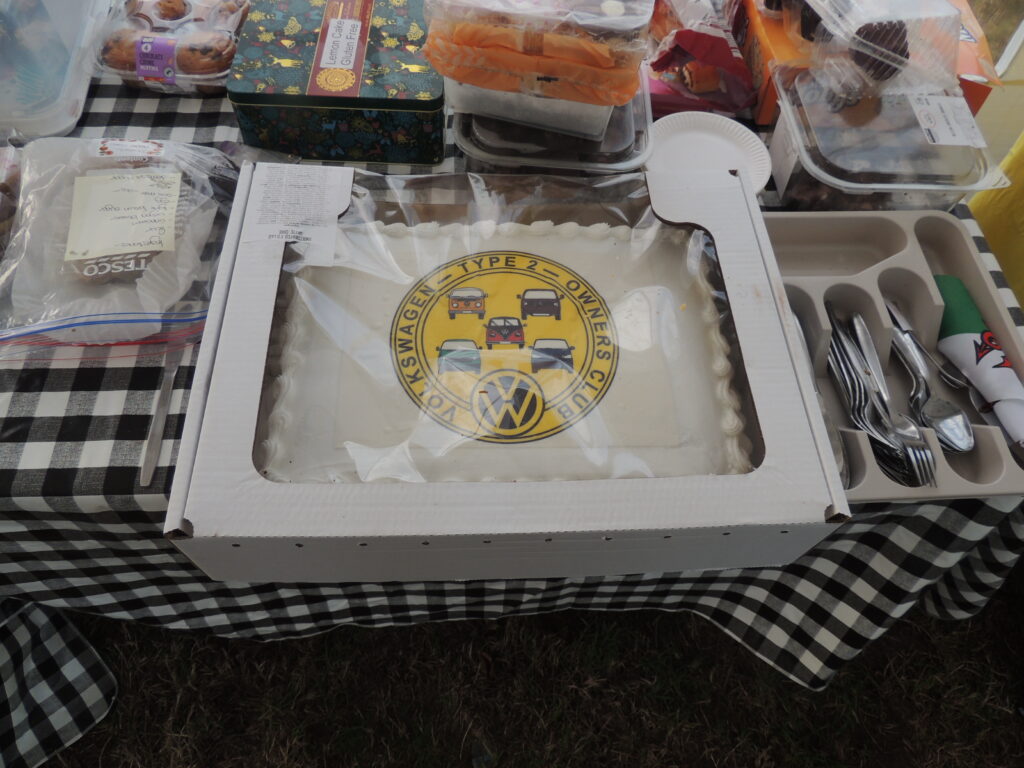
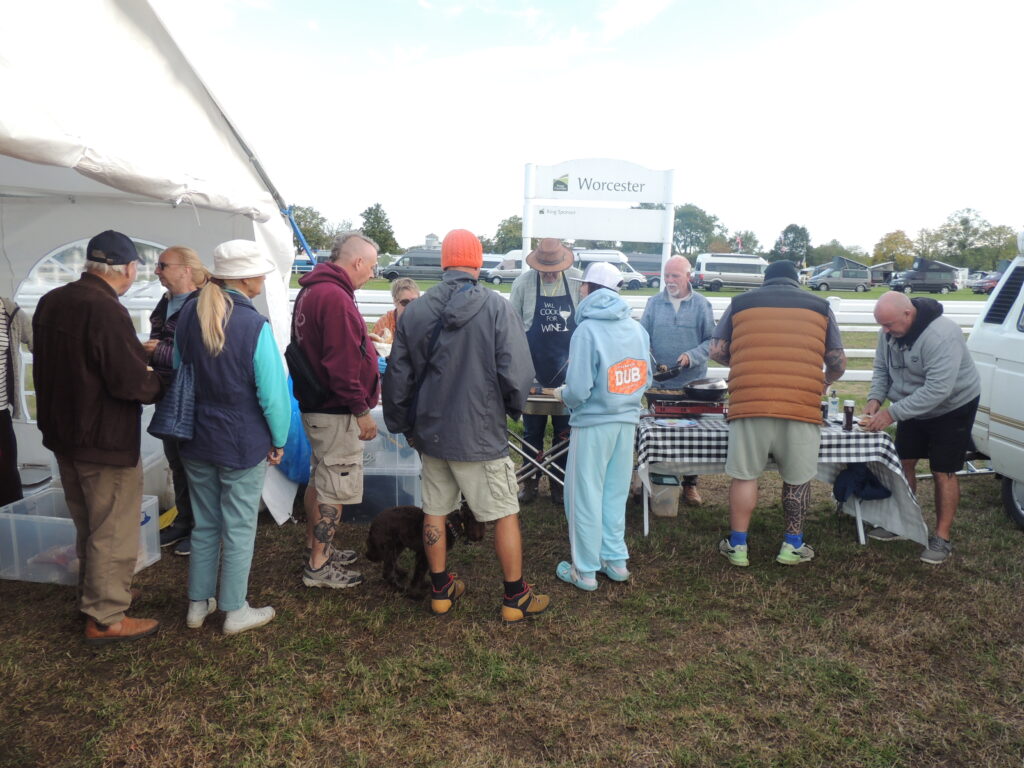
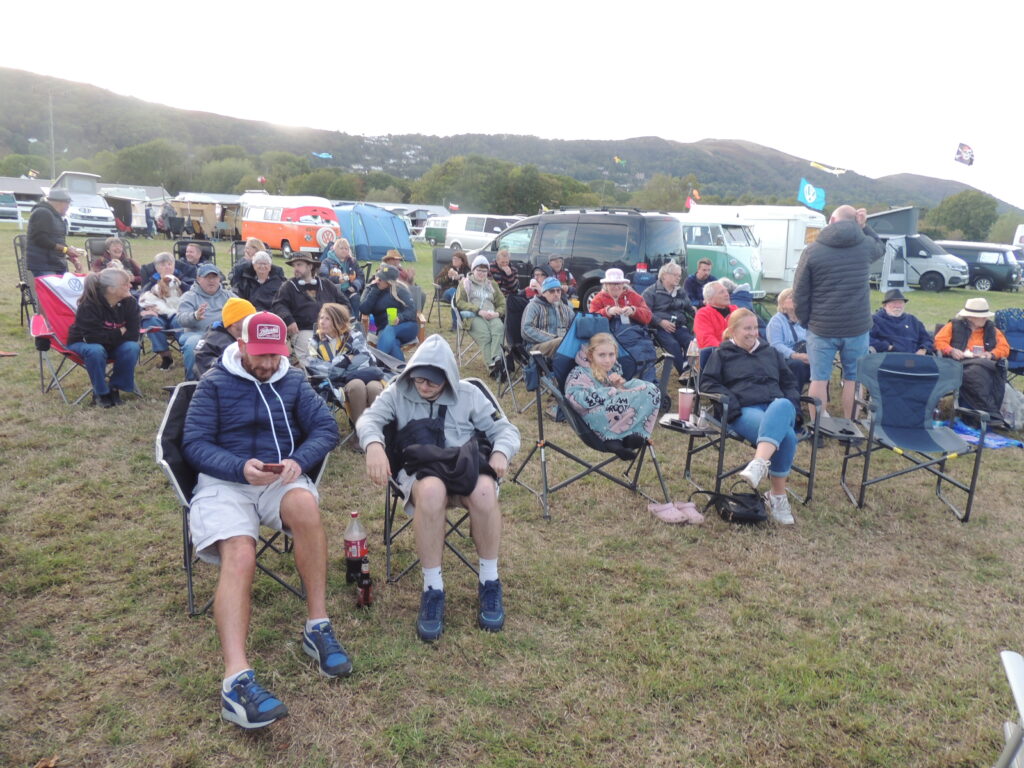
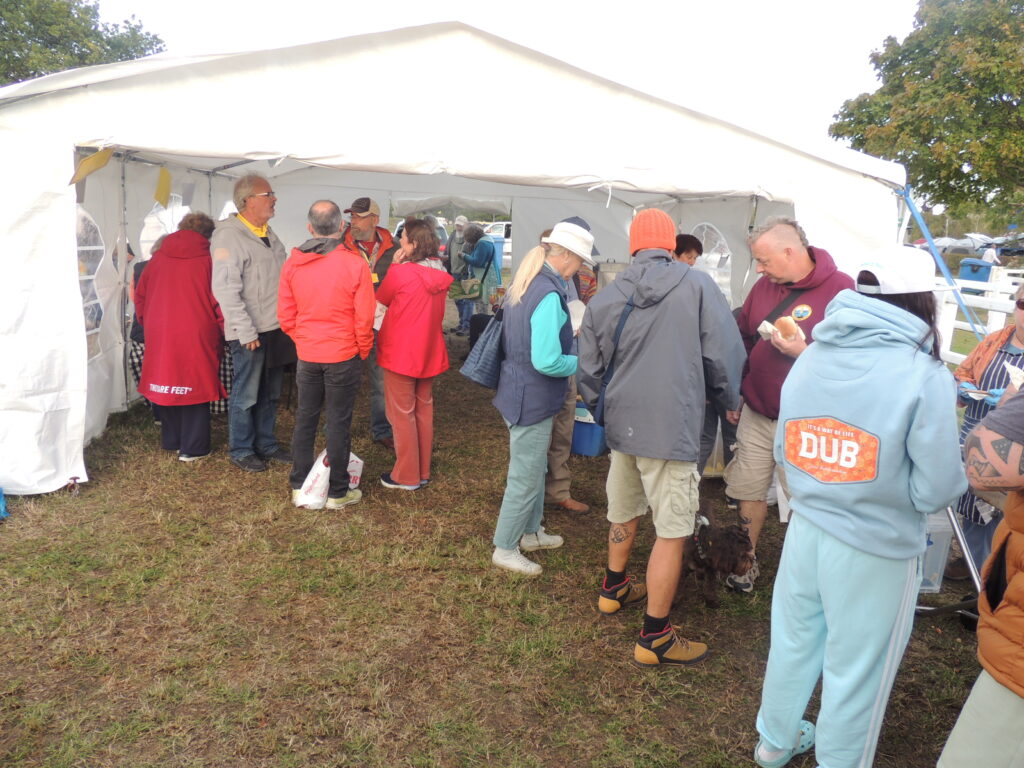
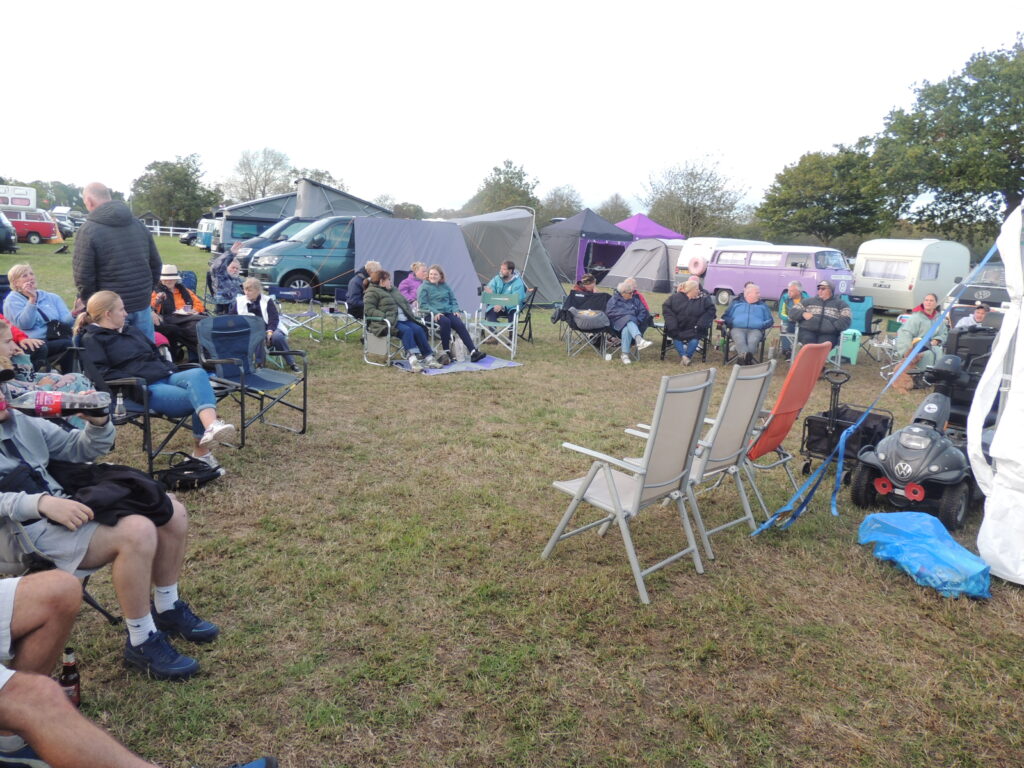
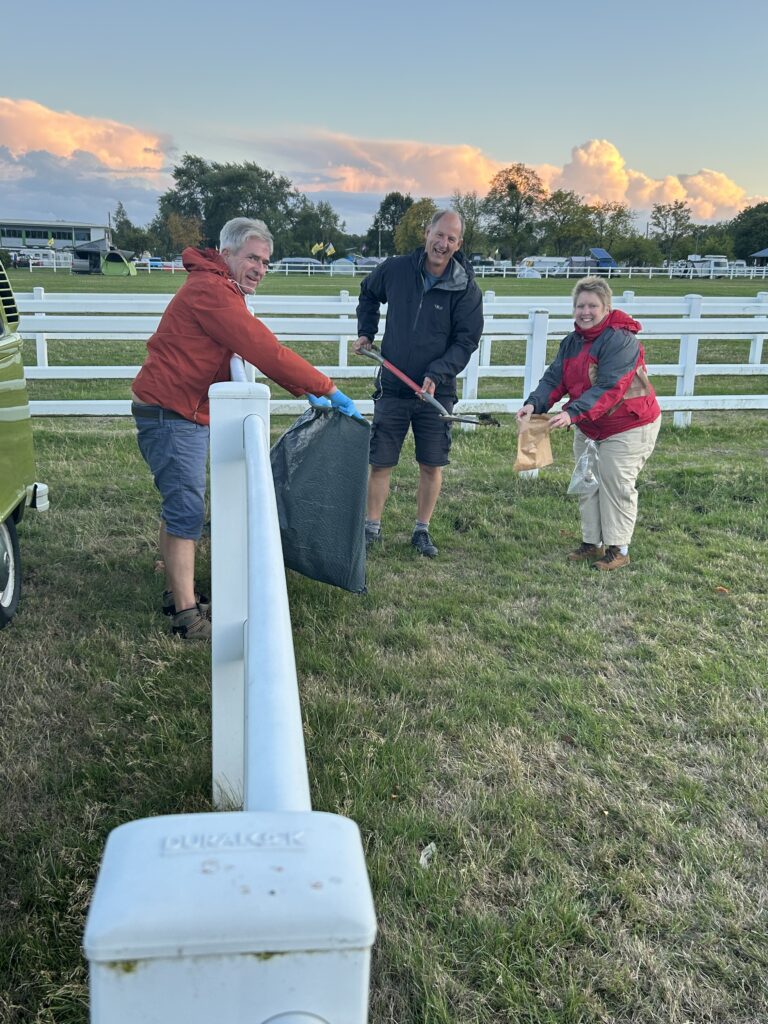
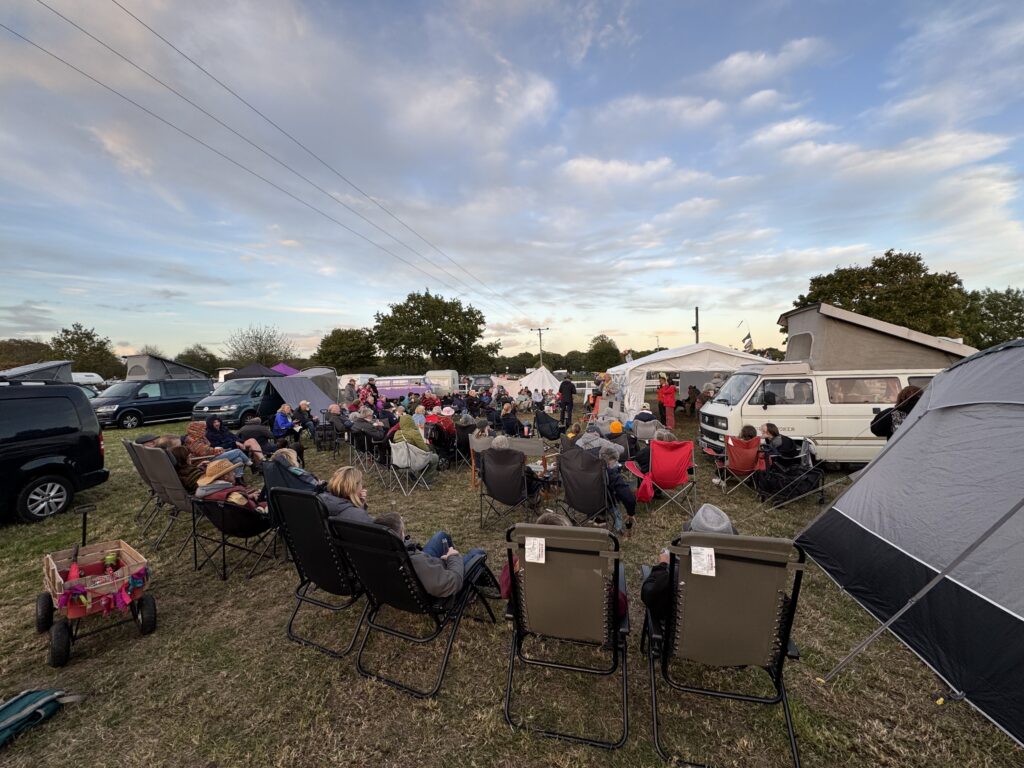
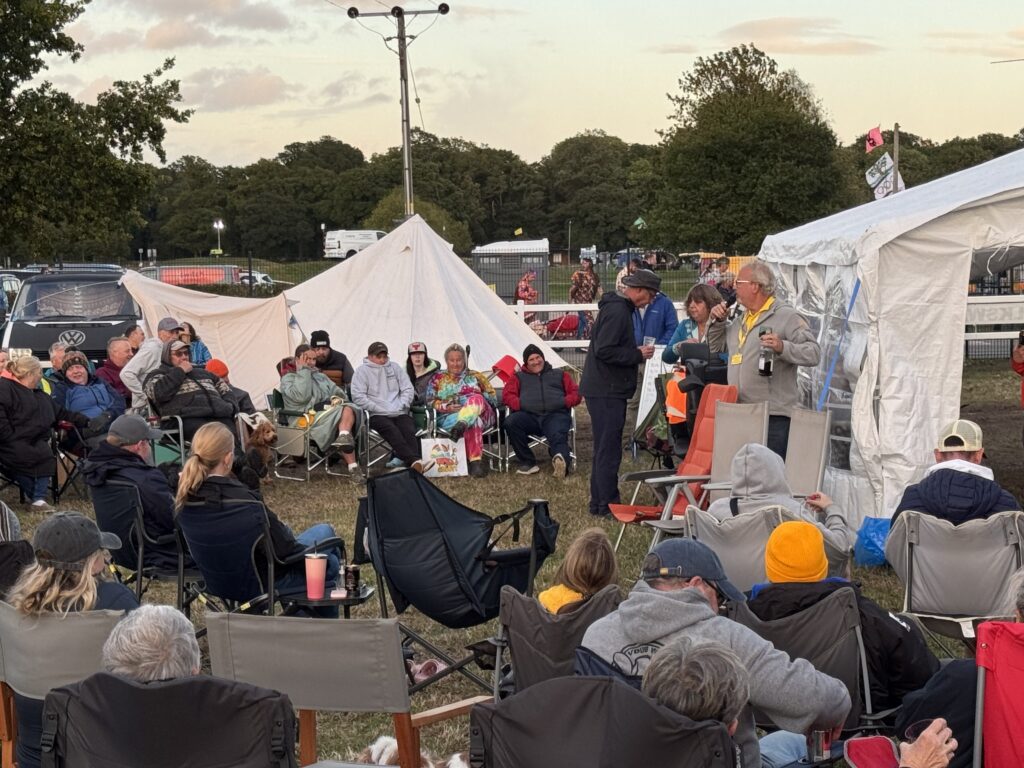
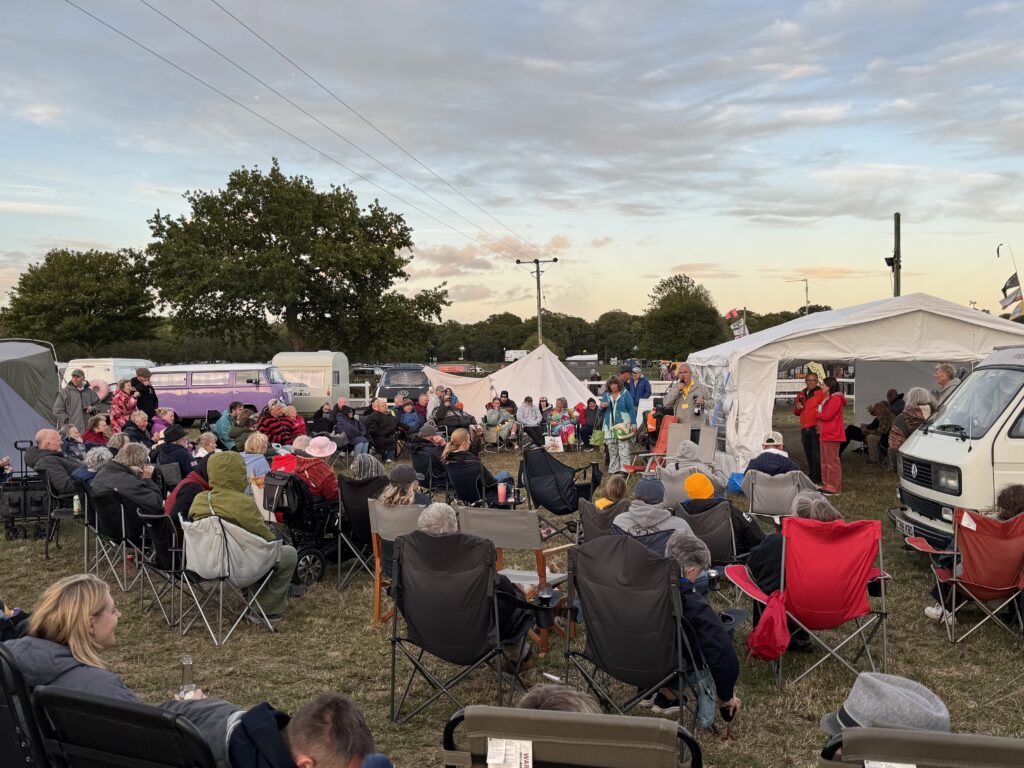
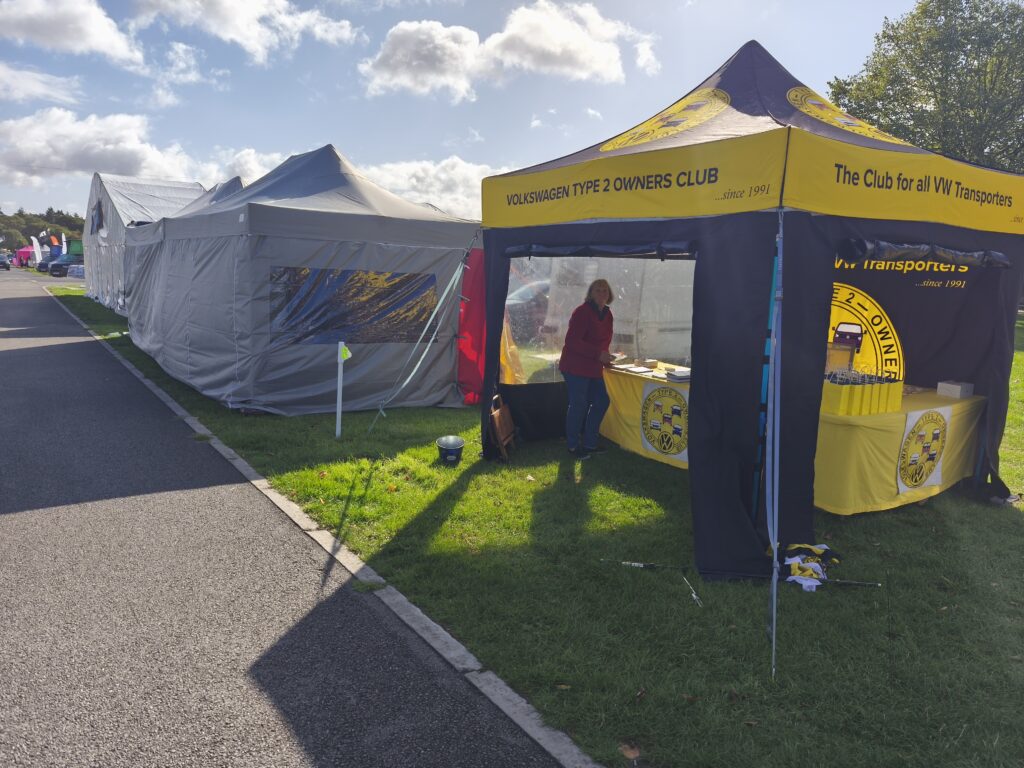
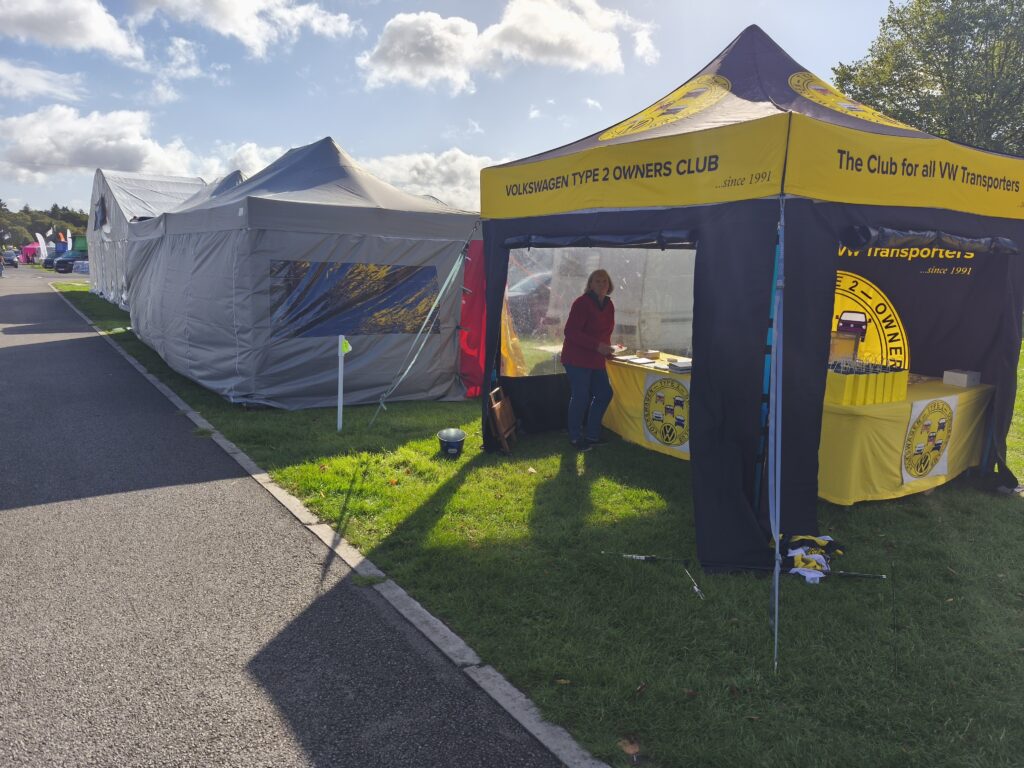
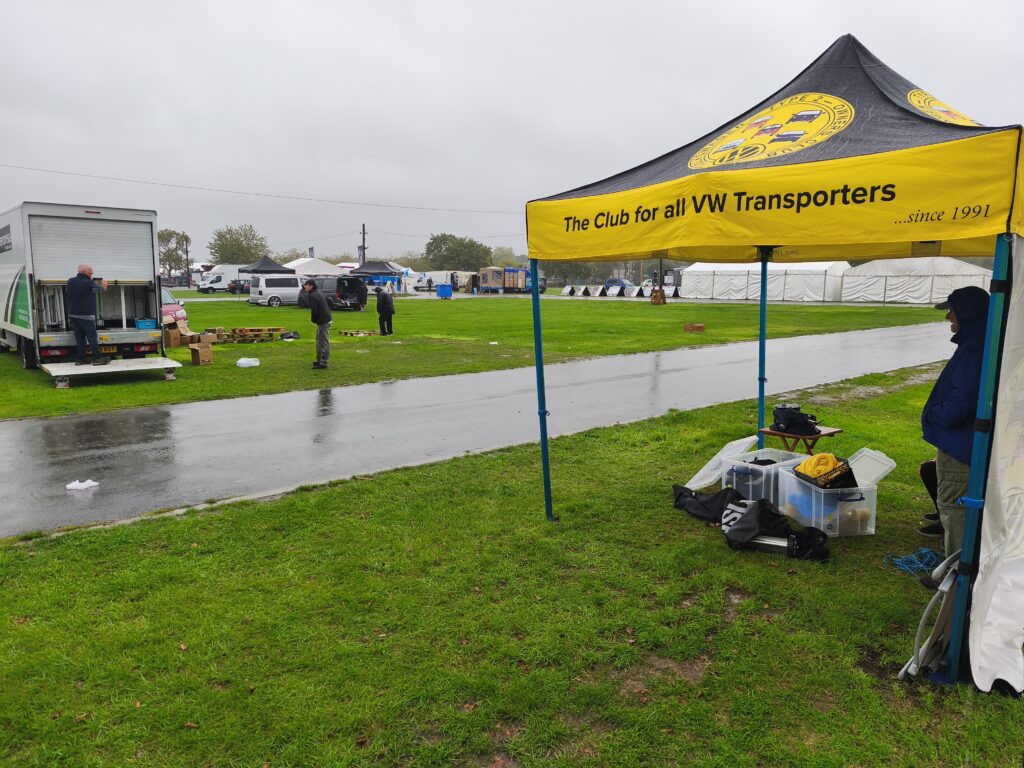
Four seasons in one day! About 100 members arrived into our club field, had burgers on both Friday and Saturday nights, had tea, coffee, cake and biscuits on Saturday and Sunday mornings.
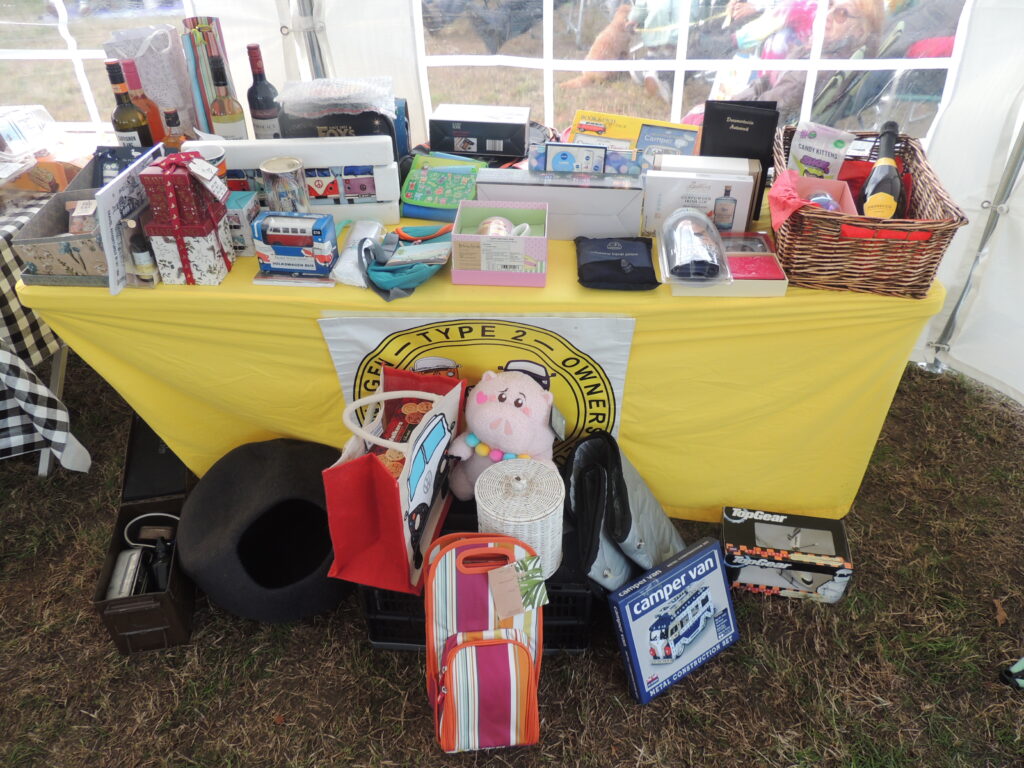
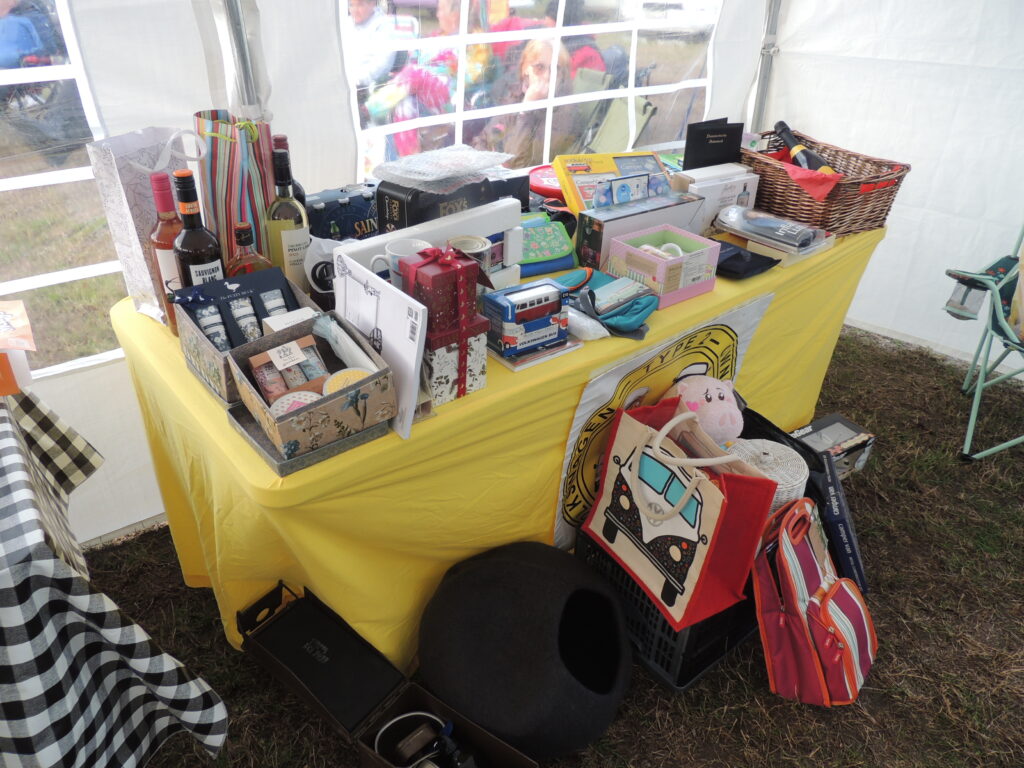
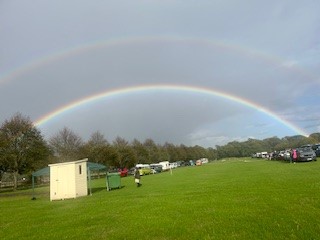
There was a raffle with dozens of prizes, a lot of laughter, some rain, some wind, some sun and that was just our field. Busfest gave its usual array of stalls, music, kids entertainment, displays, for sale, autojumble and lots lots more.
Check the Body (Chassis) to Engine (Drive unit) Earth braid, it is 6″ min. & 8″ max long. It is situated underneath the vehicle at the N/S rear, from the diagonal arm axle mounting bracket to a gear casing bolt, (best to replace this braid anyway!)
Also check & clean the following points: –
Battery un-insulated braid to body (earth)
Battery un-insulated braid to battery (-) Negative post
Battery cable to battery (+) Positive post (a 25 mm2 thick black insulated cable) this connects to
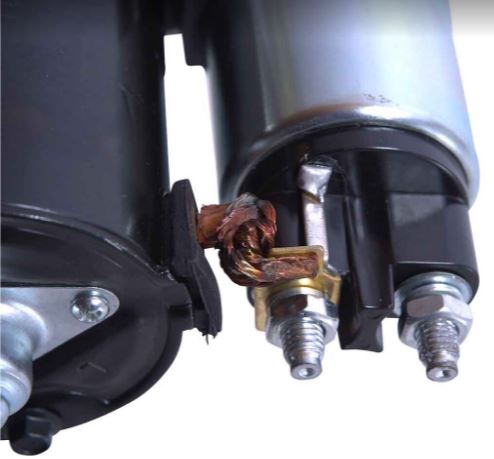
Starter motor solenoid (connection 30) (this is a ring terminal on a bolt)
Starter motor solenoid (connection 30) also has a ring terminal connecting to a 6 mm2 wire having red with white tracer insulation. This connects via a push on ‘250 Faston’ terminal to
Fuse box (fuse No. 9) (a brass link joins this to fuse No. 8) so from
Fuse box (fuse No. 8) has a push on ‘250 Faston’ terminal connecting to a 4mm2 wire having red insulation. This connects via a push on ‘250 Faston’ terminal to
Terminal black ‘T4’ (which has a through connector) so from the other side of
Terminal black ‘T4’ a push on ‘250 Faston’ terminal connected to a 4mm2 wire having red insulation. This connects via a soldered connection to
Ignition switch (connection No. 30) so from
Ignition switch (connection No. 50) a soldered connection to a 2.5mm2 wire red with black tracer insulation. This connects via a push on ‘250 Faston’ terminal to
Terminal block ‘T4’ (which has a through connector) so from the other side of
Terminal black ‘T4’ a push on ‘250 Faston’ terminal connected to a 4 mm2 wire having red with black tracer insulation. This connects via a push on ‘250 Faston’ terminal to
Starter motor solenoid (connection No. 50)
Approximate length of wire between E and N is 13 mtrs varying from 2.5 to 6mm2. Between A and N + starter flange, soldered internal, crimp joints, riveted and loaded switch there are 42 connections and these cause voltage drops!
NOT ALL OF THEM ARE SERVICEABLE!
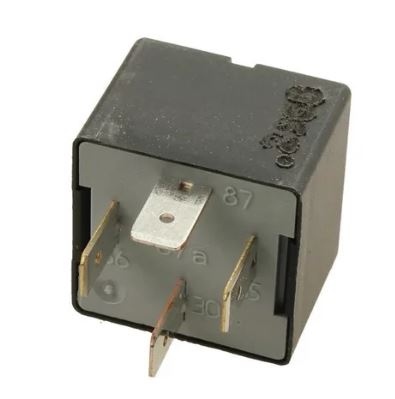
That is an awful lot of cable to navigate. Next time, we will look at simplifying this with a hot start relay system that can be installed in about 30 minutes.
Are you going? Over 100 member vehicles will be in the club field, nearly 500 burgers will be served, the ever popular raffle, tea and cake, prizes and that’s just our field. Then there’s every type of stand, sales, auto jumble, dog beds, blankets, rugs, music, food and so much more.
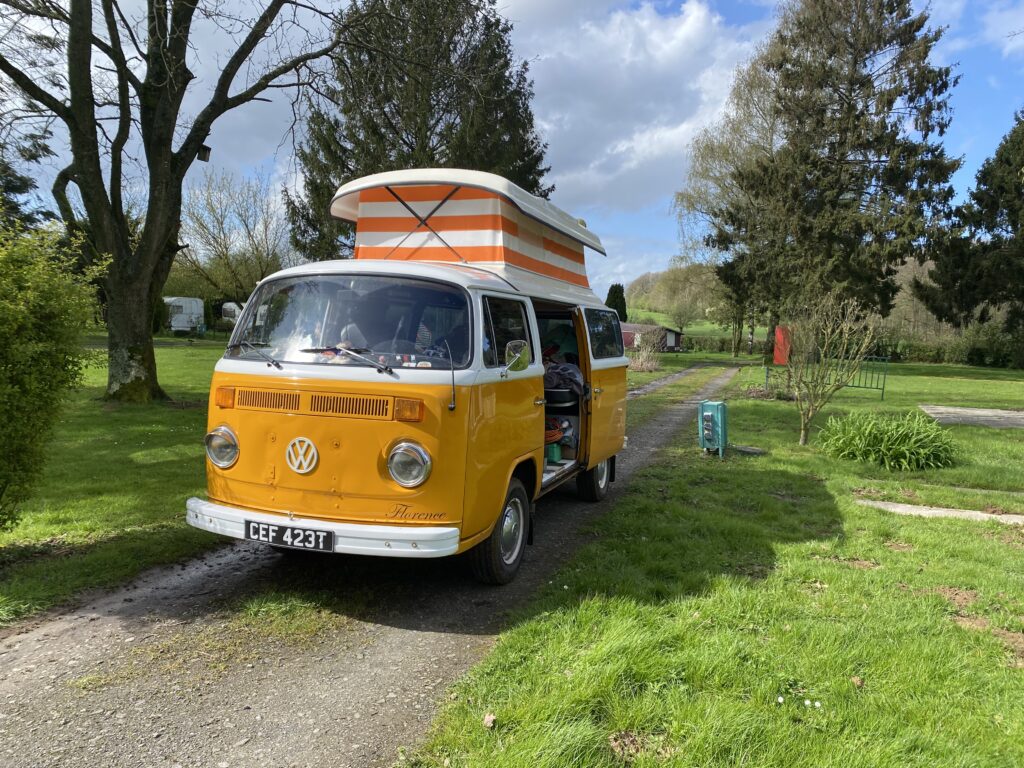
Jayne and I decided to use up a Shuttle ticket that we had carried over since last year.
As she teaches, it had to be Easter holidays. It was a great trip, the Dutch spoke good English, the French were frighteningly helpful but spoke no English. I don’t honestly think this was belligerence, they just have very few UK visitors in this area. Fuel was up to two Euros a litre, we did fill up before we left and arrived back nearly empty. We used Google maps extensively. There is so much information about towns, links to camping and websites.
We planned most of the trip this way, but we left with no itinerary except the shuttle times going and return. To have the best view of this trip, get google maps up and look at the links for towns and campsites – there’s lots of history and pictures.
So, here it is:
Sunday 31st March 2024
Left Somerset at 13.00 hours to Folkestone – Premier Inn – Operation Brock in Situ but good journey with no hold ups. We decided to break the first half of the journey up. Coming from Somerset it was about a four-hour drive to the tunnel. NB One should NOT come off at junction 8 services as have to go back up motorway to junction 7 to re-join motorway. Also note there is a Tesco petrol station at junction 13, worth a last fill up before jolly expensive fuel abroad. Premier Inn at junction 12. Premier Inn is perfectly adequate. There is a restaurant, good beer and adequate food. It does what it says on the tin.
Monday 1st April 2024
Breakfast 7.30 all you can eat- full English or continental. Just 10 mins to the Chunnel check in – perfect. We were able to get earlier crossing (they allow you two hours early free). Arrived France – 11.00 hrs French time.
Calais to Tournai (86 miles) for lunch stop – much longer than anticipated. Nice lunch in the historic square but very slow service – hey we are in France! It’s a very historic town, once ruled by Henry VIII. This could easily have been a day or two in its own right.
Tournai to Dinant 99 miles. – smaller and more enjoyable roads. Route Nationale rather than motorways.
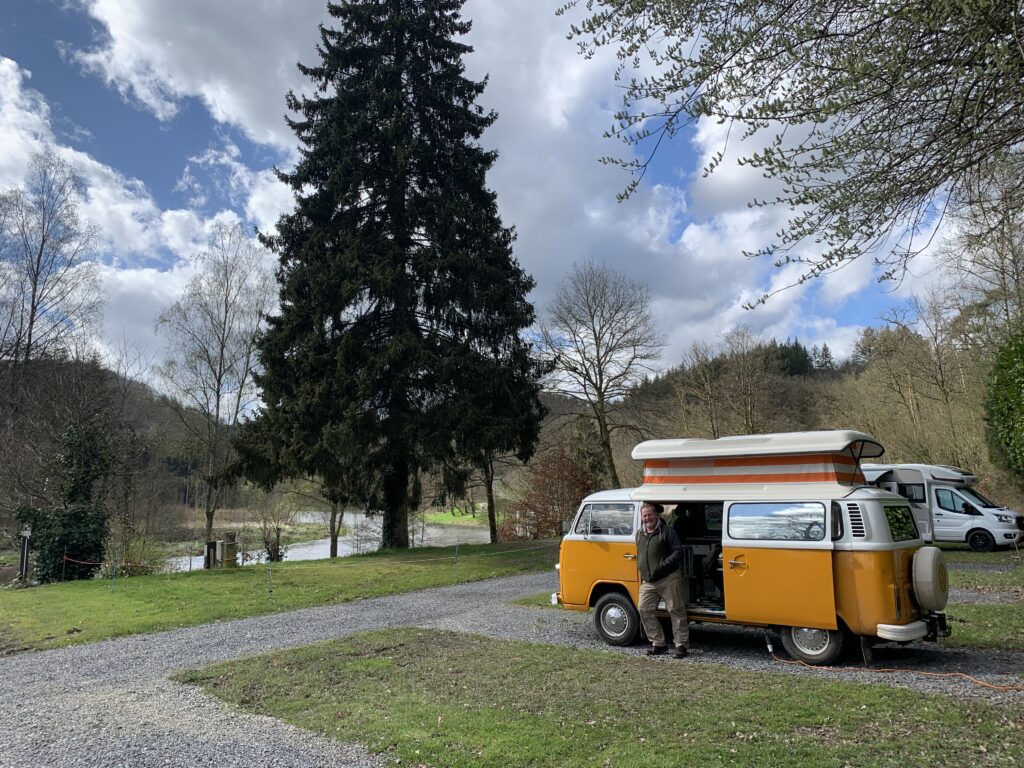
Arrived in Dinant Went straight to Campsite – Camping Parc de vacances Villatoile, Pont – a- Lesse – £ 27 for 1 night with electricity and free showers. Possible to order bread and croissant for morning but we had just missed the time. Beautiful river side campsite with climbing, fishing, kayaking, but super muddy. Bar and café disappointingly closed – one reason why we had chosen it. However, very helpful and friendly hosts – English speaking Dutch. Absolutely stunning setting with old manor house converted into Gites and bar. The sun was shining and Belgium was a beautiful place.
Tuesday 2nd April 2024
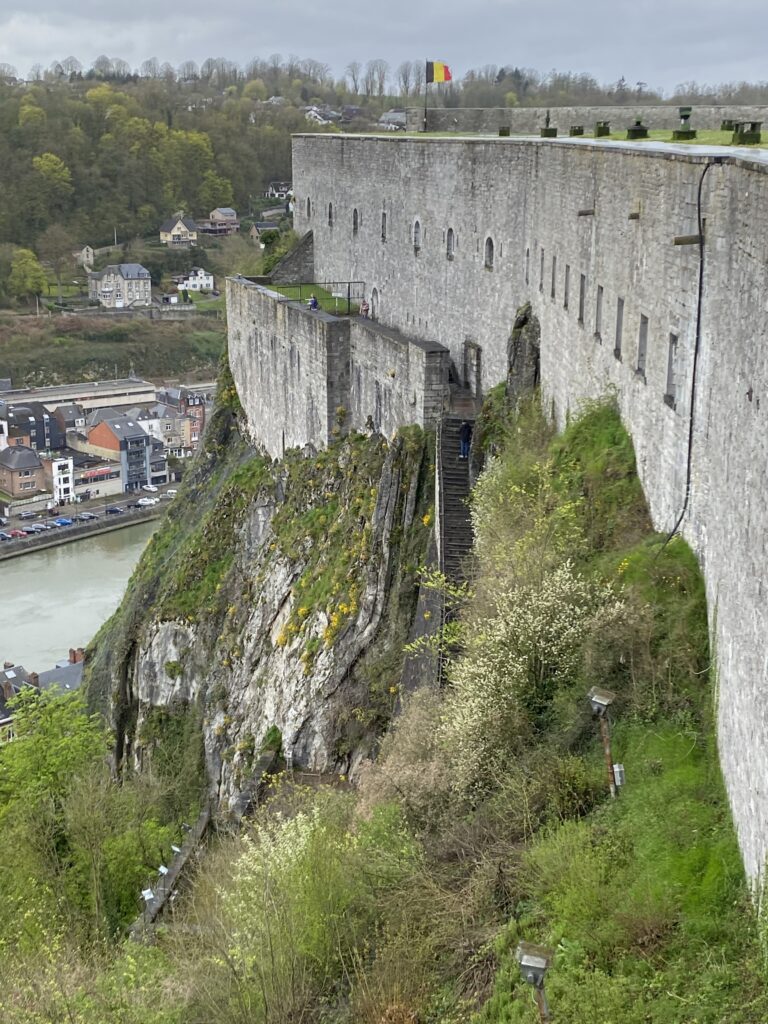
Woke up to warm toasty van due to electricity and 10.5 arctic quilt! Packed up and drove to Dinant – Issue with French parking machine – gave up as assumed they were not working so free parking for us! Coffee and vanilla custard croissants and then up to the cable car to the Chateau. Cable car and chateau 12 Euros. Lovely views, very interesting. On August 14th 1914 in WW1 634 civilians shot as the Meuse was a major crossing point for the Germans. Lt Charles de Gaulle was injured in the leg while reinforcing the French troops. The Germans destroyed the city and shot the civilians. The oldest was 88 years old, the youngest 3 weeks old. Hard to comprehend. Church rebuilt afterwards, beautiful. Home of Adolphe Sax – Inventor of the saxophone. Can imagine superb jazz festivals here.
In the opening weeks of World War One, as the million-strong German army raced alongside the River Meuse in an attempt to outflank the French Army, its troops carried out a series of atrocities against civilians who were not in a position to defend themselves. Area known as the martyr towns – Dinant paid the heaviest price. Suspected to be the base of Belgium’s guerrilla force, the town was torched and the population slaughtered. In one incident, soldiers fired indiscriminately into a crowd that included mothers with babies; in another, 150 factory workers were ordered outside and summarily executed. In all, 674 townsfolk died.
Then 53 miles on to Dohan – Camping Maka – wow! Absolute paradise. No sounds apart from nature, beautiful scenery, great host. 50 euros for 2 nights with free showers. Able to order bread and croissants. Small shop on site with terrace and bar serving basic but good food. The sun is shining. It is the very beginning of the season but everything is open and we have everything we could possibly need. Decided to eat in the bar – superb pizza and ambience. Extremely helpful host – Nancy. Slept wonderfully to the sound of nature. We love it here – absolutely love it. Could stay forever. This is probably the nicest campsite we have ever done this lifetime so far!! – No WiFi, no phone signal, no TV, no loud music permitted. Certainly look that one up guys.
Wednesday 3rd April 2024
After coffee in the easy chairs in the bar, we headed for Herbeumont upon recommendation for friends. Tres Bien – well worth the visit. Chateau de Herbeumont – ruined fort. Even in the rain it was stunning and we could imagine just how fantastic it would be in the sunshine. Beautiful views of the meandering Semois river amongst pine forests.
Drive to Bouillon along route nationale – beautiful scenery en route. Boullion – great river side town with cafes, restaurants, hotels but dominated by the elevated by the castle above us. The town is known as the Pearl of the Semois. It survived WW1 and 2 unscathed although the Germans Panzers stormed through the town in preparation for the Battle of the Bulge.
After a coffee in a riverside Brassiere, we headed along through the tunnel along an avenue or beautiful pollarded Lime trees and into the castle itself. Free parking outside with stunning scenery. Entrance a mere 10 Euros each for a fabulous journey back in time. Louis XIV seems to feature rather a lot. Castle hewn out of solid rock. Running from 800 BC to present day. Well worth a visit. Stopped and enjoyed a picnic in the rain with our fishing umbrella enjoying the fabulous views. We want this trip to be many weeks rather than one.
On to Sedan, Quick drive around the castle – absolutely huge, lively city, possibly worth a day or two in its own right but for us, we were castled out and our hearts were calling us back – back to paradise at Camping Maka – Wine – cheese – dinner – peace and tranquillity.
Thursday 4th April:
Journey from Bouillan to Preux-au-Bois – Camping la Foriestier – 91 miles. Weather absolutely tipping it down. Headed towards Cambrai but destination in La Foret de Mormal now part of the Regional National Park of the Avenois. Camping la Foriestier – 17.6- euros per night free showers. Very rustic and old facilities but very clean and super friendly host. Enjoyed a sunny 6 mile walk around the forest – from acorns of WW1. Cambrai was the first time tanks were used in battle. Screech owls, birds singing.
The Forêt de Mormal (Forest of Mormal) is a forest in France, near the Franco-Belgian border. It is best known to the British for its role in the retreat from Mons in August 1914
Battle of Cambrai nearby, British offensive (November–December 1917) marked the first large-scale, effective use of tanks in warfare. Unfortunately, the museum in Cambrai was not open.
Friday 5th April
Preux au Bois to St Omer 89 miles for lunch stop and a bit of reminiscing for Matt. St Omer nice river side town. Large canals and irrigation systems in fields where our crops are grown.
The market town of Saint-Omer was for centuries a key staging post between London and Paris. It has an impressive network of canals in the lower town.
Another 33 miles later and we arrived in Escalles – camping Opal – Blanc Nez, just outside Calais. Very convenient ideal stop over. 18 euros per night with 1 euro shower tokens.
Walked to Calais beach and looked around a couple of old WW2 defences. Could see the white cliffs of Dover.
Saturday
Just under 8 miles from tunnel, we stopped off at Cite Europe to stock up. Don’t rely on Sat Nav to get you to the correct terminal from here though as Gloria (satnav) sent us to the freight area and had to be escorted out. The French guy thought we had been drinking until I showed him my phone screen. Top tip – don’t head for terminal tunnel – head for Flexiplus tunnel!!! Still managed to get on an earlier train and back in Blighty for midday before a busy but not too arduous journey back to Somerset.
For the Belgians, an ‘s’ makes all the difference between one country and another. Signs in Belgium that are inscribed with ‘Ardenne’ refer to the Belgian region, whereas those with ‘Ardennes’ are on the French-side.
Julius Caesar called the Ardennes ‘The greatest forest in all of Gaul’, lots of history in this area, particularly WW1. It was a great trip and superb scenery. Campsite of the trip award is definitely Camping MAKA. It was a week of sunshine and torrential showers. Florence didn’t miss a beat in the 950 odd miles of the trip. Love and hugs to all Matt and Jayne
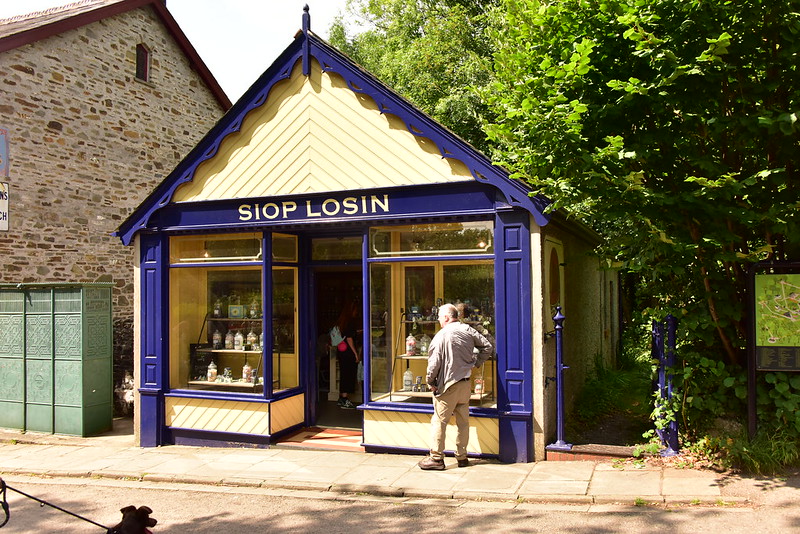
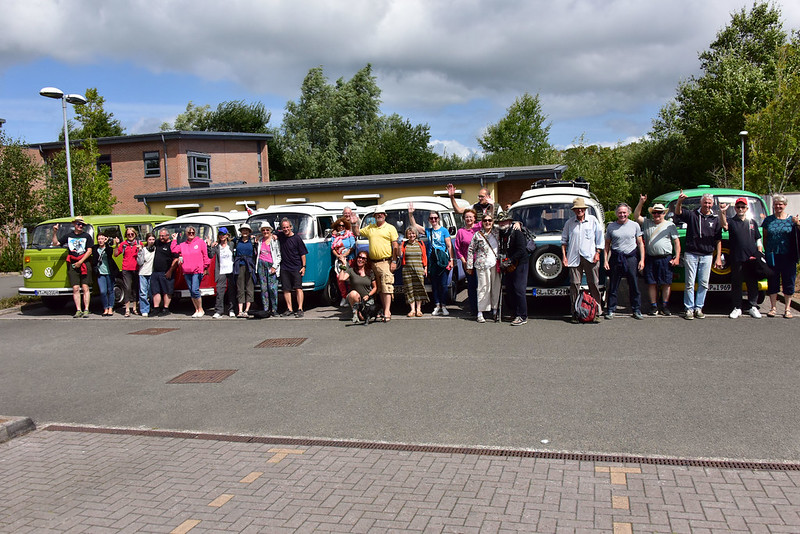
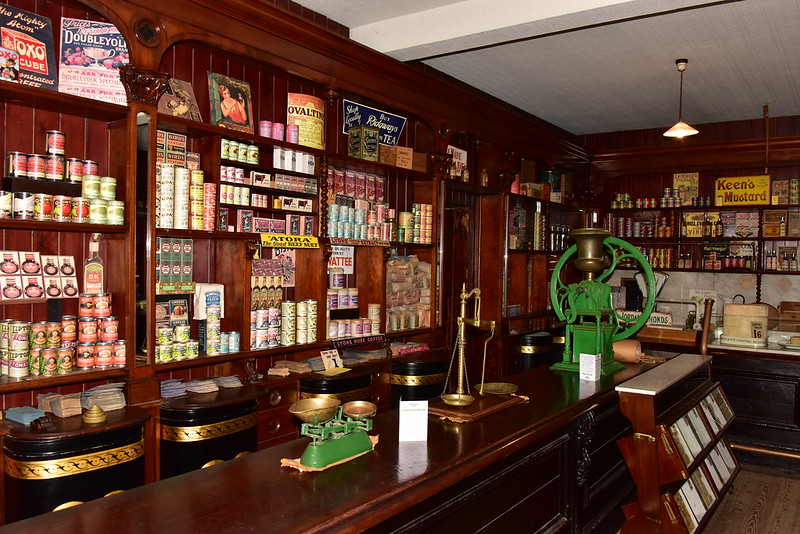
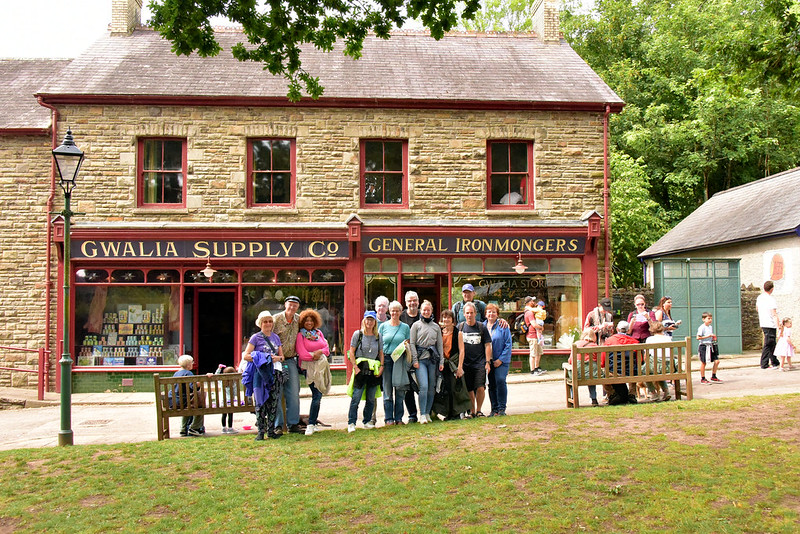
A full week of Welshness! St Fagans for traditional village, the Royal Mint for the history of making money, Bara Brith, Welsh cakes, Penderyn whisky, BBQs and singing. What’s not to like?
Michelle says:
After months of planning, we were headed to Wales at last. Our home for the week was the White Wheat Caravan Park, a small family-owned site on the edge of the Welsh seaside town Porthcawl. Some of the management team arrived on Sunday afternoon to get everything set up ready for the week ahead but as the wind was picking up a bit only one tent was erected, and the rest of the construction plans were postponed until Monday morning.
Monday morning saw the arrival of gruesome weather with lashing rain and gale force winds. A strong gust of wind caught the roof of our lovely new marquee as it was being put up and caused significant damage to it, bending some of the supporting posts as if they were silver foil. I silently hoped this was not an omen for the rest of the week and wondered if it was too early to open the wine (It was 11.00am). I consoled myself with a cup of tea and one (or two) of Val’s amazing Welsh cakes.
As the day rolled on the wind and rain gradually moved on the pastures new. Blue skies and sunshine arrived just in time to welcome the steady stream of campervans of all shapes and sizes gradually filling the pitches complete with smiling occupants looking forward to the days ahead. Monday night concluded with a welcome BBQ. After so much planning and with mother nature trying her best to scupper our plans, I was certainly relieved to see the long line of tables and chairs snaking across the lawn and to hear the lively chatter and laughter of our club members and our German guests as they settled in.
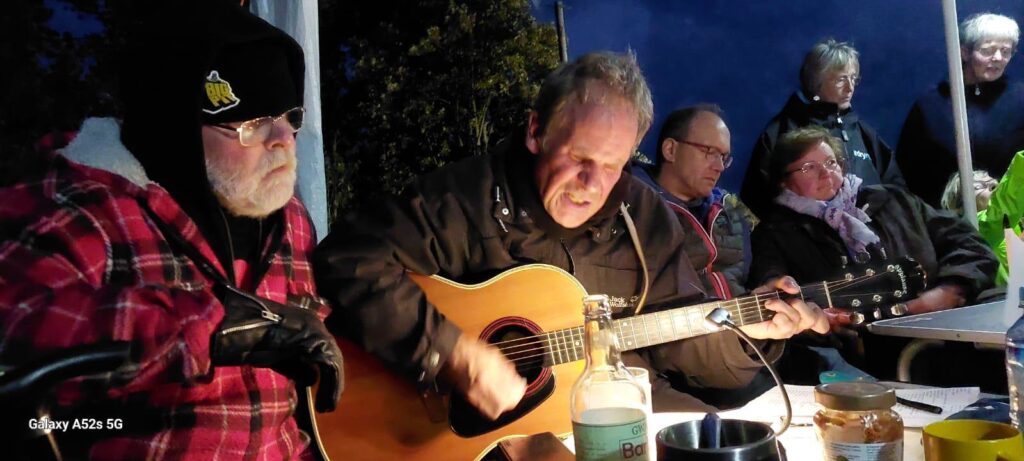
Tuesday morning saw our first outing – St Fagan’s Welsh History Museum near Cardiff, an amazing place and worth a visit by young and old alike. I can certainly recommend the cream scones. In the evening some of us strolled down to the beach to enjoy a drink from the super café Coney Surf Shack introduced to me by member Kim-Ann and then the Porthcawl fireworks which sparkled over the sea. The evening just gets better with impromptu singsong with our German party one of whom had brought his guitar and music over from Germany. A pattern is set for the rest of the camp.
Wednesday started with bright sunshine and a morning visit to the beautiful Castell Coch, a stunning Victorian indulgence and a testament to love. Then a short drive on to The Royal Mint Experience and a nice lunch at the Mint café – locally sourced steak pie, chips and mushy peas – I am northern after all – £7.95 – bargain! At 2.15pm we gathered with mounting anticipation for our private tour of the minting room. We are greeted by a mean looking security guard and then our guide Daniel who is not at all mean looking. The tour ended with a very informative exhibition which includes the first ever minted coin from the time of King Alfred. Some of us even minted our own £2 coin – a super memento of the day. We headed back to the camp for a quiet night but the evening took a turn for the better with impromptu sing song with our German friends one of whom has brought his guitar and music over from Germanysome guitar work from Ulli.
Thursday we were heading off further afield today in rather drizzly and dank weather to The Big Pit. What a fascinating museum and exhibition space it is. The underground visit has certainly left me with a better understanding of Welsh coal mining and the mining communities. Thankfully the afternoon brightened up ready for our Welsh themed BBQ back at the campsite. Freshly made Dragons Breath sausages resting on a bed of delicious leeks accompanied by homemade coleslaw and potato salad were swiftly dispatched. I didn’t even get to see the homemade Bara Brith (I was not happy!). Val assures me no Dragons were harmed in the making of the sausages.
Friday was a free day when members and guests explored the local area at their leisure – Cardiff, Swansea, Porthcawl and the Gower. For me it was Porthcawl for shopping, gin tasting and a trip to the 100 year old fun fair.
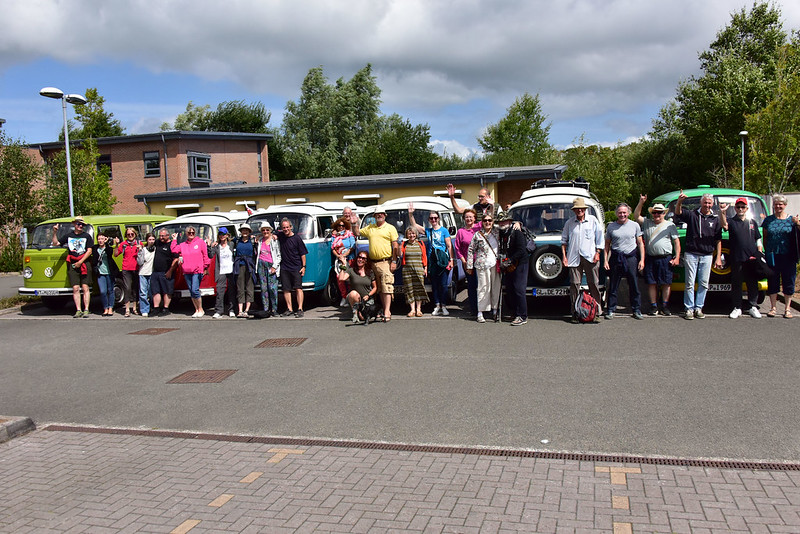
Saturday – I had initially planned a convoy outing along the promenade but due to a number of reasons I had to cancel. However, all was not lost and disappointed frowns turned to smiles of joy when new member Simone Smith suggested a convoy to Cowbridge. Simone is a local and knew the way and with Nick’s help a beautiful convoy of campers headed off to explore.
Sunday morning was sunny and warn but sadly saw us packing up and saying our goodbyes to old and new friends and one by one the camp became silent.
Before I sign off I would like to thank the people who did all the work tirelessly behind the scenes and who without their help, kindness and their time, this event would not have been possible. My grateful thanks go out to Val, Malcolm, Kim Ann, Martin, James, Marina, Nick and Steve.
A huge thank you goes to campsite owners Alyson and Mike who did us proud. They even installed large new sinks in readiness for our visit and Alyson made VW Campervan blinds and embroidered campervan pictures to make us feel welcome. And I can’t forget Barney, a site resident who was very helpful during our time there and his fresh roast lamb sandwiches were to die for – thank you!!!
Some of you will know that this was my first event, and it would be fair to say it was a bit nerve wracking at times. However, I thoroughly enjoyed it and it was made very special by all of the lovely members who came, our wonderful Germain guests and all people I met during the week I was there.
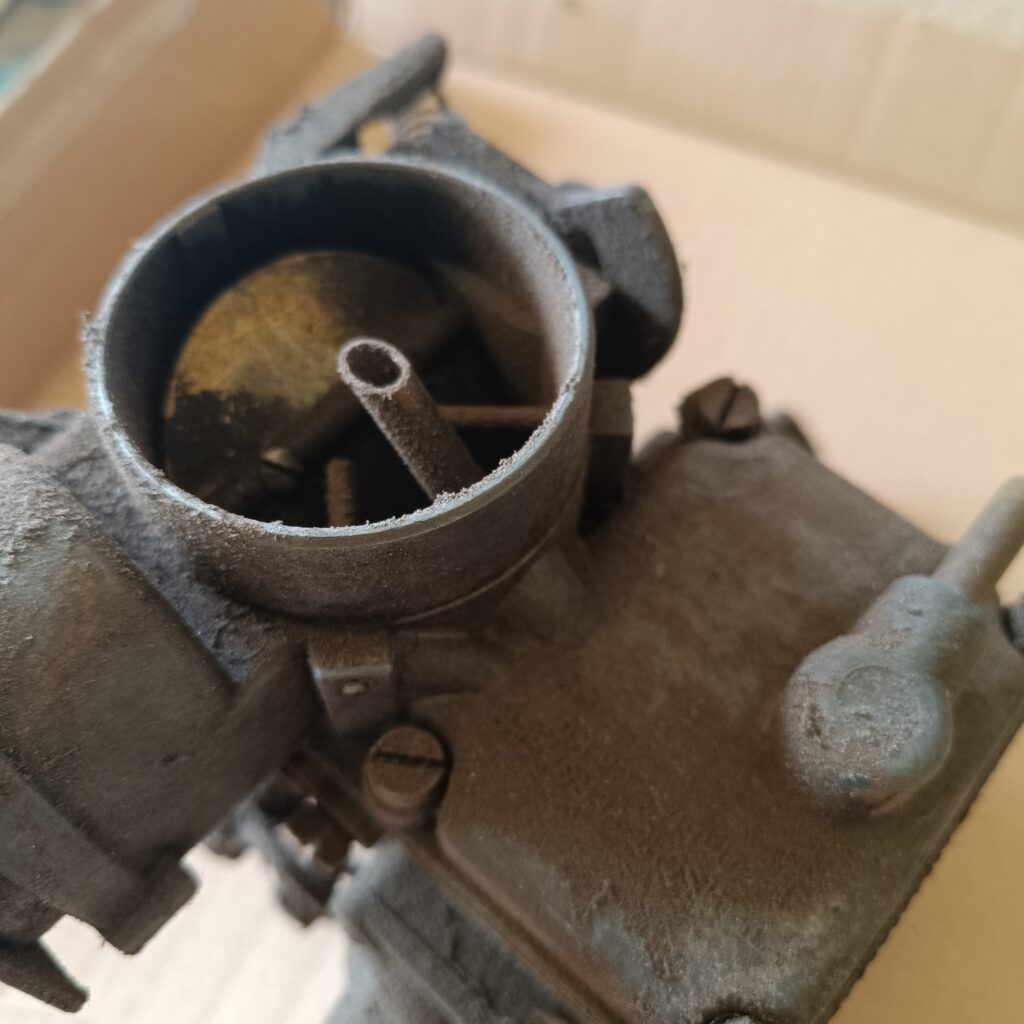
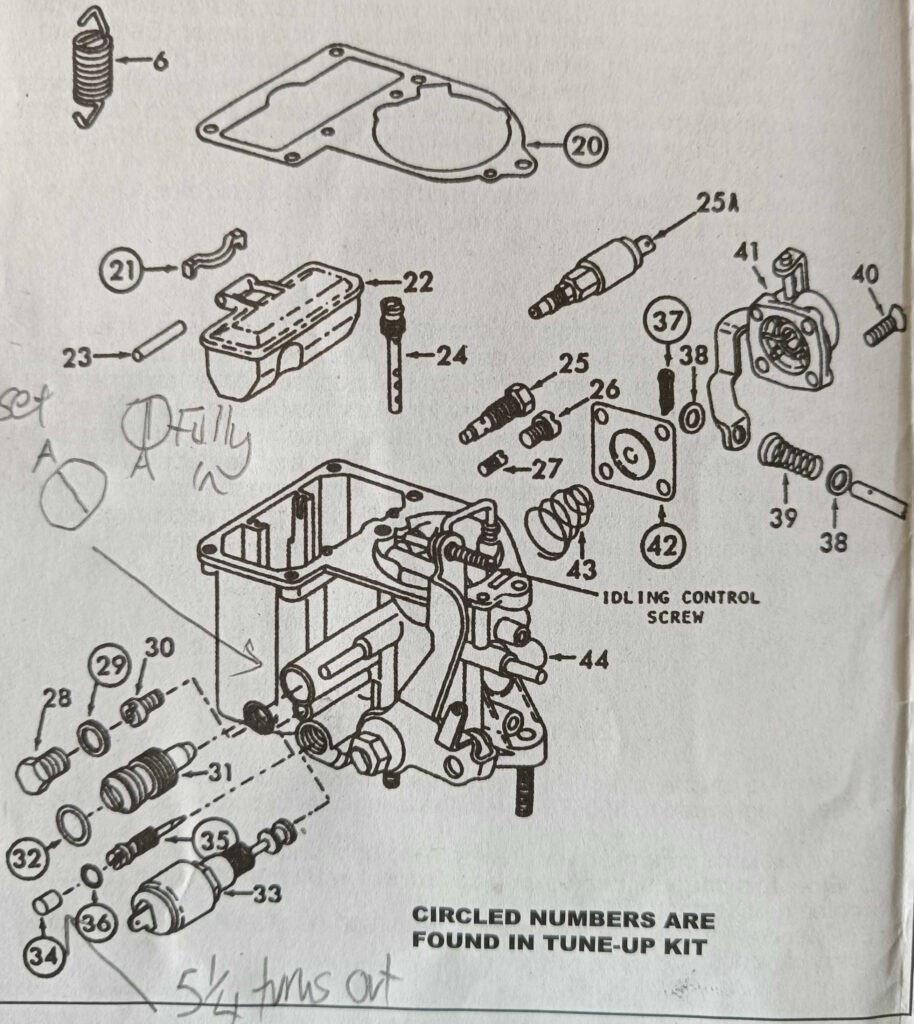
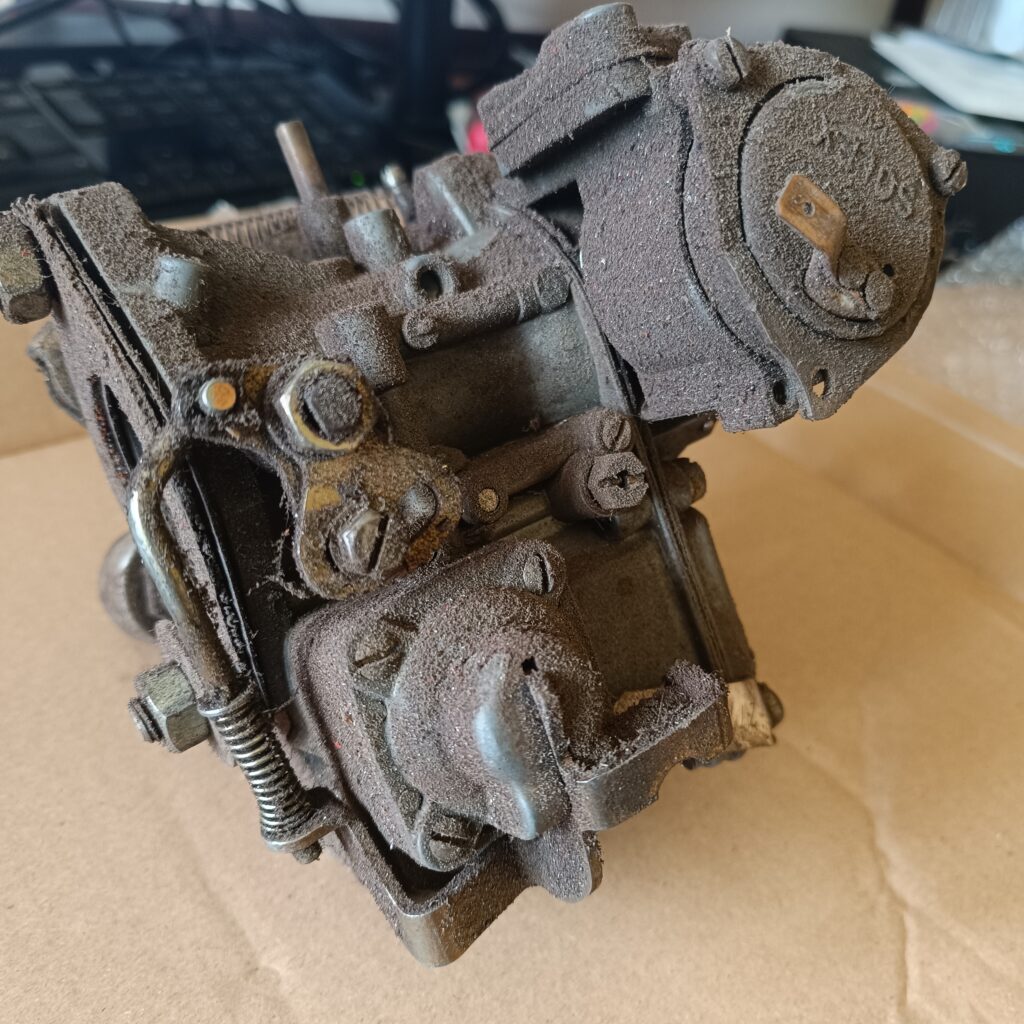
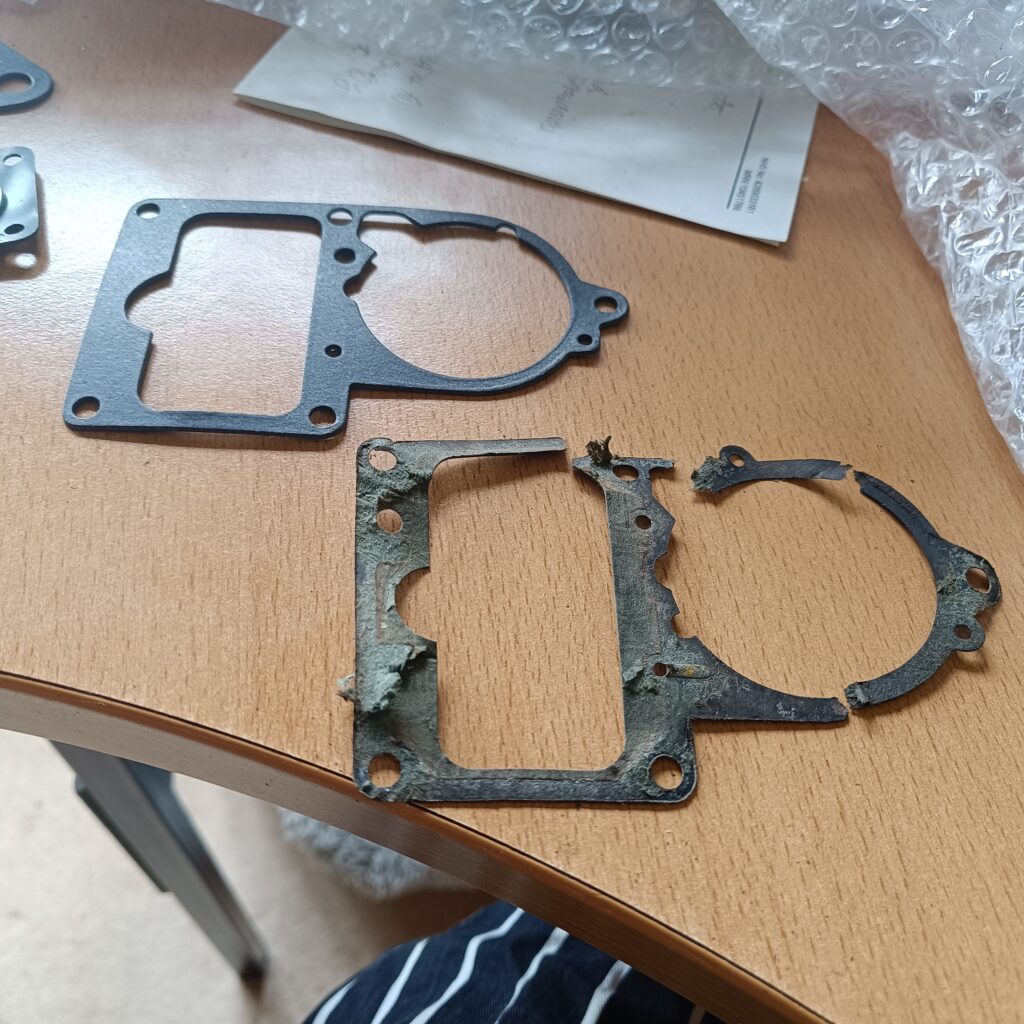
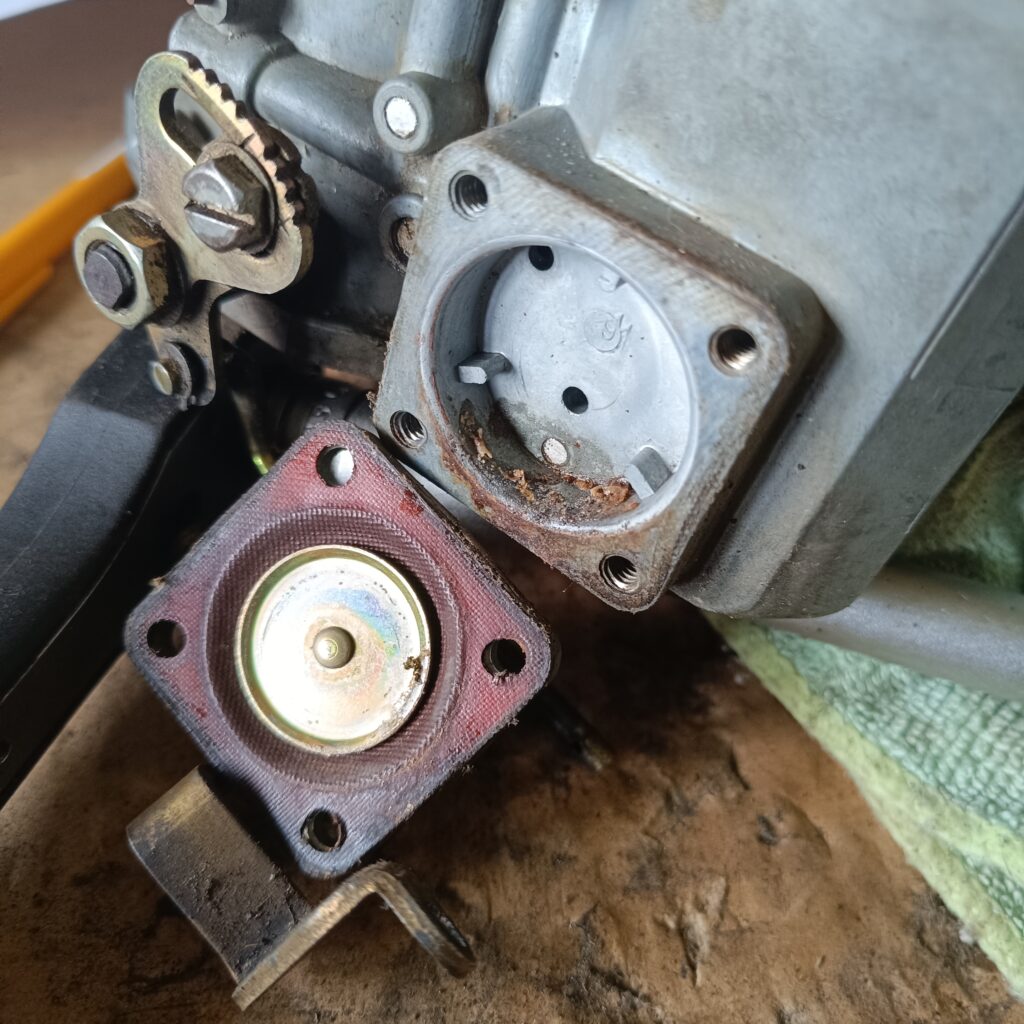
In this issue, we will service a standard Solex carb. Specifically, this one is a Solex 34 PICT3, but the process is very similar for any of the Solex carbs, either single or dual.
Purchasing
Rebuild kit – go to your favourite online store of choice and purchase the Solex carb repair kit, these are available for around £20 at time of going to press. Note, the kit contains the rebuild parts for many sizes of Solex carb, meaning that you will not use all items in the bag! It also usually includes instructions!
Cleaner – Unless you have something else suitable, you should also get a can of carb cleaner. A 400ml can is under £5 and will be sufficient for the task. This should be done in a well ventilated area / outside as carb cleaner is not pleasant and is suspected to be carcinogenic.
Tools
Soft brush (eg toothbrush) – optional Metal or glass pots for holding parts as they soak, with lids Medium and small screwdrivers 11mm, 13mm and 14mm sockets Needle nosed pliers Pencil
Removing
Remove original oil bath air cleaner or after-market air filter. Detach fuel hose and clamp / seal (I use a golf tee peg and cling film), vacuum hose of dashpot (where applicable), and vacuum hose. Disconnect automatic choke cable, bypass air cut-off valve cable (where applicable), and electro-magnetic pilot jet cable. Detach accelerator cable at throttle valve lever and ensure that you tie it off otherwise it pops into the cable channel and disappears. I use a clothes peg to hold where the cable disappears into the fan shroud. Remove two nuts on intake manifold and lift off the carburettor.
Disassembly
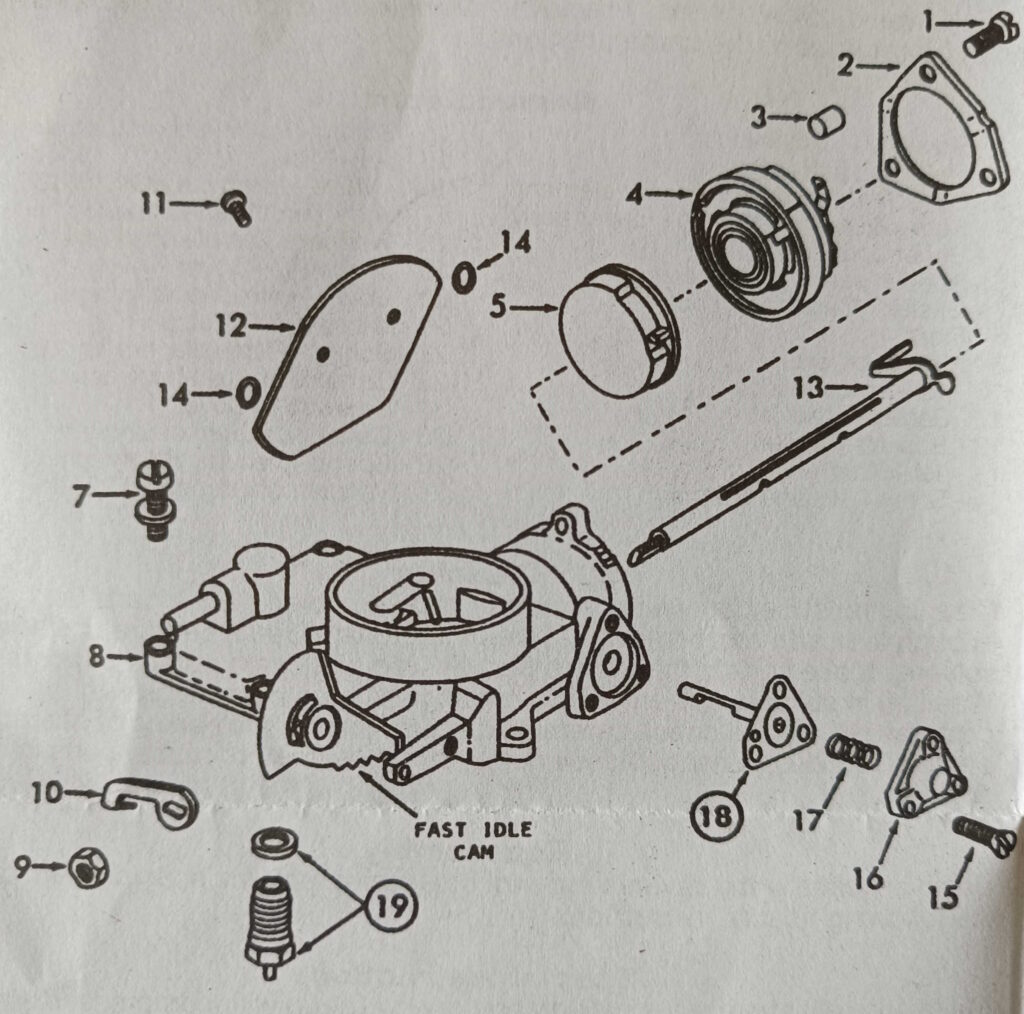
Use exploded view as a guide only.
Carb parts list
1 – Screw (3) – Retaining ring 2 – Retaining ring – Cover 3 Cover with spring and heater element 4 Screw & lock washer (5) – Upper body 5 upper body assy. 6 Needle, seat & gasket assy. 7 Gasket Carburettor 8 – Float 9 – Pin Float lever 10a- Jet Air correction 11 Carrier Main jet 12 Gasket — Carrier 13 Jet- Main 14 Screw Volume control 15 – Spring – Volume control screw 16 – Jet – Pilot 16A – Valve Idling cut0ff (30PICT -1 only) 17 – Nut – Throttle shaft lever 18 – Washer – Throttle shaft lever 19 – Screw (4) – Cover 20 – Cover – with lever & linkage 21 – Diaphragm – Pump 22 – Spring – Pump diaphragm 23 – Carburettor main body assy. 24 – Screw (3) – Cover 25 – Cover – Vacuum diaphragm 26 – Spring – Vacuum diaphragm 27 Vacuum diaphragm – Choke
Cleaning
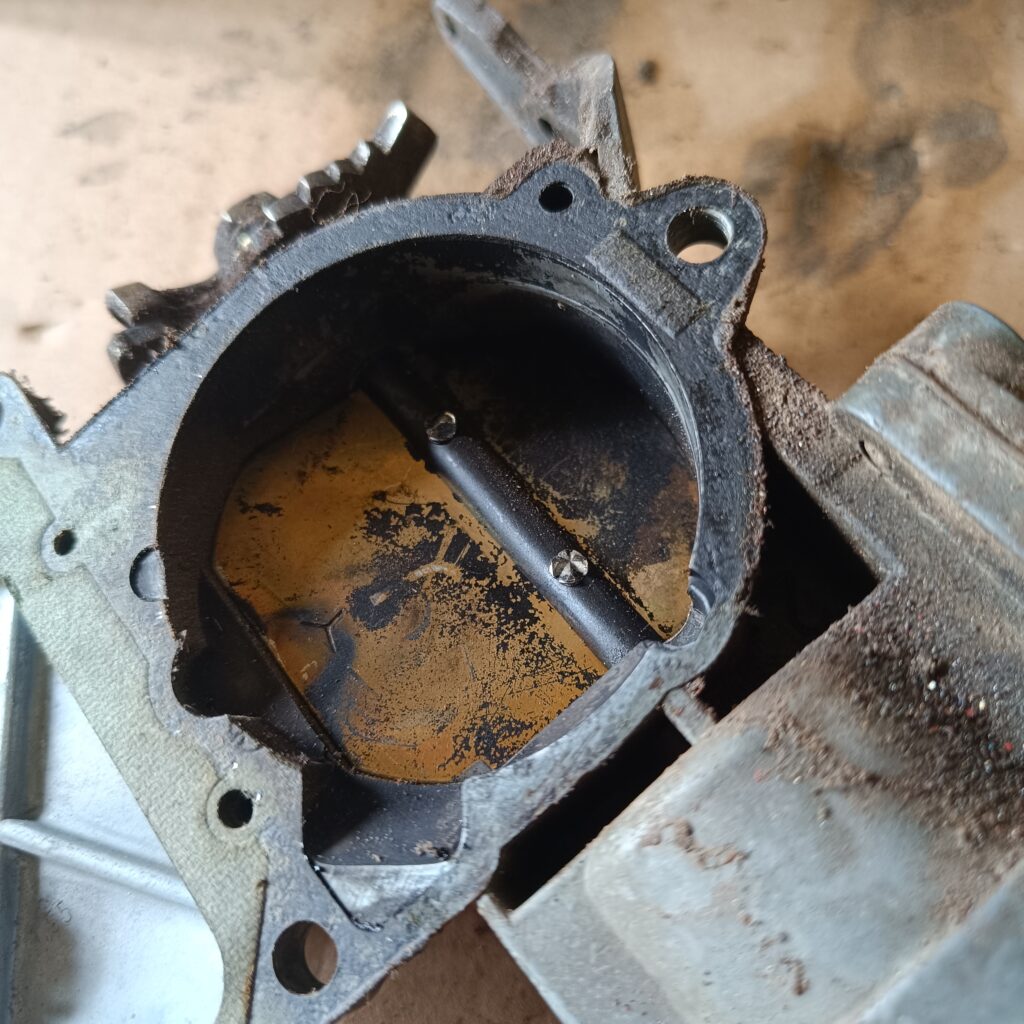
Cleaning must be done with carburettor disassembled, soak parts long enough to soften and remove all foreign material, Use a carburettor cleaning solvent. Make certain the throttle body is free of all hard carbon deposits, wash off in suitable solvent. Blow out all passages in castings with compressed air and check carefully to insure thorough cleaning of obscure areas. Caution: do not soak solenoids, switches, float, or rubber parts in solvents.
Instructions
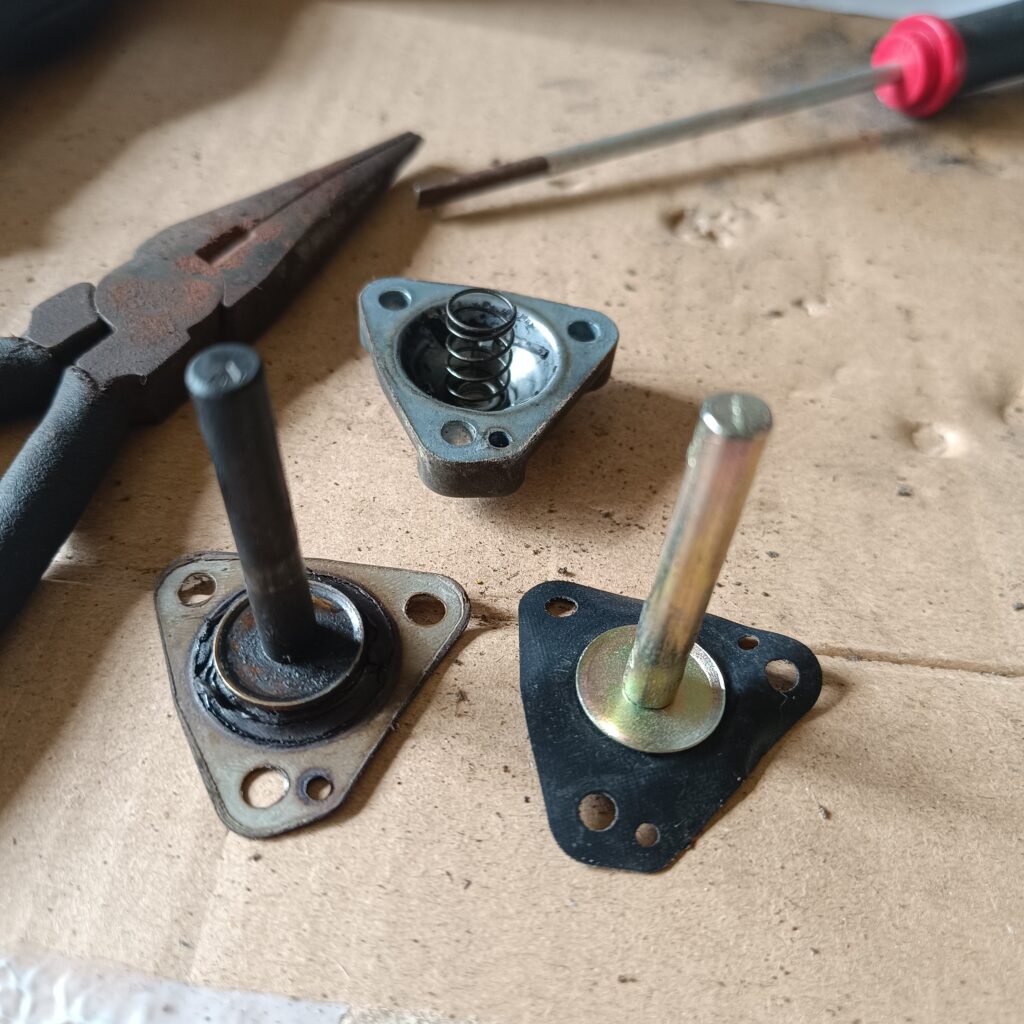
Make sure all jets are clean and open. Clean with compressed air, not wires or pipe cleaners. When installing the pump diaphragm and spring (22) make sure the larger end of spring is properly seated in the carburettor body cavity. Be sure to install the diaphragm (21) with plunger toward pump cover (20). Check for a worn spot (Depression) on the float lever where it contacts the fuel inlet needle valve, replace float assembly, if necessary, float assembly may be purchased at your local VW dealer, P/N 111-129-391A-Round Shaped Float. A proper needle seat gasket must be used for specific carburettor. Use the following chart to determine the correct gasket.
Carburettor model
28 PICT-I. -2 1.0 MM .040″
30 PICT-I 1.0 MM .040″
Check the thermostatic spring in housing (Item #3) for damage. If it is distorted or “kinked,” replace the assembly. Also, make sure the electrical heating element is not broken, This can be checked with an ohmmeter or connected to a correct voltage battery for a few minutes to see if it warms up.
(Be sure to ground the inside metal part of the housing to complete the circuit). When installing assembly with spring and heater element, carefully rotate assembly counterclockwise, being sure the hook-on coil end engages with the lever on choke shaft. Continue rotating approximately 1/8 – turn more until index marks align. Then tighten screws securely.
Installing
Install in reverse order of removing. Torque retaining nuts to 2.0 MKG. (14 Ft Lb.)
Idling Adjustment
28 PICT, -1, -2. 30 PICT -1, -2. A. Warm up engine; check if the automatic choke is fully open. B. Set idling speed to 850 RPM with the idling control screw (See exploded view). C. Turn volume control screw (Item #14) to right until speed starts to drop. D. From this position, turn volume control screw (Item #14) to the left until engine runs fastest. E. If necessary, regulate the engine speed (800-900 RPM) again with the idling control screw.
Iain writes: After owning our VW Camper (a 1977 Westfalia) for well over 20 years, our 4 children have had many memorable trips and holidays in the van, including a regular summer trip to a fabulous campsite near Mittenwalt (Alpen-Caravanpark Tennsee). We are only the second owners of this fantastic vehicle, its original owners being Germany and who toured extensively within the Arctic Circle (the van has double glazing!).
On Saturday 2nd August this year it was time for one of our twin daughters (Virginia) to be married. She naturally chose the VW Camper as her wedding vehicle.
01 – Primary school (Virginia with pigtails third along with Lilian, Felicity and Oscar) 02 – Wedding Saturday 2nd August 2025, the happy couple Virginia and Adam…Mr and Mrs Taylor 03 – Wedding guests enjoying the camper van 04 – The happy couple (Virginia and Adam) about to leave church after the wedding ceremony.
We look forward to many more happy years with our camper van, and more weddings to come!