Volkswagen Type 2 Owners Club – The VW club for all Type 2s!
Category Archives: T4
Always trying to stay ahead of the curve, the T4 used all the automotive design enhancements that had occurred in the last 10 years. The very essence of Volkswagen usability.
Volkswagen currywurst Chips Gewurz ketchup (or other tomato ketchup)
If asked which product VW has sold the most of, it would be reasonable to think the answer would be “the VW Beetle”, given that they built over 21 million of the vehicles between 1938 and 2003, but you would be wrong. In fact, it is Volkswagen Originalteil (Volkswagen Original Part) number 199 398 500 A, the Volkswagen currywurst. Manufactured at the company’s Wolfsburg plant, it is served in the canteens at their six German factories, with more than 7 million made every year since 1973. It has long been available outside the factories through German VW dealers who would give away packs to car buyers, but in more recent years it has been sold to the general public, along with Volkswagen ketchup, Volkswagen Originalteil 199 398 500 B.
On discovering this, it seemed that I had found the ideal meal for camper van excursions and promptly tracked some down to sample on an early autumn weekend visit to Norwich with my partner Frances. In the UK, both the sausage and the ketchup are sold by the specialist online German sausage retailer, The Sausage Man (sausageman.co.uk) and by Crafted Meats (craftedmeats.co.uk) for £16 a packet of five. This may sound steep, but they are imported from Germany, with the additional costs that now entails, and are huge. At 25cm long each one is a meal in itself – there are smaller ones available in Germany, but I can only find the monsters here. Made with best quality pork and only 20% fat, it is important to note that they are not actually curry flavoured – they are just the kind of sausage used to make classic currywurst in Germany. This consists of the sausage, fried or grilled, with a good splash of the ketchup and a sprinkling of curry powder, eaten with fries or in a bun, hotdog style.
So, equipped with my giant sausage, the ketchup, and an air fryer to cook the chips with (I did not fancy running a deep fryer with all that hot fat in the confines of our T2!) and safely settled in the Top Farm campsite in Marsham, just north of the city, I set about cooking the wurst. Given a brisk fry on the van’s stove, the sausage took about 20 minutes to cook, while the air fryer, plugged into the electric hookup, quietly prepared the chips beside me. As they are almost too big to fit on a camping plate, I halved the wurst, then doused them in ketchup, sprinkled on the curry, added the chips and we piled in. The sausages turn out to be firm, tasty and slightly smoky, akin to a classic bratwurst, with the ketchup being a little more sweet and less vinegary than UK ketchups, with a hint of spice, perhaps tamarind, that tilts it a little in the brown sauce direction. Either way, it was a perfect accompaniment to the wurst, and I easily polished off one and a half of the giant sausages and can confidently say I now have the official food of family camper trips sorted out, with three more of the things awaiting the next expedition in the freezer.
You have surely heard of them and most likely seen them but do you know about them?
Solar panels capture energy from light (not necessarily sunny days, bright will work), using a photovoltaic cell that generates electrons when it is exposed to light. These flow through the circuit and create electricity. With the right number of cells, these panels can act almost like a battery to provide electricity – however they obviously do not generate without light and the current varies depending on the weather.
For those of us in sunny countries, who like to go away in our vehicles and who use 12-volt electrical items, solar charging is now possible. In fact, it is quite easy with a small amount of reading and hopefully this article will help.
The theory
You have a battery that I’m going to call the leisure battery, but you can call it a second battery or camping battery. It powers your various camping related items but is not designed to run large appliances like heaters or disco units!
You want to charge that up for free from the sun so that you are not tethered to an electrical socket on each camp site.
The calculation
List all equipment that you have in your vehicle that needs powering from 12 volts
Check on the equipment or in the manual (which is probably online too and you can magnify the text easier!) for the wattage or the amperage. Make a note of each one in a list.
Think about how often you use each item in each day and be realistic.
Think about when you camp.
Now, convert the amps to watts by multiplying by 12 if you only noted the amps.
Otherwise list each item like this:
Fridge uses 60 watts and will be in use for 12 hours per day on average when in the UK. That makes 720 watt hours per day.
Lights are 2 watts each and I use 4 of them making 8 watts. In use for 2 hours each. Total is 16 watt hours.
I use 2 USB sockets that are 7.2 volts and 2 amp which is a maximum of 14.4 watts. Total of 3 hours per day. That is 44 watt hours.
Then add up all those little watt hours to get a total for the day. In this example I get 780 watt hours. It doesn’t really matter what that means, just get the number!
In the UK I think we can get 6 hours of sunshine per day in the summer and 4 hours in spring and autumn (fall). Your country may be different and your feeling might be different.
You then take the total watt hours, in this case 780 watt hours and divide that by the number of hours of sunshine (aka charging) to get the number of watts of input charge you need to counteract the discharge. 780 watt hours divided by 6 hours is 120 watts.
Therefore to replace the lost charge I need a solar panel that has an output of 120 watts. If you need more than 100 watts, consider more than one panel.
The solar panel itself
They come in 3 main flavours, choose the type you prefer!
Briefcase – these pack away and get stored unused when travelling. They can plug into the cigarette lighter that connects to the correct battery.
Solid frame free standing panel – these can either be inclined towards the sun and stood on the grass when you are pitched or could be mounted on the roof of your vehicle. They tend to be the least expensive.
Flexible and semi-flexible – these tend to be the most expensive and will be the focus of the rest of this article. They can be permanently attached to your vehicle.
Attachment
We purchased a 100 watt solar panel that is “semi flexible” meaning it is about 2mm thick and bends a little but bending too much will break it. We have used both Biard and Renogy panels but other manufacturers are available. The price is around the £100 mark for the supply only of just a flexible 100 watt panel and around £180 for a flexible 200 watt. We would recommend buying a branded panel and ensure that the physical size matches the quoted watts – 1 square metre of solar panel will generate just over 100 watts. If the panel is tiny, walk away!
We then purchased a used roof rack and connected it at the back of our bay window to the roof gutters with a little modification as roof racks are generally lower and narrower than a Bay window needs! It did cost £4 though!
As an expedient, we laid the panel on the grass upside down, laid the roof rack on the panel also upside down and gaffer taped the two together. It was a plan for a couple of months before glueing the panel to the Dormobile roof and 5 years later it was still gaffer taped but is now bolted to the same roof rack.
There are two cables coming out of the solar panel and remember they are live except in the dark so tape them up / ensure the ends are not able to create a short circuit.
The clever box in the middle
You cannot just wire the solar panel to the leisure battery – bad things will happen. You need a box in the middle that will stop the leisure battery sending its charge out through the solar panel into the night. It stops the solar panel over charging the leisure battery so far that it explodes. You need to avoid that. This clever box is called a regulator or solar controller and comes in 2 main types – PWM (pulse width modulated) and MPPT (maximum power point tracking). The PWM is less efficient at getting power out of the panel into your battery but is generally a lot cheaper. MPPT would be recommended if you camp outside summer as it is more efficient in less than full sunny days or if you have more than one panel. Do not buy an MPPT controller under about £30 as they tend to think they are MPPT controllers but are just expensive PWM controllers.
The clever box for us was a cheap PWM controller that was about £10 / $15 and has just 3 lights. Charging, discharging and battery health (green is good, flashing is full, red is bad). This has since been replaced with a Renogy MPPT controller at £120.
Wiring it
We dropped the solar panel cables down the air vent at the back so that there are no new holes on the van and therefore no chances of a water leak! Then got the wires up next to the spare wheel inside the vehicle as the controller is easier to see and that engine bay can get quite warm.
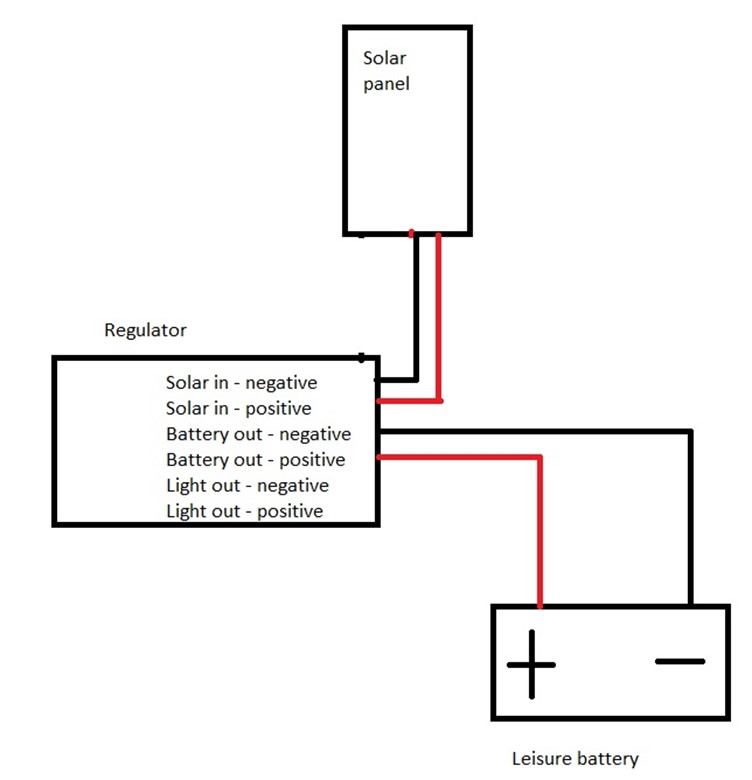
The leisure battery has two new wires, leisure battery positive to the hole on the regulator for battery positive. And then battery negative to regulator battery negative.
Then the solar controller should give you a light on the box.
Next I connected the solar cables – positive first as it is always live in daylight – to the solar controller / regulator. Now my controller had a light saying it was charging.
Then I checked the voltage coming from the controller to the leisure battery – I was getting over 13 volts! It works! I used a dedicated wire directly to the battery rather than using the chassis.
Next step
Take the “Light out” positive and negative terminals and use those to power your leisure items – DO NOT run anything directly from the leisure battery, then the controller can shut off power if the battery gets low. Erm, that’s it!
Now I have a solar panel permanently on the roof, always charging from dawn until dusk even on the move. The regulator means that even with the engine running and the split charge working, we do not over charge the leisure battery and it works even under the car port in the winter keeping that battery going until spring time.
Total cost of solar system for 100 watts non-flexible panel and PWM controller is now under £100. A 200 watt flexible panel and MPPT controller is about £300 at time of going to press. Cost of replacing the leisure battery every year £120. Saving on electricity per night at a camp site is up to £10 per night. This system seriously pays for itself in no time.
The next edition of the club magazine has been finished by our Editors and looks fantastic. It should be arriving through your door soon! If you are enjoying the club magazine and have a story about a trip, an upgrade, a restoration or just a tip, send a contribution to our Editor at editor@vwt2oc.co.uk.
Club member Sarah McCutchion says that this is guaranteed to send delicious wafts of cooking smells to all corners of the campsite.
Needed: One big pot. One knife and a wooden spoon.
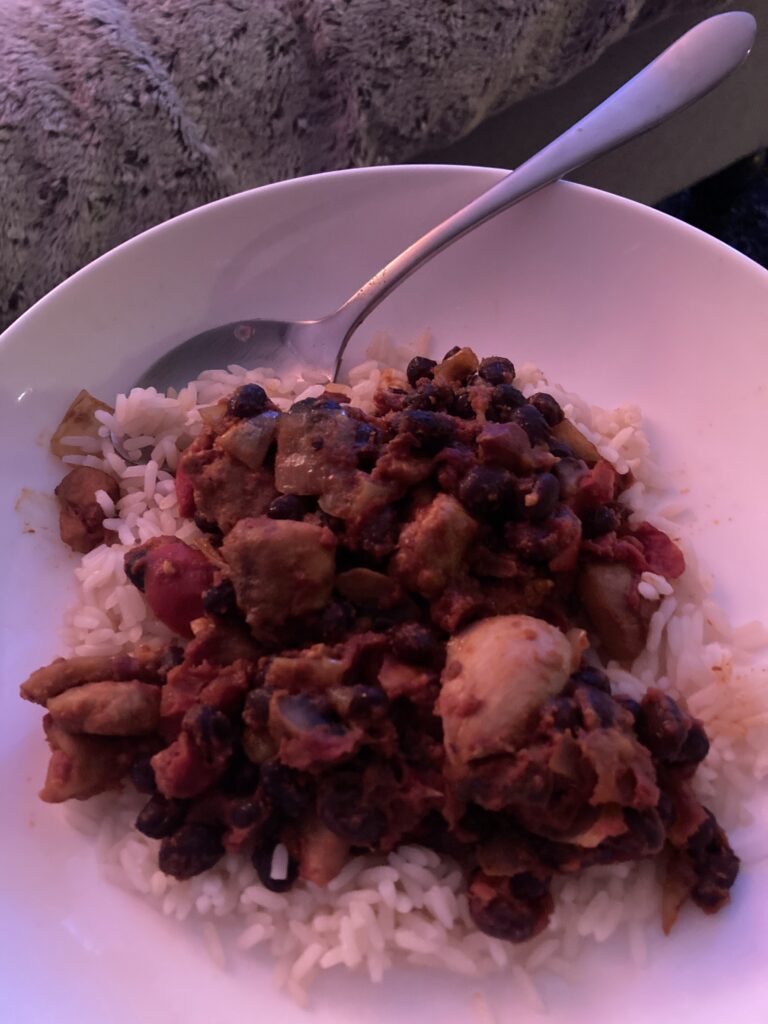
For 4 people: 8 skinless boneless chicken thighs One large onion finely chopped One red pepper finely sliced Lots of garlic 1 whole spicy chorizo sausage sliced 1 tin chopped tomatoes Tablespoon tomato puree Paprika Cayenne pepper
Cube the chicken and brown in the pan. Add the onions & chorizo. Brown it all. Add the garlic. When the onion is softened add everything else. Bring to the boil, then simmer for 40 ISH minutes. Add water or red wine as required. Serve with crusty bread, rice, pasta or potatoes.
As the long season comes to an end and following on from the recent winterizing post, some owners may elect to cover their pride and joy with a cover.
Please. Pretty please. Pretty please with little chrome covers on. Don’t cover your expensive paint work with a tarpaulin that will get condensation inside it, press that moisture onto your bodywork and accelerate the attack on the paint and the metal underneath.
If you don’t have access to a garage or a car port that will keep most of the weather off, try to invest in a good breathable cover. Get the right one for your vehicle and make sure that the material is not flapping around, abrading where it touches.
Ideally park on hard ground that will not have standing water. Parking on grass at the bottom of the field will collect water underneath which will evaporate upwards into your van and its little cover. A breathable cover will let some or most of that collected moisture out but ideally you should remove the cover over winter every month to let things properly dry out and then put it all back to bed once more.
If possible, get a cover with straps that go under the vehicle from side to side, so that the wind cannot lift the cover off the vehicle. It is disheartening to get home from work in the dark and find your expensive van exposed to the elements and a wet cover wrapped across your hedge.
For those of you lucky enough to have a garage, a dust cover is optional but again, think about the possibility of trapped moisture pressing against the bodywork. Does a quick dusting or a nice spring time wash and wax give more benefit than the winter cover?
Hello, my name is Tish and I’m having a go at writing some camp friendly recipes. We have a small 70s two hob stove like I’m sure many of you do. I carry on board a small and large cast iron saucepan and a none stick frying pan. I’m also a bit of a foodie so I have a small wicker basket on board which always contains – a proper salt and pepper grinder, olive oil, stock cubes, a few dried herbs and cinnamon. I also like to have some chutney/pickle/jam around too. Great for making fancy sandwiches or elevating a charcuterie board when it’s too hot to cook. Whenever my husband complains about fuel economy I just shrug my shoulders.
I tried to incorporate bits you’ll have on board for breakfasts or have at home to use up. With the cost of camp sites going up, and restaurants increasing their prices (understandably) it’s nice to try and save a few pennies where you can.
This can be made on a camping stove, or at home and warmed up on site.
You’ll need 2 hobs
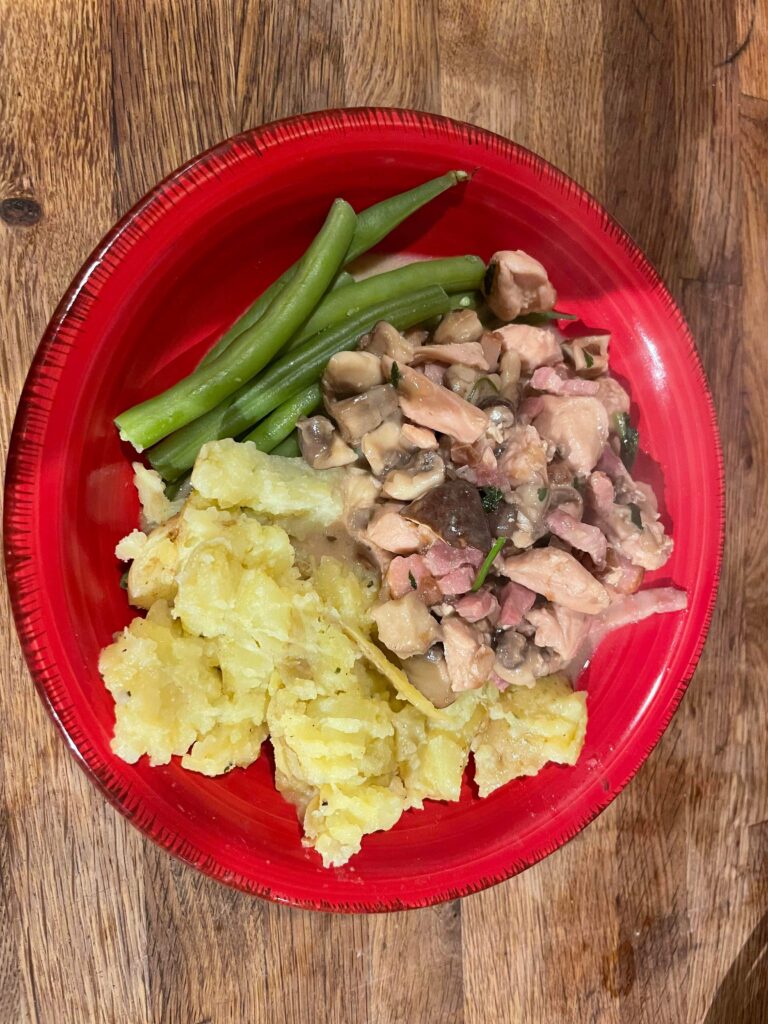
Whatever chicken you have available (about 250g) or vegan alternative. Chopped. Bacon lardons (I used smoked for extra flavour) Mushrooms 200g Chicken stock Cream cheese (at least a tablespoonsworth – useful if you’re using it for breakfast!) Small Waxy potatoes. (You can precook these at home, they travel well – or boil in a separate pan) Salt and pepper and some butter.
Instructions Boil a full kettle. Once kettle is boiled add almost all the water into a small pan, add your potatoes on to boil. (Omit this if you’ve precooked them at home) try reserve about 100ml of water. Add a small bit of oil into a medium saucepan and once hot add in chicken and bacon. After the chicken starts to cook through (about 5-10 mins) crumble in your mushrooms. Leave for another 5 minutes to soften. Now you can add in your stock, soft cheese, salt and pepper with 100ml of water. (I add in some onion chutney here) Leave this to bubble and reduce. At this point you can add your peas into the stew or green beans into the same pan as the potatoes. Neither need very long. Once potatoes are soft, pop onto a plate and crush gently with a fork. Add salt and pepper to taste and as much butter as you like. I’m not your doctor! (If you’ve precooked your potatoes, similarly crush them and warm them up in a pan with some butter, salt and potatoes) If you wanted some fresh herbs now is the time to mix into the stew.
Then divvy up into bowls and enjoy. To make this a one pot lower carb meal, omit the potatoes entirely. Or if you’re low on cooking facilities the stew can be happily mopped up with some bread.
Yes, it is that time again, winter is very much heading our way. For anyone with a vehicle, VW or not (apparently other vehicles are available!), winter in the UK is the worst time for metal on the roads.
Some suggestions:
Inside
Water
If you have anything containing water, drain it all out. Water tanks, boilers, kettles. Don’t just empty the tank, drain the whole system including the pipes. Remember that water in pipes still expands when it freezes, not just in the tank. It also goes stale after a period of standing. If possible take the tank indoors to keep it above freezing and/or clean it thoroughly.
We use a mild Milton solution to thoroughly clean ours including the impeller that sits in our tank and its associated pipe and electric cable. Then we rinse everything and air dry it all. Other options are available too!
Power
Leisure batteries like ambient temperatures and extreme cold will reduce their operational life. Keep them above freezing by removing them and keeping them in the garage or similar. Remember to keep the electrical contacts in the van safely insulated if applicable.
Keep those batteries charged using a trickle charger that is fit for purpose, which will also prolong their life.
Gas
Butane or propane tanks and bottles should be removed from your vehicle and stored safely with their openings closed properly – don’t leave the regulator open relying on the gas tap on the cooker as these can fail. Now is a good time to weigh them against their empty counterparts to know when you need to change them!
Boring cleaning
Now that you have opened up your van, removed the relevant tanks and bottles, you can get all misty eyed and miss the peace and tranquility of your van by getting in there and cleaning it all. It gives you a great sense of personal achievement as well as going into the winter with a nicely clean kitchen area, the fridge has been bleached and rinsed, and if applicable the bathroom, the shower and maybe the hot tub are all clean. Leave internal doors slightly ajar to keep mould and mildew at bay.
Soft furnishings
If possible, remove curtains, bedding, that emergency woollen blanket from Granny and take them indoors for a good wash or airing.
Ingress
Don’t be tempted to leave doors open or windows more than cracked open. All sorts of miscreants can get in and eat your lovely interior.
Outside
If possible store your vehicle in a garage. If that is not possible, a car port will do a similar job. A breathable cover can be good but make sure it is listed as fully breathable otherwise moist air gets under the cover, rises when things warm up and the vehicle will get wet, holding that wet against the bodywork. Avoid a heavy cover for sure!
Tyres
Tyres degrade from extreme temperatures and long periods of standing still. Winter does that very well! Inspect the tyres, check the pressures and consider putting the van on axle stands if you are not using it for a very long time, taking the wheels into the garage or shed. It also makes theft more difficult!
Moving parts
Lubricate everything. Hinges, moving parts, sliders, mechanical parts. Check the oil level. Use the right lubricant for the part in question. It will pay dividends next year and will keep water away, which is good for the life of the part.
Boring cleaning
Again, give the outside of your vehicle a proper clean, ideally by hand. Dry fully including the fiddly bits inside doors and between panels. Give it all a good quality wax polish. This also keeps water away and prolongs the panels and parts. It also makes you happy as you pass over the cold season when you don’t want to be away.
Underneath
If you are an advocate of underseal and waxoil, get the old visible stuff removed and apply new underseal to dry clean parts. The jury seems out on the benefits of underseal against the downside of it trapping moisture but waxoil or similar applied hot into cavities must be better than not applying it?
Engine
Some texts state to start your engine once a month and run it on idle for 30 minutes. More than that is not necessary and I don’t touch our air cooled engine at all.
An oil change just before the winter alongside a fuel-storage additive in the fuel tank if you like that sort of thing.
Main battery
We leave the main battery connected and the solar panel bolted to the roof of a van in a car port for the leisure battery. If that was not the case, we would trickle charge the main battery once a month over the winter. Again, this just makes sure that you don’t degrade the battery and end up having to replace it all of the time.
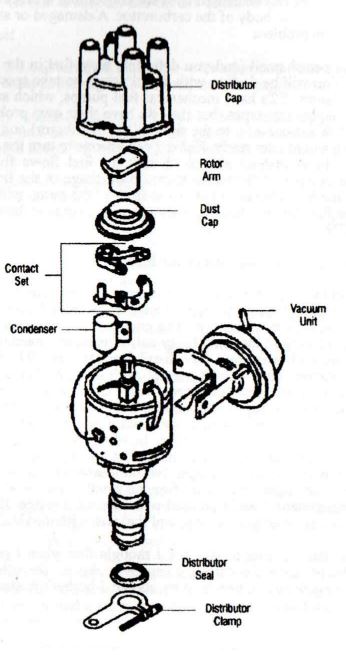
Within a petrol engine, a spark is required at the exact moment when a gas (of air and petrol) is compressed by a piston. For the spark to exist at all depends upon three essential parts: the distributor, the coil and the contact breaker. There are two electrical components in this system, called the High Tension (HT) and Low Tension (LT) circuits.
The LT circuit consists of the battery, the coil and the bottom bits of the distributor, namely the contact (with its points) and the condenser. The HT circuit has the spark plugs (and their leads), the top part of distributor, namely the cap and the rotor arm, and the link cable from the coil to the cap.
The coil is essentially two windings of cable; a primary winding of only a few turns of thick wire and a secondary winding of many thousands of turns of finer wire. Initiating voltage to the coil (and starter) is activated by the ignition switch and supplied by the battery. The energy goes directly to the coil’s primary winding, then to the condenser and contact breaker. (The condenser is there to prevent excessive arcing at the points). The primary coil is now active but at an exact moment (when the contact breaker points open), the circuit is broken, and this generates a very high voltage within coil’s secondary winding.
We now begin to follow the HT circuit. From the short link between the coil and distributor, thousands of volts are fed to the rotor arm via a graphite bush, inside the distributor’s cap. Here also are the terminals to all of the engine’s spark plugs. The rotor arm feeds each one in turn as it rotates, again at an exact moment, and the spark plugs receive several thousand volts, arcing across their end terminals.
The HT circuit is completed and an explosion occurs within the cylinder, forcing the piston down.
Ignition fault finding
Symptom – The engine turns over, but doesn’t fire at all.
The chances are that it’s an ignition problem; to make sure, pull a lead off a spark plug, hold it near the engine block and get someone to turn the engine over. A big blue spark means a carburettor (fuel) problem (see later), or defective plugs.
So there’s no spark at all. It’s a good idea now to determine whether fault lies in the Low Tension or High Tension circuit, as this then eliminates a number of variables, saving time.
Pull out the short HT link from the coil terminal and hold it a few millimetres away from its socket. Get someone to turn the engine and watch for a spark. If there is a spark, the HT leads to the plugs or the upper part of the distributor is defective. No spark at all means the coil is suspect and the LT circuit needs testing.
Testing the HT circuit
Put the link back into the coil terminal and remove its other end from the distributor cap. Hold the end close to the engine block and turn the engine over. A weak spark probably means the condenser is short circuiting; don’t mess about with it, it’s irreparable, and easy to replace. No spark at all means the HT link from coil to distributor is defective, or the coil has had it. Replace both.
A strong spark means that we have to apply another test.
Replace the short link into the distributor cap terminal and remove one of the plug leads from the cap, and hold it close to its terminal. Tum the engine over. If there’s no spark, the distributor cap is defective (dirt, moisture or cracks). Ensure the graphite bush and its spring are clean; examine the rotor arm and clean if necessary. Clean the spark plug terminals. If damp, spray everything with WD 40.
If there’s a spark, the leads to the plugs are defective; it is possible that the plugs themselves are also suspect. Take out each lead in turn, hold it close to the engine block, and turn over the engine. If there’s no spark, the HT lead is defective; replace it.
If there is a spark, the plug is defunct; again, replace it.
Dealing with the Low Tension circuit
Notice the term – dealing. Testing the Low Tension side of the distributor and coil requires the use of a test light or meter. If you suspect this is where the trouble lies (after going through the High Tension circuit), it saves time and trouble to just replace the contact breaker points, condenser and maybe the coil (though having no moving parts, it seldom goes wrong). Double-check the wiring; frayed or loose terminals increase electrical resistance, loading the circuit. Sometimes all
that is required is application of a screwdriver, and you’re on the way again. Carrying spare points, condenser and a rotor arm should be as second nature as having a spare alternator belt and bulbs.
Carburettor problems
The carburettor is a precision device and shouldn’t be tinkered with unless you know what you’re doing. Flooding the engine (with petrol) is a very common fault, especially when the vehicle is new to you, or when the engine’s hot. In most cases, all that is required is to rest the engine for a few minutes and try starting again. If the engine fires and splutters, press the accelerator gently (choking). If it still splutters and dies and there’s a definite petrol smell, flooding is the problem.
Repeated flooding can be caused by a sticking choke, a blocked air filter or damage to the float in the body of the carburettor. A damaged or sticking needle valve may also be the problem.
If there’s no petrol smell (and you definitely have fuel in the tank), suspect fuel starvation. You will be dealing with liquid petrol, so take special care with sparks and naked flames. Type 1 upright engines are likely to have mechanical fuel pumps, which are more robust than electrical (diaphragm) types, but they do have their own problems. Find the fuel pump (on air-cooleds, to the right of the distributor) and disconnect the fuel inlet, having a container ready. Either get someone to turn the engine over or do it yourself by hand (safest) and check that the fuel flows from the pump. If it doesn’t, the pump is defective or there’s a blockage in the line or the fuel filter.
Removing the brass hexagon nut at the front of the pump will reveal the pull-out filter. If the fuel line is blocked, a garage will arrange to have the system blown through.
Where am I going wrong? A cry for help.
I have a 1600 twin port in a 1971 T2 camper and average 21 mpg. I drive around at 50-55 mph and don’t go for rapid acceleration. It’s a Devon Moonraker conversion with a low profile pop-top. The engine is a new Veggie replacement, but gives the same mpg as the rattly leaky nail it replaced – much smoother, though.
Timing is set with a strobe – 009 distributor (10 deg BTDC), TDC mark confirmed as correct, plug colour normal with a slight tan coloured deposit and there’s no sign of fuel leaks anywhere. Valve clearances at 0.006 thousandths, checked regularly, but never much adjustment needed and no signs of a misfire; starts well and idles smoothly. New coil, normal carburettor and exhaust (9 months old); tailpipe is always black inside, but no build-up of carbon. The carb has been stripped, cleaned and rebuilt with new float valve, adjuster screws, diaphragms and gaskets with no effect on mpg. No noticeable smoke when driving; oil bath air cleaner looks clean; brakes are free, no smell of petrol when parked, or in the engine compartment; 20w50 oil used with negligible usage. Even on a long run at 55mph I’ve only ever got 24 mpg, and that was with the OLD engine. HELP! !??
Sounds familiar? It does to me; and I thought that when I got round to fitting a 009 distributor, gave the carb a going over and all the things the poster has done, my mpg would improve. Why should I bother? Better to save the money and spend it on petrol!
Why is the mixture so rich – are we to believe that a black inside to the exhaust is normal? (But the plugs seem OK). Can anyone help? Is there something obvious that can be done to improve the mpg that the poster tried? Even if it only improves by 3 or 4 mpg, it’s got to cheer him up, after spending all that money. This guy seems to know what he’s doing, and I sure as hell don’t want to fill the pockets of Shell/Esso/Texaco shareholders while I’ve got my T2.
Vacuum unit
It may seem unlikely, but the answer could lie within this clever gadget on the side of the distributor. The vacuum unit changes the timing of the engine at higher revs giving you a more accurate spark at the time that you need it. This means a better burn, in turn giving the spark at the right time, giving more power, less wasted fuel and therefore better economy.
A worn distributor or the lack of a vacuum unit can be done easily and does not take long for a professional mechanic if you want to outsource it. To buy a brand new SVDA distributor from Accuspark with electronic ignition to dispense with old fashioned points will cost you around £80. This should give you another 3mpg over a non vacuum 009 distributor – more if it is worn!
At 21mpg the fuel is costing you 33 pence per mile.
If the new distributor increases that by 3mpg to 24mpg then the price per mile drops to 28.5p saving you 4.5 pence. Payback on your £80 is in 1,800 miles.
Plus your oil temperature will be slightly lower, what’s not to like?
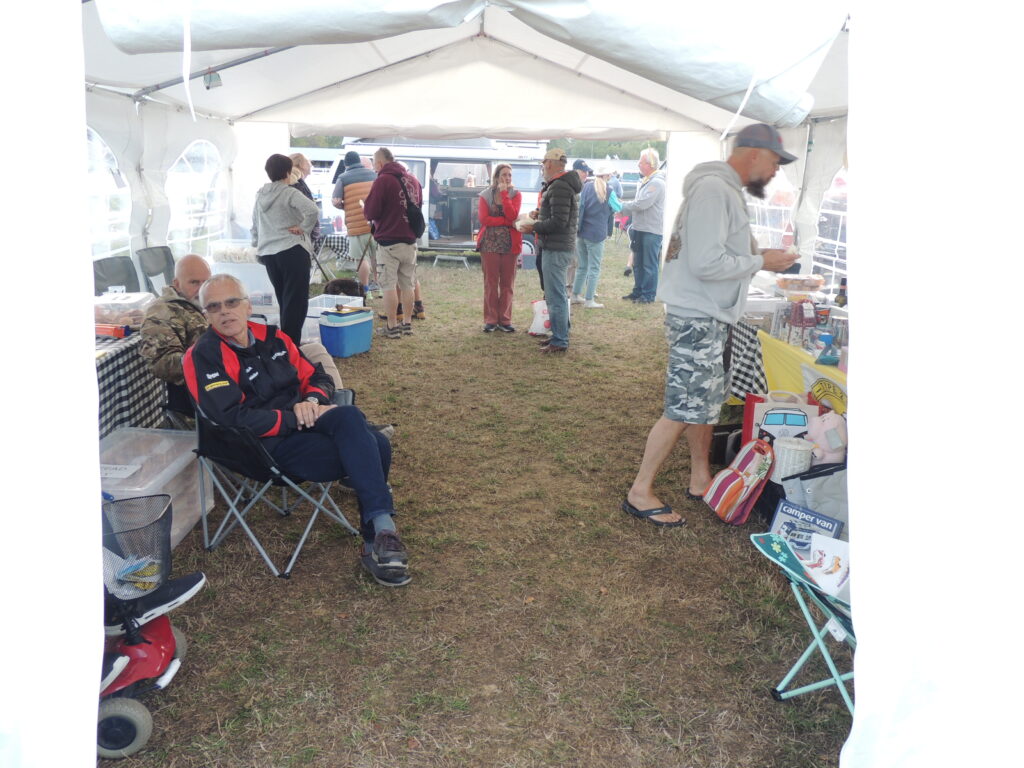
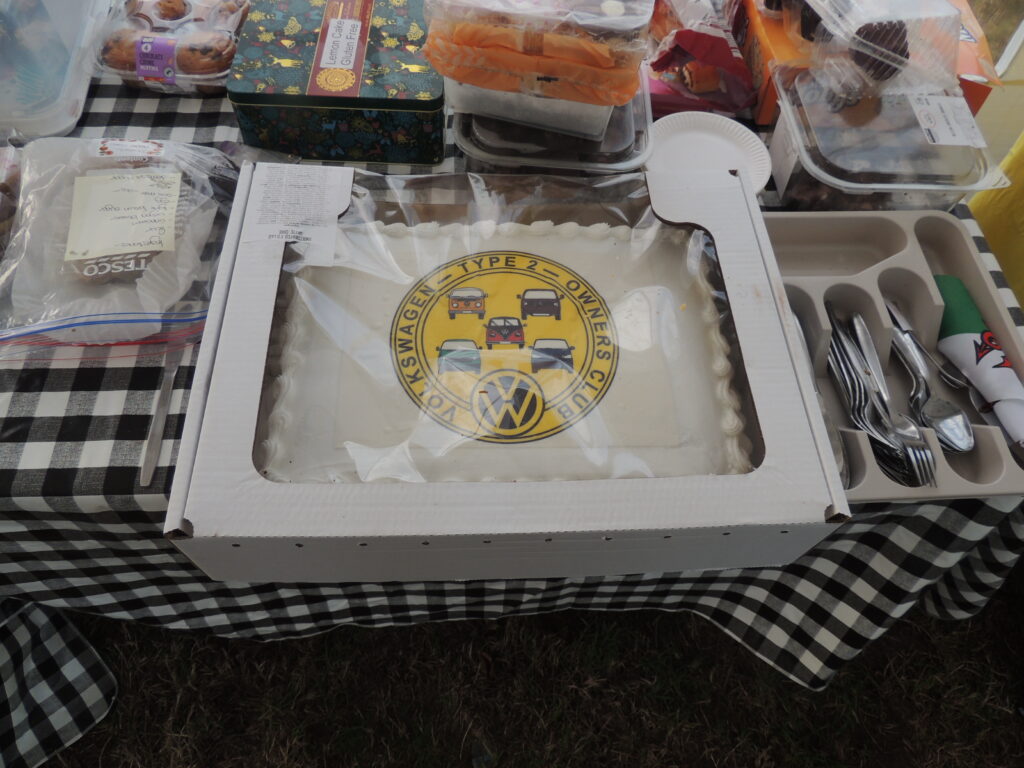
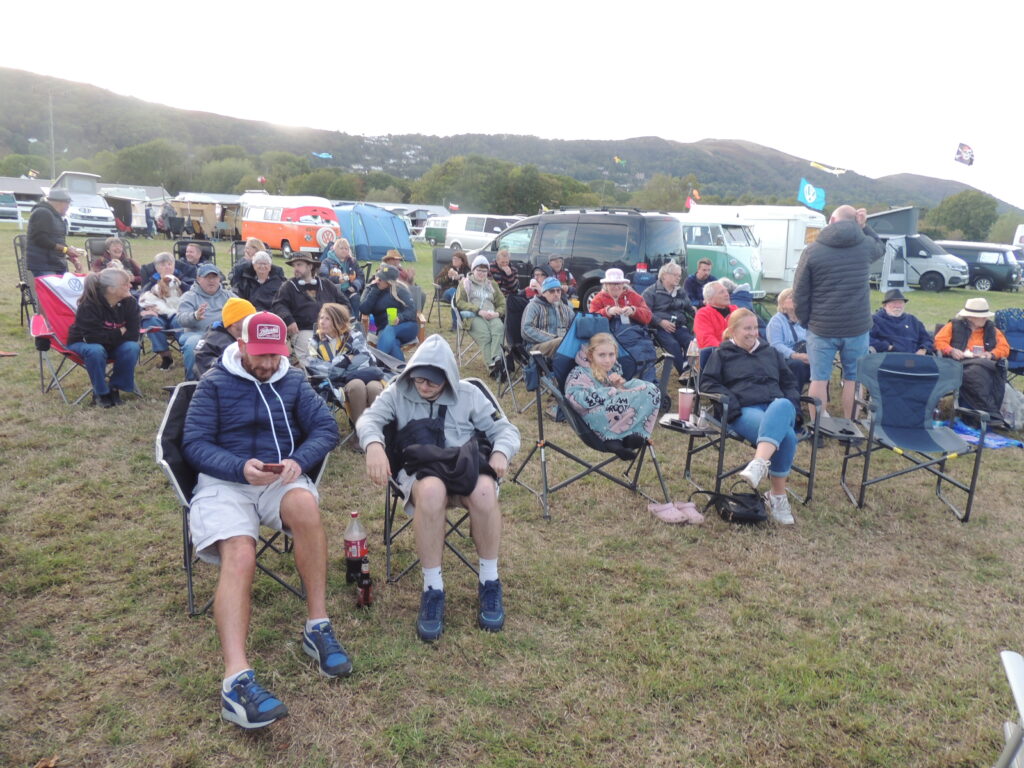
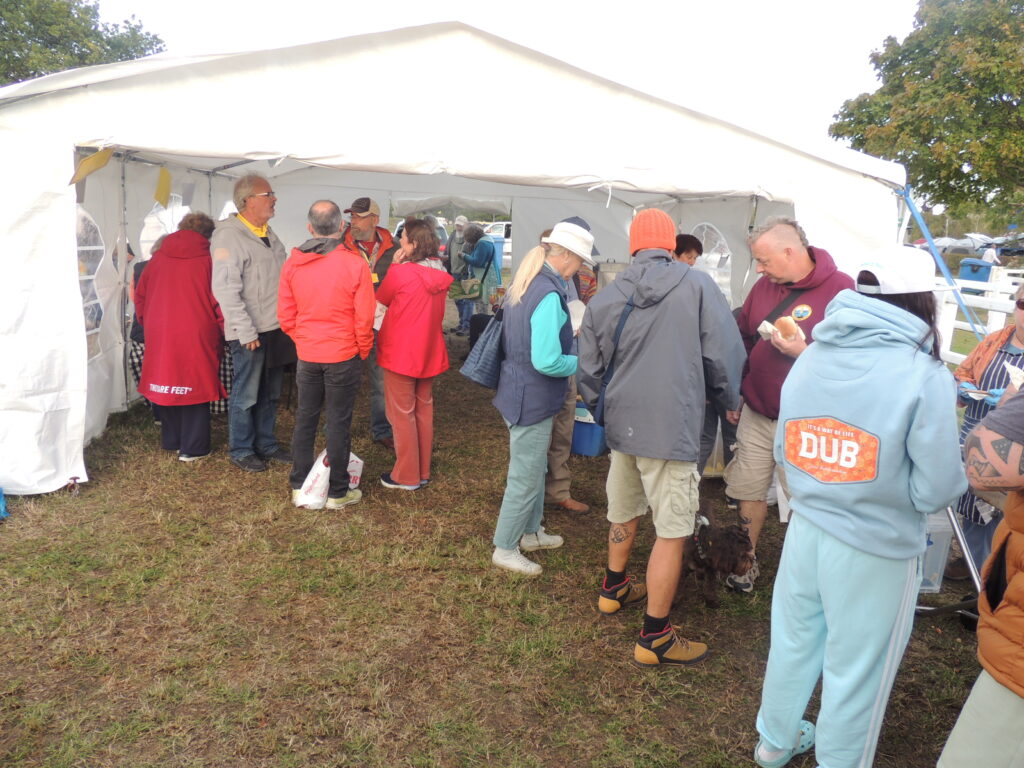
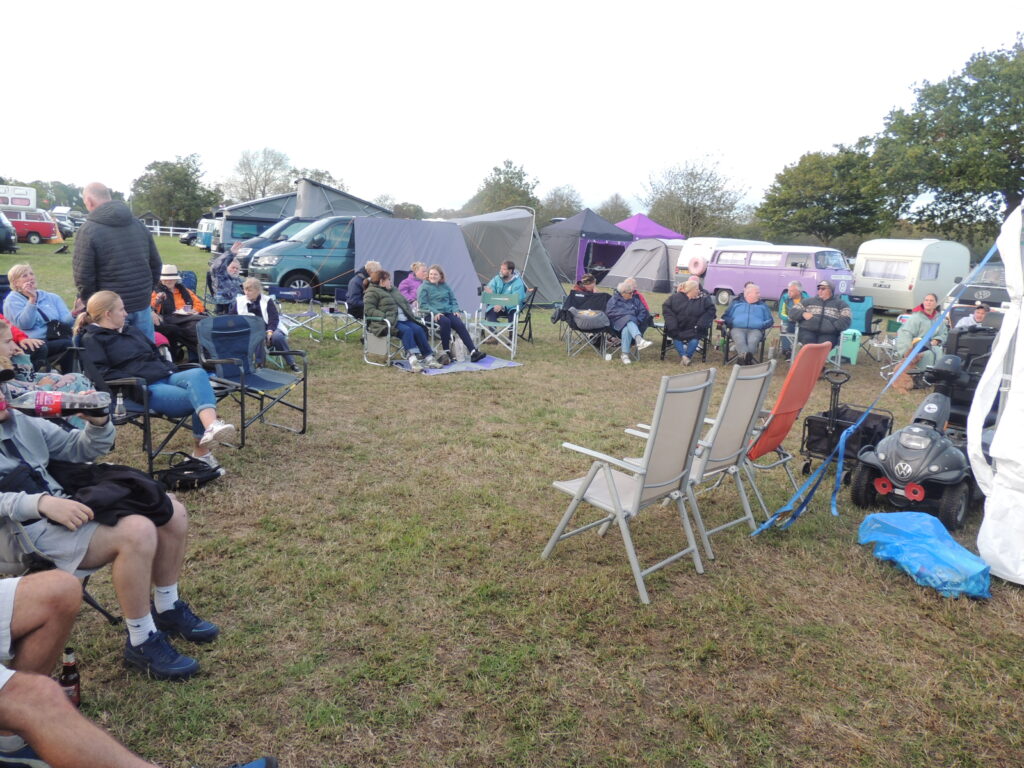
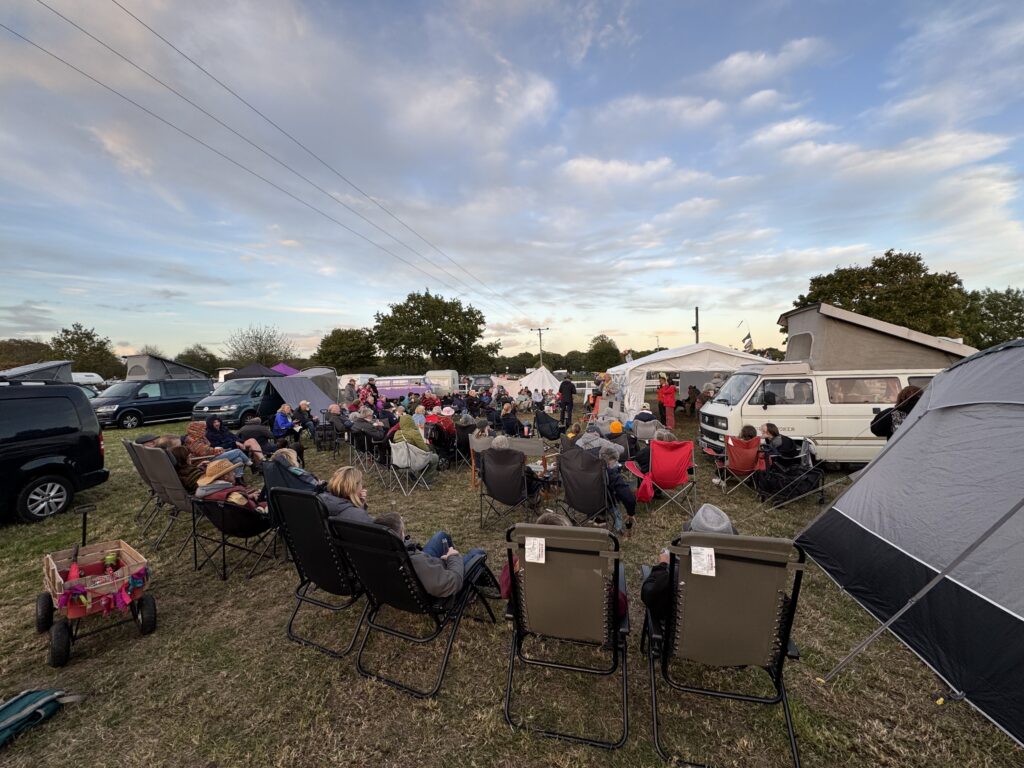
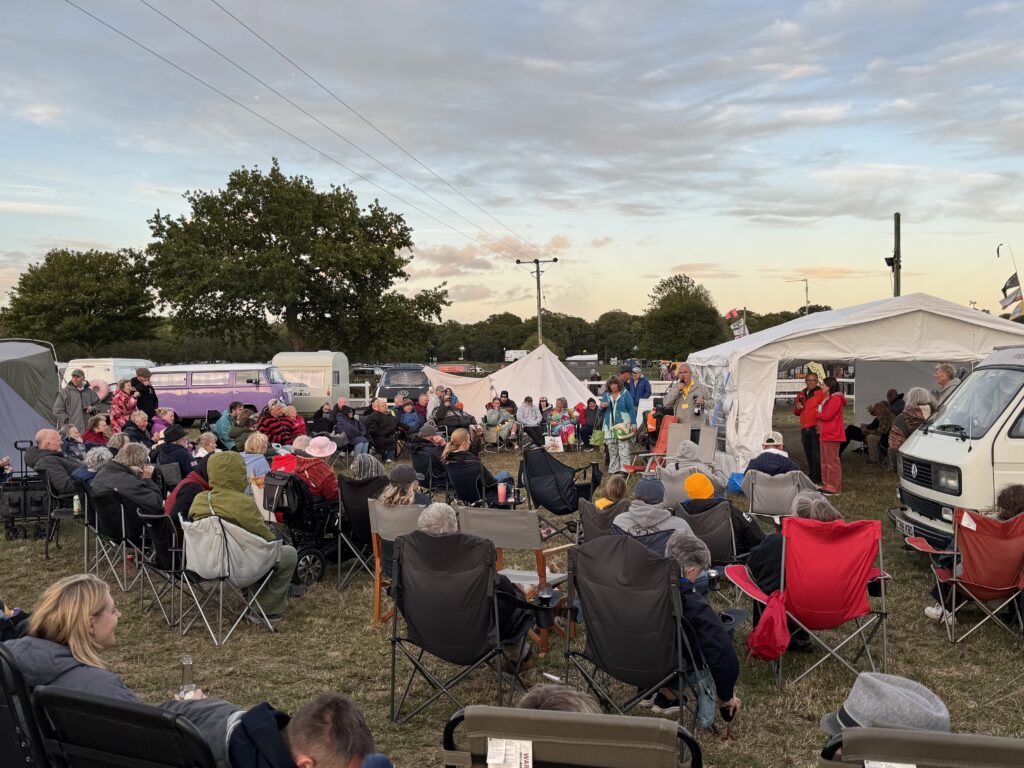
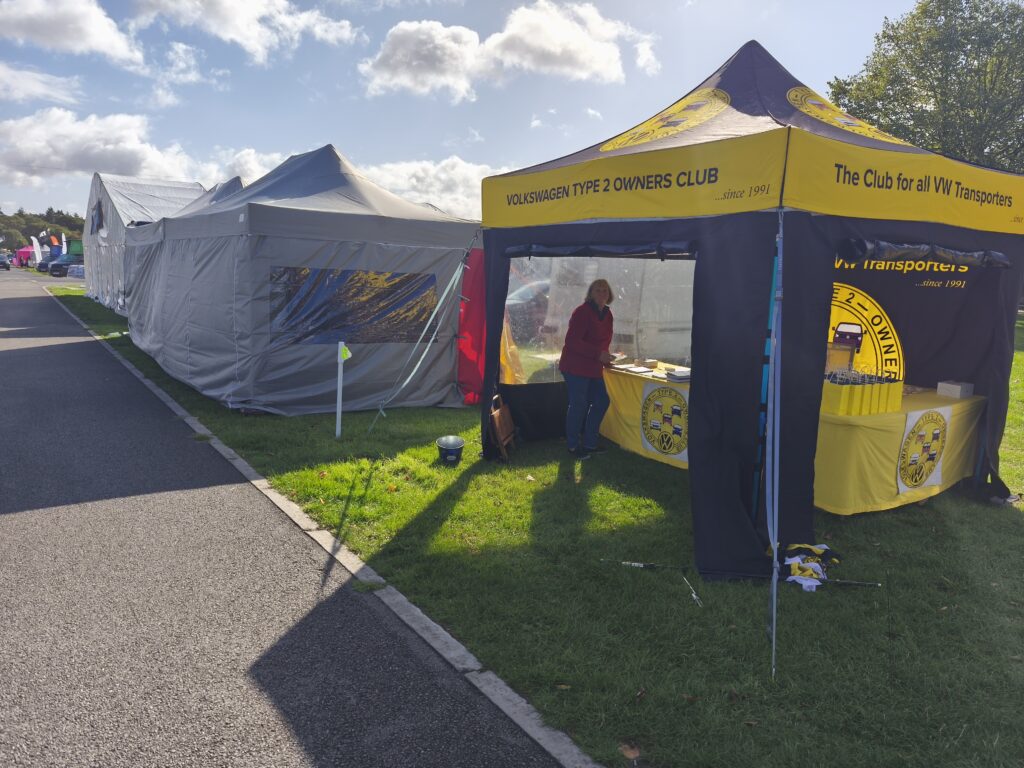
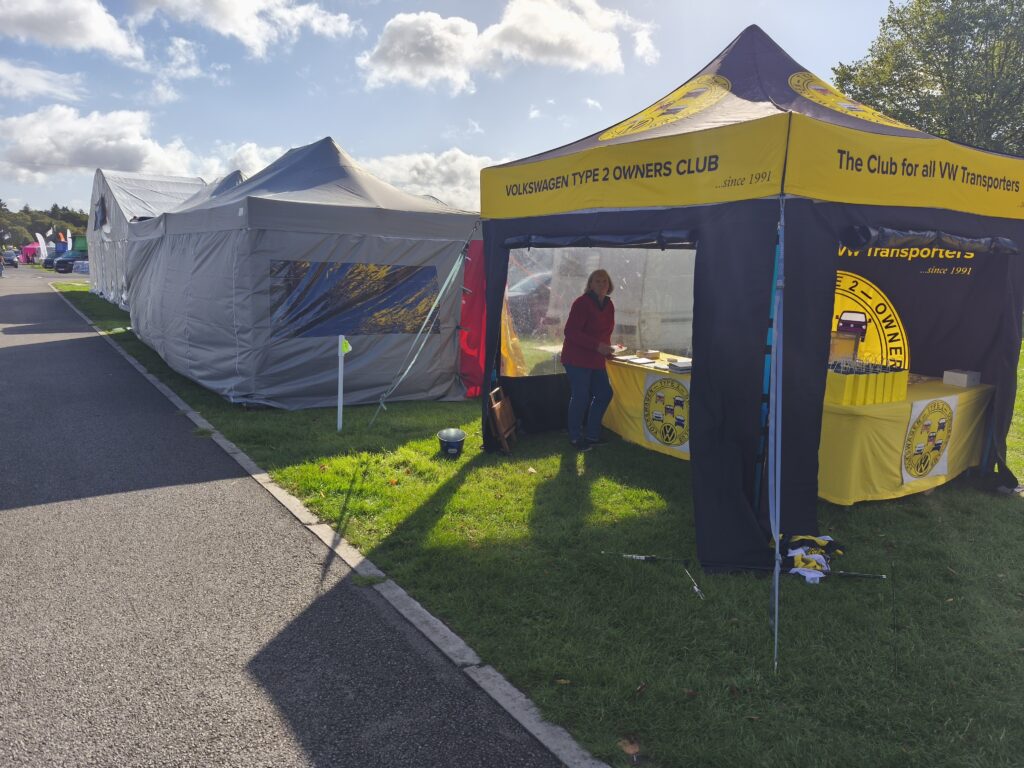
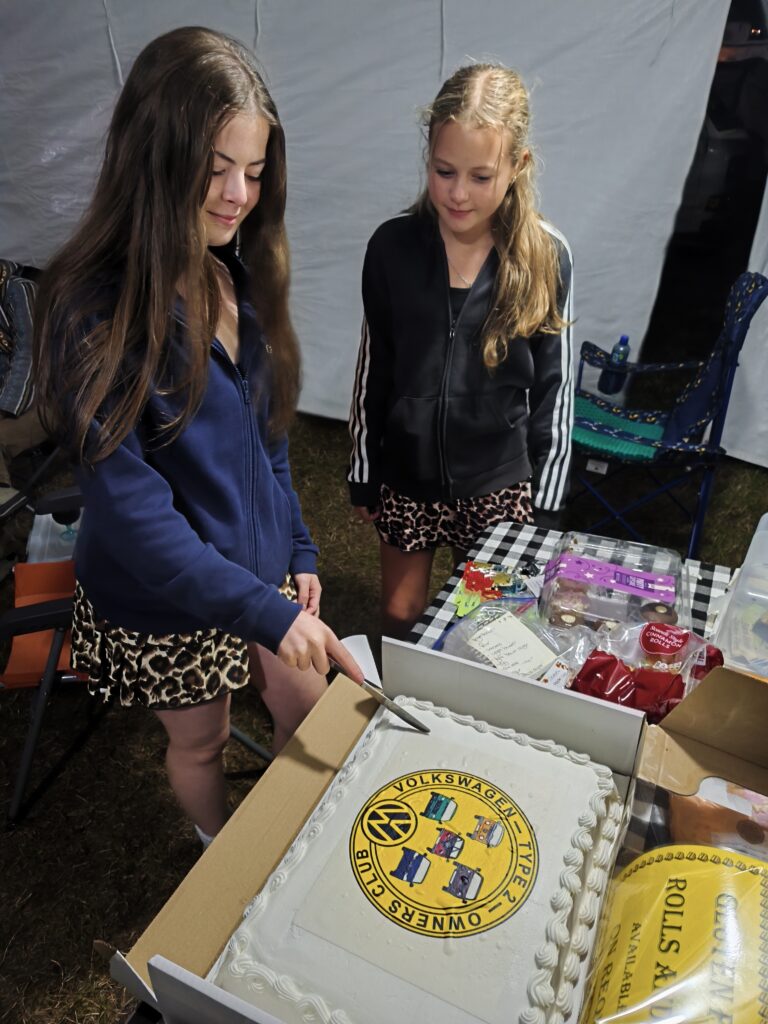
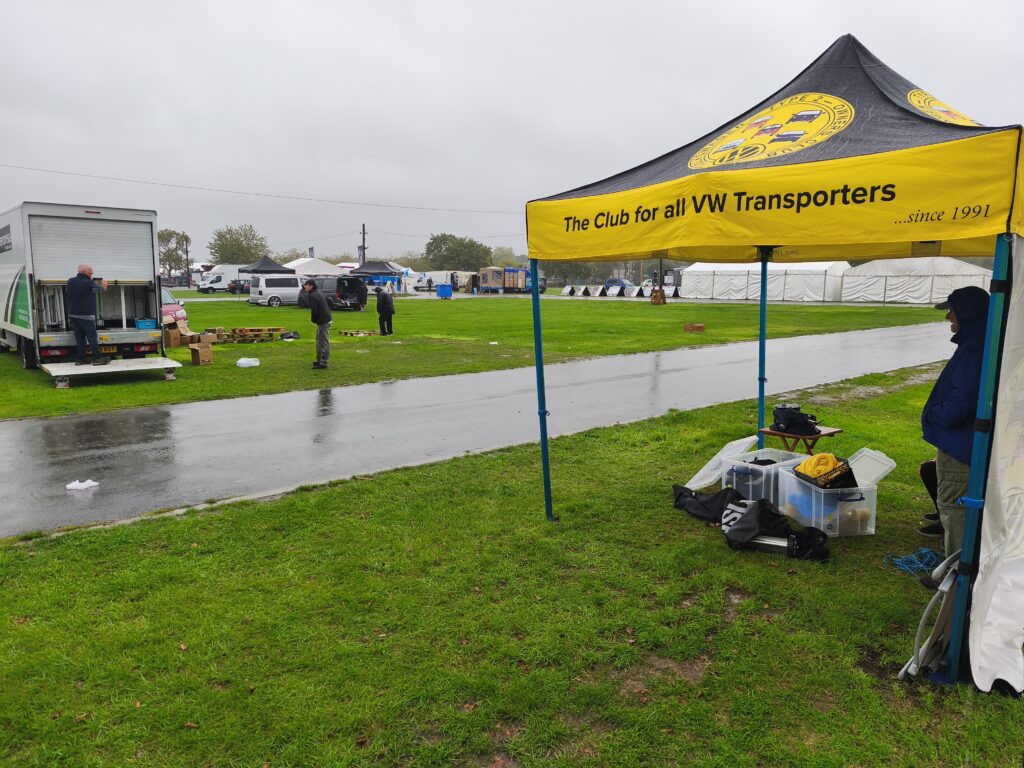
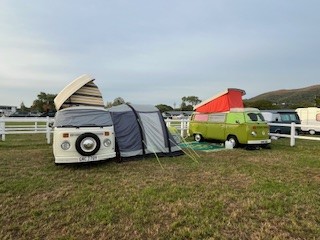
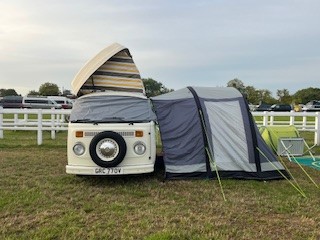
Four seasons in one day! About 100 members arrived into our club field, had burgers on both Friday and Saturday nights, had tea, coffee, cake and biscuits on Saturday and Sunday mornings.
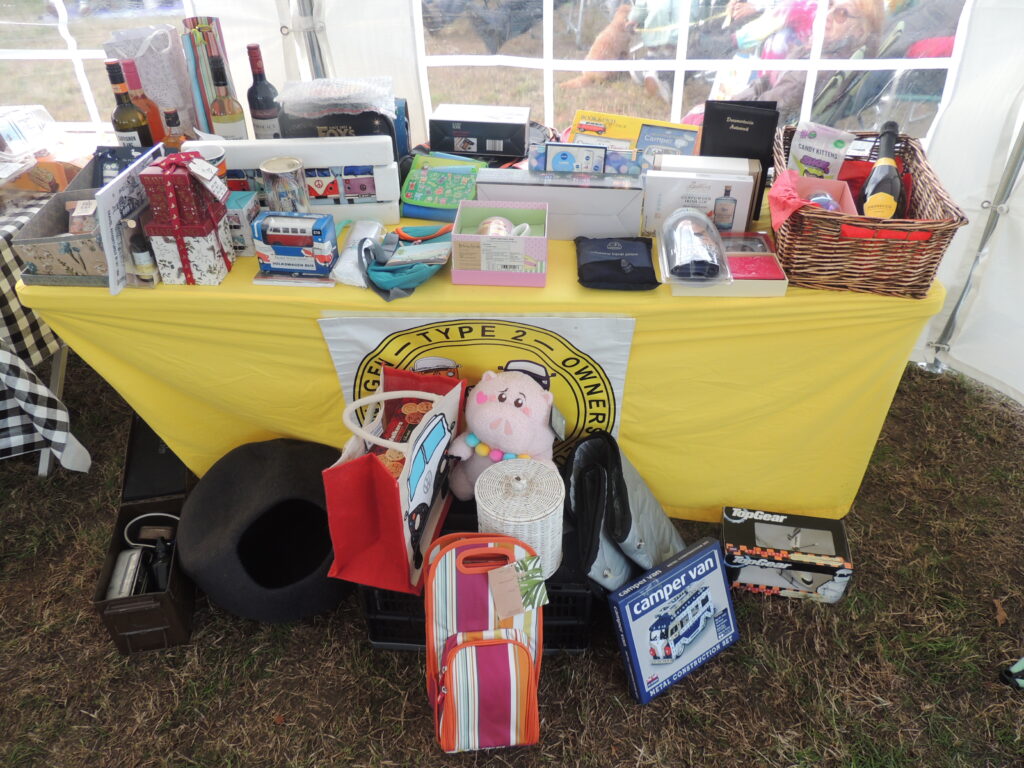
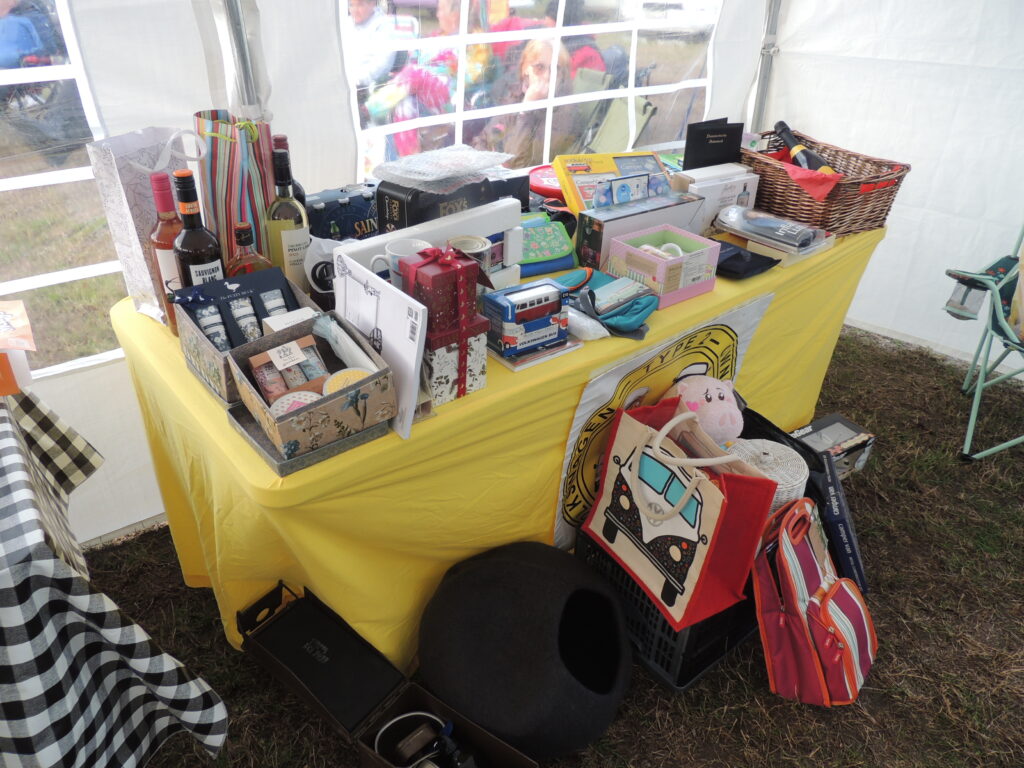
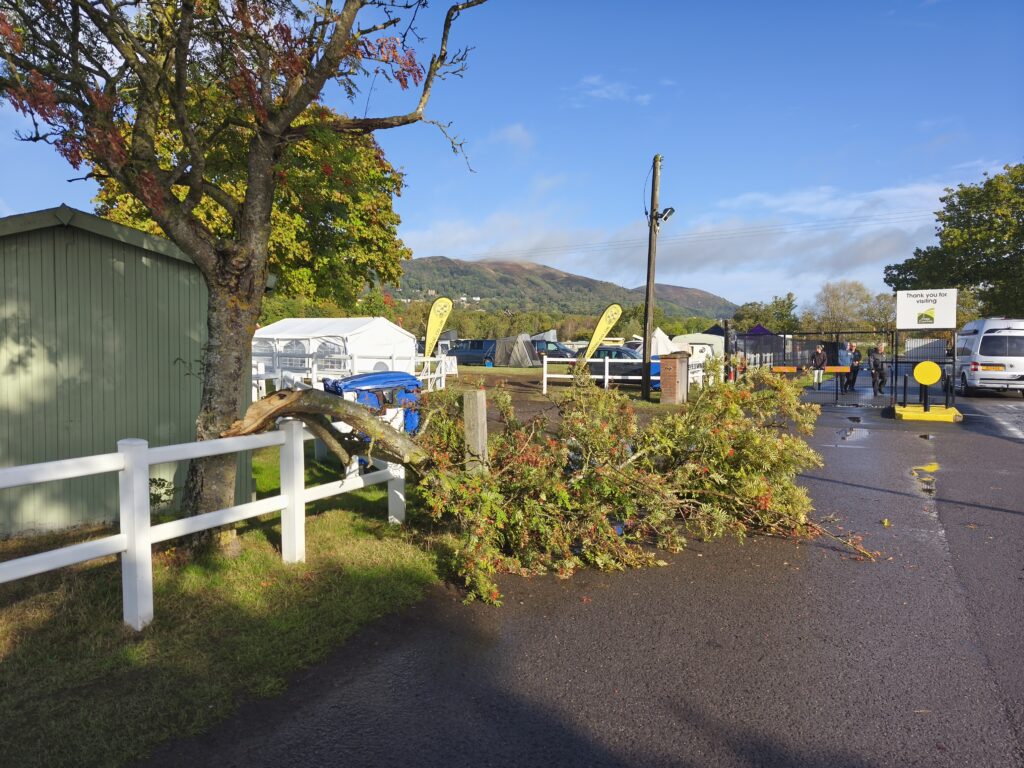
There was a raffle with dozens of prizes, a lot of laughter, some rain, some wind, some sun and that was just our field. Busfest gave its usual array of stalls, music, kids entertainment, displays, for sale, autojumble and lots lots more.
The next edition of the club magazine has been finished by our Editors and looks fantastic. It should be arriving through your door soon! If you are enjoying the club magazine and have a story about a trip, an upgrade, a restoration or just a tip, send a contribution to our Editor at editor@vwt2oc.co.uk.