Category Archives: T2

How to improve on a classic!. The best selling version of the Transporter

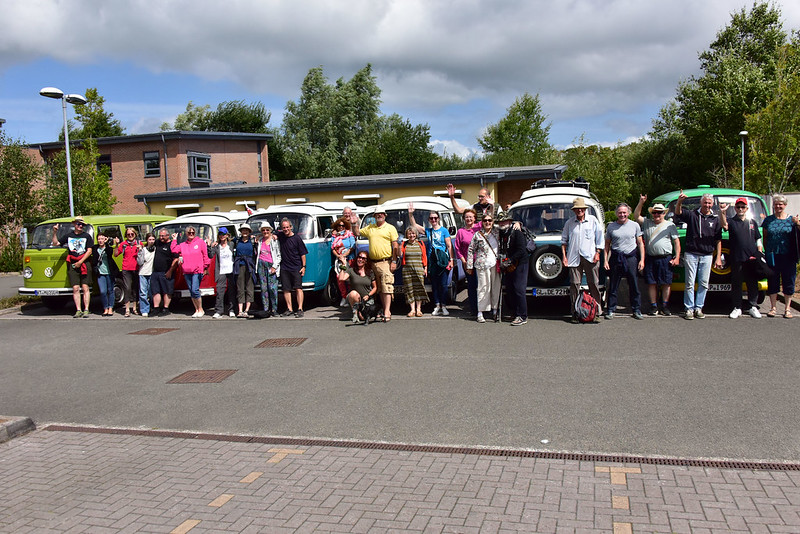
Another one in the bag – Club trip to South Wales

A full week of Welshness! St Fagans for traditional village, the Royal Mint for the history of making money, Bara Brith, Welsh cakes, Penderyn whisky, BBQs and singing. What’s not to like?

Michelle says:

After months of planning, we were headed to Wales at last. Our home for the week was the White Wheat Caravan Park, a small family-owned site on the edge of the Welsh seaside town Porthcawl.  Some of the management team arrived on Sunday afternoon to get everything set up ready for the week ahead but as the wind was picking up a bit only one tent was erected, and the rest of the construction plans were postponed until Monday morning.

Monday morning saw the arrival of gruesome weather with lashing rain and gale force winds. A strong gust of wind caught the roof of our lovely new marquee as it was being put up and caused significant damage to it, bending some of the supporting posts as if they were silver foil. I silently hoped this was not an omen for the rest of the week and wondered if it was too early to open the wine (It was 11.00am). I consoled myself with a cup of tea and one (or two) of Val’s amazing Welsh cakes.
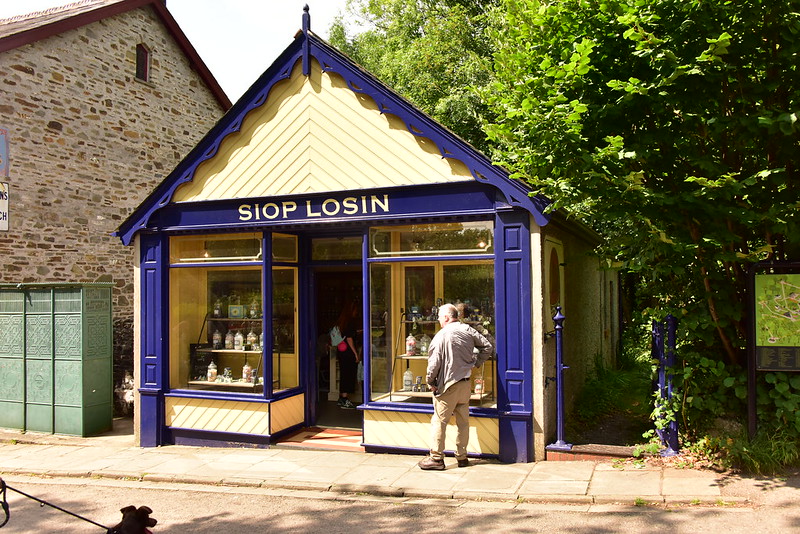
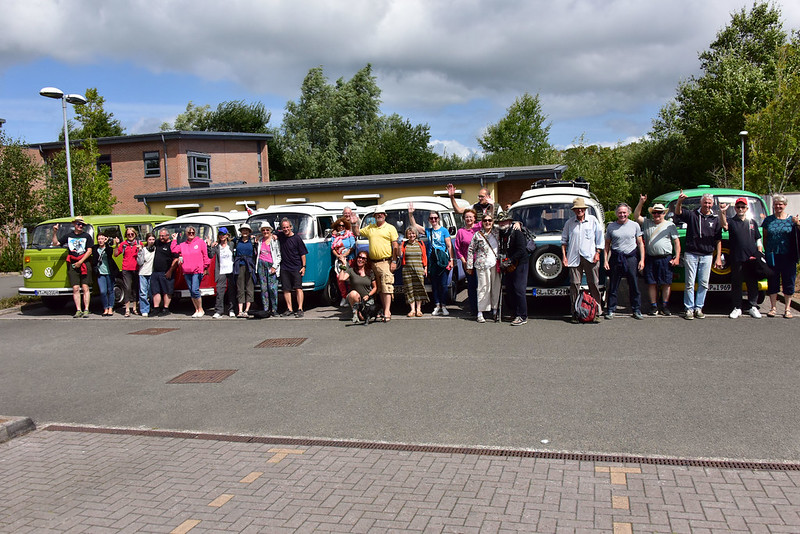
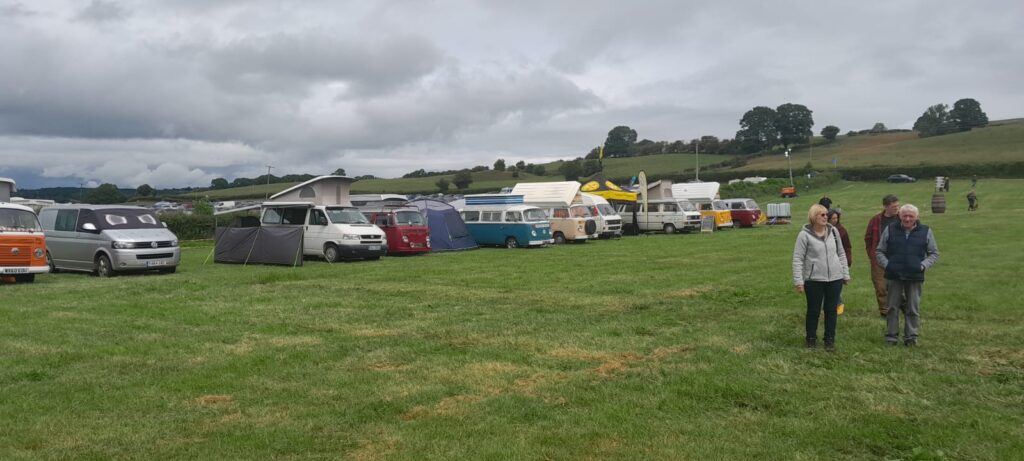
As the day rolled on the wind and rain gradually moved on the pastures new. Blue skies and sunshine arrived just in time to welcome the steady stream of campervans of all shapes and sizes gradually filling the pitches complete with smiling occupants looking forward to the days ahead. Monday night concluded with a welcome BBQ. After so much planning and with mother nature trying her best to scupper our plans, I was certainly relieved to see the long line of tables and chairs snaking across the lawn and to hear the lively chatter and laughter of our club members and our German guests as they settled in.

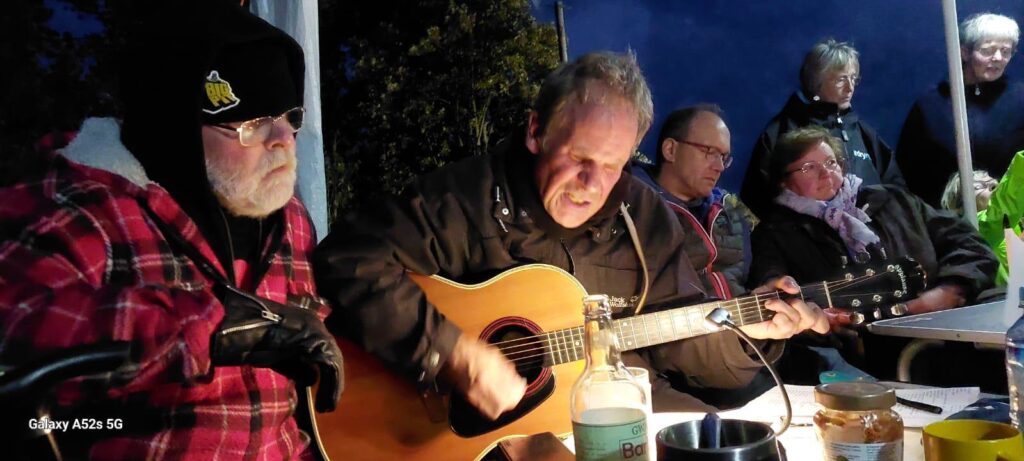
Tuesday morning saw our first outing – St Fagan’s Welsh History Museum near Cardiff, an amazing place and worth a visit by young and old alike.  I can certainly recommend the cream scones.  In the evening some of us strolled down to the beach to enjoy a drink from the super café Coney Surf Shack introduced to me by member Kim-Ann and then the Porthcawl fireworks which sparkled over the sea. The evening just gets better with impromptu singsong with our German party one of whom had brought his guitar and music over from Germany.  A pattern is set for the rest of the camp.

Wednesday started with bright sunshine and a morning visit to the beautiful Castell Coch, a stunning Victorian indulgence and a testament to love. Then a short drive on to The Royal Mint Experience and a nice lunch at the Mint café – locally sourced steak pie, chips and mushy peas – I am northern after all – £7.95 – bargain!  At 2.15pm we gathered with mounting anticipation for our private tour of the minting room. We are greeted by a mean looking security guard and then our guide Daniel who is not at all mean looking.  The tour ended with a very informative exhibition which includes the first ever minted coin from the time of King Alfred. Some of us even minted our own £2 coin – a super memento of the day. We headed back to the camp for a quiet night but the evening took a turn for the better with impromptu sing song with our German friends one of whom has brought his guitar and music over from Germanysome guitar work from Ulli.

Thursday we were heading off further afield today in rather drizzly and dank weather to The Big Pit. What a fascinating museum and exhibition space it is. The underground visit has certainly left me with a better understanding of Welsh coal mining and the mining communities. Thankfully the afternoon brightened up ready for our Welsh themed BBQ back at the campsite.  Freshly made Dragons Breath sausages resting on a bed of delicious leeks accompanied by homemade coleslaw and potato salad were swiftly dispatched. I didn’t even get to see the homemade Bara Brith (I was not happy!).  Val assures me no Dragons were harmed in the making of the sausages.

Friday was a free day when members and guests explored the local area at their leisure – Cardiff, Swansea, Porthcawl and the Gower. For me it was Porthcawl for shopping, gin tasting and a trip to the 100 year old fun fair.

Saturday – I had initially planned a convoy outing along the promenade but due to a number of reasons I had to cancel. However, all was not lost and disappointed frowns turned to smiles of joy when new member Simone Smith suggested a convoy to Cowbridge. Simone is a local and knew the way and with Nick’s help a beautiful convoy of campers headed off to explore.

Sunday morning was sunny and warn but sadly saw us packing up and saying our goodbyes to old and new friends and one by one the camp became silent.

Before I sign off I would like to thank the people who did all the work tirelessly behind the scenes and who without their help, kindness and their time, this event would not have been possible. My grateful thanks go out to Val, Malcolm, Kim Ann, Martin, James, Marina, Nick and Steve.

A huge thank you goes to campsite owners Alyson and Mike who did us proud. They even installed large new sinks in readiness for our visit and Alyson made VW Campervan blinds and embroidered campervan pictures to make us feel welcome. And I can’t forget Barney, a site resident who was very helpful during our time there and his fresh roast lamb sandwiches were to die for – thank you!!!

Some of you will know that this was my first event, and it would be fair to say it was a bit nerve wracking at times. However, I thoroughly enjoyed it and it was made very special by all of the lovely members who came, our wonderful Germain guests and all people I met during the week I was there. 

Michelle
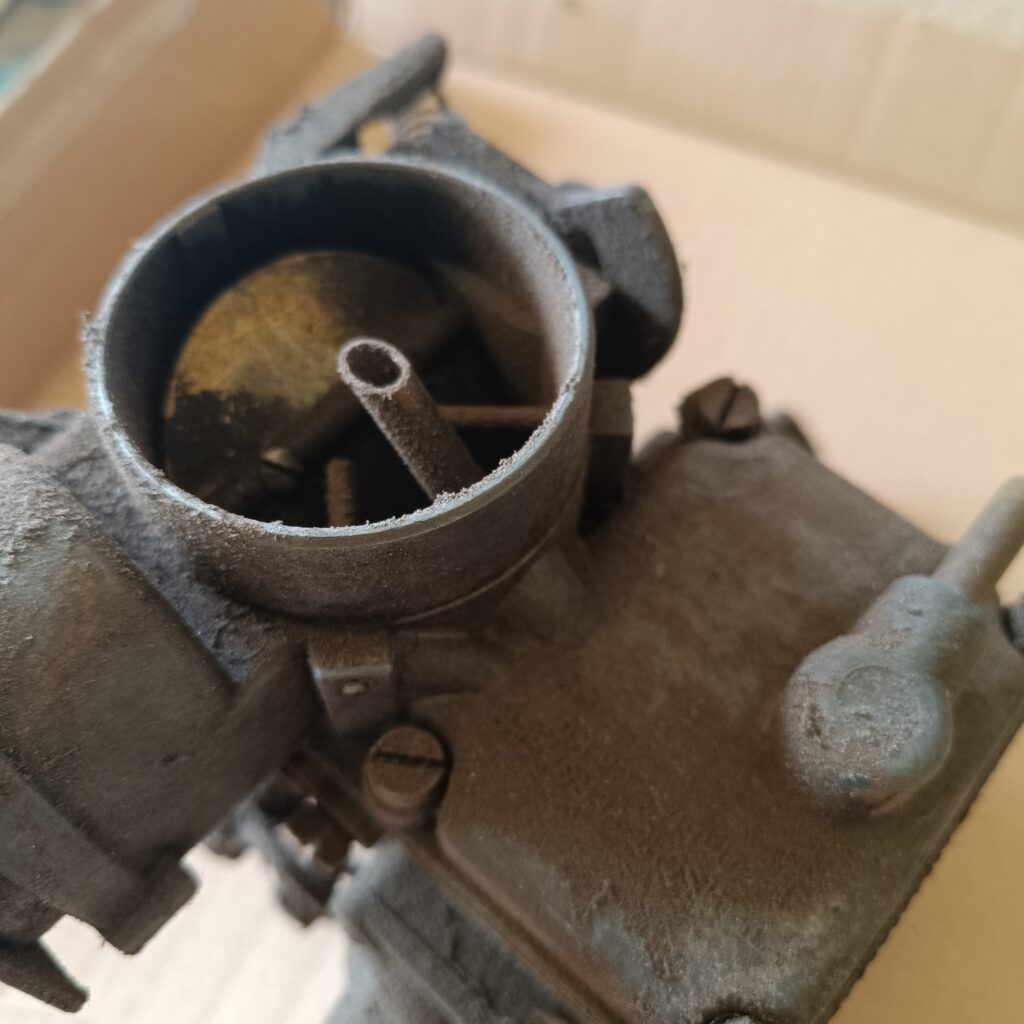
Ask The Mechanic – Servicing a Solex carburettor

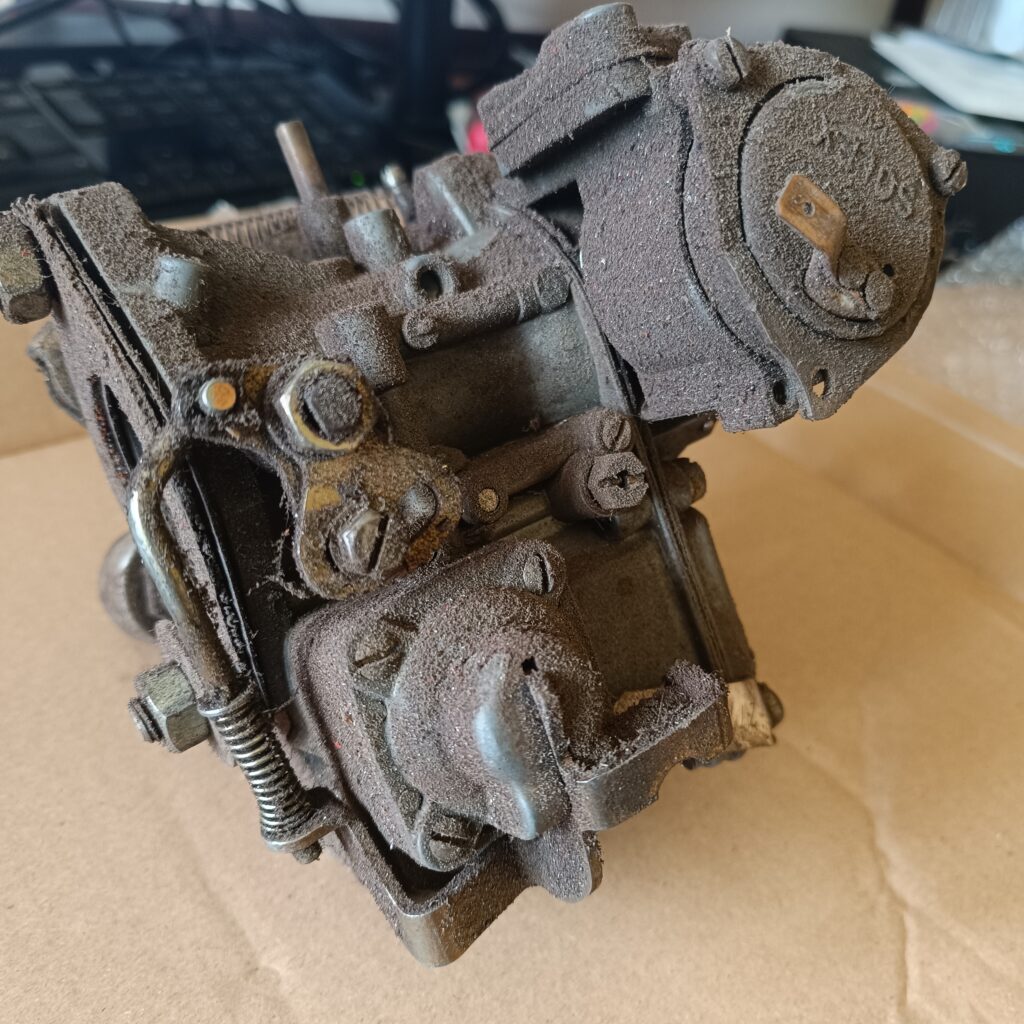
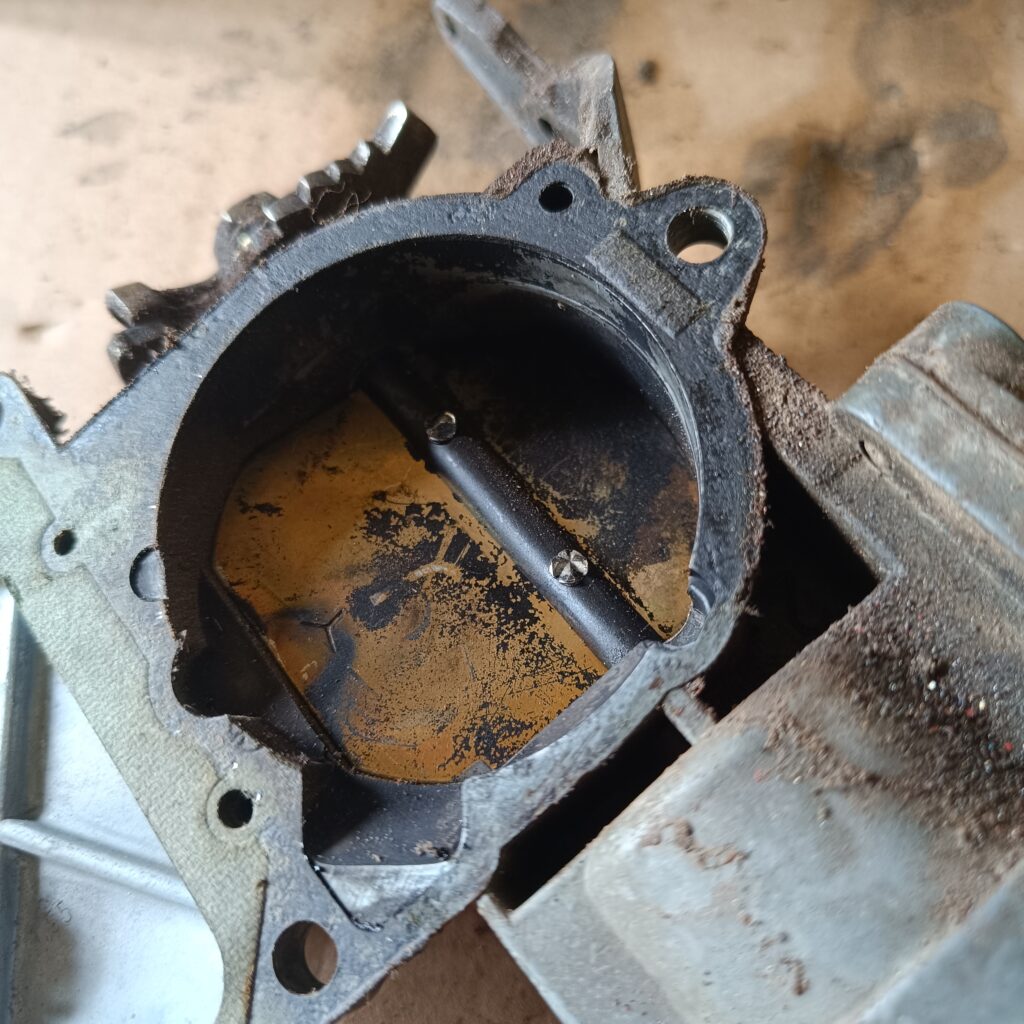
In this issue, we will service a standard Solex carb. Specifically, this one is a Solex 34 PICT3, but the process is very similar for any of the Solex carbs, either single or dual.
Purchasing

Rebuild kit – go to your favourite online store of choice and purchase the Solex carb repair kit, these are available for around £20 at time of going to press. Note, the kit contains the rebuild parts for many sizes of Solex carb, meaning that you will not use all items in the bag! It also usually includes instructions!

Cleaner – Unless you have something else suitable, you should also get a can of carb cleaner. A 400ml can is under £5 and will be sufficient for the task. This should be done in a well ventilated area / outside as carb cleaner is not pleasant and is suspected to be carcinogenic.

Tools

Soft brush (eg toothbrush) – optional
Metal or glass pots for holding parts as they soak, with lids
Medium and small screwdrivers
11mm, 13mm and 14mm sockets
Needle nosed pliers
Pencil

Removing

Remove original oil bath air cleaner or after-market air filter. Detach fuel hose and clamp / seal (I use a golf tee peg and cling film), vacuum hose of dashpot (where applicable), and vacuum hose. Disconnect automatic choke cable, bypass air cut-off valve cable (where applicable), and electro-magnetic pilot jet cable. Detach accelerator cable at throttle valve lever and ensure that you tie it off otherwise it pops into the cable channel and disappears. I use a clothes peg to hold where the cable disappears into the fan shroud. Remove two nuts on intake manifold and lift off the carburettor.

Disassembly

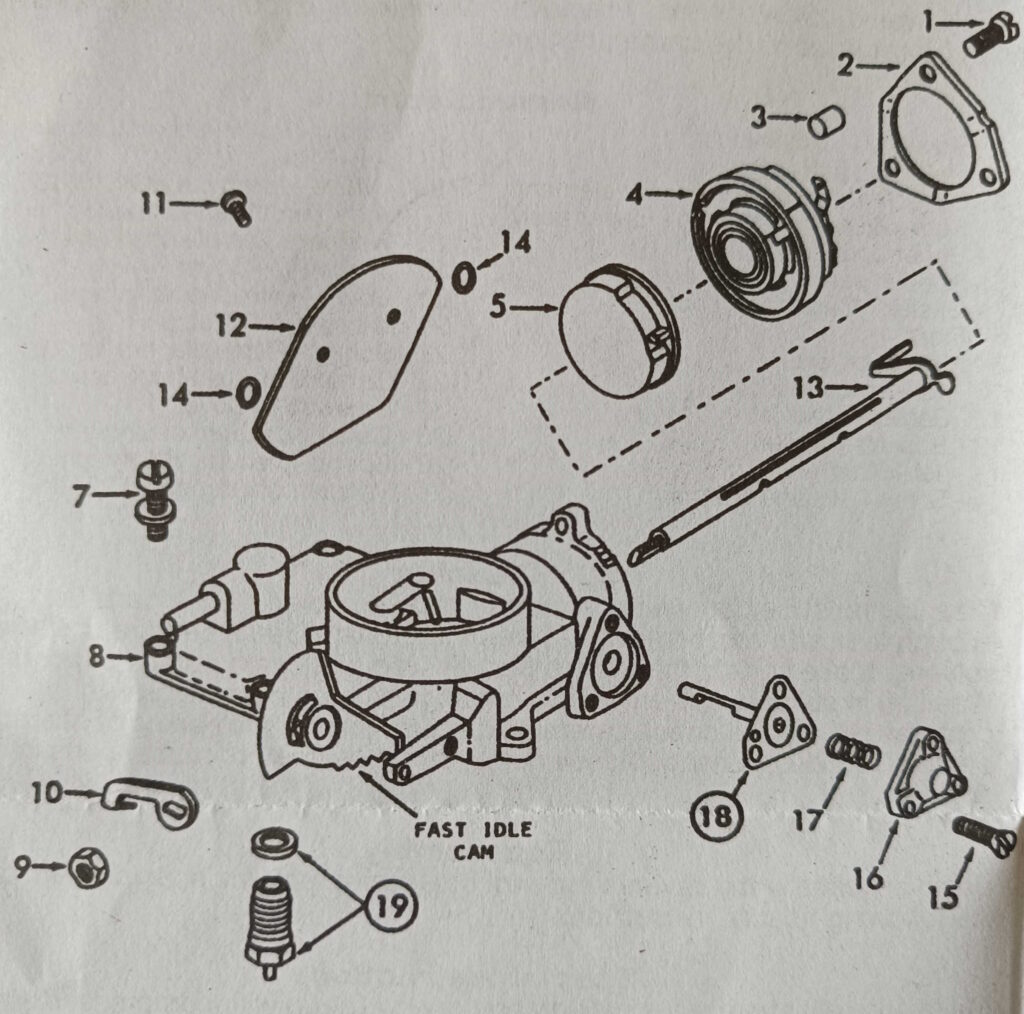
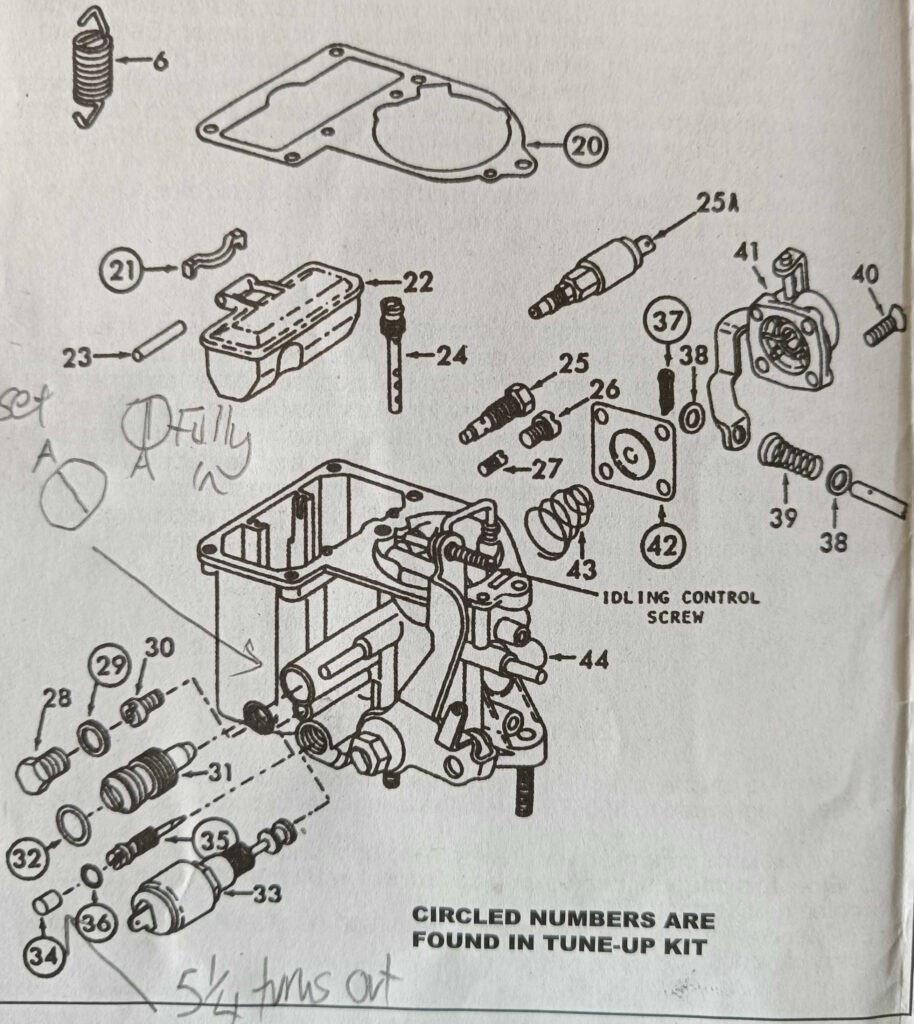
Use exploded view as a guide only.

Carb parts list

1 – Screw (3) – Retaining ring
2 – Retaining ring – Cover
3 Cover with spring and heater element
4 Screw & lock washer (5) – Upper body
5 upper body assy.
6 Needle, seat & gasket assy.
7 Gasket Carburettor
8 – Float
9 – Pin Float lever
10a- Jet Air correction
11 Carrier Main jet
12 Gasket — Carrier
13 Jet- Main
14 Screw Volume control
15 – Spring – Volume control screw
16 – Jet – Pilot
16A – Valve Idling cut0ff (30PICT -1 only)
17 – Nut – Throttle shaft lever
18 – Washer – Throttle shaft lever
19 – Screw (4) – Cover
20 – Cover – with lever & linkage
21 – Diaphragm – Pump
22 – Spring – Pump diaphragm
23 – Carburettor main body assy.
24 – Screw (3) – Cover
25 – Cover – Vacuum diaphragm
26 – Spring – Vacuum diaphragm
27 Vacuum diaphragm – Choke

Cleaning

Cleaning must be done with carburettor disassembled, soak parts long enough to soften and remove all foreign material, Use a carburettor cleaning solvent. Make certain the throttle body is free of all hard carbon deposits, wash off in suitable solvent. Blow out all passages in castings with compressed air and check carefully to insure thorough cleaning of obscure areas. Caution: do not soak solenoids, switches, float, or rubber parts in solvents.

Instructions

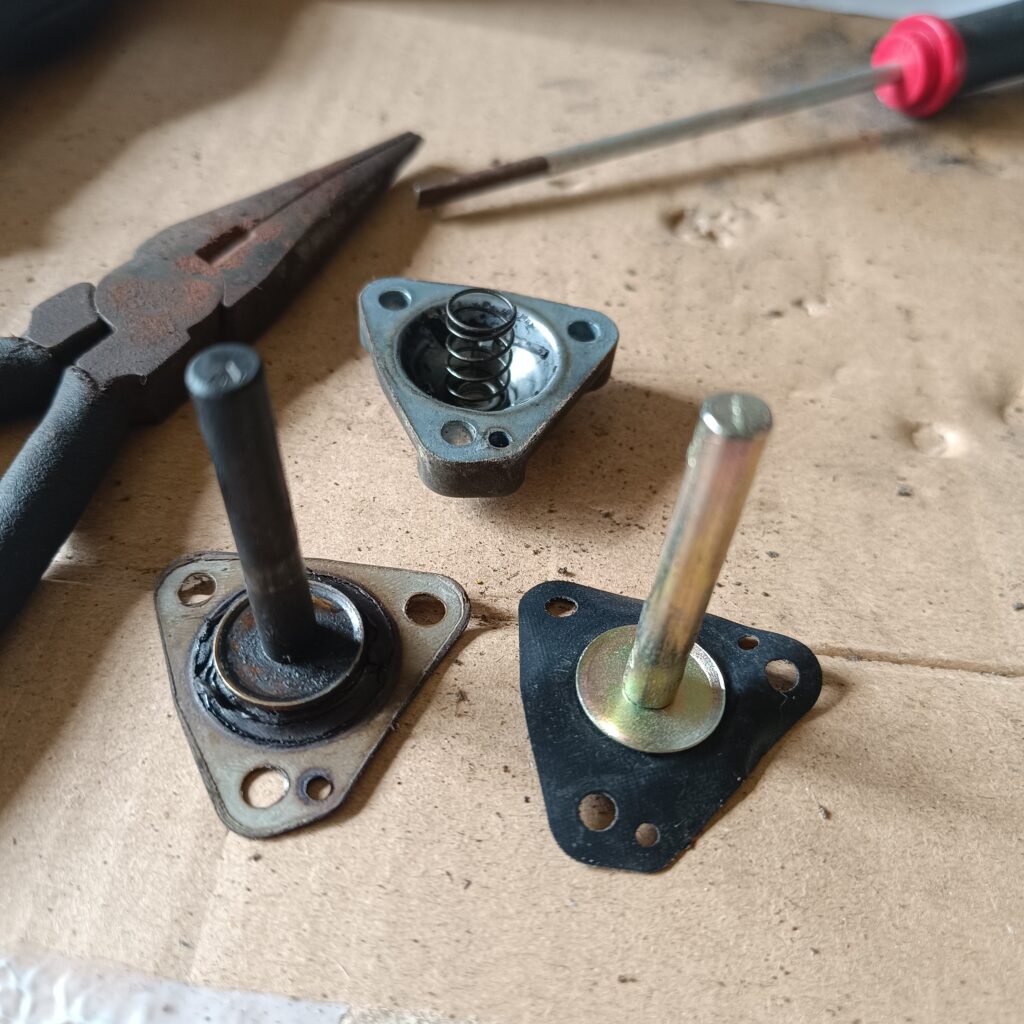
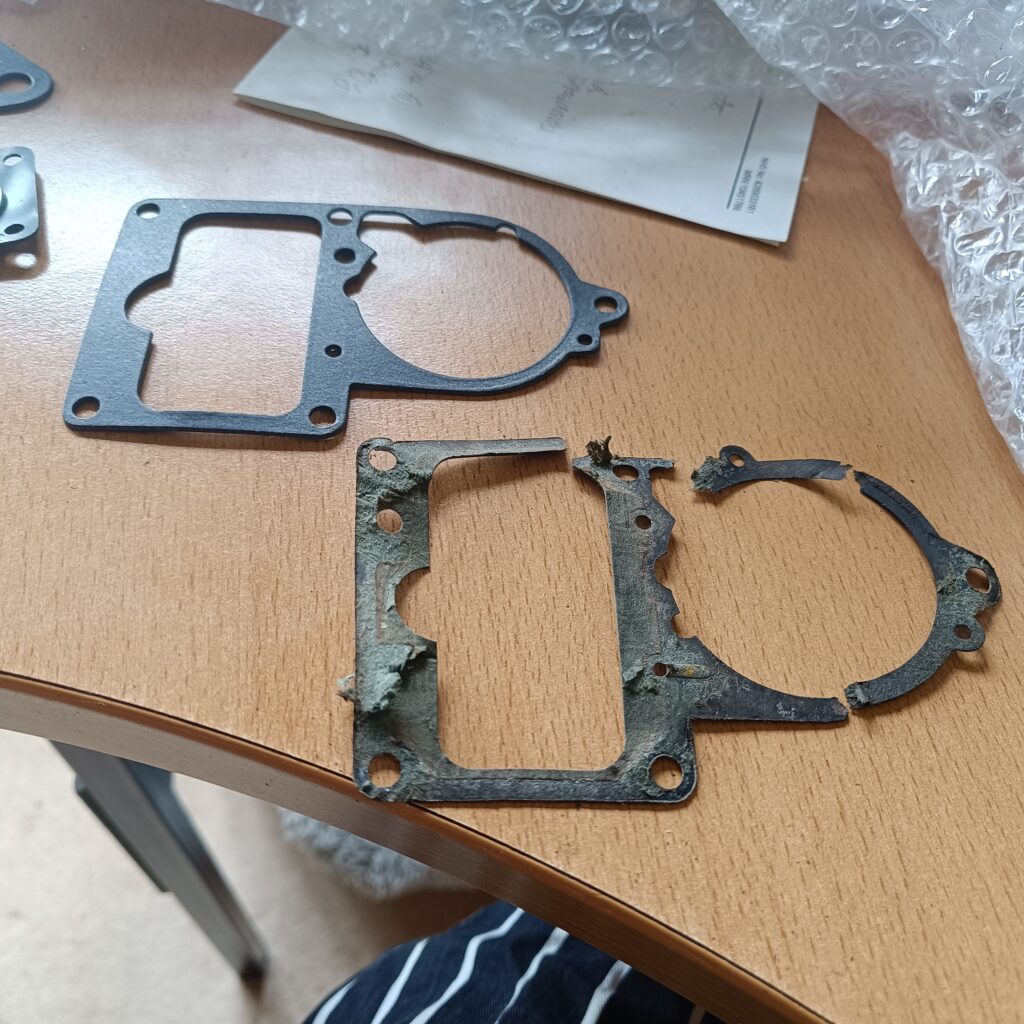
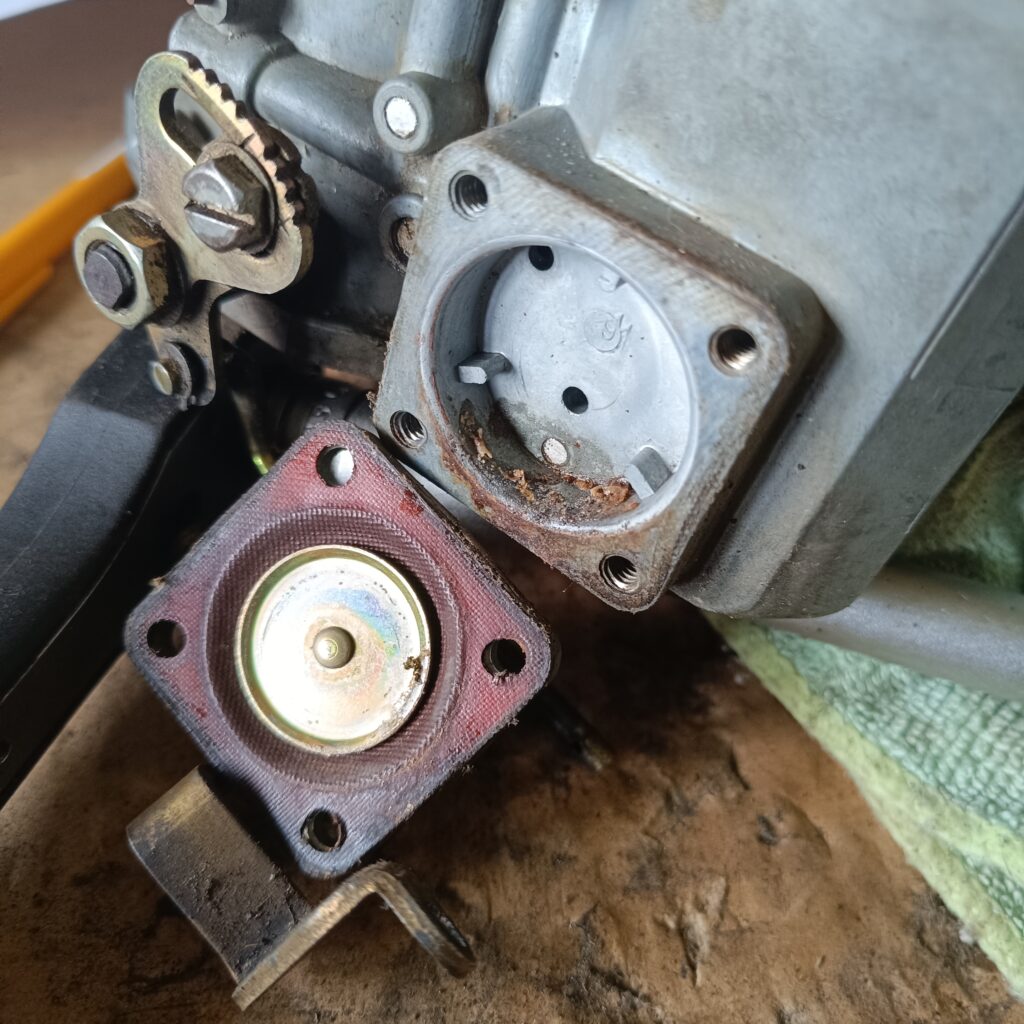
Make sure all jets are clean and open. Clean with compressed air, not wires or pipe cleaners. When installing the pump diaphragm and spring (22) make sure the larger end of spring is properly seated in the carburettor body cavity. Be sure to install the diaphragm (21) with plunger toward pump cover (20). Check for a worn spot (Depression) on the float lever where it contacts the fuel inlet needle valve, replace float assembly, if necessary, float assembly may be purchased at your local VW dealer, P/N 111-129-391A-Round Shaped Float. A proper needle seat gasket must be used for specific carburettor. Use the following chart to determine the correct gasket.

Carburettor model

28 PICT-I. -2 1.0 MM .040″

30 PICT-I 1.0 MM .040″

Check the thermostatic spring in housing (Item #3) for damage. If it is distorted or “kinked,” replace the assembly. Also, make sure the electrical heating element is not broken, This can be checked with an ohmmeter or connected to a correct voltage battery for a few minutes to see if it warms up.

(Be sure to ground the inside metal part of the housing to complete the circuit). When installing assembly with spring and heater element, carefully rotate assembly counterclockwise, being sure the hook-on coil end engages with the lever on choke shaft. Continue rotating approximately 1/8 – turn more until index marks align. Then tighten screws securely.

Installing

Install in reverse order of removing. Torque retaining nuts to 2.0 MKG. (14 Ft Lb.)

Idling Adjustment

28 PICT, -1, -2. 30 PICT -1, -2.
A. Warm up engine; check if the automatic choke is fully open.
B. Set idling speed to 850 RPM with the idling control screw (See exploded view).
C. Turn volume control screw (Item #14) to right until speed starts to drop.
D. From this position, turn volume control screw (Item #14) to the left until engine runs fastest.
E. If necessary, regulate the engine speed (800-900 RPM) again with the idling control screw.

Member’s Motor – Iain MacDonald

Iain writes: After owning our VW Camper (a 1977 Westfalia) for well over 20 years, our 4 children have had many memorable trips and holidays in the van, including a regular summer trip to a fabulous campsite near Mittenwalt (Alpen-Caravanpark Tennsee). We are only the second owners of this fantastic vehicle, its original owners being Germany and who toured extensively within the Arctic Circle (the van has double glazing!). 

On Saturday 2nd August this year it was time for one of our twin daughters (Virginia) to be married. She naturally chose the VW Camper as her wedding vehicle. 

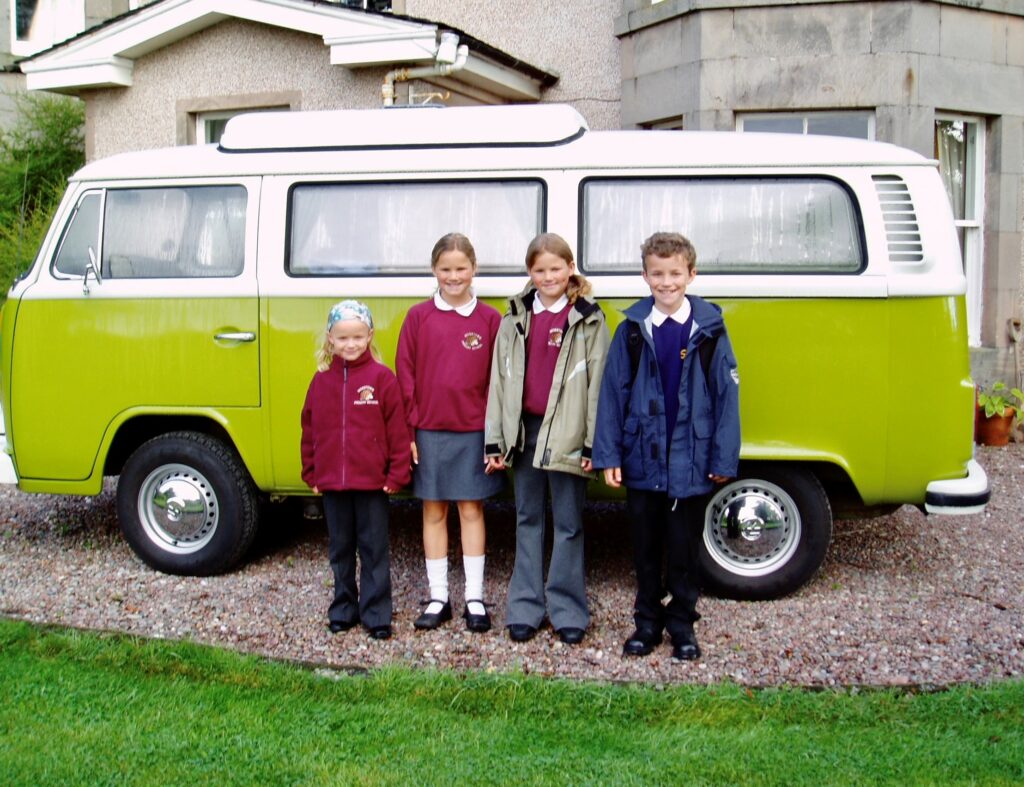
01 – Primary school (Virginia with pigtails third along with Lilian, Felicity and Oscar)
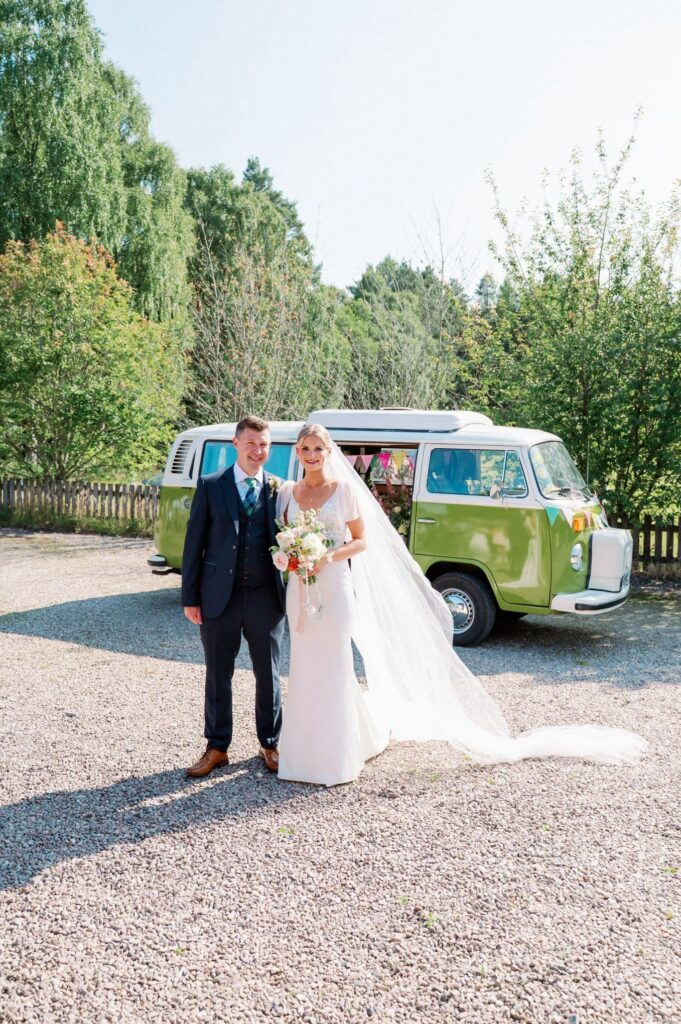
02 – Wedding Saturday 2nd August 2025, the happy couple Virginia and Adam…Mr and Mrs Taylor
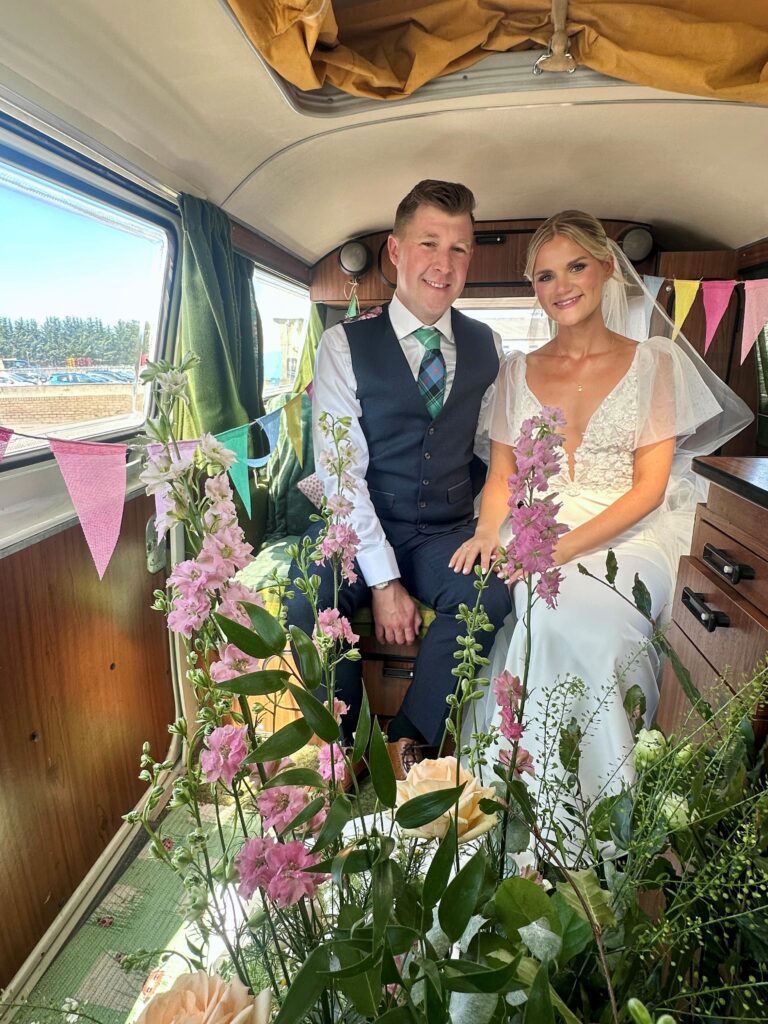
03 – Wedding guests enjoying the camper van
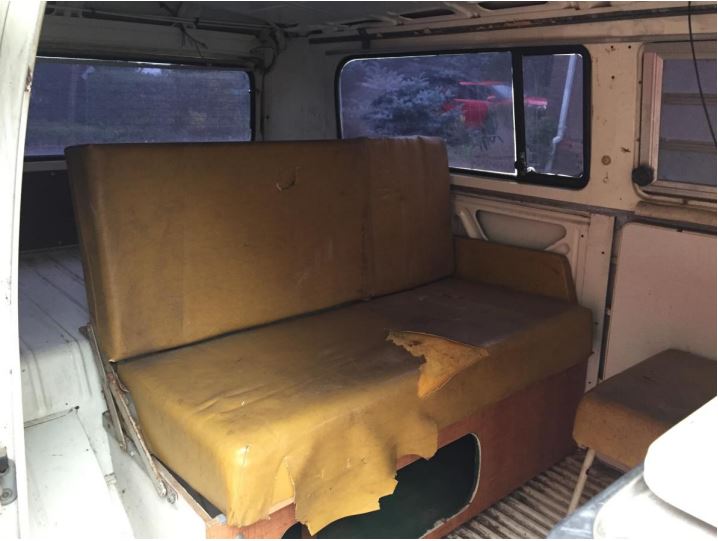
04 – The happy couple (Virginia and Adam) about to leave church after the wedding ceremony. 

We look forward to many more happy years with our camper van, and more weddings to come!

Iain MacDonald

Member’s Motor – The Story of ‘Henning Van’ a 1970 Westfalia – Part 2 – by Simon Gregory

Continued from the last issue. Having sold the old interior…

After clearing out all the detritus and giving it a good wash, I started work on the front panel.  Fortunately, a new front panel was included in the sale, albeit a 4-piece kit that includes a late bay panel that is modified to make up the Early Bay front panel.  Getting the panels welded together and fitting correctly took many weekends, but it was very rewarding by the end when Henning started to resemble a T2a again.

Over the following few years Henning underwent a complete ground up restoration, every part being removed, overhauled, or replaced.  There are many very satisfying jobs when restoring a T2 but the absolute worse is scrapping off the hard and dried out under seal, what a ball-ache of a job that was!  My long-standing best friend (the one with the 70’s beetle) had also recently restored a T2 and advised me that I would need ‘patience, time and deep pockets’ – how right he was!

In 2021 the mechanical & electrical restoration was finally complete, and Henning was capable of self-propulsion.  However, the first outing was a bit of a disaster.  We had decided to drive Henning to our daughters’ house, that it just on the other side of town, filling him up on the way.  When the time came to head home Henning simply would not start.  After about an hour of fiddling about and head scratching, we managed to eventually get him started and limped home.  The problem turned out to be a blocked carburettor due to rust in the fuel tank that got washed off when we filled Henning up for the first time.

After this incident we decided to replace the fuel tank and at the same time replace the original engine (that turned out to be a bit of a ‘duffer’) with a 1776cc from The VW Engine Shop (that I can’t praise highly enough).  At the same time, I invested in twin Weber ICT carbs, a Vintage Speed exhaust and electric fuel pump setup.  Needless to say, it was a complete transformation, and I am very happy with the results.

Now that the various mechanical bits and bobs had been sorted it was finally time to address the multi-coloured bodywork.  So, in the autumn of 2021 I started to look around for local spray shops in the (naive) belief that it would only take them a few weeks to complete.  How wrong I was as everywhere was fully booked up for at least 6 months!  The bodywork eventually took 9 months to complete but I have to say I am absolutely delighted with the results.  We don’t have any regrets about keeping the original colour scheme of Pastel White and Cloud White that now positively gleams!

When Henning was finally complete (if a T2 can ever be considered as fully finished?) in 2022 we had our first proper trip away to Busfest.  We were made very welcome by the T2 Owners Club and spent a lovely weekend talking and having fun with likeminded VW enthusiasts.  What a truly great club and to cap the weekend off, we won a bottle of bubbly for ‘Best Interior’ (more about the interior to come in the next issue).

Since then, we have had several very enjoyable and memorable trips away in Henning, including a week away on the North Norfolk coast where we were the envy of others on the campsite in their modern and anonymous motorhomes!

Finally, you may be wondering why we call our Camper ‘Henning Van’.  Well, we are big fans of the German Comedy Ambassador ‘Henning Wehn’ who is from Westfalia in Germany.  At a recent ‘after show book signing’ we told him that we had named our camper van after him.  He gave us a slightly perplexed look, said ‘very good’ and gave us a German Comedy Ambassador badge!

Next issue, Simon will give us an update on how they changed the interior of Henning to scoop that Best Interior at Busfest 2022!

Eric the Viking – a restoration in many parts – April 2024

Spend since last report: £508. Total hours labour since last report: 88.9

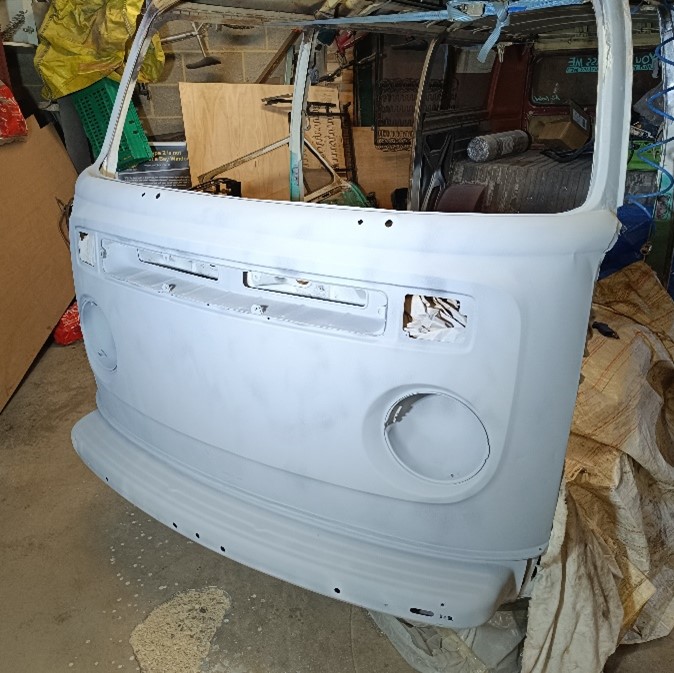
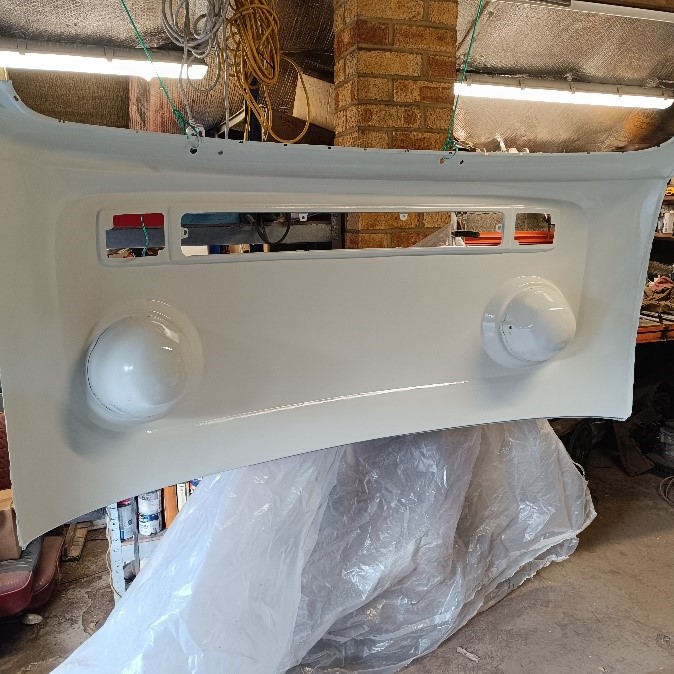
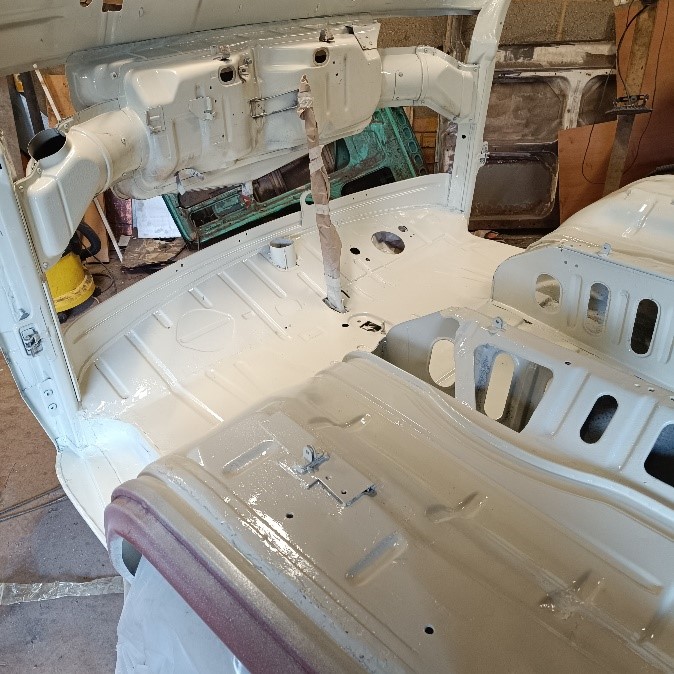
Yes, that is a lot of hours since the last report. Yes, progress has been made! Last report, I noted that I had purchased a new spray gun and it was time to test it out. Prior to installing the nose / front panel, I decided to spray it before installation to get down to the bottom that is hidden when installed. At the same time, there is a lot of metal to spray on the cab floor, kick panel, seat tubs and main cargo floor. I mixed up my 2-pack L90D Pastel White and donned my trusty 3M mask and did a test spray on some cardboard to check the spray pattern. Once that was about right, I set to work and used about 750ml of paint.

I’m not very good at paint and for sure others would be faster. My garage is dusty, so there’s a few bits under the paint here and there, but it is on and looks great. The feel of 2-pack paint is that it is really durable and smooth (dusty bits excepted!).

Then I moved on to the installation of the front panel. Welding that on is simple – loads of people do it. There was a recent article from John Undie Underwood on it with clear details, and is a regular thing to do as the front takes all of the weather when driving.

Simple huh?

I started to get it clamped into position just 2,023 days after purchasing the panel from Just Kampers in 2018 and it has been sitting in the corner of my garage ever since. Every clamp in my garage was used to get it into position along with a ratchet strap to hold things tight. No matter how I tried, it would not line up properly – I managed to get everything sitting comfortably except the bulges on each side between the windscreen and the air intake vent. Possibly the panel was a poor pressing or it got bent at some point, or I simply did not know what I was doing!

I welded it all into place except the bulges. All looked good. The outer panel matched to the inner windscreen panel to within 1mm which was brilliant given that the inner panel went in rather blind due to rot on the previous one.

The air vent tabs also lined up and the spot welds were things of beauty.

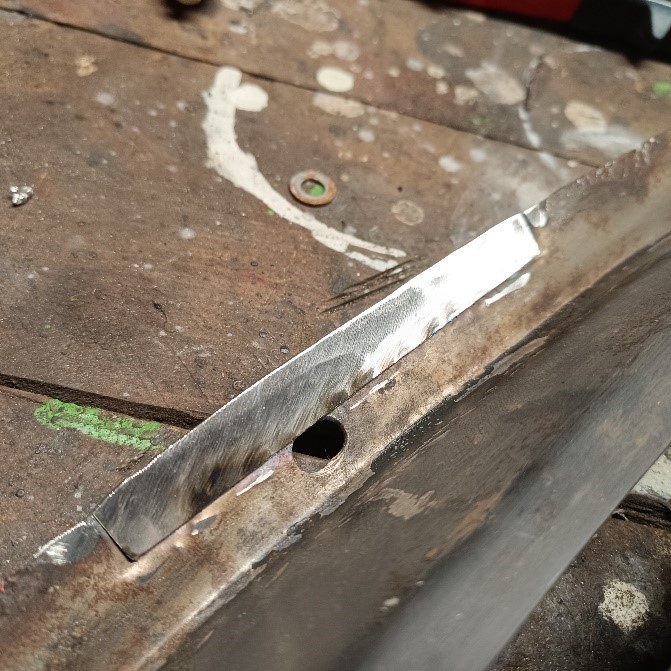
Next up is the dashboard. The dash is made of the metal front, a softer rubber style grab rail in the middle and then the metal for the dials, radio and switches. Separating the 3 components was straight forward, although the nuts would have been tricky without my trusty impact driver. Everything was stripped to bare metal before dealing with the inevitable rust on the front lip. This was chopped out and a few sections of new steel let in. I was quietly pleased with how smoothly that all went on!

Once stripped, I then rust proofed it all, etch primed twice and top coated twice with John Deere matt black tractor paint that is my go-to paint for black parts and it goes on wonderfully well. I also emptied the box of other metal to be painted black as well – dash, front of dash, steering column, steering column surround, foot pedals, steering column support bracket and closure panel on the floor, and finally the air vents that sit on the front of the dashboard.

The sun came out for a change and it all got air dried and sun baked.

The inner windscreen repair panel did not come with the bracket to attach the dashboard. Never mind, I can cut rectangles of steel, bend them, drill a hole and weld a captive nut. I made one for each mounting hole of the dashboard, offered up the dashboard, marked the location and welded them in place. They looked great and I then painted them in L90D pastel white and adjourned for the day with a big smile on my face.

It was later that night that I realised that you don’t put the dashboard in flush to the top of the inner windscreen, it goes about an inch down. The next day, I carefully removed the tabs, remaking a few that were not good enough to re-use, took the paint off the tabs and the inner screen, welded them on in the right place and then offered up the dashboard. Yet more time spent doing it a second time because I don’t know what I’m doing.

Member report – Belfast and the Northern Ireland Coast Road by Paul McManus

I wrote an article last year about installing MGF seats in Beryl, our 1973 Westfalia Continental, and promised a follow-up article about our trip to the Emerald Isle. (Editor notes – it was written last year but Member’s Motor articles were already in the pipeline, so the seats article is in issue 190!).

Sunday 20-08-23

We set off from Liverpool, on the 10.30 a.m. sailing to Belfast. Boarding the ferry was much easier than I’d anticipated. Beryl was already attracting the attention of our fellow travellers, and the new seats were getting a big thumbs up from Vikki and I.

We booked a cabin to make our trip onboard more relaxing as the crossing is 8 hours, and as luck would have it, our porthole overlooked Beryl, parked on deck in the August sunshine!

The crossing was smooth and comfortable, and disembarking into the Port in Belfast was very organised. What had I worried about?

Although hailing from Northern Ireland and having attended University in the city, I hadn’t been back to Belfast since 1996, so driving through the streets in a vehicle that was even older was a joy.

We’d decided to spend a few days in Belfast, so we parked at our city centre hotel, The Bullit on Church Lane. We ate in the hotel steak restaurant Taylor and Clay, which was fabulous.

Monday 21-08-23

We went for a morning jog through the city centre. It was a trip down memory lane for me, and jogging past my old University was a sight to behold after it’s multi-million-pound refurbishment.

We’d organised an itinerary for our trip, and first up was a 3.5-hour secret food tour of 6 notable eateries and watering holes in the city. It was fabulous, and the company of our guide and the other participants made it a truly memorable experience.  

Tuesday 22-08-23

Being centrally located, we decided to run past the Titanic Museum before visiting later in the day. We booked tickets for the museum and a guided tour and can thoroughly recommend this for anyone visiting the Belfast.  

Back in Beryl we headed out the Shore Road past Carrickfergus to our campsite at Carnfunnock Country Park.

Wednesday 23-08-23

After a morning run along the beach and a breakfast purchased in the famous Sawers Deli in Belfast, we set off along the Shore Road towards Ballycastle, a beautiful drive along the coast and through small villages.

We ate at the Look-Out Restaurant, the sister of the established Salt House restaurant and enjoyed an evening of fantastic food and drink accompanied by stunning views of the Irish coast.

Thursday 24-08-23

We had planned to make our way to Portrush, where I’d spent the summers of my youth working in a theme park called Barrys and my evenings in the many bars, but we were enjoying Ballycastle so much we decided to stay. The weather didn’t play ball, so we ended up cosied up in Beryl and watched episodes of Elementary on the projector.

Friday 25-08-23

Homeward bound a further 25 miles to Limavady along the coast to my hometown of Limavady to join up with my family.

A few days back home brought our trip home to a fitting end before we set off home on the Sunday 10.30 a.m. crossing to Liverpool.

Paul, Vikki and Beryl