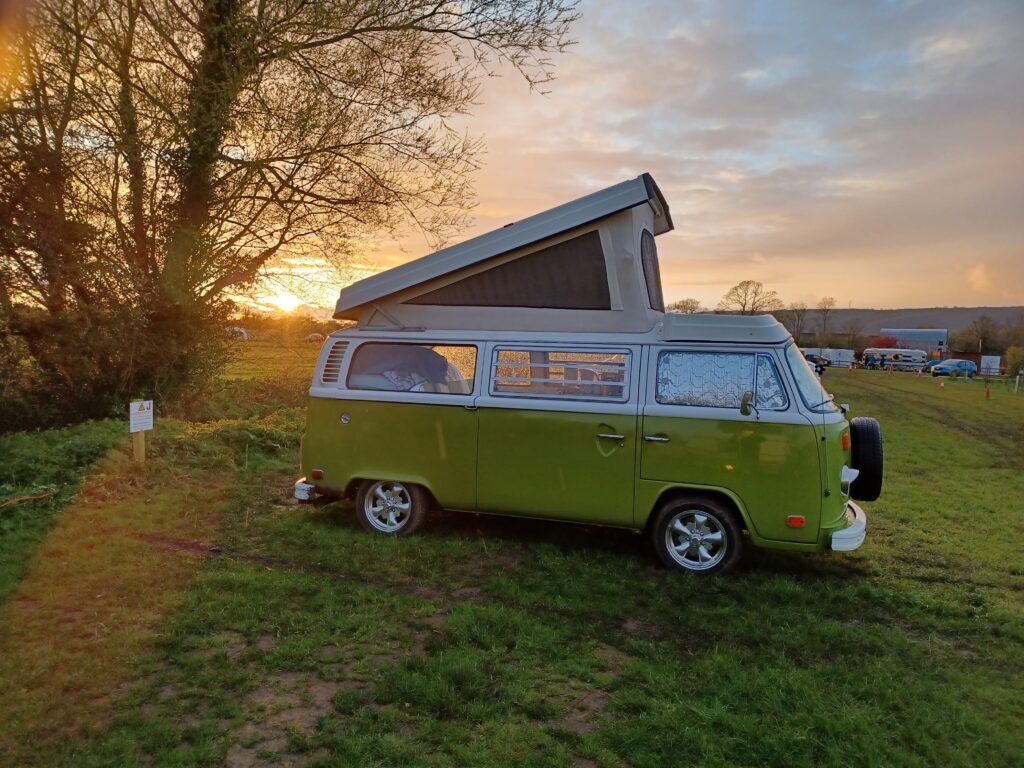
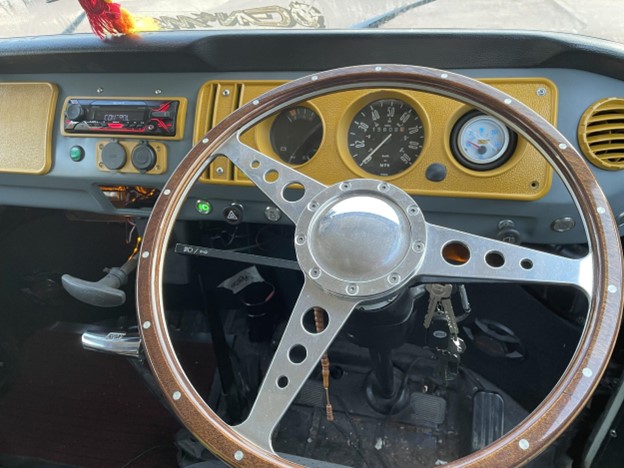
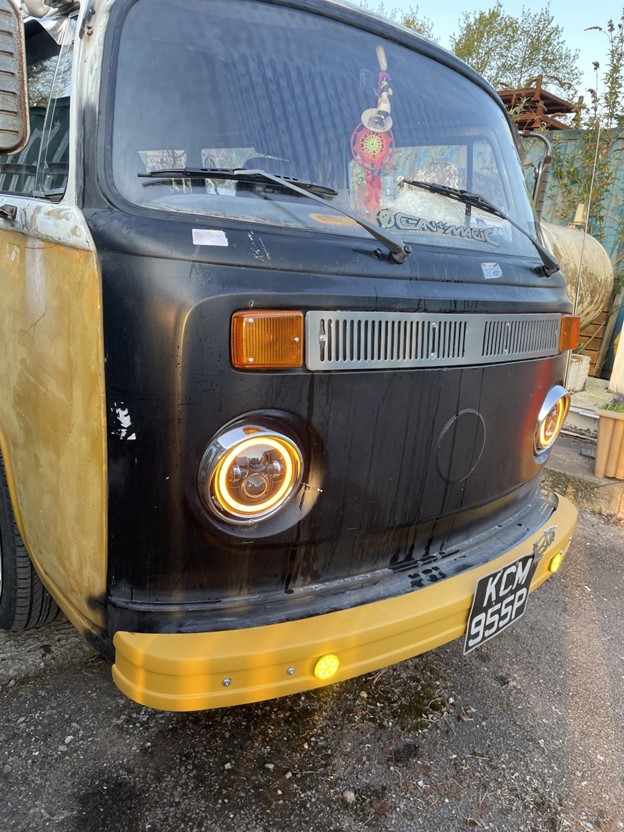
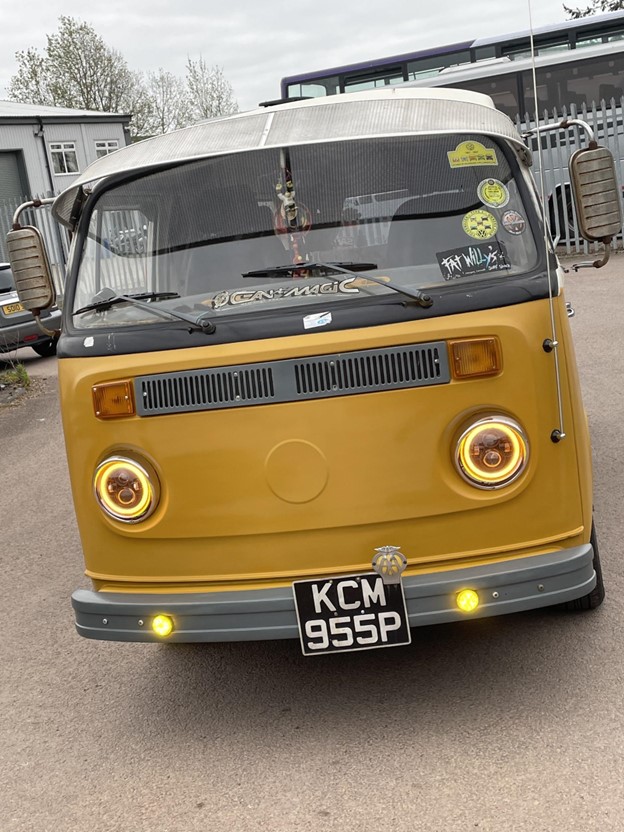
Yes, it is that time again. Hurray! Finally, after the long winter in our non-mobile houses, we can get out our beloved vehicles.
Checklist
Hopefully you all followed the article Time for bed/ to help put your vehicle to bed for the winter. Now that spring is in the air and we are starting to think about getting out and communing in nature, this is a key time to get things ready.
Doors locks – there’s nothing more annoying than a failed lock. get it fixed now before the season really gets going. Door lock issues can be very straight forward but a simple lubrication can be key. Pun intended. A non residue lubricant is best to move the dirt away as WD40 can leave enough gunk to create issues. We favour silicon spray. A little into each lock.
Windscreen wipers – did they perish in the cold winter freezing them to the windscreen. Inspect and replace now.
Water – check the radiator if you have one. Ensure that the bottles that you emptied in the Autumn / fall have no mice, carefully hidden Christmas presents or mildew. Clean with a weak Milton solution if it is drinking water or food related.
Batteries – check the charge on each battery with a good meter. A flat battery can indicate an earth leak. A failed battery needs careful investigation.
Carburettor – Or equivalent. Check for good operation, no stuck flaps or other deterioration over winter. If you are a professional, this will be straight forward. If you are an amateur, a test drive very close to home will highlight problems! But only after the other checks.
Brakes – your vehicle should roll easily, otherwise this can indicate jammed brakes. Parking in gear for long periods of time can be better for your brake health than a jammed set of brakes. Check the brakes for operation. Check the brake fluid level. If it has been more than 5 years, change the brake fluid as it is hygroscopic and slurps up water incredibly quickly. Water is not a good fluid for applying the brake pads to the disks.
Seals – inspect all door seals for any signs of damage, water ingress or other problems and sort them out now. Glue any loose bits back down with the correct glue.
Windows – ensure that they all open and close fully. Or at least as fully as they did last year if applicable!
Ignition – Once you are feeling confident, get in to your pride and joy and turn on the ignition to number 2. Look at the lights on the dashboard. Check there ARE lights! Are they what you expect / are used to seeing? Have you got fuel (for those with a working fuel gauge)?
Crank it over – don’t expect it to start immediately but things should kick into life within a few seconds.
A little test drive on your driveway will allow you to test the brakes, maybe the steering and other important parts. Softly, softly.
Stay local, take your phone with you and warm clothing. Just in case!
Once you get home, assuming that you have a big smile on your face, make a list of snags, get indoors, put the kettle on and start planning for your summer.
Check out the events page and come and see us at a meeting soon!
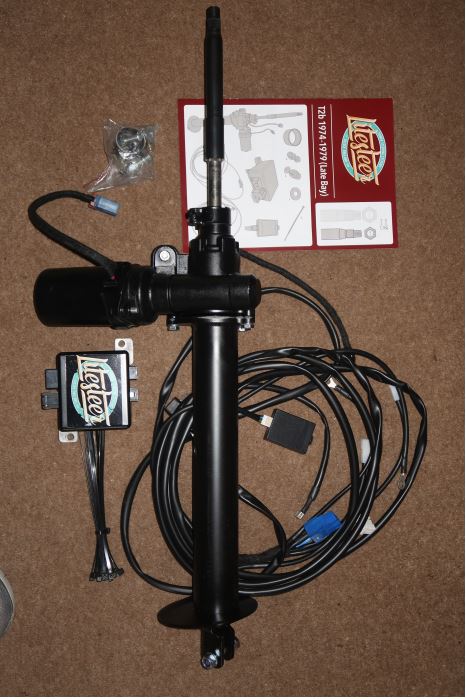
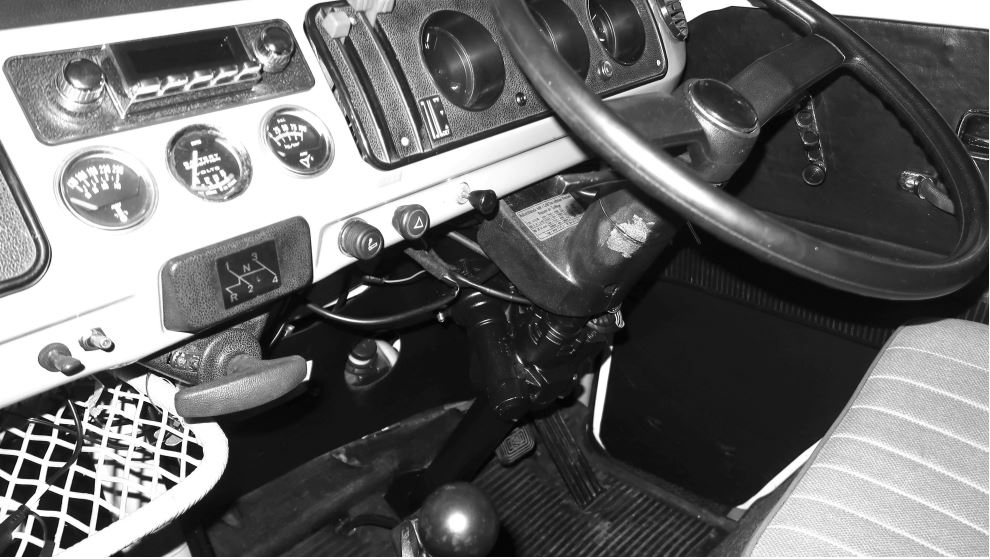
After talking to Nick at the AGM, I told him that I was fitting a “Litesteer” to my 1979 late bay, he suggested it would be a good article for the magazine. The Litesteer kit is not the cheapest but on delivery, the quality of the kit I received was very good, and the instructions easy to follow. Plus a 10% club discount was a bonus!
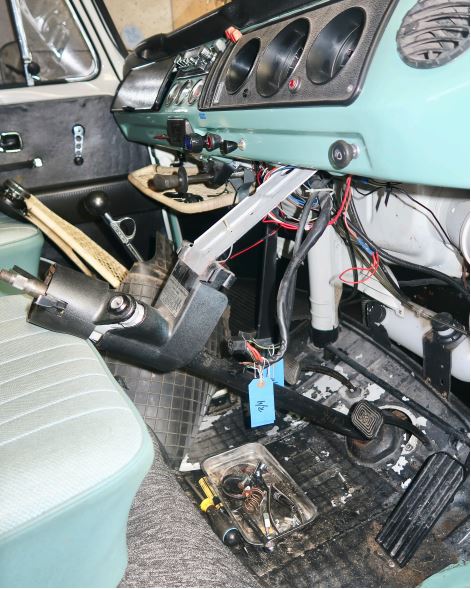
The parts and harness are of top quality and made to last. First job was to remove the old steering wheel column, disconnect the battery and remove the pedal cover.
Next remove the kick board, rubber mats, disconnect wiring, remove steering wheel and disconnect the column from the steering box.
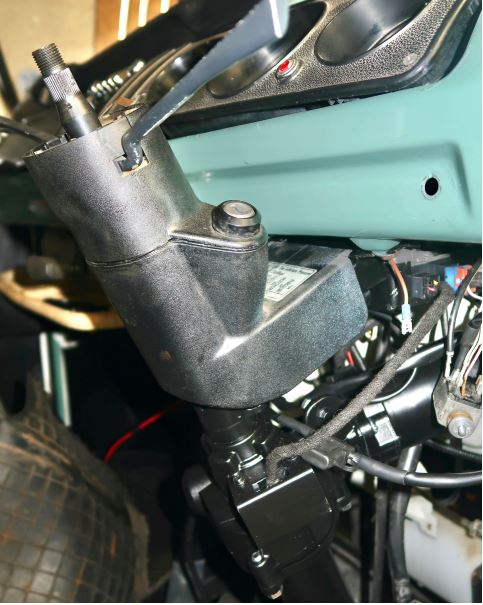
Next the column needs to be cut, using the spacer this give you the exact position to cut the column to ensure it fits without error. The plate then needs drilling to take the ECU, fitting the new unit was easy.
Next run the harness under the van to the battery and connect to the positive terminal, follow original harness and clip to it. Plug in four connectors to the ECU and one to the light switch.
Connect battery to earth and you are ready to go. I could not believe the difference it has made, it is like driving a new modern car, Baldrick is better than any T6 VW camper. With its 2000cc Type 4 engine and twin choke Webber, large sump oil cooler it makes a very good tow bus.
The whole process takes only a few hours with the box of parts costing between £834 and £1,194 depending which vehicle and they will fit it for £300 extra. Remember that you can get 10% off as a club member!
Another option instead of the Litesteer is a package available on eBay for £295. This also takes a few hours and needs the steering column cutting but this package does need a small amount of welding of the steering column as well plus a bracket to stop the column from twisting. Just search eBay for “Bay window power steering”.
Well, what a time. For those of you who have not attended, why not? A great weekend of seeing some wonderful VWs and all sorts of modifications. Over 200 traders, plus people doing a little garage clearance. Plenty of bargains to be had, nice people to meet and the opportunity to put faces to, not only some of the names mentioned in this august publication, but also the dealers you are in contact with. Plus some wonderful scenery!
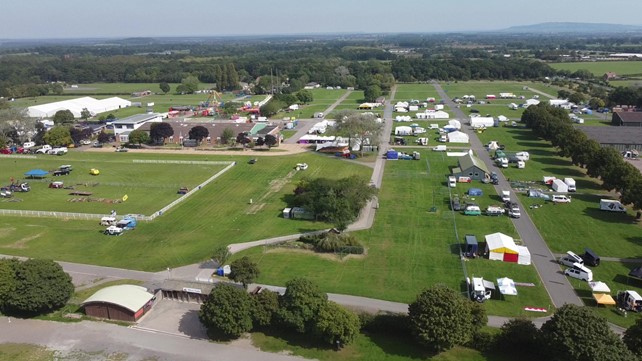
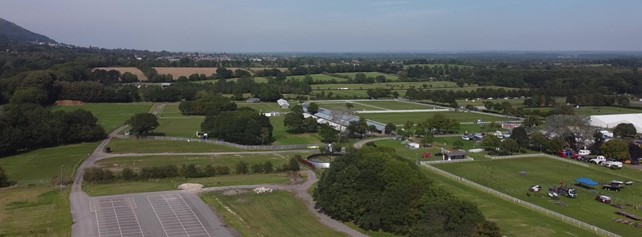
In short, three days of catching up and making wish lists. Or is it? (cue dramatic music) Well no, obvs! Despite it being a working showground some people were there 3 weeks before the opening day. Lots of jobs need doing. Firstly, we’re expecting something like a thousand people to camp. That includes tents, VWs, caravans, in fact anything you can think of including at least 2 tear-drop trailers! So we need electrical hook ups for some of those pitches, especially the disabled pitches. Then we need to mark out the rest of these fields, plus another 7 behind me.
Don’t think it’s all about the camping though! There are fences to build around the arena and staff only areas. Then there’s the traders’ areas. When we turned up there was about a week to go and there were already 4 or 5 club members there, plus Lynn and John the camping co-ordinators, actually they seemed to be everywhere 24/7!! I don’t know where they found the energy.
Sunday afternoon on of the hottest days of the year and we’re out on the fields marking out the first pitches. Gunther and family, denominated “The Northfield Crew”, where already working hard too having some 7/8 fields to cover. But as they’ve been coming here for 23 years (as I recall) they definitely know exactly what they’re doing, and novices like us will only slow them down!
Anyway, the next 5 days consist mainly of measuring 7m squares in the blazing sun. It didn’t take some of us long to go “continental” and start earlier, take a long lunch and get back at it in the late afternoon, and, in that heat putting up marquees meant working in the shade for about half an hour (such are the simple pleasures in life!)
This will become the traders’ area!
There was still loads of other stuff to do too, Laura was lucky enough to be given inside work that meant air con! Good but simple food was provided to the volunteers for three meals a day. But the most rewarding part of it all was watching it all come together!
The gates opened Friday morning and people came from ALL directions! Fields filled, families staked claims on adjacent pitches, but importantly, all fire roads were left clear despite our fears that some might become “private” gardens. One thing I noticed, that despite pitches being well marked, due to the heat people headed for shade whenever they could, including hiding the bus in the trees at the side of some of the roads!
The real benefit of all the hard work was being able to help people when difficulties raised their heads. As an example, Marina Reeves also volunteered, and she was approached by a lady and her young family who had found the pitch she had chosen was now next door to a group of young men being overly exuberant. Marina, having more knowledge of the site was able to swiftly find her a quieter pitch. This single act was enough to confirm the usefulness of volunteering and the benefits of marshalling.
I, too, was able to help later on when a chap approached me looking for a pitch. The field he was in had several “reserved” pitches in it and by quickly asking about I found not one but two pitches where all attendees were present but extra spaces where “baggsed”! When this was discovered, families involved were very helpful and apologetic about their oversight.
As I said earlier, the show itself was a great event, the traders seemed to have both enjoyed it and traded well, so it was worthwhile. The bands where great, at least two each night, plus the disco, VDub Radio, and fair adding to the atmosphere.
As Sunday evening approaches, everyone is packing up ready for the off, with most traders packed and leaving the site by 5pm. This means that the campers are also getting ready to depart by tea-time. So, by mid-morning we’re starting to pull up all the little pegs we so carefully hammered in! Winding up the tape that defined the edges and “no-go” areas, such as emergency gates that are closed.
We forget such things as the “fire stations” that need to be distributed and collected, the bins that were, pretty much, on every corner. Plus the marquees now need to come down and be packed away again! I can honestly say that while it was, at times, hard work it was also great fun. And personally, I found it quite a bonding experience. Would I do it again? At the drop of a hat!! Looking forward to next year, if Lynn will have me!!! and I hope to see some more of you there both as volunteers and on the club field!!
Editor Nick says – Thanks Bill for another great write up. Anyone who wants to attend Busfest during the build up week and work for their entry ticket, please contact Maggie on secretary@vwt2oc.co.uk who can pass your details to the Busfest team for inclusion in this year’s group.
On an unrelated note, at Busfest 2023 in the VWT2OC club field on Saturday evening, we were delighted to have our very own Lorna singing for us. Sadly, she was also talked into a duet with Editor Nick on the alternative lyrics to The Beatles’ “Help!”, dedicated to our wonderful Chairman and guru of all things mechanical, Mr Malcolm Marchbank. We hope that he is still talking to us after that.
We sang:
Help! I need a Malcolm Help! Not just any Malcolm Help! You know I need you Malcolm Help! When my van was younger, so much younger than today She never needed anybody’s help in any way But now these days are gone and we’re not so good at stuff Now I find I’ve lost my mind, I’ve opened the engine door Help me if you can, I’m feeling around And I would appreciate you coming ’round Help me get the circuit to hit ground Won’t you please, please help me? And now my van has changed in oh so many ways My van it seems to vanish in the exhaust haze But every now and then the steering is quite poor I know that I just need you cos it’s never done that before Help me if you can, I’m feeling around And I would appreciate you coming ’round Help me get the circuit to hit ground Won’t you please, please help me? When my van was younger, so much younger than today She never needed anybody’s help in any way But now these days are gone and we’re not so good at stuff Now I find I’ve lost my mind, I’ve opened the engine door Help me if you can, I’m feeling around And I would appreciate you coming ’round Help me get the circuit to hit ground Won’t you please, please help me? Help me, help me, oh no….
Spend since last report: £230. Total hours labour since last report: 9.75
A fairly brief update for what happened in November and December. Following the broken leg, I started walking again in October and was not really able to get around properly until mid November. The pain and swelling from the ankle was not expected and continues, with the Consultant now saying this may well continue for at least a year. Great.
Being somewhat weak of ankle, in discomfort and rather fed up has meant that only minor jobs have happened. The exhaust manifold has been wrapped in heat bandage to reduce heat under the engine as it will vent out of the exhaust rather than radiating underneath. The brake pipe nuts that arrived just before the AGM were fitted to new pipe from the front splitter to the flexi hoses for each front wheel.
More seam sealer was added on joints to really try to keep the metal from rotting and as I was there, I added some insulation to the central hot air pipe which is easier when Eric is on his side. Bolts have been checked, the clutch cable bracket on the torsion tube was advised by an ex-air cooled mechanic to be a little flimsy, so that received a further 2mm steel plate to make it stronger.
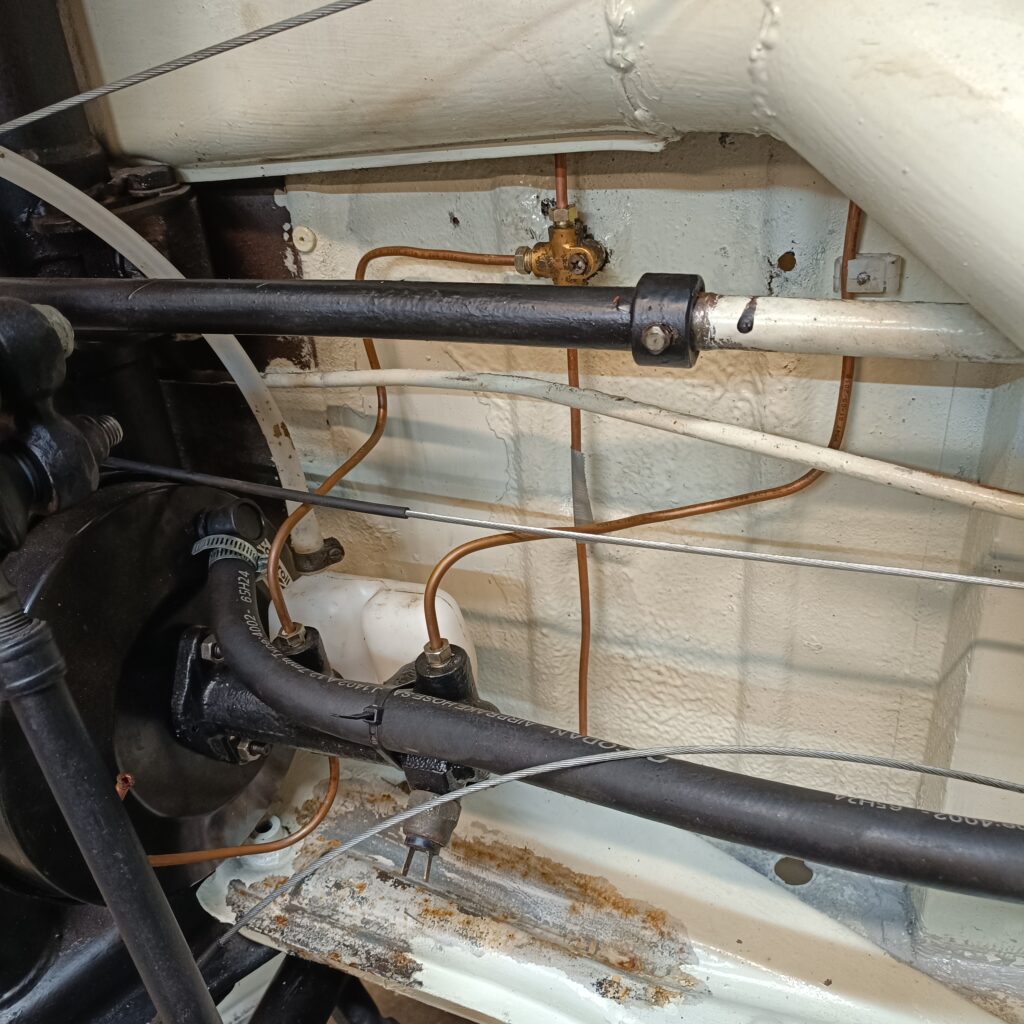
The discolouration on the lower part of the photo is where brake fluid was coming out of the reservoir during my convalescence! Brake fluid is a great paint stripper, so that area has been cleaned down, neutralised, rust proofed, primed and painted. Again.
Spending this time is a set of Fuchs alloys with tyres from an ex-club member and a load of Just Kampers bits for pedals, grommets, brake light switch and other little bits. It soon adds up!
Maybe I can get in the garage soon and start bolting bits on, but in the meantime, I’m going to put my sore ankle up.
The next edition of the club magazine has been finished by our Editors and looks fantastic. It should be arriving through your door soon! If you are enjoying the club magazine and have a story about a trip, an upgrade, a restoration or just a tip, send a contribution to our Editor at editor@vwt2oc.co.uk.
Have you ever been in the situation when coming up to a set of traffic lights and you have picked your braking point when someone comes up the outside of you and jumps in front then brakes hard? Stopping in a shorter distance can be difficult and that is why I decided to upgrade my brakes. Most people know that it is possible to upgrade the brakes on a late model T2 by fitting the Porsche calipers, but you must have 15 inch rims to be able to do that.
My van is an early model with 14 inch rims and I wanted to upgrade my brakes without having to replace the wheel and tyres, because this affects your speedometer, unless you keep the same rolling radius by fitting different aspect ratio tyres. Porsche callipers will not fit inside the wheel rims of an early bay. There is also the issue of caliper offsets relative to the disc. The offset from the caliper to the disc is different between early and late bays.
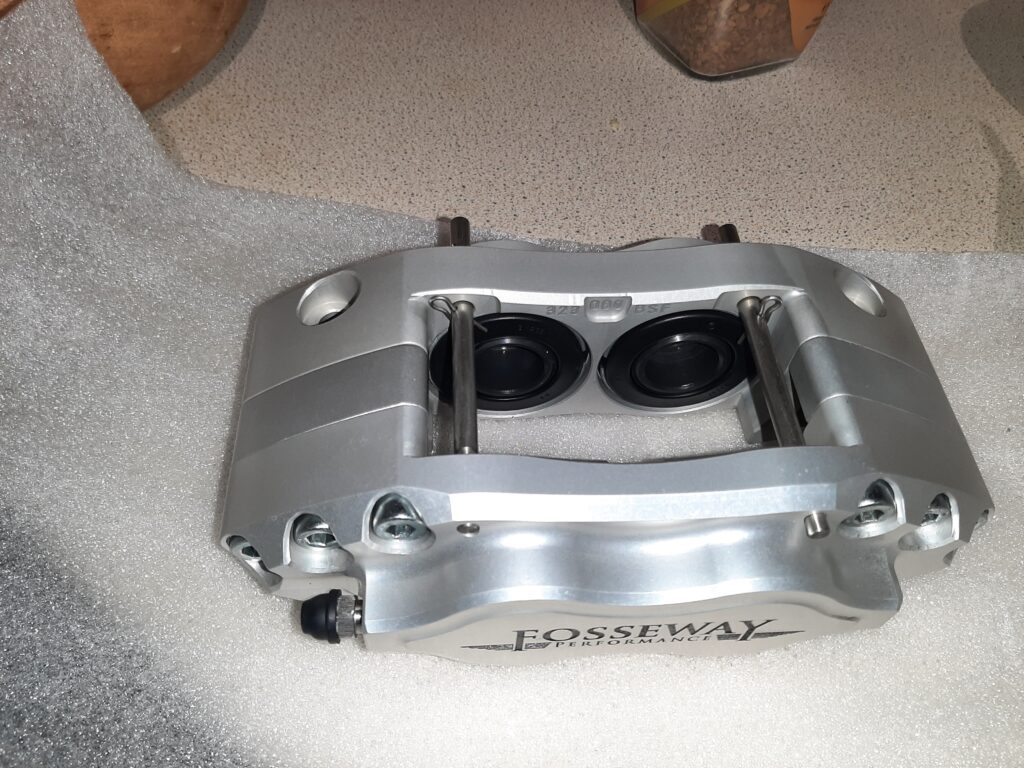
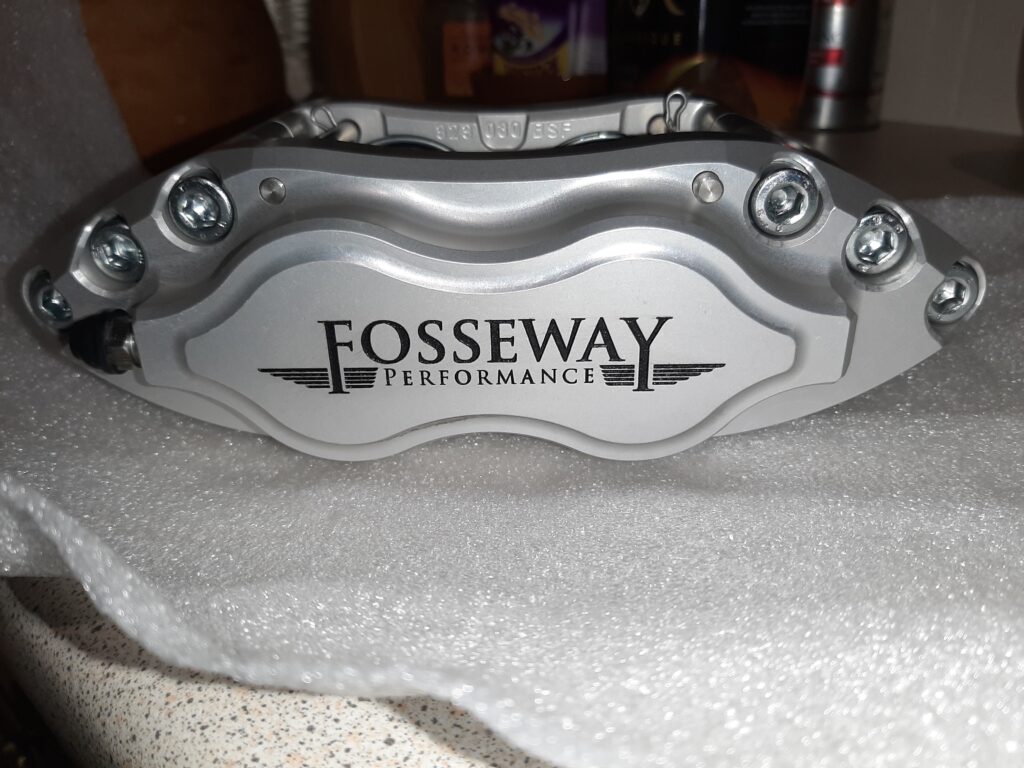
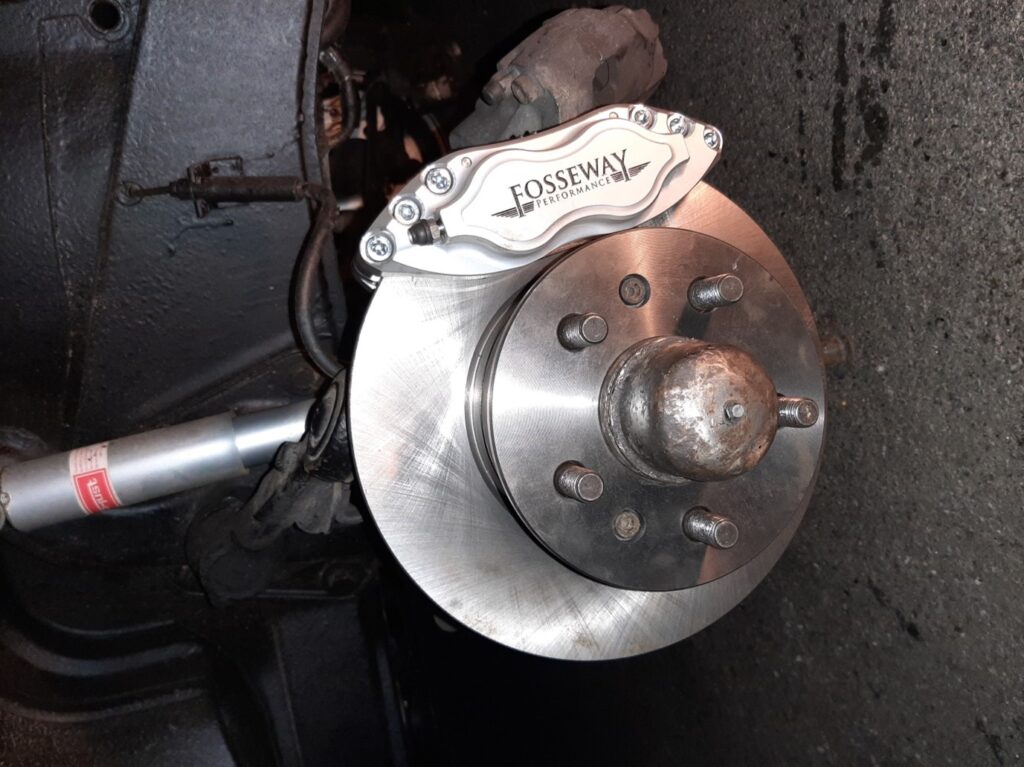
After a little research I came across a Company called “Fosseway Performance”, based in Gloucestershire. They make kits for both the early T2 and the Late T2 braking systems. Their kits consist of new calipers, pads, anti-squeal shims, flexible brake lines, flexible brake pipe clips, new mounting bolts and mounting brackets. The mounting bracket and bolts are what makes the kits different between the early and late bays. The supplied brackets also change the caliper offset to the disc. The bolts are also different between the early and late bays and so it is essential to correctly specify what you need. In both cases you need to replace the discs to the late model.
Each caliper has 4 pistons which improves the braking efficiency by 30% by being able to apply more pressure to a larger brake pad. The calipers are made from a single alloy billet and they are beautifully made. They are also lighter than the standard calipers which means it lowers the unsprung mass of the suspension system.
The kit comes with a comprehensive set of instructions and is relatively easy to fit. In order to fit them you will need to remove the dust covers from the discs and throw them away. To be able to do this you will need to remove the outer hub carriers. I found that someone had rounded the bolt holding the hub carrier to the stub axel and so had to grind this off and replace it with a new one. If none of this makes sense to you then I would suggest you get someone else to do the work but in reality it is very simple. You will need to bleed the whole braking system afterwards. Again if you do not feel confident to do this, take it to someone who does, as this is your life at stake.
If you do decide to upgrade your calipers it is essential to replace the discs as well. The new pads need a new clean flat surface to bed in to. The company can supply you with cross drilled discs but for a van which is not going to see high speed repetitive braking this will actually reduce the braking efficiency and I would suggest you just stick to standard discs. They will need around 300 miles to bed in and it is essential that you do not brake too hard during this period as it will glaze the pads. The pads come coated in a ceramic a compound. Once this happens you will not have an efficient braking system and will likely need to replace the pads.
My personal experience with the kit is that they are very well made and make a world of difference to the stopping of the van, especially going down very long steep hills when fully loaded for a camping trip. Cost? – well not cheap but how much would it cost to fix your van if you cannot stop??
The first van I converted was a T4 Caravelle. It came with all the usual interior trim so was left in place for a more professional finish. Saved a lot of lining out labour as well. The next project was a T5 panel van – a blank canvas. On looking at this blank canvas I was surprised at the amount of space within the panel cavities. As I was going to carry out a rear kitchen conversion, meaning less storage space, I decided to utilise all those cavities by constructing pockets and cupboards within the lining out panels.
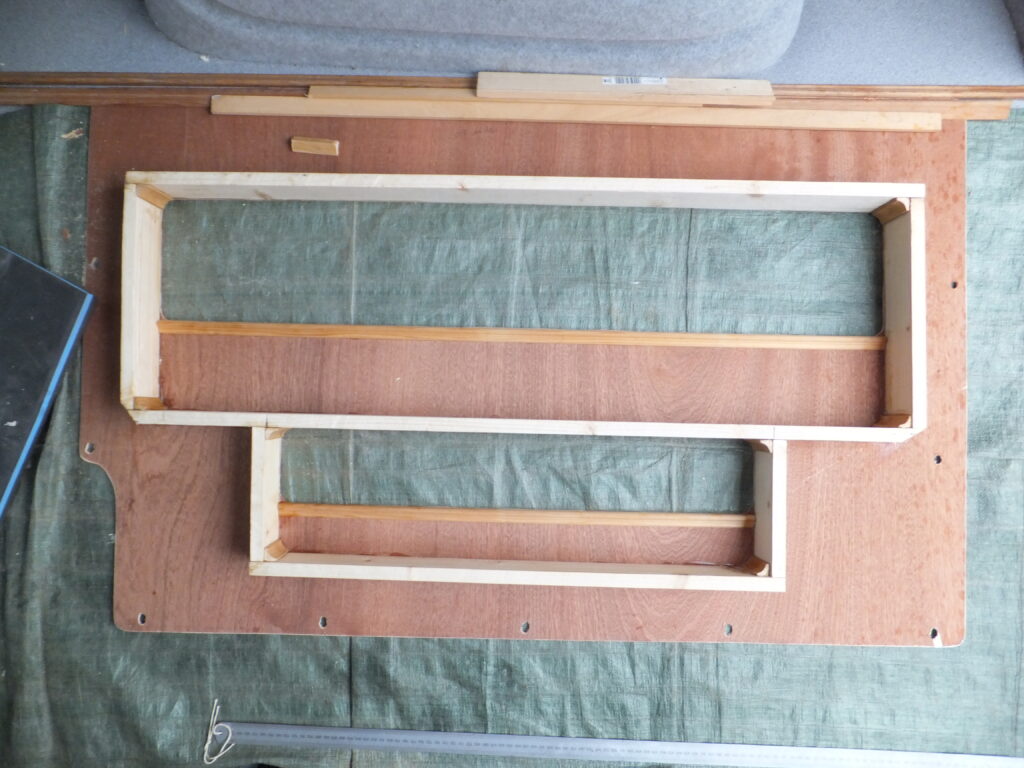
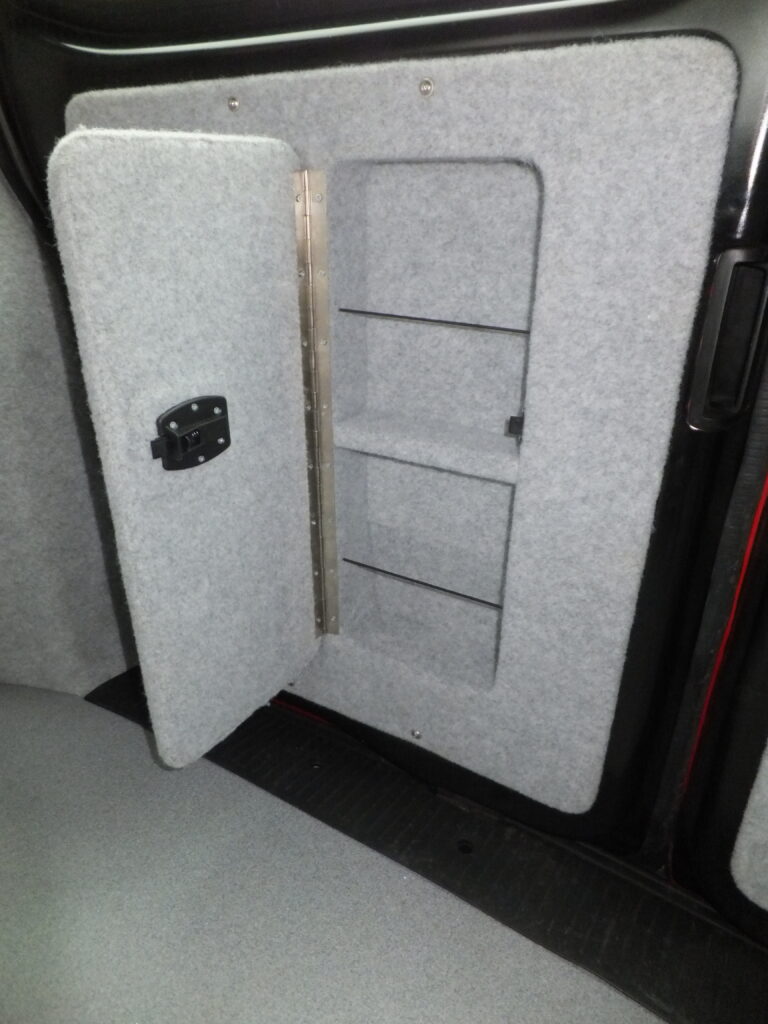
The van was a barn door model. The nearside door was too full of door lock etc to be viable but the offside could be made into a good-sized hinged door cupboard. All the other panels could be used to construct door pockets in. The construction I used was the same for all except the rear door had a hinged door with a catch attached to it.
Panels were cut to fit using 3.6mm plywood. Covered with 4-way stretch lining carpet to match the rest of the rear lining and attached with a combination of panel fixings and s/s flanged bolts going into rivnuts. The plastic fixings not being strong enough to hold the panels to the van walls. Harrison’s trim and Megavan mats are good sources for lining carpet, adhesive and trim clips. The rivnuts need a rivnut gun to be fitted and a drill of the correct size to enlarge the holes where they will be used. I tend to use manufacturers bodywork holes – the less holes drilled the better for me.
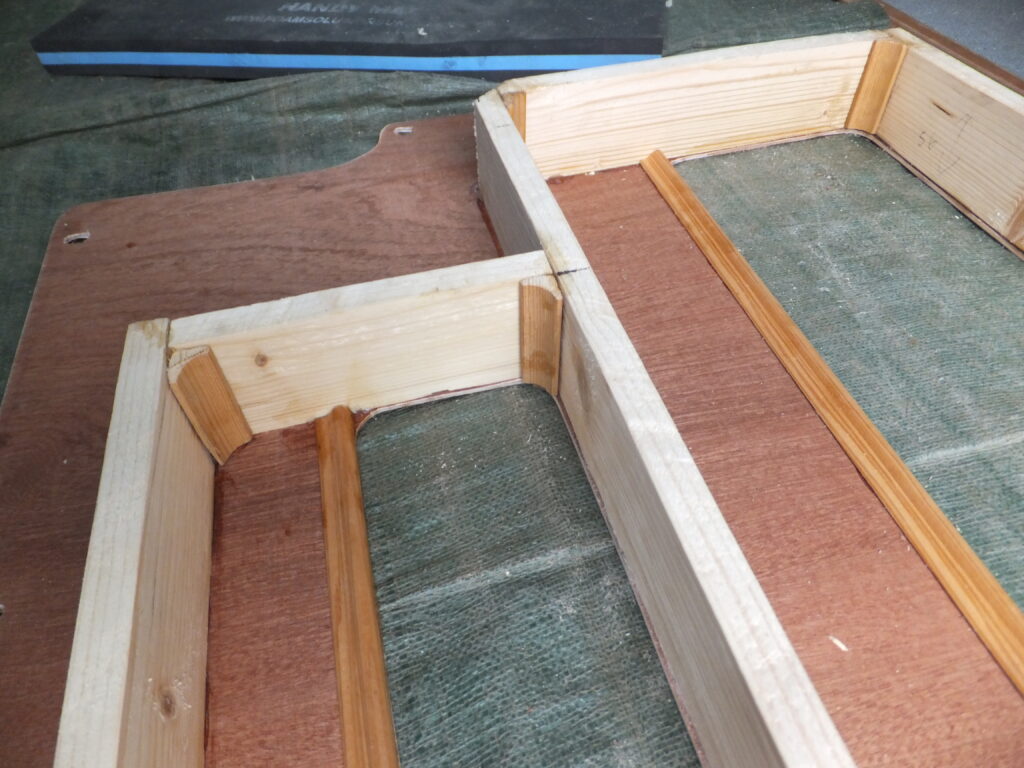
For each panel I had to work out available cavity space and position it on the plywood panel. Access holes were cut, and a box frame of softwood battening was glued and nailed to the rear of the plywood panels. To the rear of this frame, I glued and nailed the backboard plywood. Before lining the panels, I took the hard edges out of the corners by gluing in some quadrant and beveling with a sanding wheel in a Dremel.
To finish holes were drilled at either end and a length of bungy cord passed end to end to help retain contents. This is especially needed on the sliding door as the last thing you want is something scratching the rear exterior paintwork as the door opens.
Don’t know what cavities are like in other models but with regards to the T5 I found the offside middle to be the most useful panel giving two good sized pockets. The sliding door gives three shallow pockets, the rear quarters are probably not worth the time of constructing and the rear offside door gives a very useful cupboard.
All in all, constructing these pockets was time consuming. I’m not the fastest and I’m sure others could come up with quicker methods but I did find them to be useful storage. Ironically my latest project is a T6 kombi conversion, and I have stored the table to the offside middle so no pockets there and I don’t want to risk bodywork damage on the sliding door side.
After purchasing our camper, who we have called Billy, during the Covid saga the idea was to go local for a few camps to see how we and Billy would go. Being complete novices with the campervan and camping scene, we are well out of our comfort zone. Billy has had a lot of work done but more of that later.
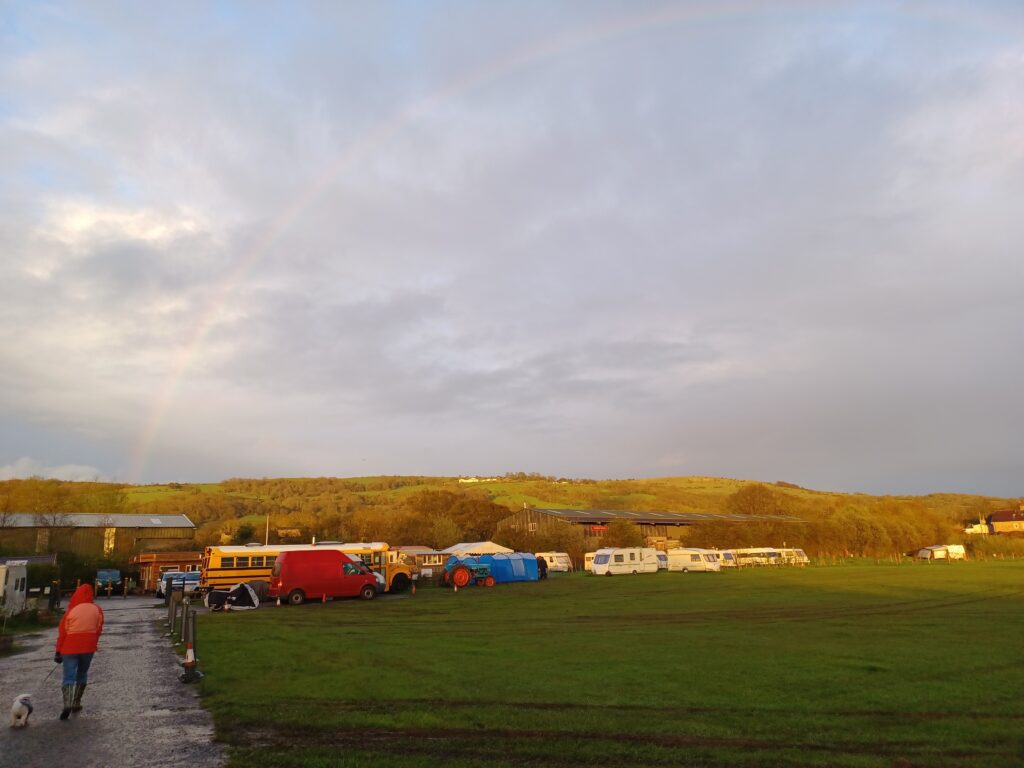
Well, having the invite from VWT2OC and a nice discount negotiated by Lorna, we decided to take the plunge and give it a go to Petruth Paddocks, after all the reviews were positive. A nice camp with people who have same interests (VW campers) would be a safer bet than other camps we looked at (in safe company) although a bit further than just local as we live in Tamworth Staffs.
With the help from Lorna and the VWT2OC committee we booked our pitch. After a week of deciding what we needed and a fair bit of shopping for our adventure we were set to go.
Having a few sleepless nights of how to manage the porta potty, the Elsan waste points and how the hook up works, we sorted just about everything we would need including the bus emergency breakdown kit. So much stuff, not much room.
Bus, camper, van now fully loaded (not sure the correct name to use) we were ready for an early start.
Friday morning 5.15 am and off we go. Me, Janet and Bella our Bichon on our way, M42 then M5.
Just a few miles on the M42 and it started to rain and rain and rain. Billy running just fine then just before a planned stop at Stentham, it had a little flutter/misfire on one cylinder for a few minutes, but felt like ages. My heart in my mouth hoping we weren’t going to break-down and Billy just perked up and started running OK again.
A quick stop for a loo break a coffee and a discussion, shall we turn around or carry on?
Carry on said Janet lets go for it. So off we go.
Traveling along and rain continues, the closer we got to Bristol the worse it was getting, so much rain.
Somerset within our reach and we got there early, very early. A drive to the camp to find it and see how we check in. “A bit early the young lady said”.
After a drive to Cheddar and find a car park, sat in the bus for a coffee and a bite to eat we ventured into Cheddar then to Petruth Paddocks at 2.00pm.
A quick camp induction from the young ladies in the office and the offer of “we will tow you out if you get stuck” was a bit of “oh dear is it that bad?”
Once directed and marshalled into our pitch we were greeted by Nick who welcomed us and gave us some great advice about the camp site and the VWT2OC activities.
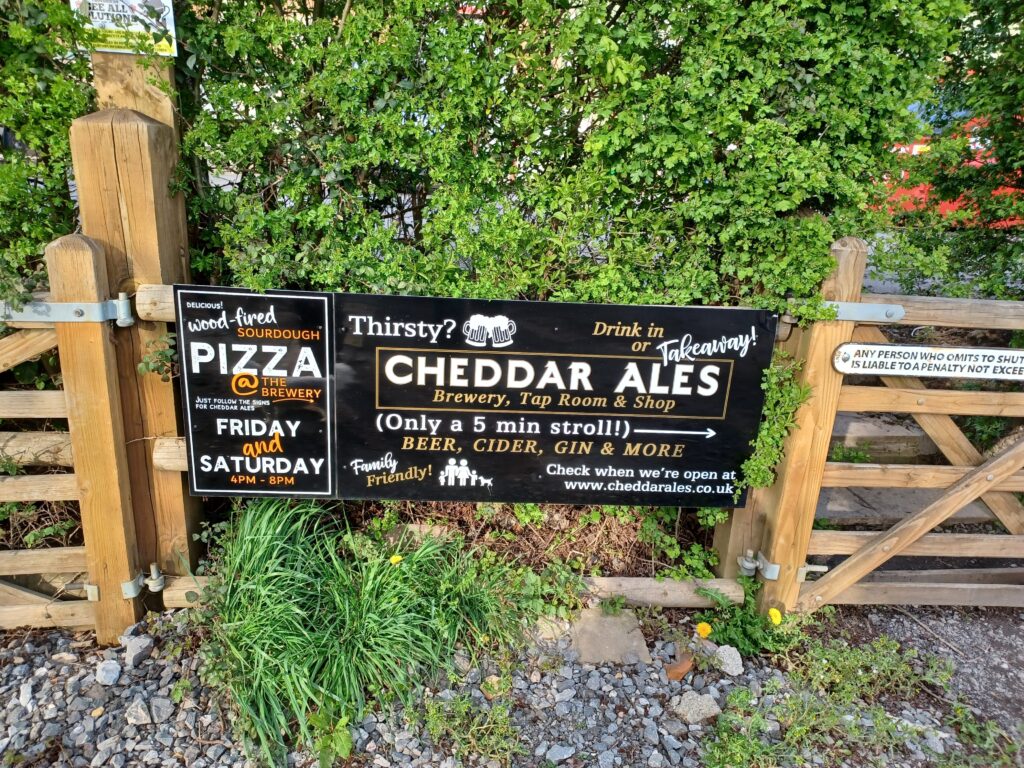
A meet up at the local brewery to meet some of the VWT2OC members was a really nice tonic as being novices we were not sure what happens at a club camp. Introducing ourselves and meeting new people who made us very welcome was a bonus. Lorna told us that Nick is the club burger King and flips a good burger.
Well a few hours later, the smell of burger and onions was too tempting not to miss. Although the rain did put a bit of a damper on it.
Meeting Nick again on the grill and Val doing a great job on the onion pan the burgers were most welcome.
A chat to a few people during our camp was interesting and the bacon bap on Saturday morning was another bonus.
We had a good time, it was a pity there was so much rain but it has not put us off, we plan to do some more short stays but hopefully not in the rain.
So for our first venture it’s been a great experience, a bit of an eye opener to say the least, there are some things extra we need to bring especially a mat/grid for outside the bus as trying to get your wellies off without getting your socks all muddy is a trial in itself and maybe a small awning would make it a bit better.
For those who don’t know us this is LottyAnne a 1976 Devon conversion late bay. We bought her 7 yrs ago as a running wreck, but after a clean up and engine renovation she runs like a dream, but like most of these buses of age other work is needed, looks are deceiving!
Read about the front panel change in the last issue.
With all this done and 6hrs into the project we decided to cut away the passenger wheel arch.
No mean feat I can tell you, but from the pic you can see how much was rust. The new wheel arch was put into place and spot welded just to hold until we could get a better position to weld. Ie. Up on a ramp to seam weld up and over without showering ourselves in weld.
Day 2. Early start and straight to it! Checked all the areas welded from the previous day. All good and onto the assembly of all the ancillaries, lights, indicators bumpers dash top and dashboard. Believe it or not this is where the time was taken as new wiring was needed for a couple of items, a bit of fiddling about we managed to get everything back on and into place.
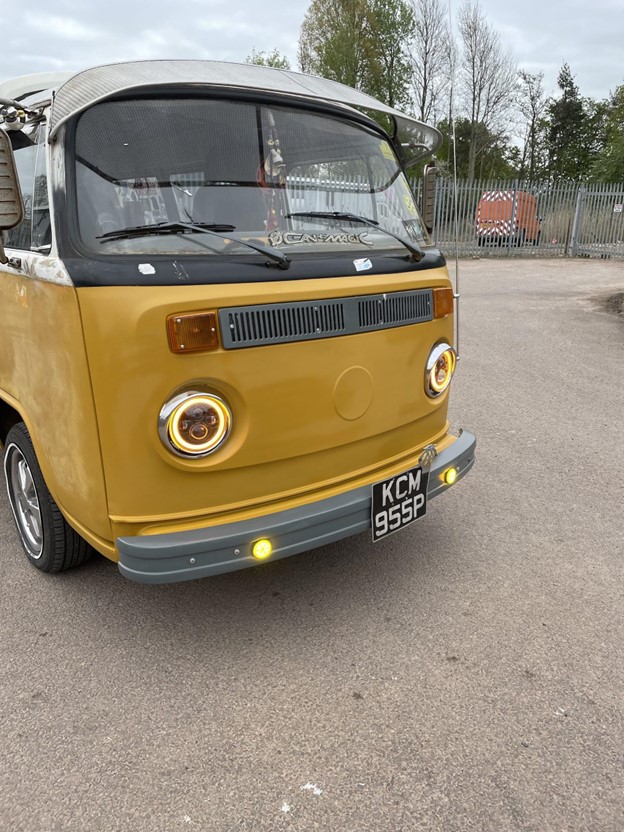
Yes I know some of you purists will not like the lights, but hey these vans are all individuals and have their own identity so this is mine and like marmite you’ll either love it or hate it!
With everything now in place, I noticed several of the dash lights were not working, having done all the usual checks, I had to remove the dash top again to find the main wiring loom to establish where I had gone wrong on the rewire. But patience is a virtue and after several hours managed to get to the root of the issues and got everything working as it should.
With still a few bits to do I’m going to take my time and work through them. The front was mainly done to head off any MOT issues that I was not aware of, plus I needed to stop the rainwater ingressing further into the front of the cab.
I will say the whole job has seen its ups and downs, as like many vans of this age the more you dig the more you find, but hopefully you hope you get through them all to have a decent solid van, but I fear I may never get to this as time and money will play a big factor in the renovation, and besides which I want to enjoy driving her as opposed to seeing it sat on the driving doing nothing.
If anyone is doing or about to do this work and want some pointers, help or general information at various points of the job, please feel free to drop me a message on our Facebook page and I’ll do my best to answer from what I’ve learnt doing it myself.
Now I’m just going to relax and take 5 as it’s been a hectic time getting her sorted, but looking forward to seeing some of you at the shows down south west way.
Spend since last report: £197. Total hours labour since last report: 28.2
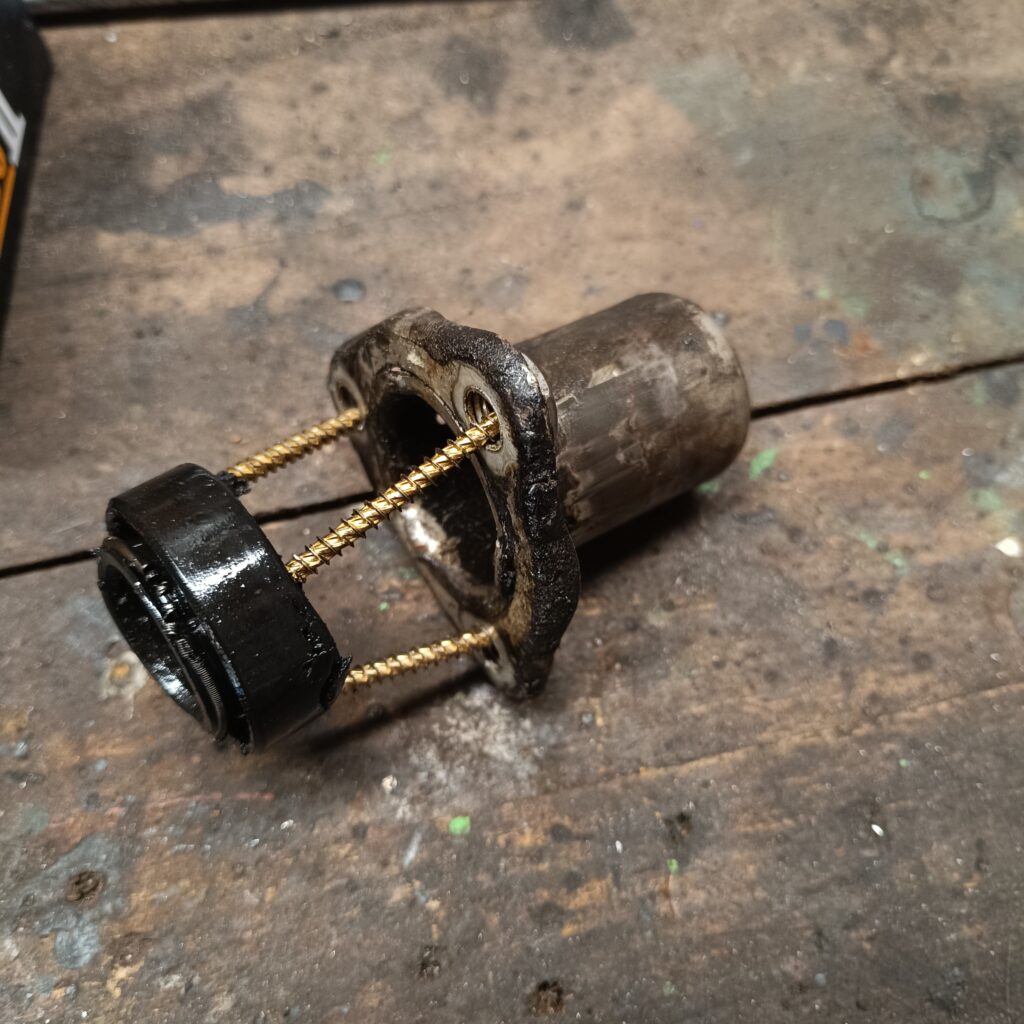
Who knew two months ago what fate would have in store for me. I had planned to be away a lot in Lorna’s crossover Poppy and in amongst that, be in the garage working hard on Eric the Viking. Sadly, neither came to pass. In June, I managed to finish the cleaning of the outside of the gearbox, the top coat and the new input shaft seal as planned. The input shaft seal is a pain to remove and needed 3 self-tapping screws drilled through the metal collar and then a puller to bring it out as nothing else seemed to work. The new one does not leak which is rather nice.
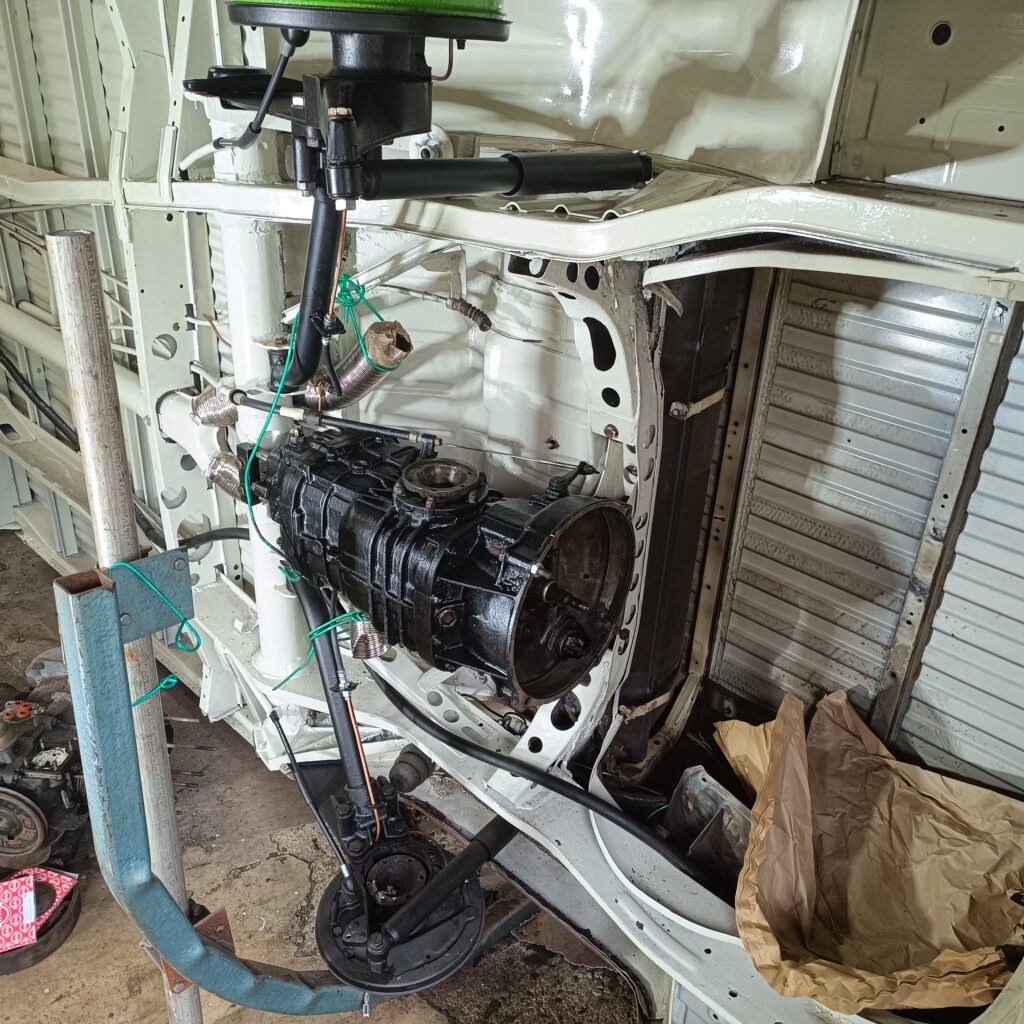
The front gasket was also changed since I had serviced everything in there and with assistance from my able assistant (my wife), the gearbox was mounted onto the chassis when Eric was on his side. Which is not easy!
Tinware has been stripped for the engine and an impromptu clothesline affair put up for rustproofing and priming plus the inlet manifold and exhaust manifold were stripped as well. Then Eric was ready to go back on his wheels. This allowed some brilliant progress – the nose panel has been prepared and primed, the cab floor has been prepared.
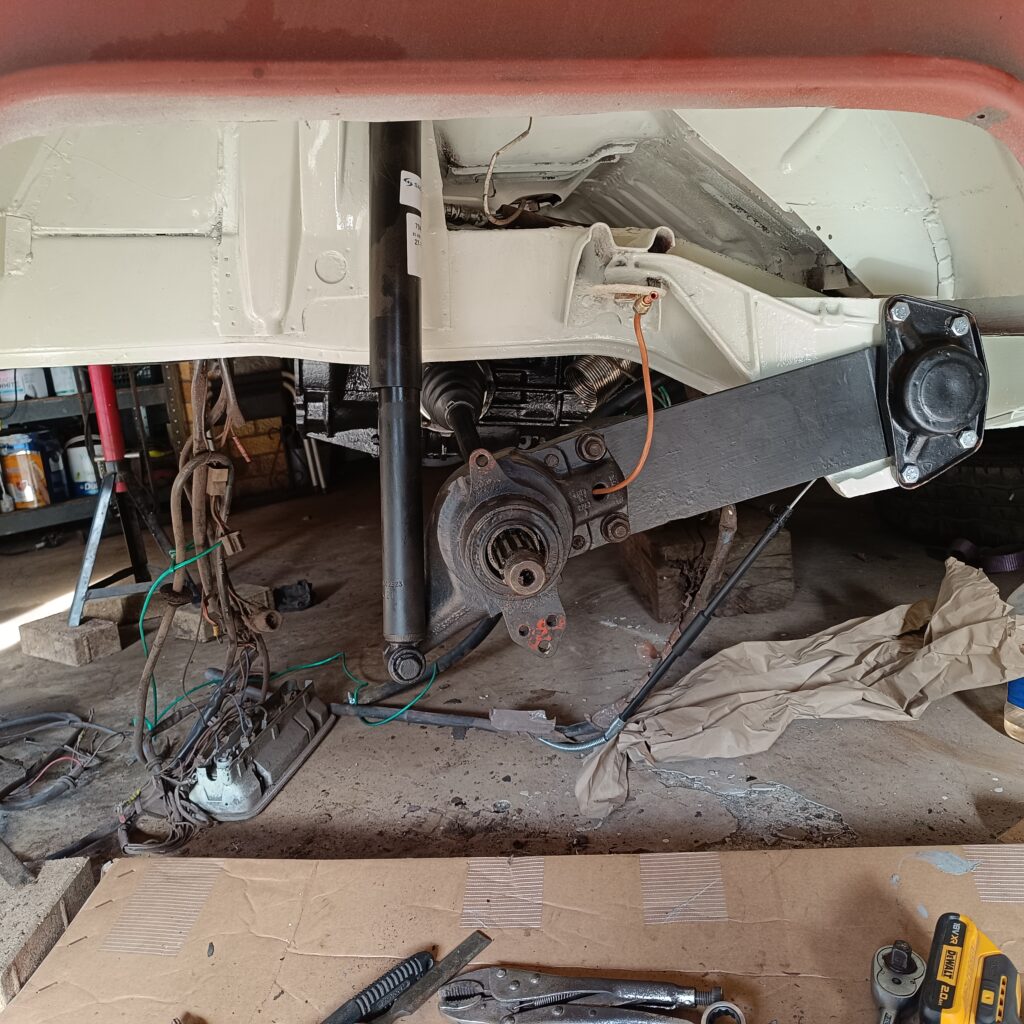
As that was drying, the rear hubs and CV joints were cleaned, driveshafts built up and installed meaning that from the back wheel to the other back wheel is complete and painted. During assembly, there were a few areas in the rear wheelarch that were sub-standard and they received an extra coat of L90D pastel white paint which really makes it all look very smart against the black of the running gear.
With the rear brake shoes now complete, I could finish and double check the brake lines from end to end and then enlisted a neighbour with a brake bleeding kit and more knowledge than me (not difficult) to assist on bleeding. We cleaned the top reservoir in the cab (under the driver’s seat) and filled that down into the new reservoir on top of the new master cylinder that goes with the new servo upgrade. More brake fluid added. And more. Nothing coming to the rear brake – traced to it all coming out of the unions at the front. Further investigation showed that I had made all brake pipe unions with trumpet flares like old English classic cars instead of mushroom flares. Every single end and that is about 22 ends.
Having just got Eric on his wheels, he was dutifully turned once more back on his side and I spent a good number of hours carefully removing each brake nut in turn, snipping off the trumpet flare from the pipe and making a new mushroom flare. Some of the brake nuts were damaged, so for completeness these were discarded as they are around 50 pence each, renewed as I remade each joint. As I got to the front, I had 2 pipes left to make but no brake nuts and they were overdue as we packed up for the AGM. Finally arriving on the day that we left, they were put in the garage ready for my return, so that I can make the pipes that go from the central union to each front wheel’s flexible pipe.
That was the weekend that I dislocated my ankle and broke my leg. Everything is on hold until that is mended!
Purchasing this issue are mainly odd sundries – welding helmet, clutch bearing, brake fluid and hoses, and oil cooler mount and a rev counter for a boat. Obviously!