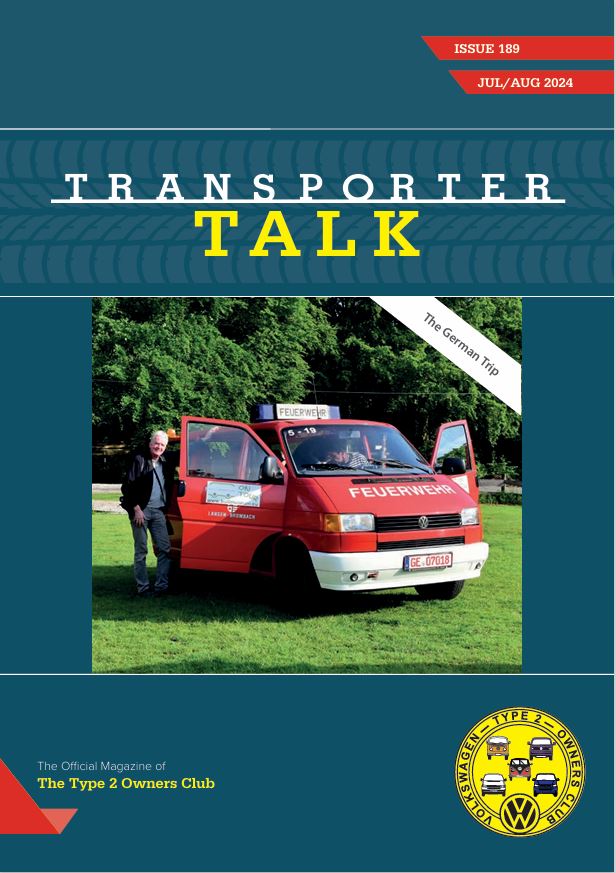
The next edition of the club magazine has been finished by our Editors and looks fantastic. It should be arriving through your door soon! If you are enjoying the club magazine and have a story about a trip, an upgrade, a restoration or just a tip, send a contribution to our Editor at editor@vwt2oc.co.uk.
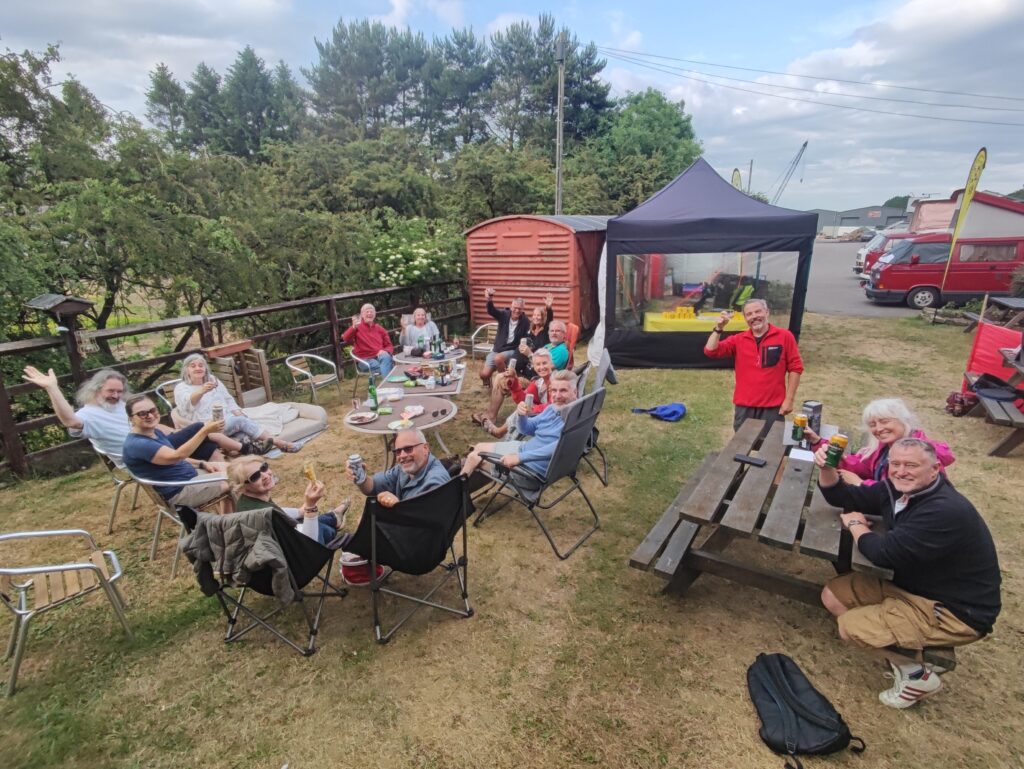
Our most popular event with around 100 club vehicles, our own club field, the marquee, the BBQ, Lorna James singing, kids looking after each other and the occasional glass of wine.
To get on the club field, you need to be an active member and book through http://www.busfest.org selecting the correct club and using the discount code.
Another club event happening shortly, we have about 20 vehicles going to Embsay for the Bolton Abbey and Embsay Steam Railway display this coming bank holiday weekend.
Steam trains running through the day, a chance to show off your pride and joy and tell everyone about it. Meet club members and then relax with them after 5pm. There’s a pub within a few hundred yards as well! What’s not to like?
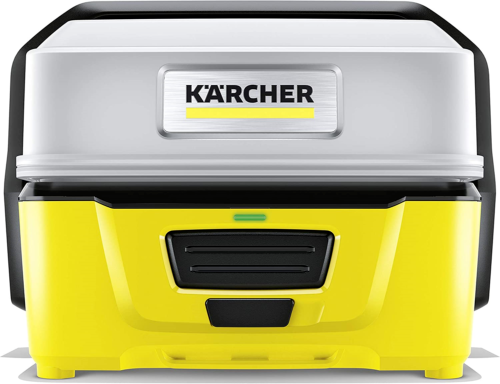
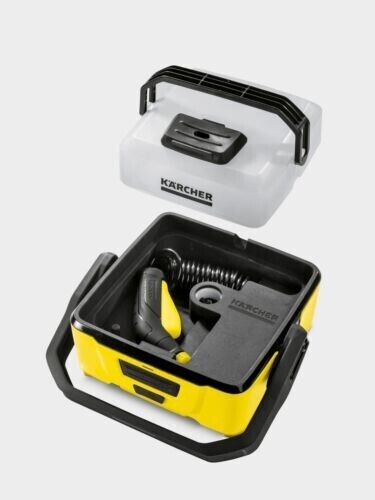
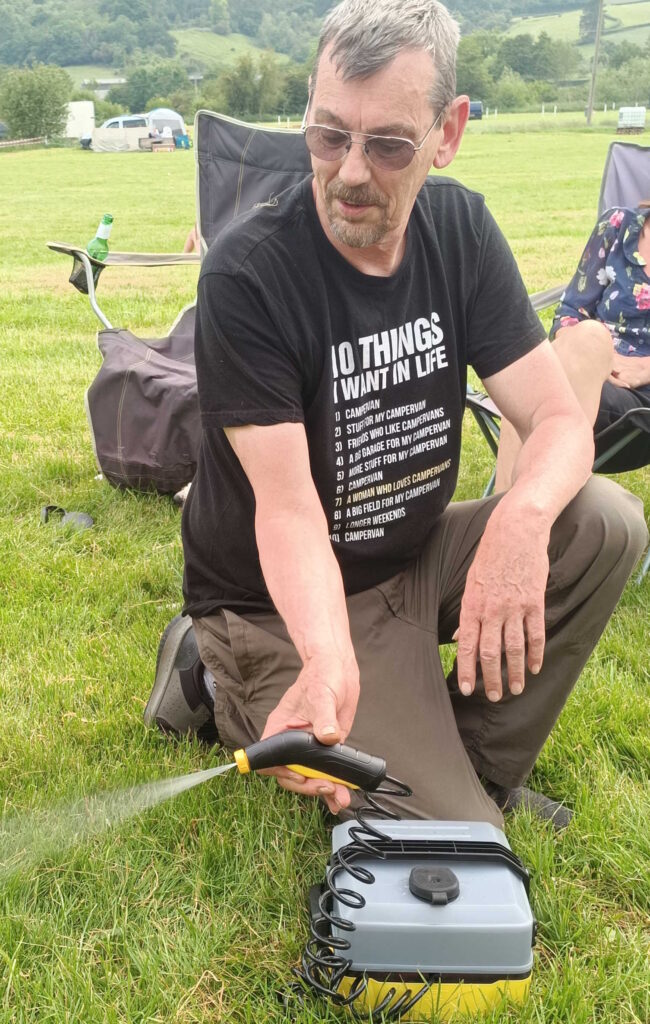
At the Golden Valley Vintage and Steam event in Herefordshire in June, club member Peter showed us his cool gadget. This is the Karcher OC3 Outdoor portable cleaner, a 5 bar pressurised cleaner. We all love spending time in the countryside with our vehicles but trailing mud into them is always a pain. The Karcher is a simple and lightweight solution for cleaning whilst away and sports a 4 litre water tank and a 5 bar pressure that is more than enough to rinse off your bike, dog, wellies, boots or even yourself. When you have finished, the spray gun and hose store away as well, keeping everything neat and tidy. The battery charges using a standard USB connector, takes 3 hours for a full charge that runs for 15 minutes. The hose is a little over 9 feet long and the whole unit costs in at around £150 brand new with used items a lot less on popular auction platforms.
Spend since last report: £5,402. Total hours labour since last report: 44.5
The combination of not knowing how to do the next piece and the cold kept me out of the garage on Eric from early December to the first week of May. Petruth Paddocks and a chat with “Ask Malcolm” (the magazine article is “Ask the Mechanic” but I spend a lot of time with the Chairman asking him how stuff works) galvanized me into action.
Gearbox
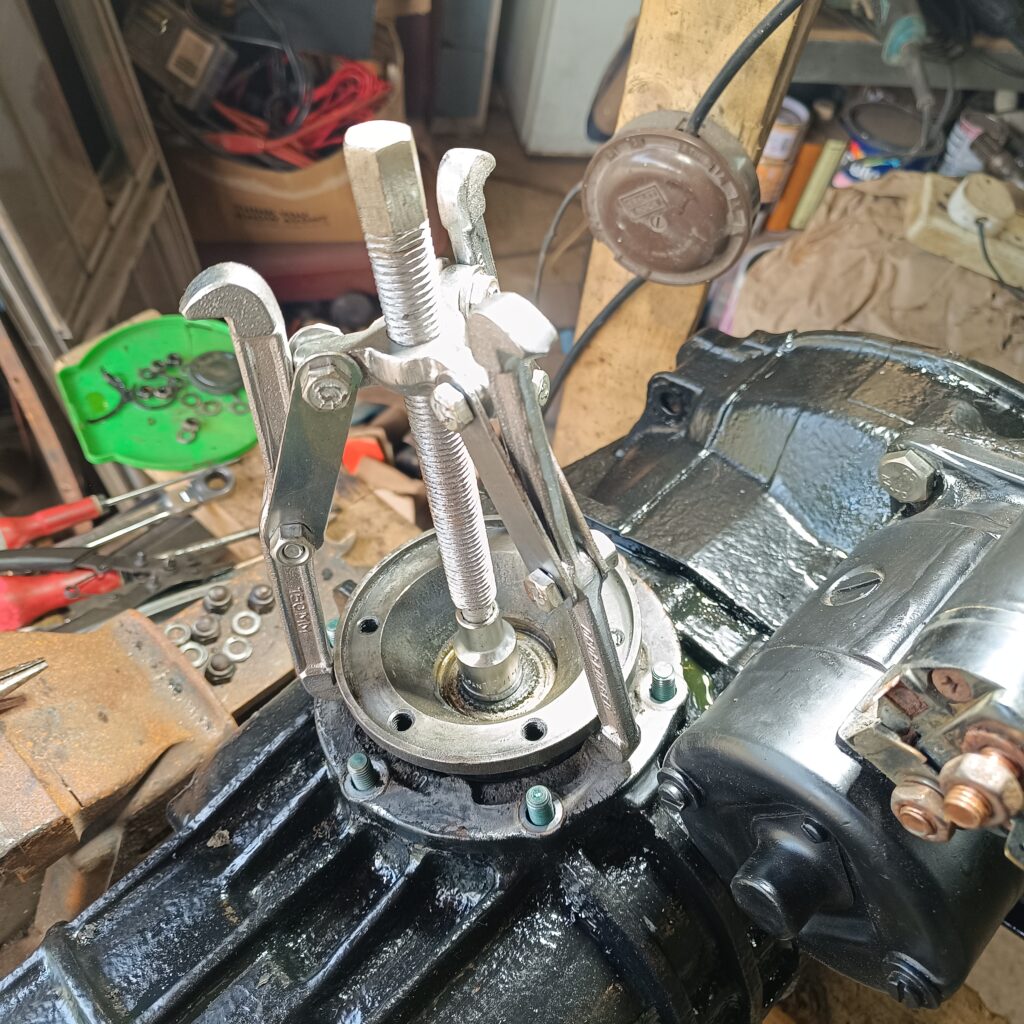
First, the easy job. Having mostly cleaned the outside of the gearbox last year, I did a final clean, then anti rust paint mainly as a habit. On top of that was primer and my preferred top coat of John Deere black paint. I also took the opportunity to take out the ends of the driveshaft section and clean behind, changed the gearbox oil and degrease the inside of the bell housing. As a word of warning – do not empty the oil from the gearbox until you can verify that the filler plug can be removed! With the gearbox on the bench, I also removed the nose under guidance from the restoration manual and changed the gasket there that had perished and cleaned the “hockey stick” that operates the gears.
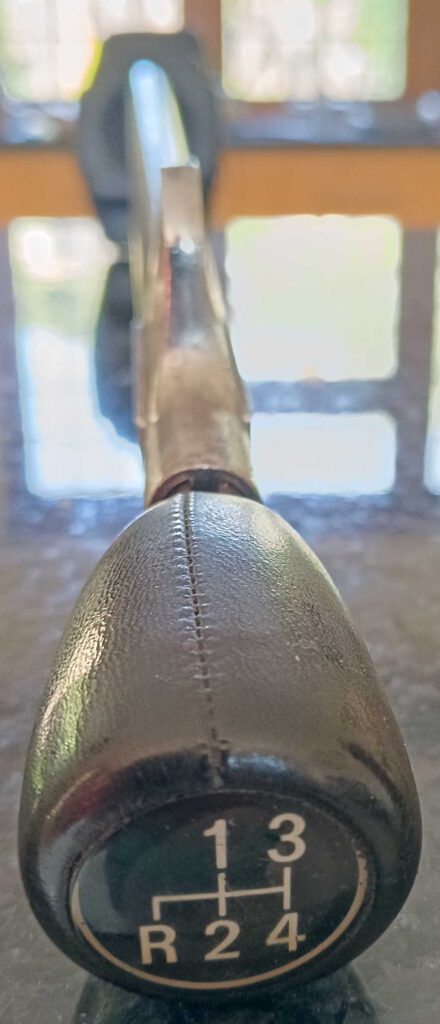
As part of the pedal work, I also cleaned the gear lever that was in the box with the pedals before adding a new gear lever knob. Eric came with an oddball gear lever extension that was about 18 inches longer than standard and a huge gear lever that looked like a golf club. That has been replaced with the gear knob from my old MGB GT that I sold 25 years ago and the knob has been in my toolbox ever since. The gear pattern is the same!
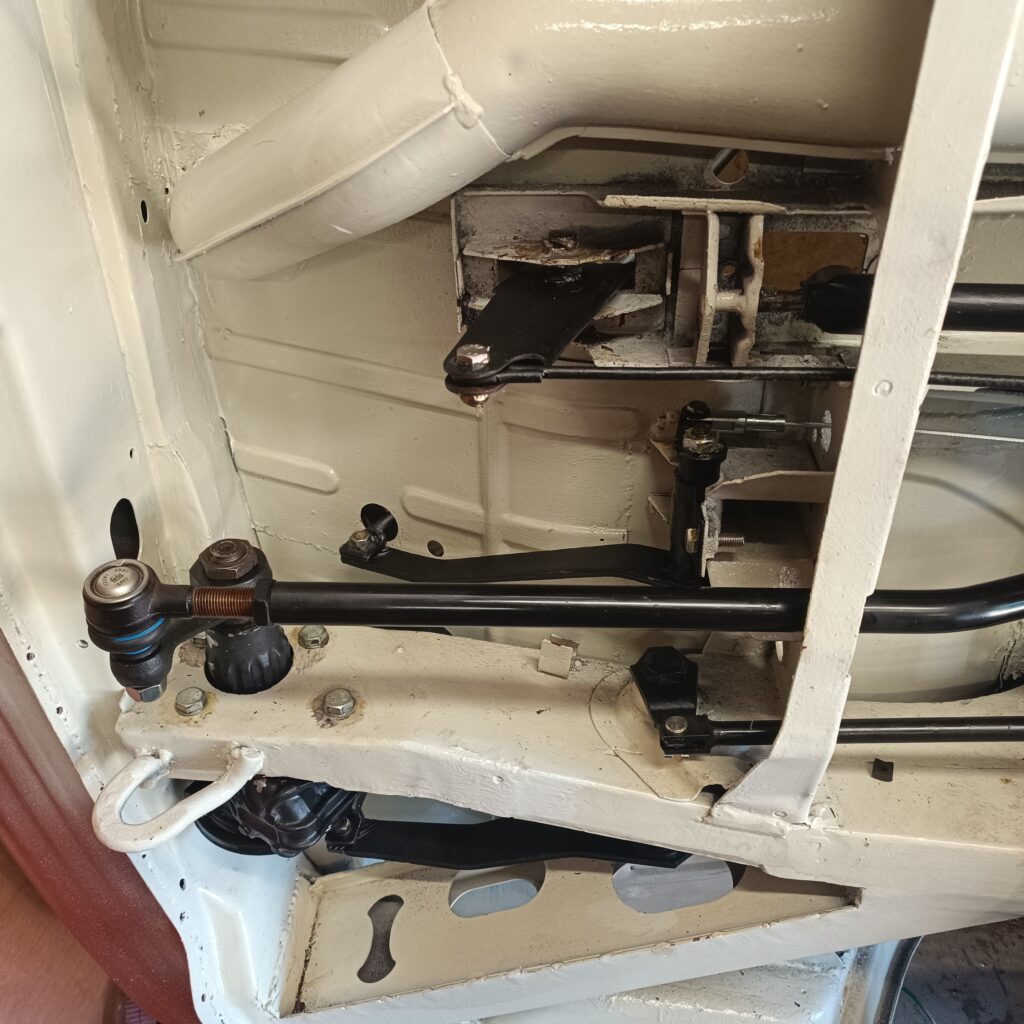
Next up were the pedals. With the underside all painted, I was able to install the steering box, drag link (steering box to beam pole), handbrake arm, brake pedal and clutch pedal. All were carefully cleaned back to bare metal then anti-rust paint, primed and top coated in black again.
The steering box was leaking on reinstallation but this was caused by the bung on the filler hole having a perished O-ring.
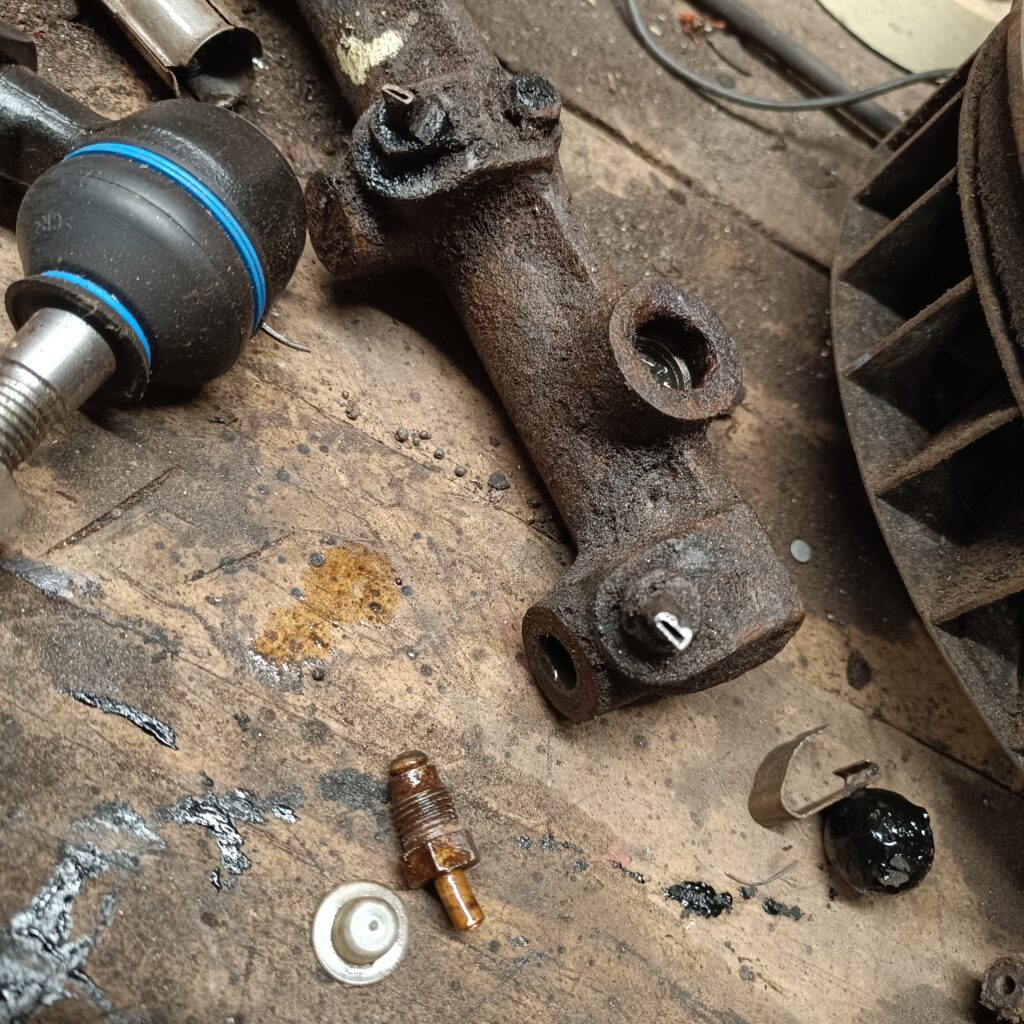
Then I turned my attention to the brakes. The master cylinder pictured was past its best and was replaced. The previous brake set up was not servo assisted, so I bit the bullet and purchased the master cylinder for servo brakes, along with the servo itself, vacuum pipe and other associated bits.
Again, I called on Malcolm’s knowledge and experience to help me to take the first step. Eric’s beam is an original German beam and the servo is a new Brazilian one meaning that the holes did not line up. An annoyance due to the extra time taken to make new holes in the servo mounting bracket on the beam, and the additional extra time to prime and paint the bracket that I painted last year!
The air pipe was then run from the servo down towards the engine bay ready to attach to the inlet manifold to generate the vacuum.
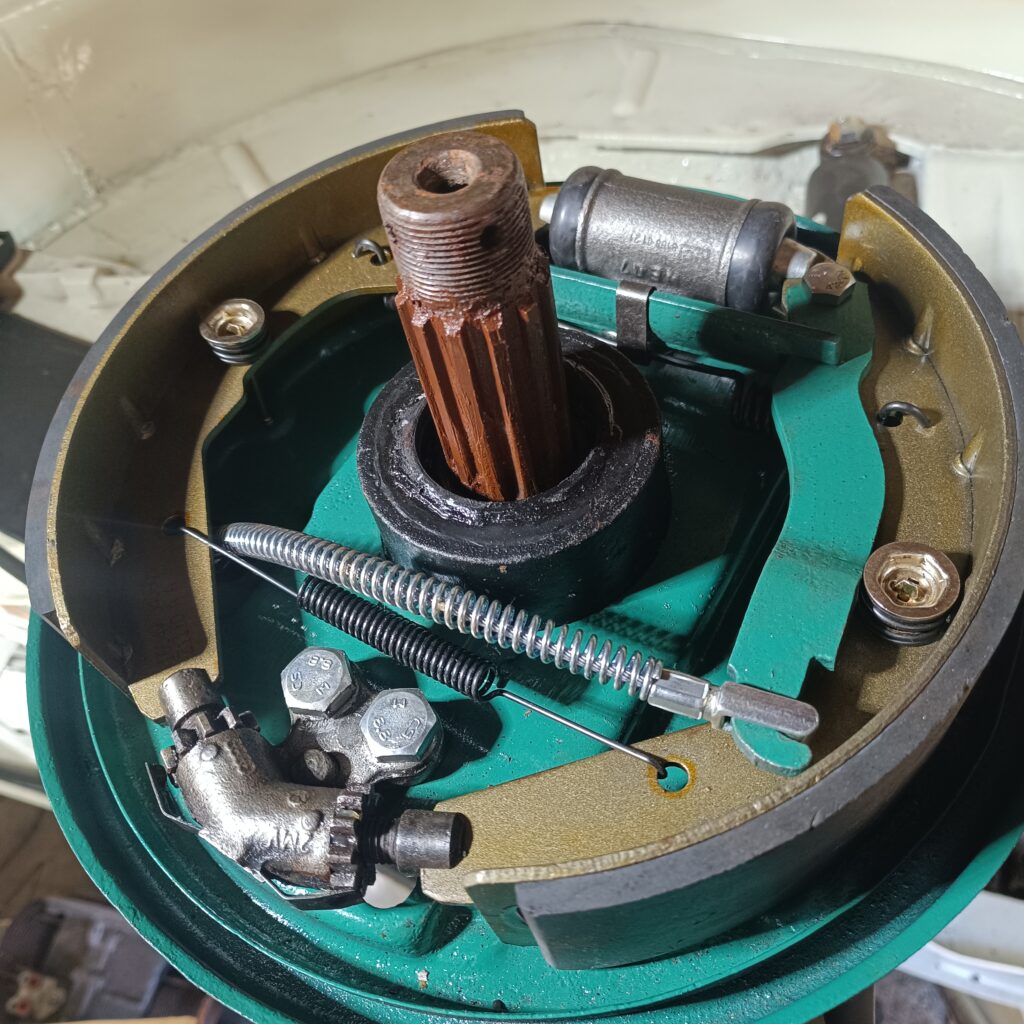
The rear drum brakes were replaced with the exception of the outer drum itself which was stripped and painted in high temperature Kawasaki green paint last year. The anti-squeal springs were a pain as you need to compress the spring a huge amount to get the top piece to connect to the pin. A neighbour gave me the trick of cable tying the spring closed in a vice with a cable tie at each side tied tightly. Then it does not ping across the workshop forty-five times as you try to connect it all.
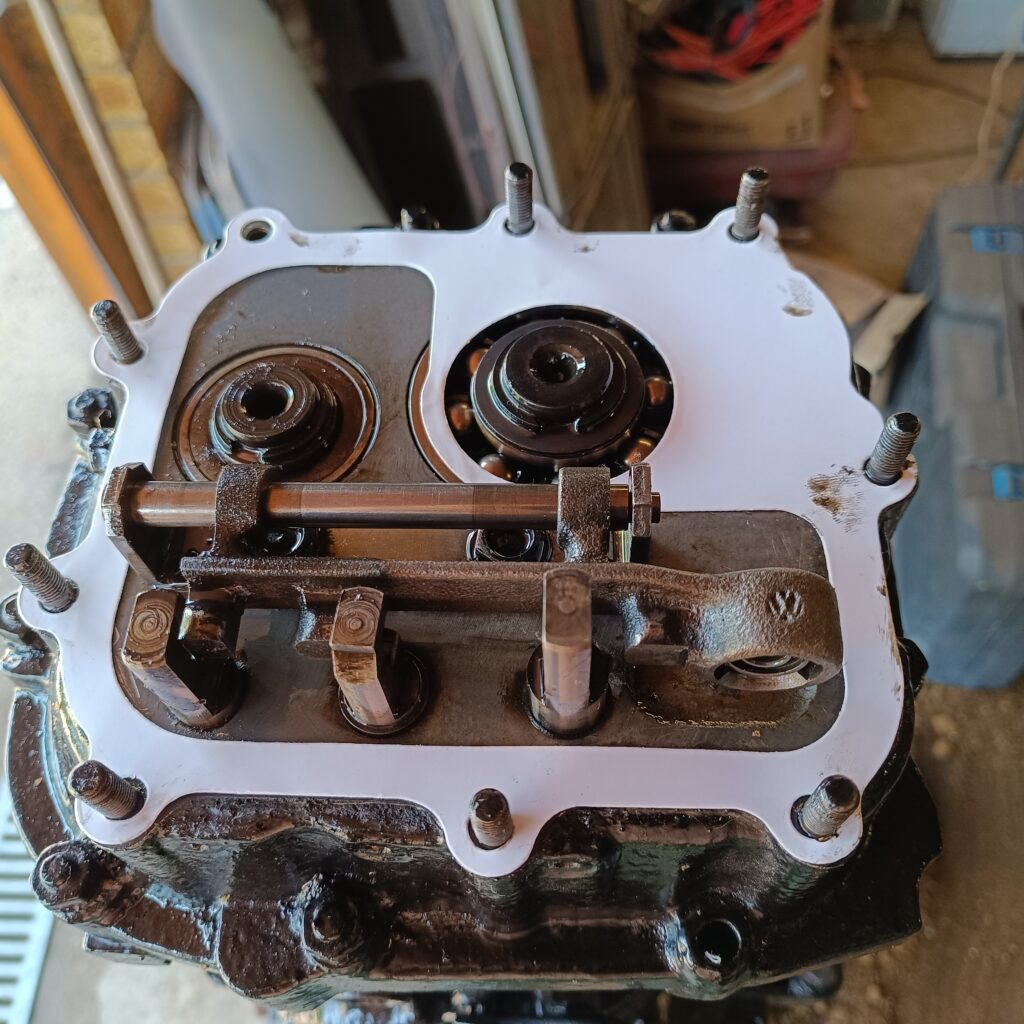
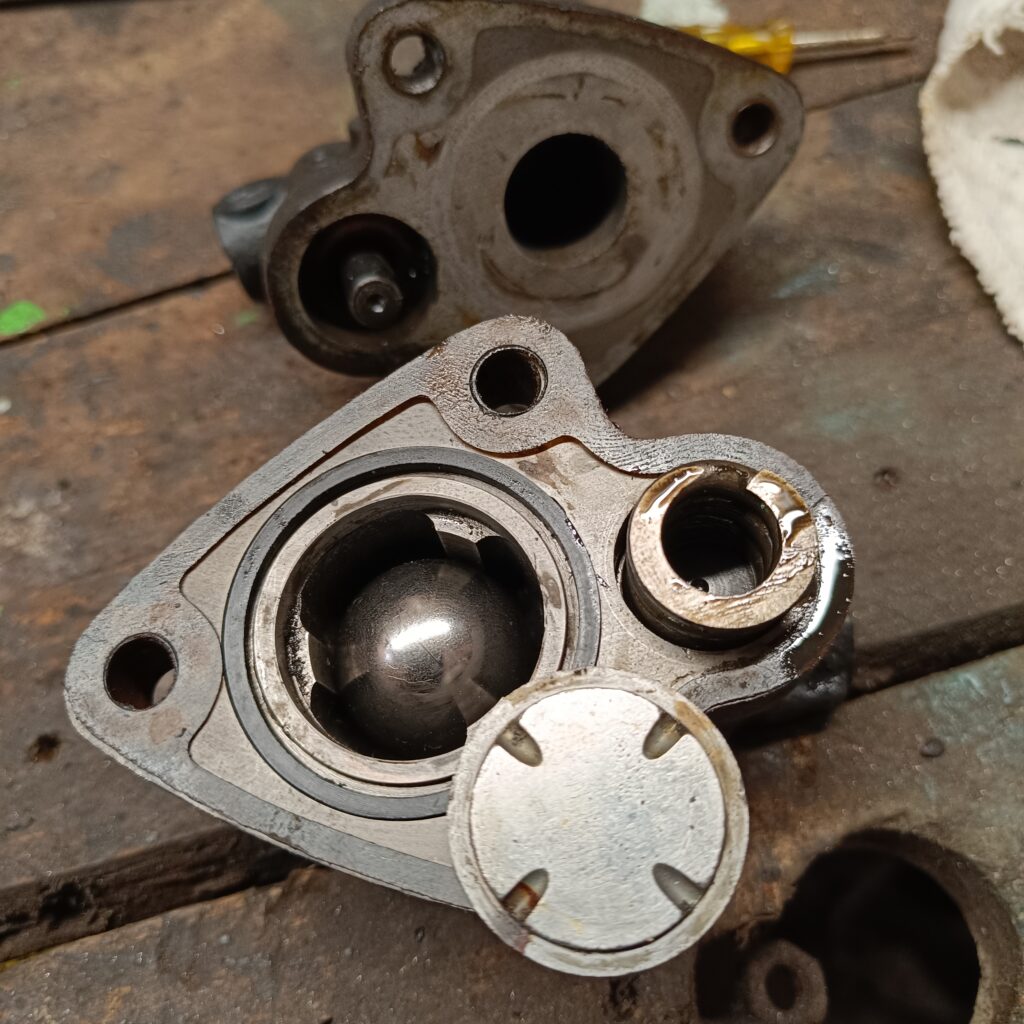
That was it, brakes complete. Until again I played my “Ask Malcolm” card – the Bay window has a clever little device behind the front wheels as a brake balancer. In the event of kicking the brake pedal really hard, the balancer has a ball bearing inside (pictured) that runs up the hill and blocks off the brake fluid to the rear brakes, working almost like an ABS to stop the rear from locking up. I had not dismantled it but Malcolm as ever was right. Splitting the balancer, I found that the insides were gunged up and the ball was not moving. A full clean out and reassemble and that is now back in. I cannot add brake fluid to the system yet as Eric is still on his side, so I have no way of knowing if the system leaks yet!
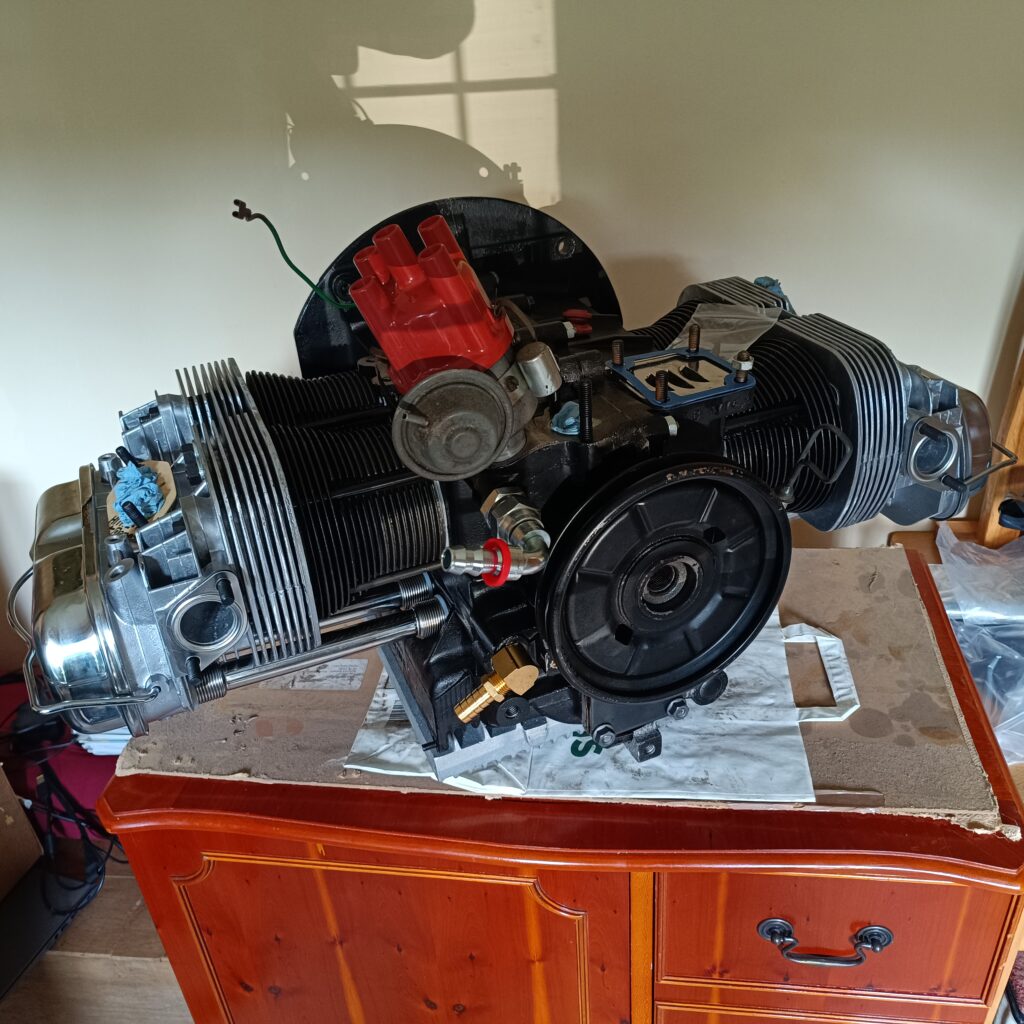
The big news however is that on the run home from the Golden Valley Vintage event in Herefordshire, we stopped in at Stateside Tuning at Moreton in Marsh and picked up Eric’s engine from James. In summary, James has built me a 1776cc performance engine with a type 3 case and dynamically balanced crank, extra deep sump and external oil filter. He also supplied an air housing / doghouse suitable for a VW “The Thing” (Jeep like open vehicle) / Type 181 and a Type 4 oil cooler, as you get 20% more cooling. With the increase from 2.5 litres of oil to 4.5 litres and the increase in air cooling ability plus a properly built engine, I will hopefully be running nice and cool. It looks cracking. Next jobs are to change the seal on the gearbox input shaft and get the gearbox mounted. Then get Eric on his wheels and fit the new nose panel. That should make him look a lot happier. In the meantime, having spent June either working on Eric or away in Poppy, I plan to spend July and August either working on Eric or away in Poppy. Across June, July and August we are due to be away in Poppy for 38 nights! Hopefully in amongst all of that fun I can make some good progress on Eric before we all head to Busfest. See you in a field somewhere.
This issue, we have Wilma, Matt Sharrock’s multi year restoration that he purchased in Vancouver.
In his own words:
I bought the van whilst serving in the RAF in Vancouver, Canada. I ran it all over the Rocky mountains for two years before shipping her home at the end of my tour. She limped through her first UK MOT but needed lots of structural work before she could next pass the test.
The bottom foot all round was replaced, along with all of the running gear, fuel system, suspension, brakes and so on. This was a glass out restoration with new rubber all round as well. It took me 4 years of hard work but I received great help, advice and support from Just Kampers who are a few miles from me, especially Shaun and I have a full works and parts list of the restoration. In June 2022, we went to Classics on the Crick at Naphill near High Wycombe and won gold – most fun! Love the Wilma love that we are getting!
Classic risotto either vegetarian or not, all in one pan
Ingredients – serves 4
500 grams butternut squash or 500 grams of chicken breast – cubed 1 large white onion chopped 1 red pepper sliced 1 cup of sliced mushrooms 1 stock cube vegetarian or chicken 500 grams risotto rice 150ml white or red wine 1 tsp Herbes de Provence or other mixed herbs Some olive oil
Heat the olive oil in a frying pan and fry the onions, mushrooms and pepper on a medium heat until soft then add the squash or chicken and fry for about 5 to 8 minutes until nicely coloured or softened. Add the herbs. Add the wine and simmer for a further few minutes. Now add the risotto rice, stock cube and water. Leave it simmering with the lid on, until all of the liquid has been absorbed and the rice is nicely tender.
Now that you have a delicious dinner, you can enjoy it with another glass of that wine!
The next edition of the club magazine has been finished by our Editors and looks fantastic. It should be arriving through your door soon! If you are enjoying the club magazine and have a story about a trip, an upgrade, a restoration or just a tip, send a contribution to our Editor at editor@vwt2oc.co.uk.
A variation to the Mechanic this time as so many people at club events ask Malcolm and/or Nick about solar. If you want to be off-grid / not using expensive hook up on a site or when that is simply not an option, you can keep your leisure battery topped up with a solar panel.
To help members, Nick got in touch with Just Kampers (owned by one of the club founders Mark Reynolds) to ask about their Solar Charging Screen, to see what it does and how it works. Josh from the JK Team got back to us straight away and told us the following.
He says:
“I’m a big fan of the JK Solar Charging Screen, after getting involved with bringing it into the range and having put it through its paces at VW shows and photoshoots for Just Kampers. For anyone who hasn’t seen one, the charging screen is a solar panel array which folds out from tote bag size to give you twelve solar panels for capturing that elusive sunlight to turn it into electricity. There’s a power outlet hidden away on the back of the screen, which has three USB outlets for charging up phones, as well as a DC outlet you can use to charge up your main vehicle battery or leisure battery.
The kit also comes with six really strong suction clamps, which you can use to mount it to the inside or outside of your vehicle’s windscreen. We designed it to fit the inside of a VW T6’s windscreen, but it’ll go onto any vehicle, and it’s just as useful when you just spread it out over the ground or hook it onto your windbreak.
We took one on a JK photoshoot last summer to keep our phones topped up, and it worked really efficiently. It’s definitely something I’ll take next time I’m camping, to keep our tablet charged up (and therefore my kids quiet while we drive!), and to ward off a flat battery. I usually work on the theory that you’ve got spares and tools and stuff for a breakdown, you’re somehow less likely to actually have one!
If you’ve got some epic adventures or road trips planned for your camper, a JK Solar Charging Screen is definitely worth taking a look at, especially if you’ve got a fridge, interior lights, laptop, camera, etc. on board.
If you do take one on a cool adventure, we’d love to see some photos!
You can read up on the technical specs and other information (like what a monocrystalline solar panel is) at justkampers.com/jk-solar-screen/ or scanning the QR code here.”