Yes, it is that time again, winter is very much heading our way. For anyone with a vehicle, VW or not (apparently other vehicles are available!), winter in the UK is the worst time for metal on the roads.
Some suggestions:
Inside
Water
If you have anything containing water, drain it all out. Water tanks, boilers, kettles. Don’t just empty the tank, drain the whole system including the pipes. Remember that water in pipes still expands when it freezes, not just in the tank. It also goes stale after a period of standing. If possible take the tank indoors to keep it above freezing and/or clean it thoroughly.
We use a mild Milton solution to thoroughly clean ours including the impeller that sits in our tank and its associated pipe and electric cable. Then we rinse everything and air dry it all. Other options are available too!
Power
Leisure batteries like ambient temperatures and extreme cold will reduce their operational life. Keep them above freezing by removing them and keeping them in the garage or similar. Remember to keep the electrical contacts in the van safely insulated if applicable.
Keep those batteries charged using a trickle charger that is fit for purpose, which will also prolong their life.
Gas
Butane or propane tanks and bottles should be removed from your vehicle and stored safely with their openings closed properly – don’t leave the regulator open relying on the gas tap on the cooker as these can fail. Now is a good time to weigh them against their empty counterparts to know when you need to change them!
Boring cleaning
Now that you have opened up your van, removed the relevant tanks and bottles, you can get all misty eyed and miss the peace and tranquility of your van by getting in there and cleaning it all. It gives you a great sense of personal achievement as well as going into the winter with a nicely clean kitchen area, the fridge has been bleached and rinsed, and if applicable the bathroom, the shower and maybe the hot tub are all clean. Leave internal doors slightly ajar to keep mould and mildew at bay.
Soft furnishings
If possible, remove curtains, bedding, that emergency woollen blanket from Granny and take them indoors for a good wash or airing.
Ingress
Don’t be tempted to leave doors open or windows more than cracked open. All sorts of miscreants can get in and eat your lovely interior.
Outside
If possible store your vehicle in a garage. If that is not possible, a car port will do a similar job. A breathable cover can be good but make sure it is listed as fully breathable otherwise moist air gets under the cover, rises when things warm up and the vehicle will get wet, holding that wet against the bodywork. Avoid a heavy cover for sure!
Tyres
Tyres degrade from extreme temperatures and long periods of standing still. Winter does that very well! Inspect the tyres, check the pressures and consider putting the van on axle stands if you are not using it for a very long time, taking the wheels into the garage or shed. It also makes theft more difficult!
Moving parts
Lubricate everything. Hinges, moving parts, sliders, mechanical parts. Check the oil level. Use the right lubricant for the part in question. It will pay dividends next year and will keep water away, which is good for the life of the part.
Boring cleaning
Again, give the outside of your vehicle a proper clean, ideally by hand. Dry fully including the fiddly bits inside doors and between panels. Give it all a good quality wax polish. This also keeps water away and prolongs the panels and parts. It also makes you happy as you pass over the cold season when you don’t want to be away.
Underneath
If you are an advocate of underseal and waxoil, get the old visible stuff removed and apply new underseal to dry clean parts. The jury seems out on the benefits of underseal against the downside of it trapping moisture but waxoil or similar applied hot into cavities must be better than not applying it?
Engine
Some texts state to start your engine once a month and run it on idle for 30 minutes. More than that is not necessary and I don’t touch our air cooled engine at all.
An oil change just before the winter alongside a fuel-storage additive in the fuel tank if you like that sort of thing.
Main battery
We leave the main battery connected and the solar panel bolted to the roof of a van in a car port for the leisure battery. If that was not the case, we would trickle charge the main battery once a month over the winter. Again, this just makes sure that you don’t degrade the battery and end up having to replace it all of the time.
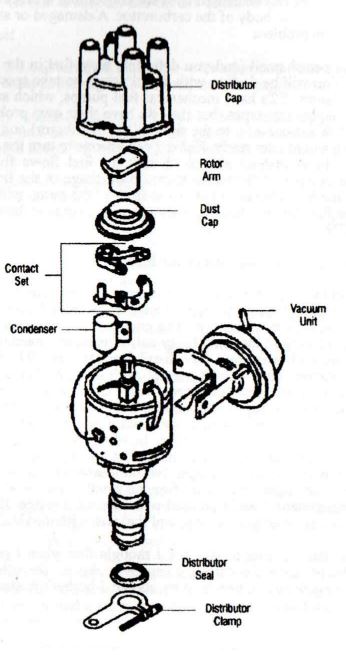
Within a petrol engine, a spark is required at the exact moment when a gas (of air and petrol) is compressed by a piston. For the spark to exist at all depends upon three essential parts: the distributor, the coil and the contact breaker. There are two electrical components in this system, called the High Tension (HT) and Low Tension (LT) circuits.
The LT circuit consists of the battery, the coil and the bottom bits of the distributor, namely the contact (with its points) and the condenser. The HT circuit has the spark plugs (and their leads), the top part of distributor, namely the cap and the rotor arm, and the link cable from the coil to the cap.
The coil is essentially two windings of cable; a primary winding of only a few turns of thick wire and a secondary winding of many thousands of turns of finer wire. Initiating voltage to the coil (and starter) is activated by the ignition switch and supplied by the battery. The energy goes directly to the coil’s primary winding, then to the condenser and contact breaker. (The condenser is there to prevent excessive arcing at the points). The primary coil is now active but at an exact moment (when the contact breaker points open), the circuit is broken, and this generates a very high voltage within coil’s secondary winding.
We now begin to follow the HT circuit. From the short link between the coil and distributor, thousands of volts are fed to the rotor arm via a graphite bush, inside the distributor’s cap. Here also are the terminals to all of the engine’s spark plugs. The rotor arm feeds each one in turn as it rotates, again at an exact moment, and the spark plugs receive several thousand volts, arcing across their end terminals.
The HT circuit is completed and an explosion occurs within the cylinder, forcing the piston down.
Ignition fault finding
Symptom – The engine turns over, but doesn’t fire at all.
The chances are that it’s an ignition problem; to make sure, pull a lead off a spark plug, hold it near the engine block and get someone to turn the engine over. A big blue spark means a carburettor (fuel) problem (see later), or defective plugs.
So there’s no spark at all. It’s a good idea now to determine whether fault lies in the Low Tension or High Tension circuit, as this then eliminates a number of variables, saving time.
Pull out the short HT link from the coil terminal and hold it a few millimetres away from its socket. Get someone to turn the engine and watch for a spark. If there is a spark, the HT leads to the plugs or the upper part of the distributor is defective. No spark at all means the coil is suspect and the LT circuit needs testing.
Testing the HT circuit
Put the link back into the coil terminal and remove its other end from the distributor cap. Hold the end close to the engine block and turn the engine over. A weak spark probably means the condenser is short circuiting; don’t mess about with it, it’s irreparable, and easy to replace. No spark at all means the HT link from coil to distributor is defective, or the coil has had it. Replace both.
A strong spark means that we have to apply another test.
Replace the short link into the distributor cap terminal and remove one of the plug leads from the cap, and hold it close to its terminal. Tum the engine over. If there’s no spark, the distributor cap is defective (dirt, moisture or cracks). Ensure the graphite bush and its spring are clean; examine the rotor arm and clean if necessary. Clean the spark plug terminals. If damp, spray everything with WD 40.
If there’s a spark, the leads to the plugs are defective; it is possible that the plugs themselves are also suspect. Take out each lead in turn, hold it close to the engine block, and turn over the engine. If there’s no spark, the HT lead is defective; replace it.
If there is a spark, the plug is defunct; again, replace it.
Dealing with the Low Tension circuit
Notice the term – dealing. Testing the Low Tension side of the distributor and coil requires the use of a test light or meter. If you suspect this is where the trouble lies (after going through the High Tension circuit), it saves time and trouble to just replace the contact breaker points, condenser and maybe the coil (though having no moving parts, it seldom goes wrong). Double-check the wiring; frayed or loose terminals increase electrical resistance, loading the circuit. Sometimes all
that is required is application of a screwdriver, and you’re on the way again. Carrying spare points, condenser and a rotor arm should be as second nature as having a spare alternator belt and bulbs.
Carburettor problems
The carburettor is a precision device and shouldn’t be tinkered with unless you know what you’re doing. Flooding the engine (with petrol) is a very common fault, especially when the vehicle is new to you, or when the engine’s hot. In most cases, all that is required is to rest the engine for a few minutes and try starting again. If the engine fires and splutters, press the accelerator gently (choking). If it still splutters and dies and there’s a definite petrol smell, flooding is the problem.
Repeated flooding can be caused by a sticking choke, a blocked air filter or damage to the float in the body of the carburettor. A damaged or sticking needle valve may also be the problem.
If there’s no petrol smell (and you definitely have fuel in the tank), suspect fuel starvation. You will be dealing with liquid petrol, so take special care with sparks and naked flames. Type 1 upright engines are likely to have mechanical fuel pumps, which are more robust than electrical (diaphragm) types, but they do have their own problems. Find the fuel pump (on air-cooleds, to the right of the distributor) and disconnect the fuel inlet, having a container ready. Either get someone to turn the engine over or do it yourself by hand (safest) and check that the fuel flows from the pump. If it doesn’t, the pump is defective or there’s a blockage in the line or the fuel filter.
Removing the brass hexagon nut at the front of the pump will reveal the pull-out filter. If the fuel line is blocked, a garage will arrange to have the system blown through.
Where am I going wrong? A cry for help.
I have a 1600 twin port in a 1971 T2 camper and average 21 mpg. I drive around at 50-55 mph and don’t go for rapid acceleration. It’s a Devon Moonraker conversion with a low profile pop-top. The engine is a new Veggie replacement, but gives the same mpg as the rattly leaky nail it replaced – much smoother, though.
Timing is set with a strobe – 009 distributor (10 deg BTDC), TDC mark confirmed as correct, plug colour normal with a slight tan coloured deposit and there’s no sign of fuel leaks anywhere. Valve clearances at 0.006 thousandths, checked regularly, but never much adjustment needed and no signs of a misfire; starts well and idles smoothly. New coil, normal carburettor and exhaust (9 months old); tailpipe is always black inside, but no build-up of carbon. The carb has been stripped, cleaned and rebuilt with new float valve, adjuster screws, diaphragms and gaskets with no effect on mpg. No noticeable smoke when driving; oil bath air cleaner looks clean; brakes are free, no smell of petrol when parked, or in the engine compartment; 20w50 oil used with negligible usage. Even on a long run at 55mph I’ve only ever got 24 mpg, and that was with the OLD engine. HELP! !??
Sounds familiar? It does to me; and I thought that when I got round to fitting a 009 distributor, gave the carb a going over and all the things the poster has done, my mpg would improve. Why should I bother? Better to save the money and spend it on petrol!
Why is the mixture so rich – are we to believe that a black inside to the exhaust is normal? (But the plugs seem OK). Can anyone help? Is there something obvious that can be done to improve the mpg that the poster tried? Even if it only improves by 3 or 4 mpg, it’s got to cheer him up, after spending all that money. This guy seems to know what he’s doing, and I sure as hell don’t want to fill the pockets of Shell/Esso/Texaco shareholders while I’ve got my T2.
Vacuum unit
It may seem unlikely, but the answer could lie within this clever gadget on the side of the distributor. The vacuum unit changes the timing of the engine at higher revs giving you a more accurate spark at the time that you need it. This means a better burn, in turn giving the spark at the right time, giving more power, less wasted fuel and therefore better economy.
A worn distributor or the lack of a vacuum unit can be done easily and does not take long for a professional mechanic if you want to outsource it. To buy a brand new SVDA distributor from Accuspark with electronic ignition to dispense with old fashioned points will cost you around £80. This should give you another 3mpg over a non vacuum 009 distributor – more if it is worn!
At 21mpg the fuel is costing you 33 pence per mile.
If the new distributor increases that by 3mpg to 24mpg then the price per mile drops to 28.5p saving you 4.5 pence. Payback on your £80 is in 1,800 miles.
Plus your oil temperature will be slightly lower, what’s not to like?
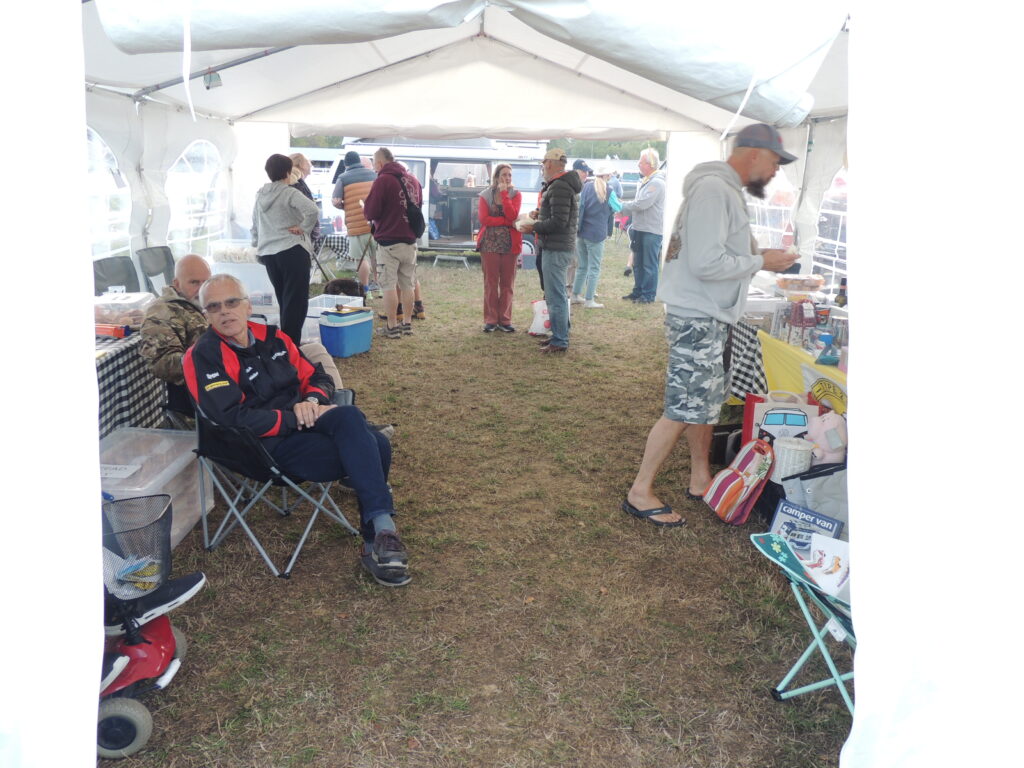
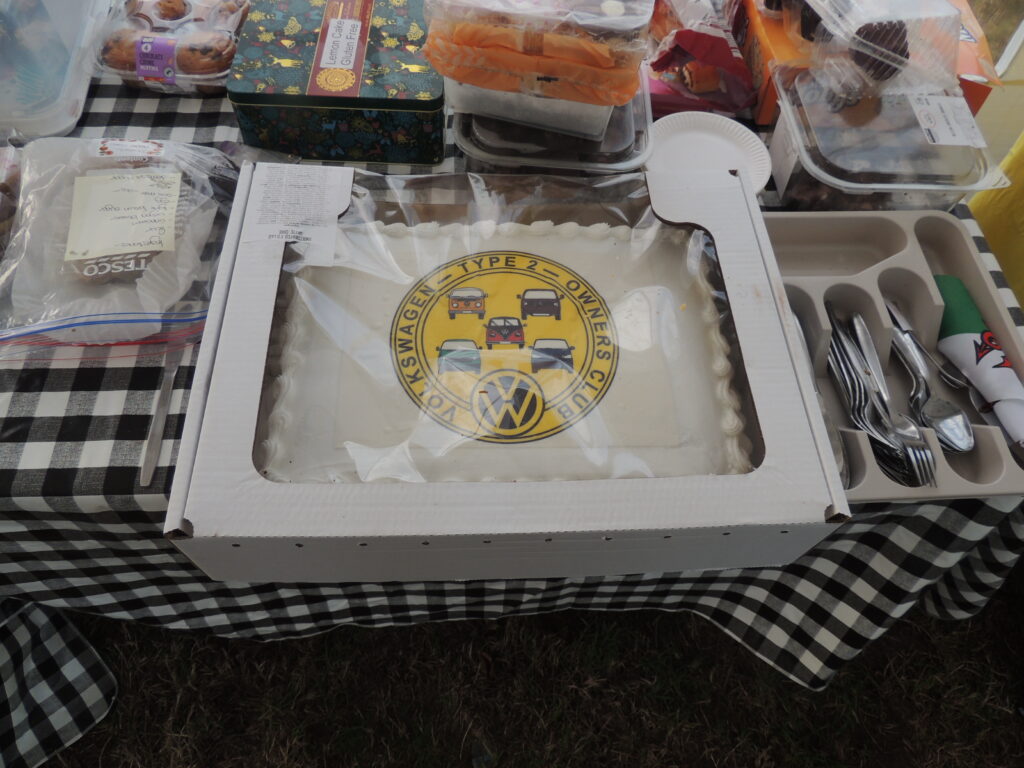
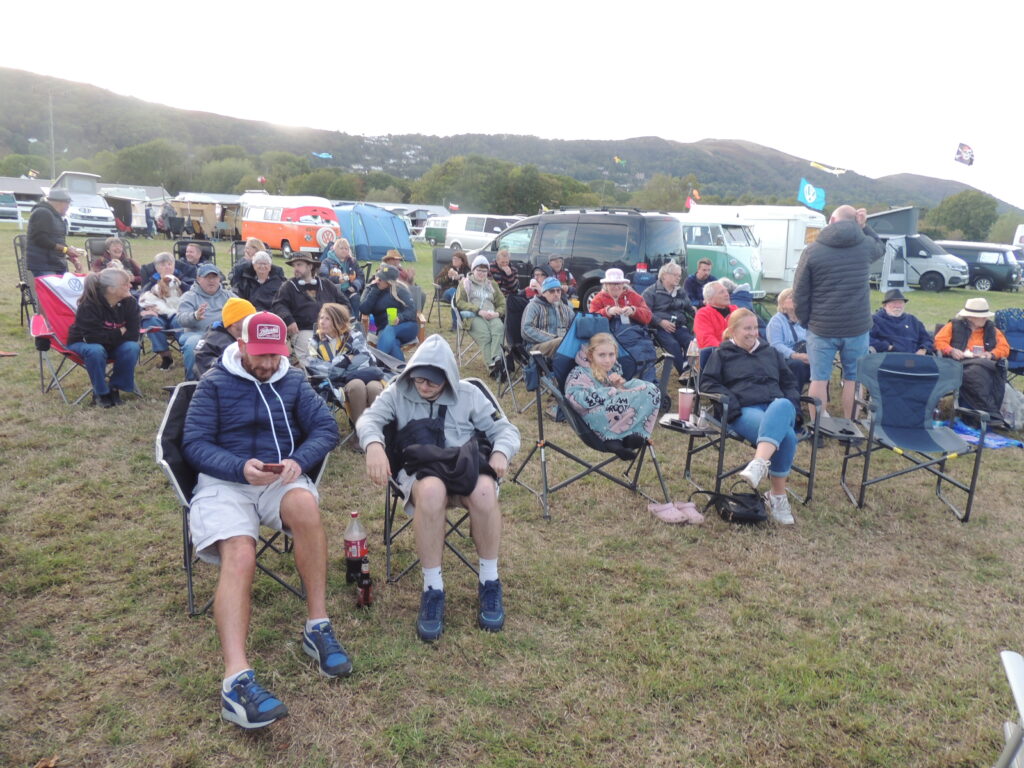
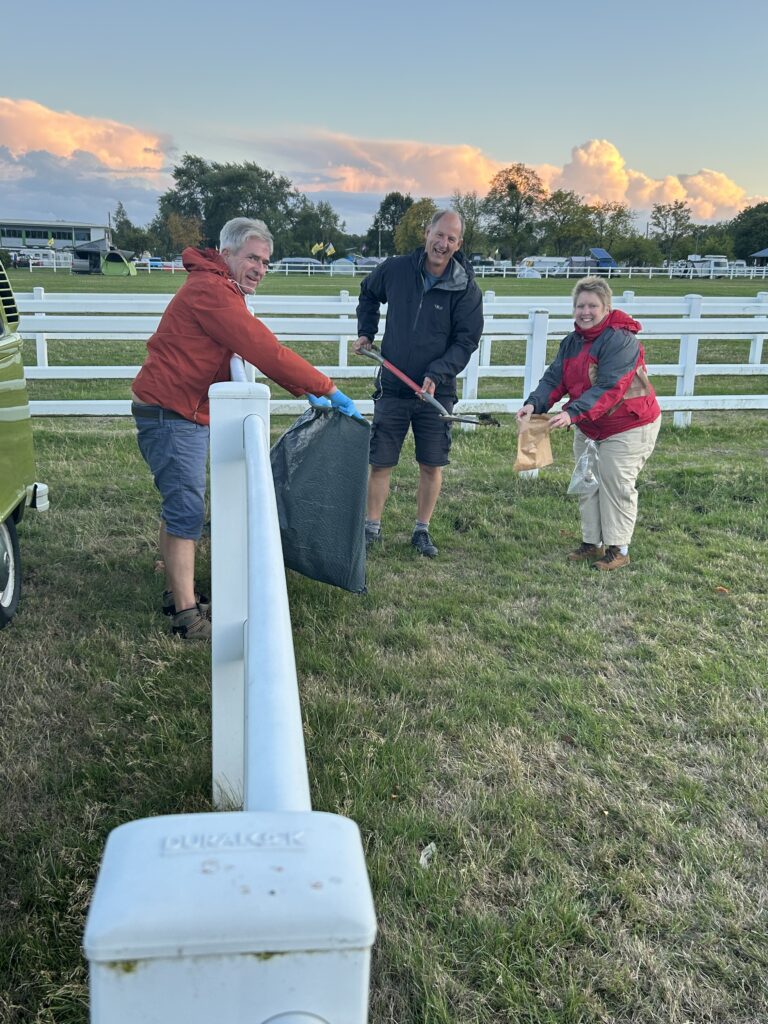
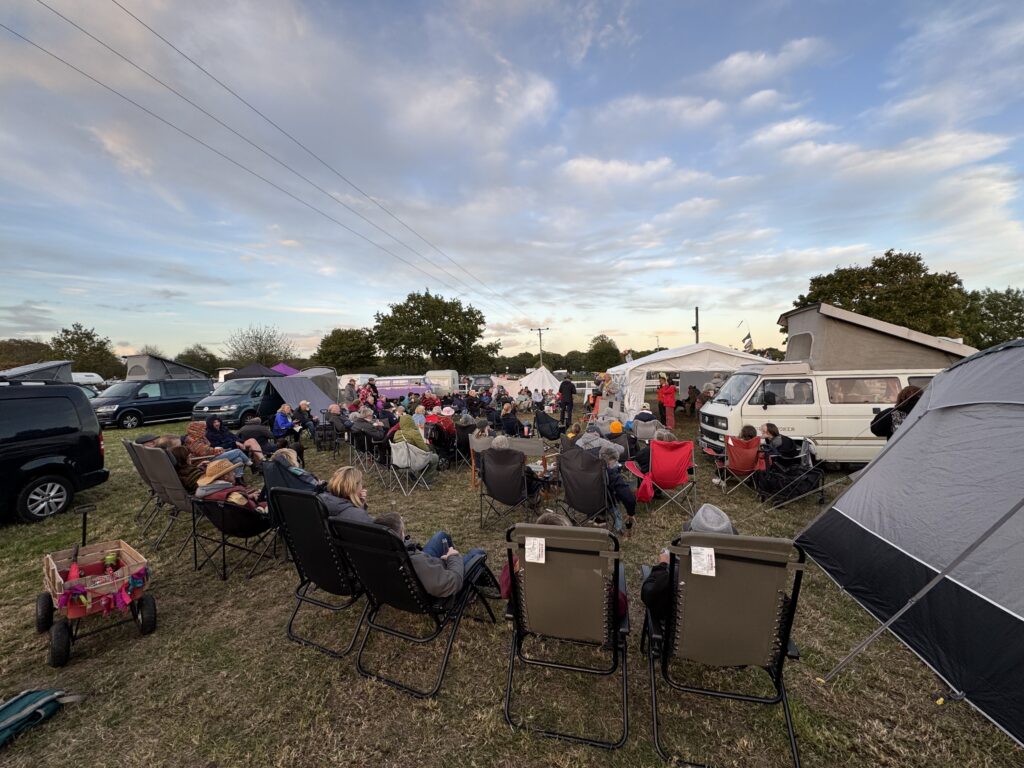
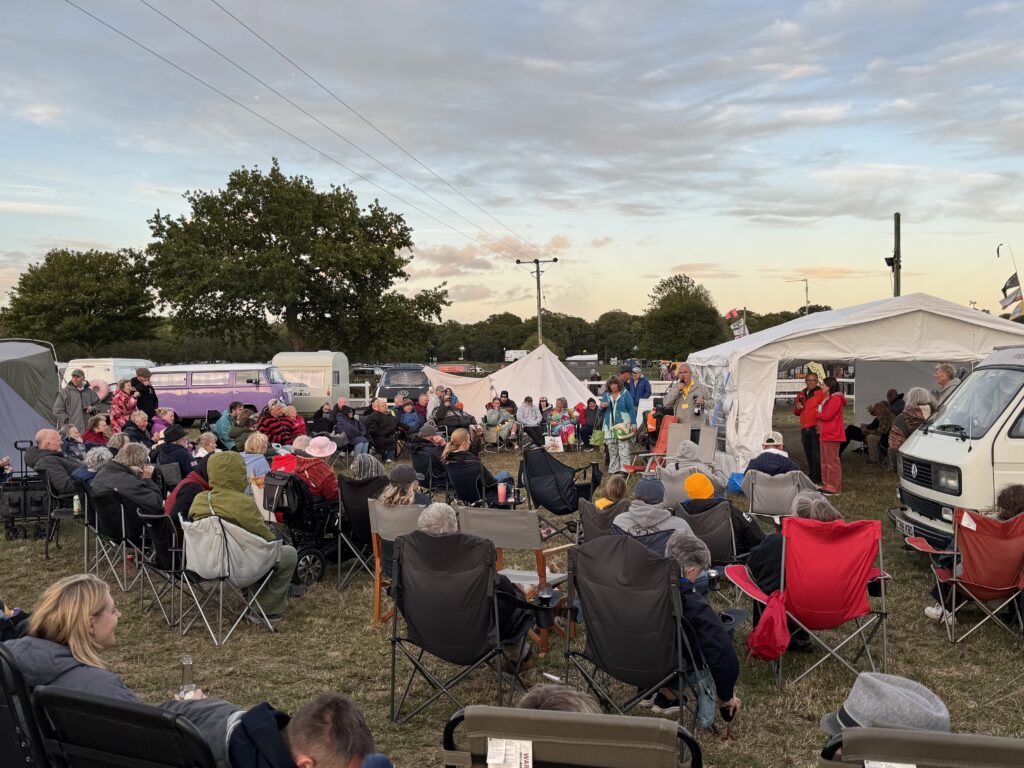
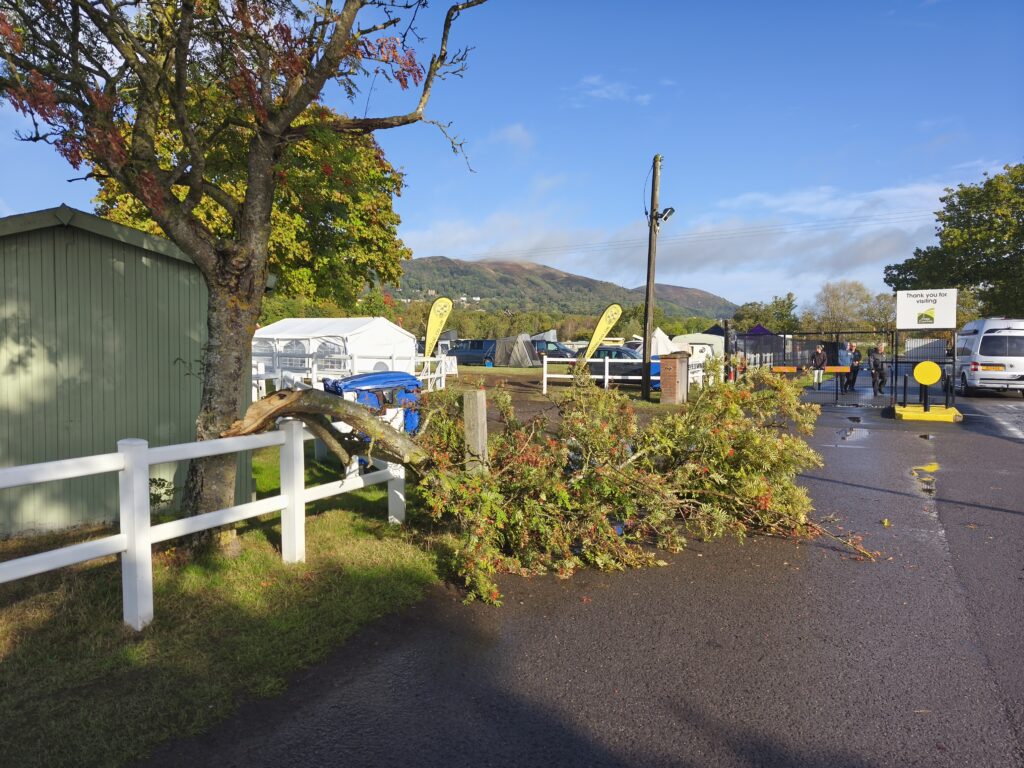
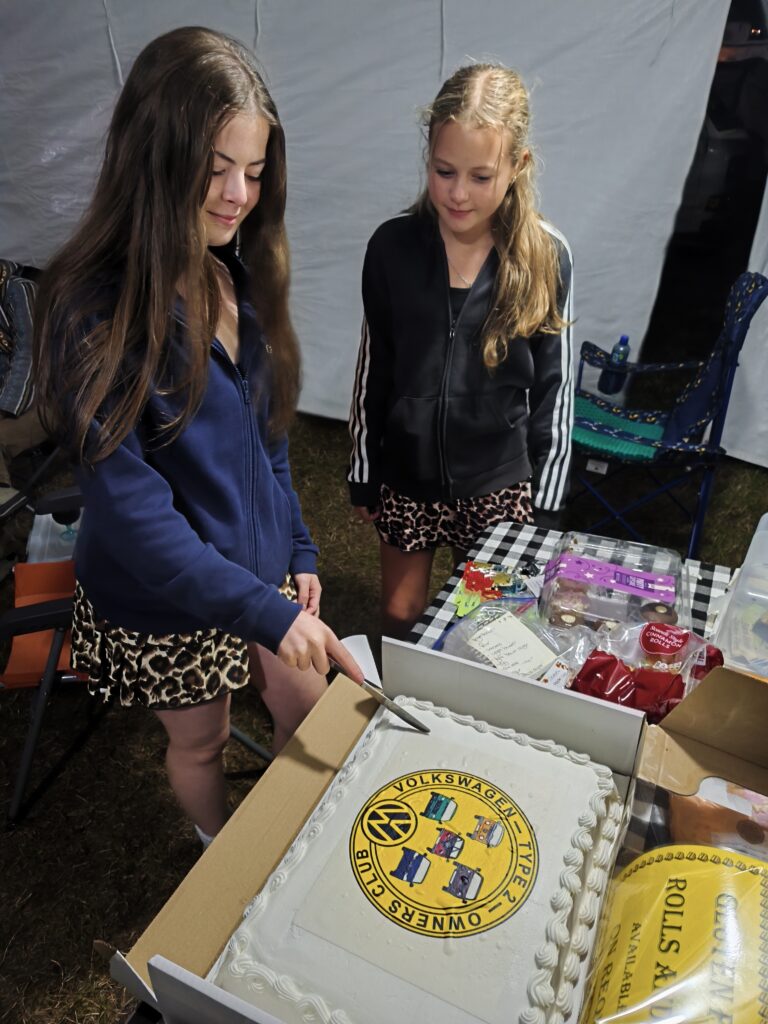
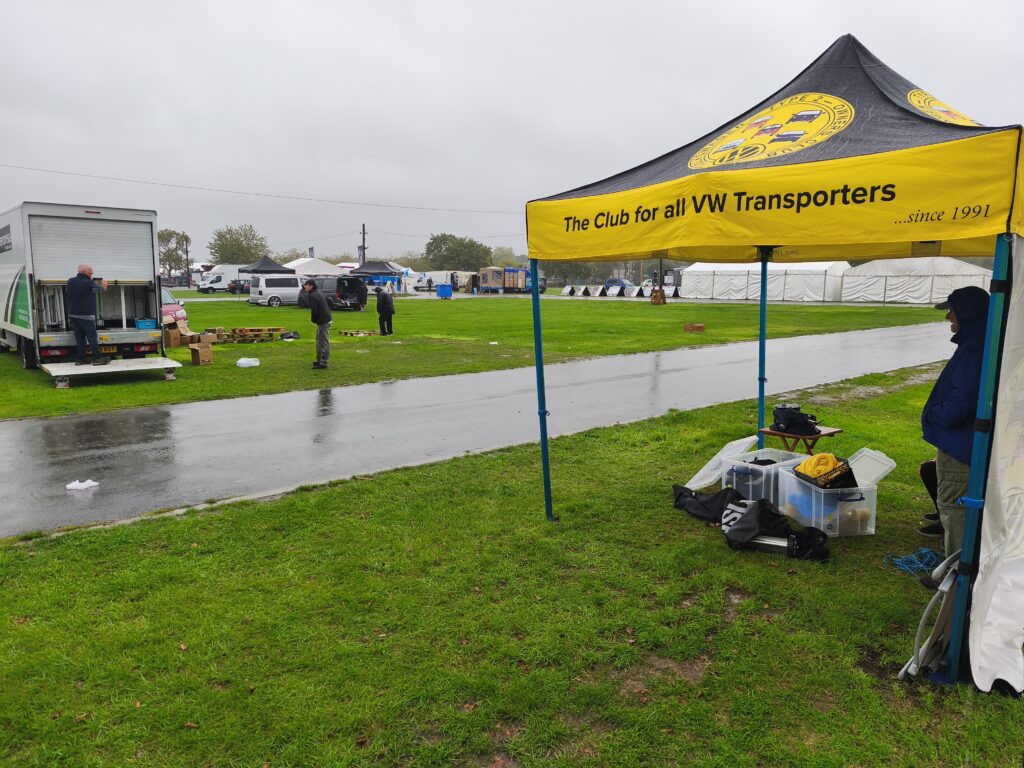
Four seasons in one day! About 100 members arrived into our club field, had burgers on both Friday and Saturday nights, had tea, coffee, cake and biscuits on Saturday and Sunday mornings.
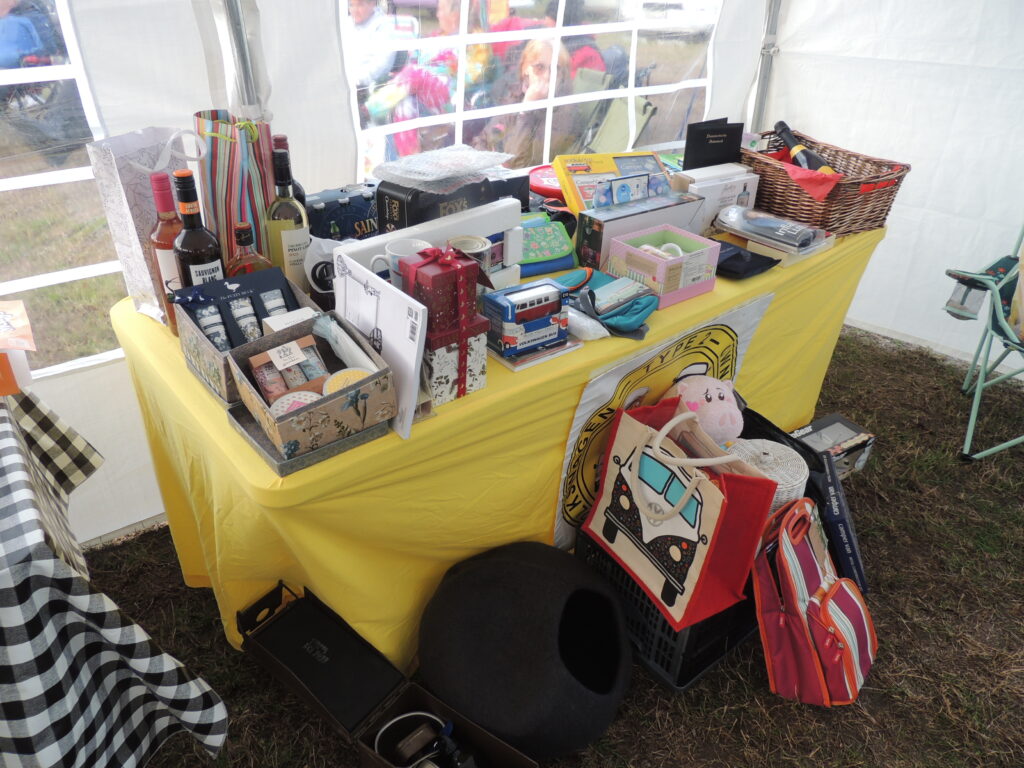
There was a raffle with dozens of prizes, a lot of laughter, some rain, some wind, some sun and that was just our field. Busfest gave its usual array of stalls, music, kids entertainment, displays, for sale, autojumble and lots lots more.
The next edition of the club magazine has been finished by our Editors and looks fantastic. It should be arriving through your door soon! If you are enjoying the club magazine and have a story about a trip, an upgrade, a restoration or just a tip, send a contribution to our Editor at editor@vwt2oc.co.uk.
Are you going? Over 100 member vehicles will be in the club field, nearly 500 burgers will be served, the ever popular raffle, tea and cake, prizes and that’s just our field. Then there’s every type of stand, sales, auto jumble, dog beds, blankets, rugs, music, food and so much more.
A full week of Welshness! St Fagans for traditional village, the Royal Mint for the history of making money, Bara Brith, Welsh cakes, Penderyn whisky, BBQs and singing. What’s not to like?
Michelle says:
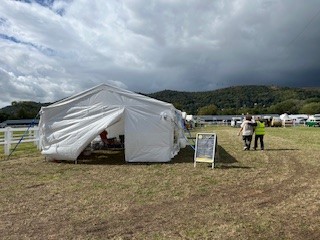
After months of planning, we were headed to Wales at last. Our home for the week was the White Wheat Caravan Park, a small family-owned site on the edge of the Welsh seaside town Porthcawl. Some of the management team arrived on Sunday afternoon to get everything set up ready for the week ahead but as the wind was picking up a bit only one tent was erected, and the rest of the construction plans were postponed until Monday morning.
Monday morning saw the arrival of gruesome weather with lashing rain and gale force winds. A strong gust of wind caught the roof of our lovely new marquee as it was being put up and caused significant damage to it, bending some of the supporting posts as if they were silver foil. I silently hoped this was not an omen for the rest of the week and wondered if it was too early to open the wine (It was 11.00am). I consoled myself with a cup of tea and one (or two) of Val’s amazing Welsh cakes.
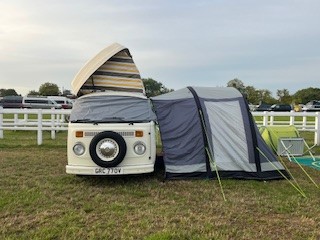
As the day rolled on the wind and rain gradually moved on the pastures new. Blue skies and sunshine arrived just in time to welcome the steady stream of campervans of all shapes and sizes gradually filling the pitches complete with smiling occupants looking forward to the days ahead. Monday night concluded with a welcome BBQ. After so much planning and with mother nature trying her best to scupper our plans, I was certainly relieved to see the long line of tables and chairs snaking across the lawn and to hear the lively chatter and laughter of our club members and our German guests as they settled in.
Tuesday morning saw our first outing – St Fagan’s Welsh History Museum near Cardiff, an amazing place and worth a visit by young and old alike. I can certainly recommend the cream scones. In the evening some of us strolled down to the beach to enjoy a drink from the super café Coney Surf Shack introduced to me by member Kim-Ann and then the Porthcawl fireworks which sparkled over the sea. The evening just gets better with impromptu singsong with our German party one of whom had brought his guitar and music over from Germany. A pattern is set for the rest of the camp.
Wednesday started with bright sunshine and a morning visit to the beautiful Castell Coch, a stunning Victorian indulgence and a testament to love. Then a short drive on to The Royal Mint Experience and a nice lunch at the Mint café – locally sourced steak pie, chips and mushy peas – I am northern after all – £7.95 – bargain! At 2.15pm we gathered with mounting anticipation for our private tour of the minting room. We are greeted by a mean looking security guard and then our guide Daniel who is not at all mean looking. The tour ended with a very informative exhibition which includes the first ever minted coin from the time of King Alfred. Some of us even minted our own £2 coin – a super memento of the day. We headed back to the camp for a quiet night but the evening took a turn for the better with impromptu sing song with our German friends one of whom has brought his guitar and music over from Germanysome guitar work from Ulli.
Thursday we were heading off further afield today in rather drizzly and dank weather to The Big Pit. What a fascinating museum and exhibition space it is. The underground visit has certainly left me with a better understanding of Welsh coal mining and the mining communities. Thankfully the afternoon brightened up ready for our Welsh themed BBQ back at the campsite. Freshly made Dragons Breath sausages resting on a bed of delicious leeks accompanied by homemade coleslaw and potato salad were swiftly dispatched. I didn’t even get to see the homemade Bara Brith (I was not happy!). Val assures me no Dragons were harmed in the making of the sausages.
Friday was a free day when members and guests explored the local area at their leisure – Cardiff, Swansea, Porthcawl and the Gower. For me it was Porthcawl for shopping, gin tasting and a trip to the 100 year old fun fair.
Saturday – I had initially planned a convoy outing along the promenade but due to a number of reasons I had to cancel. However, all was not lost and disappointed frowns turned to smiles of joy when new member Simone Smith suggested a convoy to Cowbridge. Simone is a local and knew the way and with Nick’s help a beautiful convoy of campers headed off to explore.
Sunday morning was sunny and warn but sadly saw us packing up and saying our goodbyes to old and new friends and one by one the camp became silent.
Before I sign off I would like to thank the people who did all the work tirelessly behind the scenes and who without their help, kindness and their time, this event would not have been possible. My grateful thanks go out to Val, Malcolm, Kim Ann, Martin, James, Marina, Nick and Steve.
A huge thank you goes to campsite owners Alyson and Mike who did us proud. They even installed large new sinks in readiness for our visit and Alyson made VW Campervan blinds and embroidered campervan pictures to make us feel welcome. And I can’t forget Barney, a site resident who was very helpful during our time there and his fresh roast lamb sandwiches were to die for – thank you!!!
Some of you will know that this was my first event, and it would be fair to say it was a bit nerve wracking at times. However, I thoroughly enjoyed it and it was made very special by all of the lovely members who came, our wonderful Germain guests and all people I met during the week I was there.
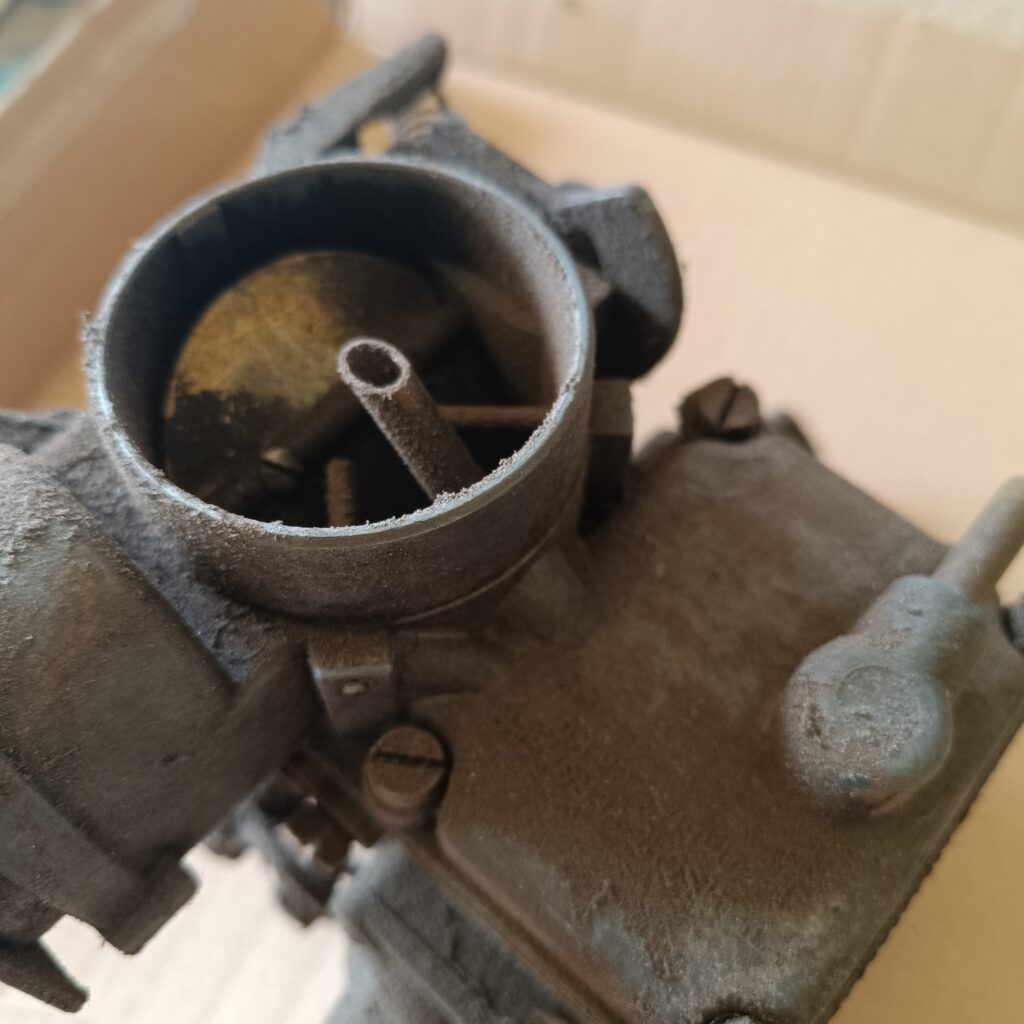
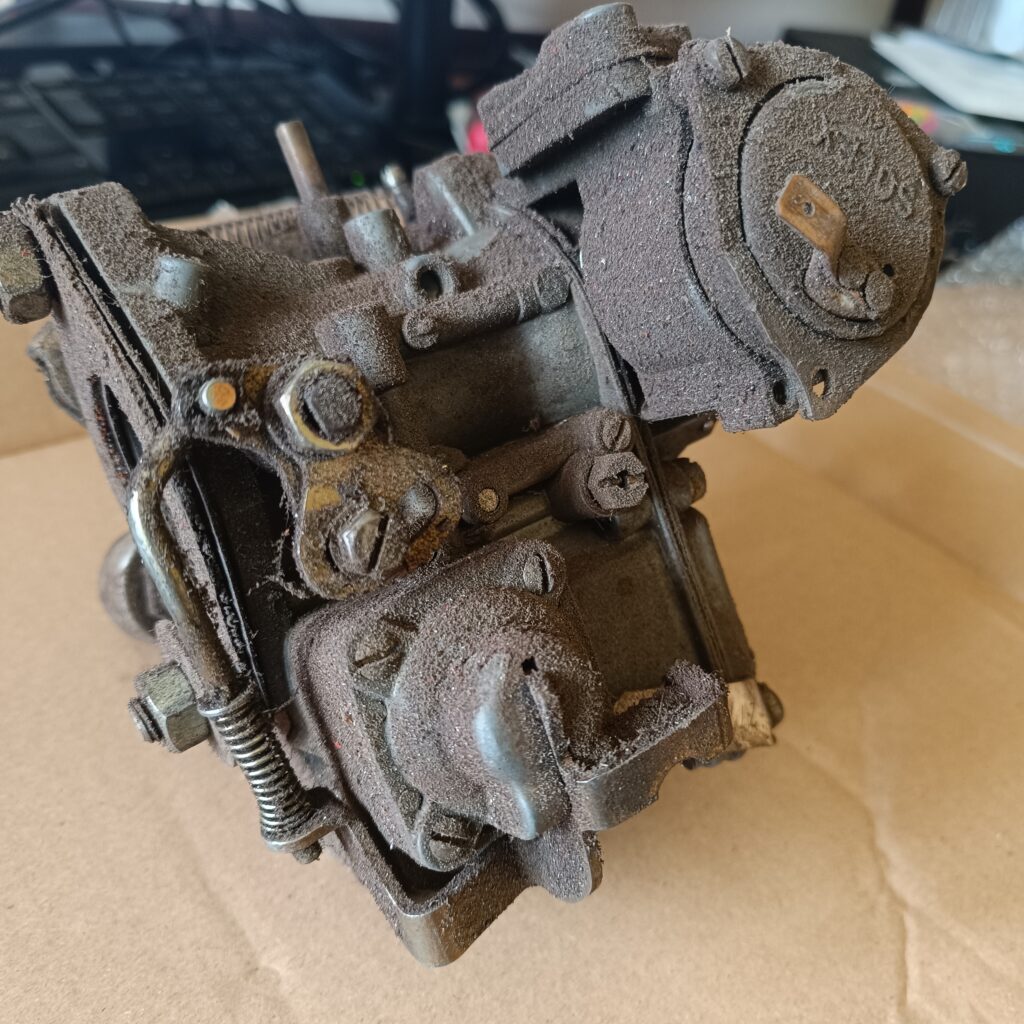
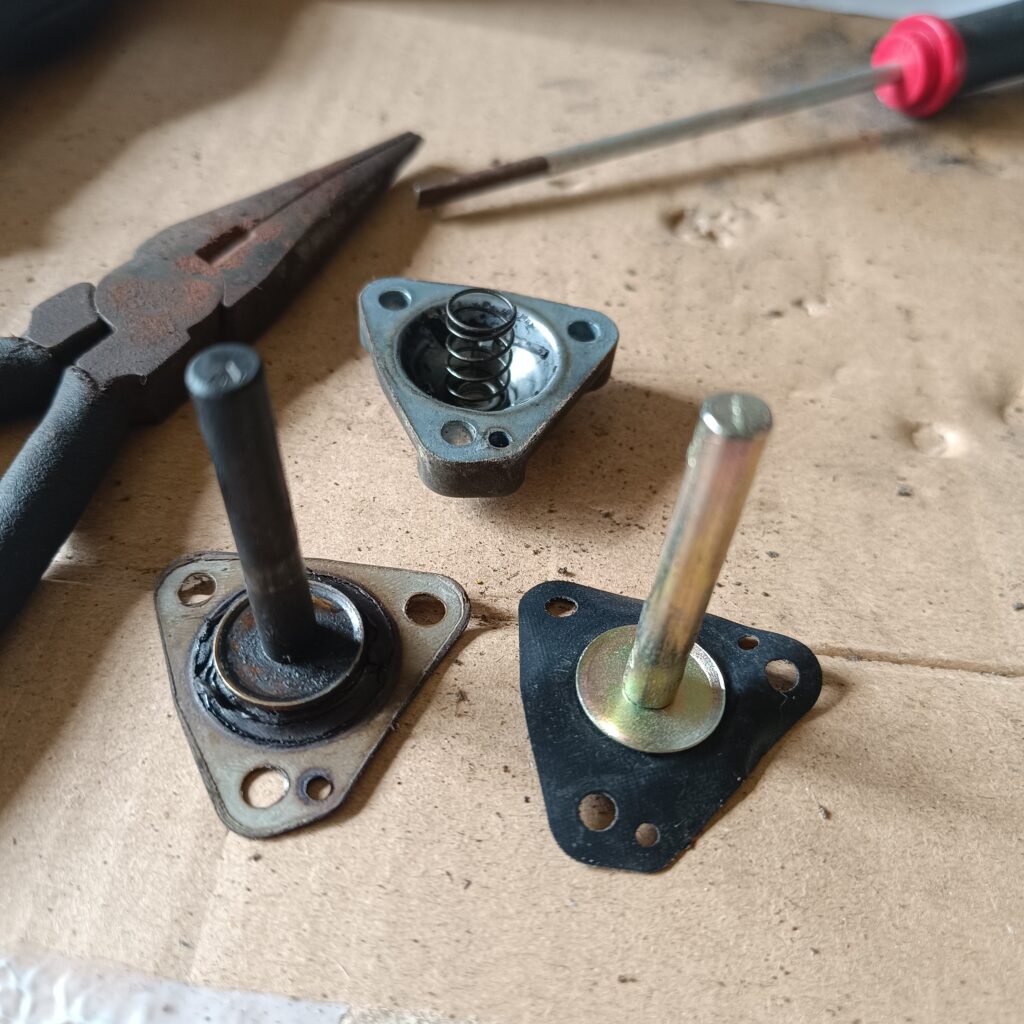
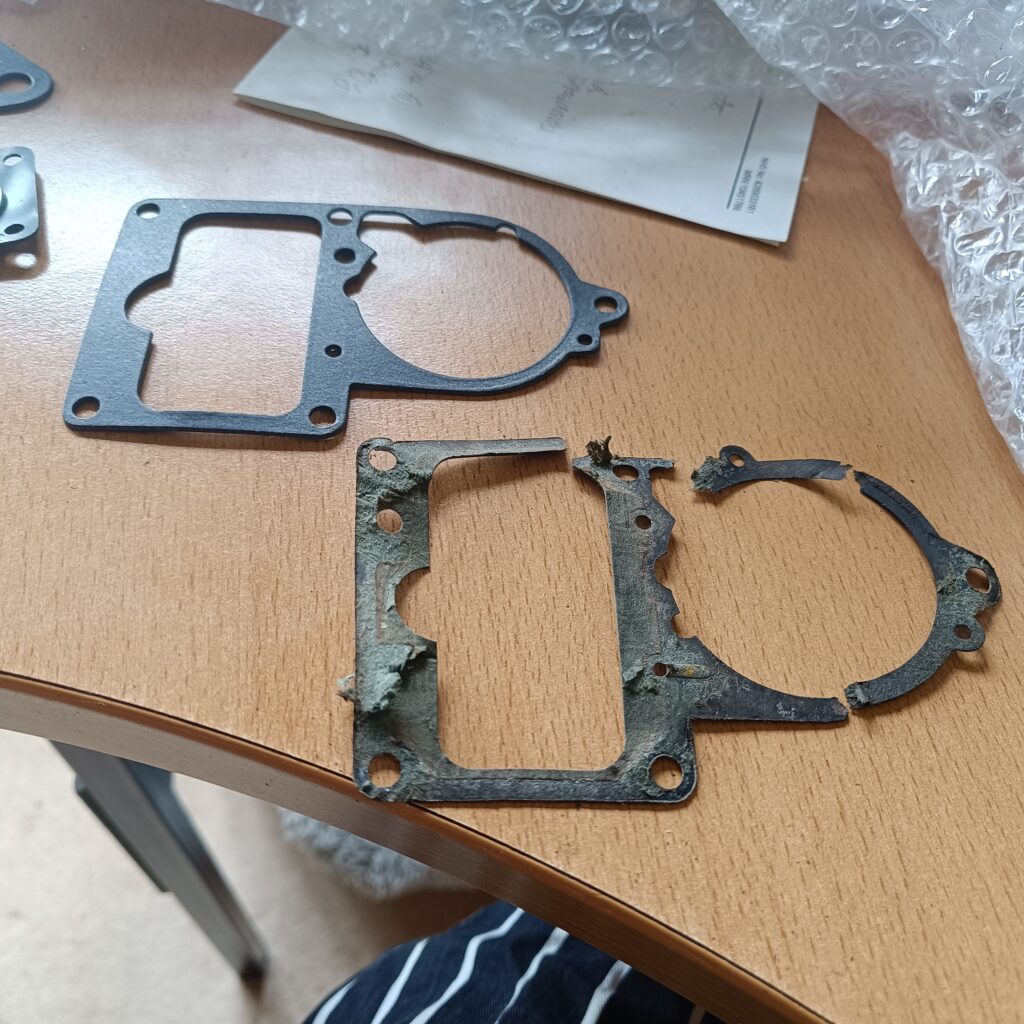
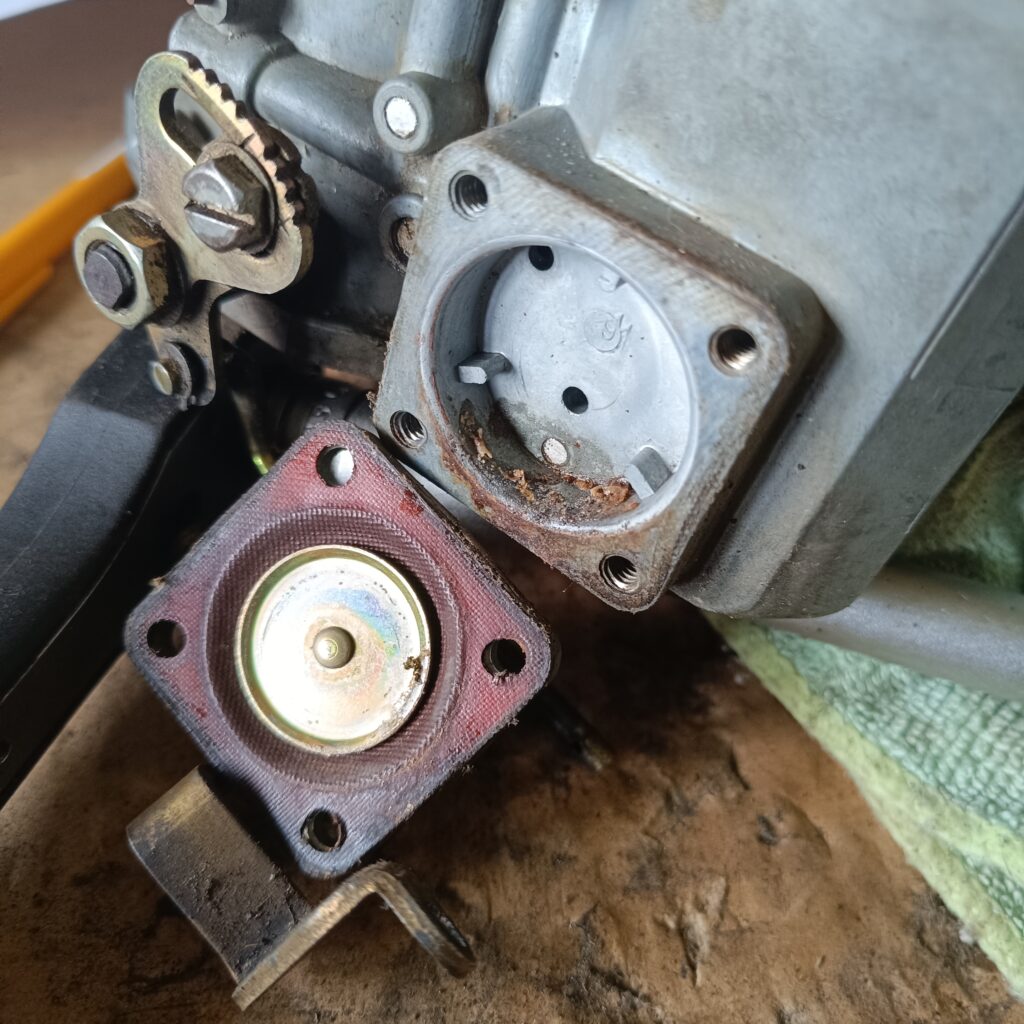
In this issue, we will service a standard Solex carb. Specifically, this one is a Solex 34 PICT3, but the process is very similar for any of the Solex carbs, either single or dual.
Purchasing
Rebuild kit – go to your favourite online store of choice and purchase the Solex carb repair kit, these are available for around £20 at time of going to press. Note, the kit contains the rebuild parts for many sizes of Solex carb, meaning that you will not use all items in the bag! It also usually includes instructions!
Cleaner – Unless you have something else suitable, you should also get a can of carb cleaner. A 400ml can is under £5 and will be sufficient for the task. This should be done in a well ventilated area / outside as carb cleaner is not pleasant and is suspected to be carcinogenic.
Tools
Soft brush (eg toothbrush) – optional Metal or glass pots for holding parts as they soak, with lids Medium and small screwdrivers 11mm, 13mm and 14mm sockets Needle nosed pliers Pencil
Removing
Remove original oil bath air cleaner or after-market air filter. Detach fuel hose and clamp / seal (I use a golf tee peg and cling film), vacuum hose of dashpot (where applicable), and vacuum hose. Disconnect automatic choke cable, bypass air cut-off valve cable (where applicable), and electro-magnetic pilot jet cable. Detach accelerator cable at throttle valve lever and ensure that you tie it off otherwise it pops into the cable channel and disappears. I use a clothes peg to hold where the cable disappears into the fan shroud. Remove two nuts on intake manifold and lift off the carburettor.
Disassembly
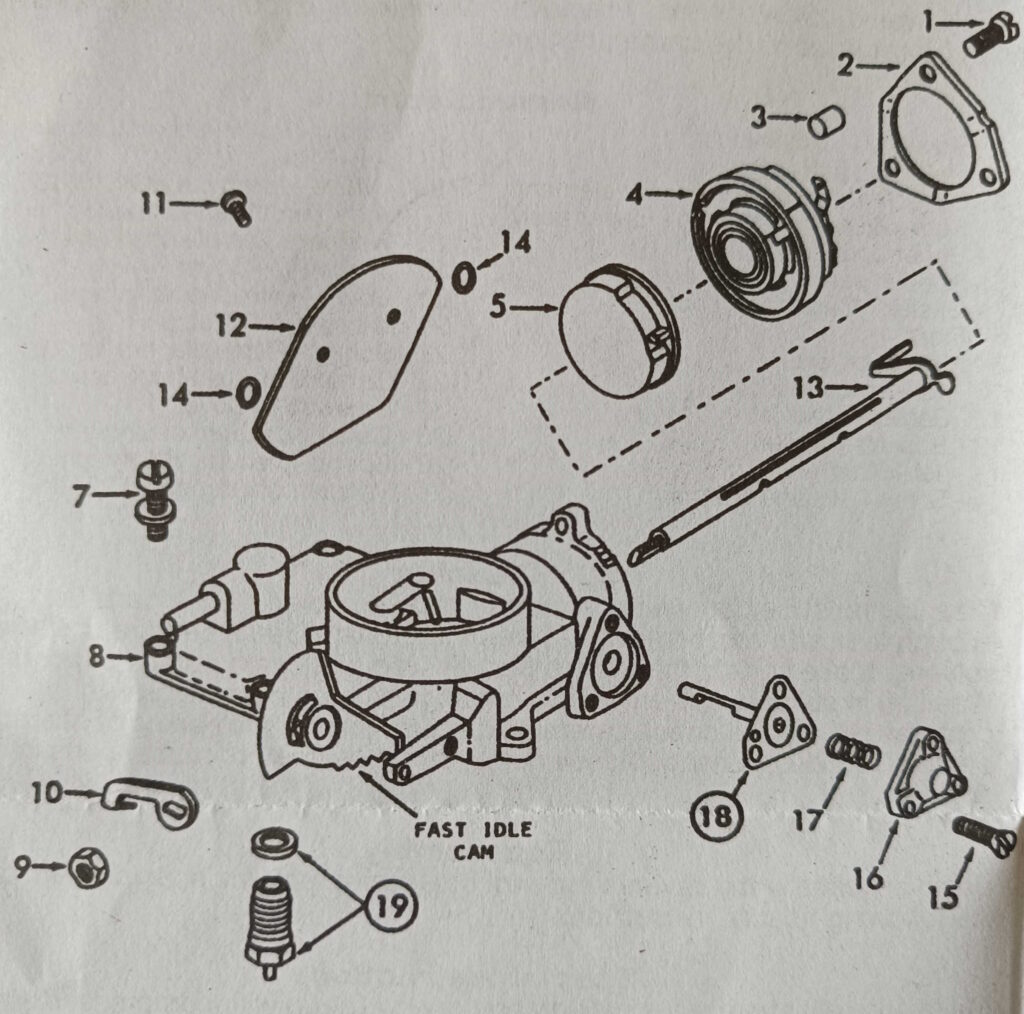
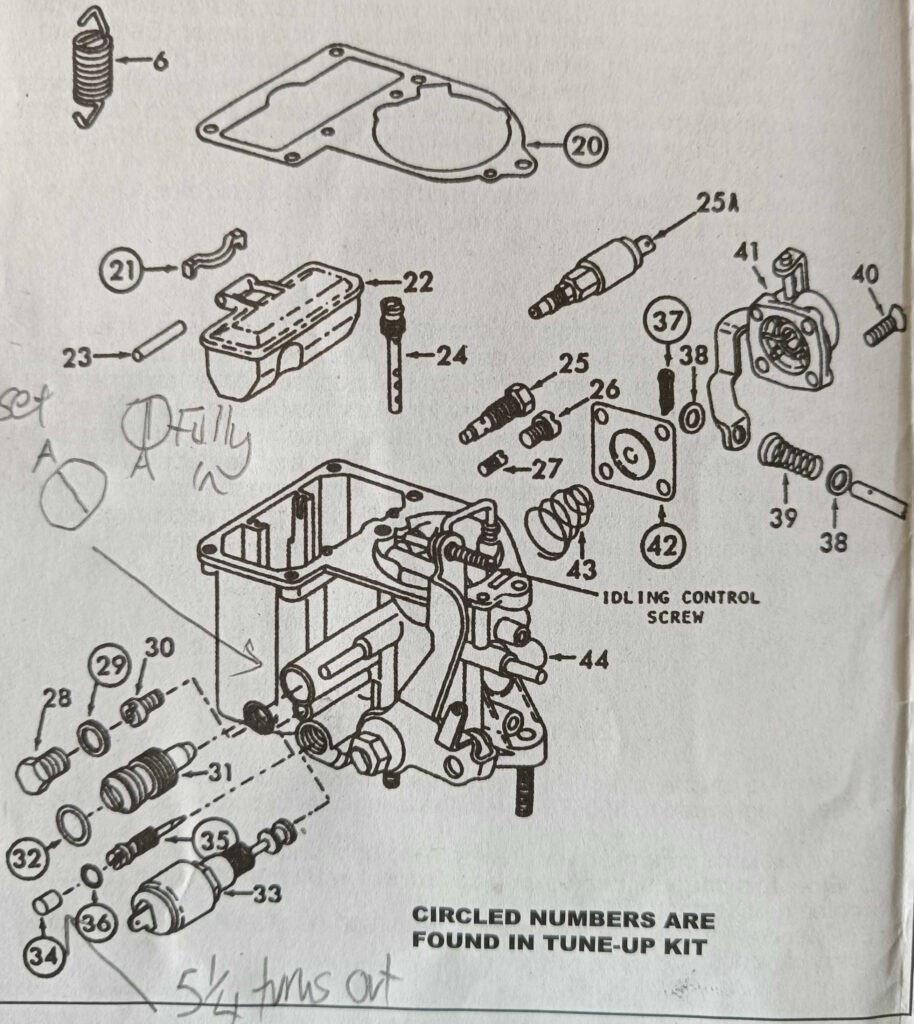
Use exploded view as a guide only.
Carb parts list
1 – Screw (3) – Retaining ring 2 – Retaining ring – Cover 3 Cover with spring and heater element 4 Screw & lock washer (5) – Upper body 5 upper body assy. 6 Needle, seat & gasket assy. 7 Gasket Carburettor 8 – Float 9 – Pin Float lever 10a- Jet Air correction 11 Carrier Main jet 12 Gasket — Carrier 13 Jet- Main 14 Screw Volume control 15 – Spring – Volume control screw 16 – Jet – Pilot 16A – Valve Idling cut0ff (30PICT -1 only) 17 – Nut – Throttle shaft lever 18 – Washer – Throttle shaft lever 19 – Screw (4) – Cover 20 – Cover – with lever & linkage 21 – Diaphragm – Pump 22 – Spring – Pump diaphragm 23 – Carburettor main body assy. 24 – Screw (3) – Cover 25 – Cover – Vacuum diaphragm 26 – Spring – Vacuum diaphragm 27 Vacuum diaphragm – Choke
Cleaning
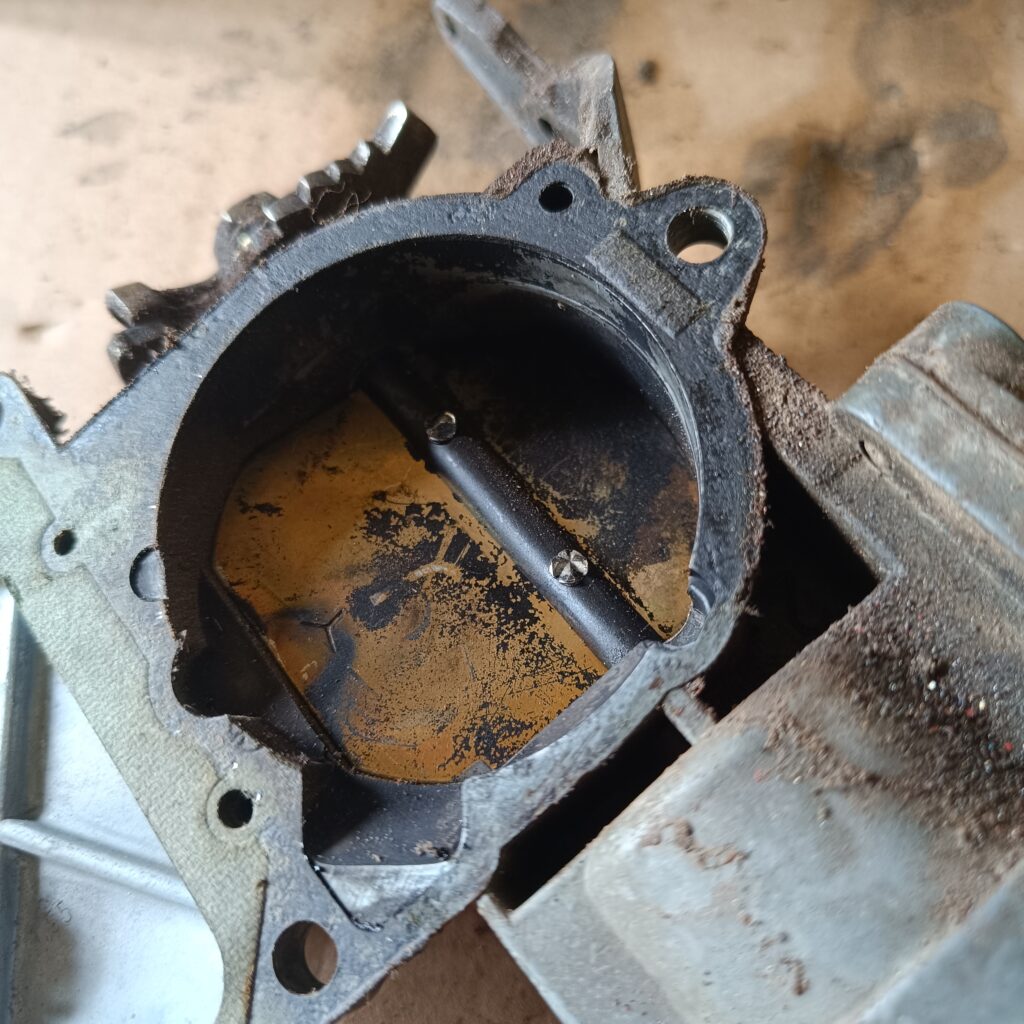
Cleaning must be done with carburettor disassembled, soak parts long enough to soften and remove all foreign material, Use a carburettor cleaning solvent. Make certain the throttle body is free of all hard carbon deposits, wash off in suitable solvent. Blow out all passages in castings with compressed air and check carefully to insure thorough cleaning of obscure areas. Caution: do not soak solenoids, switches, float, or rubber parts in solvents.
Instructions
Make sure all jets are clean and open. Clean with compressed air, not wires or pipe cleaners. When installing the pump diaphragm and spring (22) make sure the larger end of spring is properly seated in the carburettor body cavity. Be sure to install the diaphragm (21) with plunger toward pump cover (20). Check for a worn spot (Depression) on the float lever where it contacts the fuel inlet needle valve, replace float assembly, if necessary, float assembly may be purchased at your local VW dealer, P/N 111-129-391A-Round Shaped Float. A proper needle seat gasket must be used for specific carburettor. Use the following chart to determine the correct gasket.
Carburettor model
28 PICT-I. -2 1.0 MM .040″
30 PICT-I 1.0 MM .040″
Check the thermostatic spring in housing (Item #3) for damage. If it is distorted or “kinked,” replace the assembly. Also, make sure the electrical heating element is not broken, This can be checked with an ohmmeter or connected to a correct voltage battery for a few minutes to see if it warms up.
(Be sure to ground the inside metal part of the housing to complete the circuit). When installing assembly with spring and heater element, carefully rotate assembly counterclockwise, being sure the hook-on coil end engages with the lever on choke shaft. Continue rotating approximately 1/8 – turn more until index marks align. Then tighten screws securely.
Installing
Install in reverse order of removing. Torque retaining nuts to 2.0 MKG. (14 Ft Lb.)
Idling Adjustment
28 PICT, -1, -2. 30 PICT -1, -2. A. Warm up engine; check if the automatic choke is fully open. B. Set idling speed to 850 RPM with the idling control screw (See exploded view). C. Turn volume control screw (Item #14) to right until speed starts to drop. D. From this position, turn volume control screw (Item #14) to the left until engine runs fastest. E. If necessary, regulate the engine speed (800-900 RPM) again with the idling control screw.
The next edition of the club magazine has been finished by our Editors and looks fantastic. It should be arriving through your door soon! If you are enjoying the club magazine and have a story about a trip, an upgrade, a restoration or just a tip, send a contribution to our Editor at editor@vwt2oc.co.uk.