Spend since last report: £197. Total hours labour since last report: 28.2
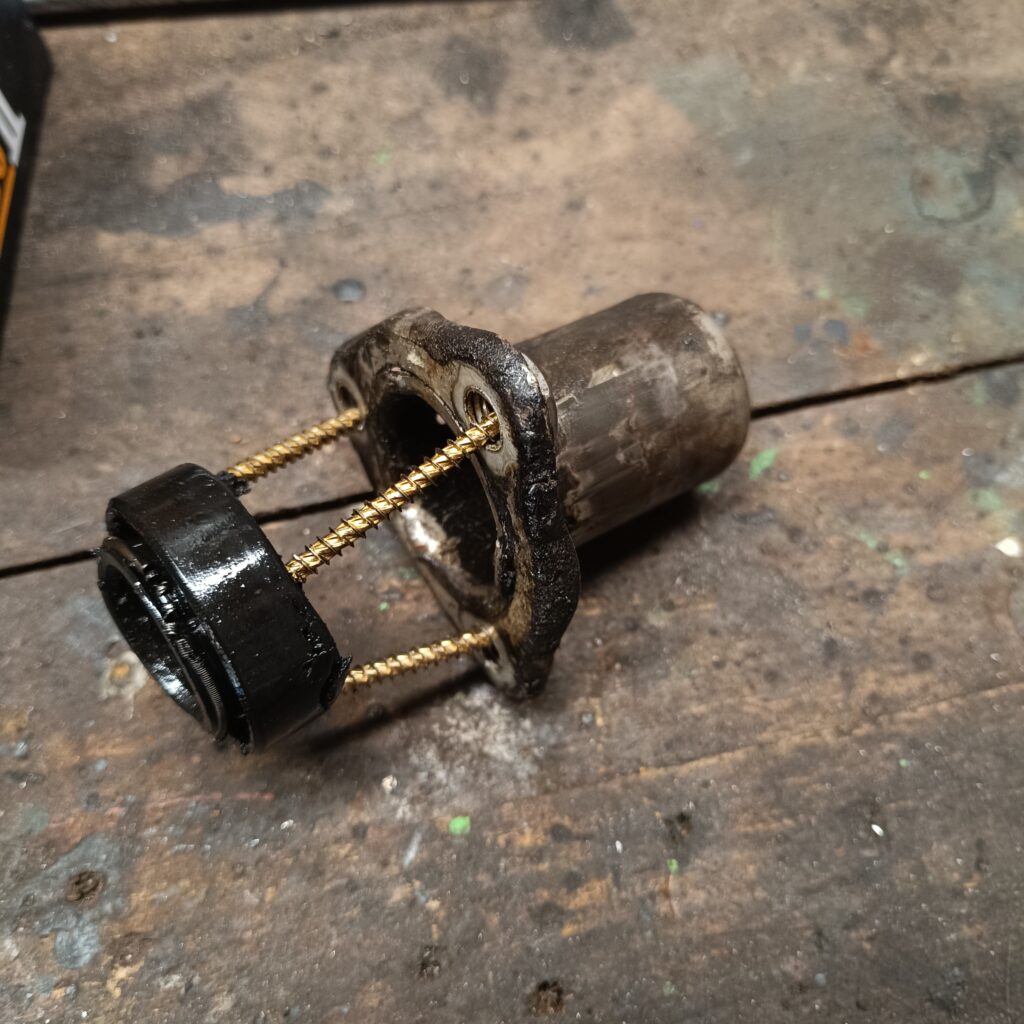
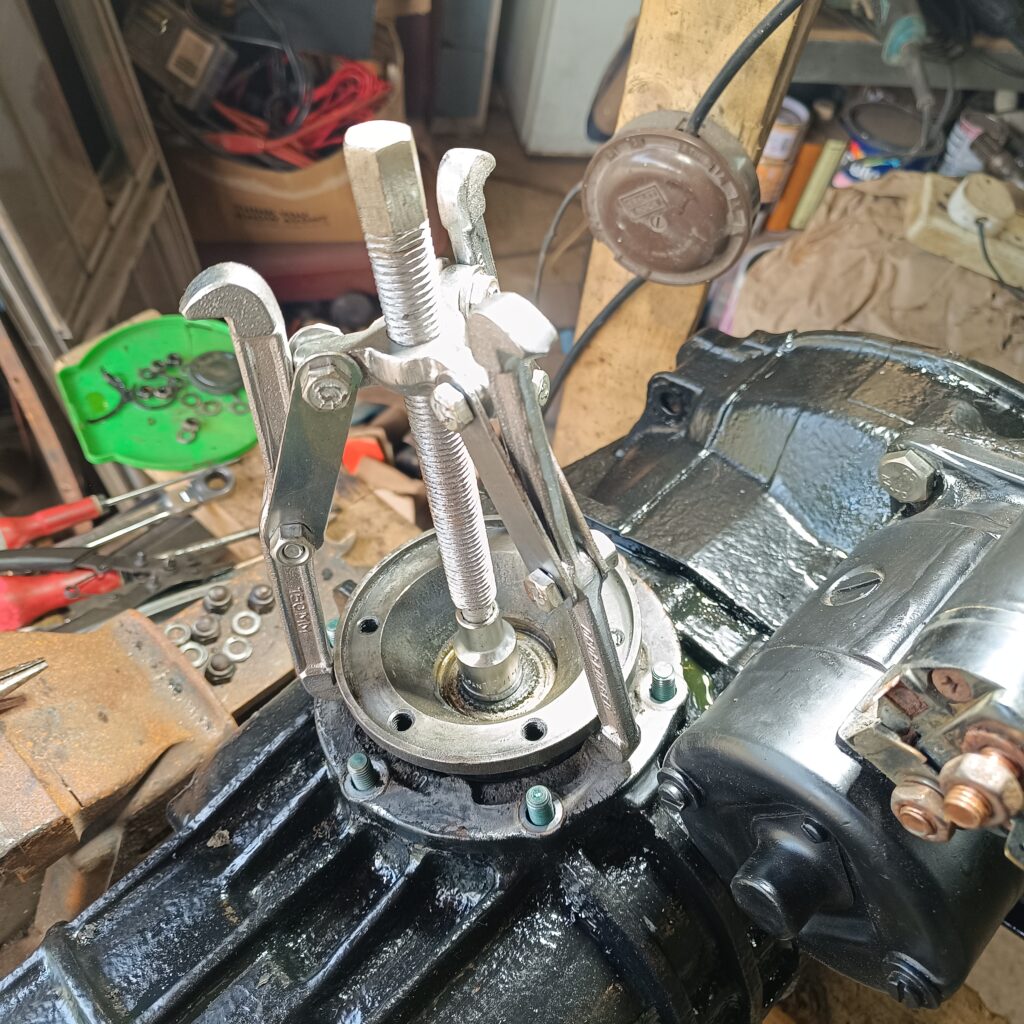
Who knew two months ago what fate would have in store for me. I had planned to be away a lot in Lorna’s crossover Poppy and in amongst that, be in the garage working hard on Eric the Viking. Sadly, neither came to pass. In June, I managed to finish the cleaning of the outside of the gearbox, the top coat and the new input shaft seal as planned. The input shaft seal is a pain to remove and needed 3 self-tapping screws drilled through the metal collar and then a puller to bring it out as nothing else seemed to work. The new one does not leak which is rather nice.
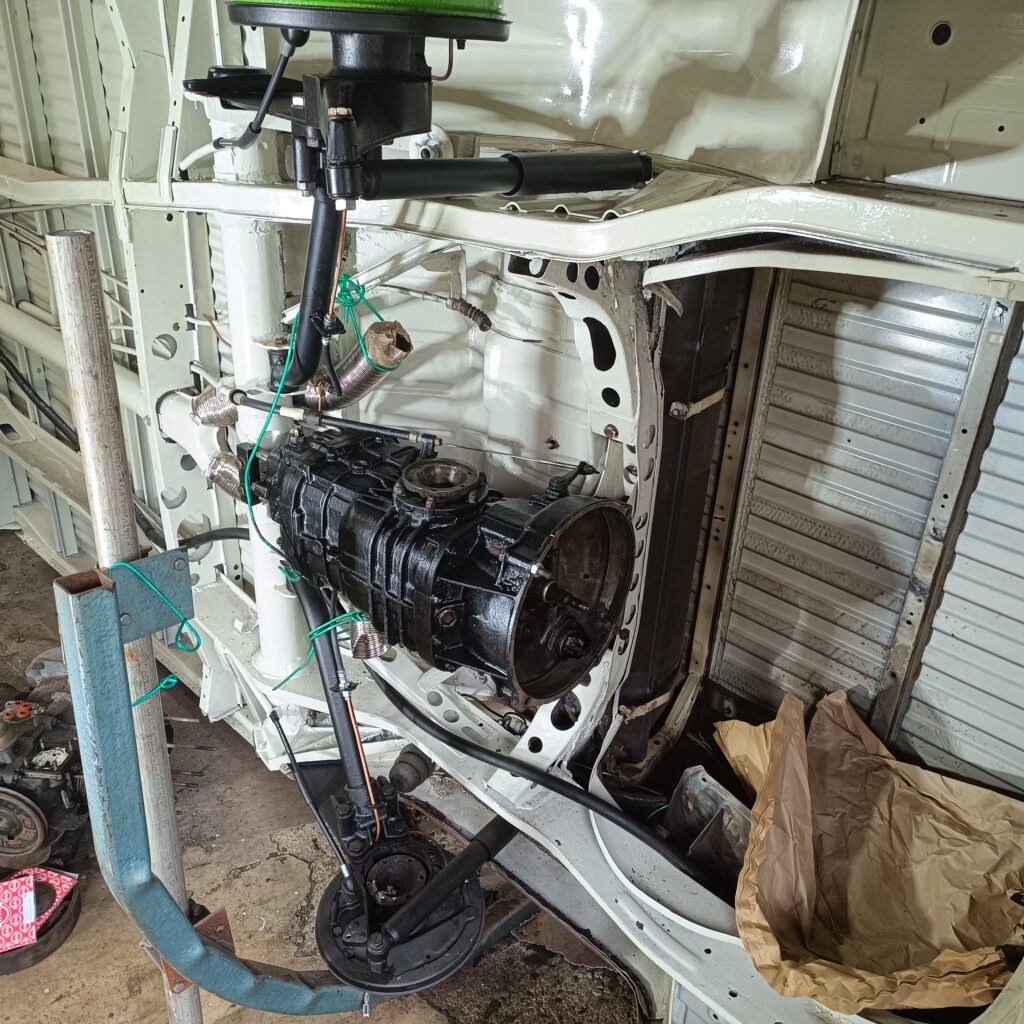
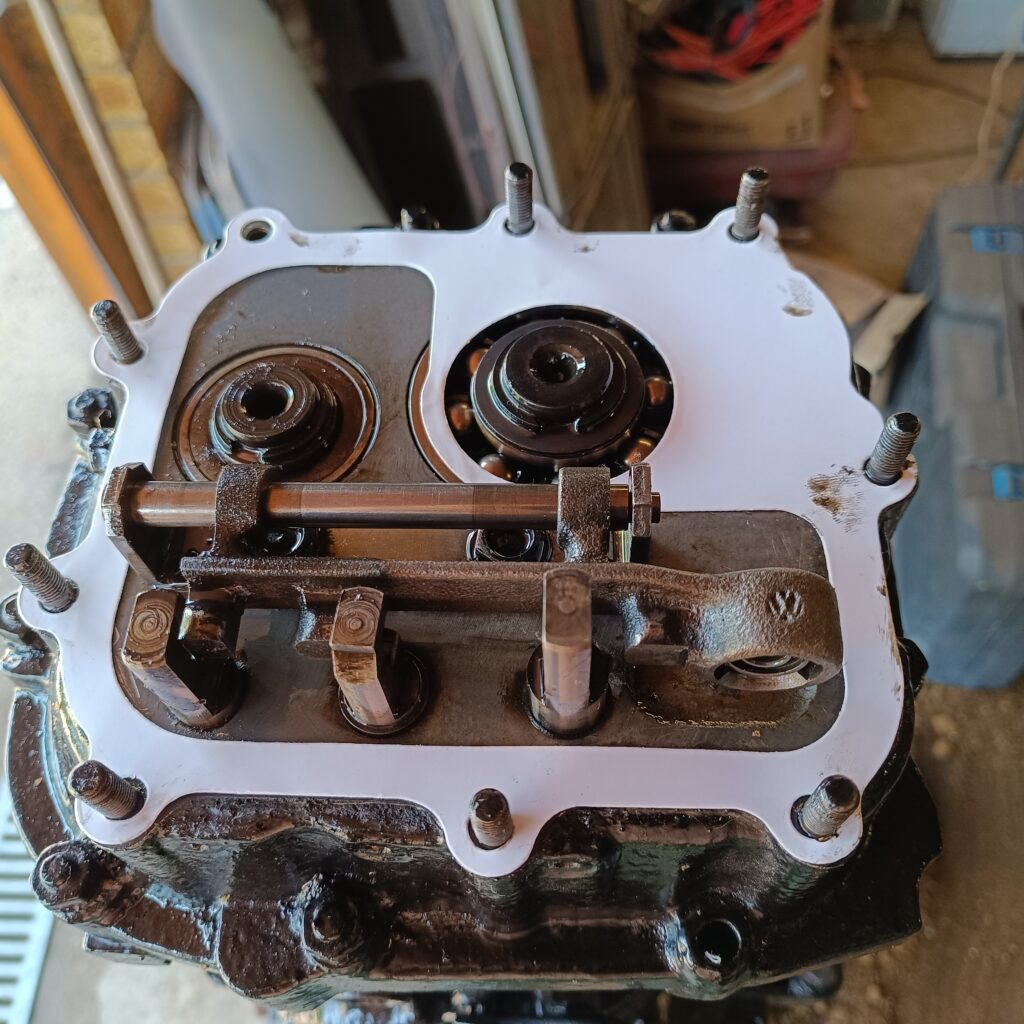
The front gasket was also changed since I had serviced everything in there and with assistance from my able assistant (my wife), the gearbox was mounted onto the chassis when Eric was on his side. Which is not easy!
Tinware has been stripped for the engine and an impromptu clothesline affair put up for rustproofing and priming plus the inlet manifold and exhaust manifold were stripped as well. Then Eric was ready to go back on his wheels. This allowed some brilliant progress – the nose panel has been prepared and primed, the cab floor has been prepared.
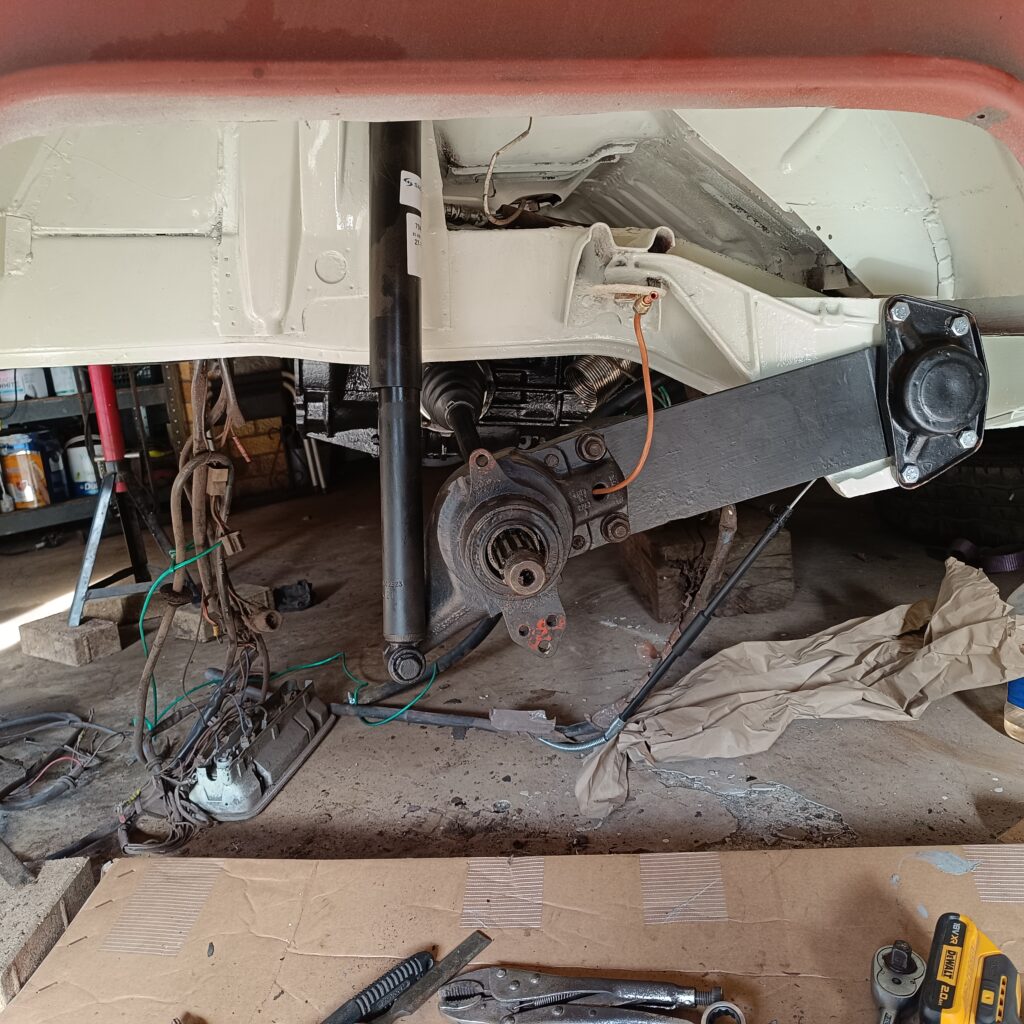
As that was drying, the rear hubs and CV joints were cleaned, driveshafts built up and installed meaning that from the back wheel to the other back wheel is complete and painted. During assembly, there were a few areas in the rear wheelarch that were sub-standard and they received an extra coat of L90D pastel white paint which really makes it all look very smart against the black of the running gear.
With the rear brake shoes now complete, I could finish and double check the brake lines from end to end and then enlisted a neighbour with a brake bleeding kit and more knowledge than me (not difficult) to assist on bleeding. We cleaned the top reservoir in the cab (under the driver’s seat) and filled that down into the new reservoir on top of the new master cylinder that goes with the new servo upgrade. More brake fluid added. And more. Nothing coming to the rear brake – traced to it all coming out of the unions at the front. Further investigation showed that I had made all brake pipe unions with trumpet flares like old English classic cars instead of mushroom flares. Every single end and that is about 22 ends.
Having just got Eric on his wheels, he was dutifully turned once more back on his side and I spent a good number of hours carefully removing each brake nut in turn, snipping off the trumpet flare from the pipe and making a new mushroom flare. Some of the brake nuts were damaged, so for completeness these were discarded as they are around 50 pence each, renewed as I remade each joint. As I got to the front, I had 2 pipes left to make but no brake nuts and they were overdue as we packed up for the AGM. Finally arriving on the day that we left, they were put in the garage ready for my return, so that I can make the pipes that go from the central union to each front wheel’s flexible pipe.
That was the weekend that I dislocated my ankle and broke my leg. Everything is on hold until that is mended!
Purchasing this issue are mainly odd sundries – welding helmet, clutch bearing, brake fluid and hoses, and oil cooler mount and a rev counter for a boat. Obviously!
John “Undie” Underwood did his own front end restoration – Part 1
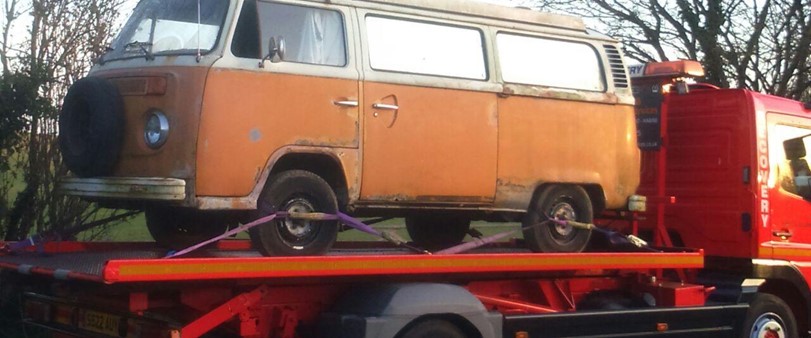
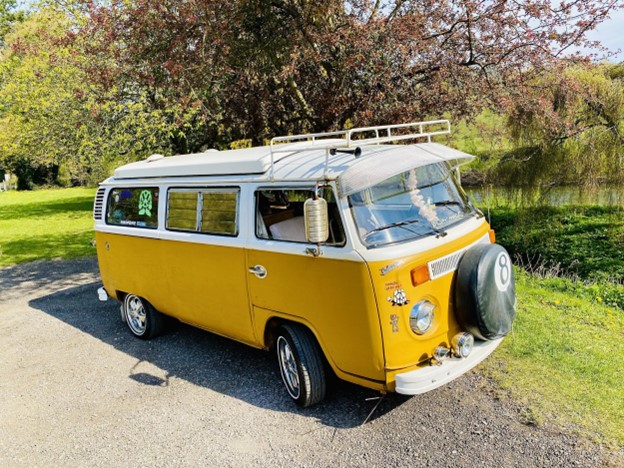
For those who don’t know us, this is LottyAnne a 1976 Devon conversion late bay. We bought her 7 yrs ago as a running wreck, but after a clean up and engine renovation she runs like a dream, but like most buses of this age other work is needed, looks are deceiving!
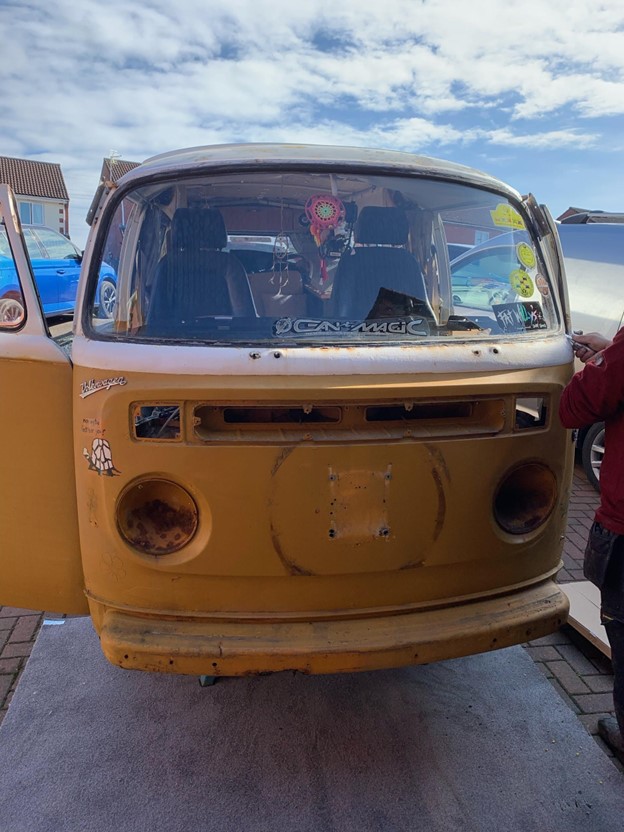
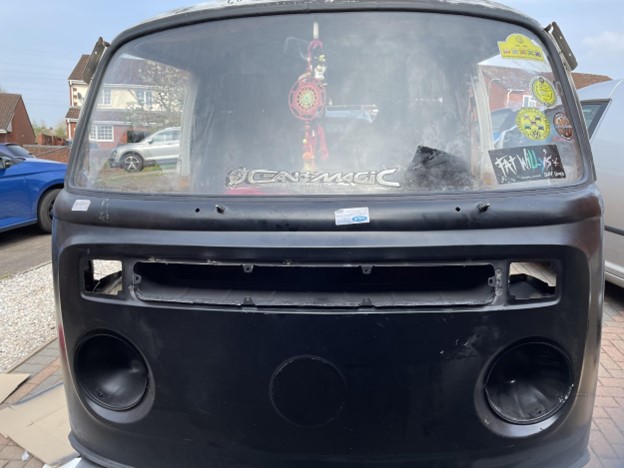
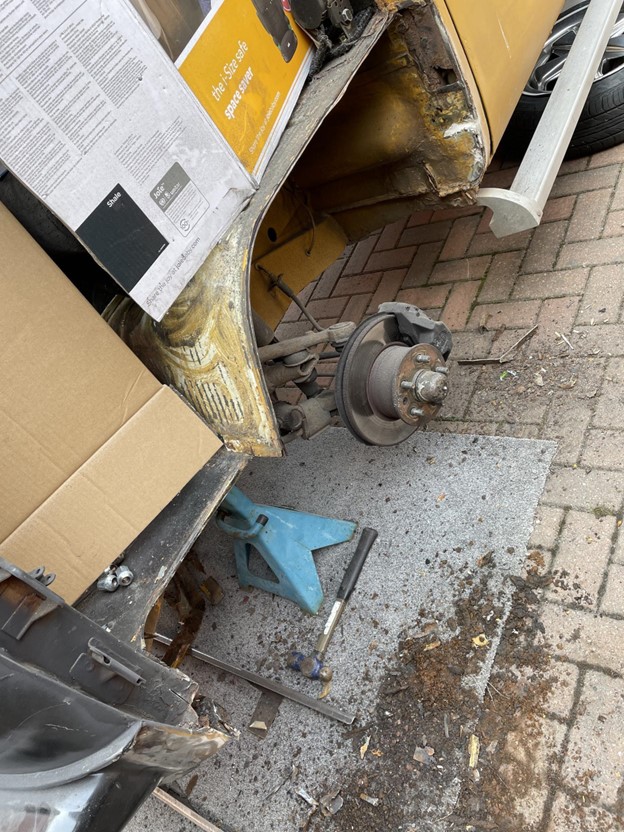
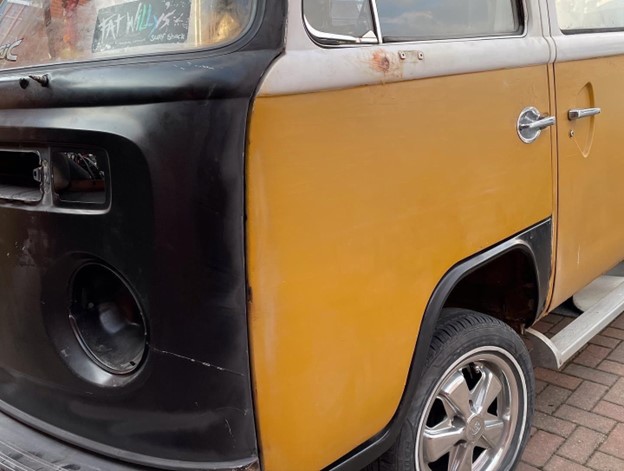
So the time has come to bite the bullet and take on what I have been delaying for a while, the front end replacement. From the lower windscreen down to the deformation panel, new windscreen rubber and a few other bits along the way.
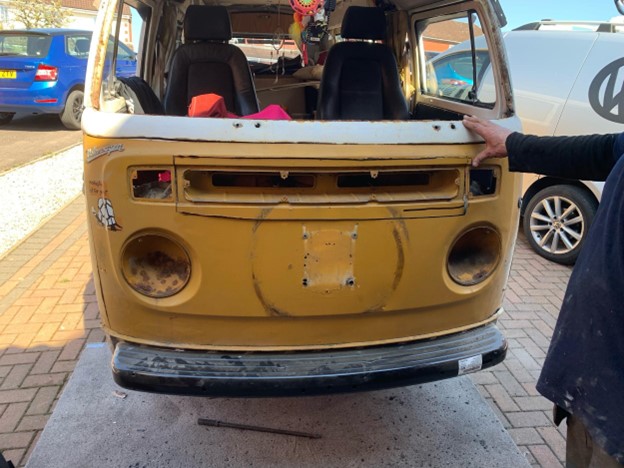
First thing was to remove all the ancillaries, lights, grill, indicator units and bumper. Bumper and grill were taken away and sanded back to the bare metal and filled and primed and painted while the other work was being carried out.
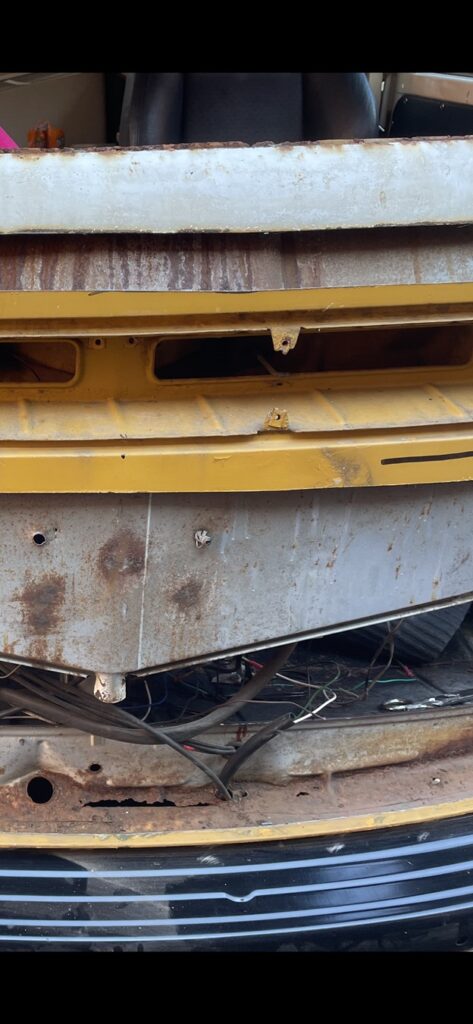
Now that everything is out and doors and windscreen (nerve racking moment to say the least!) have been removed we realised that the lower deformation panel was shot, so for an extra few pounds I bought a new one. The old one had to be cut off and the new one welded into place first for the main front panel to be removed, as we needed a datum point from which to work from for the new front panel to sit back in place correctly.
Cutting into the main panel was nerve racking but YouTube and the Haynes manual helped no end, especially around the grill area.
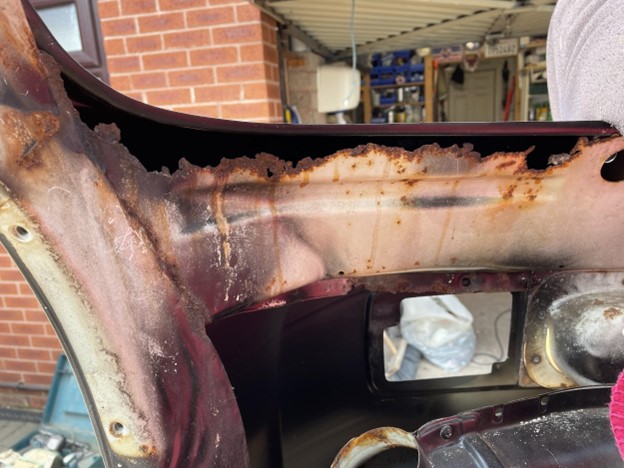
As you can see within the lower part of the internal main panel several holes were discovered, these were plated over seam sealed and Hammerited for protection. Now that we’re happy that everything is watertight the prep work and sanding down of the old panels could take place. This is probably the most important part as this determines whether the new panel fits snug or not.
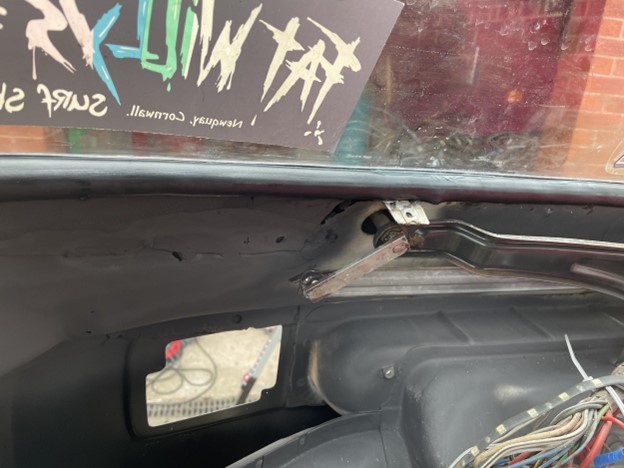
With all happy the new front was positioned, and lower windscreen marked, cut and placed in position, so clamped and held we spot welded in place along the deformation panel, folded around the door pillars and tapped into place with a mallet and block of wood as to not distort the edge then welded the windscreen area. On sanding down we noticed the internal windscreen area had more holes, but instead of going for the expensive option of a new lower windscreen deformation panel we opted to plate the damaged areas, and again welded, seam sealed and painted.
Now that this was all done, we put the old windscreen in complete with the new rubber seal. It was so much easier with a bit of army rope, fairy liquid and 3 of us to hold and gently push down, but this went really well, and we were very surprised at how easy it all went. (I was waiting for something to go wrong!)
Most of us will have a USB socket in the camper van, but are you using it for more than just charging your phone?
Fan
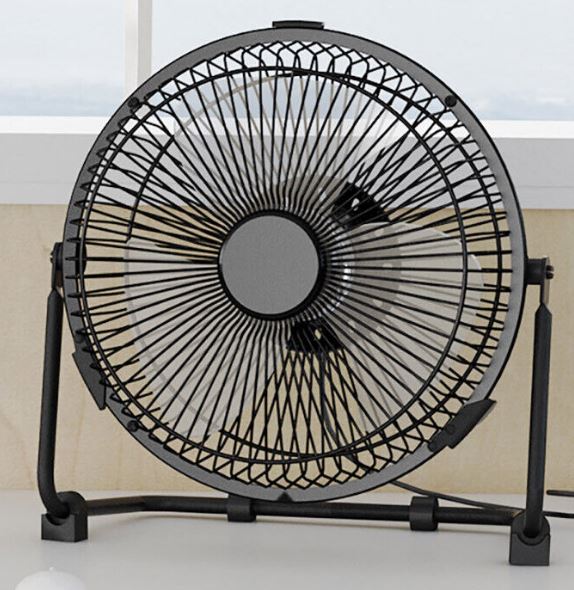
An 8 inch fan powered on USB will keep you cool in summer and can be purchased for under £15. We have one similar to the one in the picture and it hangs neatly upside down from the roof aperture on the Dormobile.
Power pack
If you are charging your phone then going out, sometimes you need just that little bit extra. Or if you have no leisure battery and only use USB when driving to avoid flattening the starter battery, this is another option.
A Power bank is a battery with a USB or two to keep your mobile charged when away from a power source. You can also use it when outside to power the fan when sitting outside enjoying the warm weather. Power banks are readily available but be careful buying the really cheap ones – they are often very small capacity. Look for at least 10000mAh (milli amp hours) and avoid anything with claims of more than 100,000mAh – they are not that powerful! Expect to pay around £20.
If you own an iPhone, you do not need to buy a battery pack that says that it is suitable for an iPhone. They are all USB and they all work fine!
Toothbrush charger
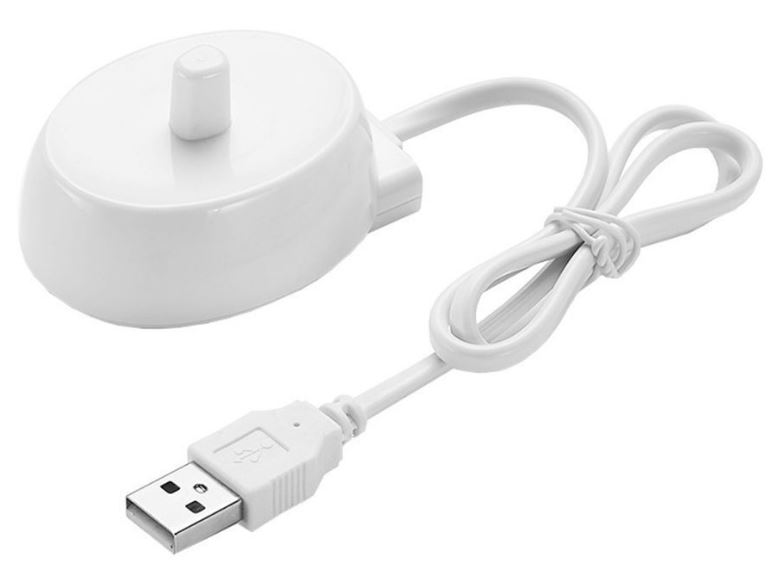
We used to take out bulky toothbrush charger with the 2 pin shaver plug and the 3 pin converter. Then every few days whilst at a camp site with a shower (we cannot go too long without a proper shower and have not invested in the Karcher portable shower as featured last issue), we were plugging that into the socket in the shower blocks! Then we discovered the joys of USB. Now we charge when we want, in the van and the charger is a lot smaller – every little helps! These can be purchased online for under £5 and now we have the big one at home and the little one permanently on board!
WARNING – if you have the 240-volt charger for a toothbrush, do not use it with an inverter on your vehicle. The electronics in the charger will flatten your battery.
Voltmeter
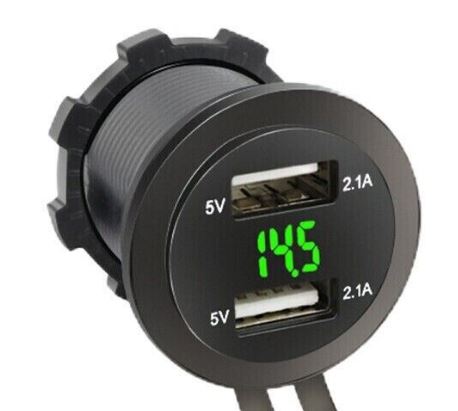
Upgrade your USB socket! Whether you have 1 or 2 USB sockets in the standard round hole, replacing it with a built-in voltmeter will give you easy access to check the charge level of your battery. Available for about £5, there are 2 pins on the back that you can pull the cables off the existing one and replace with a new one. Or supplement a new pair! You can never have enough USB sockets – we have 1 in the front, 2 by the sliding door and 2 each above where we sleep (charge the phone and run the fan at the same time!). Available for about £7 each which is almost the same price as buying a pair of USB sockets without the voltmeter.
Just be wary of buying a really bright voltmeter and fitting it right where you sleep! They can be very bright!
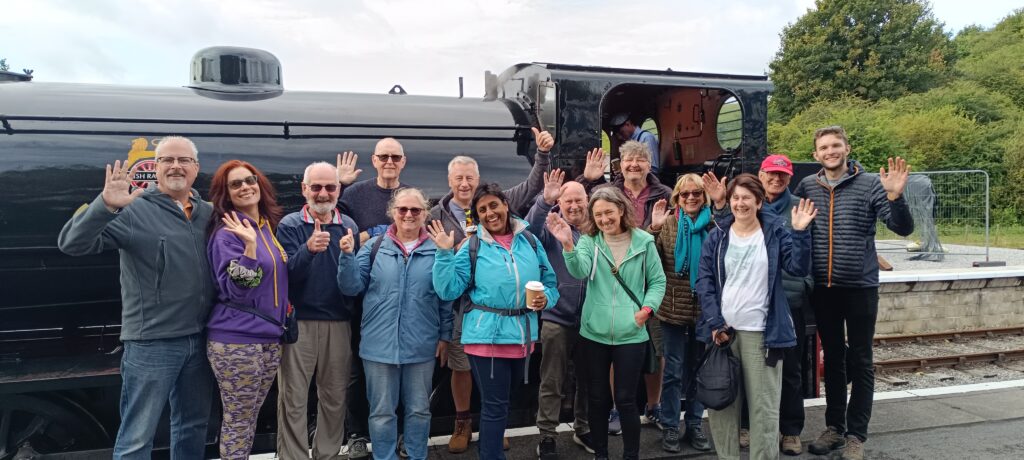
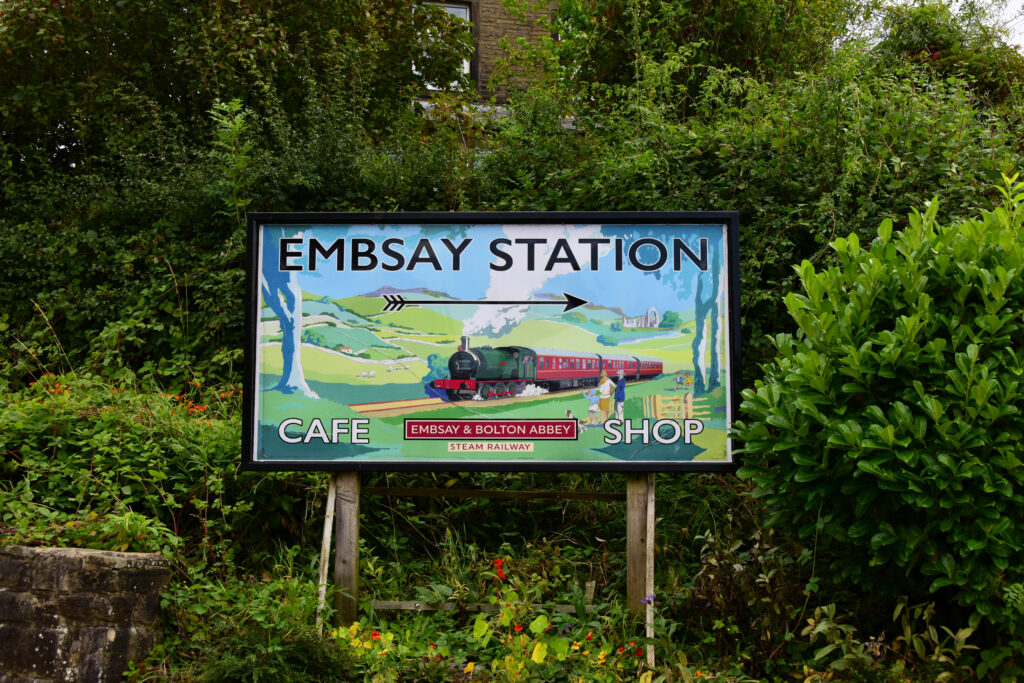
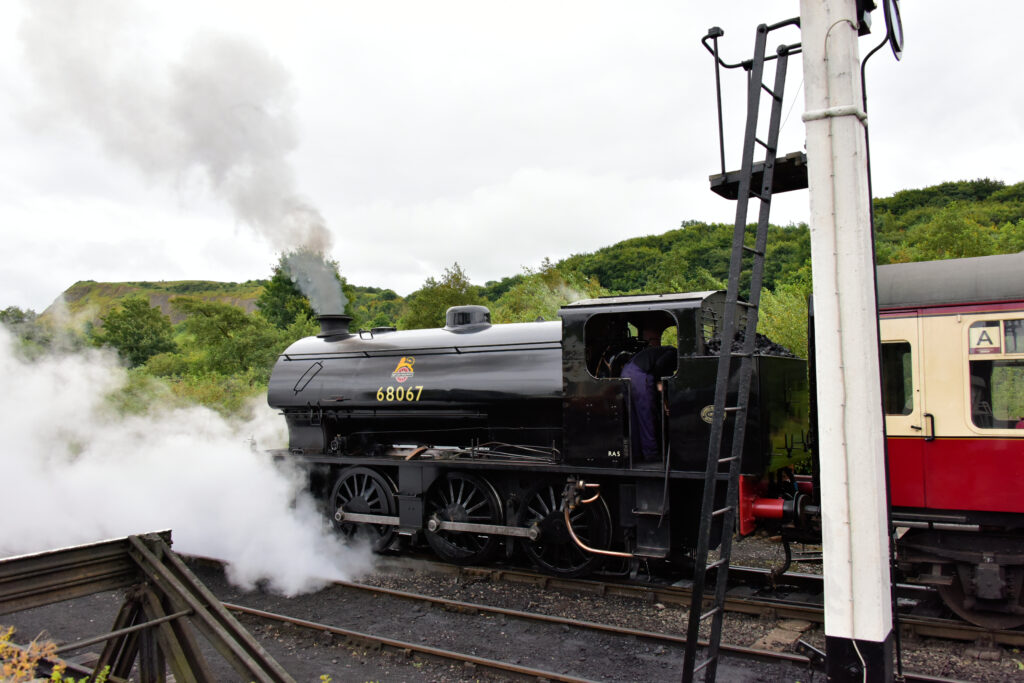
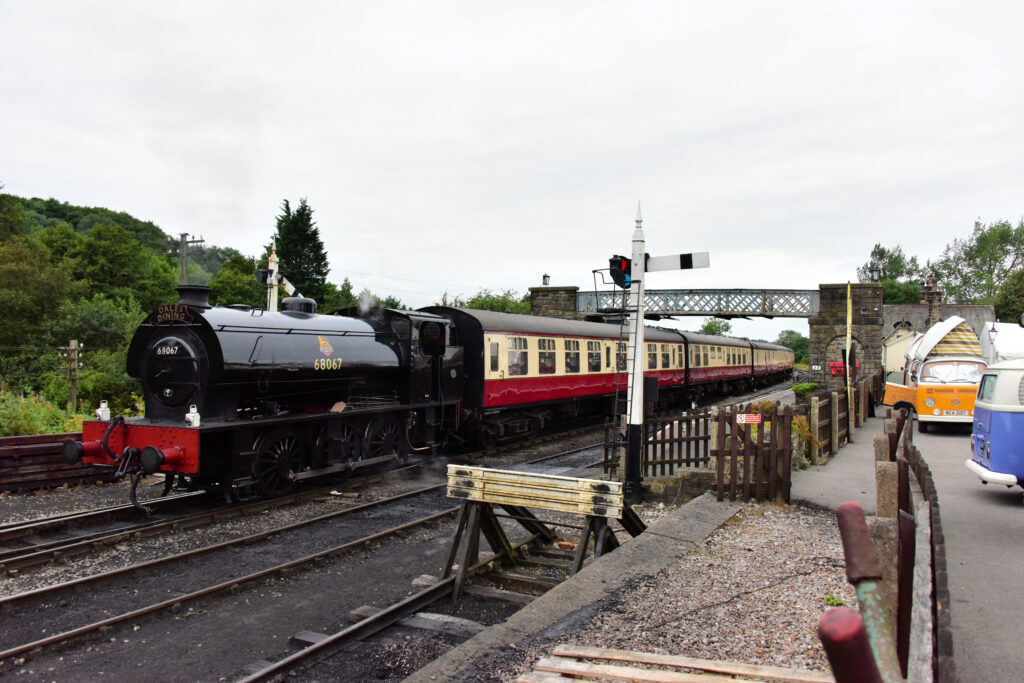
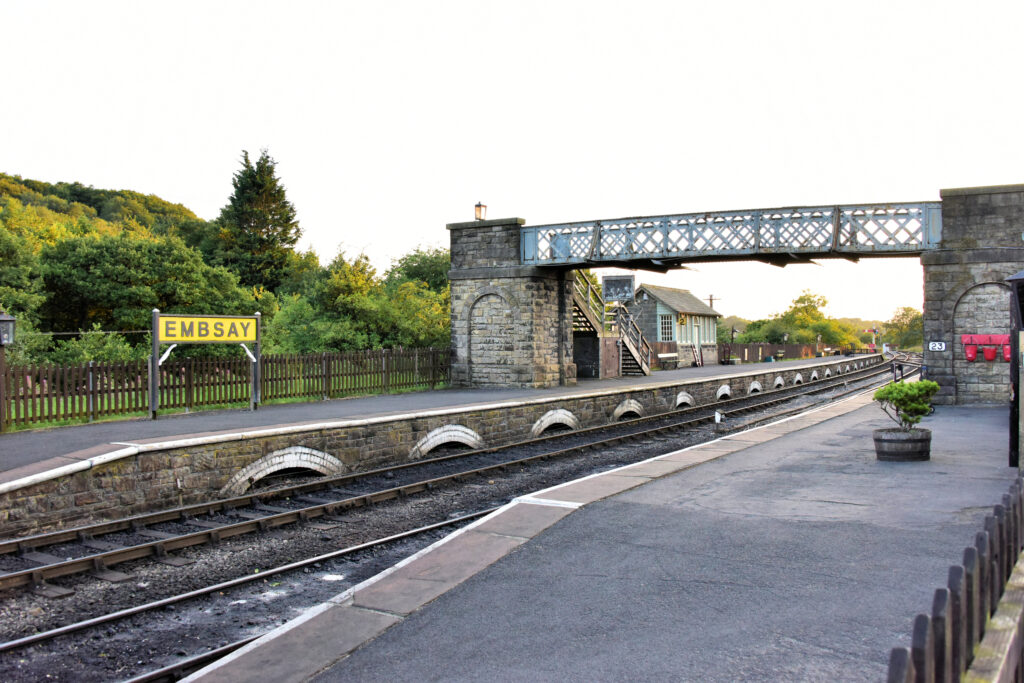
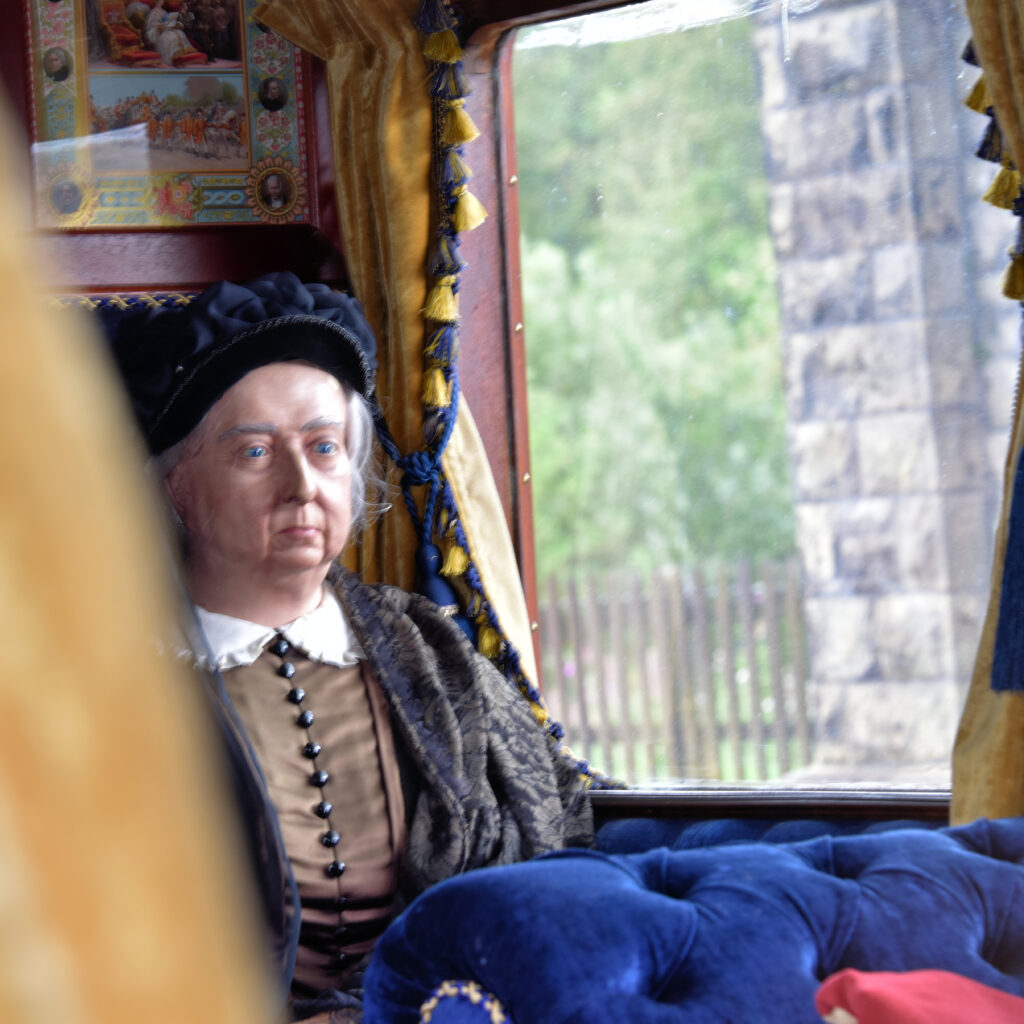
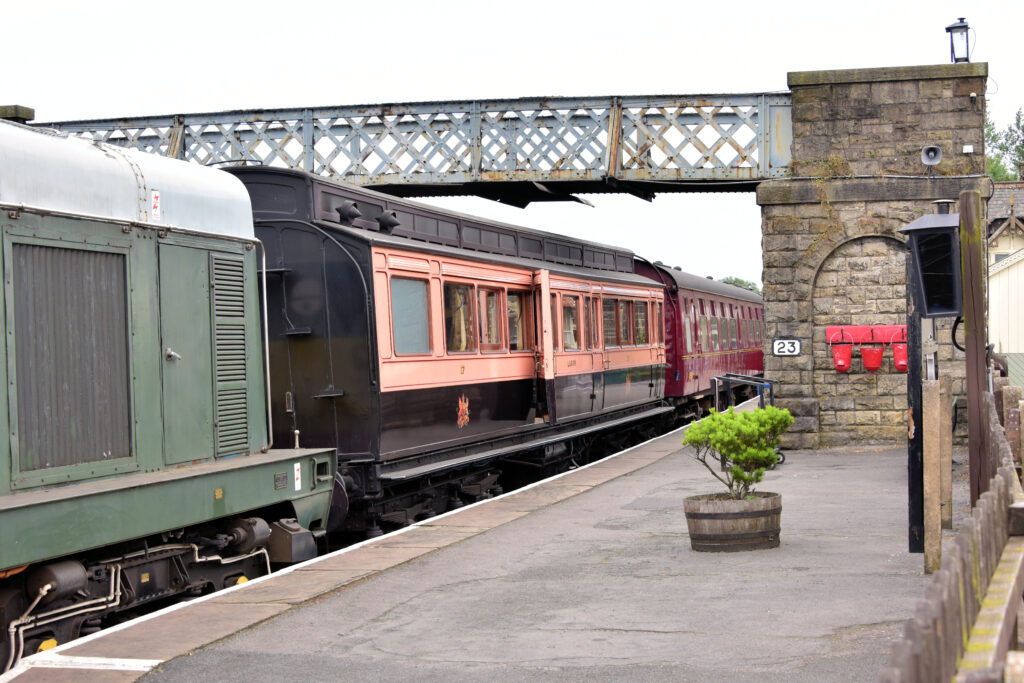
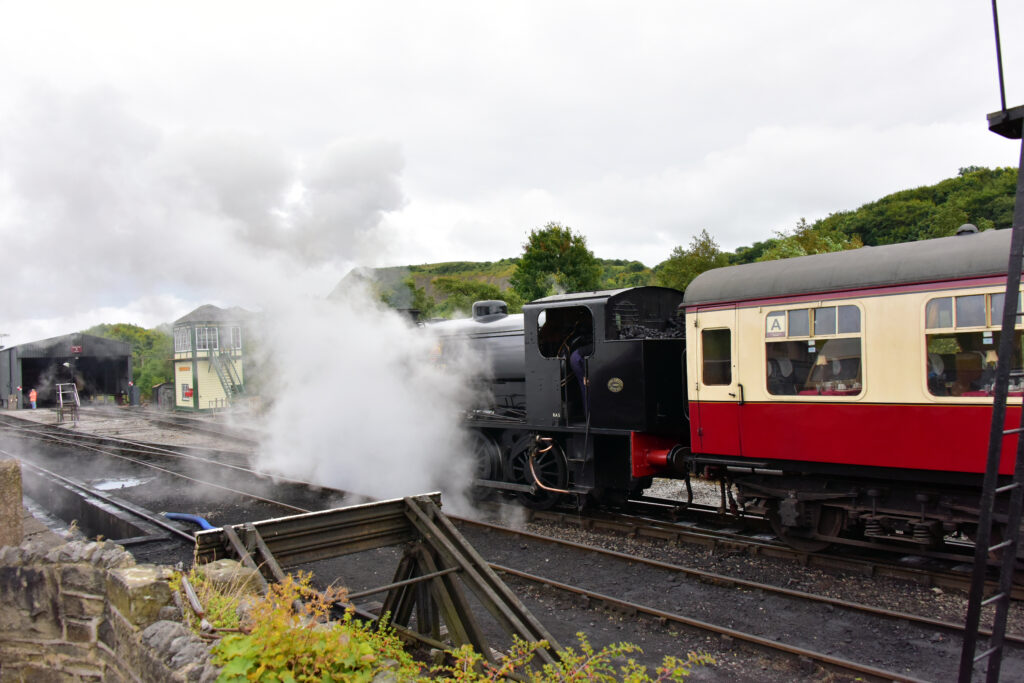
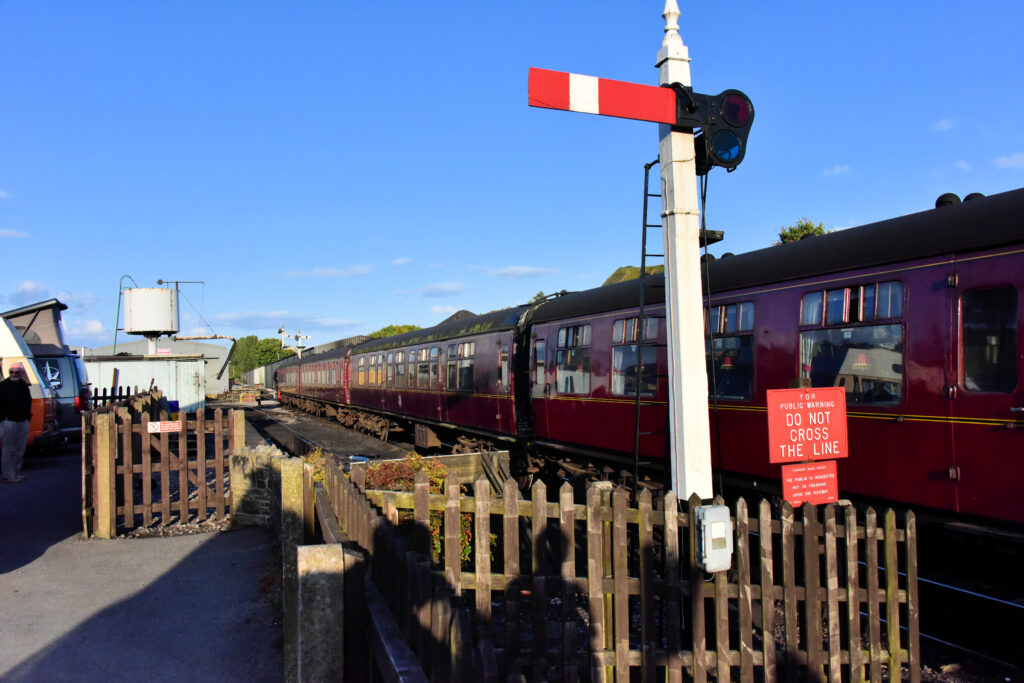
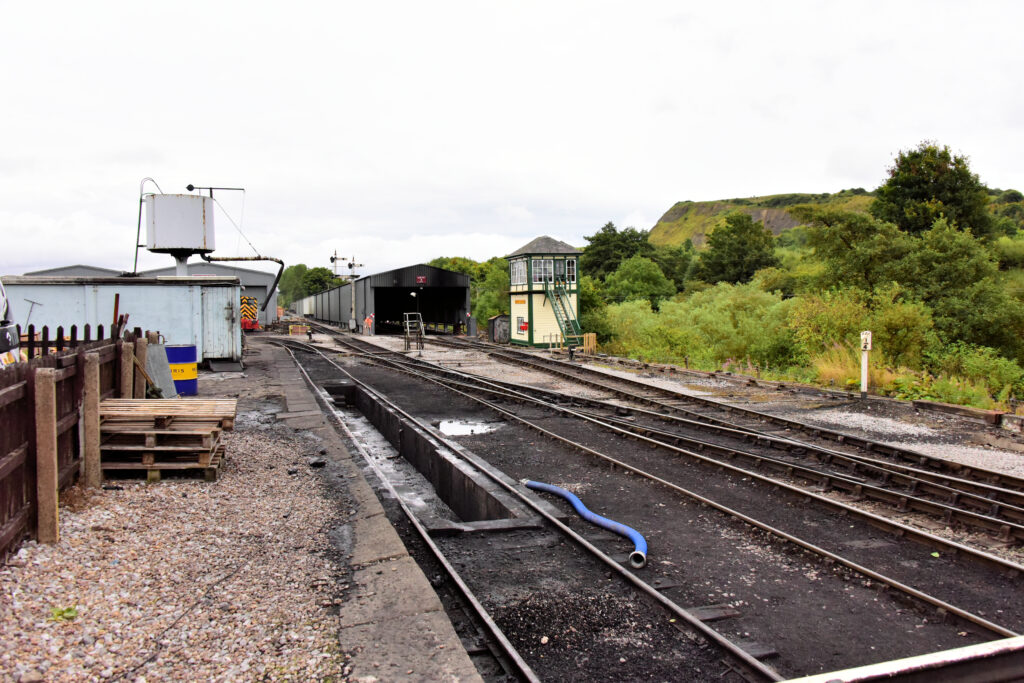
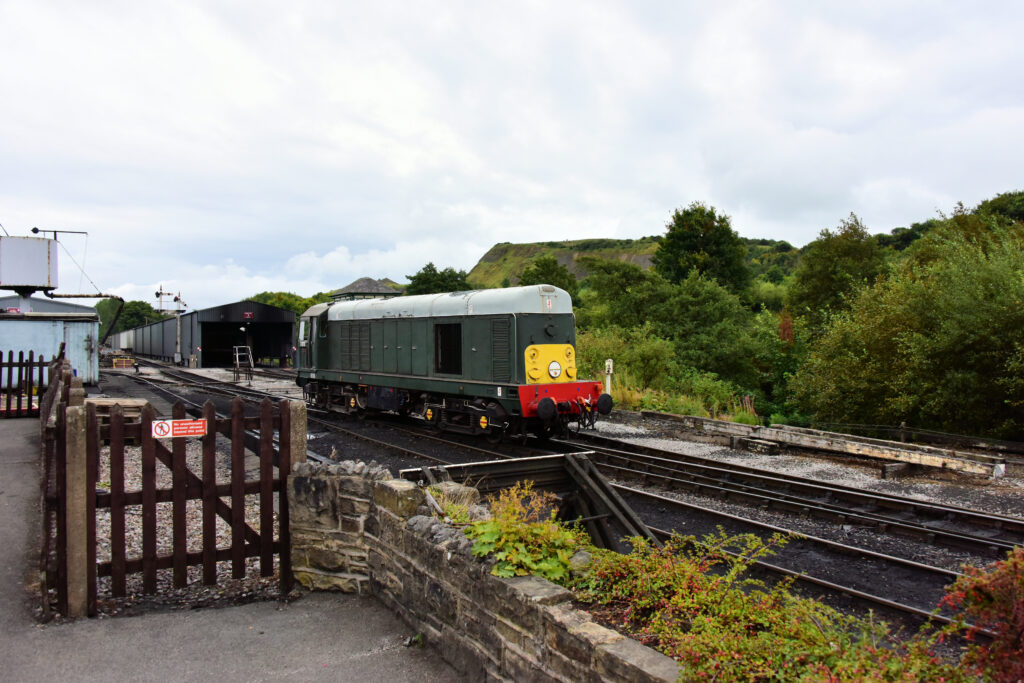
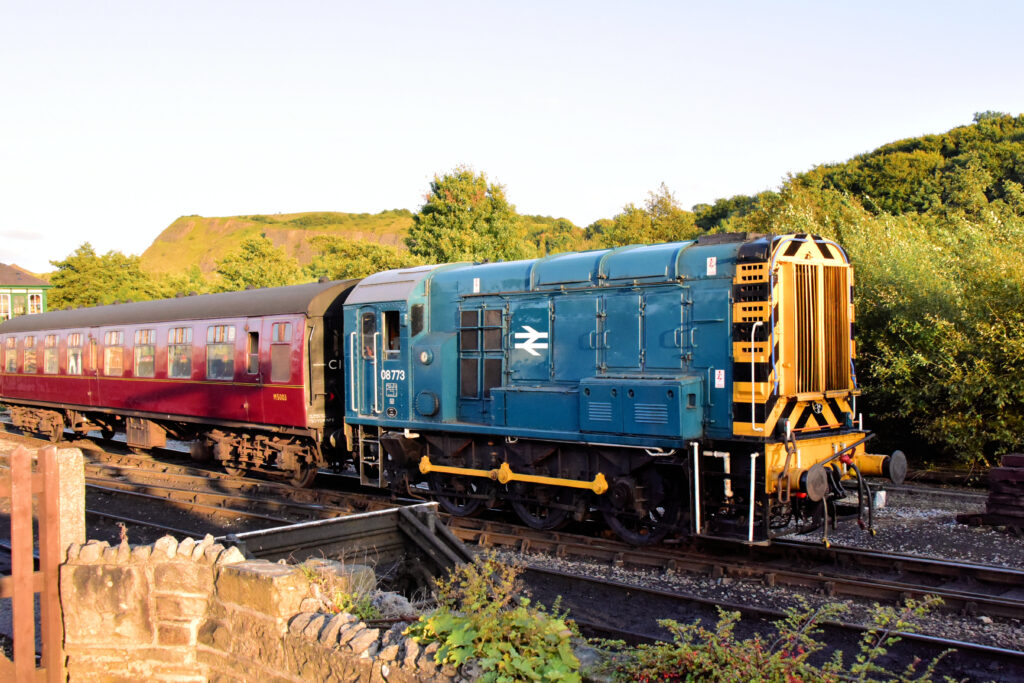
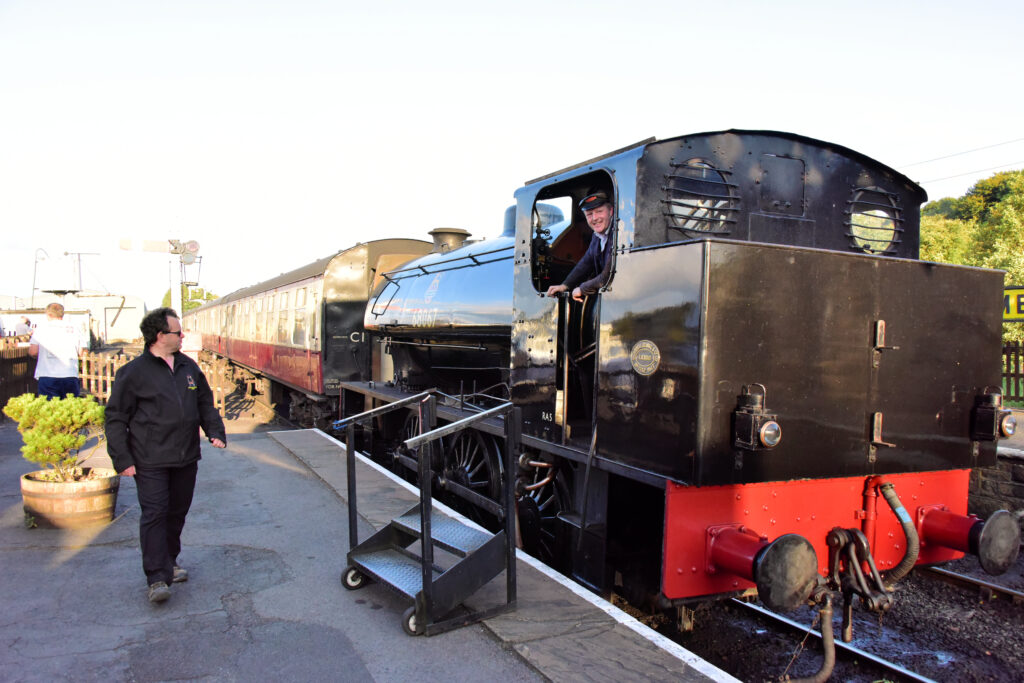
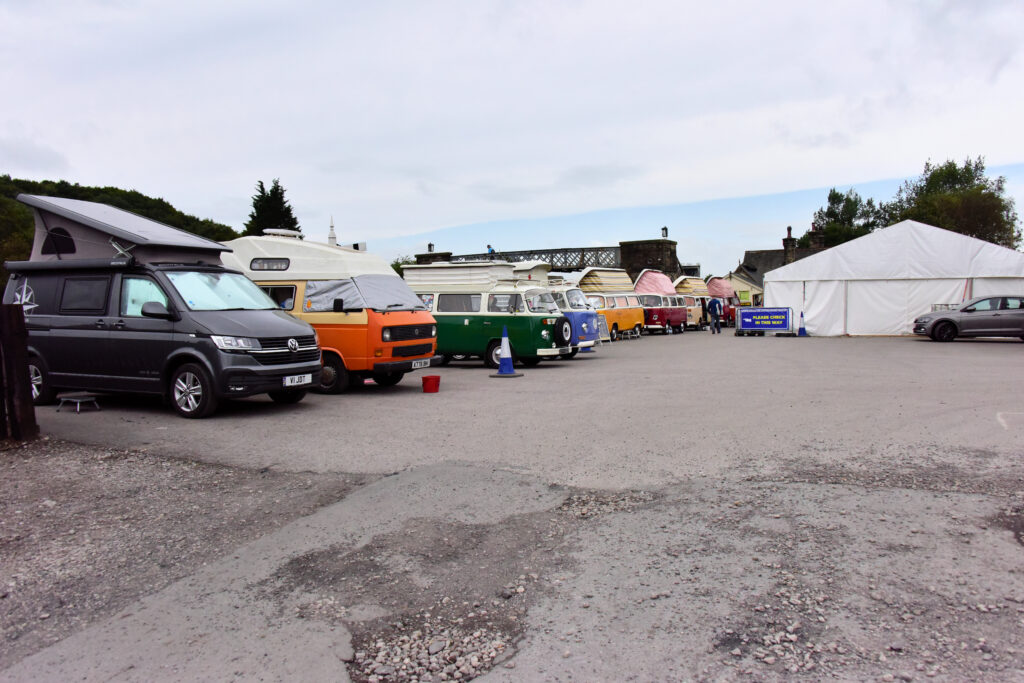
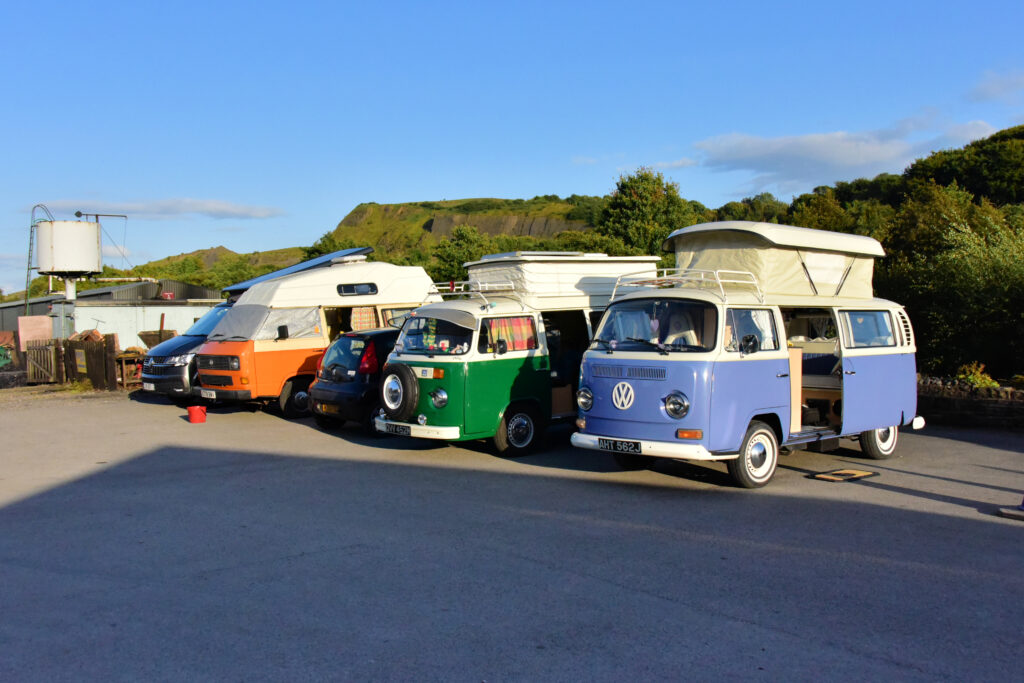
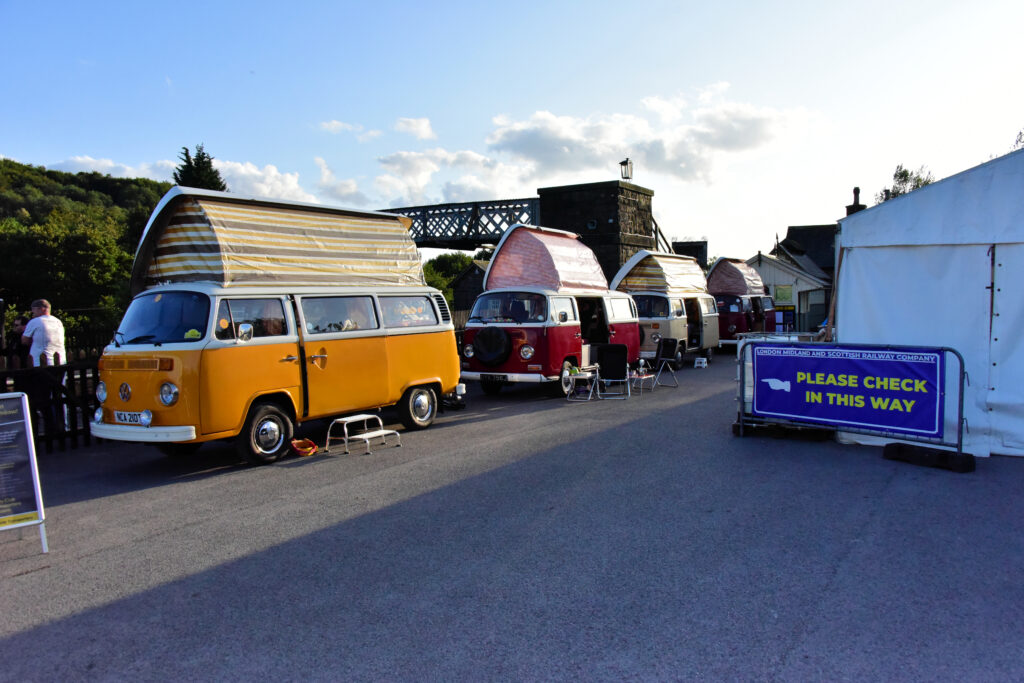
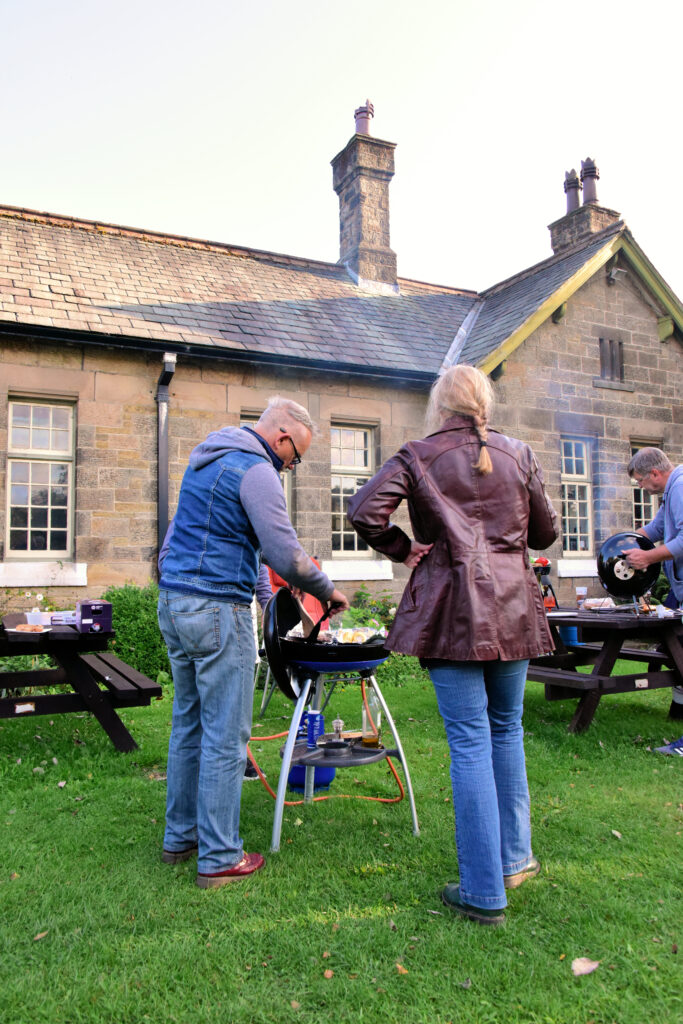
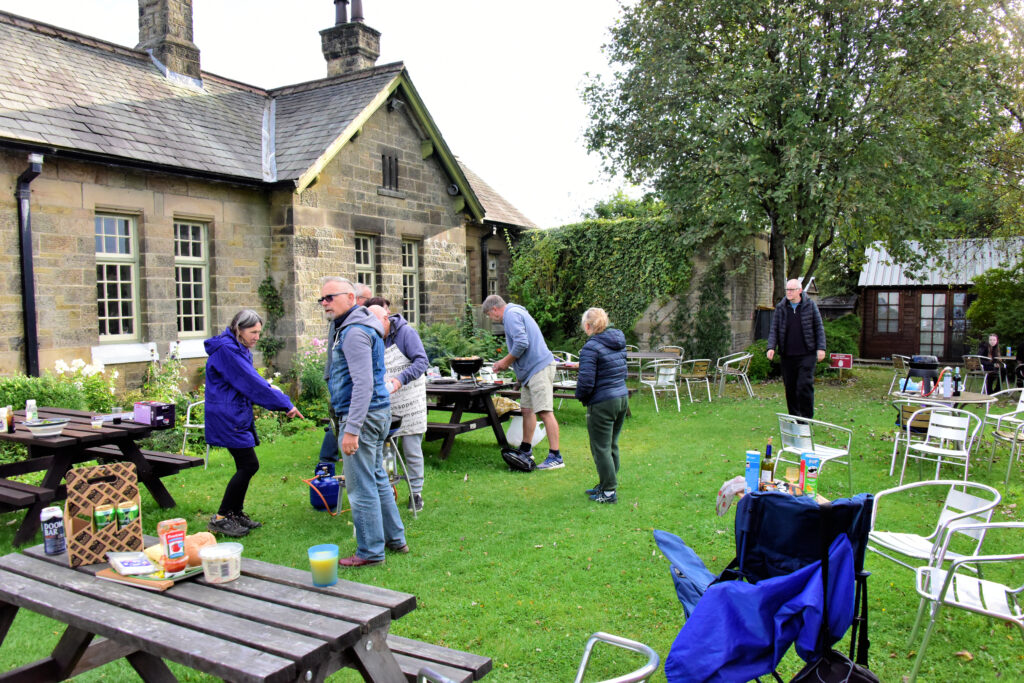
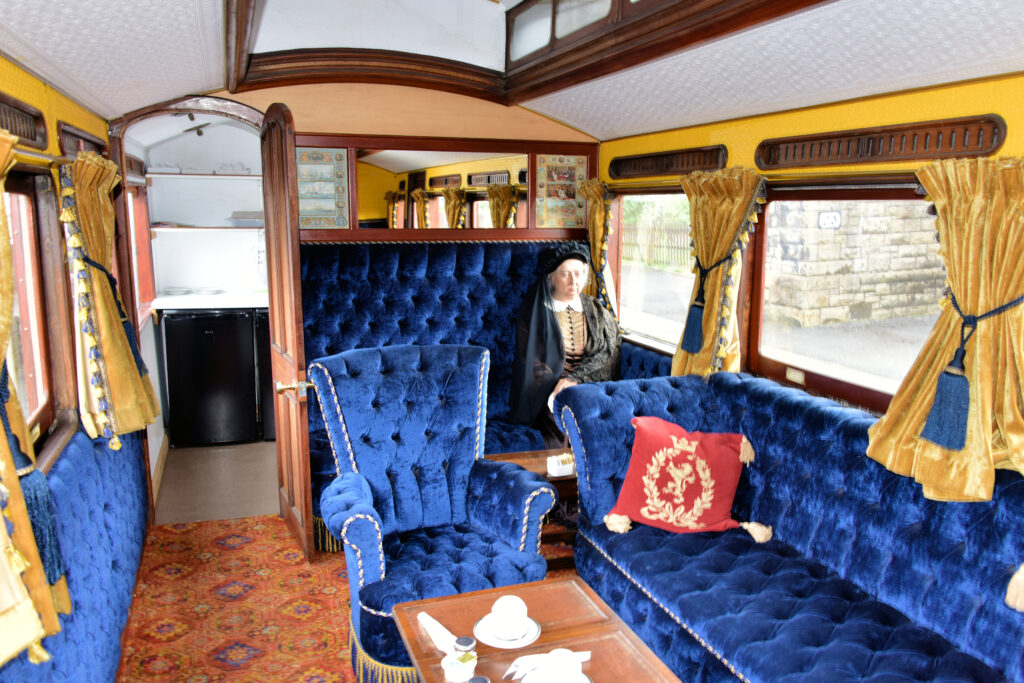
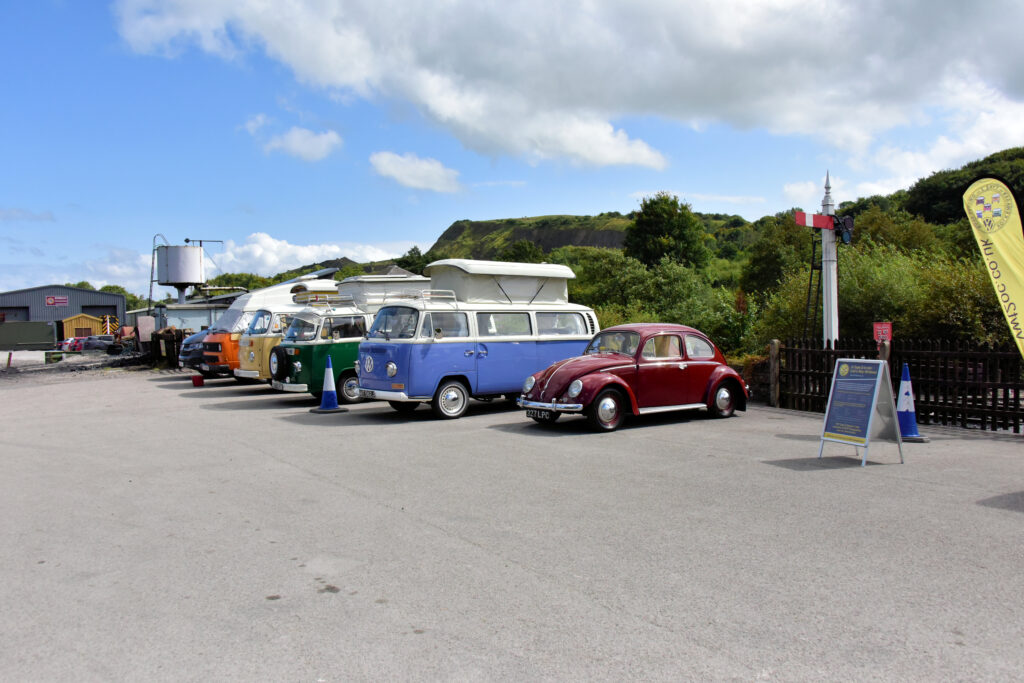
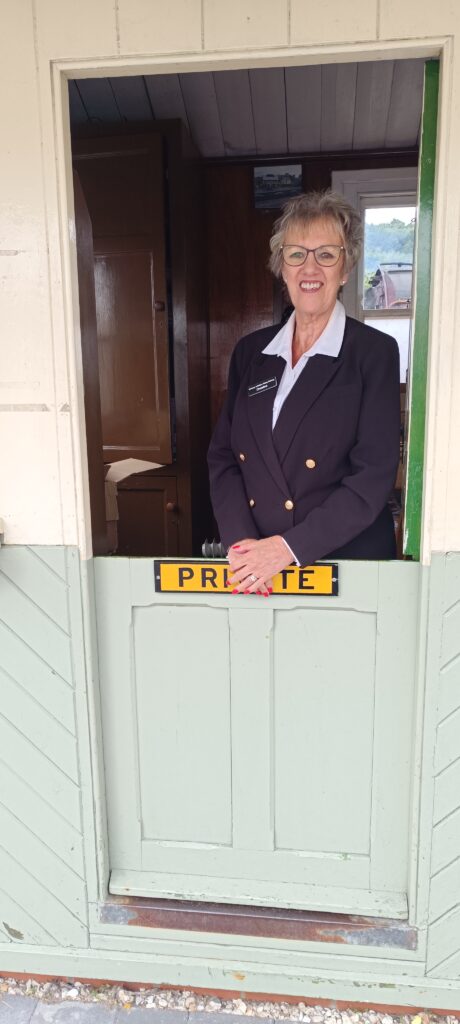
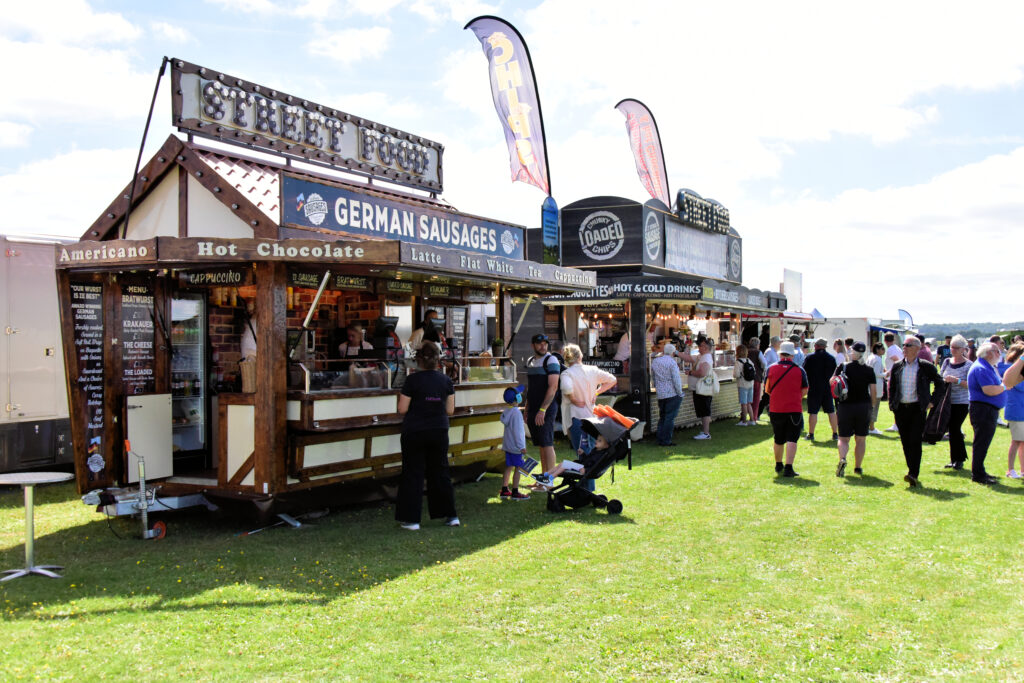
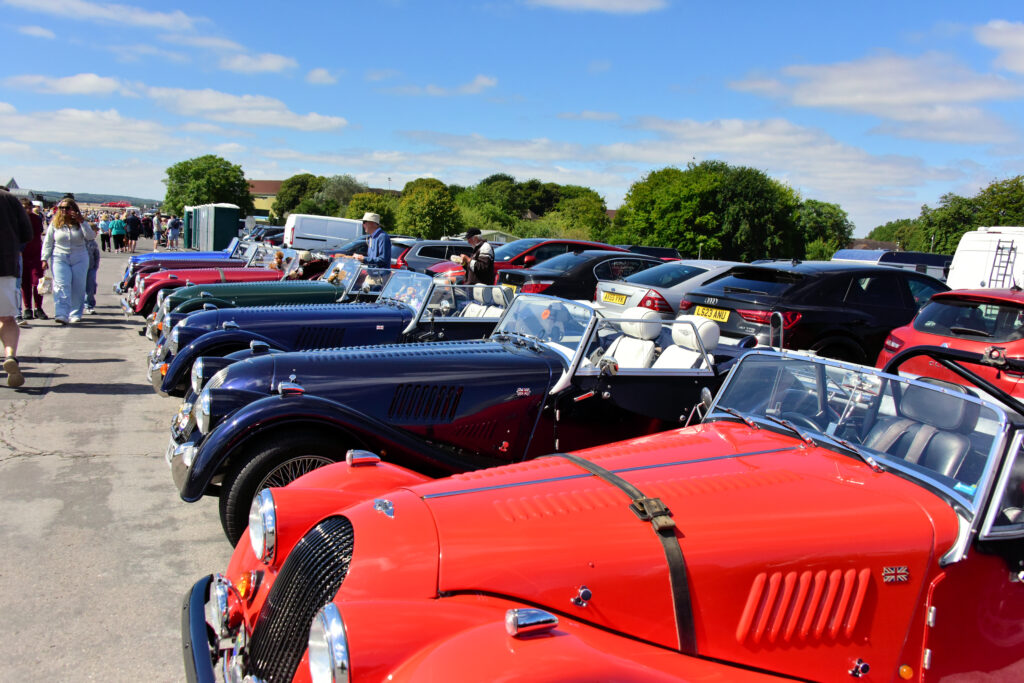
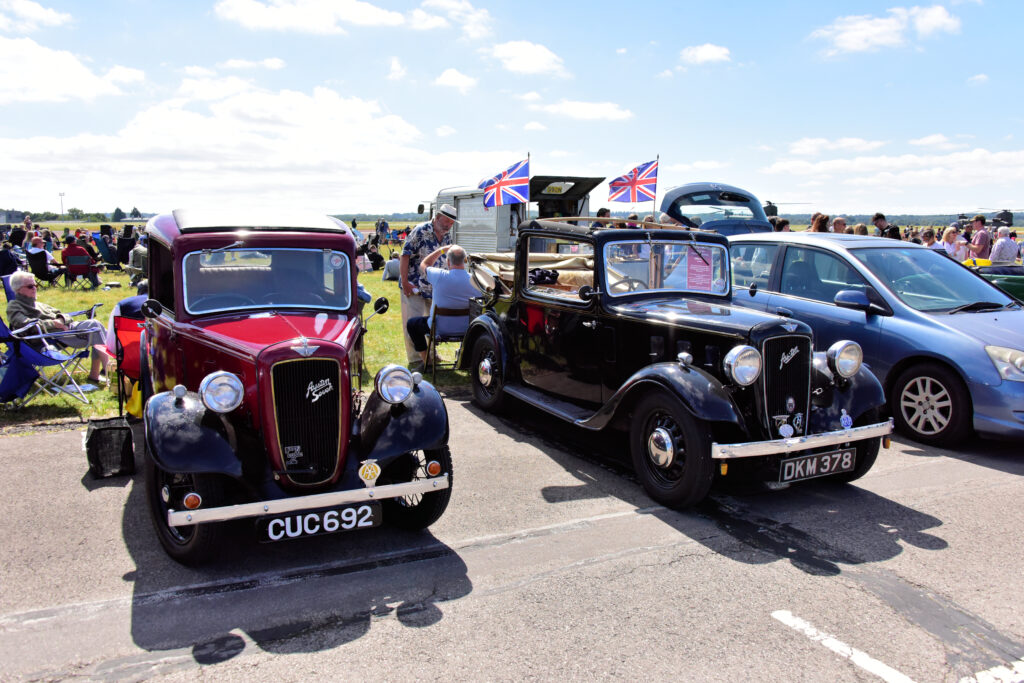
A great event, what’s not to like? Walkable from the city of Skipton in North Yorkshire, accessed by driving over the North Yorkshire moors with its beautiful scenery is the village of Embsay. Right in the middle in Embsay train station that takes you as far as Bolton Abbey a few miles away. This volunteer led steam railway is keeping the tradition alive and you can ride the whole line in luxury in the restored carriages, you can have a cooked breakfast or a dinner, you can ride on the footplate (there and back again) and they even offer a murder mystery event!
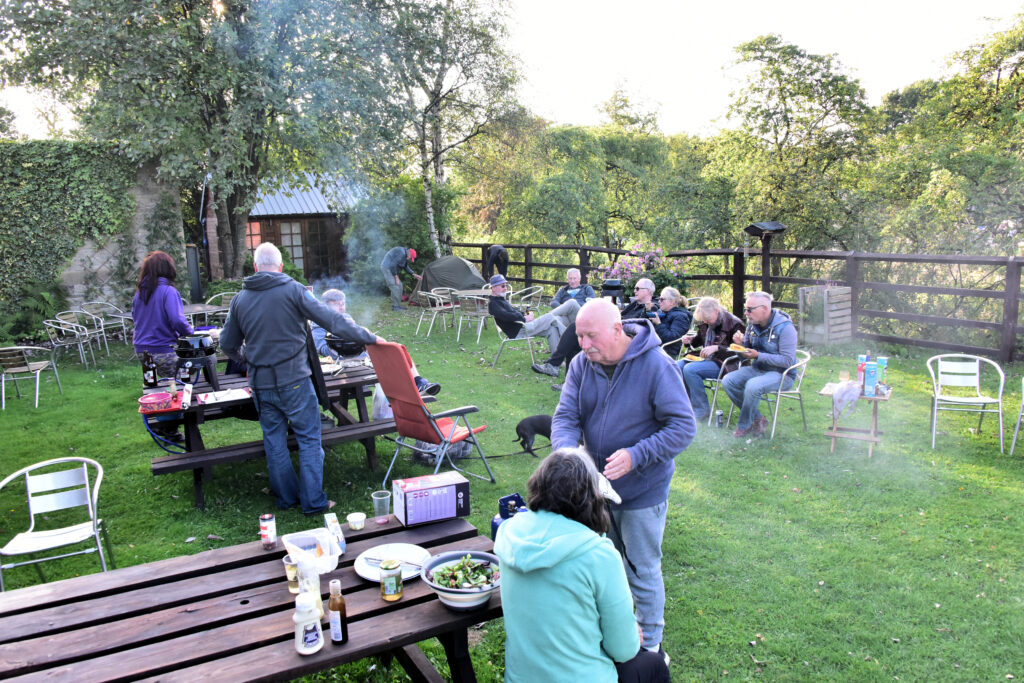
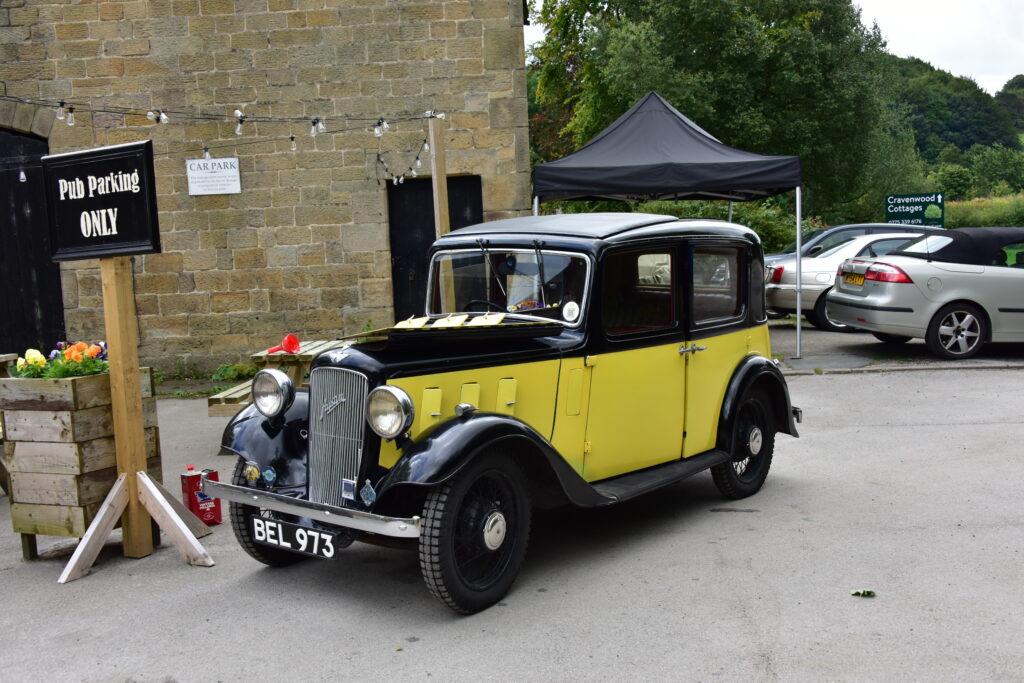
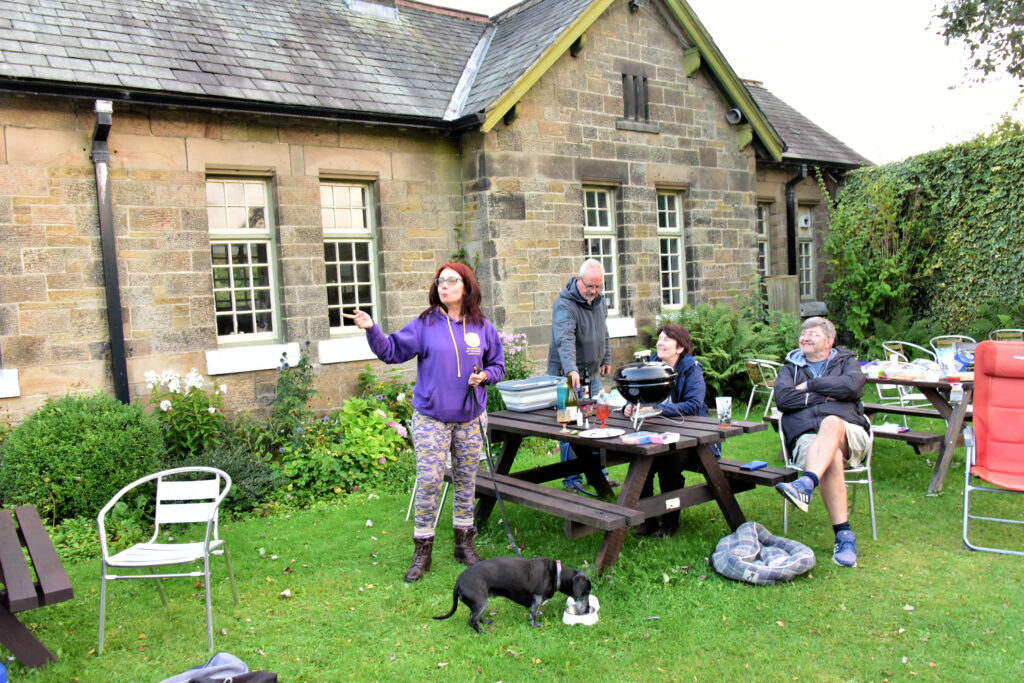
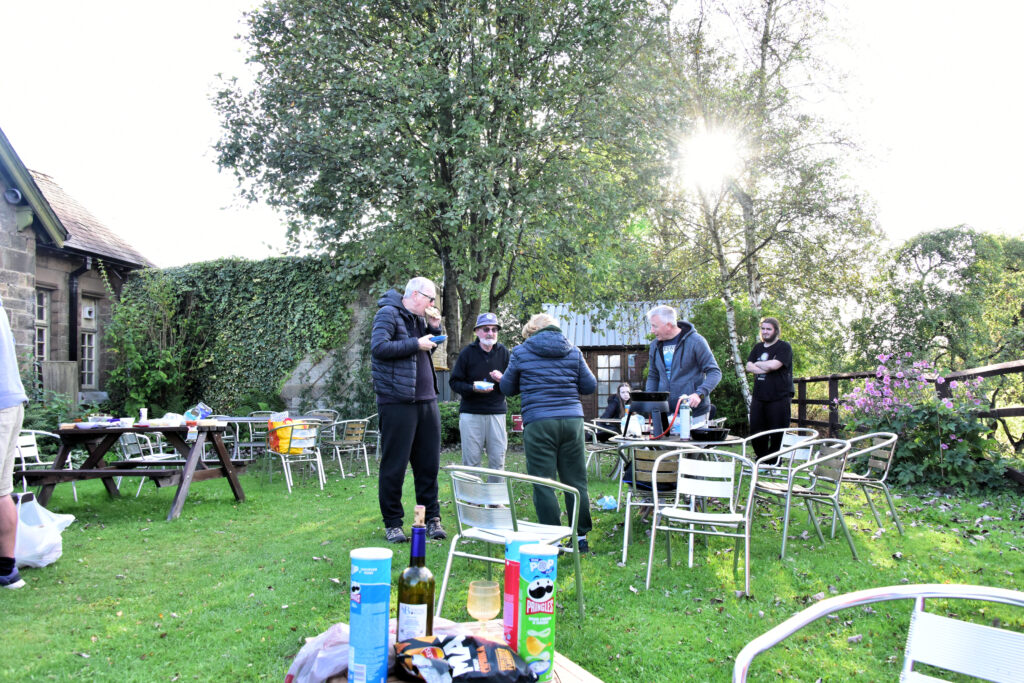
This is our second time putting on a display for their customers and the feedback from the public is brilliant. Our members also get a weekend watching steam trains and all for £10 per vehicle per night which we donate to the railway to maintain this great piece of history.
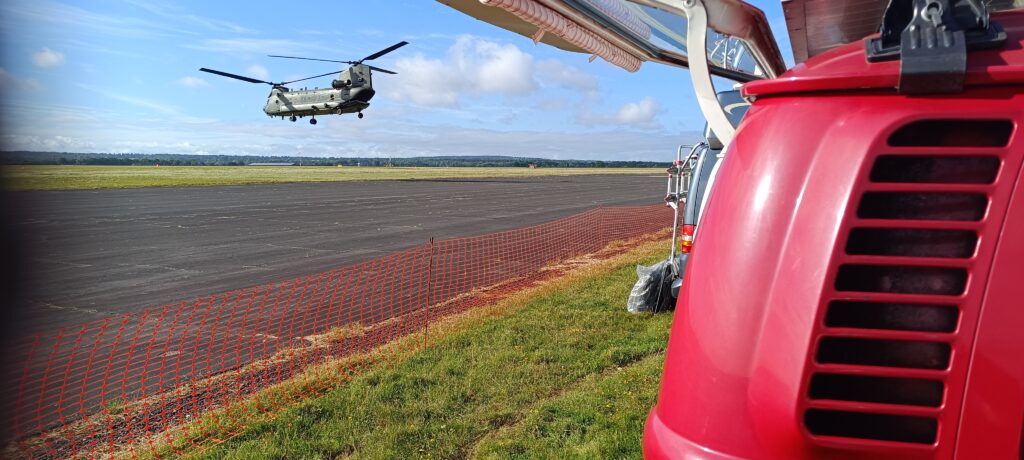
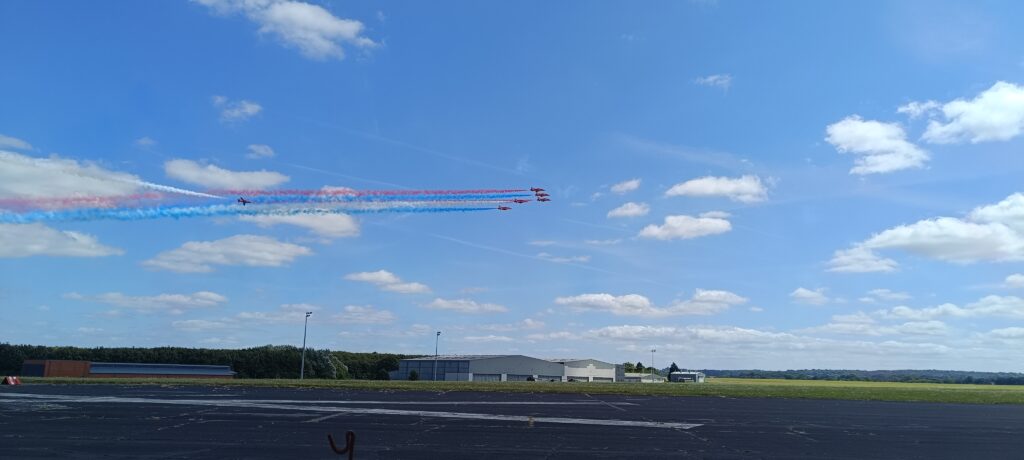
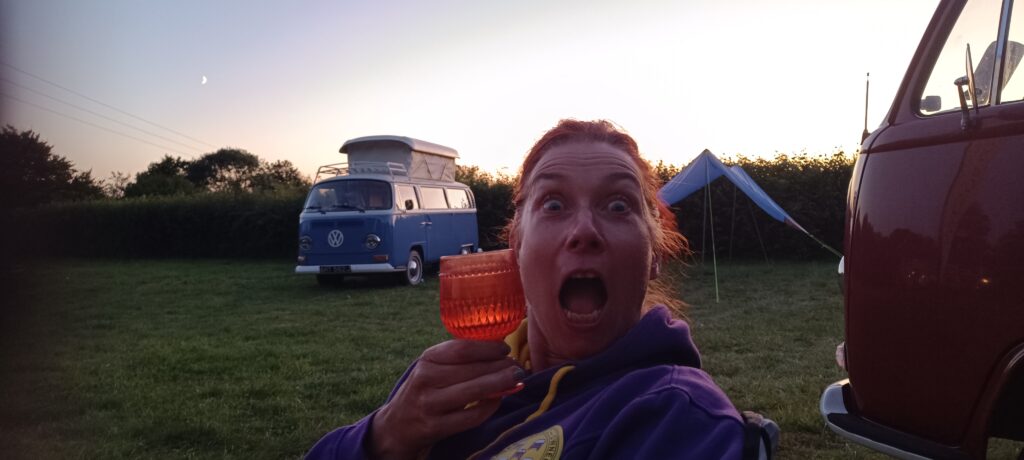
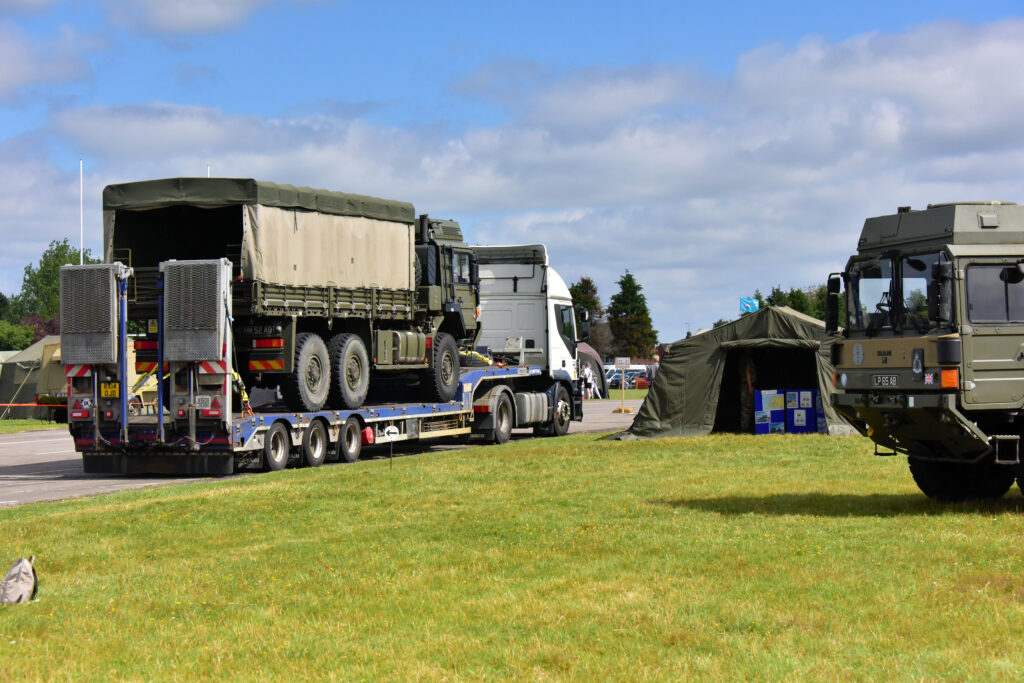
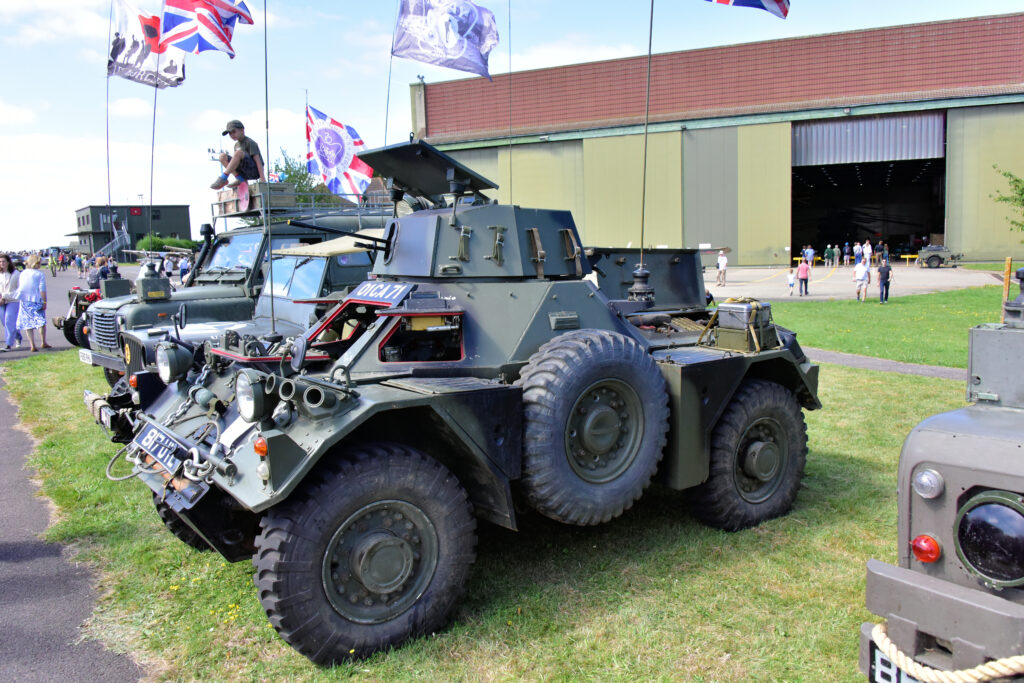
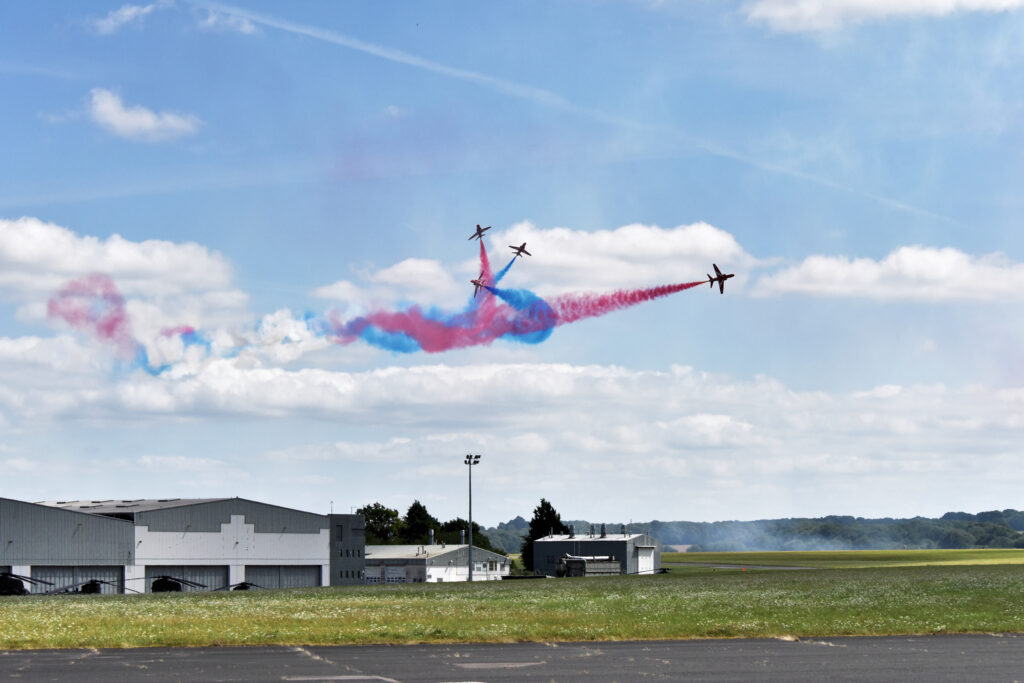
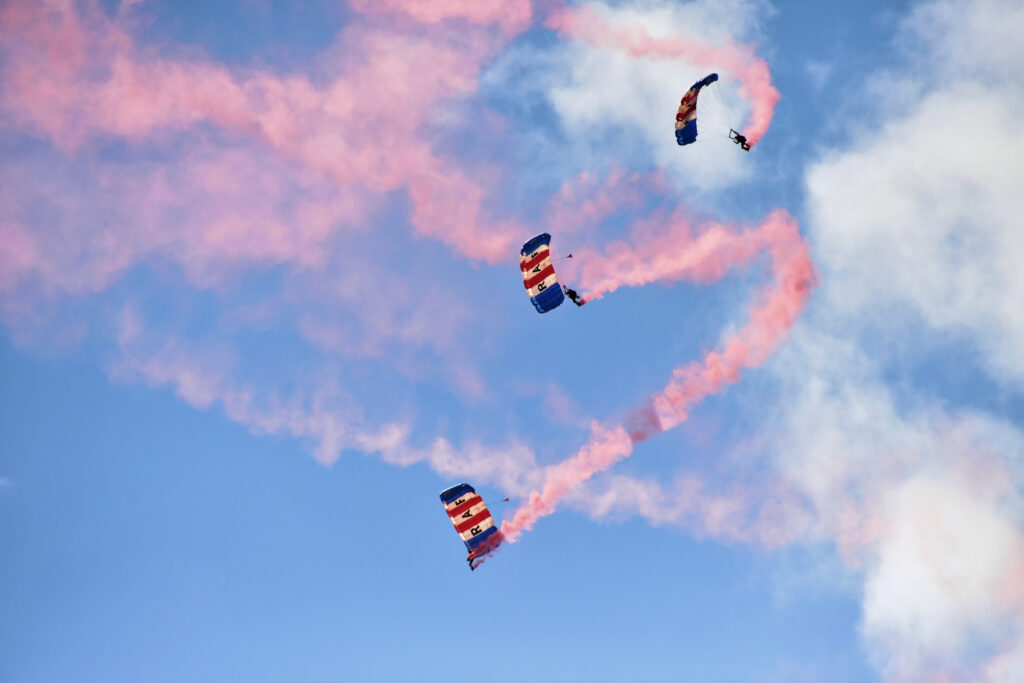
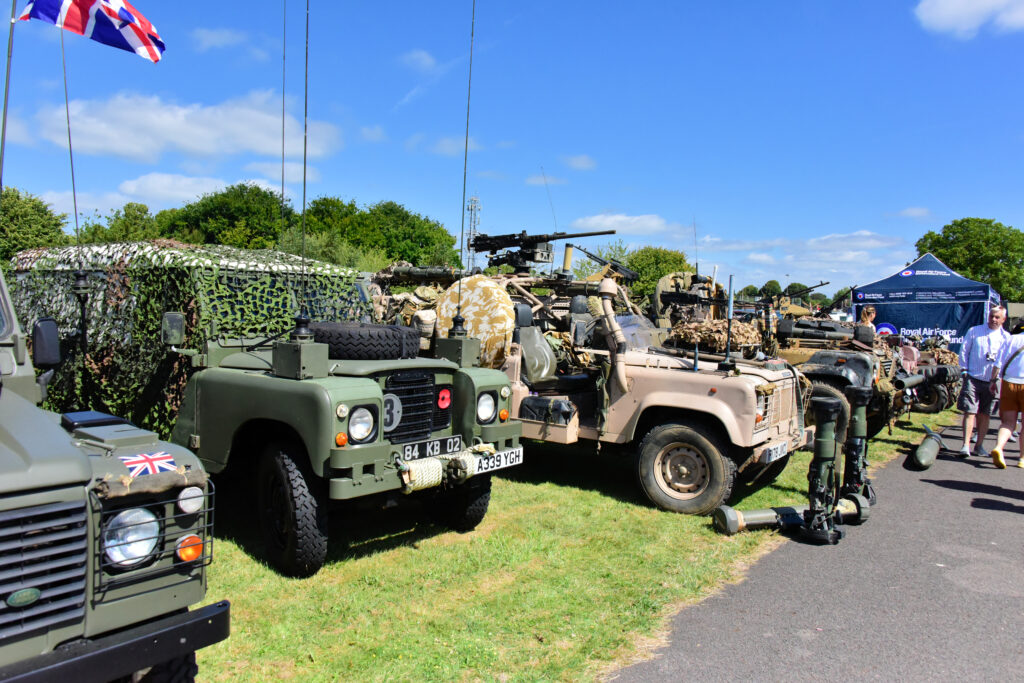
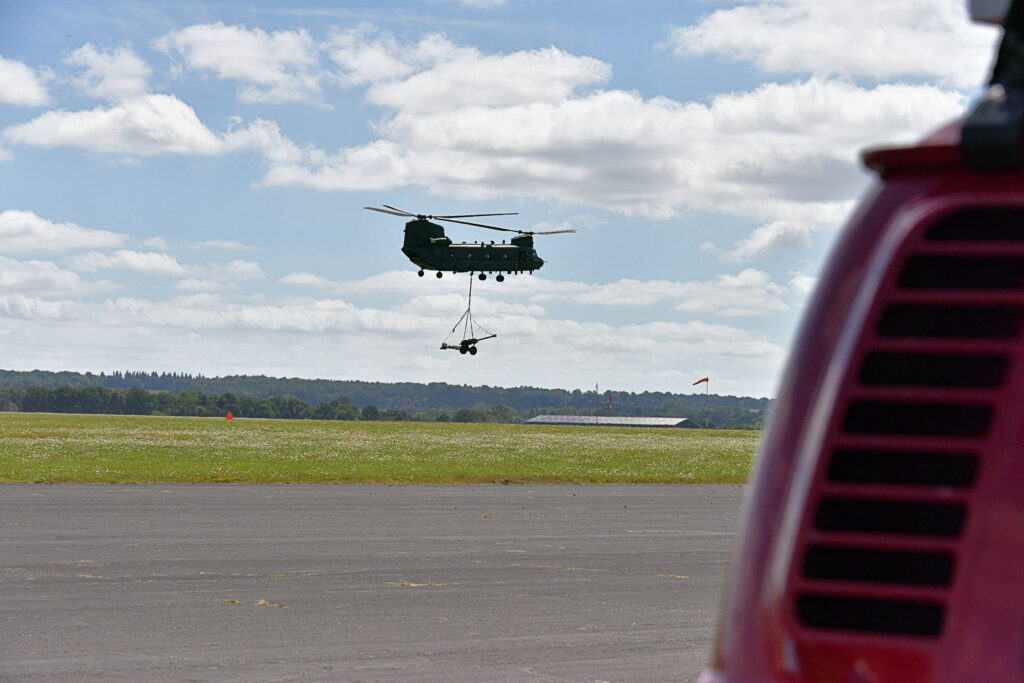
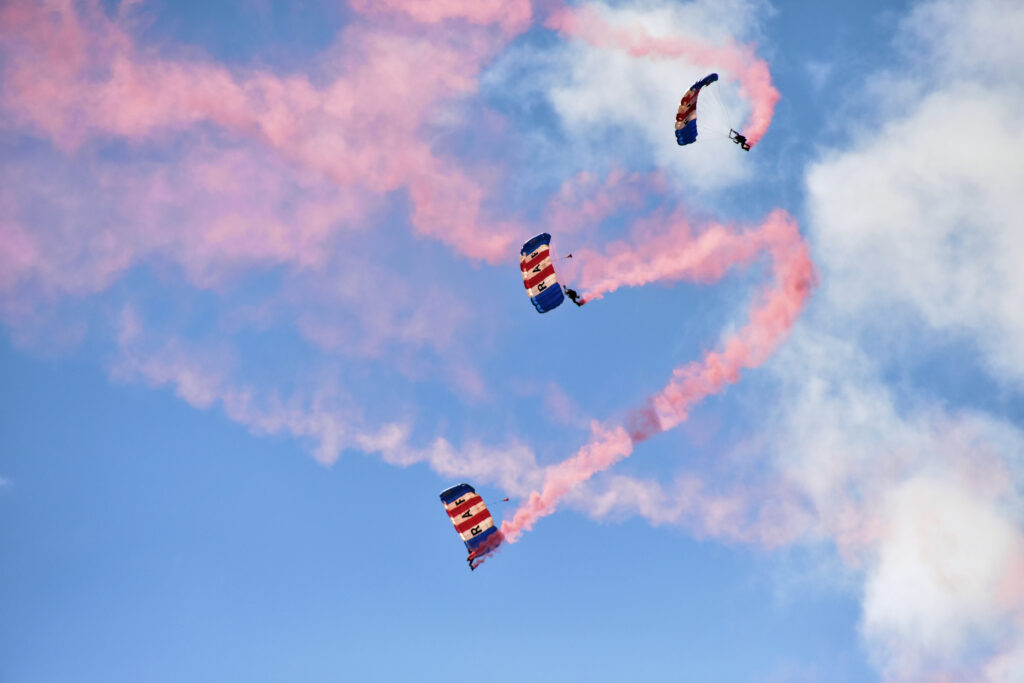
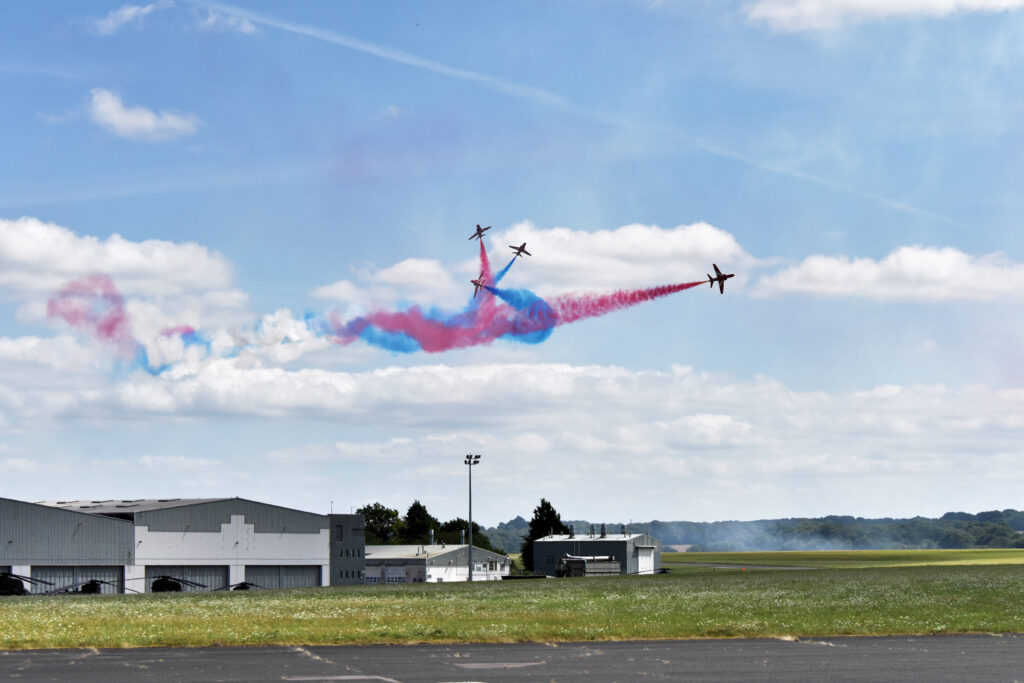
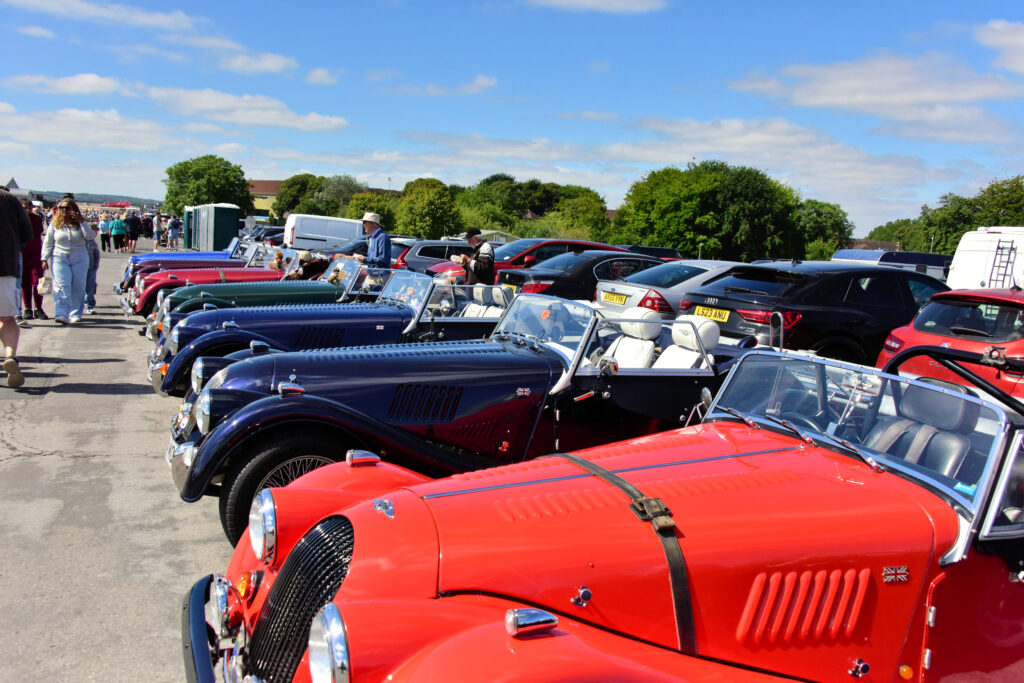
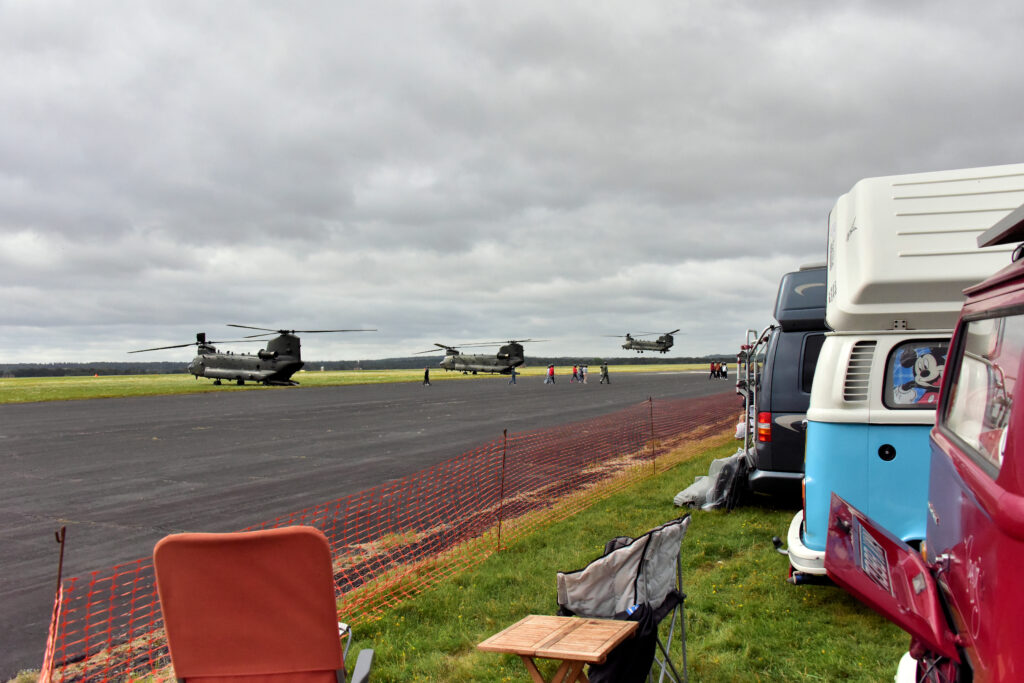
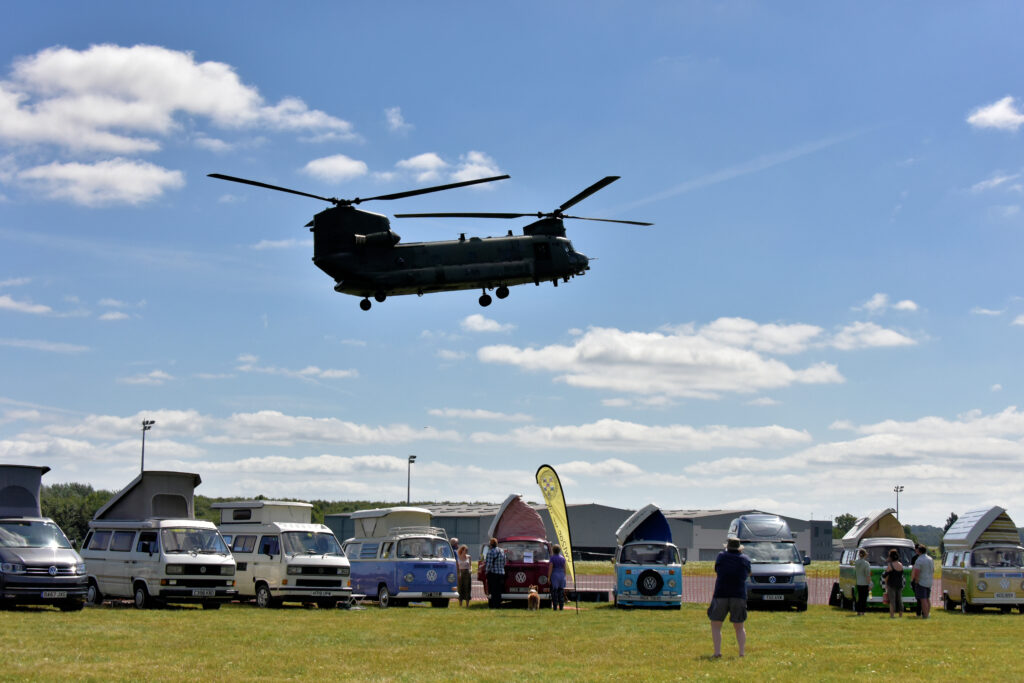
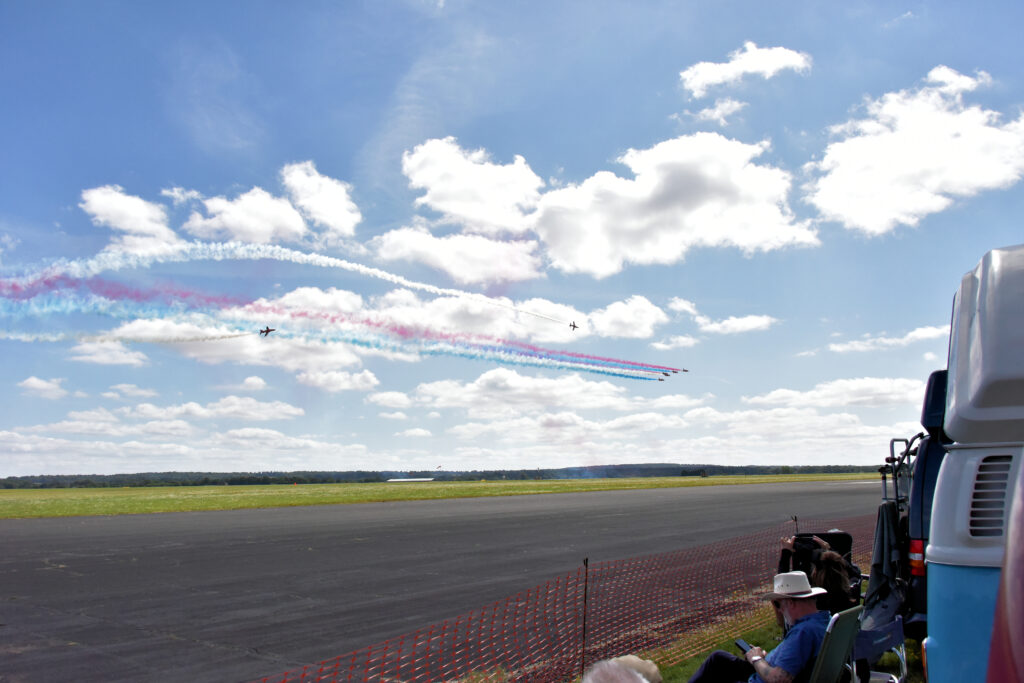
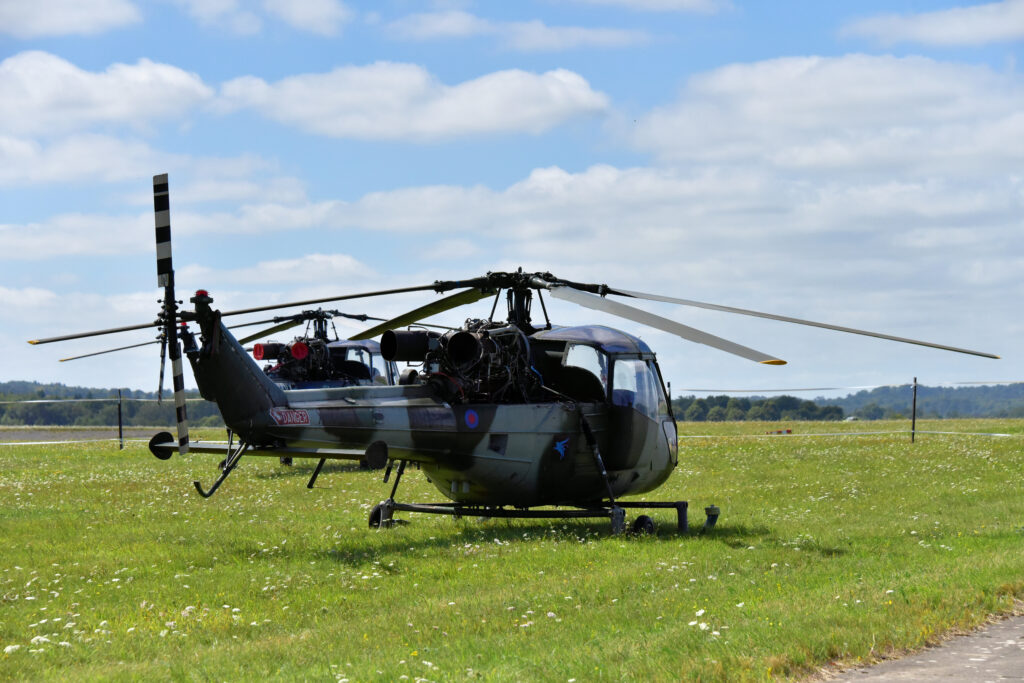
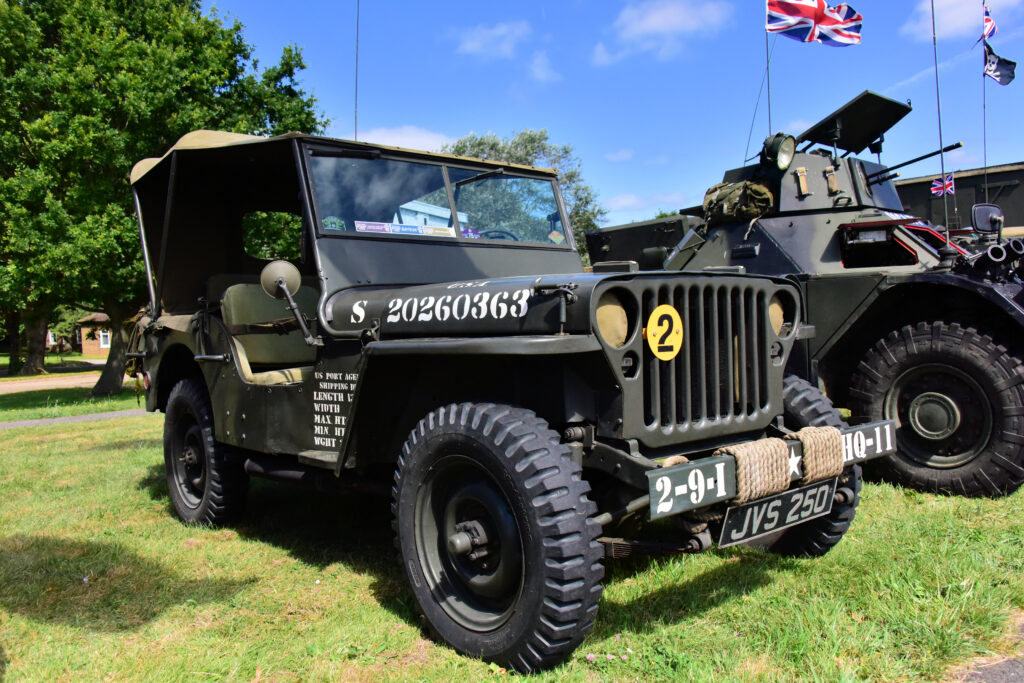
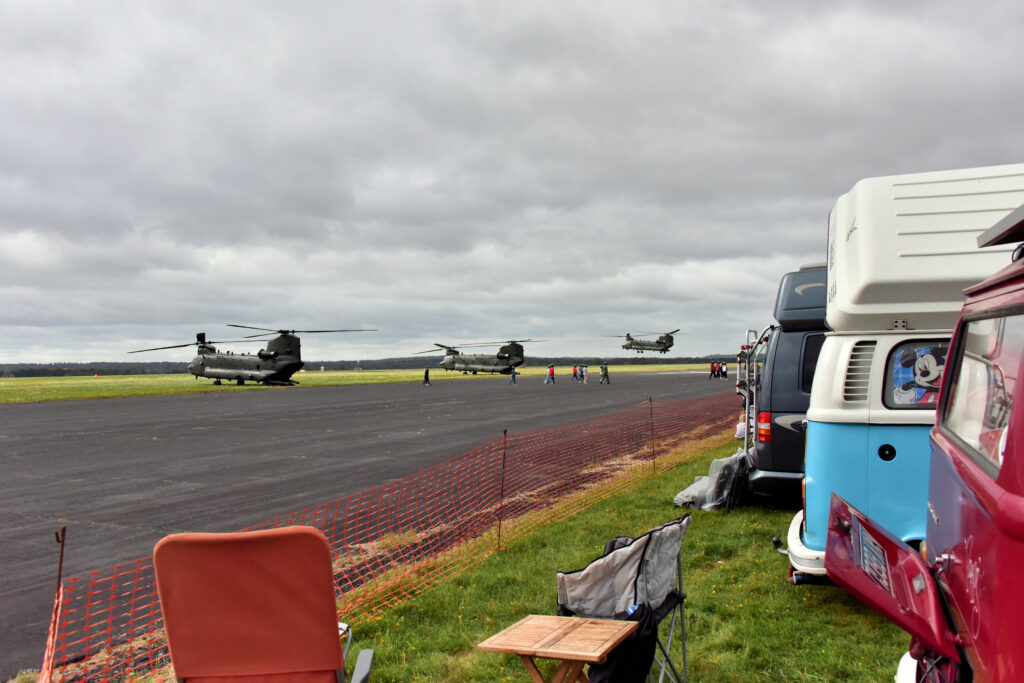
Wow, what a cracking event. 4 hours of Chinooks taking off, circling and landing, 2 hours of aircraft displays including 20 minutes from the Red Arrows and all from the comfort of a ring side seat. 10 of our vehicles attended with a pub dinner before and after.
An air show unlike most public events and free of charge for our club members.
Photos by Brian Coles and David Eaton amongst others.
Well I guess this is, firstly, a lesson in being prepared! I left sunny Surrey one Friday afternoon and made my way to the M25 where I was able to enjoy looking at the back of a lorry for a couple of hours as I was travelling 5 junctions!! but, hey ho though ‘tis but the M25, the M4 will be much easier. It is only 2pm after all.
Sadly, the M4 was not going to be nice to me either! I travelled easily down to junction 16 only for signs to light up “J18 SEVERE DELAYS”. Now, I happen to know some of the back roads (A & B roads) between there and Bristol, some of which are particularly lovely (no photos as I was driving by myself, you’ll here that lot in this story!). Instead, I took myself off through some lovely Wiltshire villages, crossing the M4 several times and seeing it stationary. I prided my self for moving at a nice pace, not admiring the back of an Amazon lorry! Of course this still left the M32/M5/M48 section, but I had missed loads of standing traffic!
Alas and alack, I had forgotten the Carn Gals tunnels, but at least I was nearly in Swansea a mere 60 miles to go. Swelling with pride I decided to fuel up at Cardiff Gate. Well, some of you might have read about my breakdown and recovery at the pump? I may have had a hot start failure! I finally got to Swansea and was able to enjoy a pint at 9pm. 8 ½ hours after starting off!!! Let us see if tomorrow goes better!!!
Saturday
So here we are! Clare fully loaded and ready to go (yay!) NOPE! The unnamed brother is about to tell me that he can’t afford the trip! (ok, he’s still alive but only just!!) So what do I do? As he’s been brewing for a fight all morning, because he’s not sure how to tell me, I’m now having this adventure by myself! Selfish? Maybe, but better than rowing all the way! So far from a good start to the day!
Now, here is an important message to learn from the Internet, I searched for ferries only from Fishguard to Rosslare. The booking mechanism booked me from Pembroke!! Did I check? Well that’ll be resounding “No” then! Anyway nice, but rainy, trip to Fishguard. I arrive 2 hours early and drive up to the gate.
“Sorry, mate you reg isn’t recognised”
I stop at the gate only to be told this by the staff! No panic, I get the paperwork, some cameras can’t read black and silver plates. The chap looks at my papers and declares “Wrong port, you should be in Pembroke!”
Well that’s ok 2 hours to do a 40 mile journey, hang on why is this guy getting out the car next to me? He seems very concerned about something, has he done the same thing? Ha, ha, ha! “Do you know your rear tire is flat?” No of course not!! What???? I filled up 300 yards down the road, I’d have noticed if I’d been driving on the rim! I literally must have done it as I stopped! OK! Now is the time to panic! Is my spare ok? Have I got the tools to change it!! AA again?
Quick tip people! Always chock the wheels that are going to remain on the ground, you may not notice but you could be on a slight slope! Chocks applied to front and rear wheels that’ll stay on the ground, jack grabbed from under the passenger seat and….. Oh, no! How to get the hub caps off!? Thank fully the staff nip off to get a flat head screwdriver.
20 minutes after hearing those fateful words “You’re in the wrong place” I’m ready to get back on the road! (Is that 3 things, I hope that’s 3 things? It is, isn’t it? Oh, please let that be 3 things). The wind is picking up as I make my way back to Pembroke Dock and I’m hearing on the radio that a named storm is on it’s way! Oh my, is this the start of another 3? Things are starting to look better it’s 1:35 and I’m arriving at the ferry port only a few cars and vans in front of me. Great I’ll be on first and away early!!
No such luck! There has been a hold up coming from the west, so once again the wrong port malarkey was a blessing in disguise! The sudden arrival of all the vehicles has caused a blockage on the roads near the hospital so, rightly, they have to clear them before we can start boarding, but finally we get under way and Ireland awaits!!
If anyone wants to hear more I’ll be sending the further adventures in time for the next mag!!
Spend since last report: £5,402. Total hours labour since last report: 44.5
The combination of not knowing how to do the next piece and the cold kept me out of the garage on Eric from early December to the first week of May. Petruth Paddocks and a chat with “Ask Malcolm” (the magazine article is “Ask the Mechanic” but I spend a lot of time with the Chairman asking him how stuff works) galvanized me into action.
Gearbox
First, the easy job. Having mostly cleaned the outside of the gearbox last year, I did a final clean, then anti rust paint mainly as a habit. On top of that was primer and my preferred top coat of John Deere black paint. I also took the opportunity to take out the ends of the driveshaft section and clean behind, changed the gearbox oil and degrease the inside of the bell housing. As a word of warning – do not empty the oil from the gearbox until you can verify that the filler plug can be removed! With the gearbox on the bench, I also removed the nose under guidance from the restoration manual and changed the gasket there that had perished and cleaned the “hockey stick” that operates the gears.
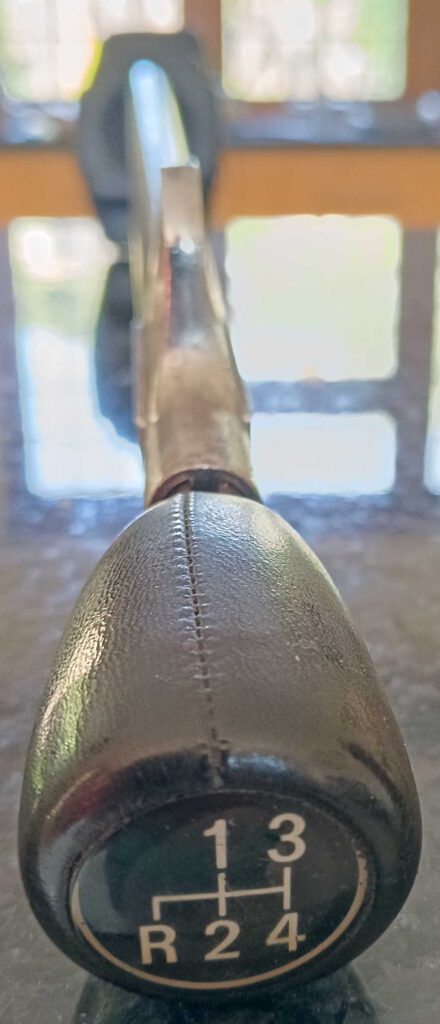
As part of the pedal work, I also cleaned the gear lever that was in the box with the pedals before adding a new gear lever knob. Eric came with an oddball gear lever extension that was about 18 inches longer than standard and a huge gear lever that looked like a golf club. That has been replaced with the gear knob from my old MGB GT that I sold 25 years ago and the knob has been in my toolbox ever since. The gear pattern is the same!
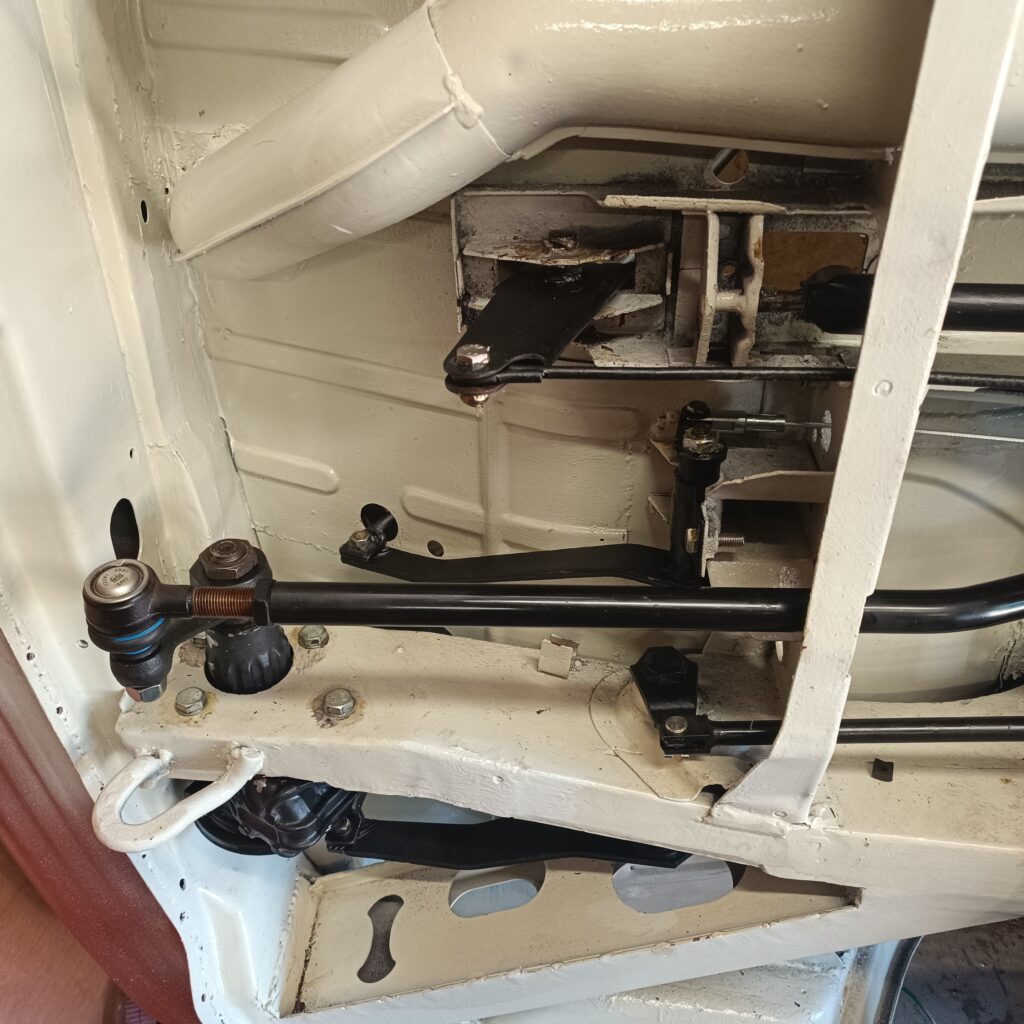
Next up were the pedals. With the underside all painted, I was able to install the steering box, drag link (steering box to beam pole), handbrake arm, brake pedal and clutch pedal. All were carefully cleaned back to bare metal then anti-rust paint, primed and top coated in black again.
The steering box was leaking on reinstallation but this was caused by the bung on the filler hole having a perished O-ring.
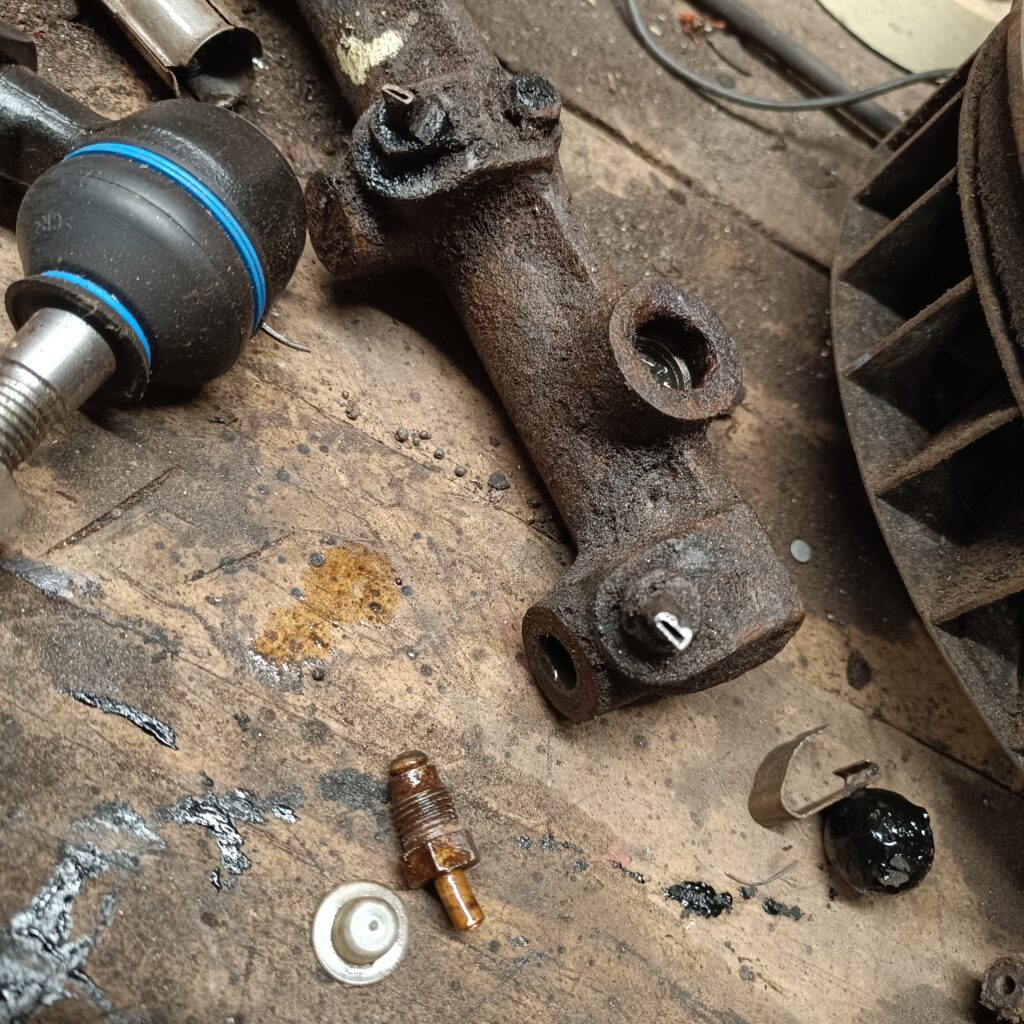
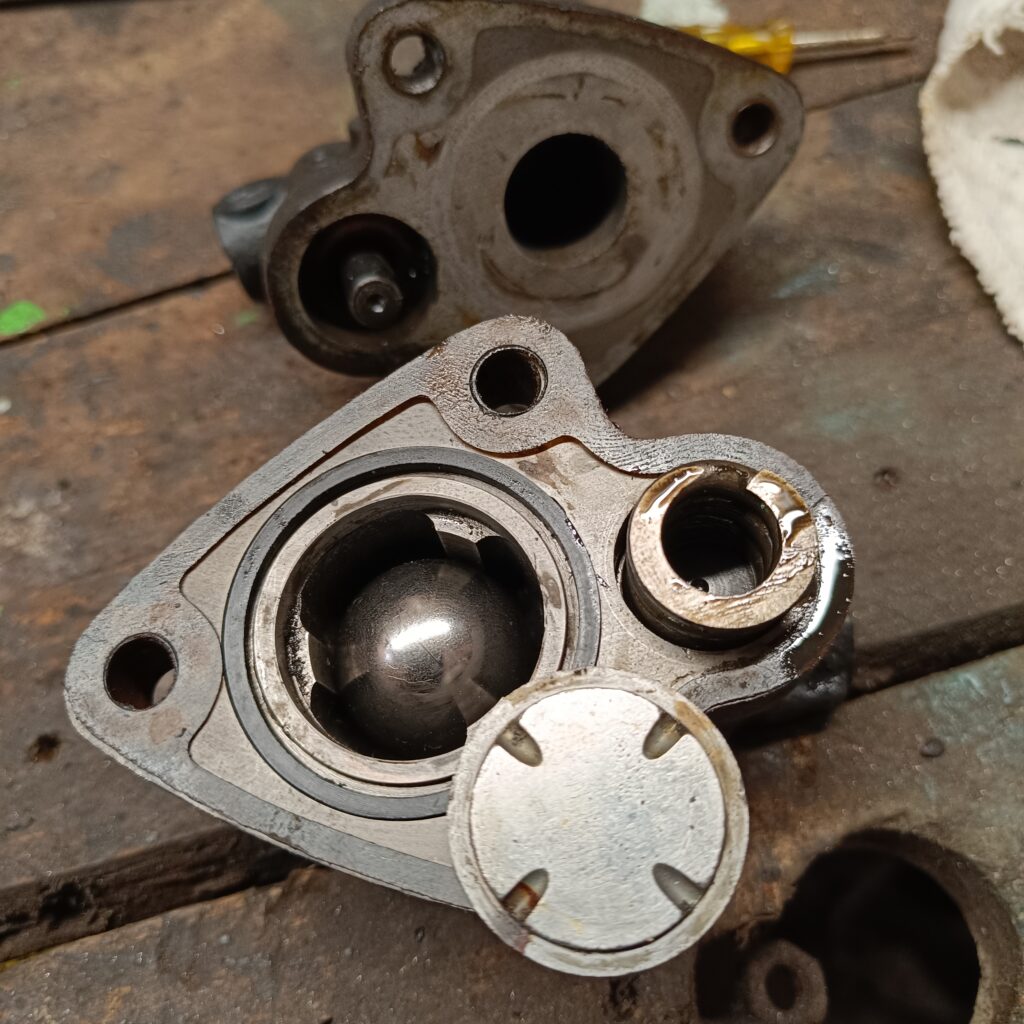
Then I turned my attention to the brakes. The master cylinder pictured was past its best and was replaced. The previous brake set up was not servo assisted, so I bit the bullet and purchased the master cylinder for servo brakes, along with the servo itself, vacuum pipe and other associated bits.
Again, I called on Malcolm’s knowledge and experience to help me to take the first step. Eric’s beam is an original German beam and the servo is a new Brazilian one meaning that the holes did not line up. An annoyance due to the extra time taken to make new holes in the servo mounting bracket on the beam, and the additional extra time to prime and paint the bracket that I painted last year!
The air pipe was then run from the servo down towards the engine bay ready to attach to the inlet manifold to generate the vacuum.
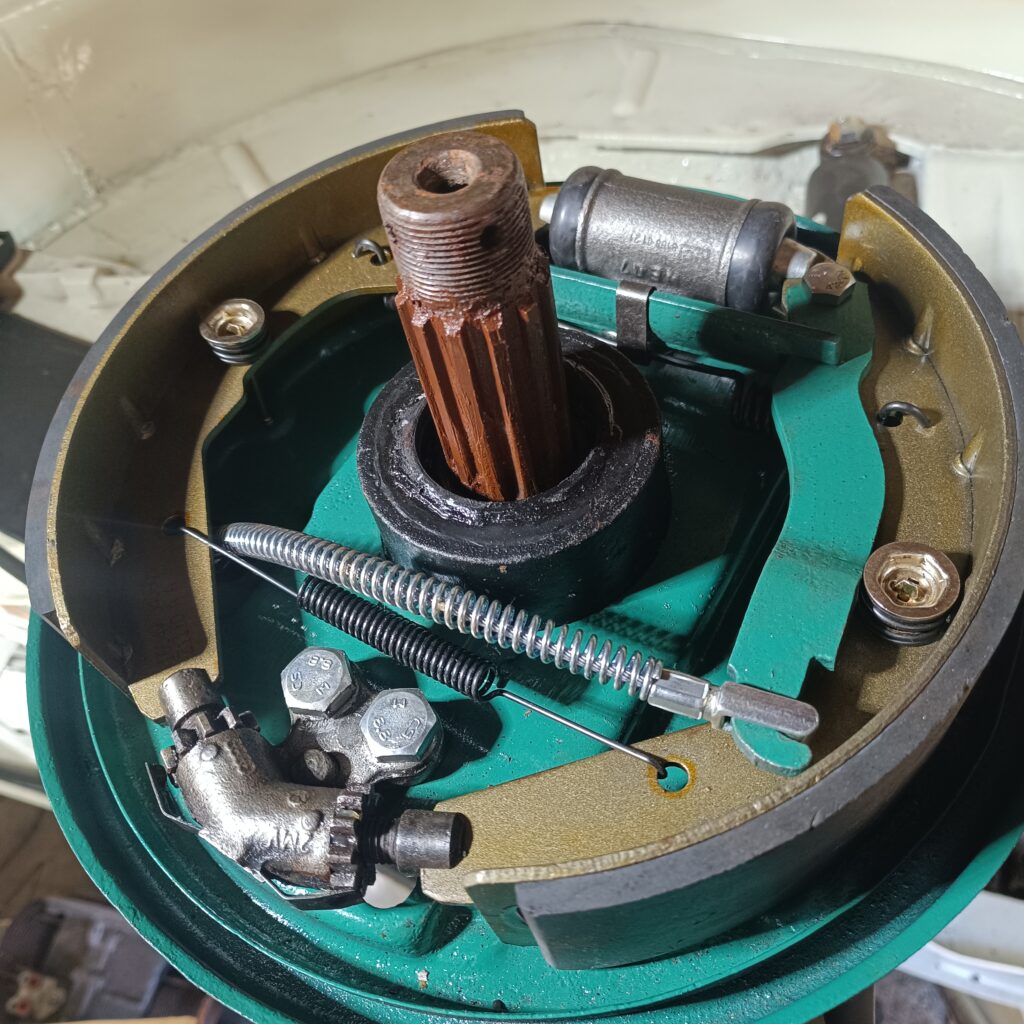
The rear drum brakes were replaced with the exception of the outer drum itself which was stripped and painted in high temperature Kawasaki green paint last year. The anti-squeal springs were a pain as you need to compress the spring a huge amount to get the top piece to connect to the pin. A neighbour gave me the trick of cable tying the spring closed in a vice with a cable tie at each side tied tightly. Then it does not ping across the workshop forty-five times as you try to connect it all.
That was it, brakes complete. Until again I played my “Ask Malcolm” card – the Bay window has a clever little device behind the front wheels as a brake balancer. In the event of kicking the brake pedal really hard, the balancer has a ball bearing inside (pictured) that runs up the hill and blocks off the brake fluid to the rear brakes, working almost like an ABS to stop the rear from locking up. I had not dismantled it but Malcolm as ever was right. Splitting the balancer, I found that the insides were gunged up and the ball was not moving. A full clean out and reassemble and that is now back in. I cannot add brake fluid to the system yet as Eric is still on his side, so I have no way of knowing if the system leaks yet!
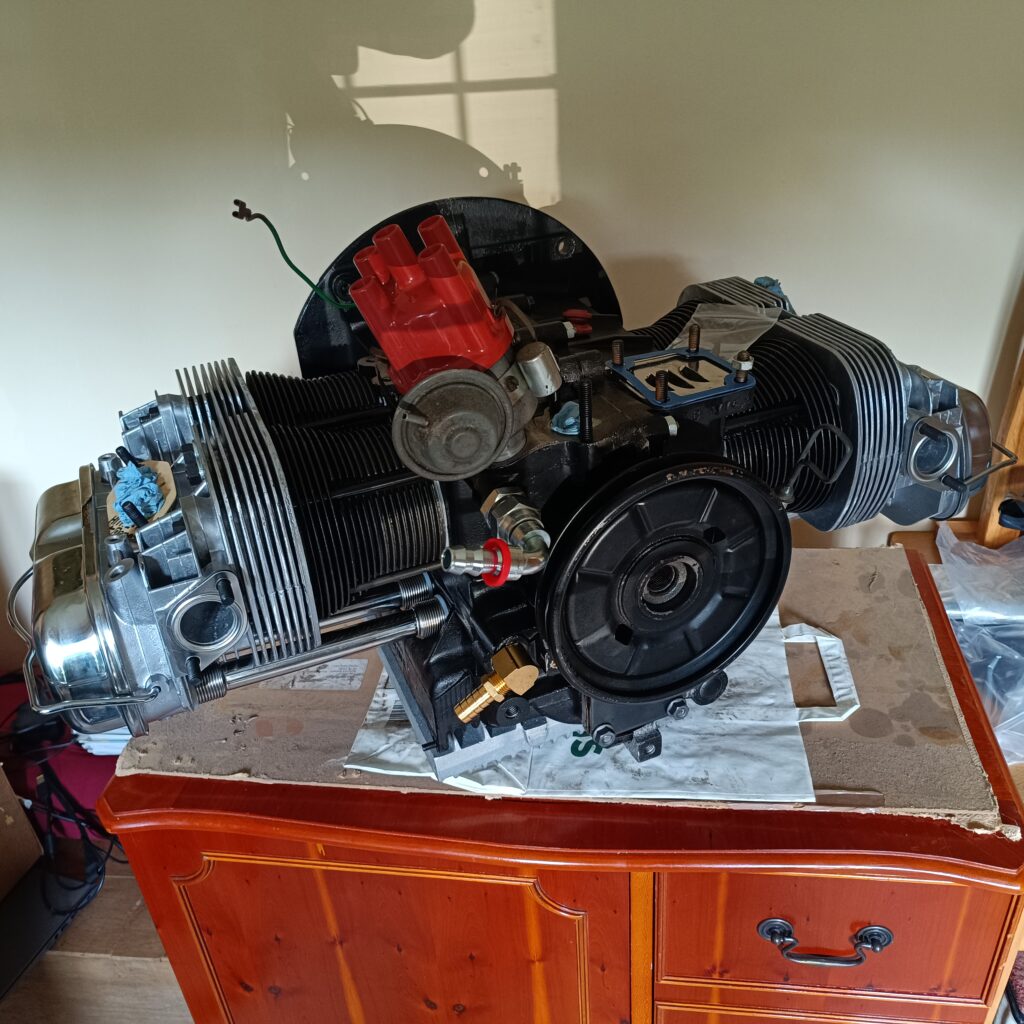
The big news however is that on the run home from the Golden Valley Vintage event in Herefordshire, we stopped in at Stateside Tuning at Moreton in Marsh and picked up Eric’s engine from James. In summary, James has built me a 1776cc performance engine with a type 3 case and dynamically balanced crank, extra deep sump and external oil filter. He also supplied an air housing / doghouse suitable for a VW “The Thing” (Jeep like open vehicle) / Type 181 and a Type 4 oil cooler, as you get 20% more cooling. With the increase from 2.5 litres of oil to 4.5 litres and the increase in air cooling ability plus a properly built engine, I will hopefully be running nice and cool. It looks cracking. Next jobs are to change the seal on the gearbox input shaft and get the gearbox mounted. Then get Eric on his wheels and fit the new nose panel. That should make him look a lot happier. In the meantime, having spent June either working on Eric or away in Poppy, I plan to spend July and August either working on Eric or away in Poppy. Across June, July and August we are due to be away in Poppy for 38 nights! Hopefully in amongst all of that fun I can make some good progress on Eric before we all head to Busfest. See you in a field somewhere.
This issue, we have Wilma, Matt Sharrock’s multi year restoration that he purchased in Vancouver.
In his own words:
I bought the van whilst serving in the RAF in Vancouver, Canada. I ran it all over the Rocky mountains for two years before shipping her home at the end of my tour. She limped through her first UK MOT but needed lots of structural work before she could next pass the test.
The bottom foot all round was replaced, along with all of the running gear, fuel system, suspension, brakes and so on. This was a glass out restoration with new rubber all round as well. It took me 4 years of hard work but I received great help, advice and support from Just Kampers who are a few miles from me, especially Shaun and I have a full works and parts list of the restoration. In June 2022, we went to Classics on the Crick at Naphill near High Wycombe and won gold – most fun! Love the Wilma love that we are getting!
A variation to the Mechanic this time as so many people at club events ask Malcolm and/or Nick about solar. If you want to be off-grid / not using expensive hook up on a site or when that is simply not an option, you can keep your leisure battery topped up with a solar panel.
To help members, Nick got in touch with Just Kampers (owned by one of the club founders Mark Reynolds) to ask about their Solar Charging Screen, to see what it does and how it works. Josh from the JK Team got back to us straight away and told us the following.
He says:
“I’m a big fan of the JK Solar Charging Screen, after getting involved with bringing it into the range and having put it through its paces at VW shows and photoshoots for Just Kampers. For anyone who hasn’t seen one, the charging screen is a solar panel array which folds out from tote bag size to give you twelve solar panels for capturing that elusive sunlight to turn it into electricity. There’s a power outlet hidden away on the back of the screen, which has three USB outlets for charging up phones, as well as a DC outlet you can use to charge up your main vehicle battery or leisure battery.
The kit also comes with six really strong suction clamps, which you can use to mount it to the inside or outside of your vehicle’s windscreen. We designed it to fit the inside of a VW T6’s windscreen, but it’ll go onto any vehicle, and it’s just as useful when you just spread it out over the ground or hook it onto your windbreak.
We took one on a JK photoshoot last summer to keep our phones topped up, and it worked really efficiently. It’s definitely something I’ll take next time I’m camping, to keep our tablet charged up (and therefore my kids quiet while we drive!), and to ward off a flat battery. I usually work on the theory that you’ve got spares and tools and stuff for a breakdown, you’re somehow less likely to actually have one!
If you’ve got some epic adventures or road trips planned for your camper, a JK Solar Charging Screen is definitely worth taking a look at, especially if you’ve got a fridge, interior lights, laptop, camera, etc. on board.
If you do take one on a cool adventure, we’d love to see some photos!
You can read up on the technical specs and other information (like what a monocrystalline solar panel is) at justkampers.com/jk-solar-screen/ or scanning the QR code here.”
Last time, Thomas covered the replacement of the brakes and the chance to use Libertine at the 2012 Olympic Games. He continues:
Before my departure from my family at home, I had a little more work to do on the bus to make it Olympics ready. My previous conversion of two sets of Volvo rear and front seats were changed. Volvo seats remained in the front, but the rear had to accommodate a bed again (I had regretted removing it a few years before) and a kitchen box made in haste. This would be a long box behind the bulkheads of the passenger and drivers seats. Handles, so that it could be removed if necessary, sliding doors, food compartment and cooker on top. This was successful for the time of the Games, but I came to miss the ability to walk from the back into the front without the need to get out of the van. Still, it would do for now.
Pre-Games attendance started with me camping in my Bus in the Portland Olympic village itself, and the restricted car parks there. Accommodation was offered far from site, but I had all I needed in my bus. The site had shower and clothes washing facilities to help my stay be more comfortable. That and a little SPAR shop selling food and wine. My shifts alternated between day and night with my Army colleagues. Working hours were long and I was on-call 24/7. My bus became my sanctuary, a place to get away from the hustle and bustle of the long days and nights. Kick off my boots, put the kettle on and some music. Peace and quiet….until my radio squawks my call sign “attendance urgently required…”
Before the Games began, I had an idea to camp in my bus at the heart of the Olympics on Portland. Why not? I’ll never get the chance to do this again. This I did, near the collections of flag poles with flags of all Nations. The local Naval Commander who was in charge was not happy, but reassured that it was for one night only and then I would be gone before the public ever came near.
As I settled down for the night in my bus by the Flag poles. I became aware of Police vans parking really close to me. Very close. Peeking through the curtains they were the Police dog vans. Yes, complete with dogs within them. The vans parked front, back and sides to me. What’s more, the dogs snarled every time I looked at them. Well, they aren’t pets are they. Although such animals don’t normally snarl except when at ‘work’, no one told them they were off duty. They also howled. I’m sure they don’t normally, but they were not happy with me at all. The next morning, I was asked by the Commander and a Senior Police Officer (both grinning from ear to ear) if I had a restful night. I cannot print my reply. Even so, I thought it was very funny and I took it all in good humour.
The weeks went by, and I moved around the old Naval base at Portland. Alternating my location every few days to change the view from my van, and to meet other working groups there. The van became a familiar sight to other ‘work’ groups there. From Police divers, marines, bomb disposal and G4 Security. We got to know each other well. I gave some Marine divers coffee and bacon sandwiches after an early long dive in cold waters. They were very grateful, but expressed surprise that an Officer no less, had greeted them with such a welcome sight as they came ashore. It’s simply a case of looking after the Troops. I don’t care who they belong to. In turn, they invited me to their accommodation for a social gathering with food. Amazing really, as Marines by nature tend to keep to themselves and I was an outsider. The van helped. It was a talking point. They seemed impressed that an Officer preferred to rough it in a van and not hide away in a fancy hotel. For some reason they all thought Officers did and were surprised when I revealed that this was far from the truth. Still, all was good humoured. My van was also used for early morning breakfast with the Police divers in their fully equipped van with changing area and kitchen. Likewise, I returned the favour. Cooking a full breakfast on my vans little two ring burner and grill.
The time had come for me to live aboard a ship for a while. This was moored at the old Naval dock side. The Royal Fleet Auxiliary (RFA) Mounts Bay. Parking my bus as near as allowed (I had my Golden ticket but I was still subject to Harbour control and common sense) and boarded the Ship with a few of my colleagues to find our cabins. The Officers Galley (Kitchen and dining area to you land lubbers) had copies of VW magazines about. Turned out that the crew were VW enthusiasts. Ship life can be noisy. I was on night duties ashore, but your sleep is disturbed by ships constant noise, fire drills and a contingent of Marines using the gym which was next to my Cabin.
I was very glad when the time came for me to leave the RFA Mounts Bay for the quiet sanctuary of my bus. Not to say that I did not enjoy the time there. The Ships Company were friendly and helpful and it was a wonderful experience which I shall never forget.
A Warship was coming into berth, and my colleagues and I were asked if we would like to stay on board. Another great opportunity, but I thought that particular ship was ‘too flighty’ in my opinion and may take off for other duties at a moment’s notice. My colleagues took the offer. I stayed in my van. One day they returned to the dockside to get some sleep after a long shift. It had sailed on other duties without them. “want a coffee in my van while you all sort some other accommodation?” As I went on duty I left my colleagues my spare keys. The van was now somewhere to rest and sort themselves out.
There was one incident I can recall. I was on Duty in my van but up into Weymouth itself. To get from Portland to Weymouth Town you cross a narrow causeway. The road goes down the middle of it. There were heavy winds blowing. As I was halfway returning to Portland there was a loud BANG!! The pop-top roof had half deployed ! The wind was so strong that the two internal clips had snapped, raising the roof but on one side only. This acted as a sail, catching the wind and making control of the van almost impossible. Making an emergency landing I parked and struggled to get it down. Supports slightly bent but in one piece. Roped down, I made my way to the Control room where I was to be on duty. During The Games, Portland to Weymouth was monitored by hundreds of CCTV cameras. I asked the monitoring crew if they had seen my near disaster on screen. Better still, had they recorded it. But no, they had been distracted by something else. I was disappointed that my brave actions and control of my van had only been seen by me and a few terrified road users.
After a few months my time at The Olympic and Paralympic Games came to an end. A Mobilisation can either be a miserable experience or an interesting one. I decided to make it the latter. Regrettably, I am unable to tell other stories of my time there in my bus. The Official Secrets Act is for Life, not duration of Service!
By now, Libertine’s engine seemed to be a little sluggish. Was the exhaust slightly smoking? Was it making noises I have not heard before? On return home, it was time for a holiday with my family (It may have been the Olympics but it was not a holiday for either myself or my family I can assure you). A treat awaited the van. Parts were being gathered for an engine strip down and rebuild. Libertine deserved it after a few months of hard work.
(Editor: Thanks to Thomas for some greats stories of van life. Time to share reminiscences and restorations from other members, next issue is the turn of Matt Sharrock and Wilma)