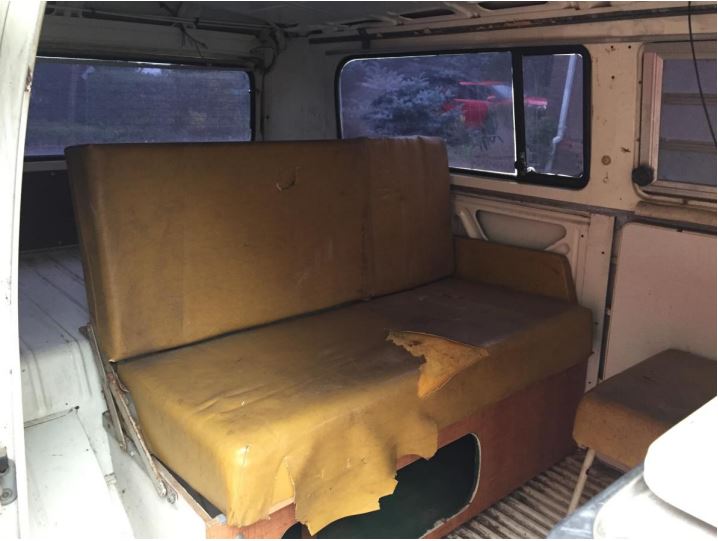
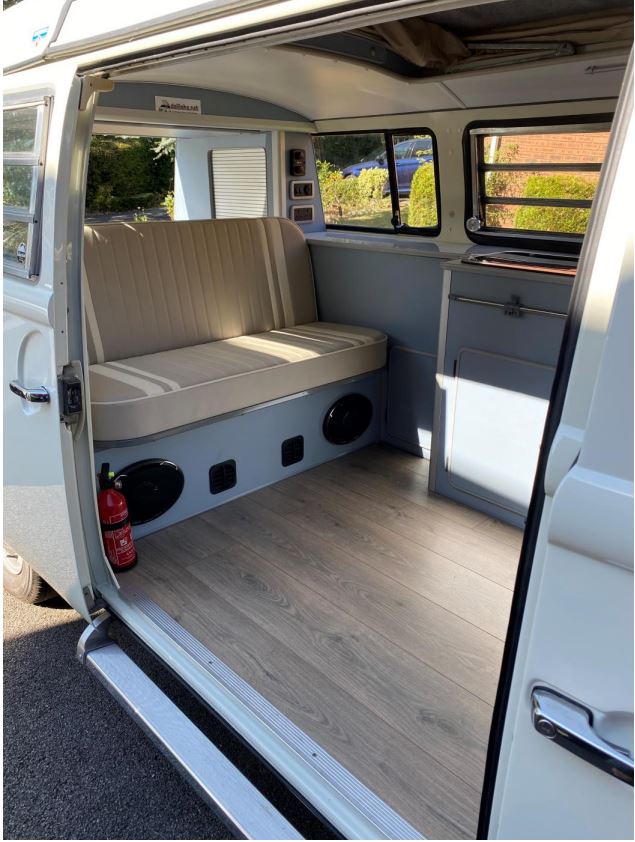
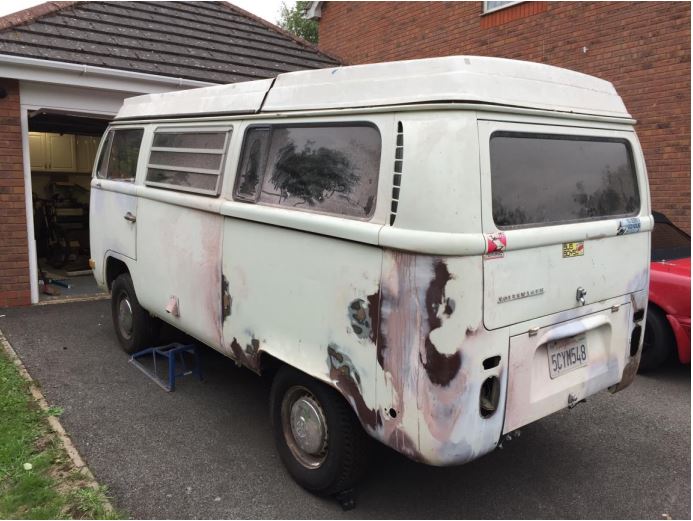
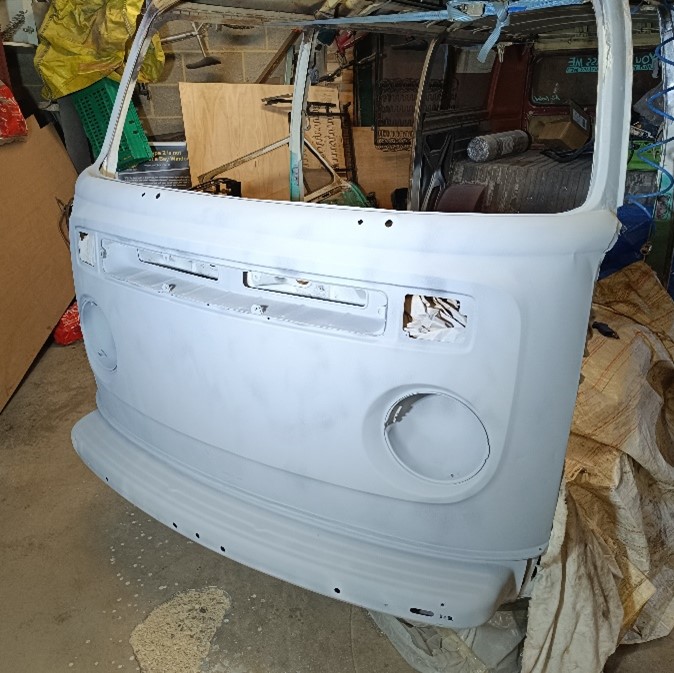
Continued from the last issue. Having sold the old interior…
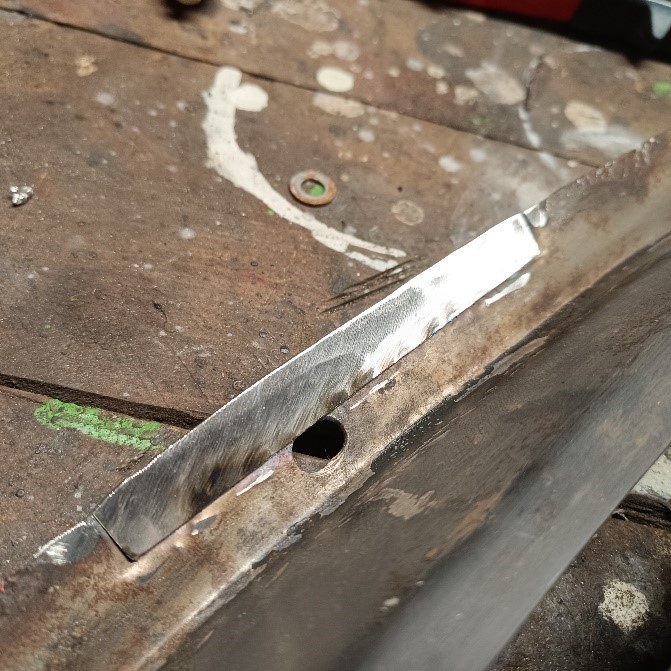
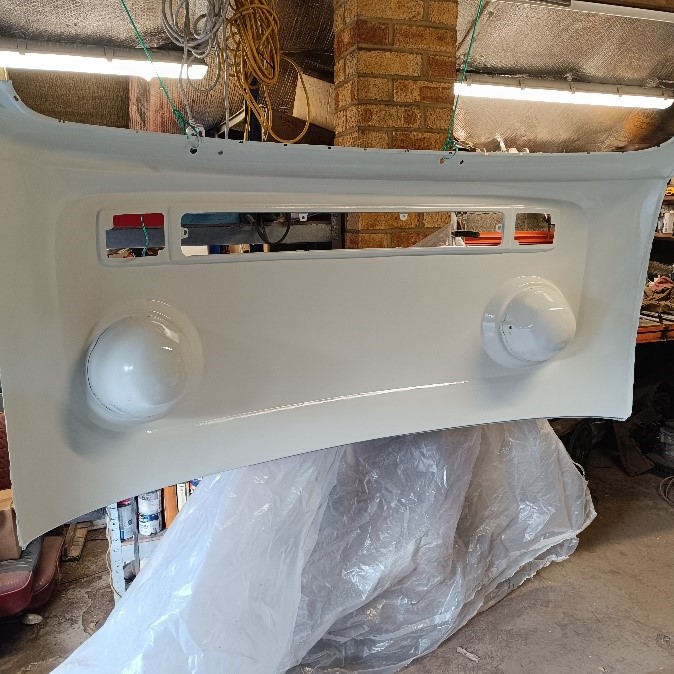
After clearing out all the detritus and giving it a good wash, I started work on the front panel. Fortunately, a new front panel was included in the sale, albeit a 4-piece kit that includes a late bay panel that is modified to make up the Early Bay front panel. Getting the panels welded together and fitting correctly took many weekends, but it was very rewarding by the end when Henning started to resemble a T2a again.
Over the following few years Henning underwent a complete ground up restoration, every part being removed, overhauled, or replaced. There are many very satisfying jobs when restoring a T2 but the absolute worse is scrapping off the hard and dried out under seal, what a ball-ache of a job that was! My long-standing best friend (the one with the 70’s beetle) had also recently restored a T2 and advised me that I would need ‘patience, time and deep pockets’ – how right he was!
In 2021 the mechanical & electrical restoration was finally complete, and Henning was capable of self-propulsion. However, the first outing was a bit of a disaster. We had decided to drive Henning to our daughters’ house, that it just on the other side of town, filling him up on the way. When the time came to head home Henning simply would not start. After about an hour of fiddling about and head scratching, we managed to eventually get him started and limped home. The problem turned out to be a blocked carburettor due to rust in the fuel tank that got washed off when we filled Henning up for the first time.
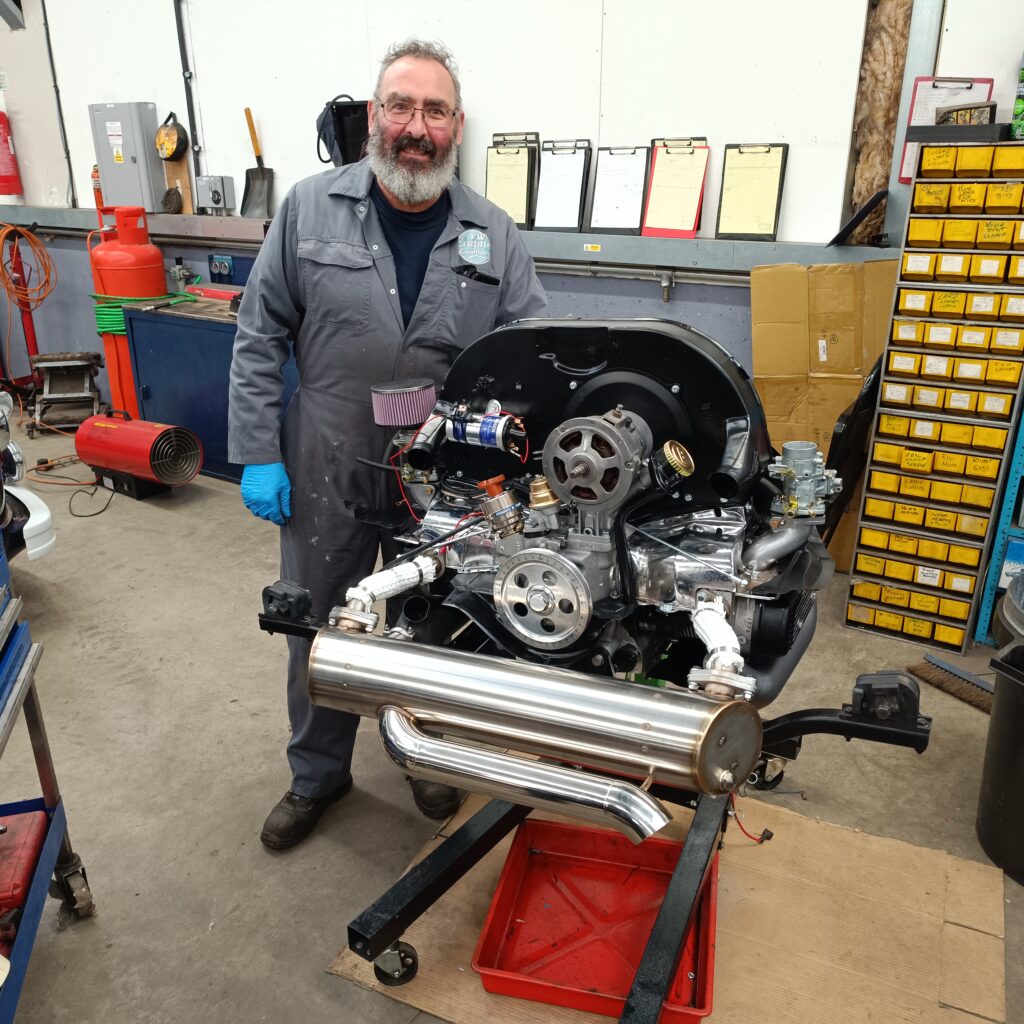
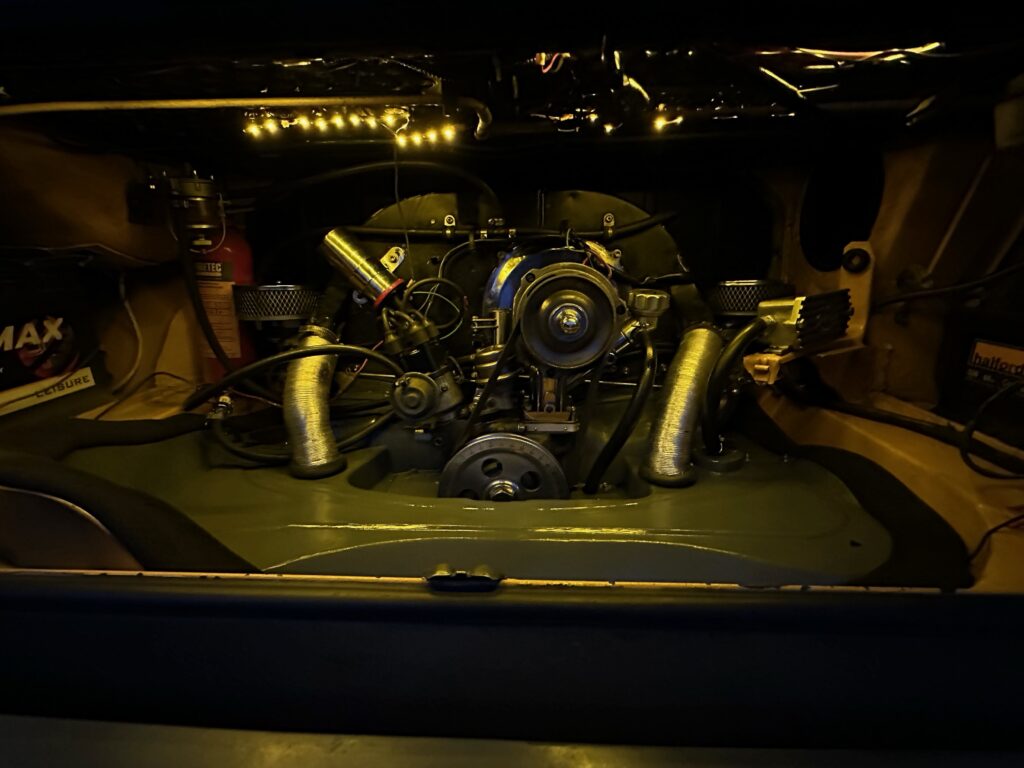
After this incident we decided to replace the fuel tank and at the same time replace the original engine (that turned out to be a bit of a ‘duffer’) with a 1776cc from The VW Engine Shop (that I can’t praise highly enough). At the same time, I invested in twin Weber ICT carbs, a Vintage Speed exhaust and electric fuel pump setup. Needless to say, it was a complete transformation, and I am very happy with the results.
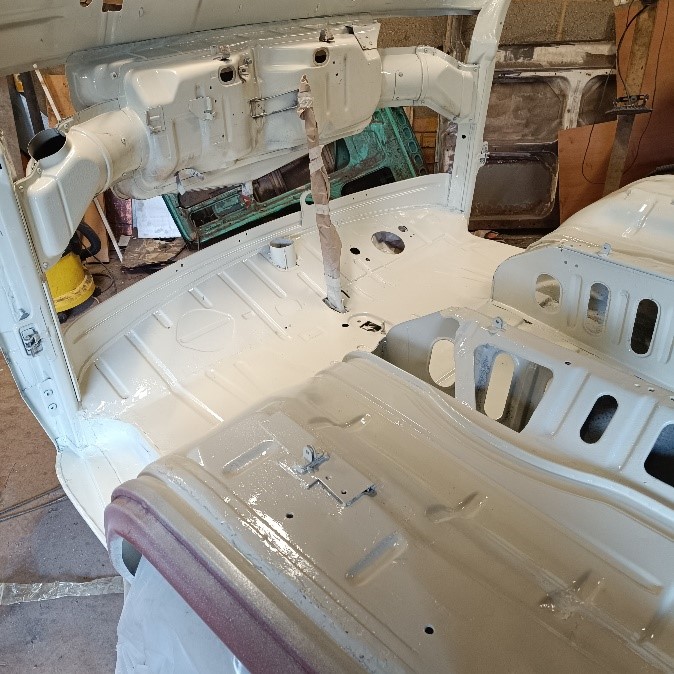
Now that the various mechanical bits and bobs had been sorted it was finally time to address the multi-coloured bodywork. So, in the autumn of 2021 I started to look around for local spray shops in the (naive) belief that it would only take them a few weeks to complete. How wrong I was as everywhere was fully booked up for at least 6 months! The bodywork eventually took 9 months to complete but I have to say I am absolutely delighted with the results. We don’t have any regrets about keeping the original colour scheme of Pastel White and Cloud White that now positively gleams!
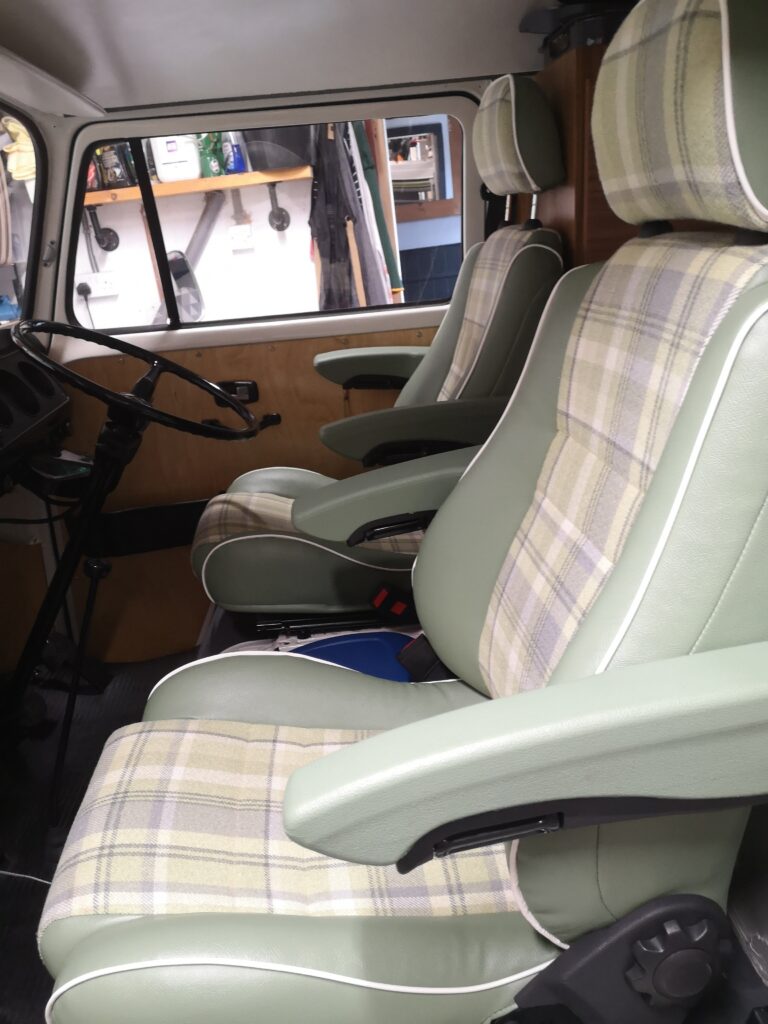
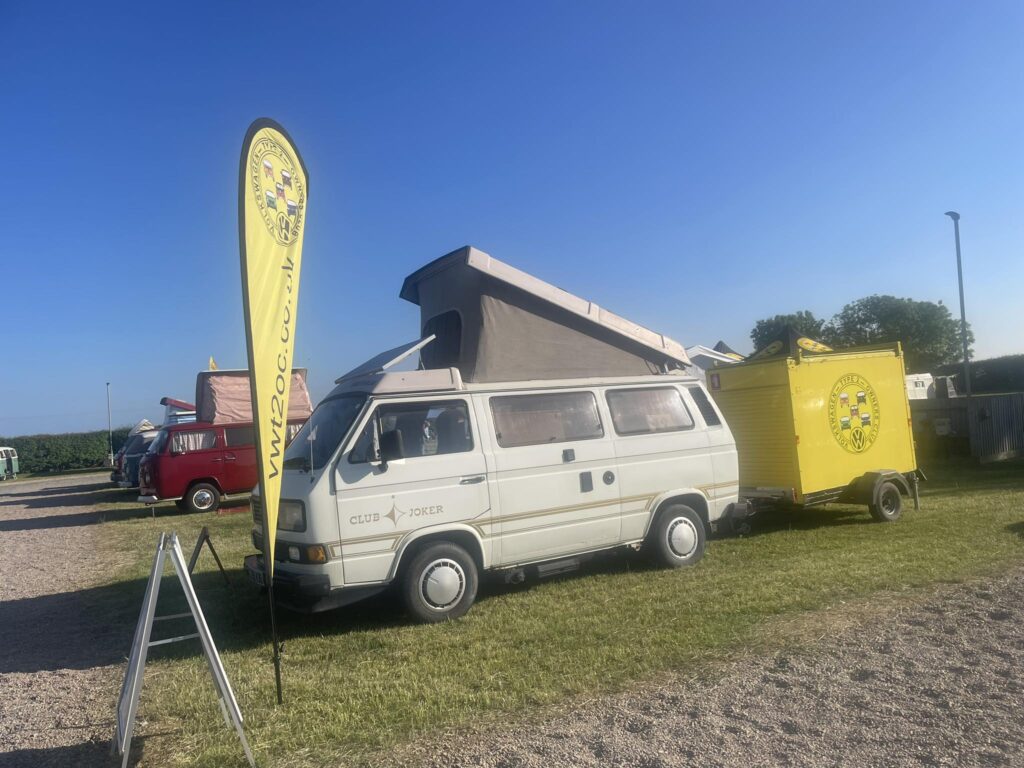
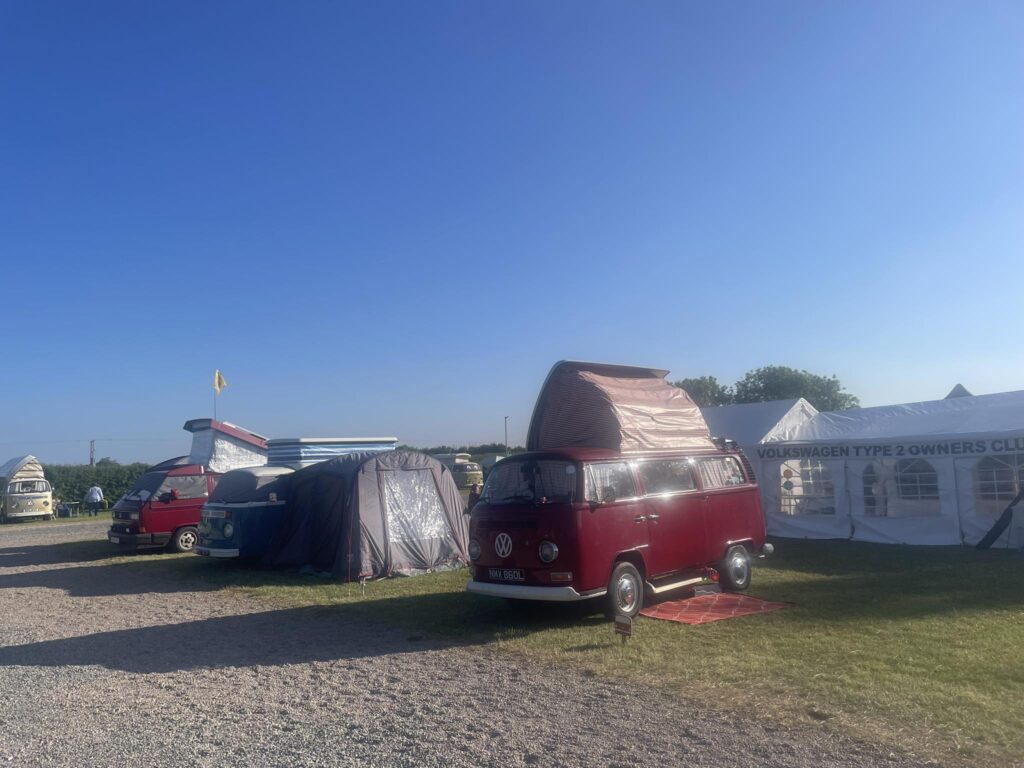
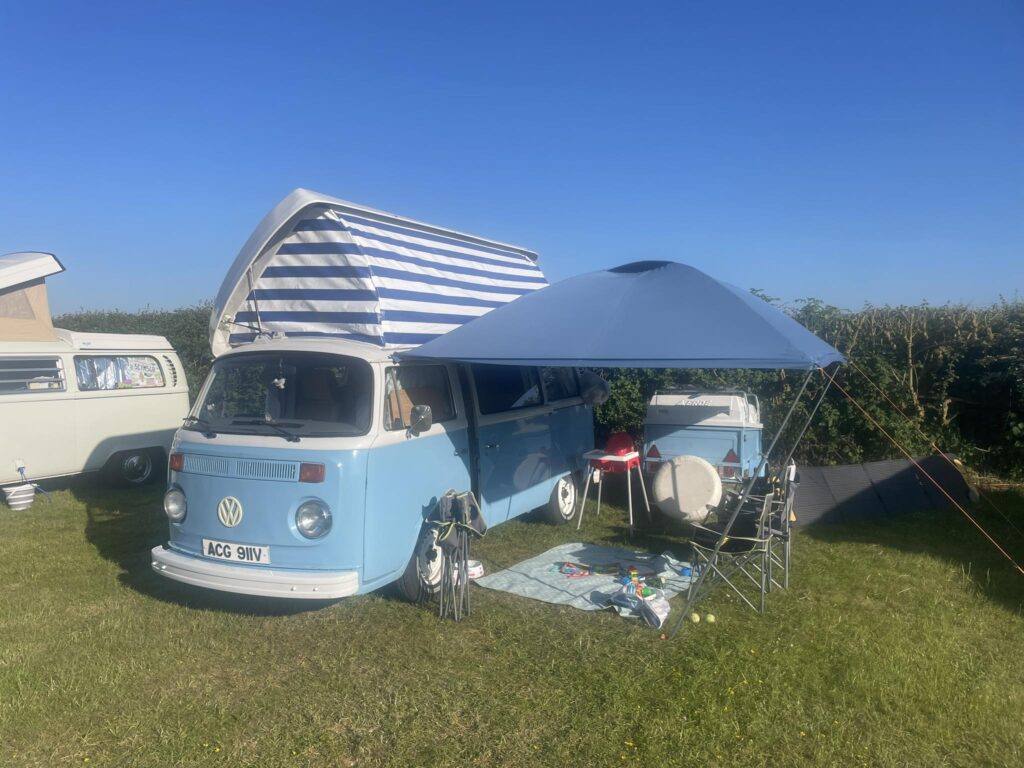
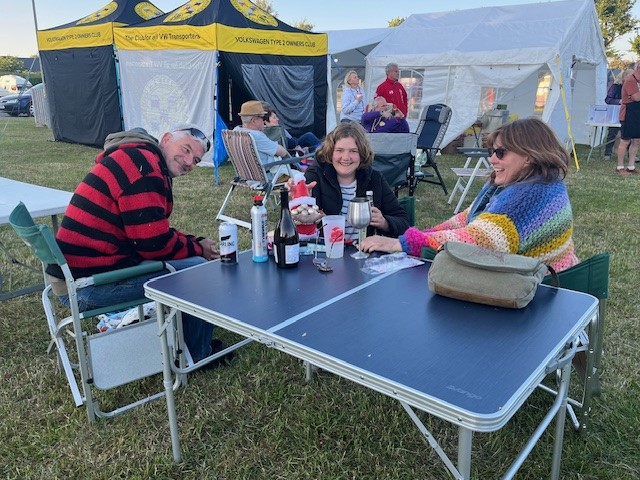
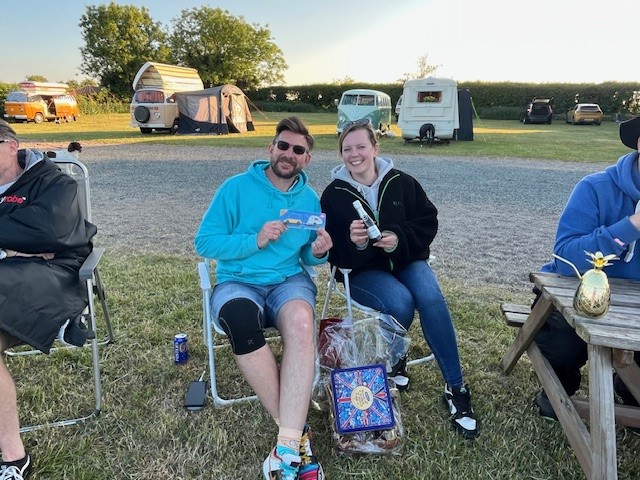
When Henning was finally complete (if a T2 can ever be considered as fully finished?) in 2022 we had our first proper trip away to Busfest. We were made very welcome by the T2 Owners Club and spent a lovely weekend talking and having fun with likeminded VW enthusiasts. What a truly great club and to cap the weekend off, we won a bottle of bubbly for ‘Best Interior’ (more about the interior to come in the next issue).
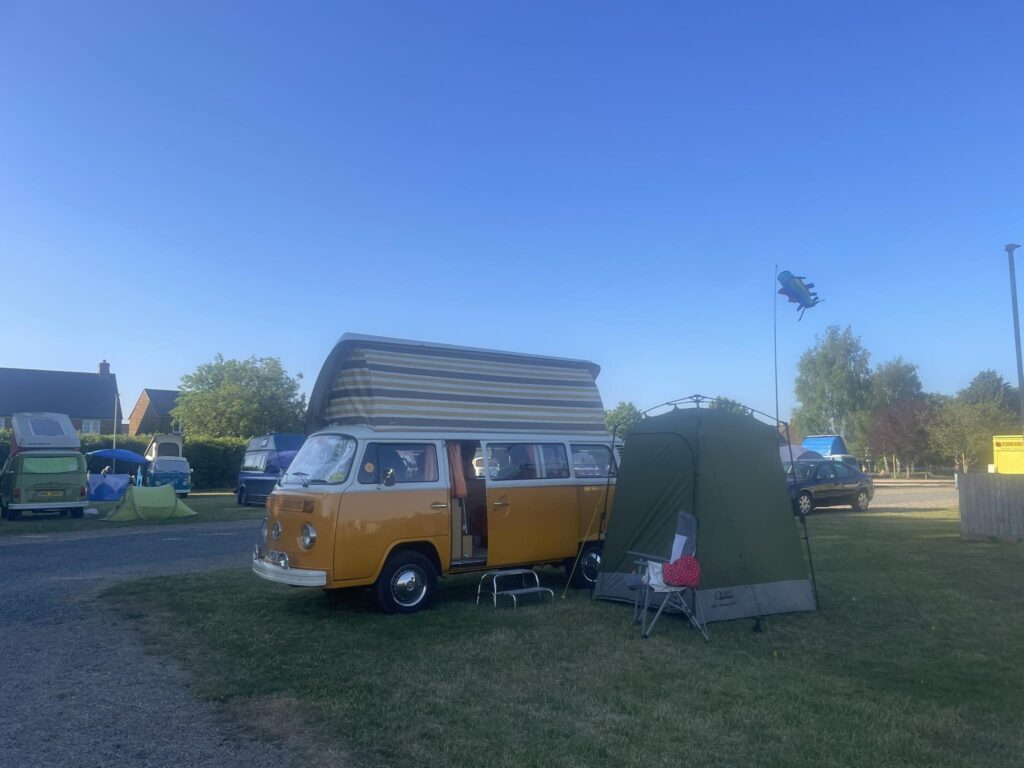
Since then, we have had several very enjoyable and memorable trips away in Henning, including a week away on the North Norfolk coast where we were the envy of others on the campsite in their modern and anonymous motorhomes!
Finally, you may be wondering why we call our Camper ‘Henning Van’. Well, we are big fans of the German Comedy Ambassador ‘Henning Wehn’ who is from Westfalia in Germany. At a recent ‘after show book signing’ we told him that we had named our camper van after him. He gave us a slightly perplexed look, said ‘very good’ and gave us a German Comedy Ambassador badge!
Next issue, Simon will give us an update on how they changed the interior of Henning to scoop that Best Interior at Busfest 2022!
Spend since last report: £508. Total hours labour since last report: 88.9
Yes, that is a lot of hours since the last report. Yes, progress has been made! Last report, I noted that I had purchased a new spray gun and it was time to test it out. Prior to installing the nose / front panel, I decided to spray it before installation to get down to the bottom that is hidden when installed. At the same time, there is a lot of metal to spray on the cab floor, kick panel, seat tubs and main cargo floor. I mixed up my 2-pack L90D Pastel White and donned my trusty 3M mask and did a test spray on some cardboard to check the spray pattern. Once that was about right, I set to work and used about 750ml of paint.
I’m not very good at paint and for sure others would be faster. My garage is dusty, so there’s a few bits under the paint here and there, but it is on and looks great. The feel of 2-pack paint is that it is really durable and smooth (dusty bits excepted!).
Then I moved on to the installation of the front panel. Welding that on is simple – loads of people do it. There was a recent article from John Undie Underwood on it with clear details, and is a regular thing to do as the front takes all of the weather when driving.
Simple huh?
I started to get it clamped into position just 2,023 days after purchasing the panel from Just Kampers in 2018 and it has been sitting in the corner of my garage ever since. Every clamp in my garage was used to get it into position along with a ratchet strap to hold things tight. No matter how I tried, it would not line up properly – I managed to get everything sitting comfortably except the bulges on each side between the windscreen and the air intake vent. Possibly the panel was a poor pressing or it got bent at some point, or I simply did not know what I was doing!
I welded it all into place except the bulges. All looked good. The outer panel matched to the inner windscreen panel to within 1mm which was brilliant given that the inner panel went in rather blind due to rot on the previous one.
The air vent tabs also lined up and the spot welds were things of beauty.
Next up is the dashboard. The dash is made of the metal front, a softer rubber style grab rail in the middle and then the metal for the dials, radio and switches. Separating the 3 components was straight forward, although the nuts would have been tricky without my trusty impact driver. Everything was stripped to bare metal before dealing with the inevitable rust on the front lip. This was chopped out and a few sections of new steel let in. I was quietly pleased with how smoothly that all went on!
Once stripped, I then rust proofed it all, etch primed twice and top coated twice with John Deere matt black tractor paint that is my go-to paint for black parts and it goes on wonderfully well. I also emptied the box of other metal to be painted black as well – dash, front of dash, steering column, steering column surround, foot pedals, steering column support bracket and closure panel on the floor, and finally the air vents that sit on the front of the dashboard.
The sun came out for a change and it all got air dried and sun baked.
The inner windscreen repair panel did not come with the bracket to attach the dashboard. Never mind, I can cut rectangles of steel, bend them, drill a hole and weld a captive nut. I made one for each mounting hole of the dashboard, offered up the dashboard, marked the location and welded them in place. They looked great and I then painted them in L90D pastel white and adjourned for the day with a big smile on my face.
It was later that night that I realised that you don’t put the dashboard in flush to the top of the inner windscreen, it goes about an inch down. The next day, I carefully removed the tabs, remaking a few that were not good enough to re-use, took the paint off the tabs and the inner screen, welded them on in the right place and then offered up the dashboard. Yet more time spent doing it a second time because I don’t know what I’m doing.
I wrote an article last year about installing MGF seats in Beryl, our 1973 Westfalia Continental, and promised a follow-up article about our trip to the Emerald Isle. (Editor notes – it was written last year but Member’s Motor articles were already in the pipeline, so the seats article is in issue 190!).
Sunday 20-08-23
We set off from Liverpool, on the 10.30 a.m. sailing to Belfast. Boarding the ferry was much easier than I’d anticipated. Beryl was already attracting the attention of our fellow travellers, and the new seats were getting a big thumbs up from Vikki and I.
We booked a cabin to make our trip onboard more relaxing as the crossing is 8 hours, and as luck would have it, our porthole overlooked Beryl, parked on deck in the August sunshine!
The crossing was smooth and comfortable, and disembarking into the Port in Belfast was very organised. What had I worried about?
Although hailing from Northern Ireland and having attended University in the city, I hadn’t been back to Belfast since 1996, so driving through the streets in a vehicle that was even older was a joy.
We’d decided to spend a few days in Belfast, so we parked at our city centre hotel, The Bullit on Church Lane. We ate in the hotel steak restaurant Taylor and Clay, which was fabulous.
Monday 21-08-23
We went for a morning jog through the city centre. It was a trip down memory lane for me, and jogging past my old University was a sight to behold after it’s multi-million-pound refurbishment.
We’d organised an itinerary for our trip, and first up was a 3.5-hour secret food tour of 6 notable eateries and watering holes in the city. It was fabulous, and the company of our guide and the other participants made it a truly memorable experience.
Tuesday 22-08-23
Being centrally located, we decided to run past the Titanic Museum before visiting later in the day. We booked tickets for the museum and a guided tour and can thoroughly recommend this for anyone visiting the Belfast.
Back in Beryl we headed out the Shore Road past Carrickfergus to our campsite at Carnfunnock Country Park.
Wednesday 23-08-23
After a morning run along the beach and a breakfast purchased in the famous Sawers Deli in Belfast, we set off along the Shore Road towards Ballycastle, a beautiful drive along the coast and through small villages.
We ate at the Look-Out Restaurant, the sister of the established Salt House restaurant and enjoyed an evening of fantastic food and drink accompanied by stunning views of the Irish coast.
Thursday 24-08-23
We had planned to make our way to Portrush, where I’d spent the summers of my youth working in a theme park called Barrys and my evenings in the many bars, but we were enjoying Ballycastle so much we decided to stay. The weather didn’t play ball, so we ended up cosied up in Beryl and watched episodes of Elementary on the projector.
Friday 25-08-23
Homeward bound a further 25 miles to Limavady along the coast to my hometown of Limavady to join up with my family.
A few days back home brought our trip home to a fitting end before we set off home on the Sunday 10.30 a.m. crossing to Liverpool.
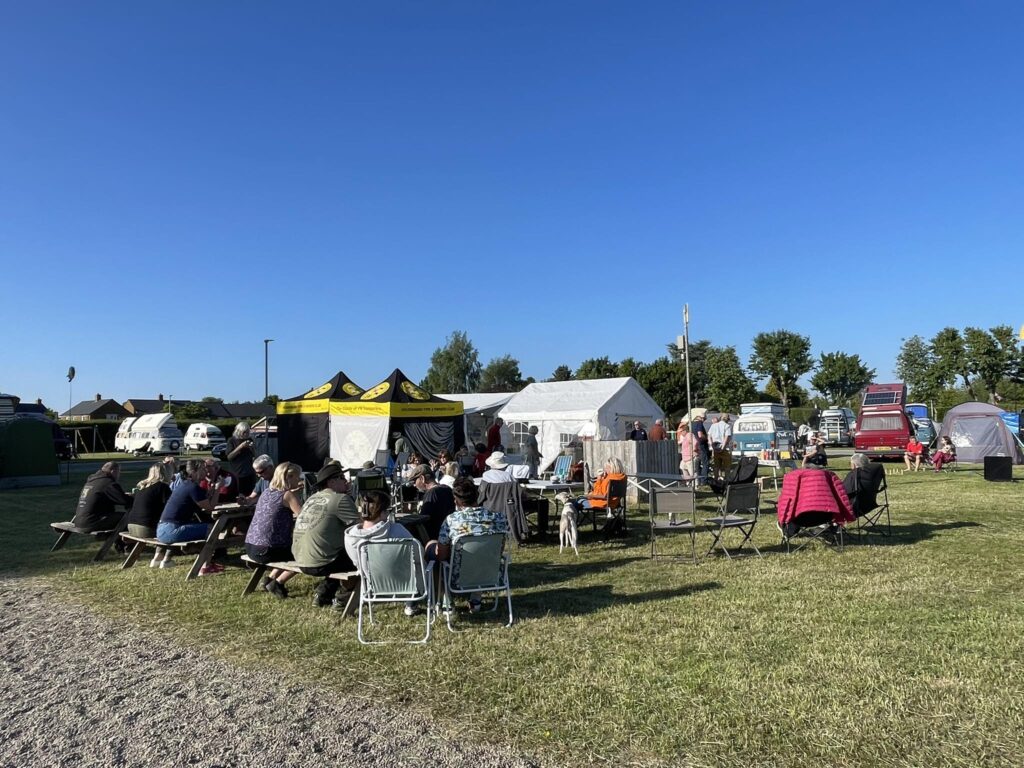
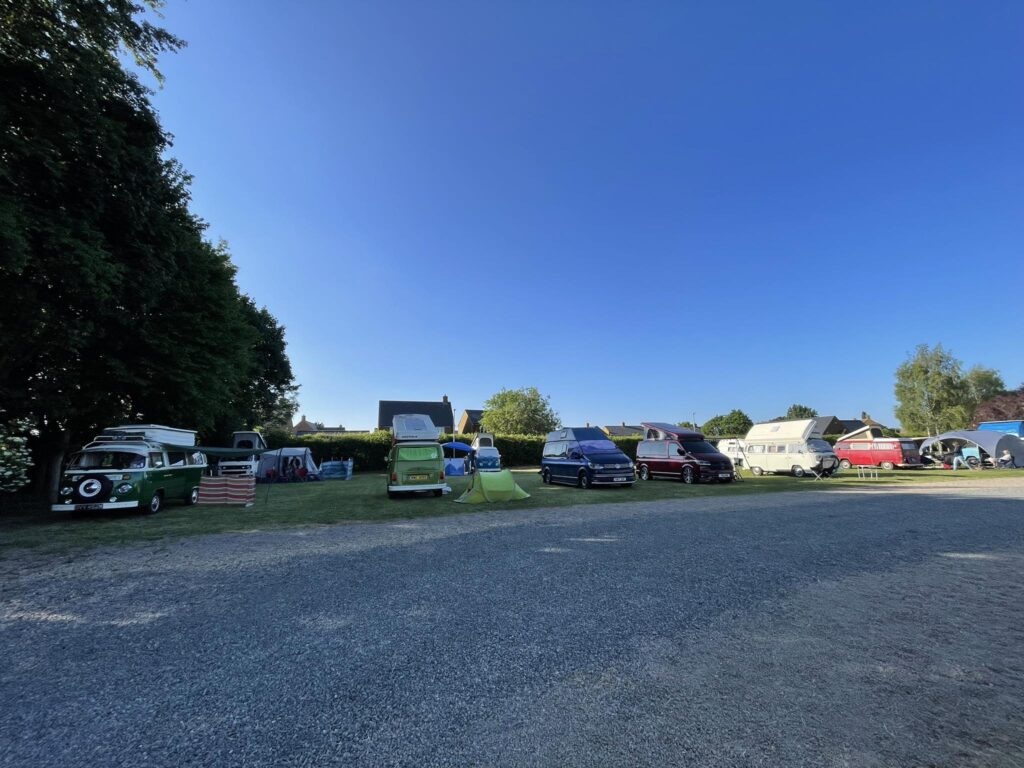
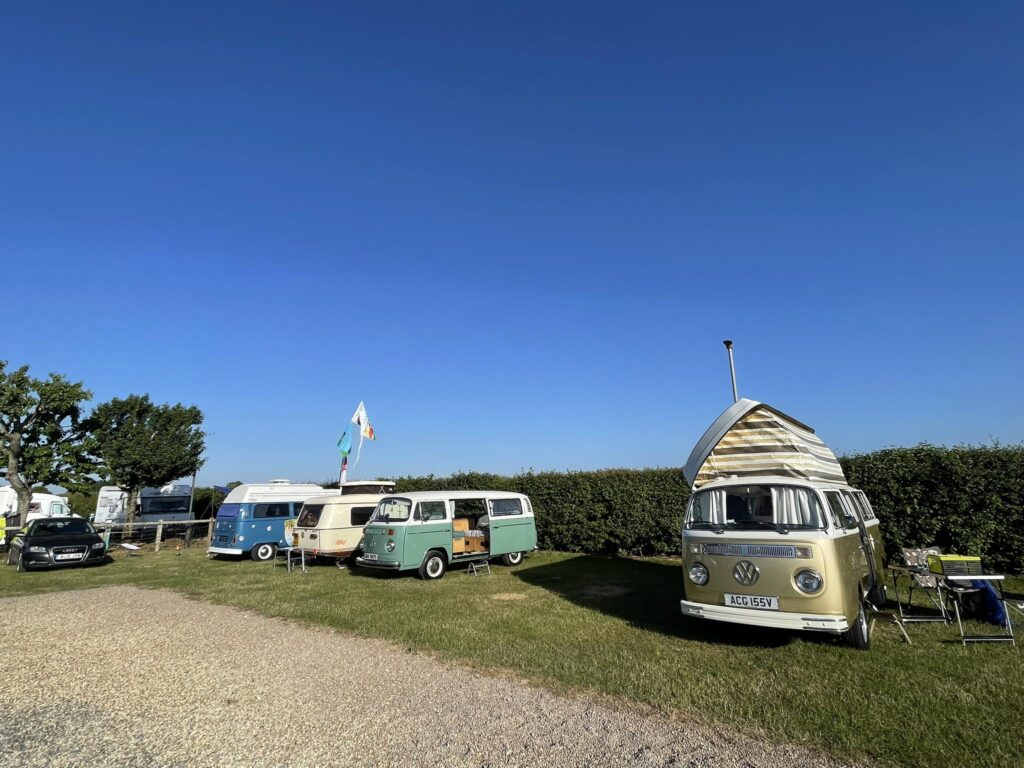
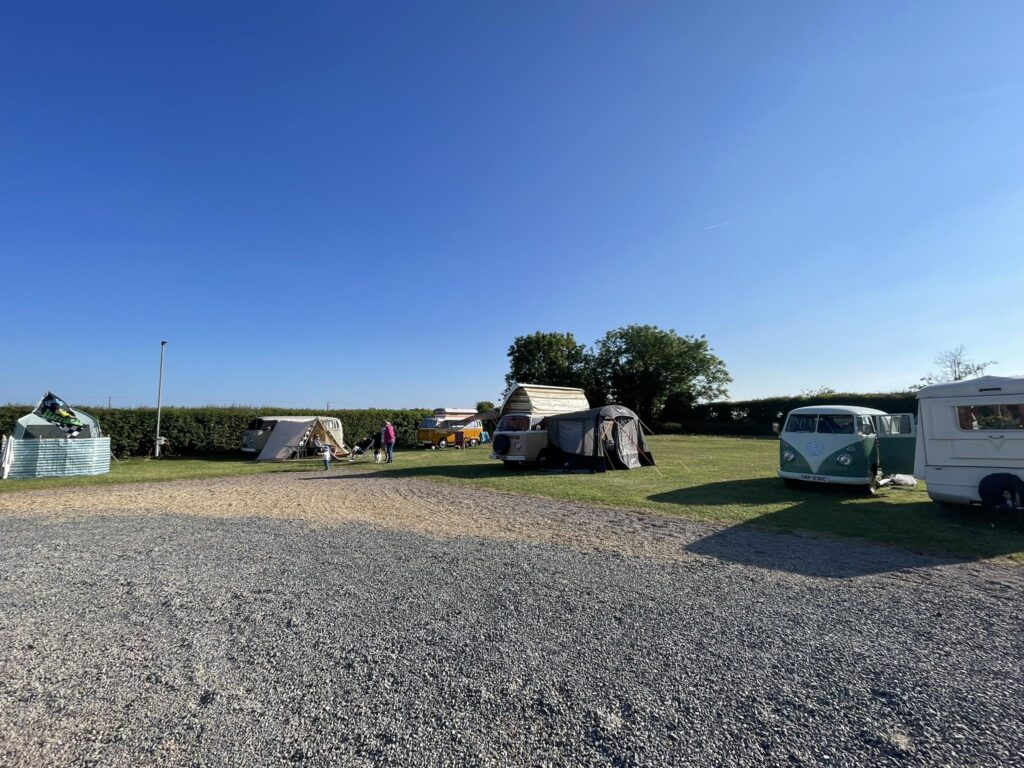
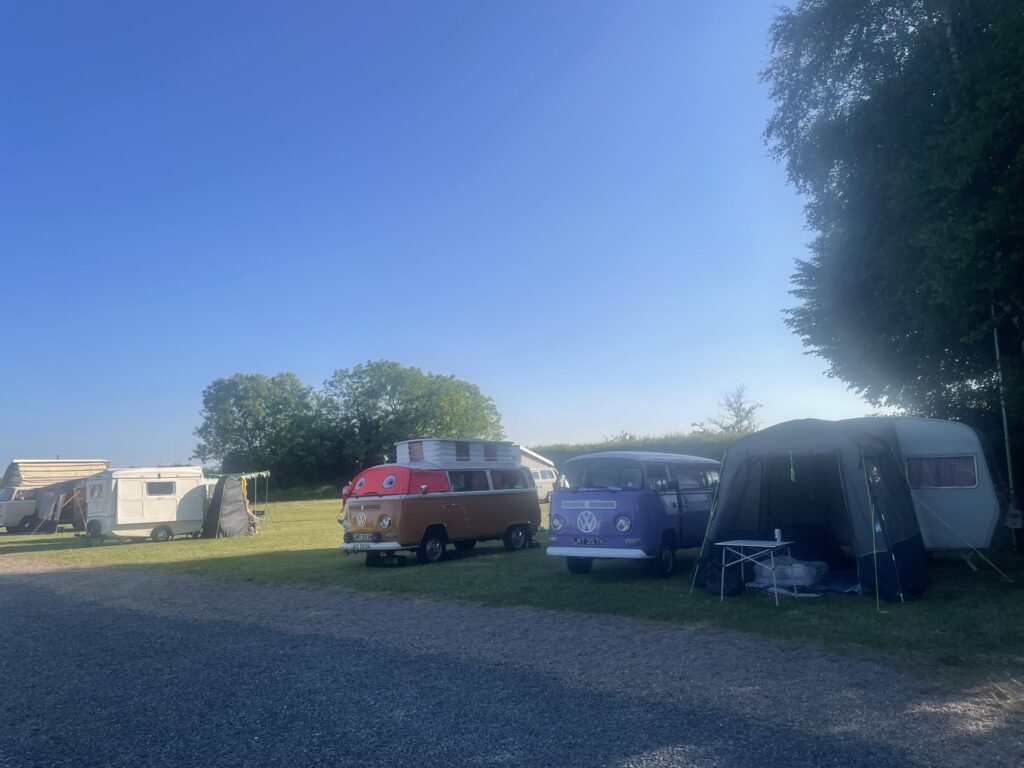
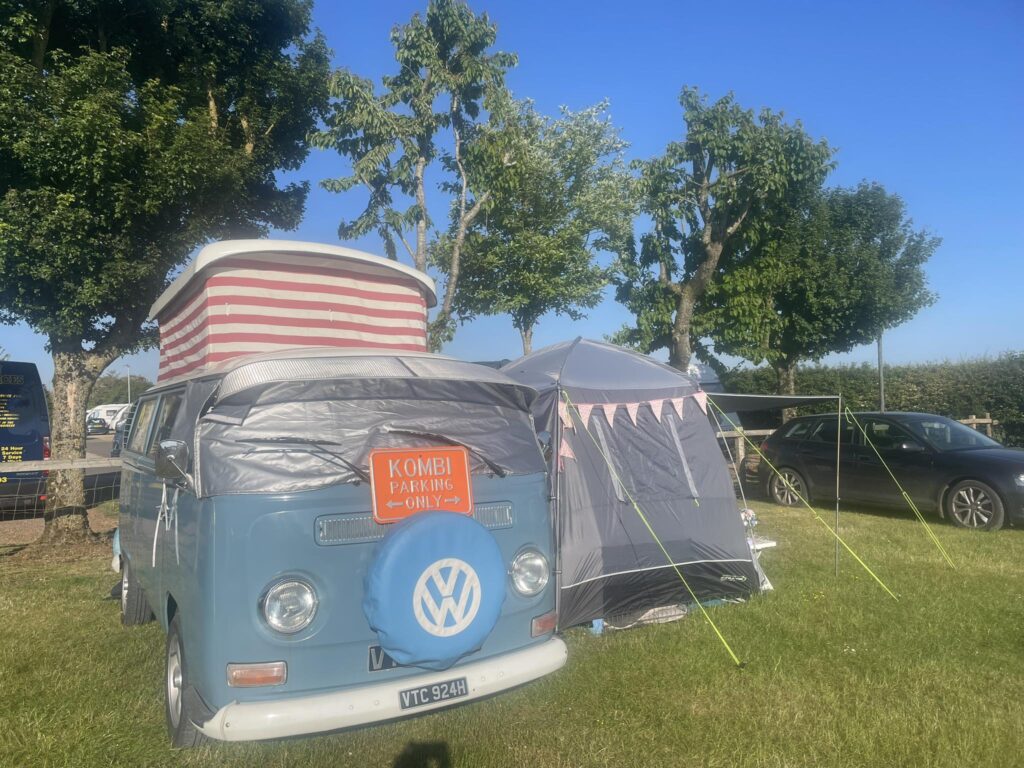
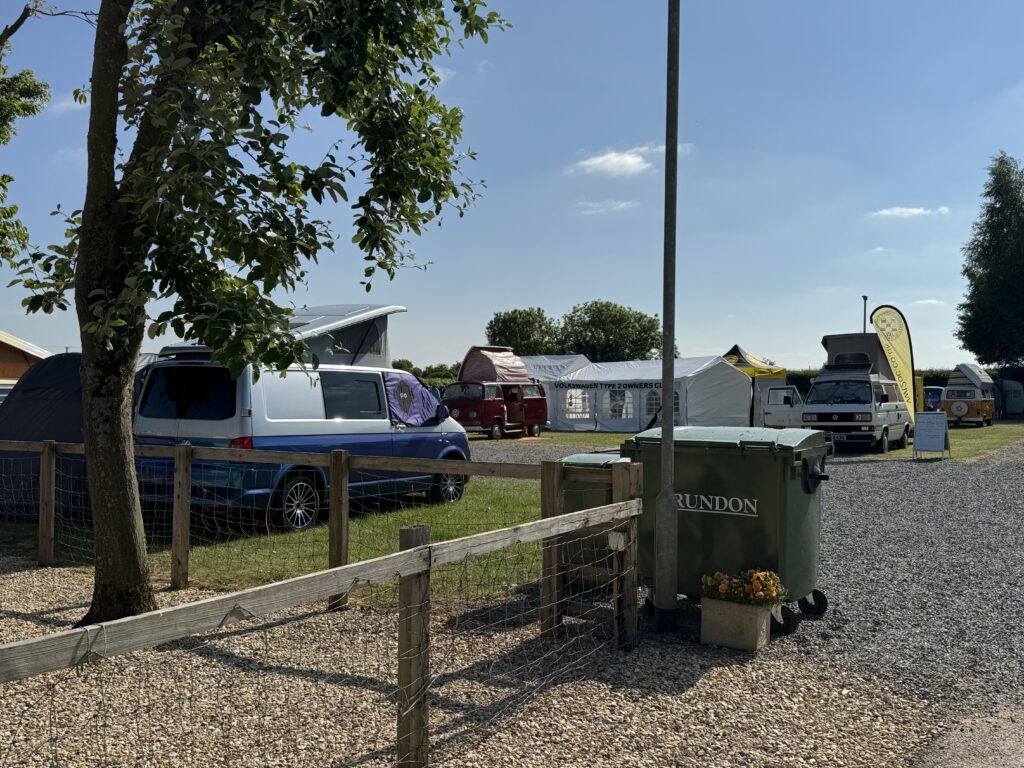
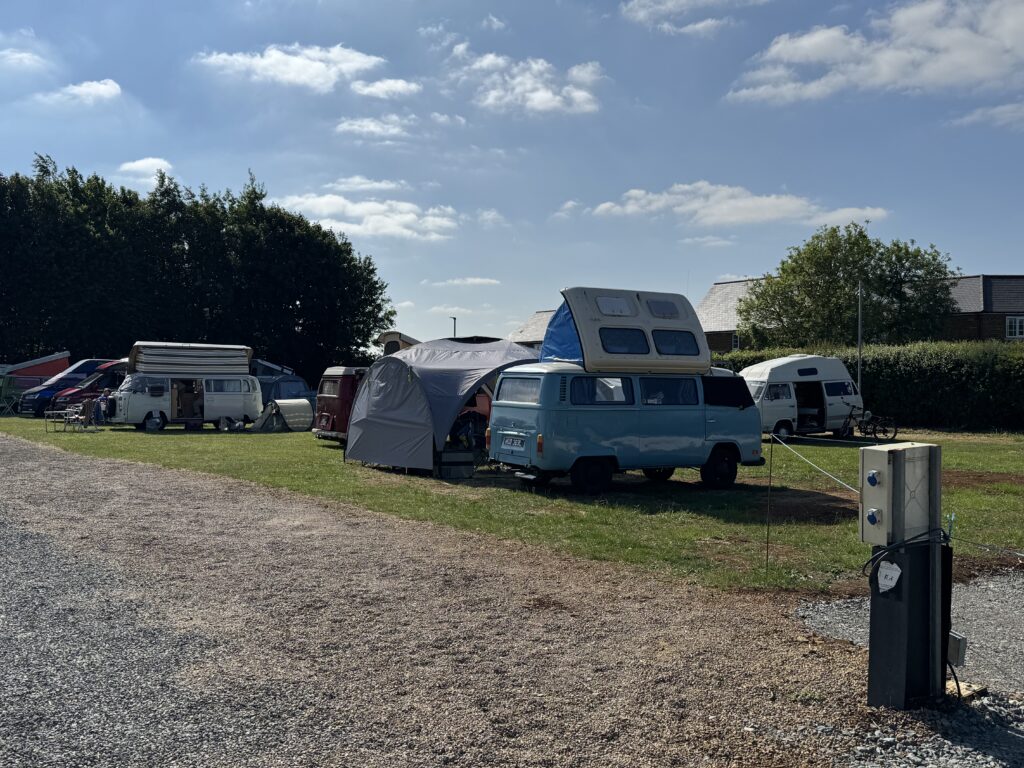
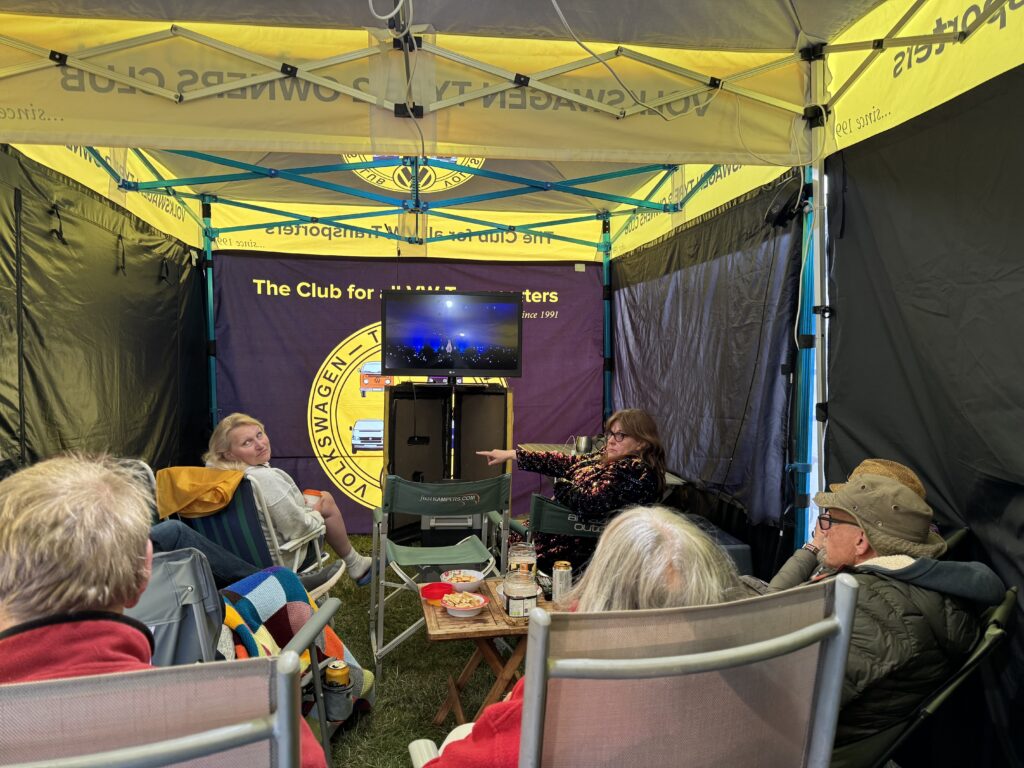
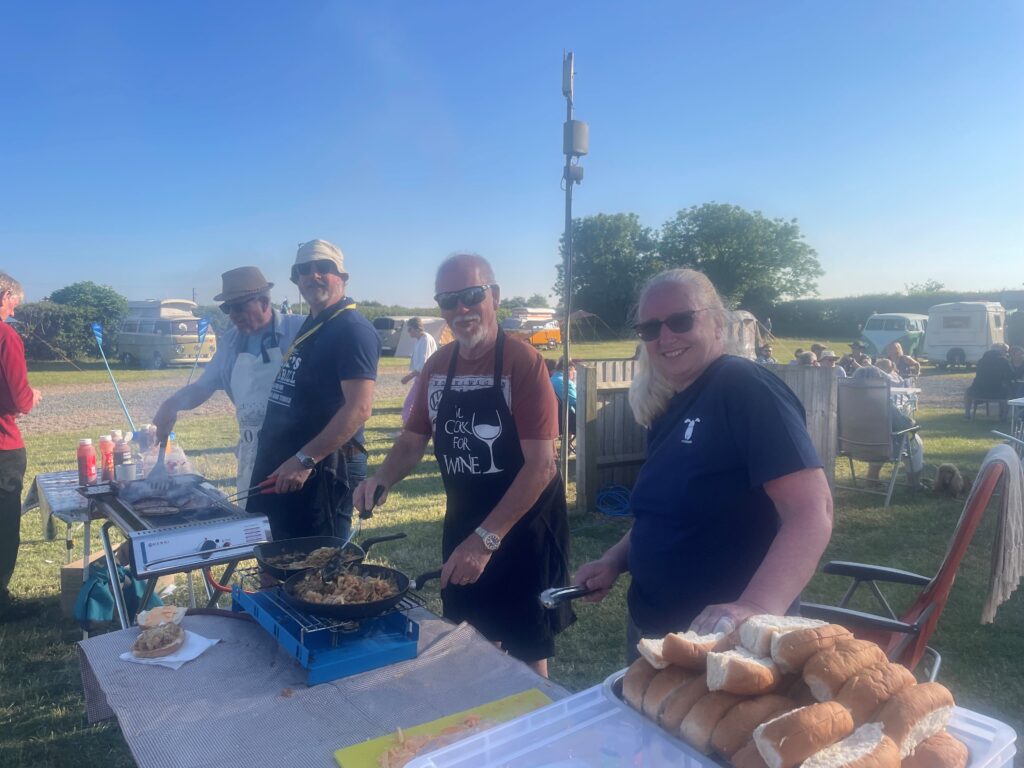
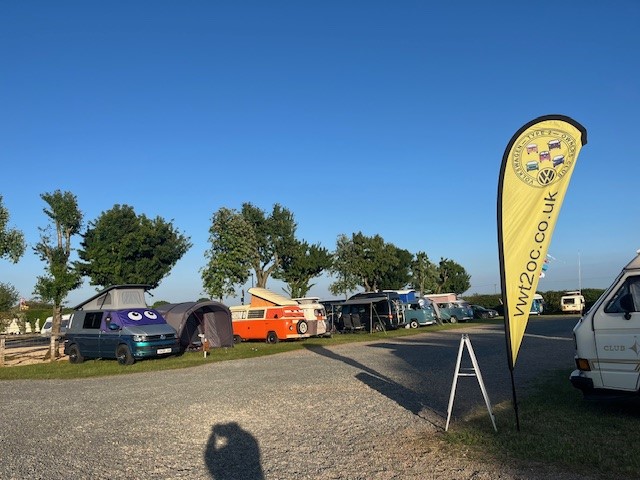
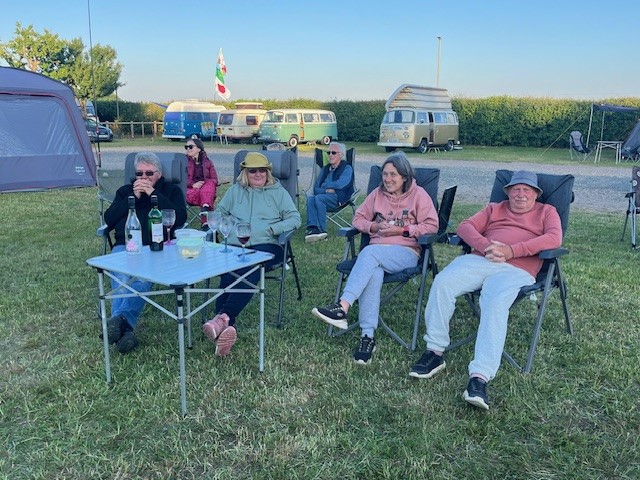
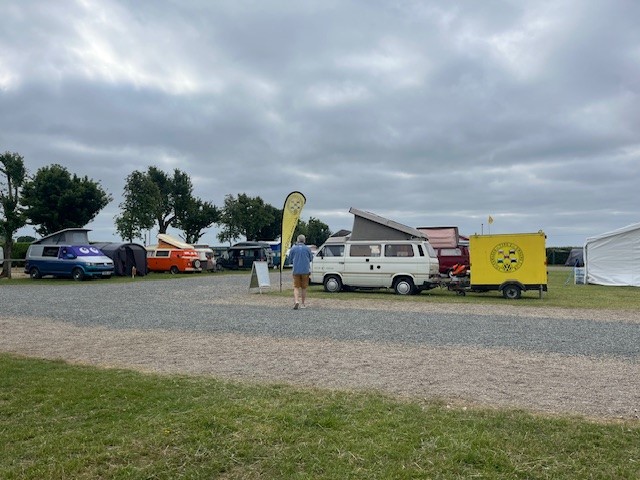
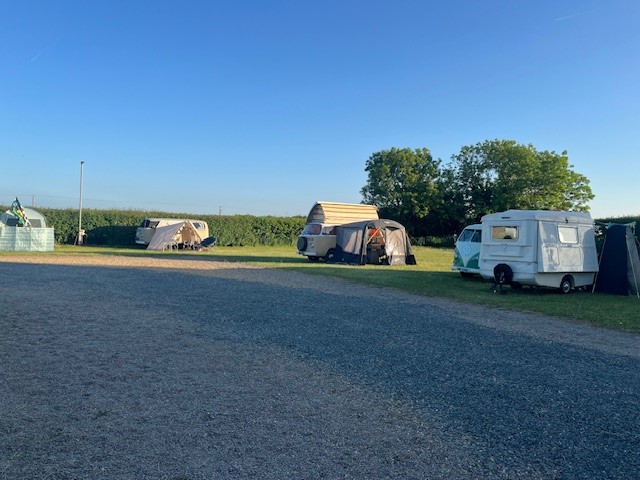
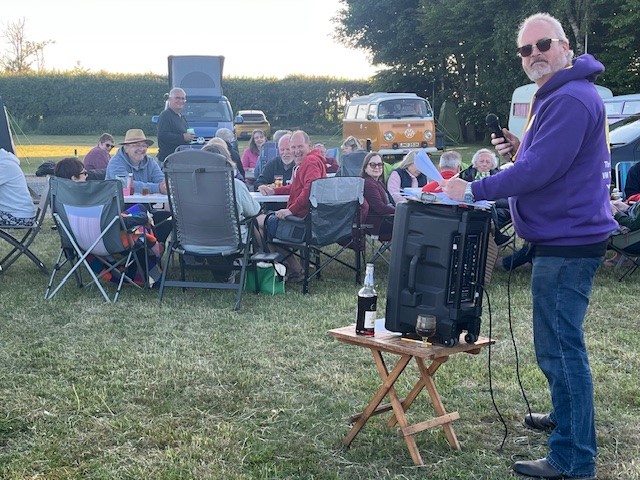
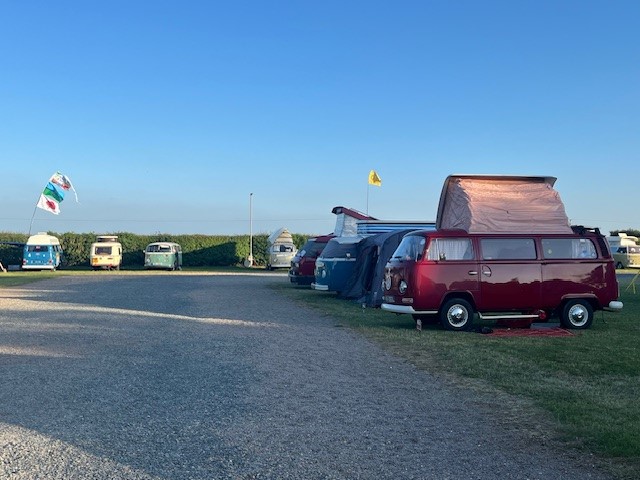
One of our favourites – Barnstones Camp Site on the outskirts of Banbury in Oxfordshire. Scene of our first member BBQs and a popular event for the members.
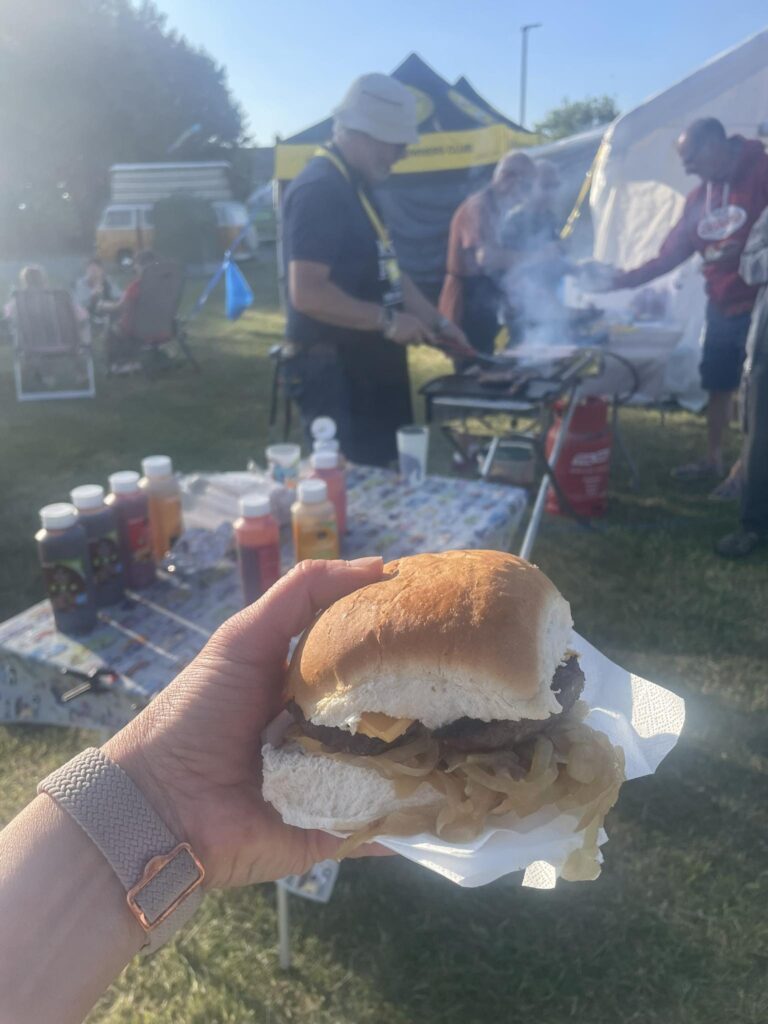
Just off the M40 in the heart of the UK and always popular. David has now retired and the site is under new ownership. Come along, meet members, have a weekend away, a burger on the Saturday night. There will be cake!
With Poppy’s engine having a lot of end float (no, I don’t know what that means either), we decided that since we are planning to keep her for a good while longer, we will take the plunge and replace the engine. I do not have the tools or the skillset to rebuild an engine, and our regular mechanic has the skillset but does not do it, since he cannot afford to guarantee his work and the pricing would be far above his preferred engine shop.
Since his preferred engine builder is also one who offers a discount to club members, I decided to visit them in person to see their operation and help our members on what can be done. Read about Poppy’s engine later this year in your club magazine!
It was a drizzly day as I trekked around the M25 to a quiet part of the Kent countryside in Keston near Biggin Hill. The VW Engine Company has a big operation in a custom-built set of units accessed by security gates. Outside the main doors are about 10 camper vans shapes under cover, mostly customer vehicles, along with several full metal recycling bins filled with old cylinder heads, barrels, pistons and other parts that do not get reused.
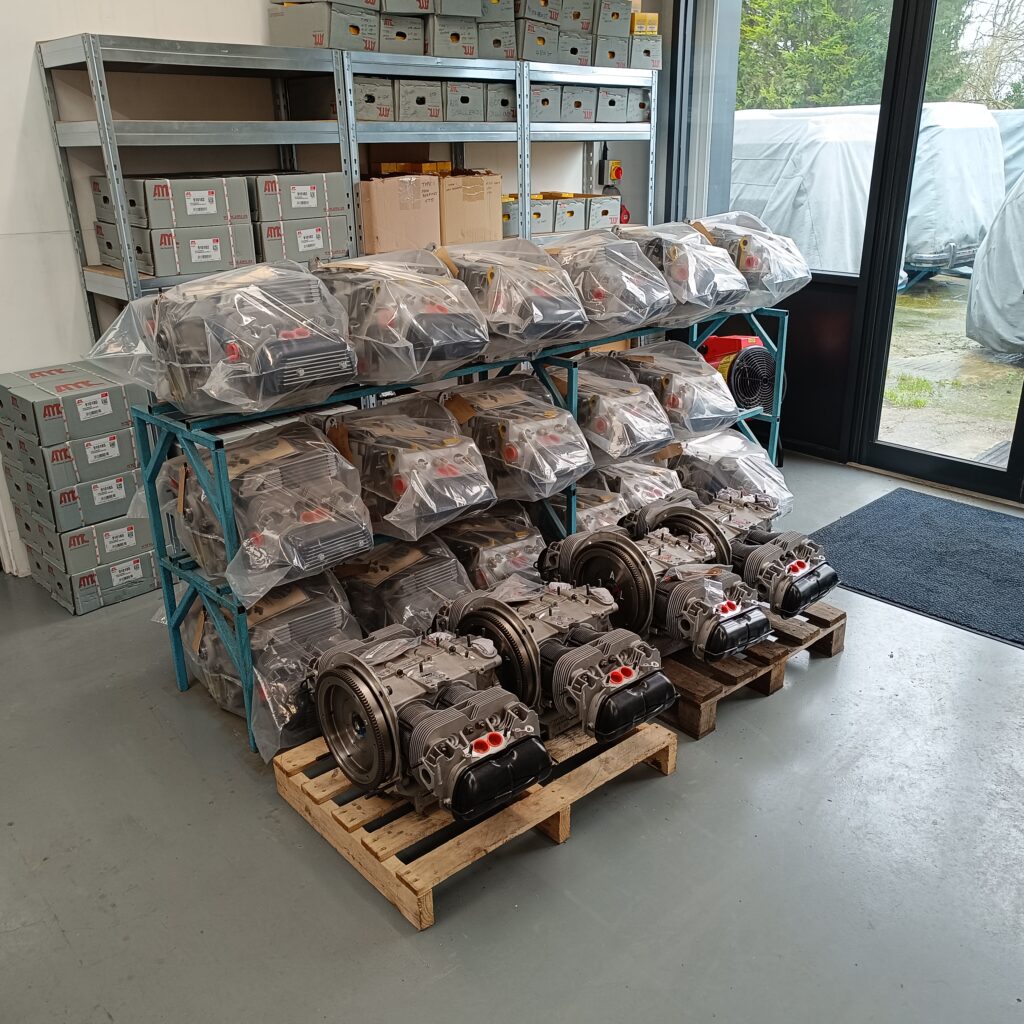
Main reception is big and welcoming with a big rack of twenty and more finished long block engines in plastic bags ready to go. James and Patricia met me and offered me a very welcome cup of tea.
James is now a Director of the company that was set up by his Dad Keith and his Mum Patricia in 1979. Patricia is still working 2 days per week, and Head of Engineering Adrian Perkins joined in 1981 and is still there the other 3 days per week – the original members ensuring continuity, sharing the passion and commitment and keeping the young members on track, I suspect!
From main reception, we went into the first workshop but that is the end game and I asked to have the tour forwards not backwards, as it just makes more sense.
The first room is for customer engines inbound. As we went through, one air-cooled and one water cooled engine were being disassembled by two of the team, Louis and Jay. Then the stripped cases can be washed in the two big cleaning machines. Hundreds of jets wash them all (they can cope with more than a dozen engines at a time) with water and degreasant to remove as much surface muck as possible. The cases are then cleaned by hand with a manual wire brush to avoid getting dirt into the journals and galleries before being inspected and measured to confirm if the crankcase can be reused. Once the case has been reworked several times in its life, the key sections become too worn to be useful and around 30% of cases coming in now fail the test and go out to scrap. The crankcase, crankshaft, connecting rods, push rods, rocker assemblies, distributor drive try to get reused, everything else from the long block is recycled! Almost nothing in their operation ends up in landfill, which is great.
From there, we went into a largest and clearest room. Another two of the team, Sam and Roberto were working on the turnkey engines of 2 Bay window customer vehicles. You can drive over to their place in your pride and joy, have the team remove your engine, work on it, test it, install it again and you drive away! This is a very popular way of doing things and their sheer experience means that you not only get one of their great engines, but you also get their knowledge on putting the rest back on. A good proportion of “problems with engines from the VW engine company” are not down to the long block engine supplied but the way that the rest of the parts are installed by other people!
The team are offering additional services this year of engine servicing as well as rebuilding. Again, their experience means that those niggly issues with your engine can be addressed by people who live and breathe these machines. This is for Beetle engines, Splitscreens, Bay windows and T25s but petrol engines only. Everything from a 1300cc up to some huge 2.3 litre beasts if that is what you want.
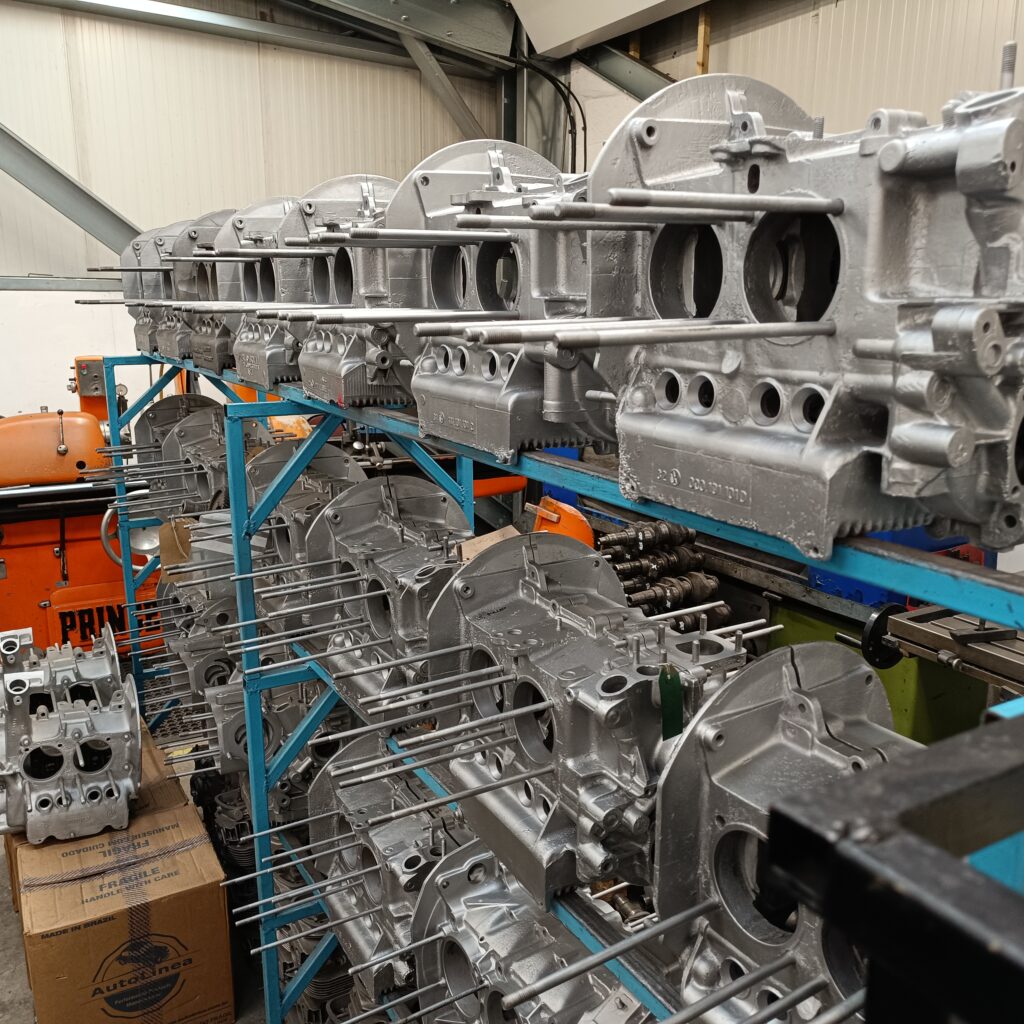
Next over is the storage racks of cleaned, painted and tested crankcases, with around 20 on the rack ready to build up. This is also where they check the crankshafts, machining them if required and repair the edges of the cases if they have damage where they need to be bolted to other components.
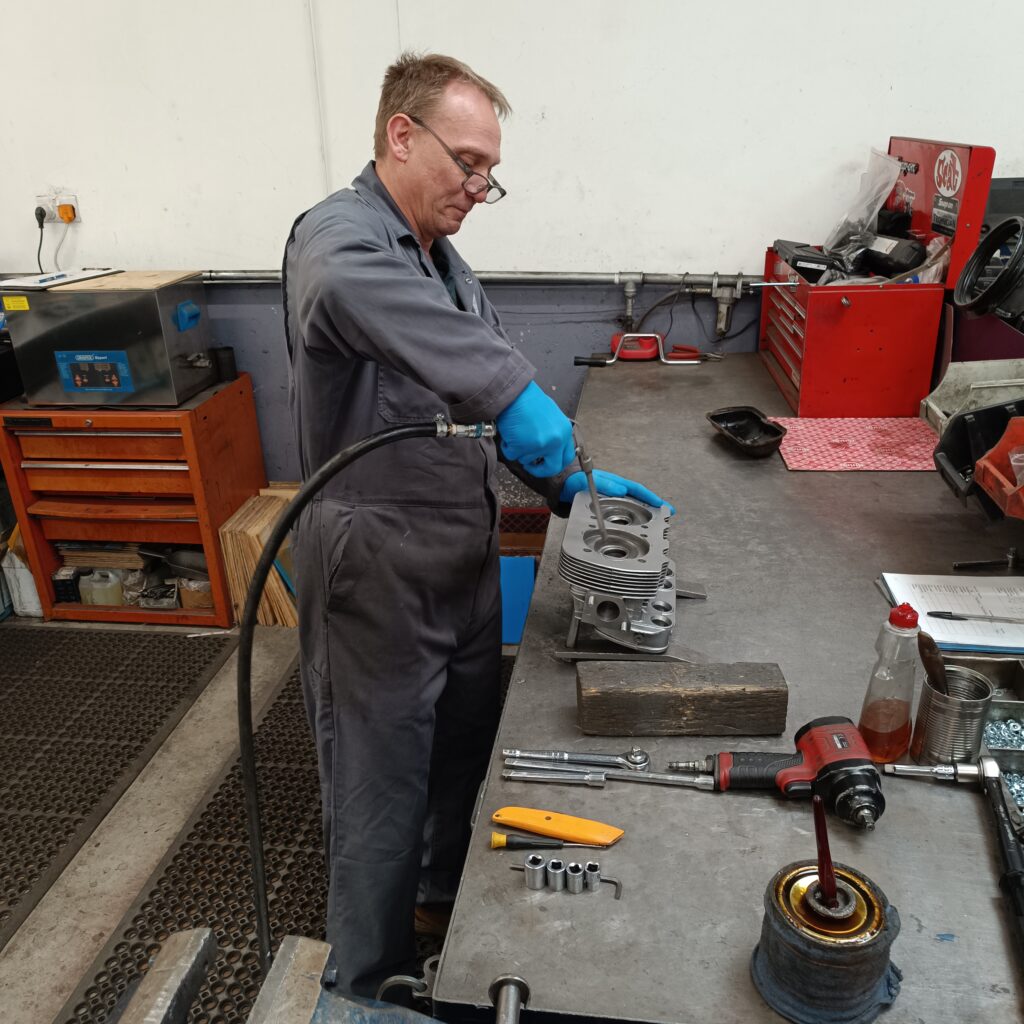
Once the case has been chosen, machined if required for larger heads and if ready, it goes to the engine build room. Sam who was doing customer engine work is normally in here building engines but today instead it was Michael, preparing engine heads and putting the final touches to another customer engine and cold testing yet another. The testing also allows them to measure oil pressure and record cylinder compression levels (James to confirm I got that right) in their high-tech A4 diary. You don’t need technology for everything, and it is much easier than having to start up a computer each time! To test the paper trail, we looked at Poppy’s engine, noted the engine number and looked it up in the book. The engine was built on Friday 27th October 2023 by Sam, and we can see the test results.
Back out to main reception, James then showed me the warehouse storeroom where there are over 150 engines all finished as long blocks, sitting on pallets, and bolted inside metal frames to keep them protected. These are ready for shipping and the number is very high at the moment as the season is about to start and they simply cannot keep up with spring demand otherwise!
With these pallets, you can order the long block and have it delivered to your house or your local mechanic. The engine can then be removed from your vehicle and stripped of the tinware, fan, alternator, fuel pump, distributor, oil cooler and so on. The new engines are supplied with a new oil cooler though. Then rebuild those parts onto the new arrival and fit back into the vehicle. Then the old block complete with rocker covers at each end can be bolted into the metal frame on the pallet and the VW engine company will arrange for the pallet to be shipped back to their HQ for rework. And do the process begins again. I was surprised to find that shipping the engine to you and the old one back to them comes to a total for both journeys of just £168! Given that they are inside the ULEZ zone at £12.50 for older vehicles and I used the Dartford crossing both ways, I spent a good chunk of that heading over there myself!
On the turnkey side, if you rock up with your vehicle, they can also offer extra bits – refinishing your tinware to get it looking good, a new 123 distributor, upgrade to electronic ignition if you want to retain the distributor, add an electronic fuel pump. Almost anything can be done there.
As you can tell, this is an impressive operation filled with passionate experts, helping to keep our vehicles running properly. This is not a budget operation, and the word-of-mouth recommendations are extremely strong.
Example prices to our club as we go to press are:
A 1641cc long block engine with a reconditioned crank case = £2,200+vat
A 1641cc long block engine with a new crank case = £2,700+vat
A 1776cc long block engine with a new crank case, big valve heads, mild road camshaft = £3,400+vat
These prices are based on an exchange process with your old engine. During this interim period a surcharge deposit is held of £400+vat. Once your old engine is returned this deposit can be refunded. In the event of your old engine not being “serviceable” they will contact you to explain, send pictures if necessary and a proportionate value of deposit may need to be retained which is understandable.
Knowing what I know now about their operation, I’d have had Eric the Viking’s engine done here. Poppy’s engine was swapped by our local, tame mechanic but in fact, driving Poppy over to Biggin Hill, the team could have done it all for me.
James and I loaded Poppy’s shiny, new 1776cc engine into the boot of my car and I headed off to Aylesbury to see Poppy and deliver it to our mechanic ready for reinstallation. All engines come with a 12-month unlimited mileage warranty. Not that I expect to need that – these are built with the best quality parts, sourced from America, Brazil, Denmark amongst others to give longevity of your new engine to ensure that you get as much time with it as possible.
Instead of getting your local mechanic working on your engine that has not run correctly for many years, consider taking it to James and the team. Or take the vehicle and have them change the engine. Or they can just supply the main part of the engine for someone else to do the fun bits. Whatever you choose to do, don’t forget to mention your membership of the club to get the discount that varies depending on which engine you need.
Example prices for a turnkey solution where you take your vehicle over (club prices, not available to the public) are:
Turnkey Service £595+vat (transfer all of your engine’s bits from the old to the new engine)
Basic service parts (oil, fan belt, fuel filter, ancillary nuts and bolts etc) £70+vat
Engine removal and refitting £495+vat
Plus any potential ancillary replacements that may be required or that you may wish to be replaced at the same time.
Lead times depend on the time of year but would be typically 3 to 8 weeks’ notice, and your vehicle would need to be with them for about 2 weeks.
My thanks to James, Patricia and the team at the VW Engine Company for showing me around and helping me to understand in depth about the operation and what they can offer us.
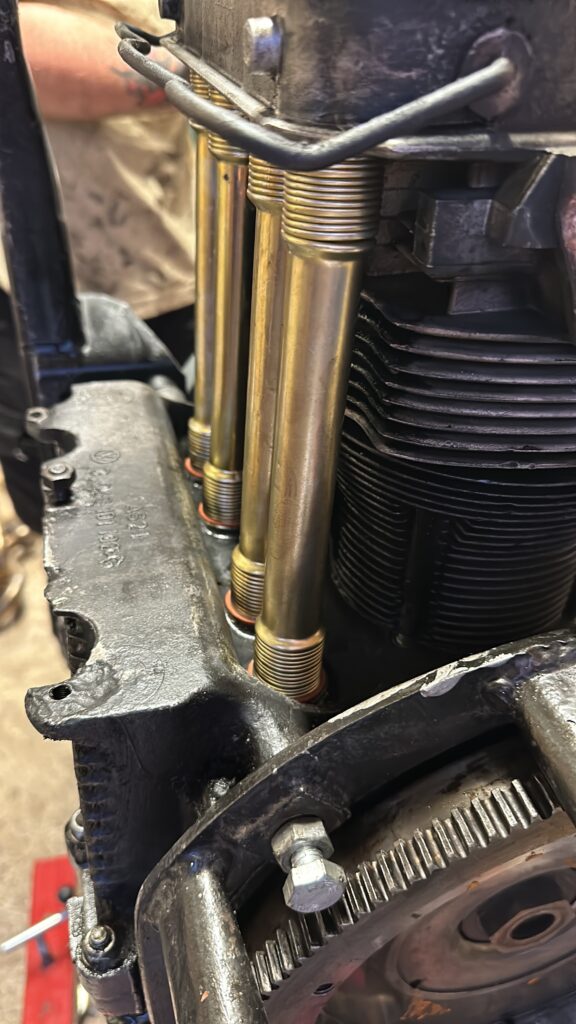
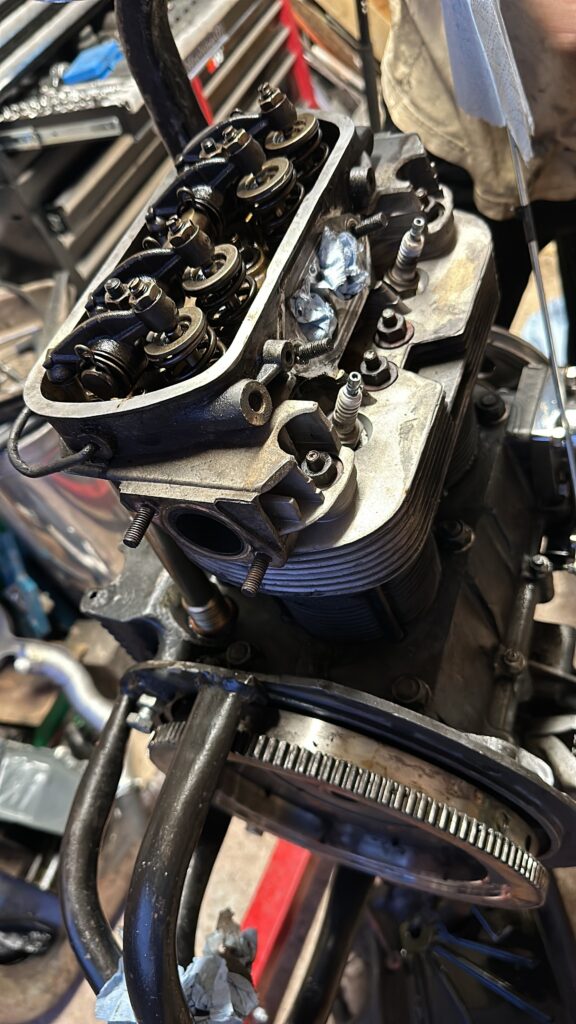
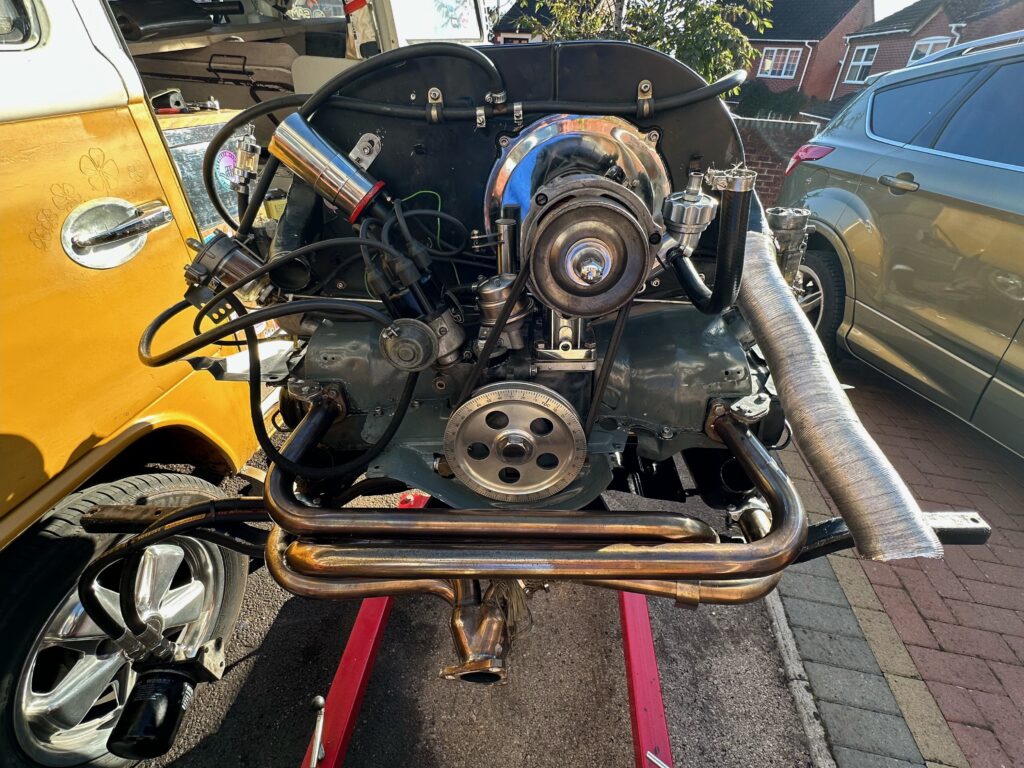
Hey guys here’s one that’s not for the faint hearted. Pushrod tube replacement. It’s something I have been putting off for ages and one that needed addressing as the oil leak was getting progressively worse. I’m very lucky to have a neighbour who loves to tinker and a brother-in-law (sun seeker Betti) to offer to help and advice. Or if I’m being honest show me how to do. Not knowing how this will go is always daunting but we got the engine out and mounted onto the stand. (Believe me without this it would have been nigh on impossible). Then this is where I realised that it wouldn’t be an easy or straight forward job, I had to remove the heat exchangers and manifolds and fan housing to give me adequate access to remove the rocker cover and the heads to get to the pushrods.
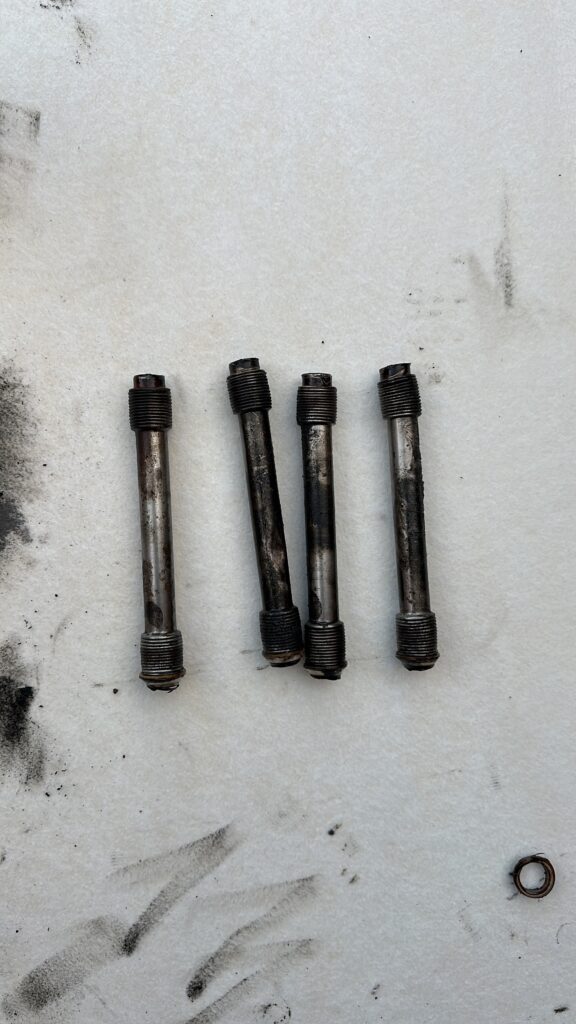
Once all this has been removed and tappets and pushrods removed and cleaned and put in an order ready to go back could we start the removal of the old pushrods. This was the state of the driver’s side.
Bent at the top and slightly kinked, no wonder there was an oil leak! The new pushrods tones were fitted using some copper gasket seal and new seals and repeated on the other side and the pushrods and tappets replaced.
And all case fitting put back together ensuring the nuts were done to the correct torque and sequence, something I knew nothing of, so I am glad that my neighbour did ! This is very important as you don’t want to tighten down wrongly as the case won’t sit perfectly. Or the pushrods sit correctly into the slots. Now this has been done time to set the correct tappit distances, definitely a two person job as you have to understand the firing sequence in order to set these correctly, so one turning the engine to get the pushrods in the correct location ie Top dead centre on crank to give piston 1 and rotating 180’ to bottom dead centre on piston four and so on through the sequence while the other sets the distance and locks it in each time the crank rotates.
Like most things on our beloved vans, once you take one thing apart you realise something else needs addressing, and yes this was the case for me! Main seal to the clutch needed changing along with the bar that holds the gear box to the chassis needed to be fitted as it was completely missing.
Now everything is in place and securely sealed and torqued up the exhaust manifold fitted and engine back in. All this in three days and before Busfest! But yes there’s always a but! The journey up and back of about 70 miles proved to be a warmup as when we got back, I could sense the engine was not right, you get to know after a while of working and driving these vans, and yes jacked the van back up removed the wheels and the rocker covers and checked the tappet distances. They were miles out, so redone them back to the correct setting and resealed the rockers let it set in overnight checked the oil again and relax, all’s good in the engine and she sounds sweet.
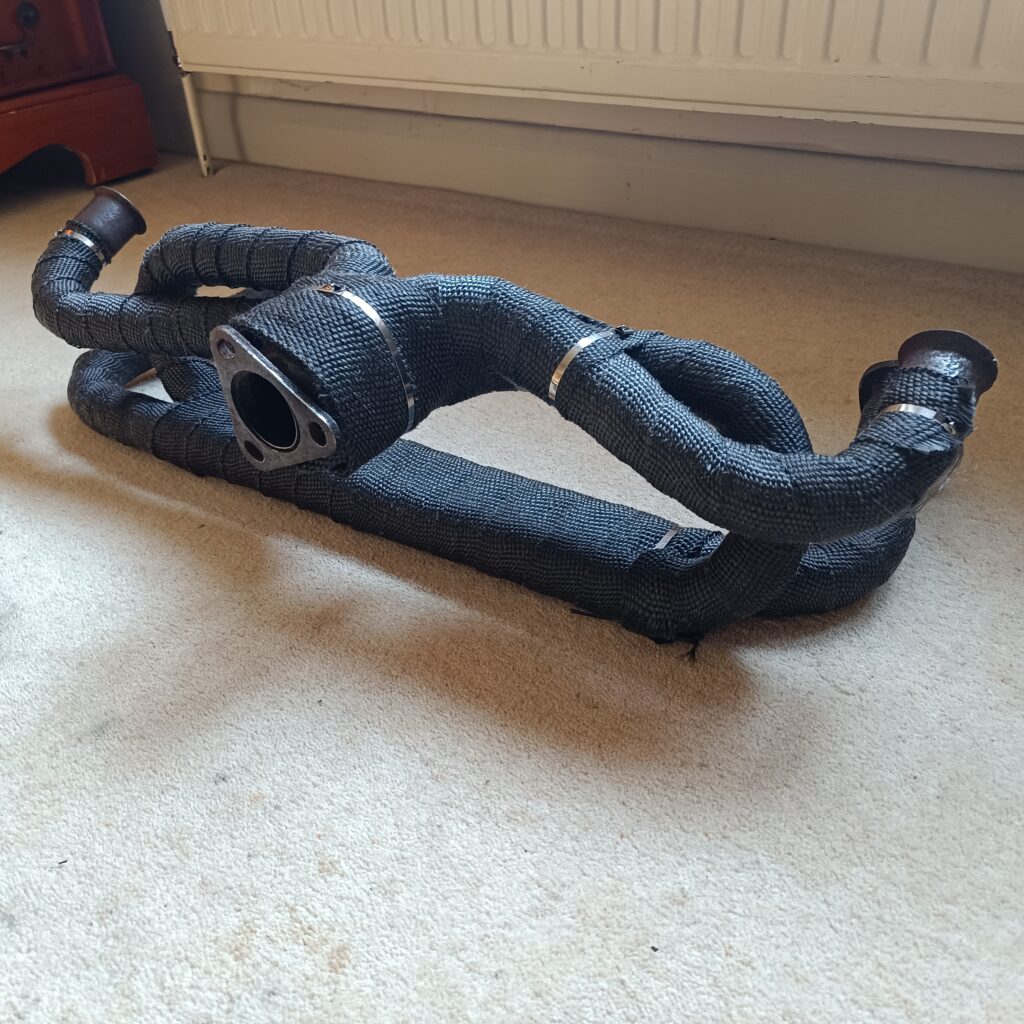
This issue’s gadget is “exhaust wrap” or “exhaust bandage”. Engines get hot – air cooled or water cooled, it doesn’t matter – there is heat being generated from the combustion of fuel and getting the heat away is a key part. With the exhaust being in close proximity to the engine and the by products coming out of the exhaust, it naturally gets hot and the radiating effect means that anything nearby is heating up.
The bandage wrap acts as an insulator, keeping the heat inside the exhaust, thereby keeping the heat away from around the engine. Even if it is only a small benefit, it is a benefit. It also looks nicer than a slightly rusty exhaust manifold.
The wrap is easily available from motor factors and online and costs between £10 and £20, there are a lot available and most comes with metal ties to make a neat job.
Removing the exhaust manifold is optional but was done on this one as the engine was out of the vehicle. Starting at any end, start wrapping the bandage around the manifold tightly trying not to get too many layers on any section. As you get to a suitable point, use one of the ties to stop it unravelling – the start will be kept in place as it is under the next row BUT it is easy at this point to tie that one off as well for completeness. You can wrap it as neatly as you wish, you may as well use all of the ties that come with it.
Some of them are glass fibre or have other heat retardant materials that can make your hands itch, so take suitable precautions.
Spend since last report: £17.55. Total hours labour since last report: 8
Whilst sorting the workbench, I came across a trapezoidal piece of steel with a lip all round, covered in 50 years of muck. It is the steering box strengthener plate that goes between the box and the chassis rail. I had been looking for it last year when I fitted the steering box back onto Eric. Annoyingly, I had put the steering box on, the drag link, greased everything and it looked great.
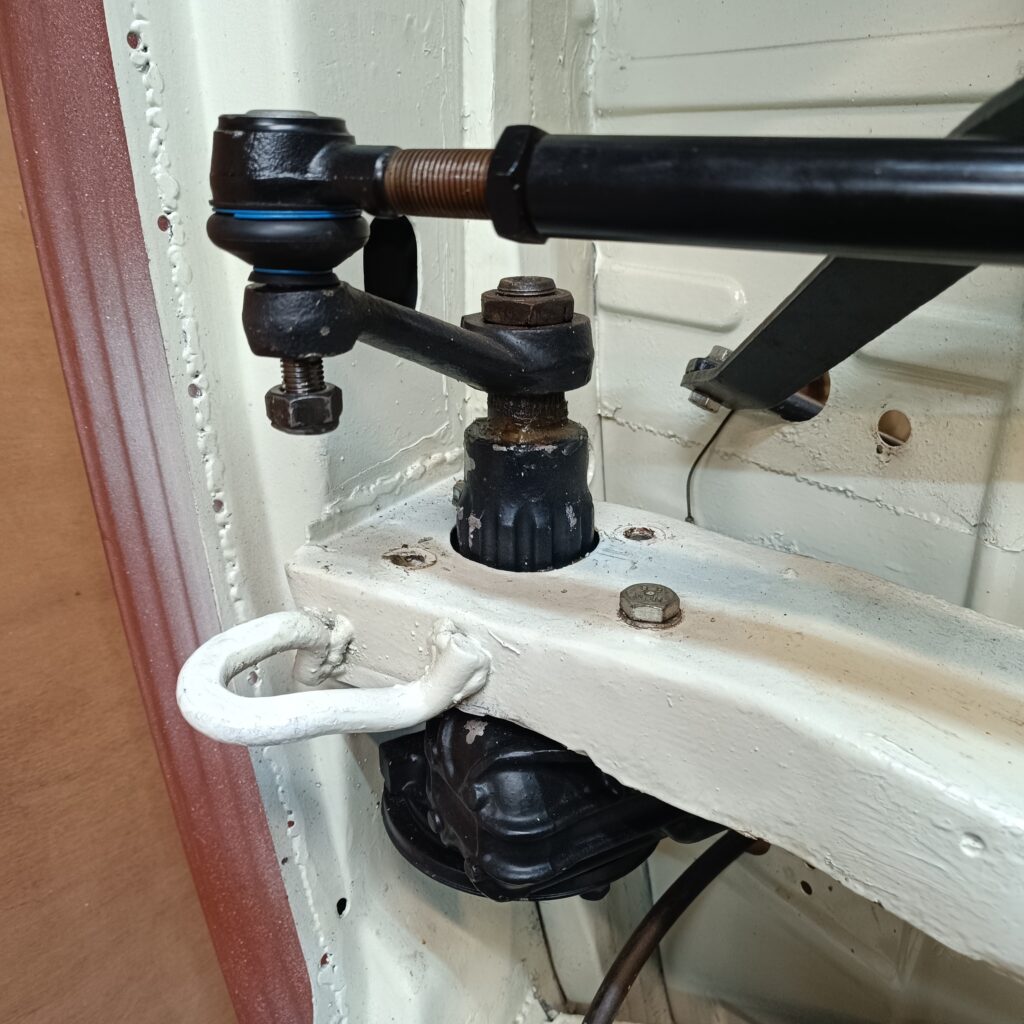
Drag link nut came off easily but the ball joint (top of picture) steadfastly refused to separate from the Pitman arm (arm at an angle under it). After much hammering and swearing, I explained the issue to a neighbour who offered to lend me his ball joint separator, which reminded me that I had one on the tool shelf ten feet from where I had been hitting the ball joint bolt. Oops, silly me.
Once the drag link was off, it is possible to remove the steering box of a late Bay with the Pitman arm still attached, which is a good job as the arm will not come off the box so it is staying there for now! With the steering box on the bench and the strengthener plate being stripped to bare metal for a repaint, I was unhappy with the paint on the steering box so that was stripped again. 3 coats of etch prime and 2 coats of John Deere top paint in matt black to both and they looked great once more.
Seam sealer to the join between chassis and strengthener plate (it is horrendously messy stuff) and reassembly went smoothly. At the same time, since I had the etch primer and the top coat, I grabbed the box of tin ware for the engine and did that as well – I had stripped it last year and rust proofed already. Looks much better.
The brake pedal had been bothering me as I had a return spring that seemed to do nothing – I did my trusty saying “What would Malcolm do?” and contacted him. My spring had snapped, which was why it was doing nothing. JK to the rescue with that and a pack of other bits. The return spring works better when it is complete and after a small fight, it was on. I connected the handbrake cables to the brace bar that also turned up on the bench and then went through all of the suspension and steering nuts, ensuring that each one has the correct washer under the nut. During one enforced rest, I bought loads of washers and a box of drawers to store them. All labelled of course. That was easier than hunting through my assorted basket of bits for random washers and all nuts are now about 18% stronger with the washer added.
The clutch return spring was next, the previous one having never been there. Removing the circlip, the arm, the cup seal and the washer took 5 minutes, cleaning was straight forward but took about 15 minutes to remember where I had put the box of new circlips! Once found it was easy, then empty the whole of the garage of all boxes of parts, work bench, welder and everything else which took ages. Eric went down onto his 2 wheels, the rollover jig came off, new wheels went on the hubs. Those wheels went down as well…fortunately I have spares.
Eric is now on 4 wheels and I can access the front. Next up, prepare the cab for the topcoat – filler, sanding, more primer on top of the current primer, then topcoat in L90D white. The only spend this time was £17.55 on a new spray gun, the old one was about a fiver and has done about 7 years good service but keeps leaking paint out of the nozzle all over the floor. The garage looks like it has measles.
The next morning, I popped into the garage to see Eric and the overnight heavy rain had come in leaving a large puddle under the workbench and the freezer. Ho hum.